

Create an outbound trunk#
Create an outbound SIP trunk to route voice traffic to external destinations through DIDWW. Outbound service must be approved for your account.
Before you begin#
An active DIDWW account is required. Sign in to DIDWW or Create DIDWW account.
Access to DIDWW Outbound Trunks is required. Get access to outbound trunks if you have not requested it yet.
Step 1: Open the creation form#
In the DIDWW User Panel, go to Voice > Outbound Trunks.
Click Create New.
Fig. 1. Create an outbound trunk#
Step 2: Configure general and authentication settings#
Under General, enter a Friendly name.
Select the Authentication method.
Complete the fields for the selected authentication method:
For Credentials & IP-Based, enter at least one Allowed SIP IP address.
For Twilio Account SID, enter the Account SID.
Note
To use IP-Only authentication method, contact support@didww.com.
Additional field definitions, available values, and constraints are listed in General settings and Authentication settings.
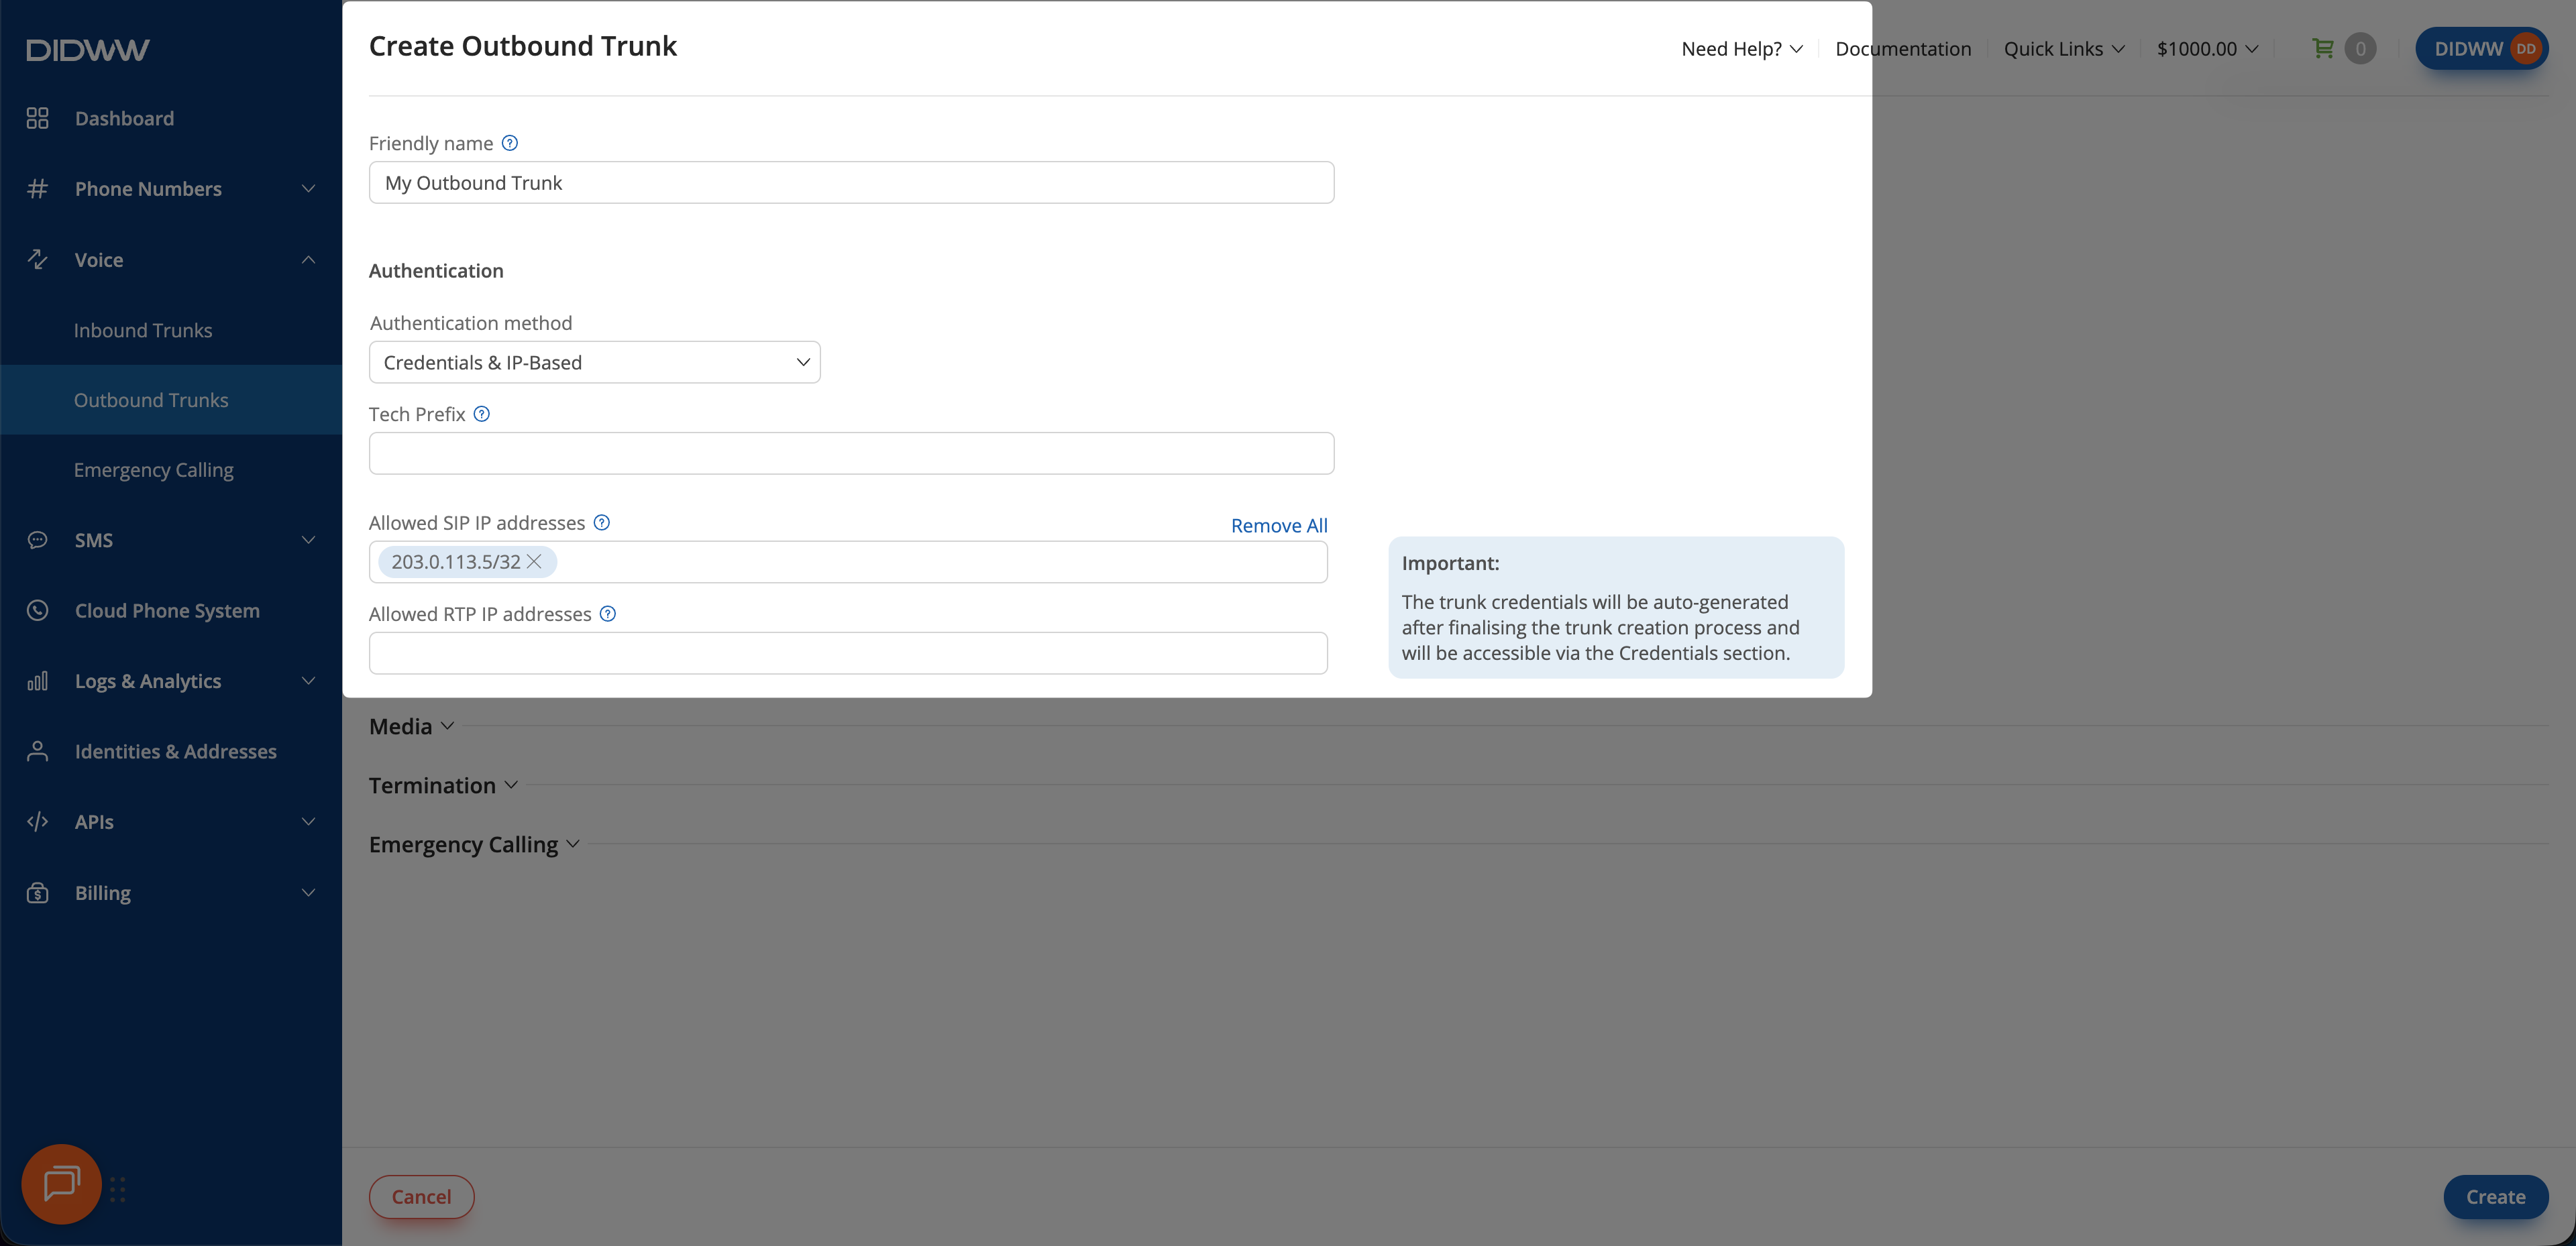
Fig. 2. Configure authentication#
Step 3: Configure media#
Expand Media.
Configure your preferred media settings.
Field definitions, available values, and constraints are listed in Media settings.
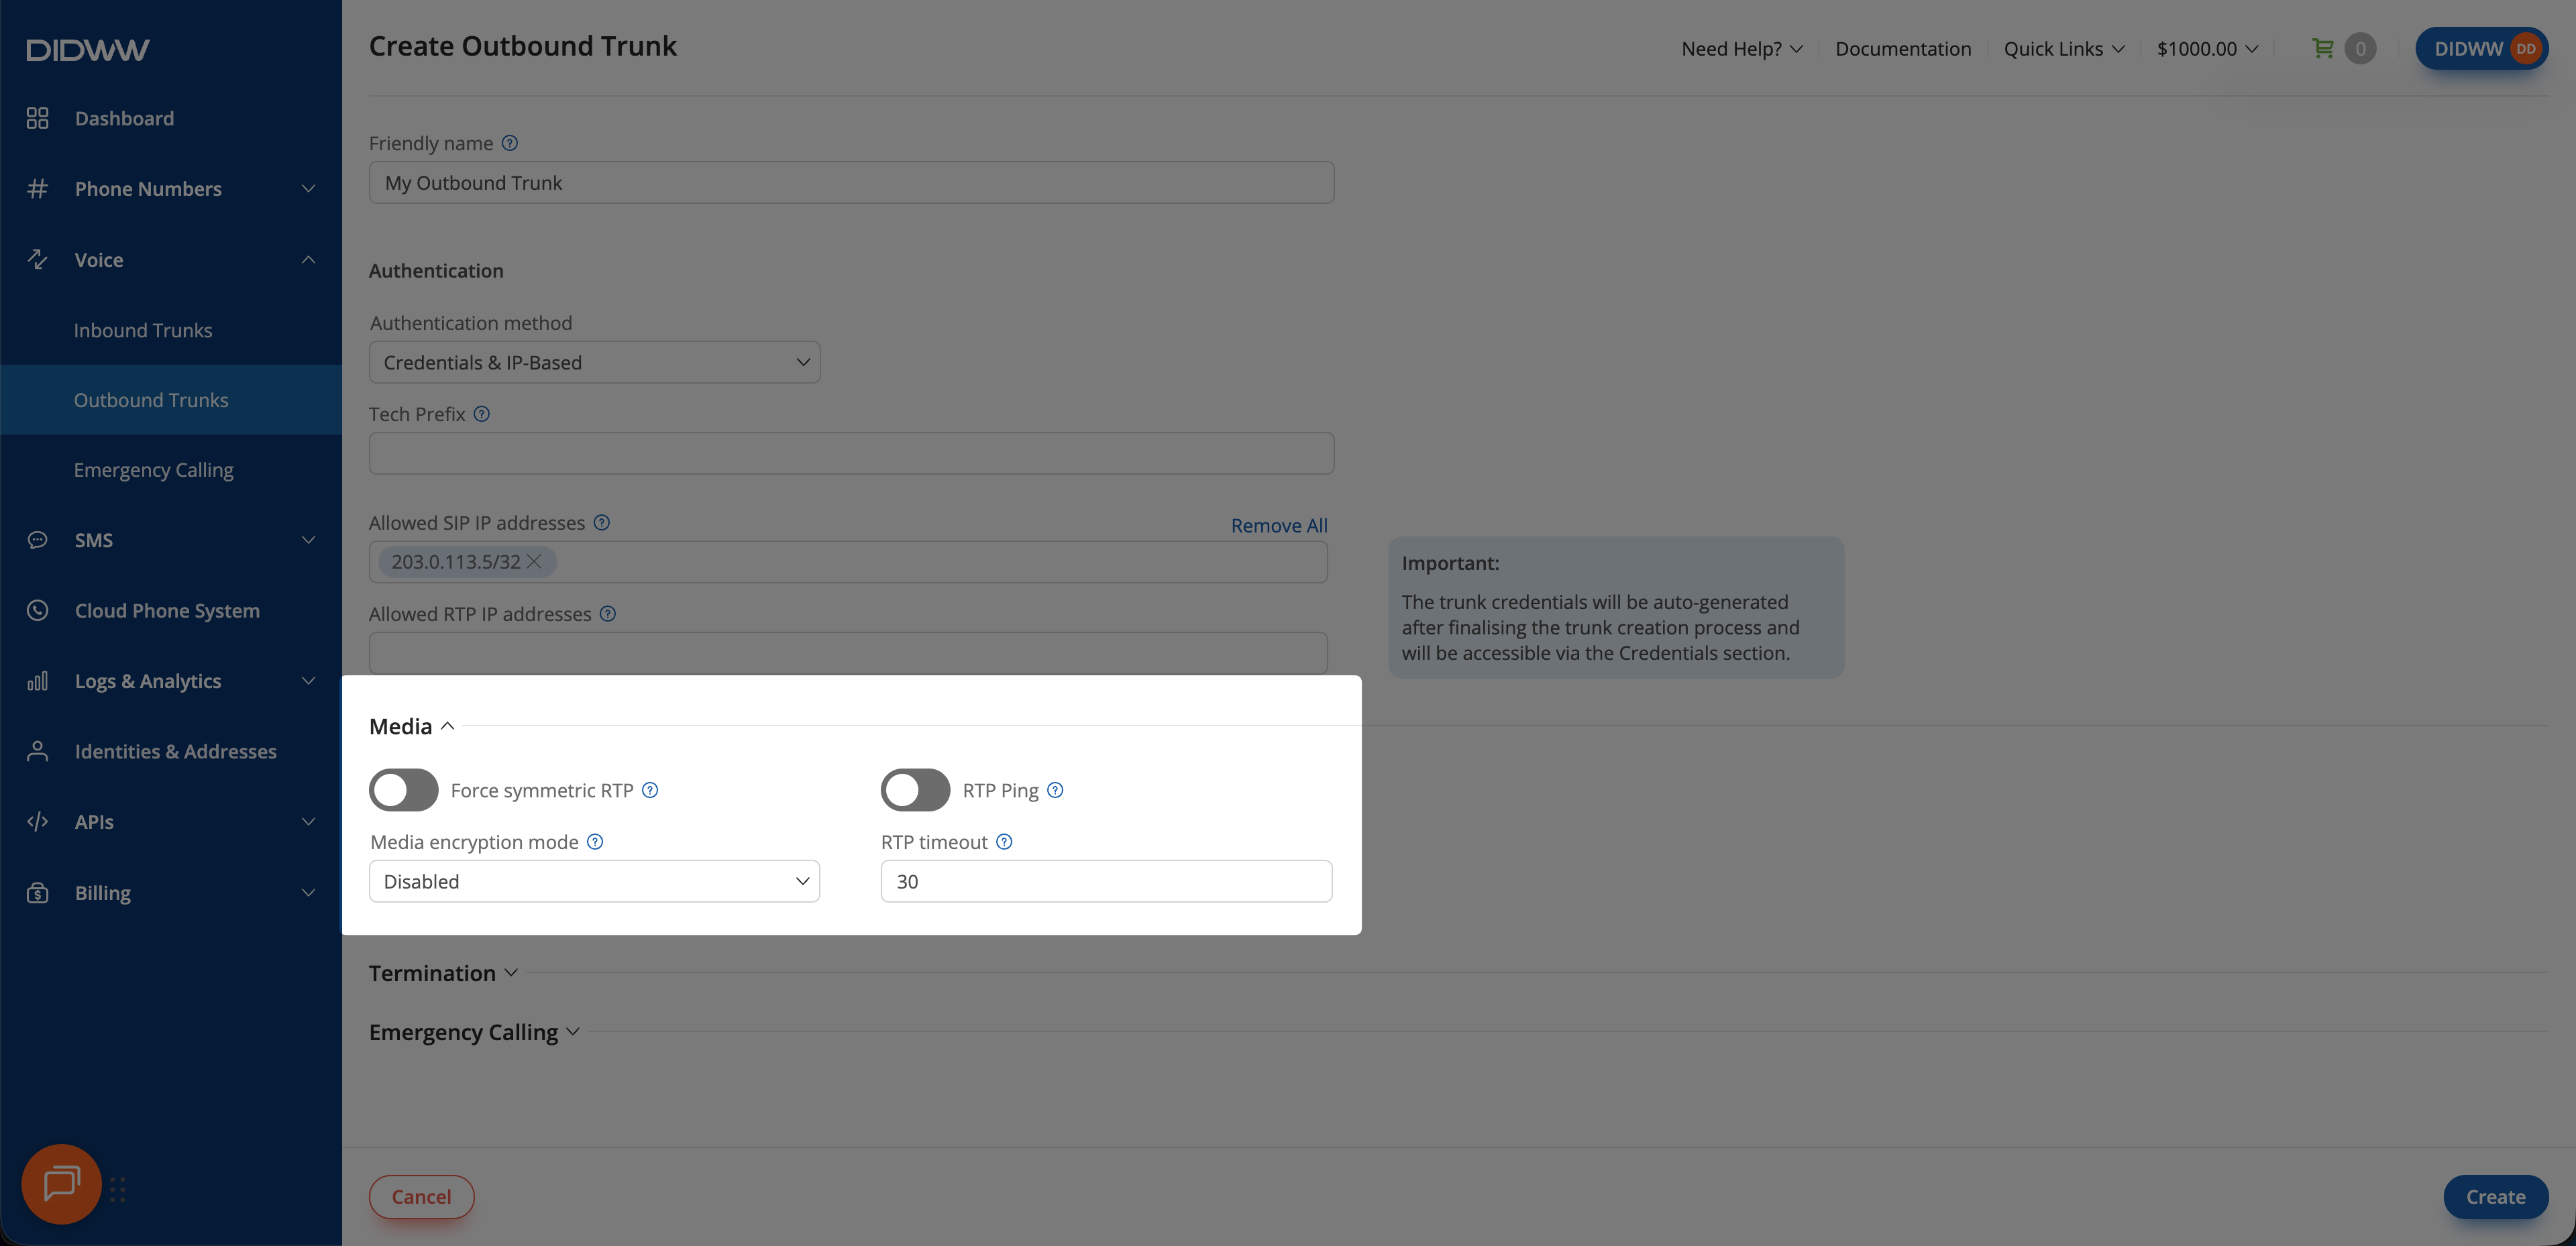
Fig. 3. Configure media#
Step 4: Configure termination#
Expand Termination, then configure the trunk limits, allowed Caller IDs, and destination dialing restrictions.
Limits and notifications#
Configure the rolling 24-hour limit, capacity limit, and usage limit notification.
Field definitions, available values, and constraints are listed in Limits and notifications.
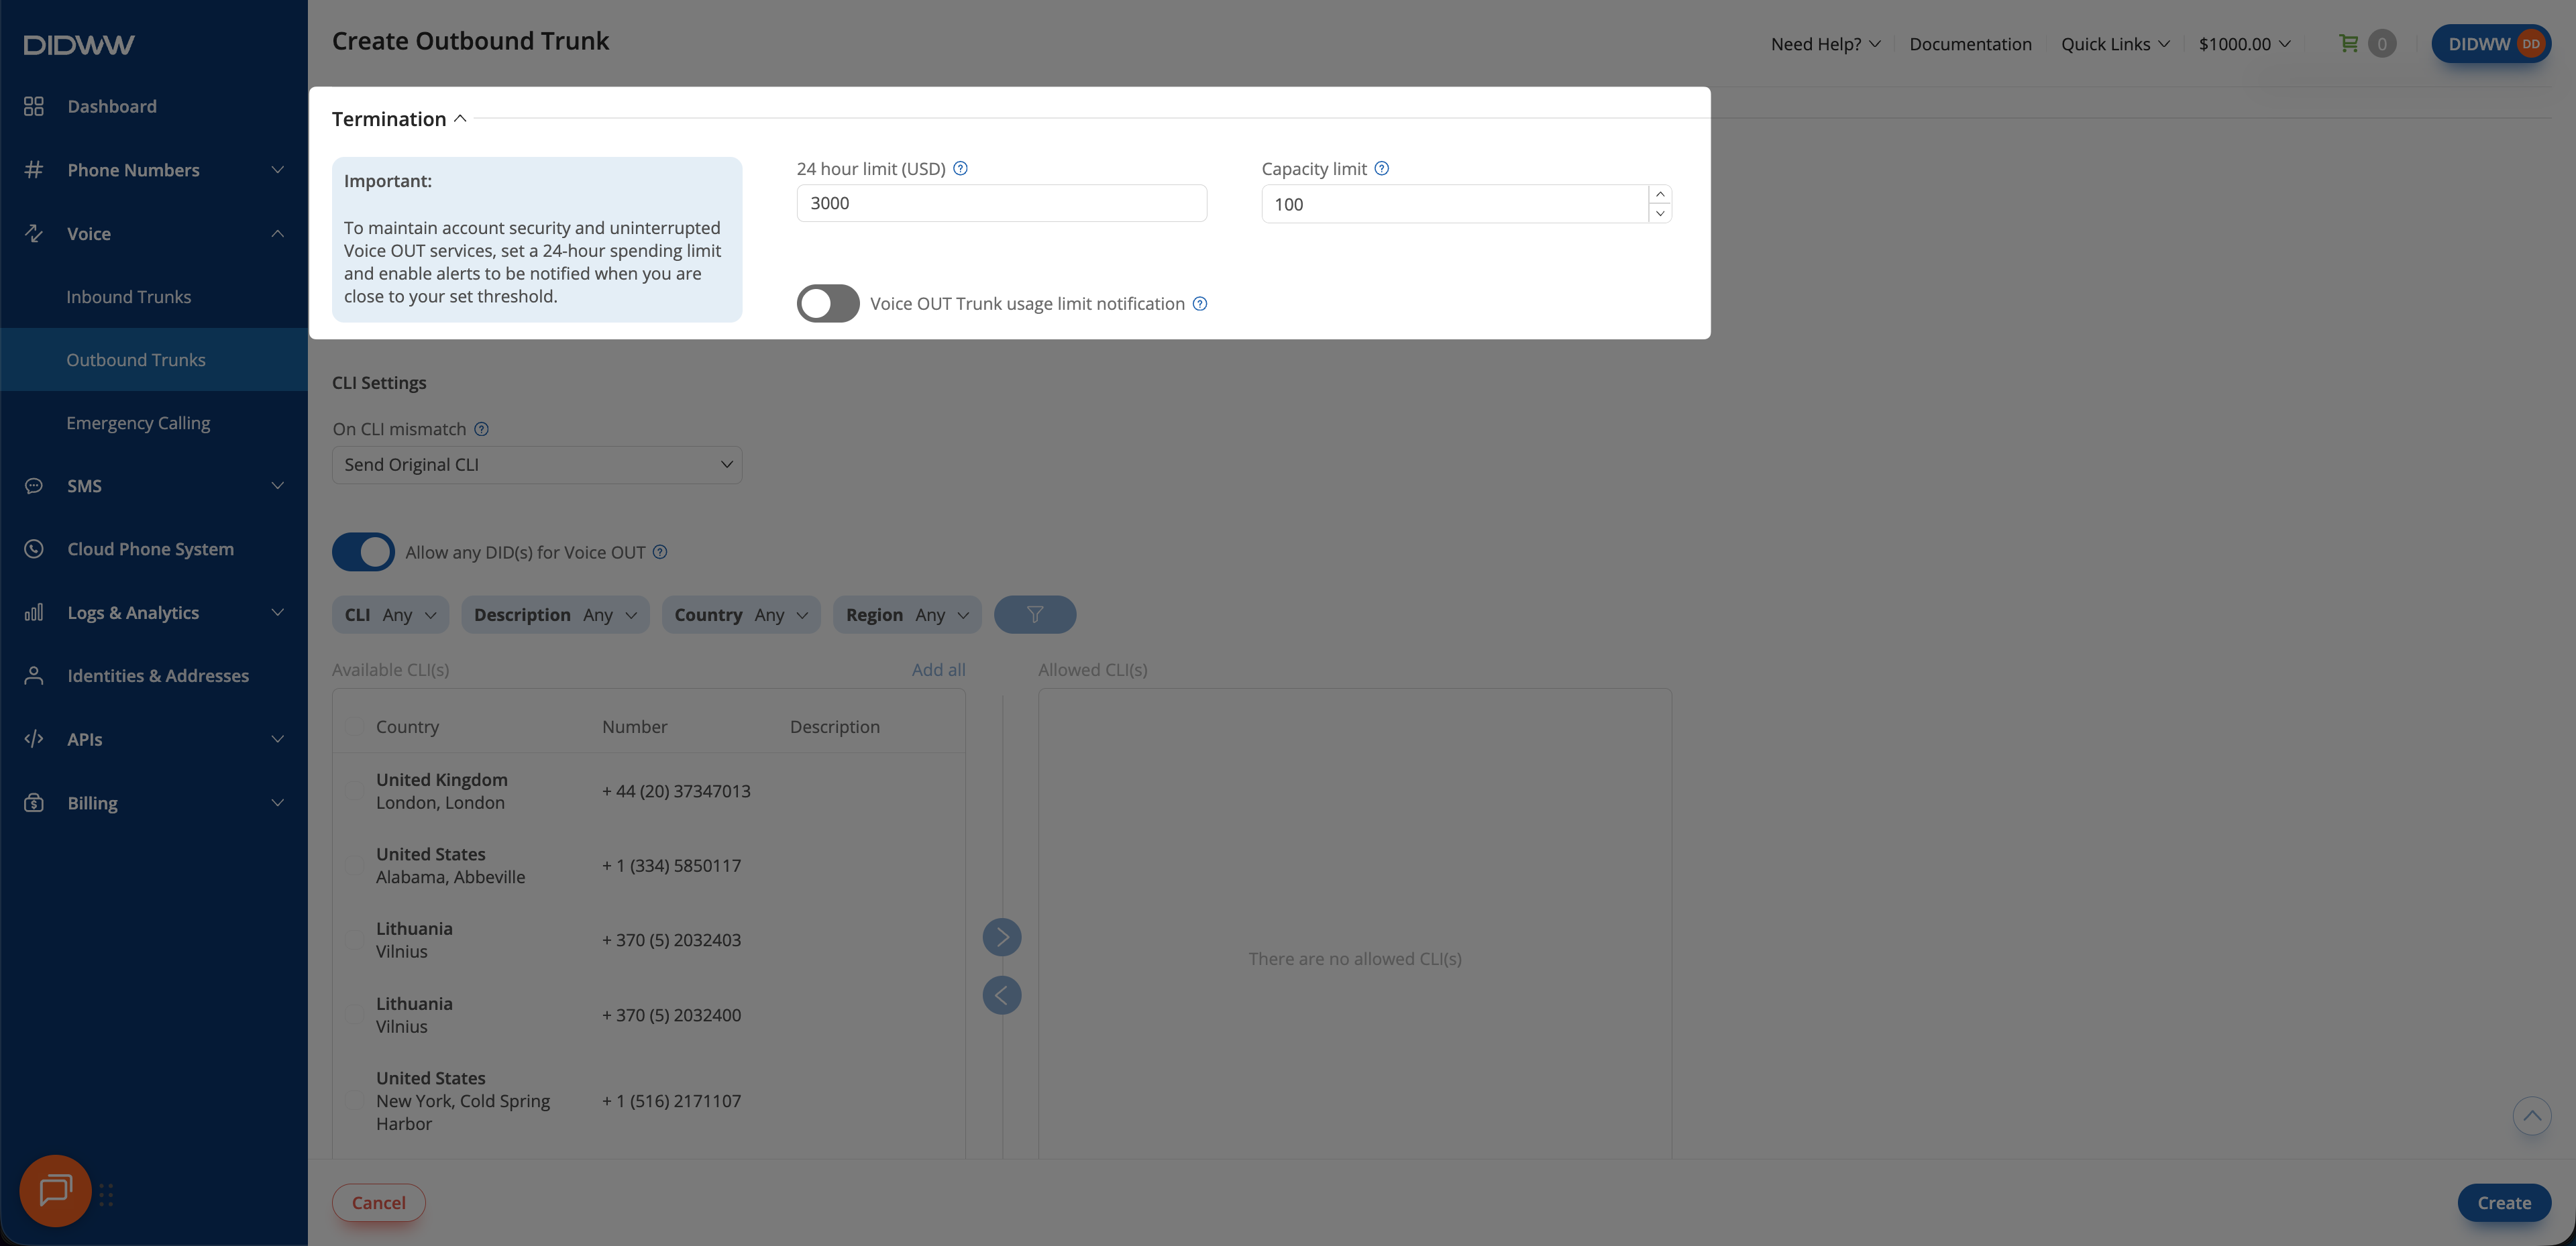
Fig. 4. Configure limits and notifications#
CLI settings#
Allow any DID(s) to be used via the trunk or configure which Caller IDs the trunk can use.
Field definitions, available values, and constraints are listed in CLI settings.
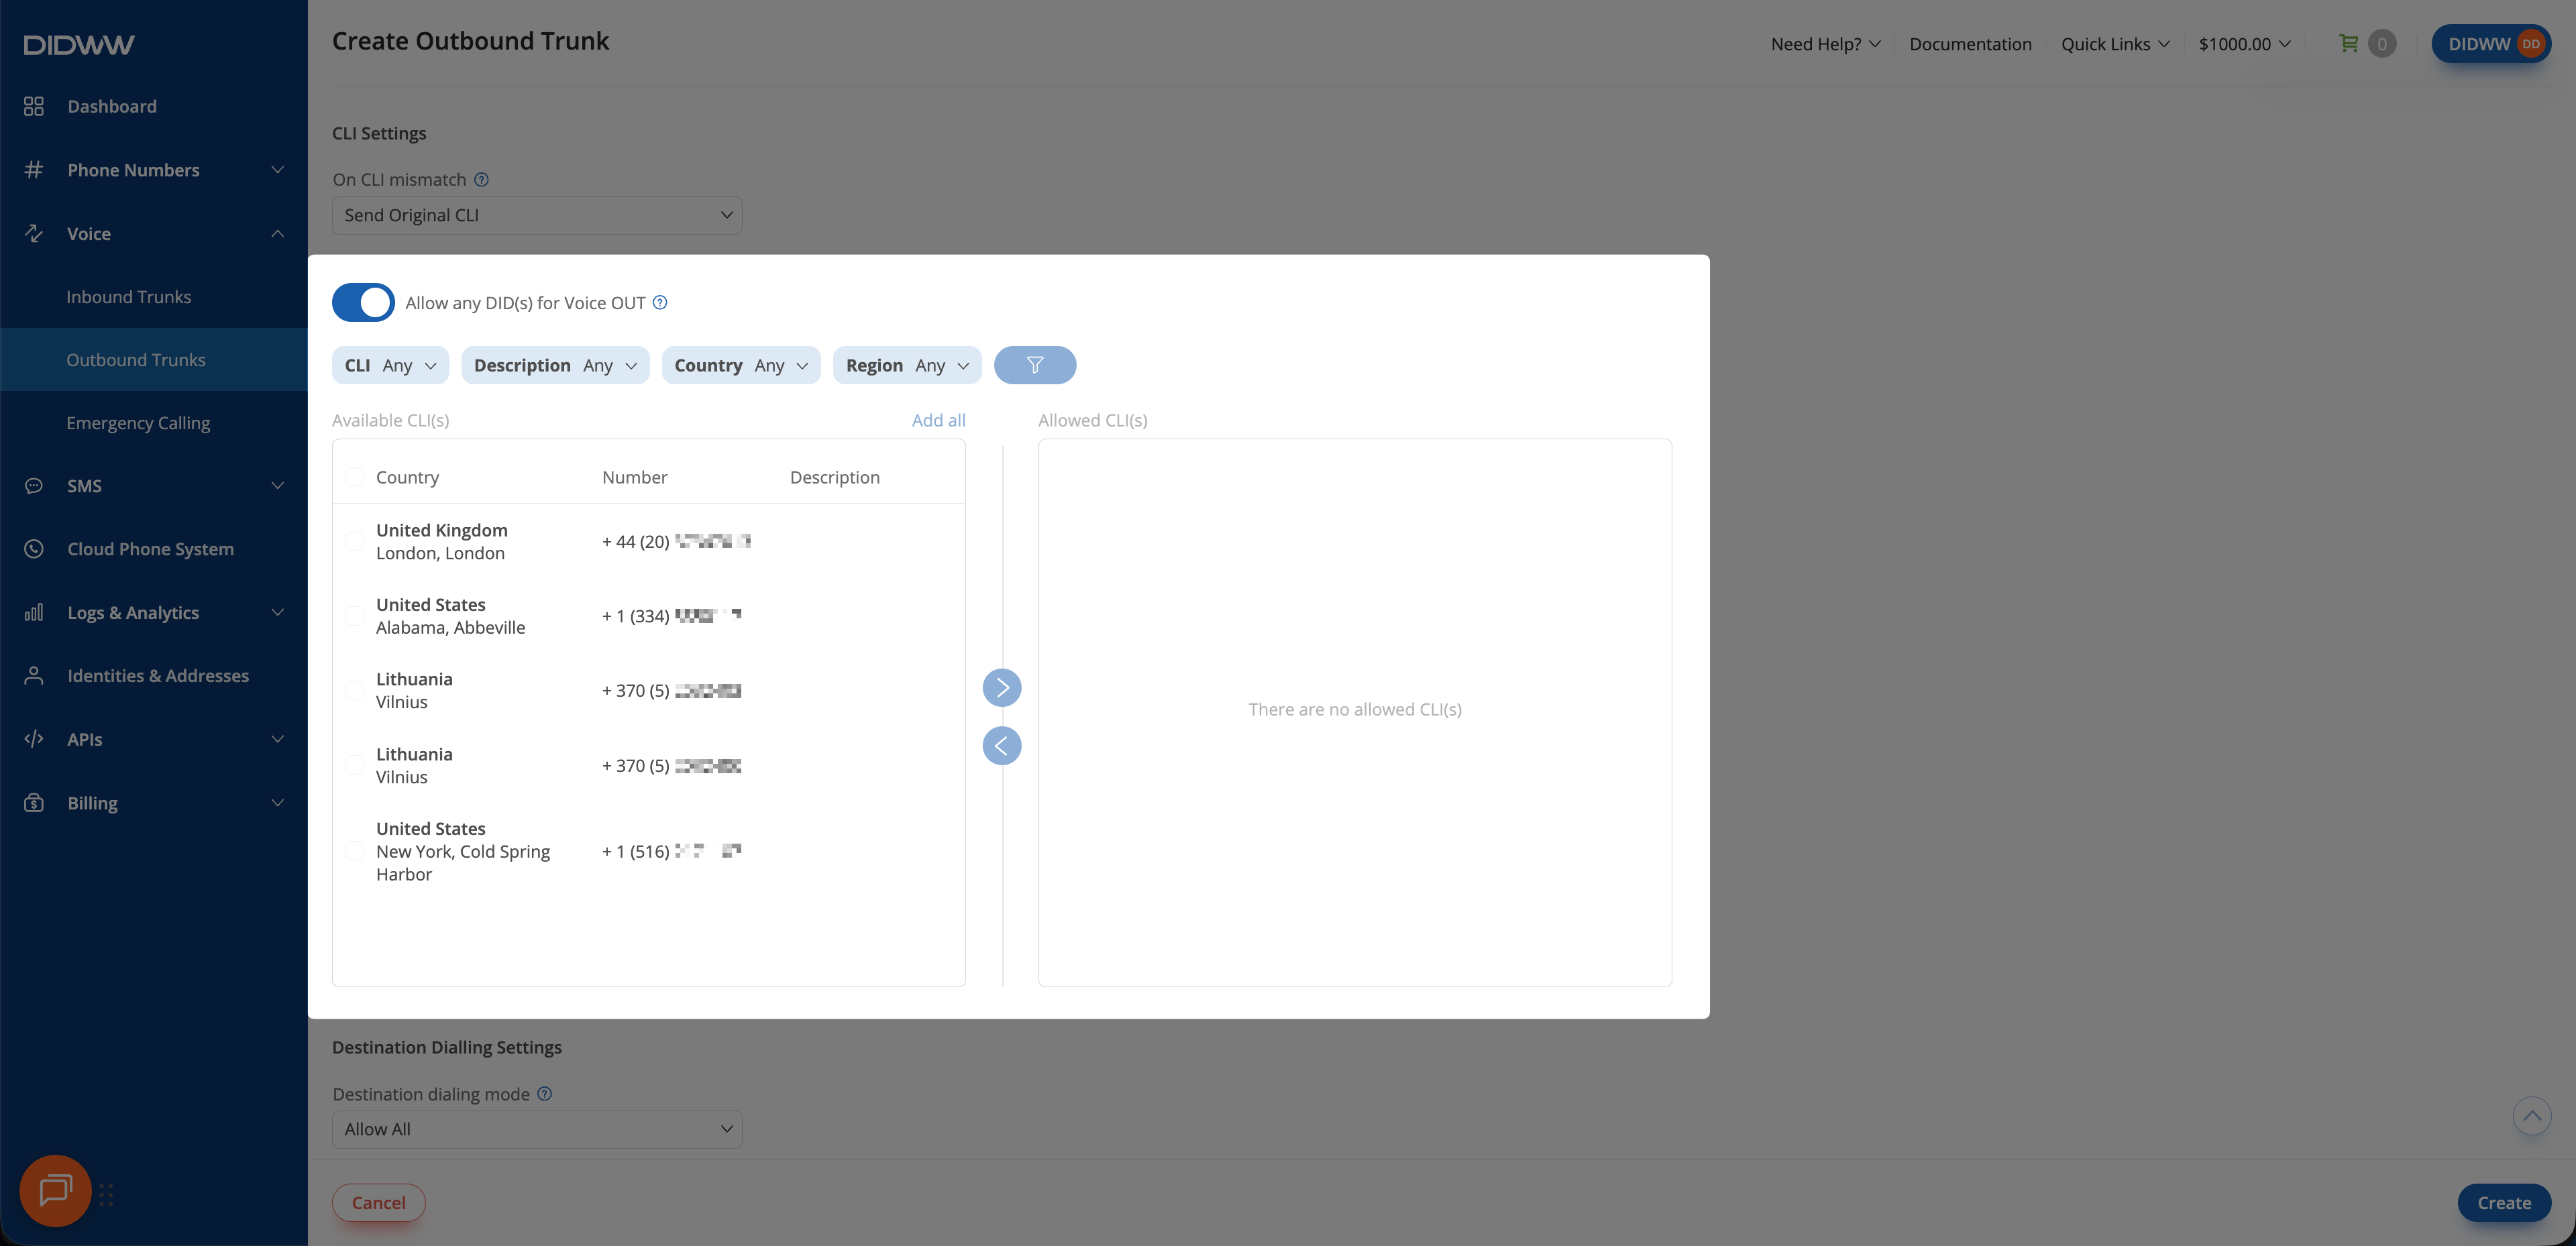
Fig. 5. Configure CLI settings#
Destination dialing settings#
Configure the destinations that the trunk can call.
Field definitions, available values, and constraints are listed in Destination dialing settings.
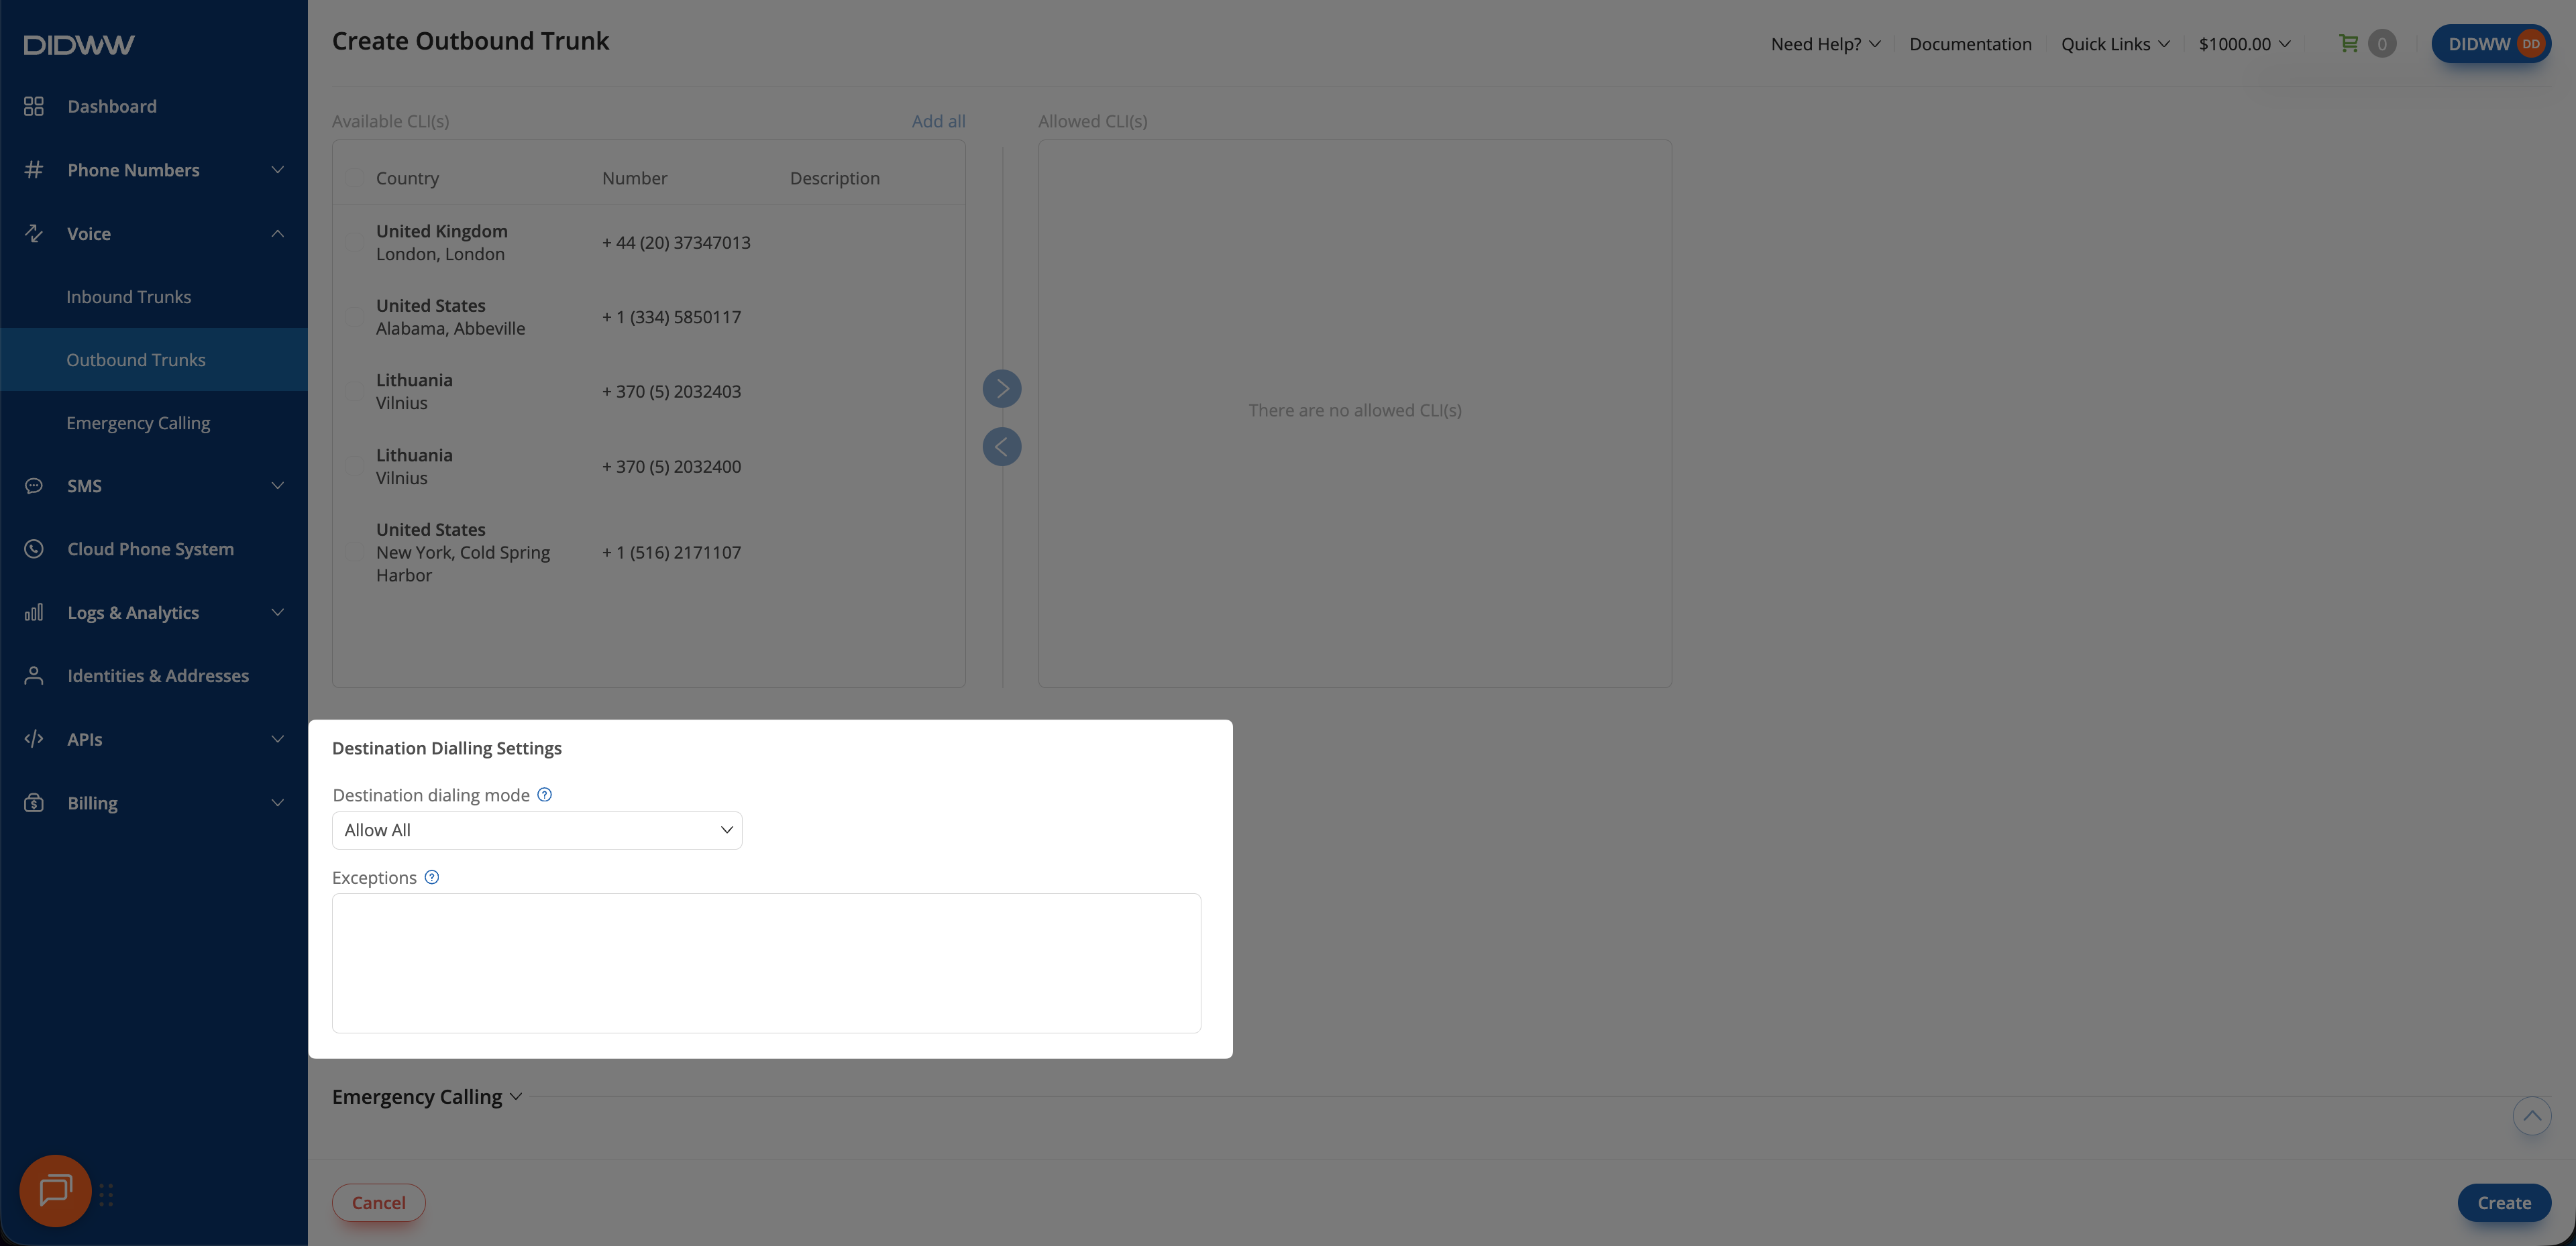
Fig. 6. Configure destination dialing settings#
Step 5: Configure emergency calling (optional)#
If the trunk will be used for emergency calls, expand Emergency Calling and configure the emergency calling settings.
Emergency calling requires an eligible DID with an activated emergency service. If the service is not active yet, Create Emergency Calling Service. The complete trunk-side setup is covered in Configure Outbound Trunks for Emergency Calling. Field definitions, available values, and constraints are listed in Emergency calling settings.
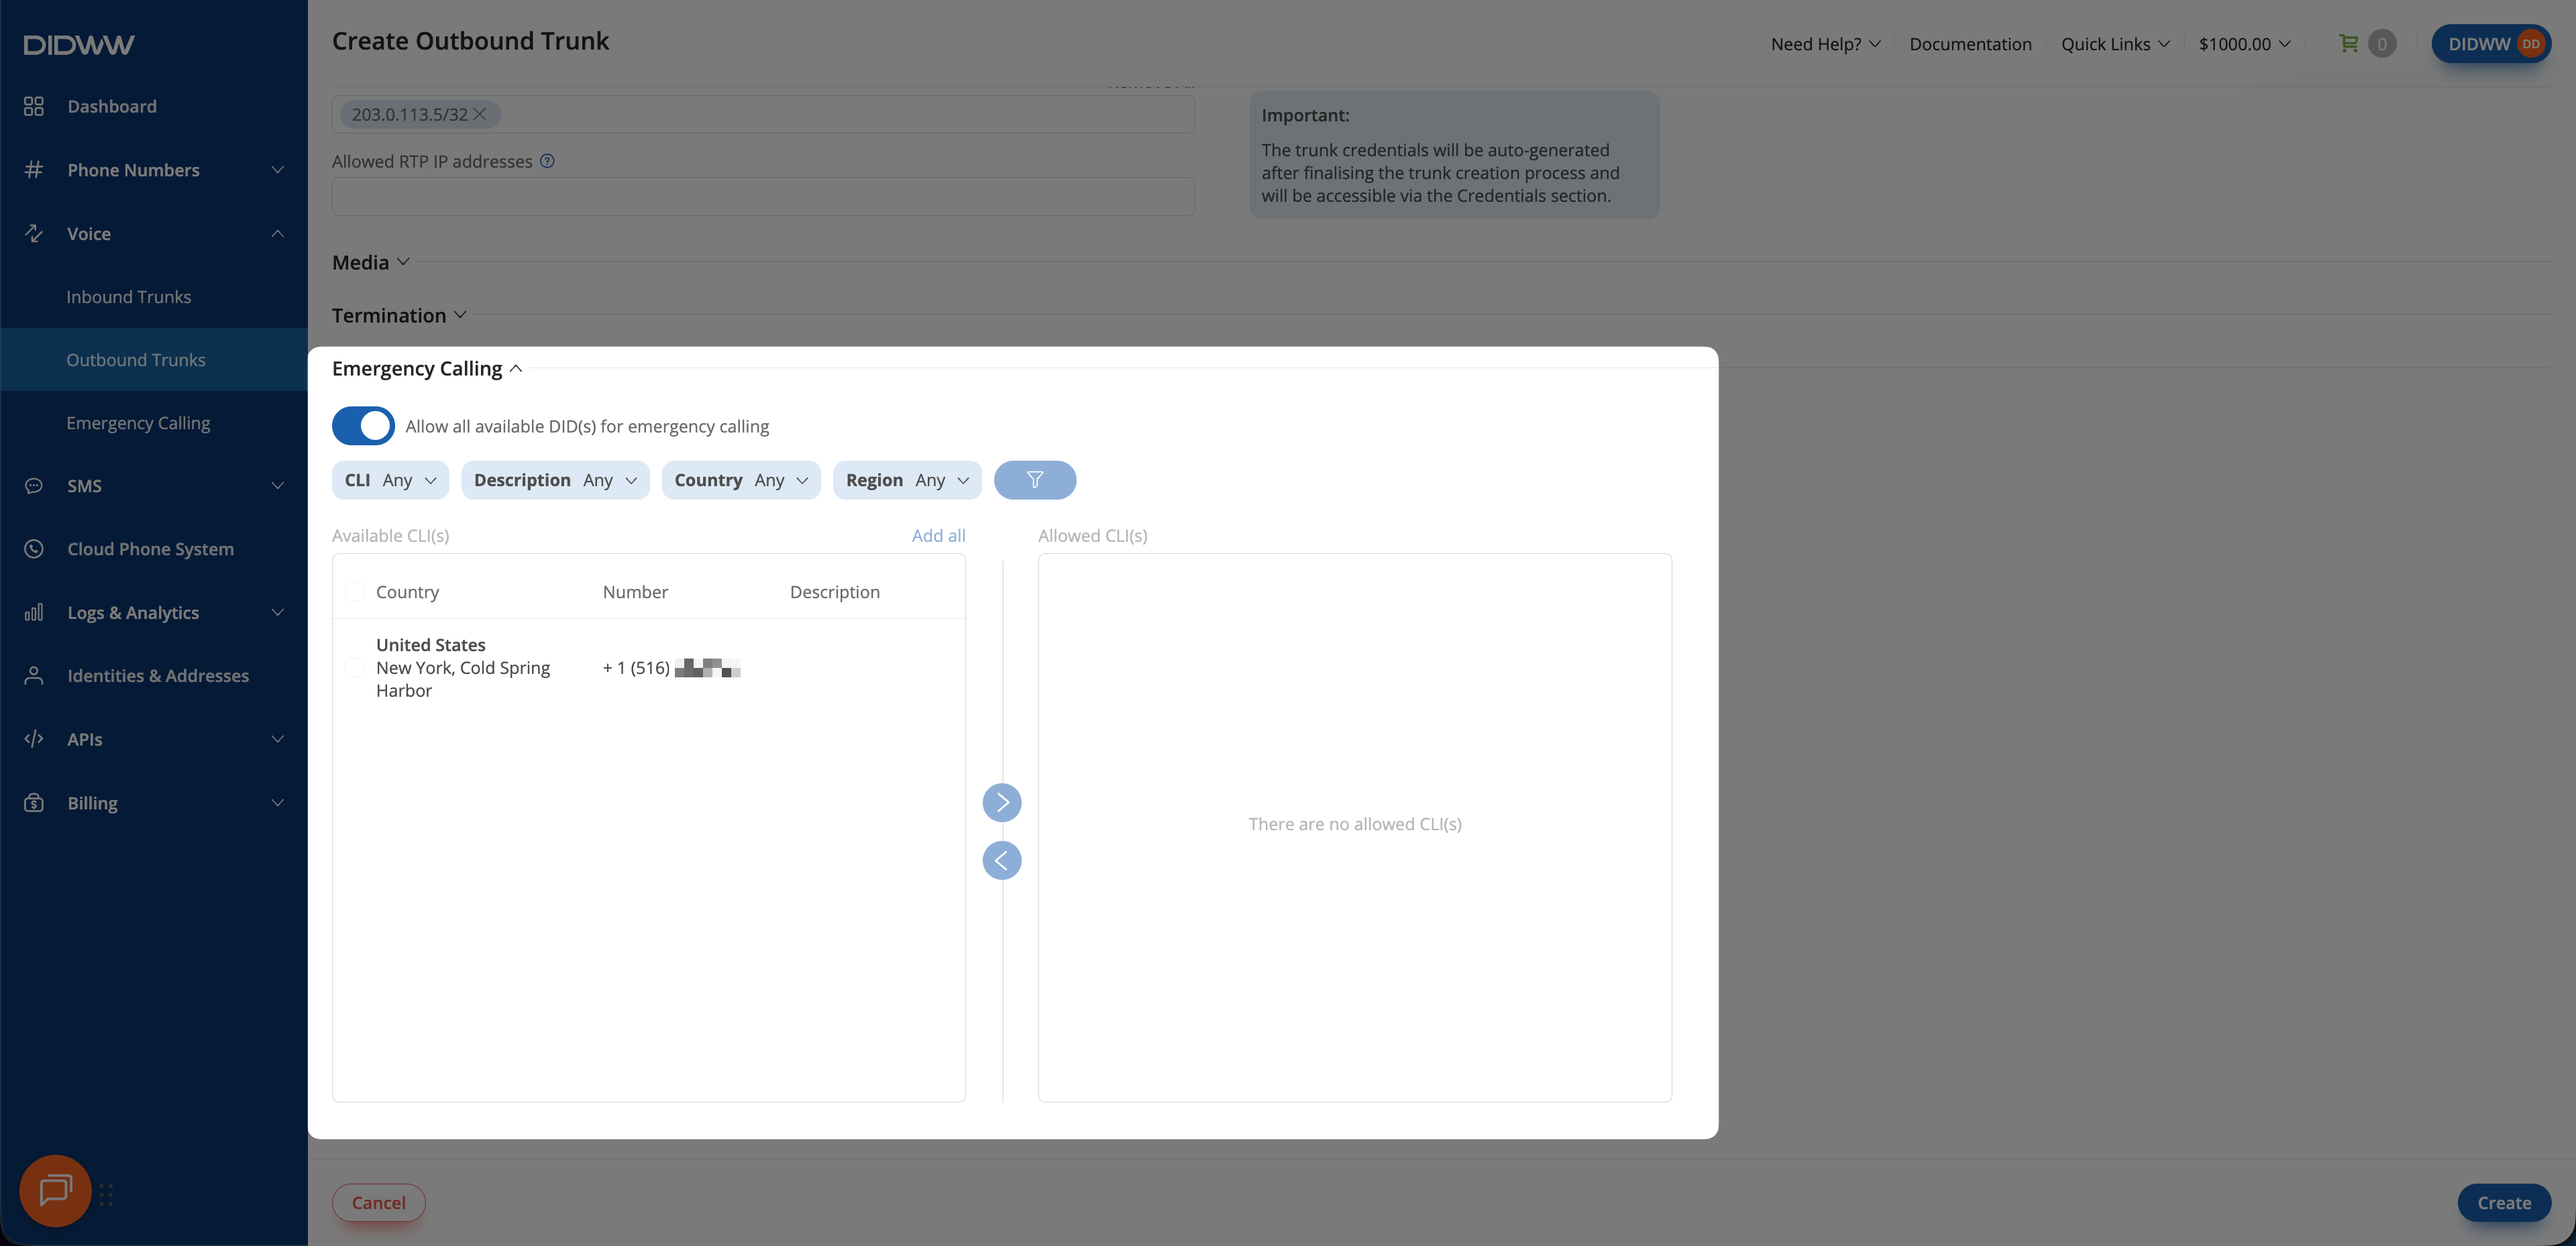
Fig. 7. Configure emergency calling#
Step 6: Create the trunk#
Review the final trunk configuration.
Click Create.
The new trunk appears on the Outbound Trunks page.
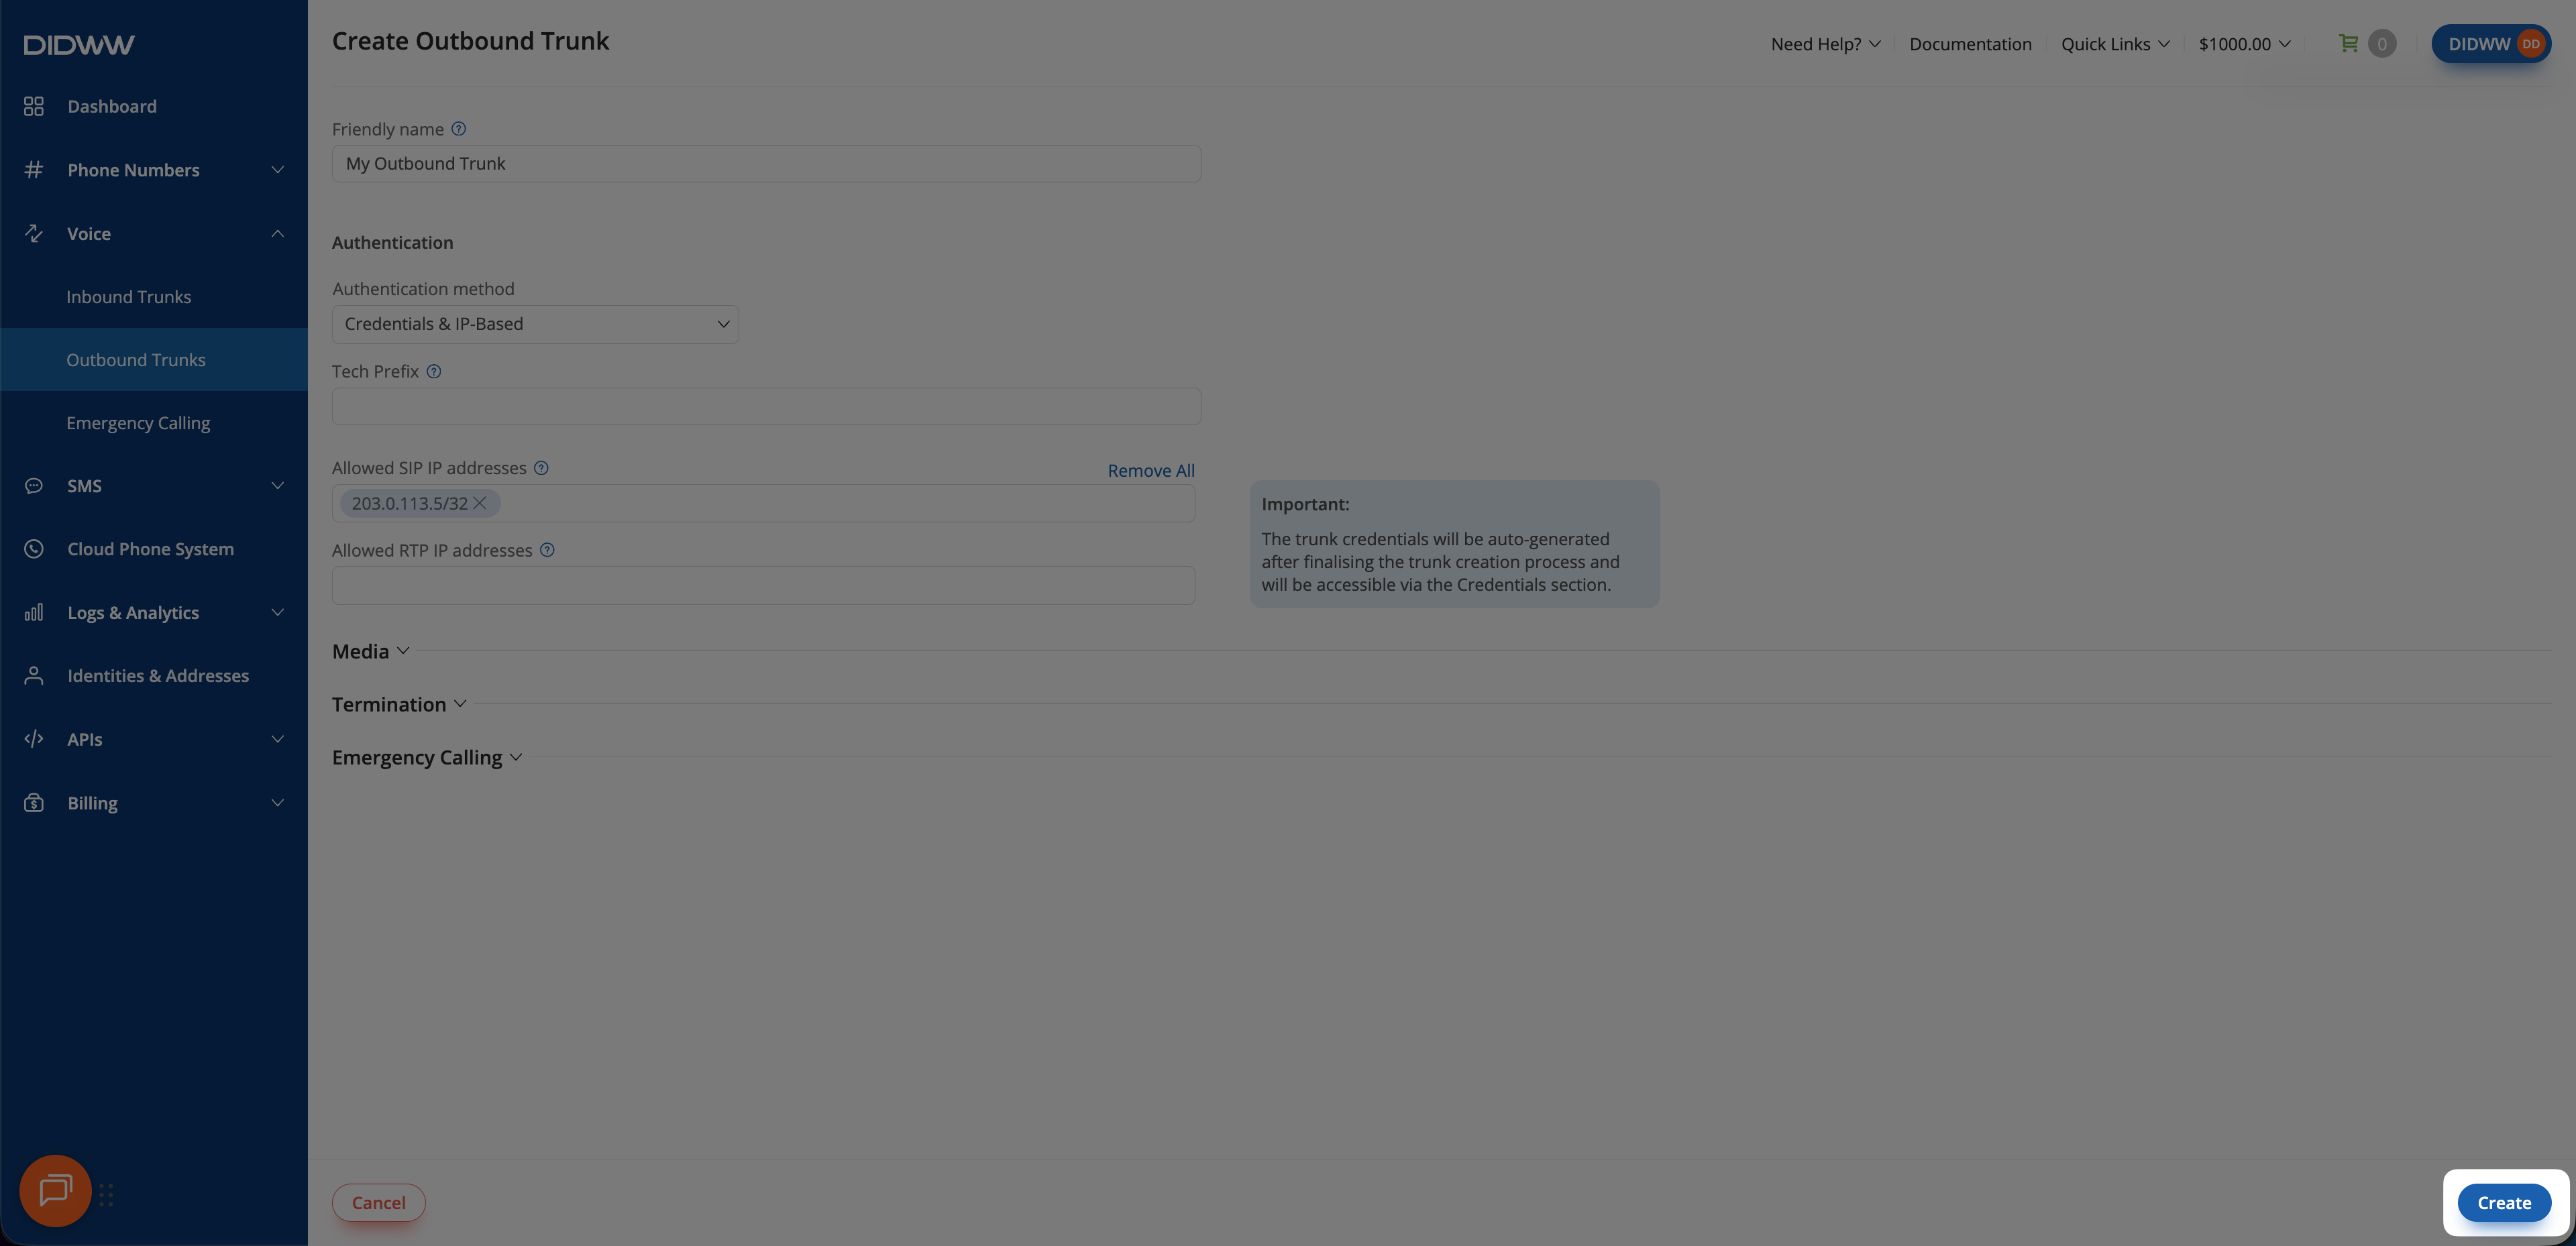
Fig. 8. Create the outbound trunk#
Next steps#
If the trunk has Disabled status, Enable or disable an outbound trunk before sending calls. Status behavior is listed in Status values.
For a trunk that uses Credentials & IP-Based authentication, DIDWW generates SIP credentials after the trunk is created. To view them, View outbound trunk credentials, then configure the credentials in your voice equipment.