Manage identity and address#
Edit or delete the identities and addresses in your account. After an identity or address is assigned to DID numbers, some of its details are locked. For the rules, see How DID number verification works.
Edit an identity#
In the DIDWW User Panel, go to Identities & Addresses > Identities.
Click Actions next to the identity and select Edit.
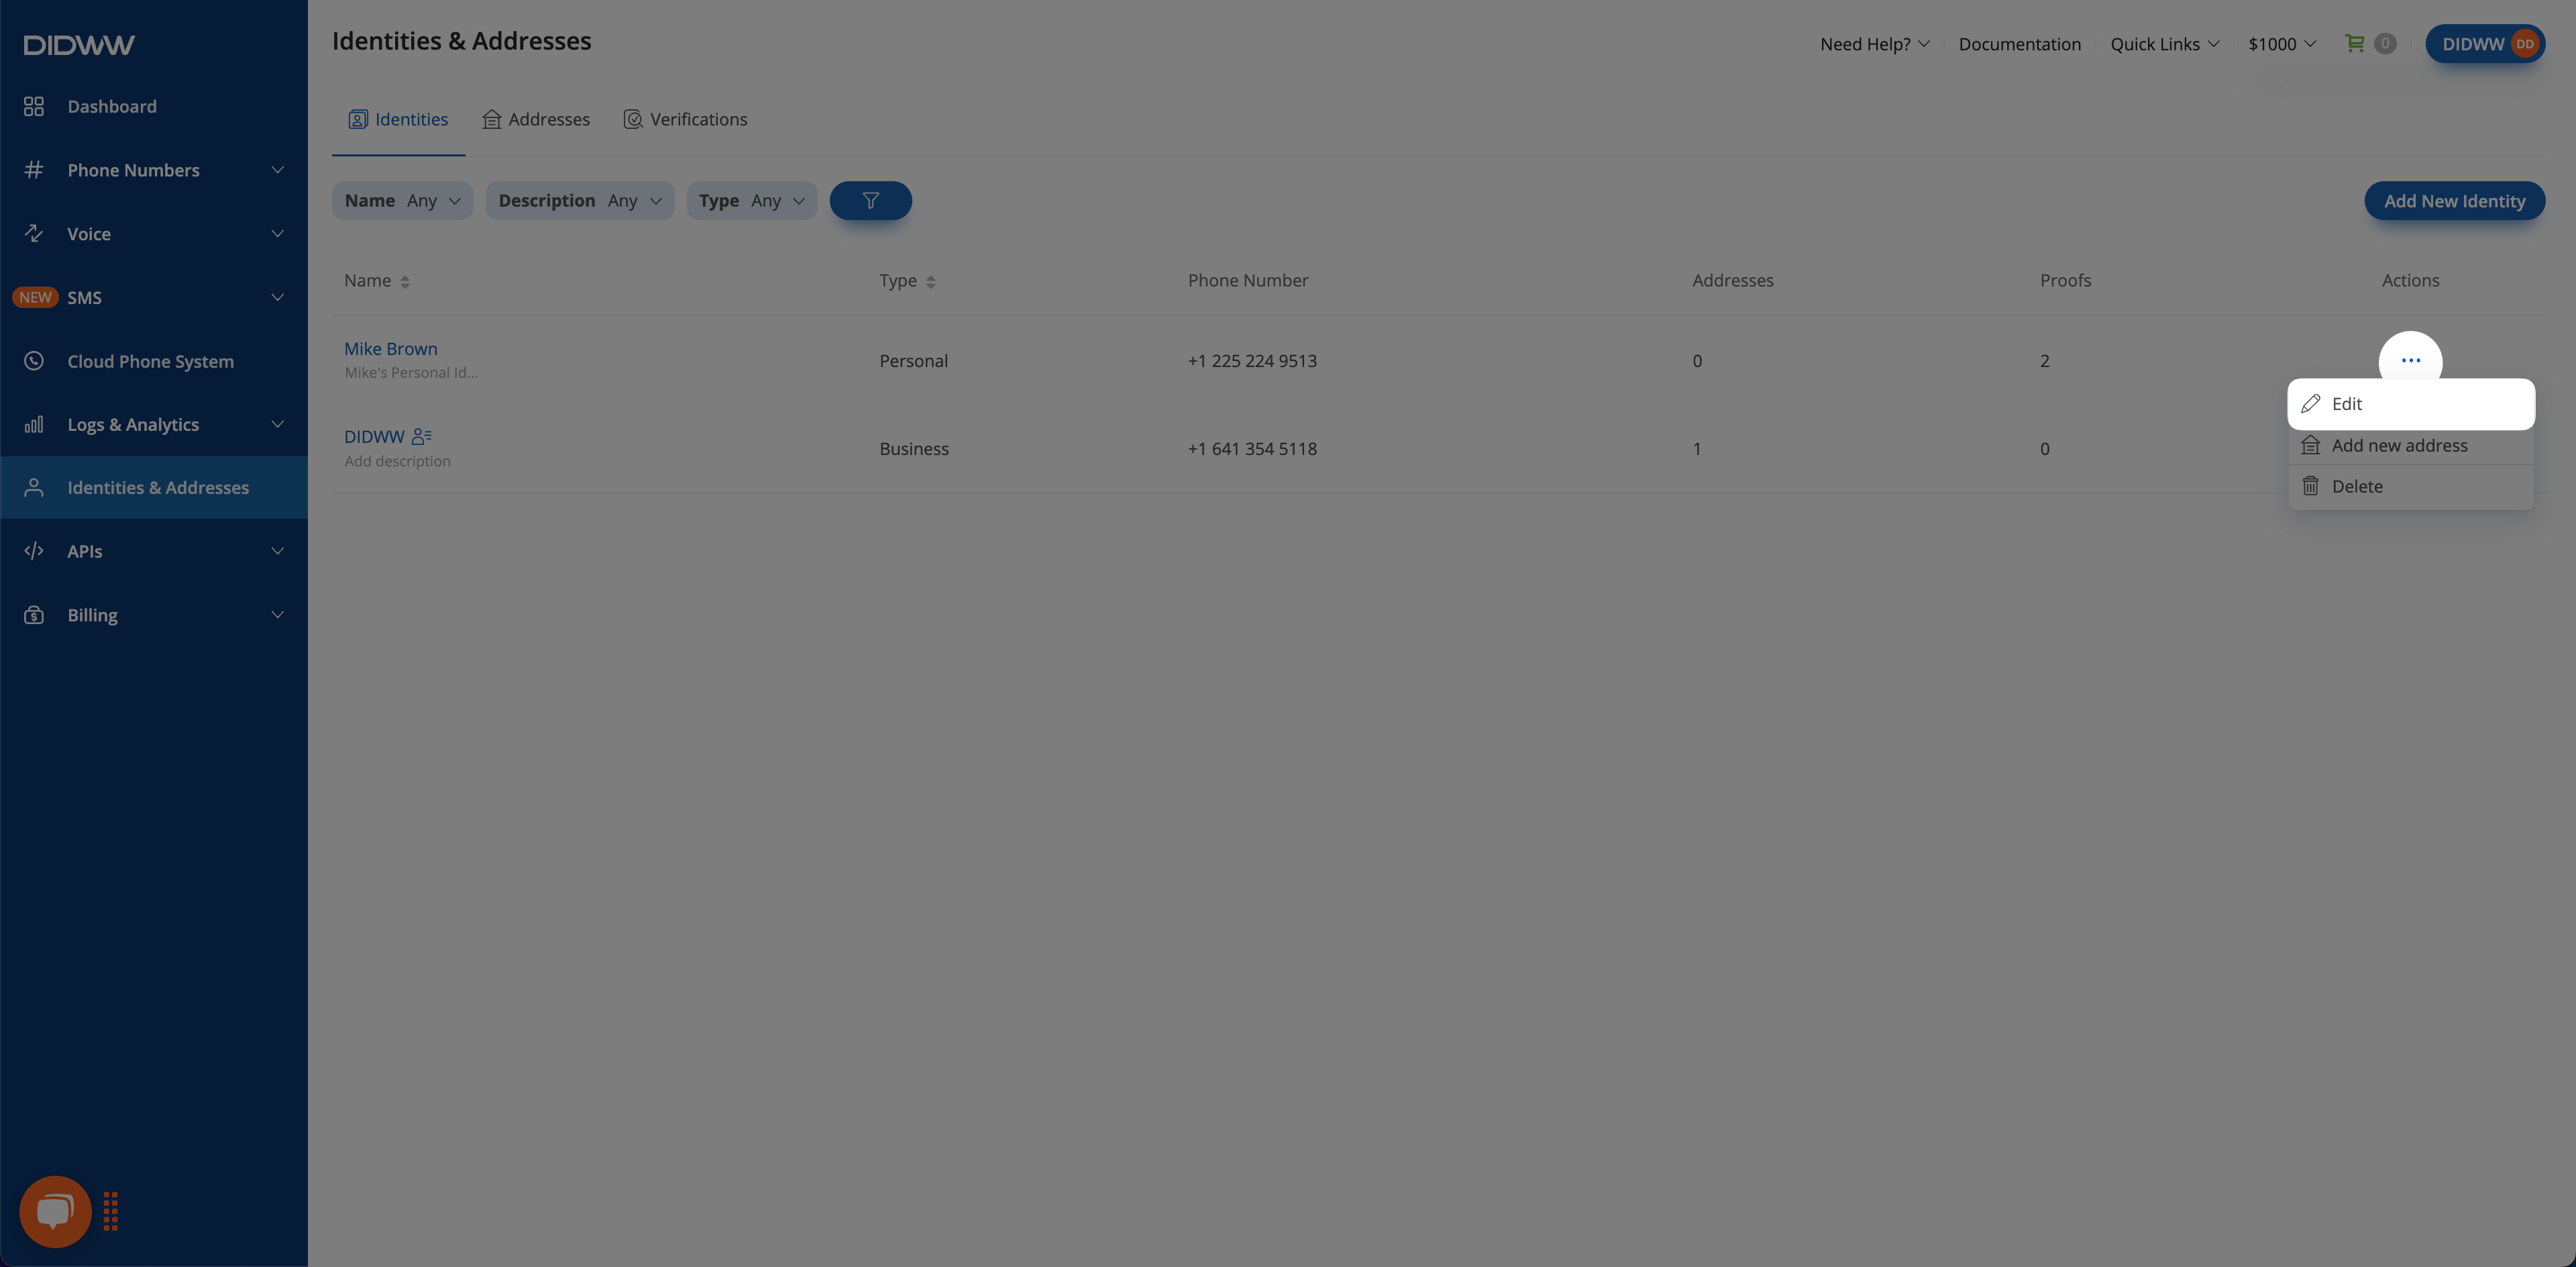
Fig. 1. Edit option in the Actions menu.#
On the Edit Identity page, change the details. To replace a document, click Delete next to the proof or supporting document, and click Add New to upload a new one. For the fields, see the Identities reference.
Click Submit.
Note
The identity Type cannot be changed.
If the identity is assigned to DID numbers, some details are locked and shown as disabled, for example First name and Last name. Description can always be changed.
Editing an identity does not resubmit a rejected verification request. See Resubmit rejected end-user details.
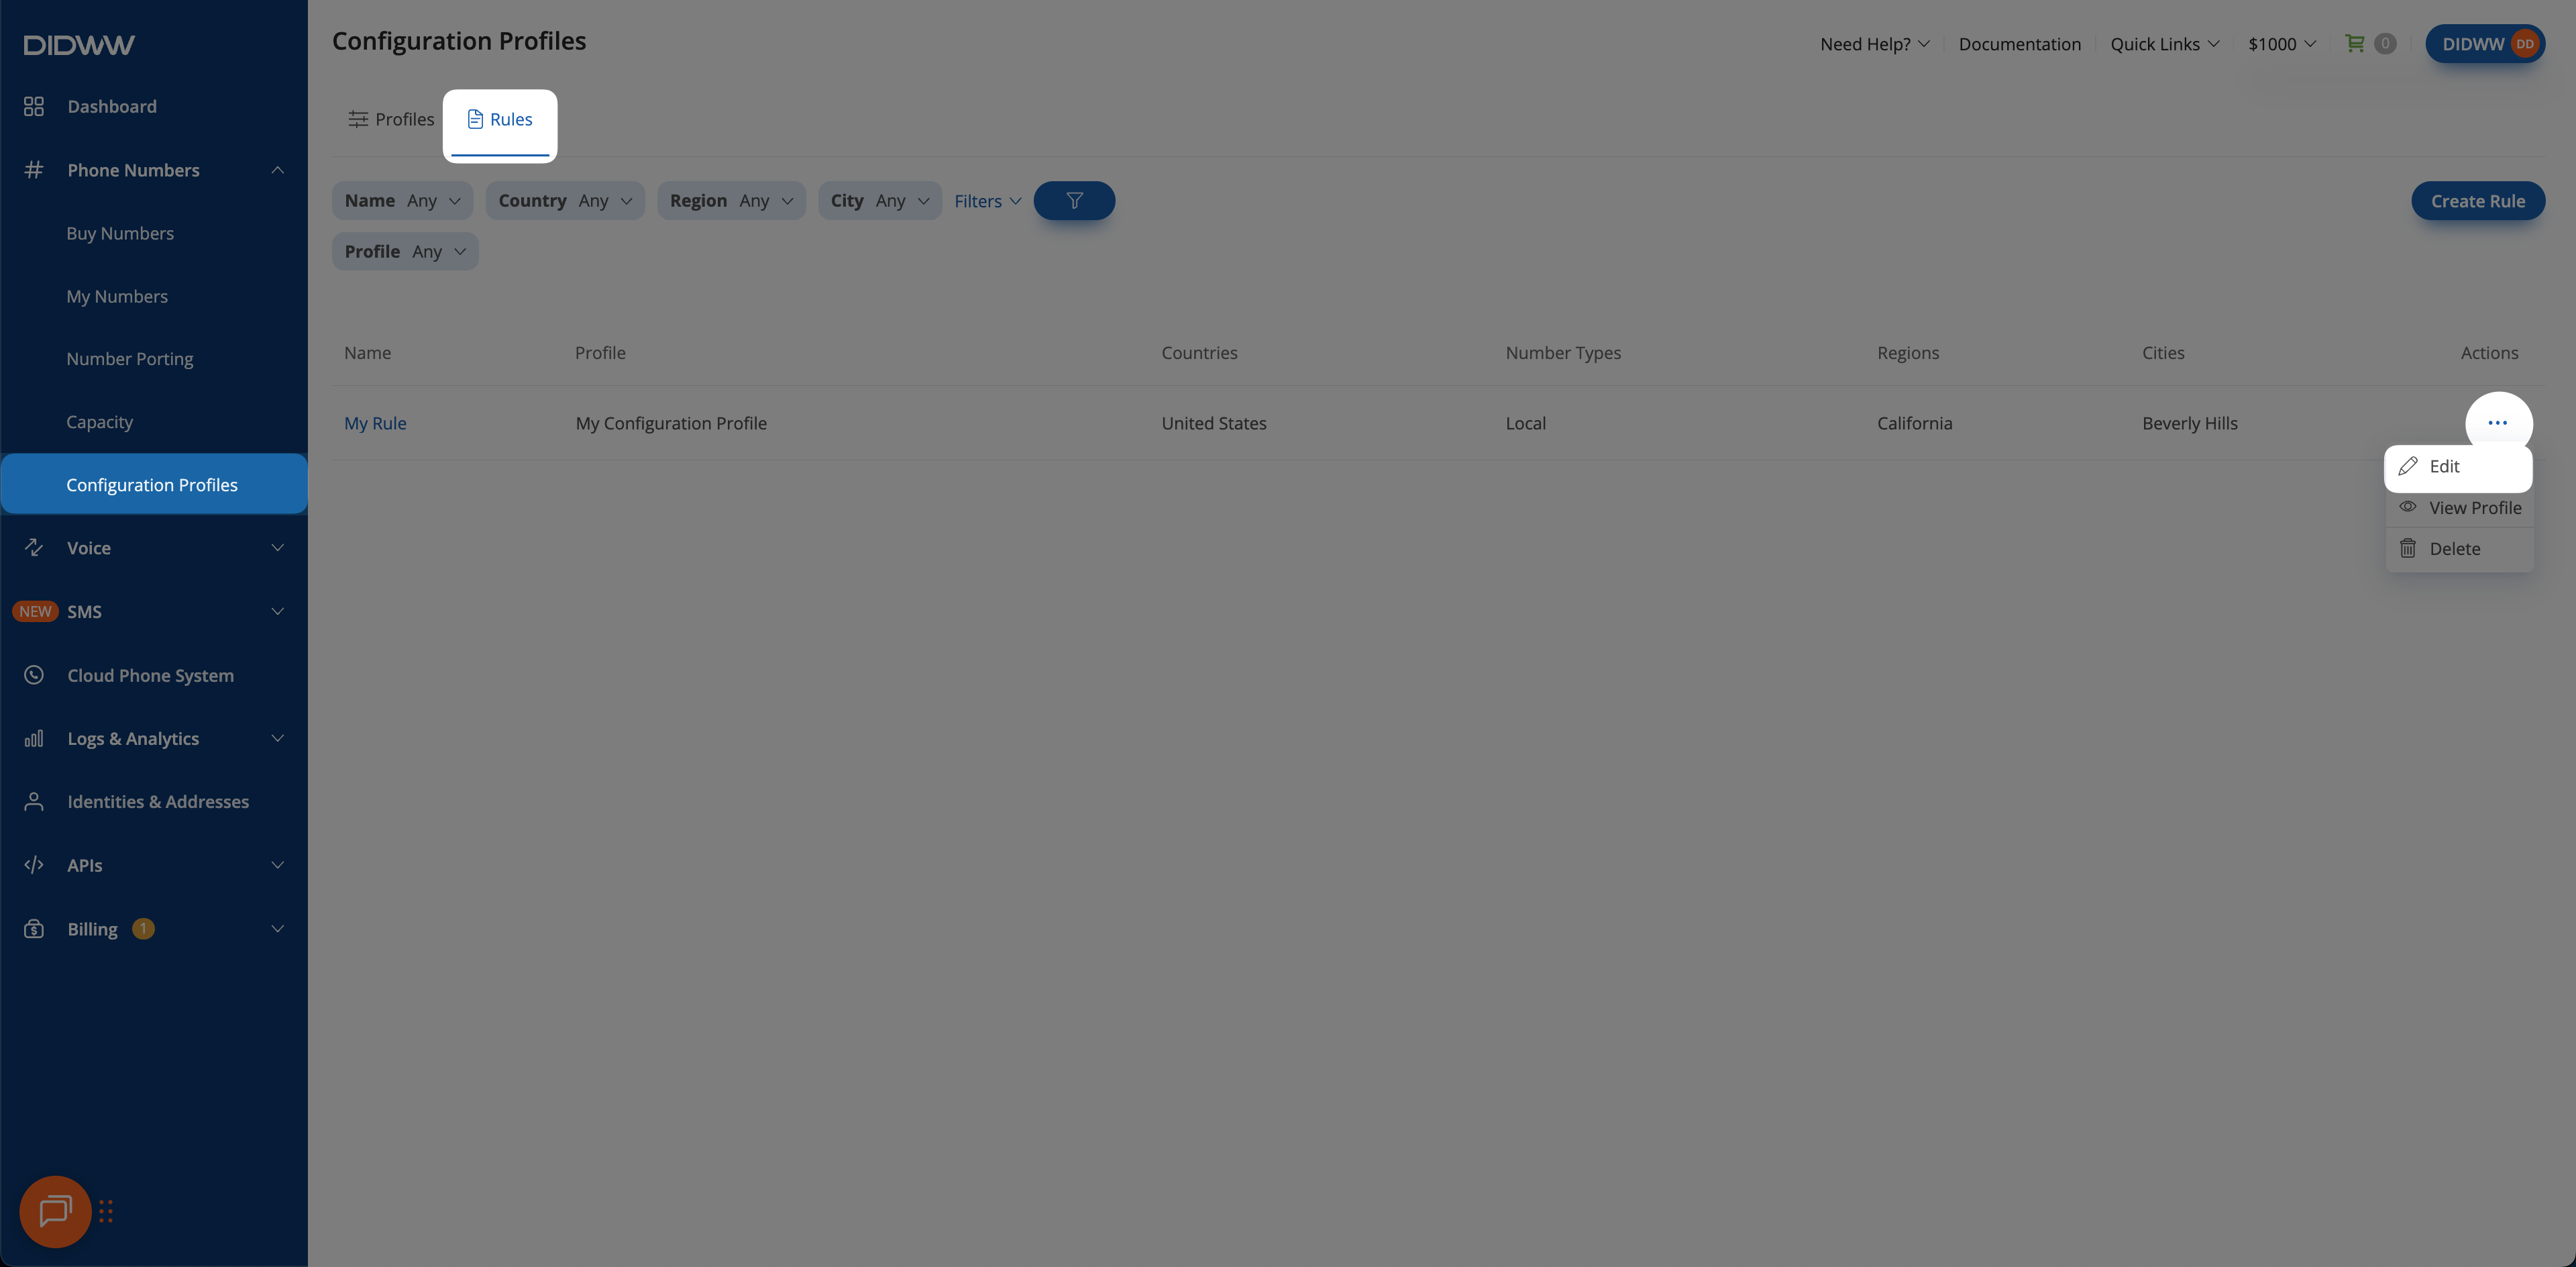
Fig. 2. Edit Identity page.#
Delete an identity#
Important
You cannot delete an identity in these cases:
It is assigned to DID numbers, through registration or a porting request.
It is linked to a Sender ID Verification or an Emergency Calling Service in New, In Process or Changes Required status.
It is your main account identity.
Deleting an identity cannot be undone.
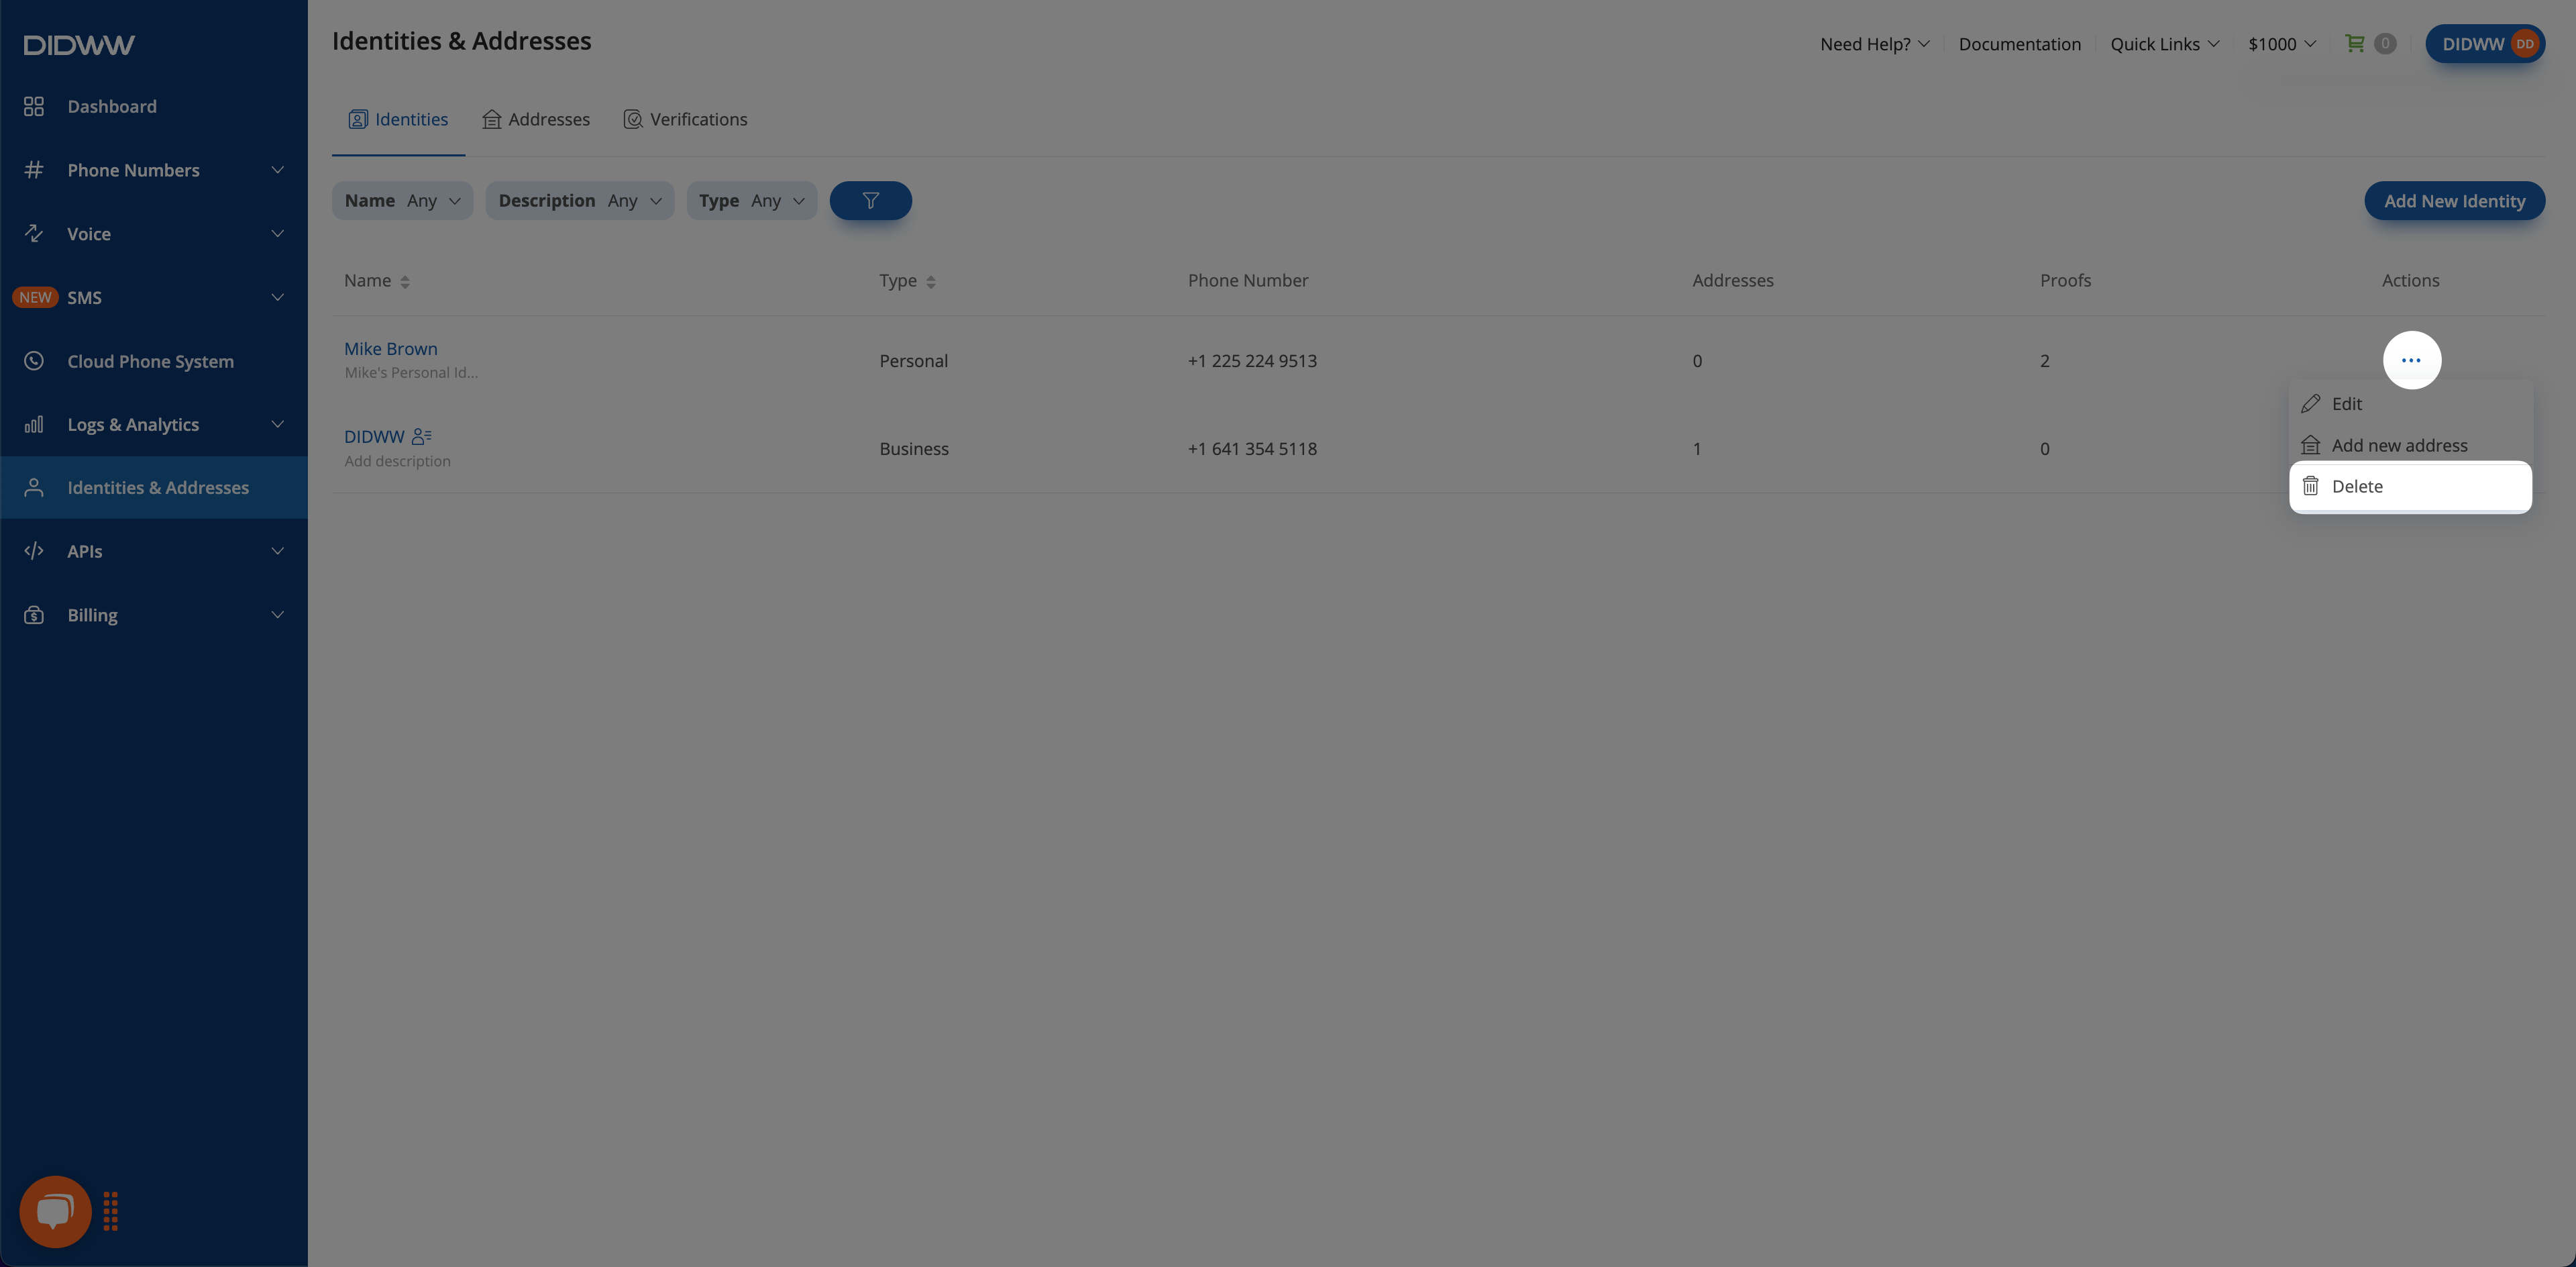
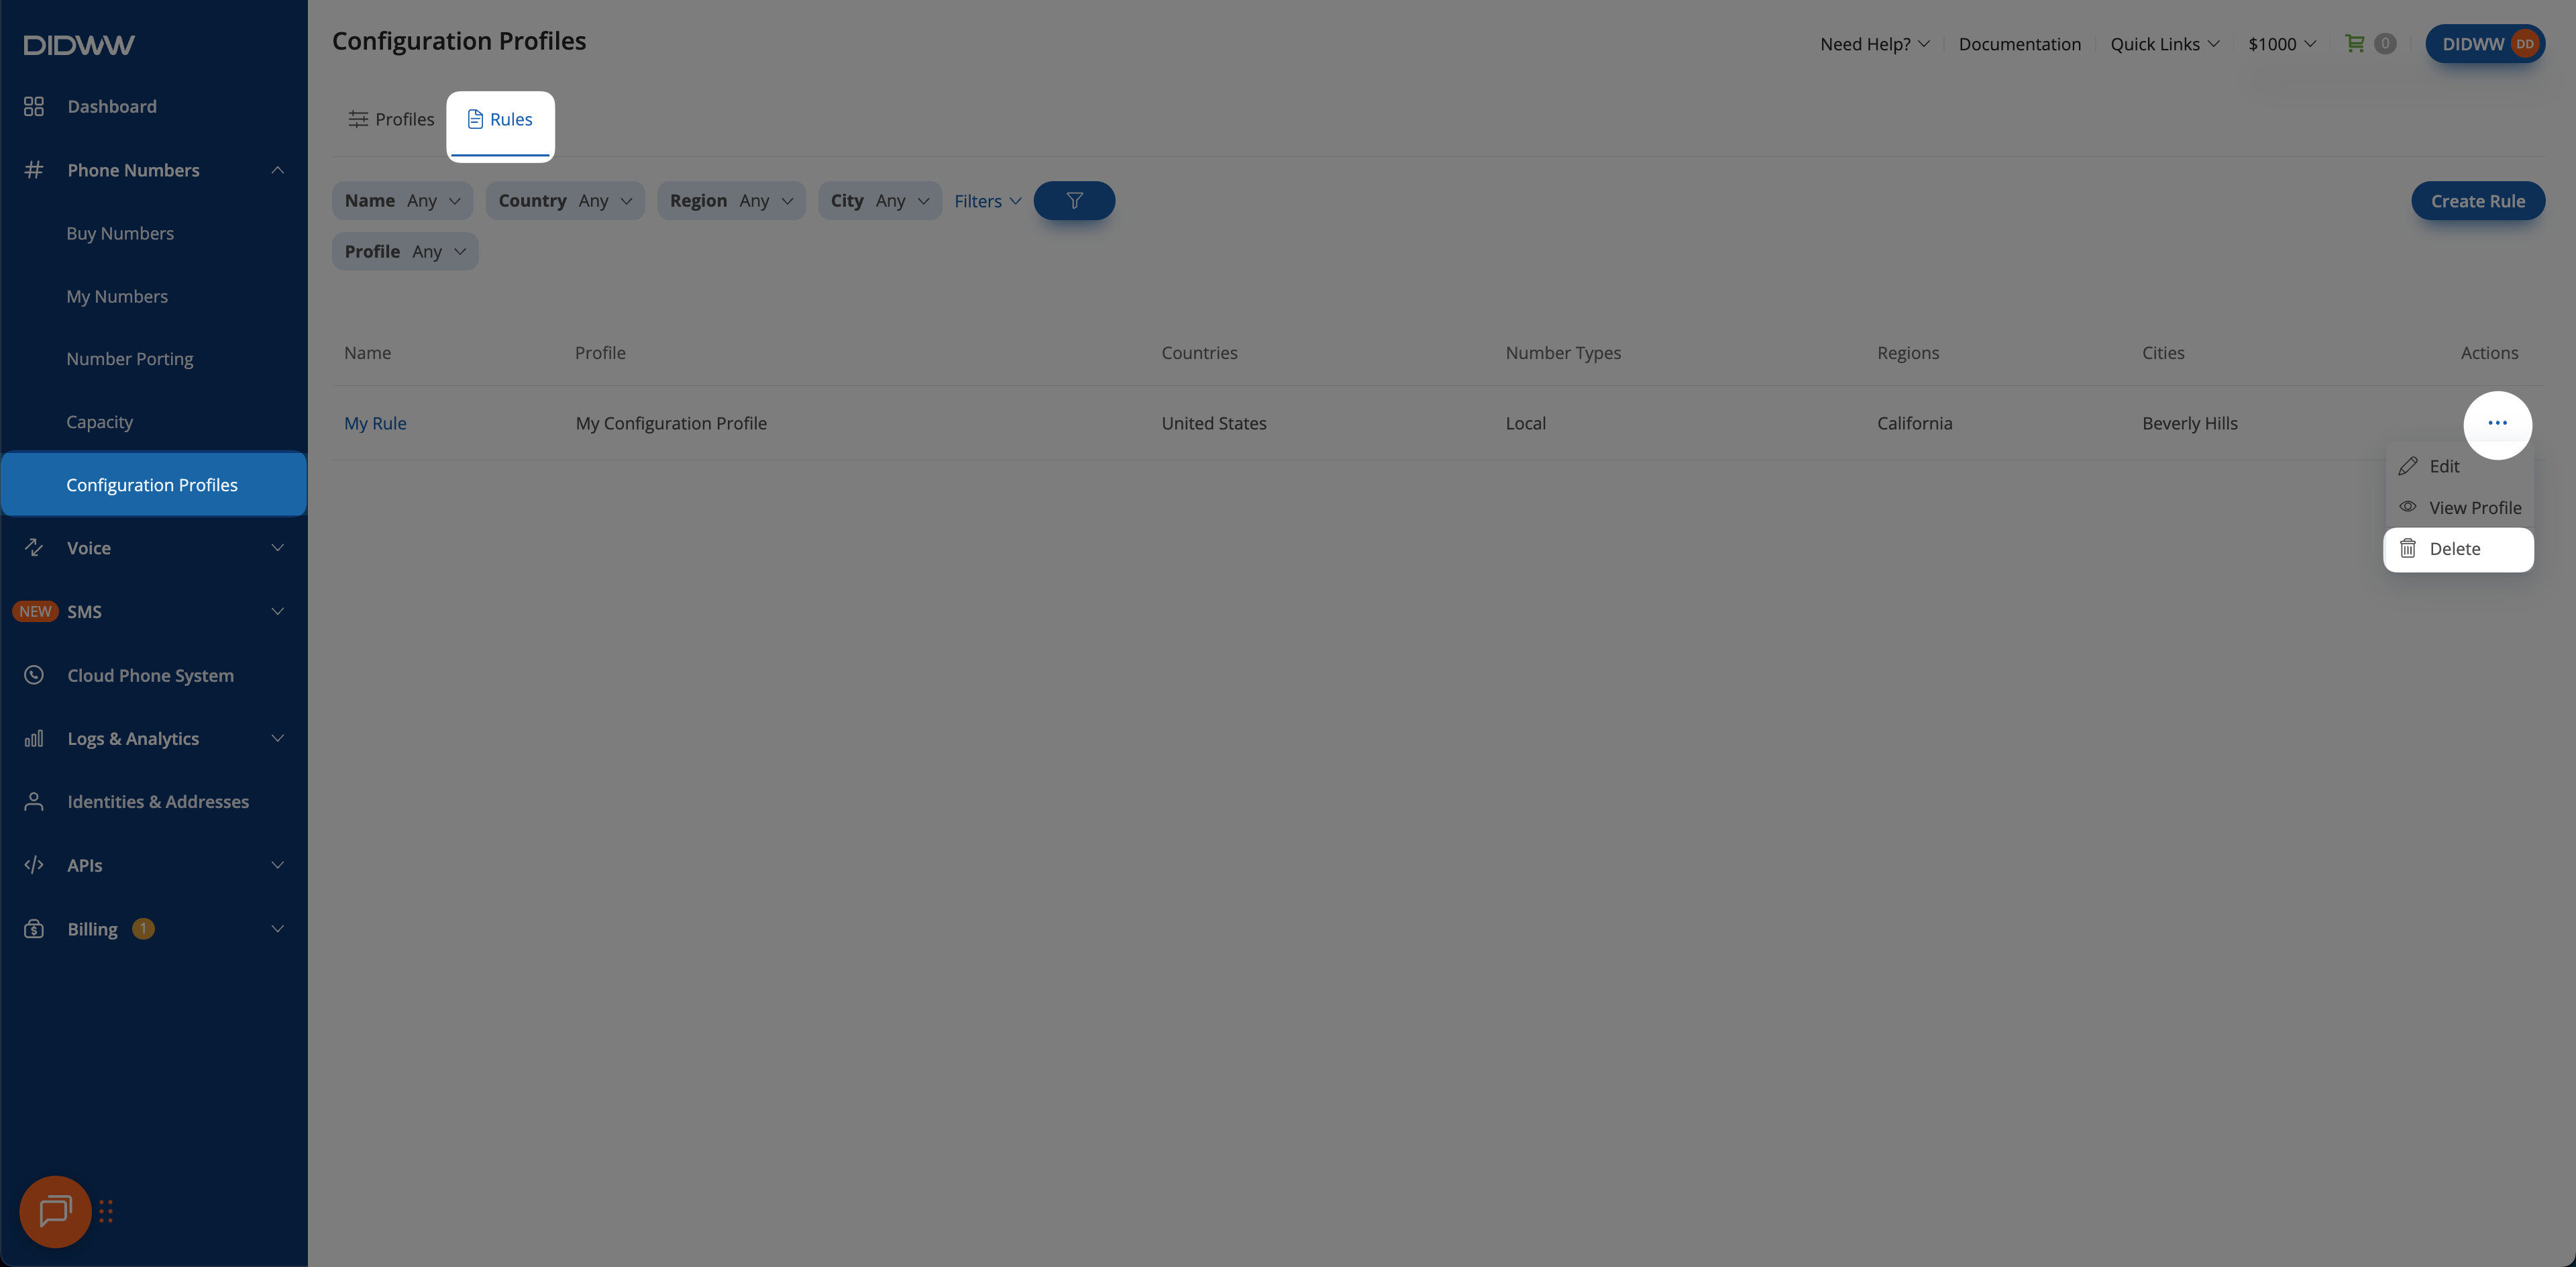
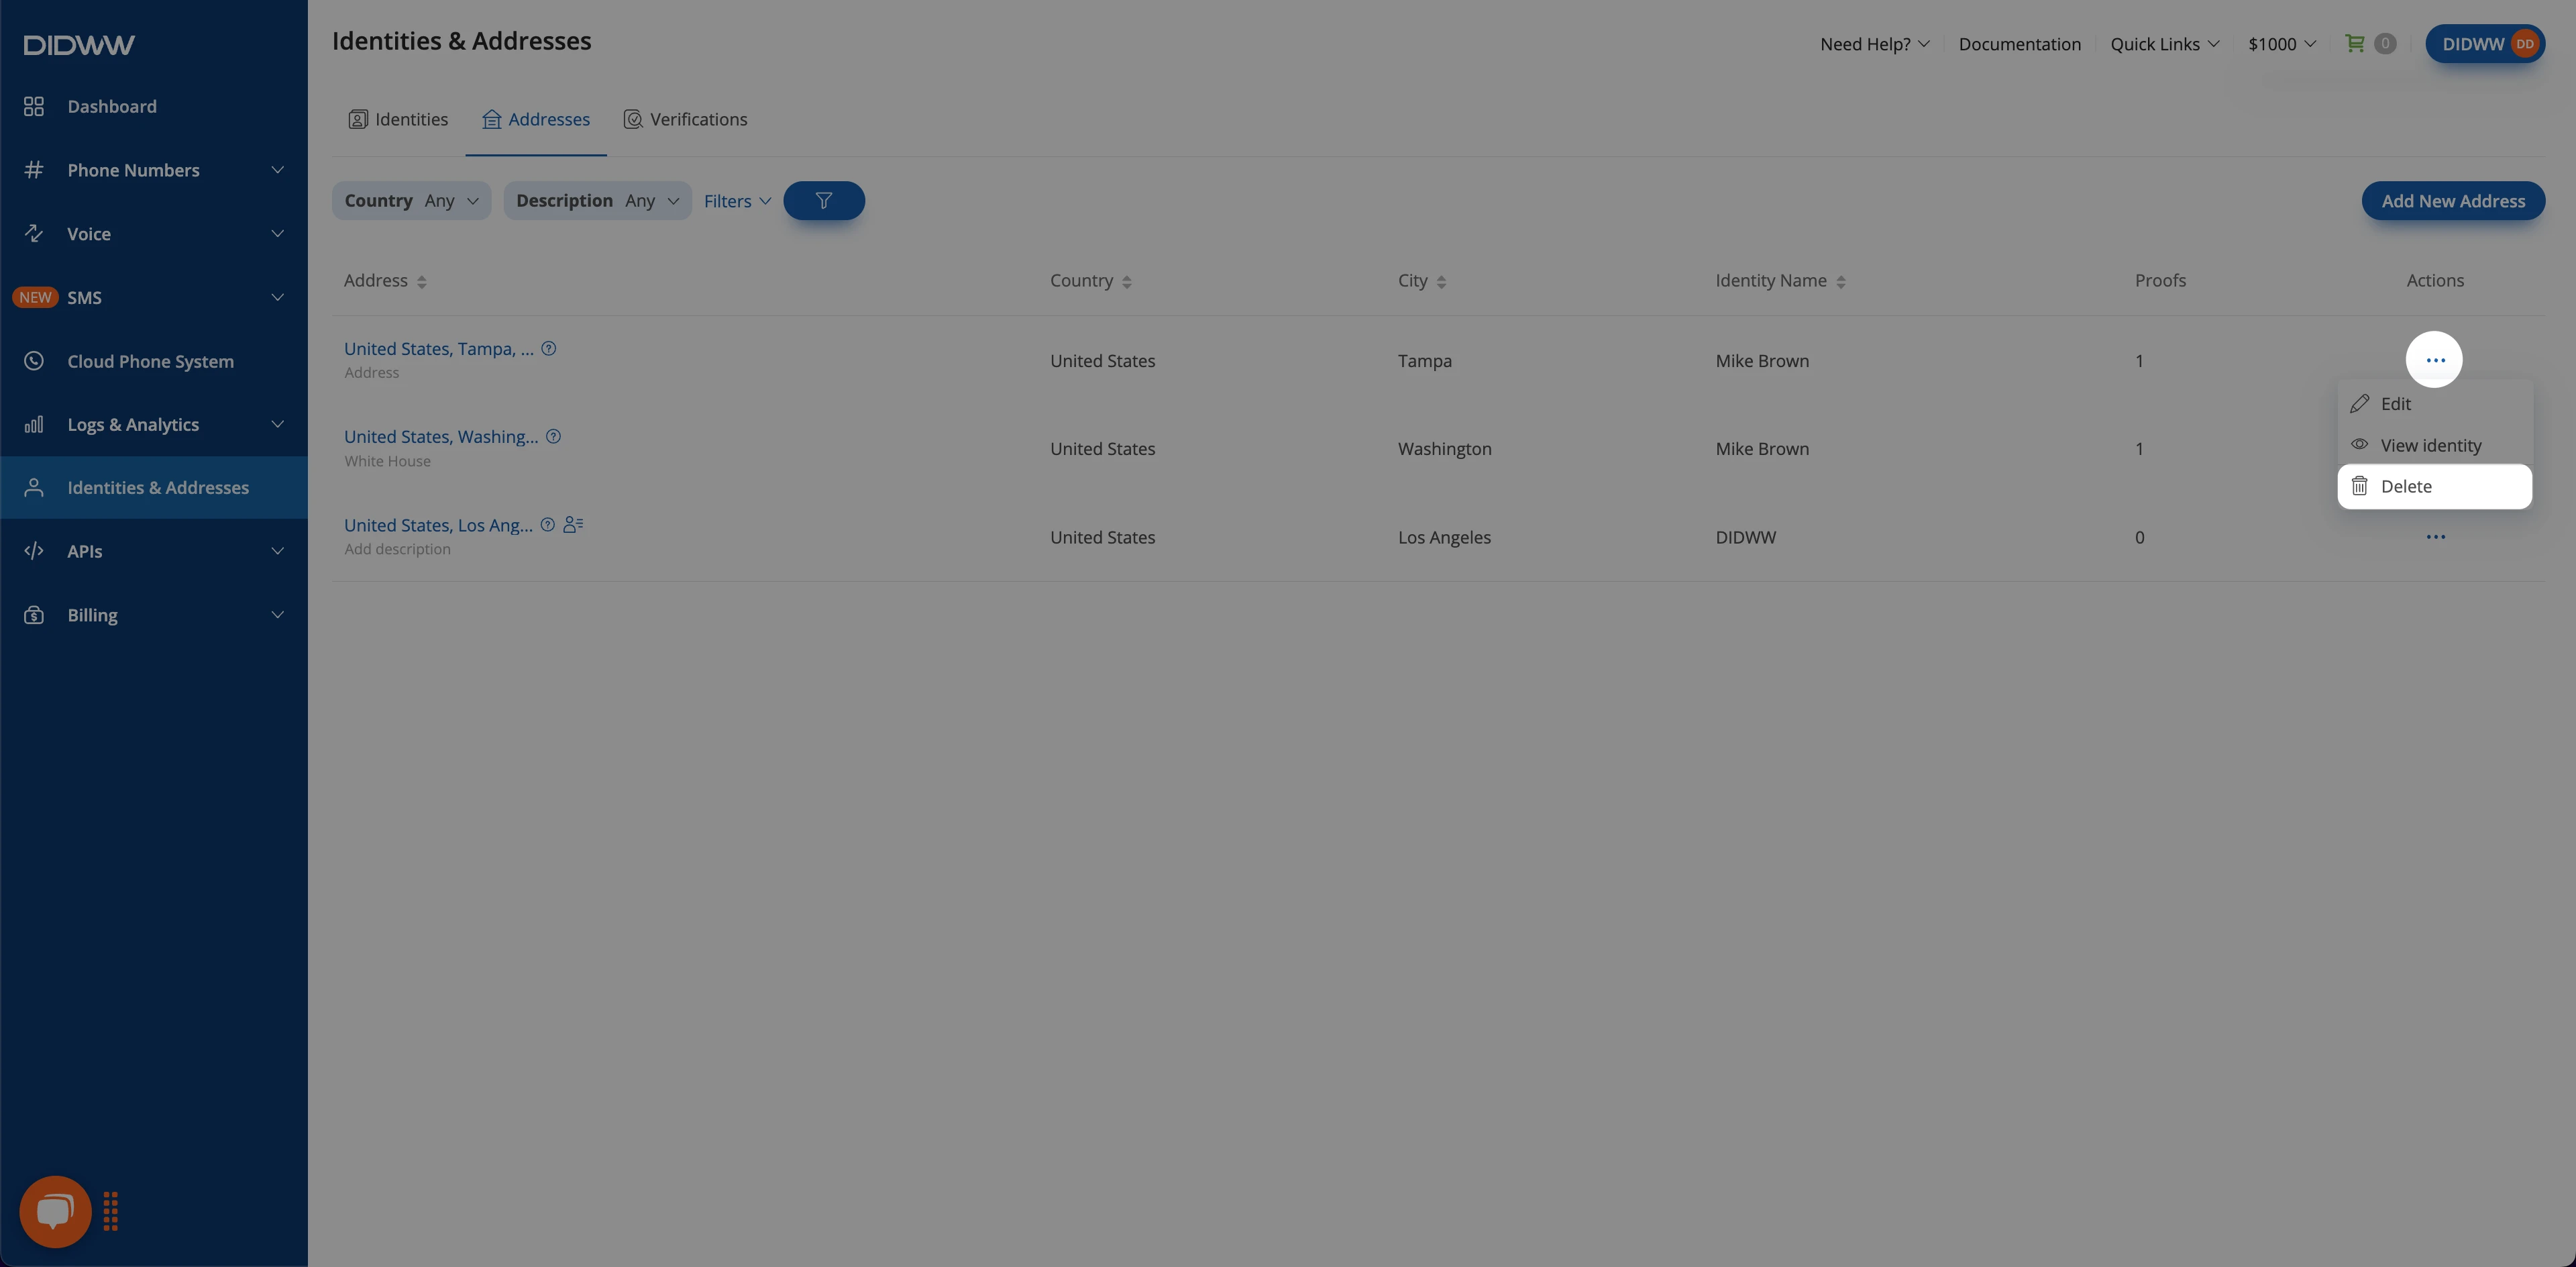
Edit an address#
In the DIDWW User Panel, go to Identities & Addresses > Addresses.
Click Actions next to the address and select Edit.
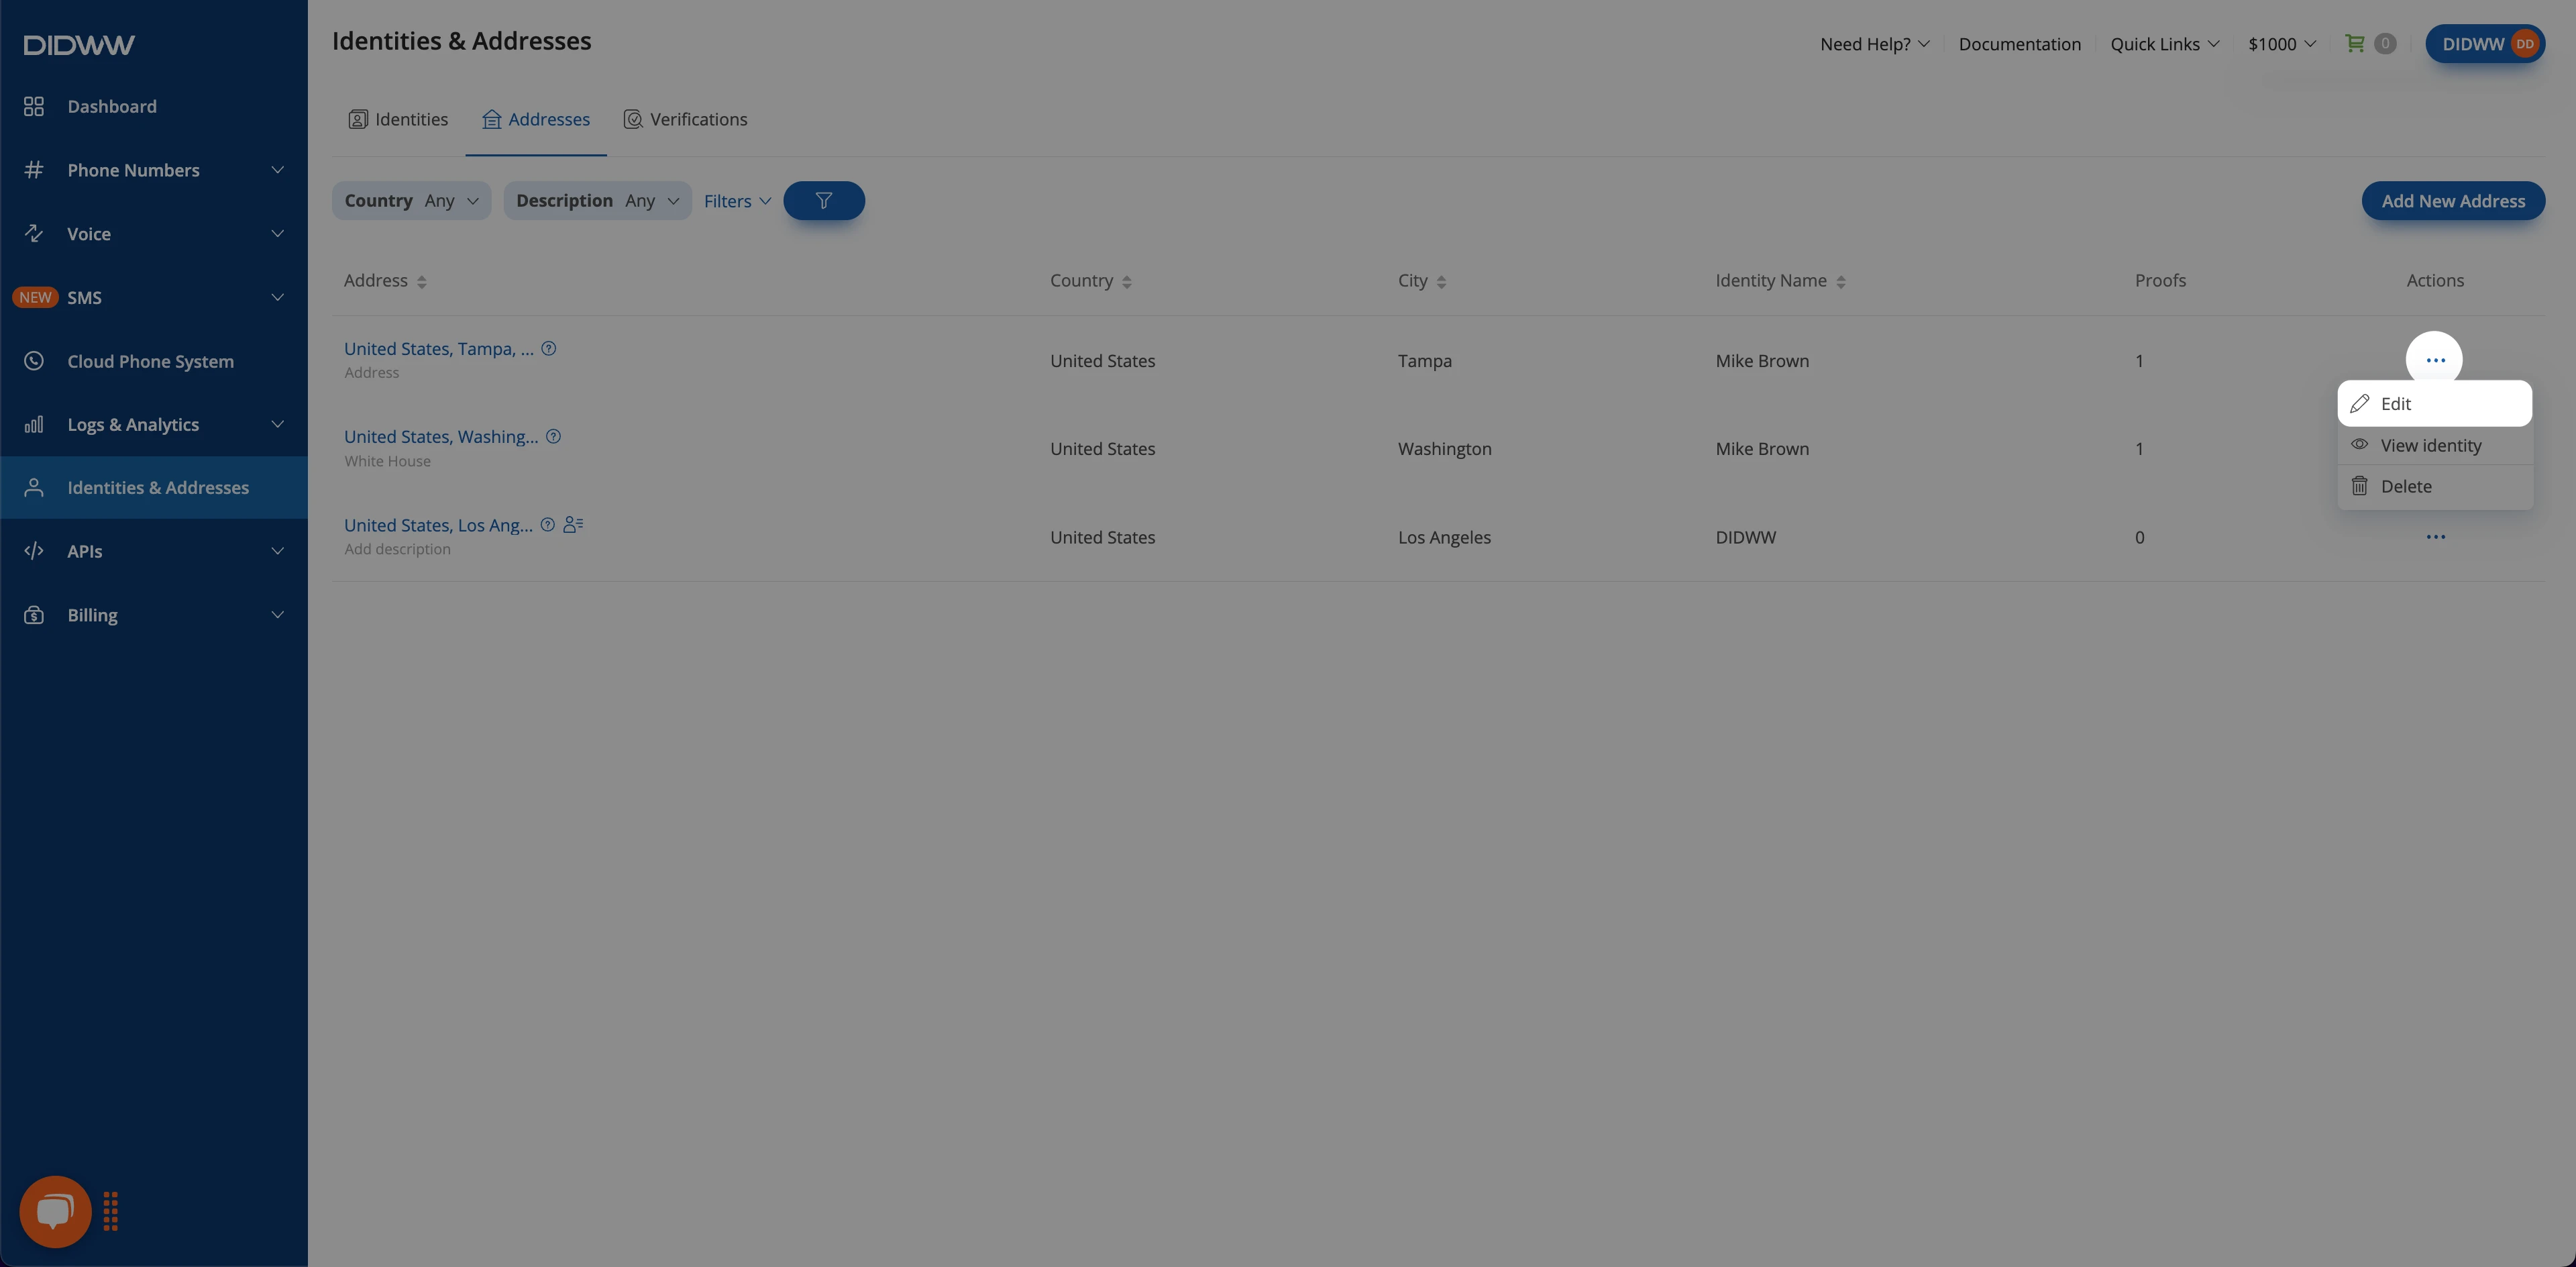
Fig. 5. Edit option in the Actions menu.#
On the Edit Address page, change the details. To replace a proof, click Delete next to it, and click Add New to upload a new one. For the fields, see the Addresses reference.
Click Submit.
Note
The Country of an address cannot be changed.
If the address is assigned to DID numbers, City, Postal code and Address are locked too.
To edit the identity that the address belongs to, click Edit Identity. Hover over its icon to see the identity name.
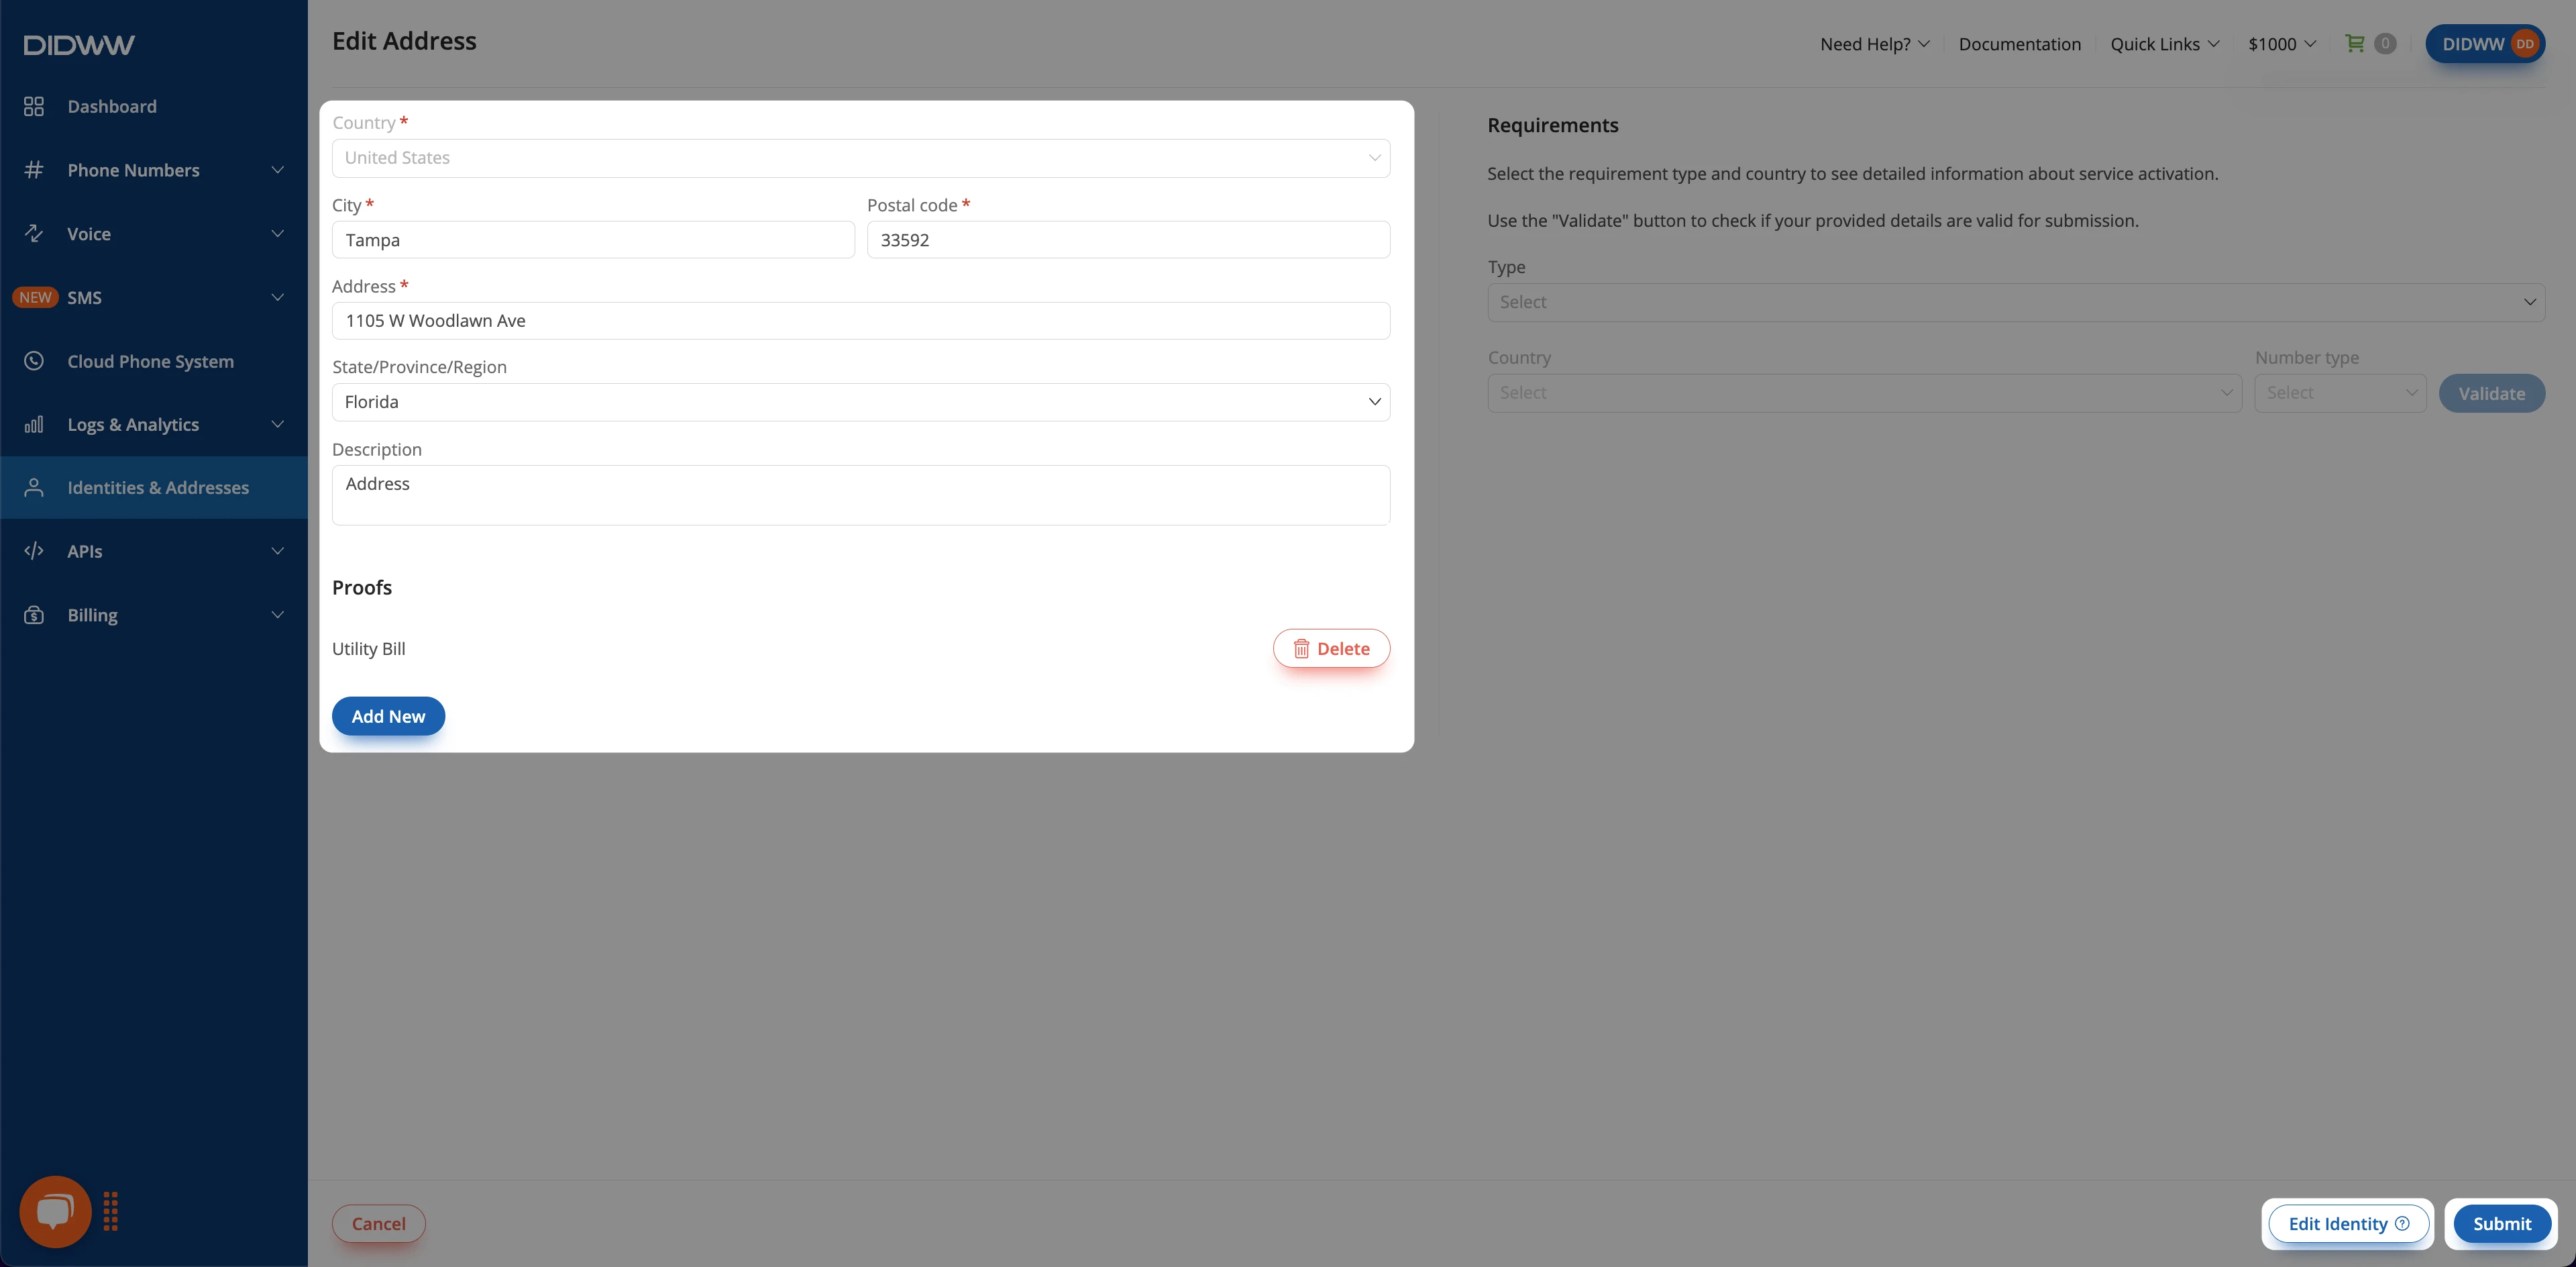
Fig. 6. Edit Address page.#
Delete an address#
Important
You cannot delete an address in these cases:
It is linked to a DID number verification request in Pending status.
It is linked to a Sender ID Verification or an Emergency Calling Service in New, In Process or Changes Required status.
It is your main account address.
Deleting an address cannot be undone.