

Create a PSTN trunk#
Create an inbound PSTN trunk to forward calls received on DIDWW DID numbers to a telephone number on the Public Switched Telephone Network (PSTN), such as a landline or mobile number. Configure the destination, check its per-minute rate, and optionally set capacity and ringing timeout, filter callers with a Number List, or add the trunk to a Trunk Group for failover or load balancing.
For how DIDWW forwards calls to a PSTN destination, see PSTN trunks.
Note
Calls forwarded through a PSTN trunk are charged per minute. The rate and destination availability depend on the PSTN Phone Number. See DIDWW pricelists for current pricing.
Before you begin#
An active DIDWW account is required. Sign in to DIDWW or Create DIDWW account.
Step 1: Open the creation form#
In the DIDWW User Panel, open Voice.
Select Inbound Trunks.
Click Create New.
Select PSTN Trunk.
Fig. 1. Select PSTN Trunk#
Step 2: Configure the General settings#
On the General tab, enter the required trunk name and destination, then review the optional capacity and ringing timeout settings.
Enter a unique Name to identify the trunk in the DIDWW User Panel.
In PSTN Phone Number, enter the destination in E.164 format using the country code, area code, and subscriber number without
+. For example,12065550100. This is the number that receives forwarded calls, not the DID number that callers dial.Click Check Rate and review the displayed per-minute rate. If Rate is unavailable is displayed, enter a different destination and click Check Rate again.
Field definitions, available values, and constraints are listed in General settings.
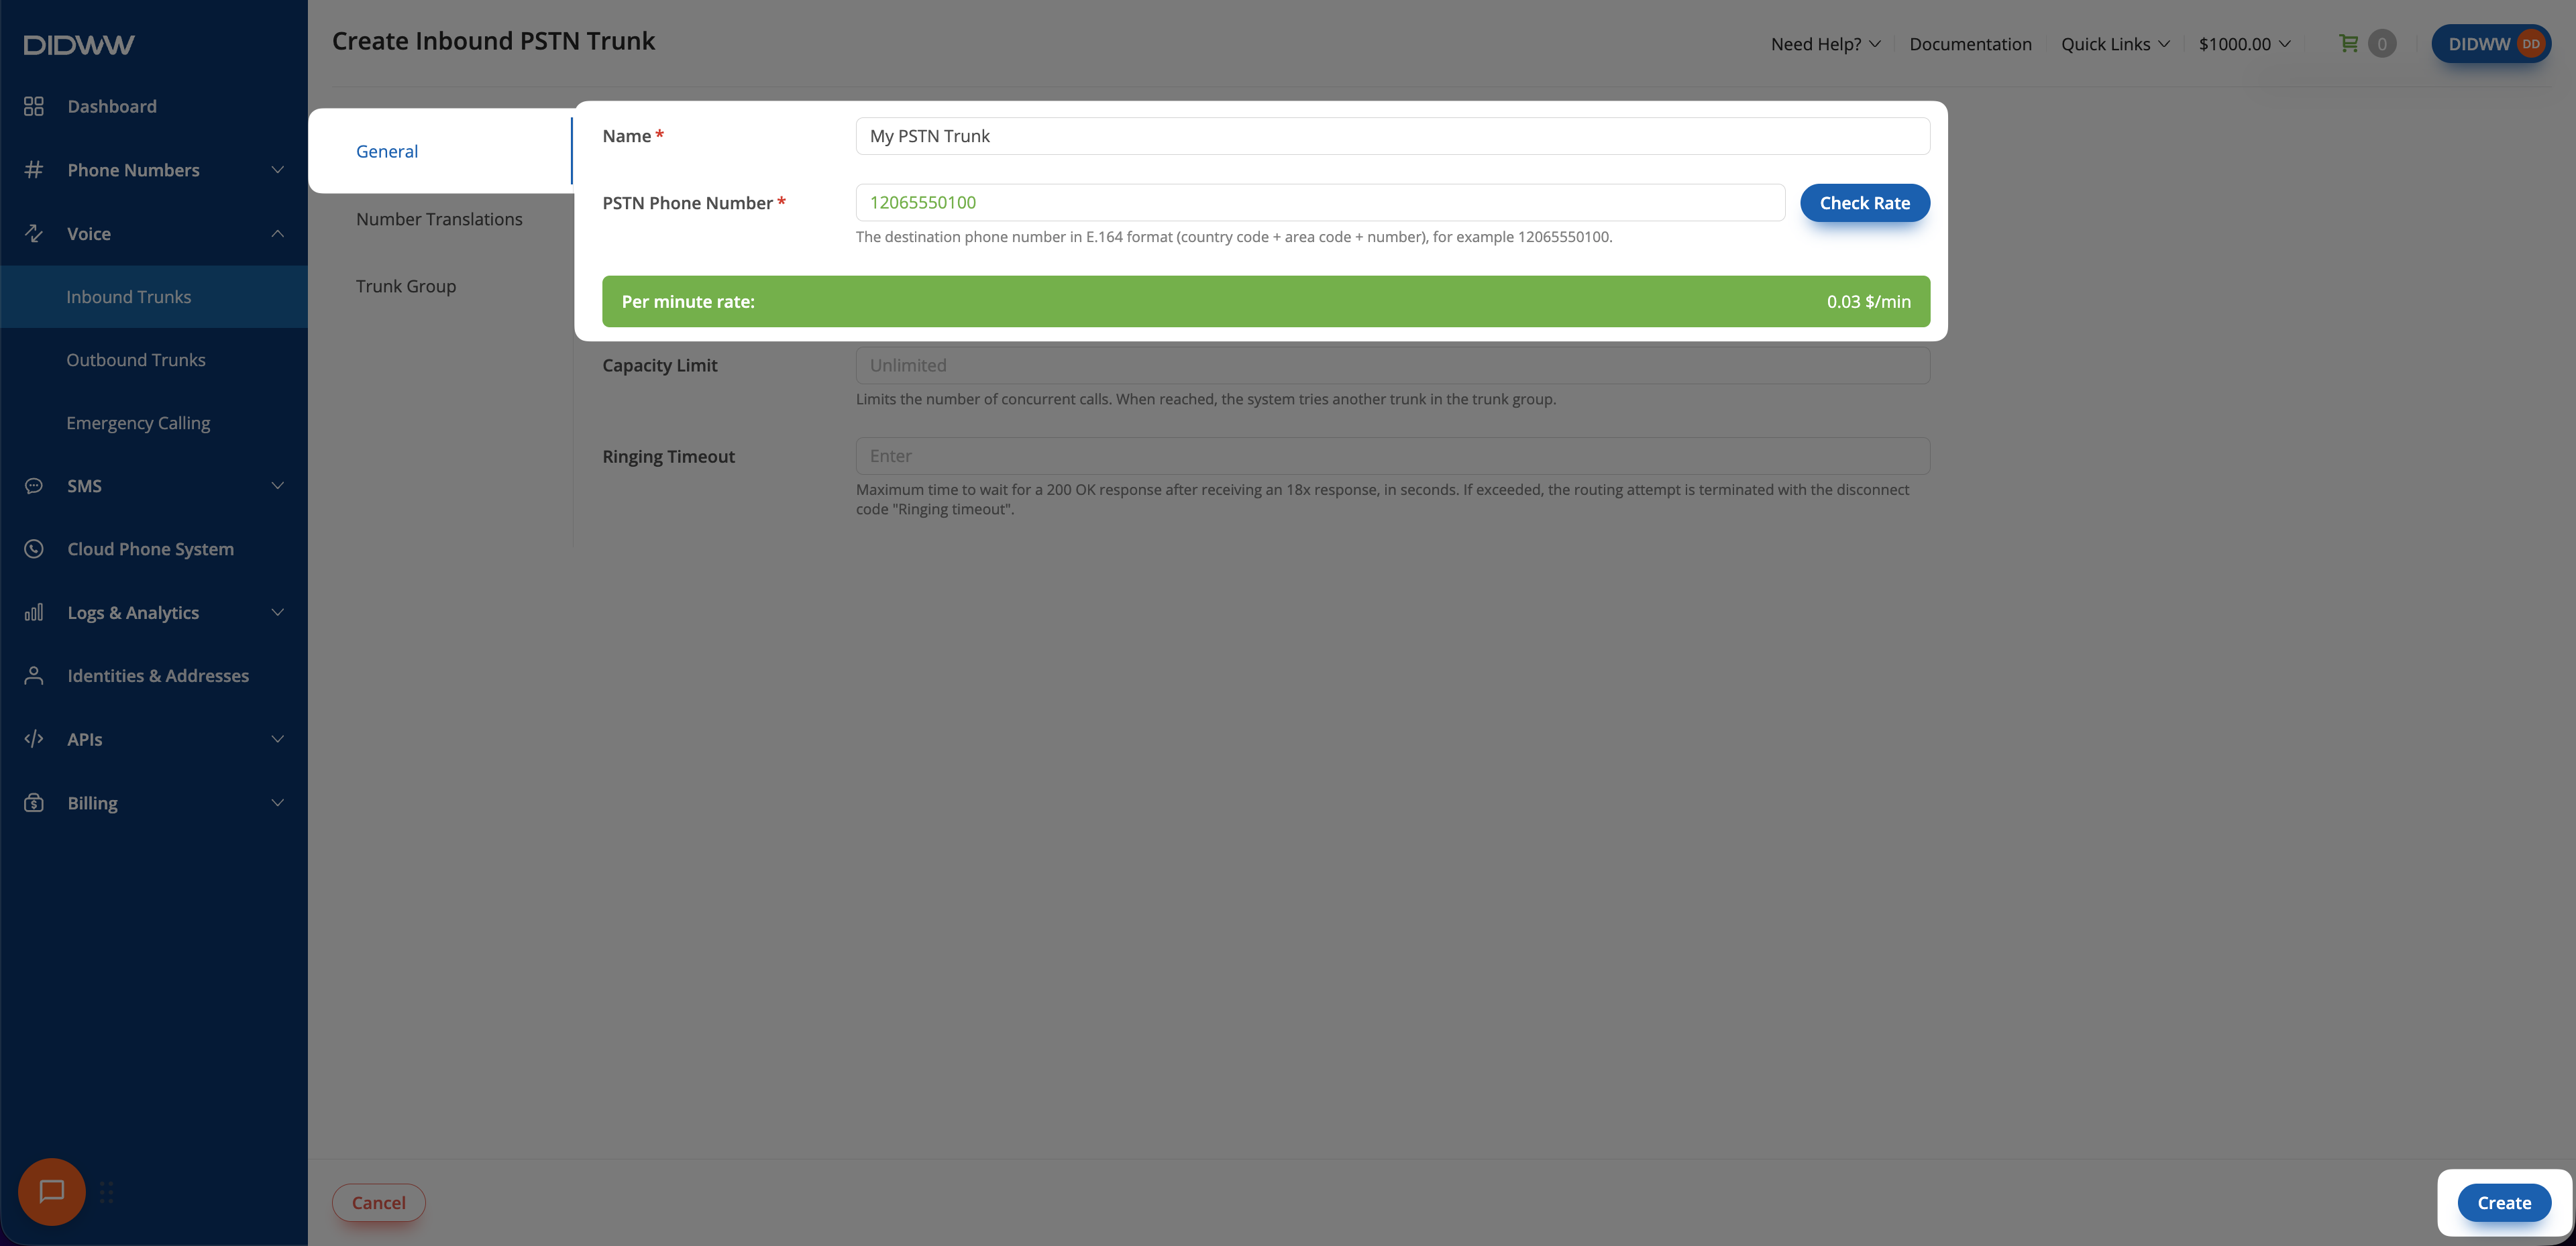
Fig. 2. Configure the PSTN destination#
Optionally set Capacity Limit to restrict the number of simultaneous calls delivered through this trunk. The default value is Unlimited. In a Trunk Group, DIDWW tries another trunk when the limit is reached.
Optionally set Ringing Timeout to limit how long DIDWW waits for the destination to answer after receiving an
18xresponse.
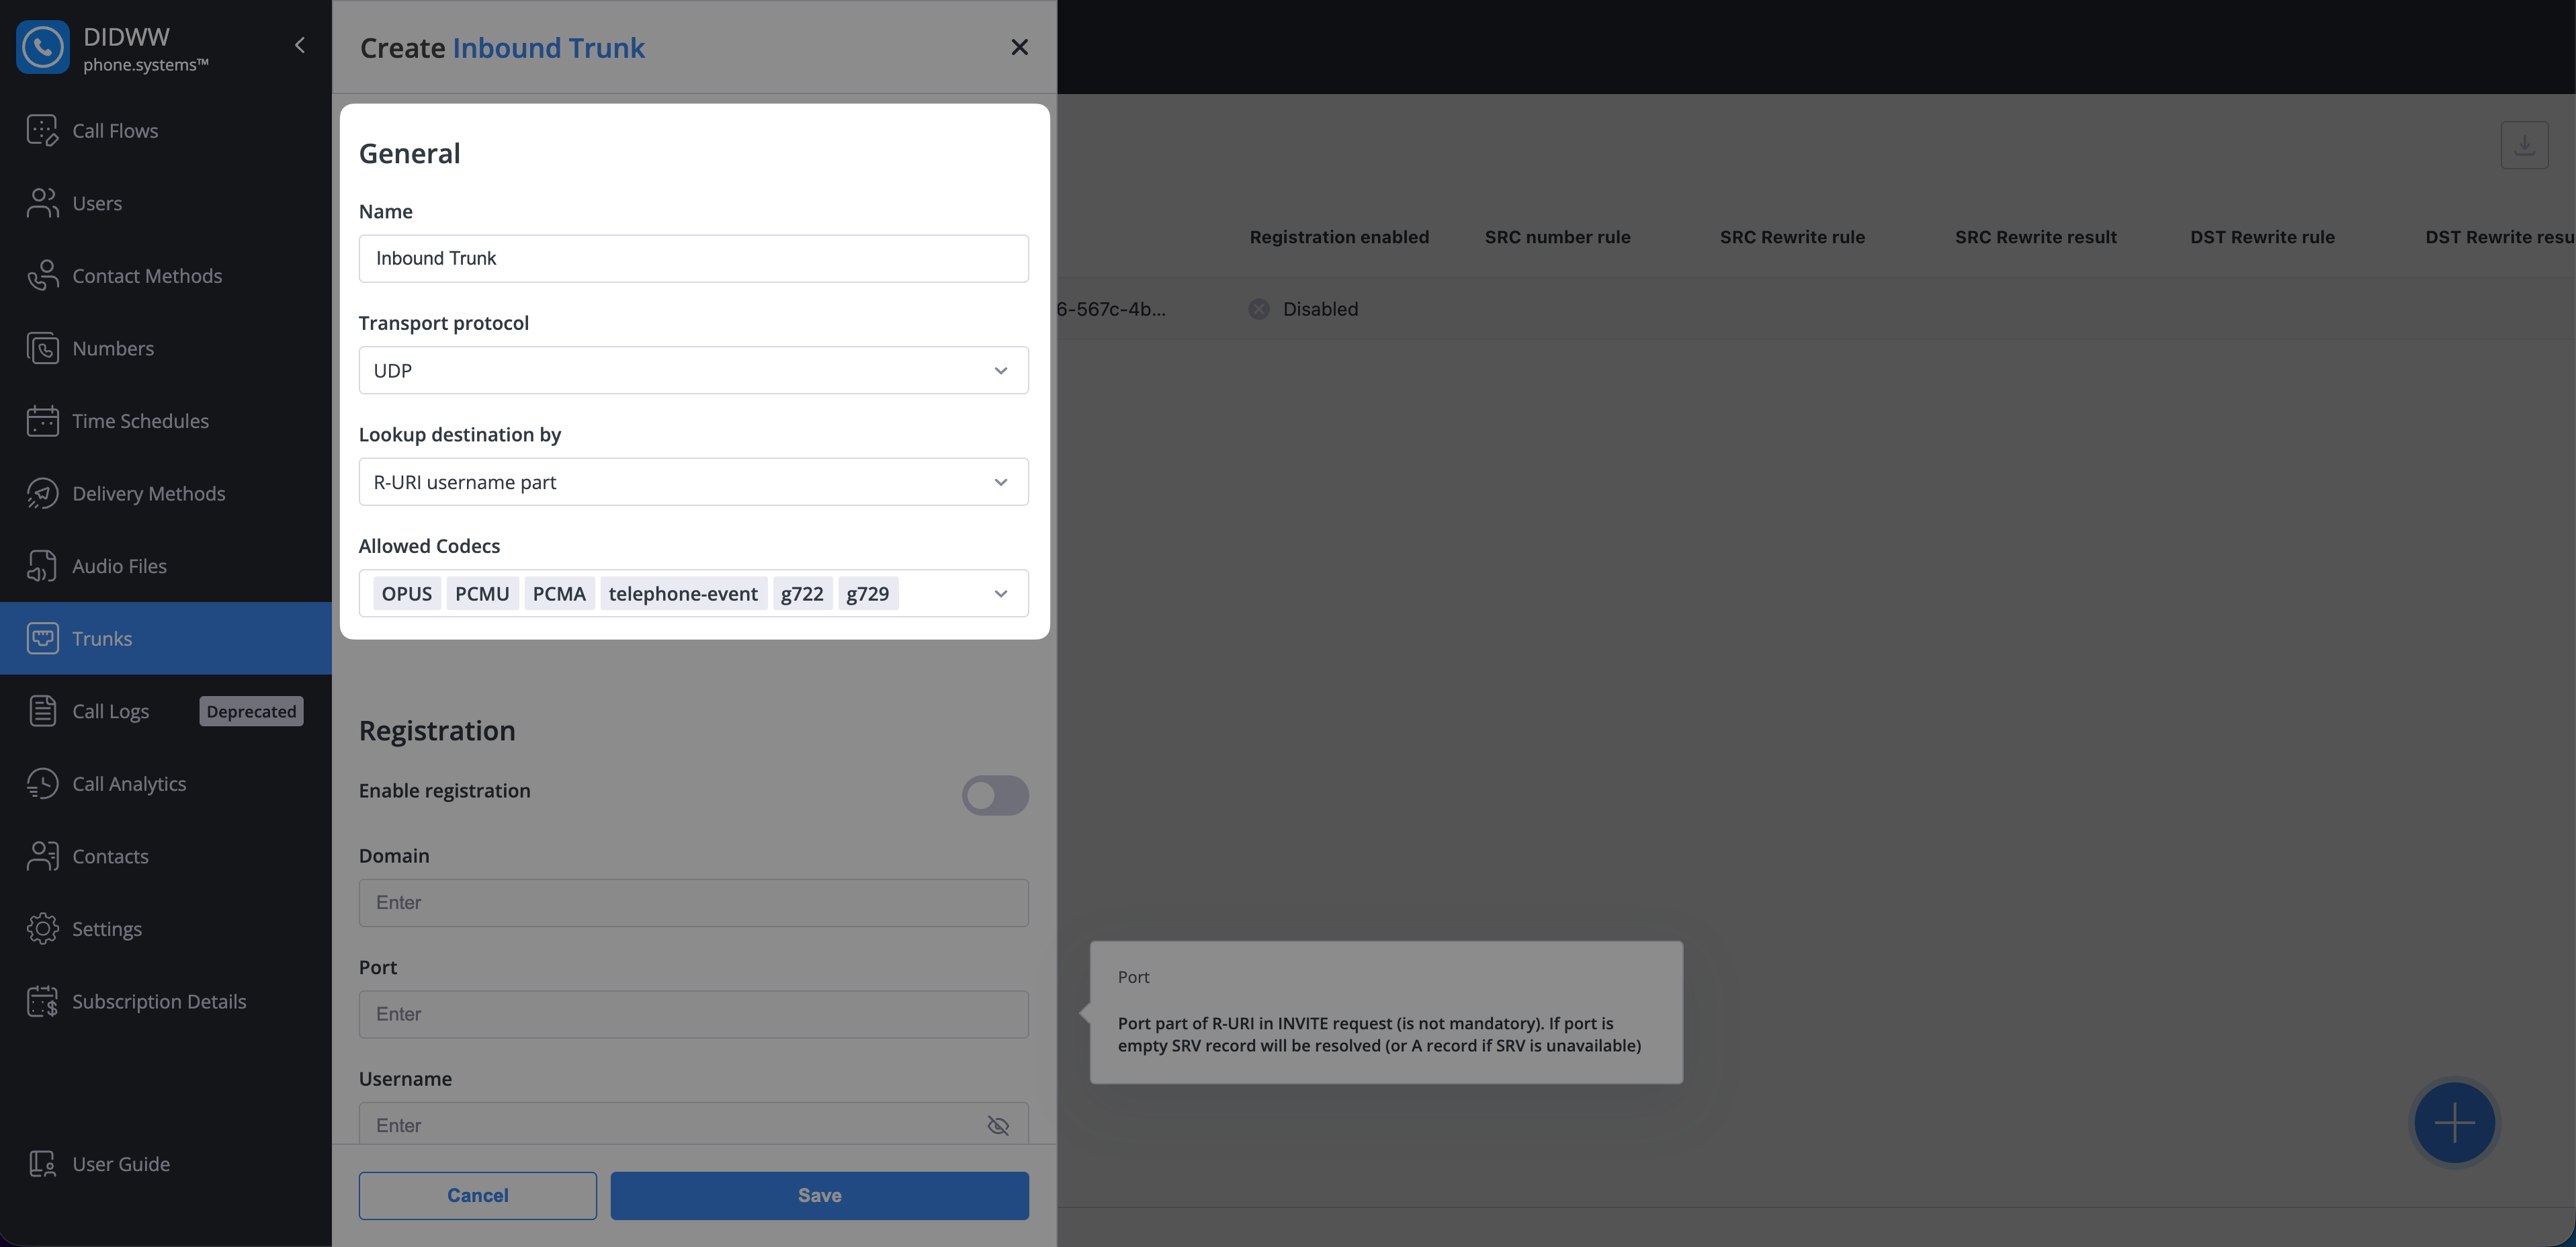
Fig. 3. Configure capacity and ringing timeout#
Step 3: Configure optional settings#
Configure these tabs only if you need caller ID filtering or Trunk Group membership. Otherwise, skip this step and create the trunk with the General settings only.
Number Translations#
Filter forwarded calls by caller ID with a Number List. The list matches the caller’s number, not the PSTN Phone Number configured as the forwarding destination.
Field definitions, available values, and constraints are listed in Number Translations. For how Number Lists allow or reject calls, see Number Lists.
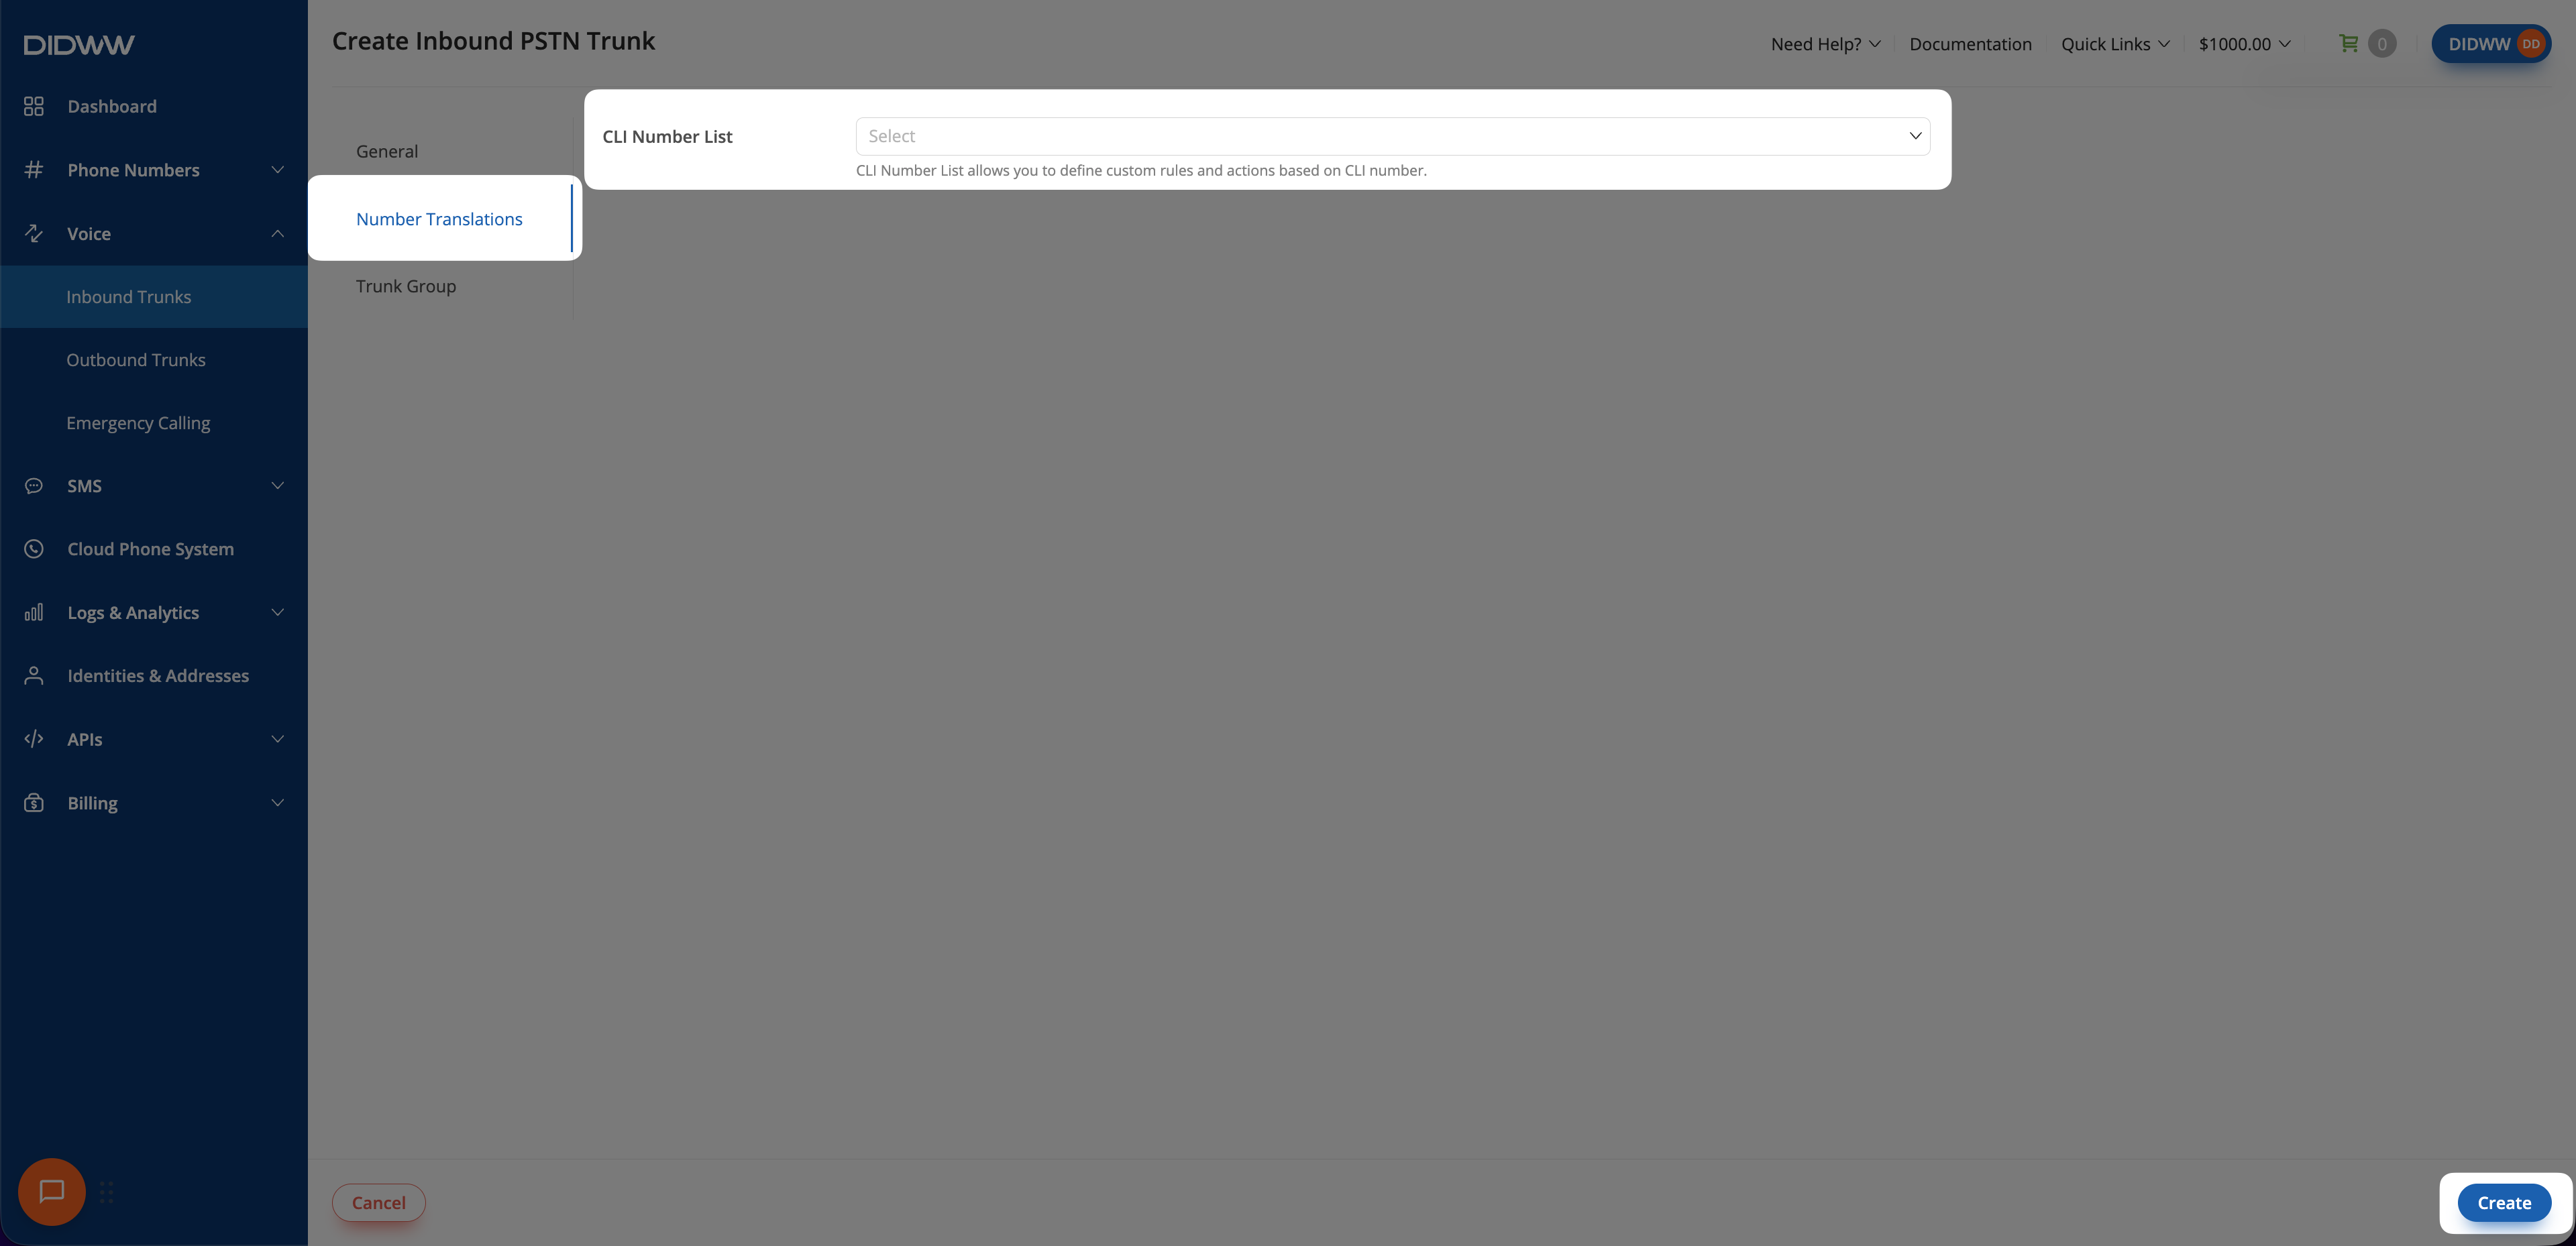
Fig. 4. Assign a Number List#
Trunk Group#
Add the trunk to a Trunk Group and set how it is selected within the group. Use this tab only when the trunk will participate in failover or load balancing. A trunk can belong to only one Trunk Group.
Field definitions, available values, and constraints are listed in Trunk Group settings.
For how Trunk Groups work, see Trunk Groups. To create a group, see Create a Trunk Group. For how priority and weight work, see Service failover and load balancing.
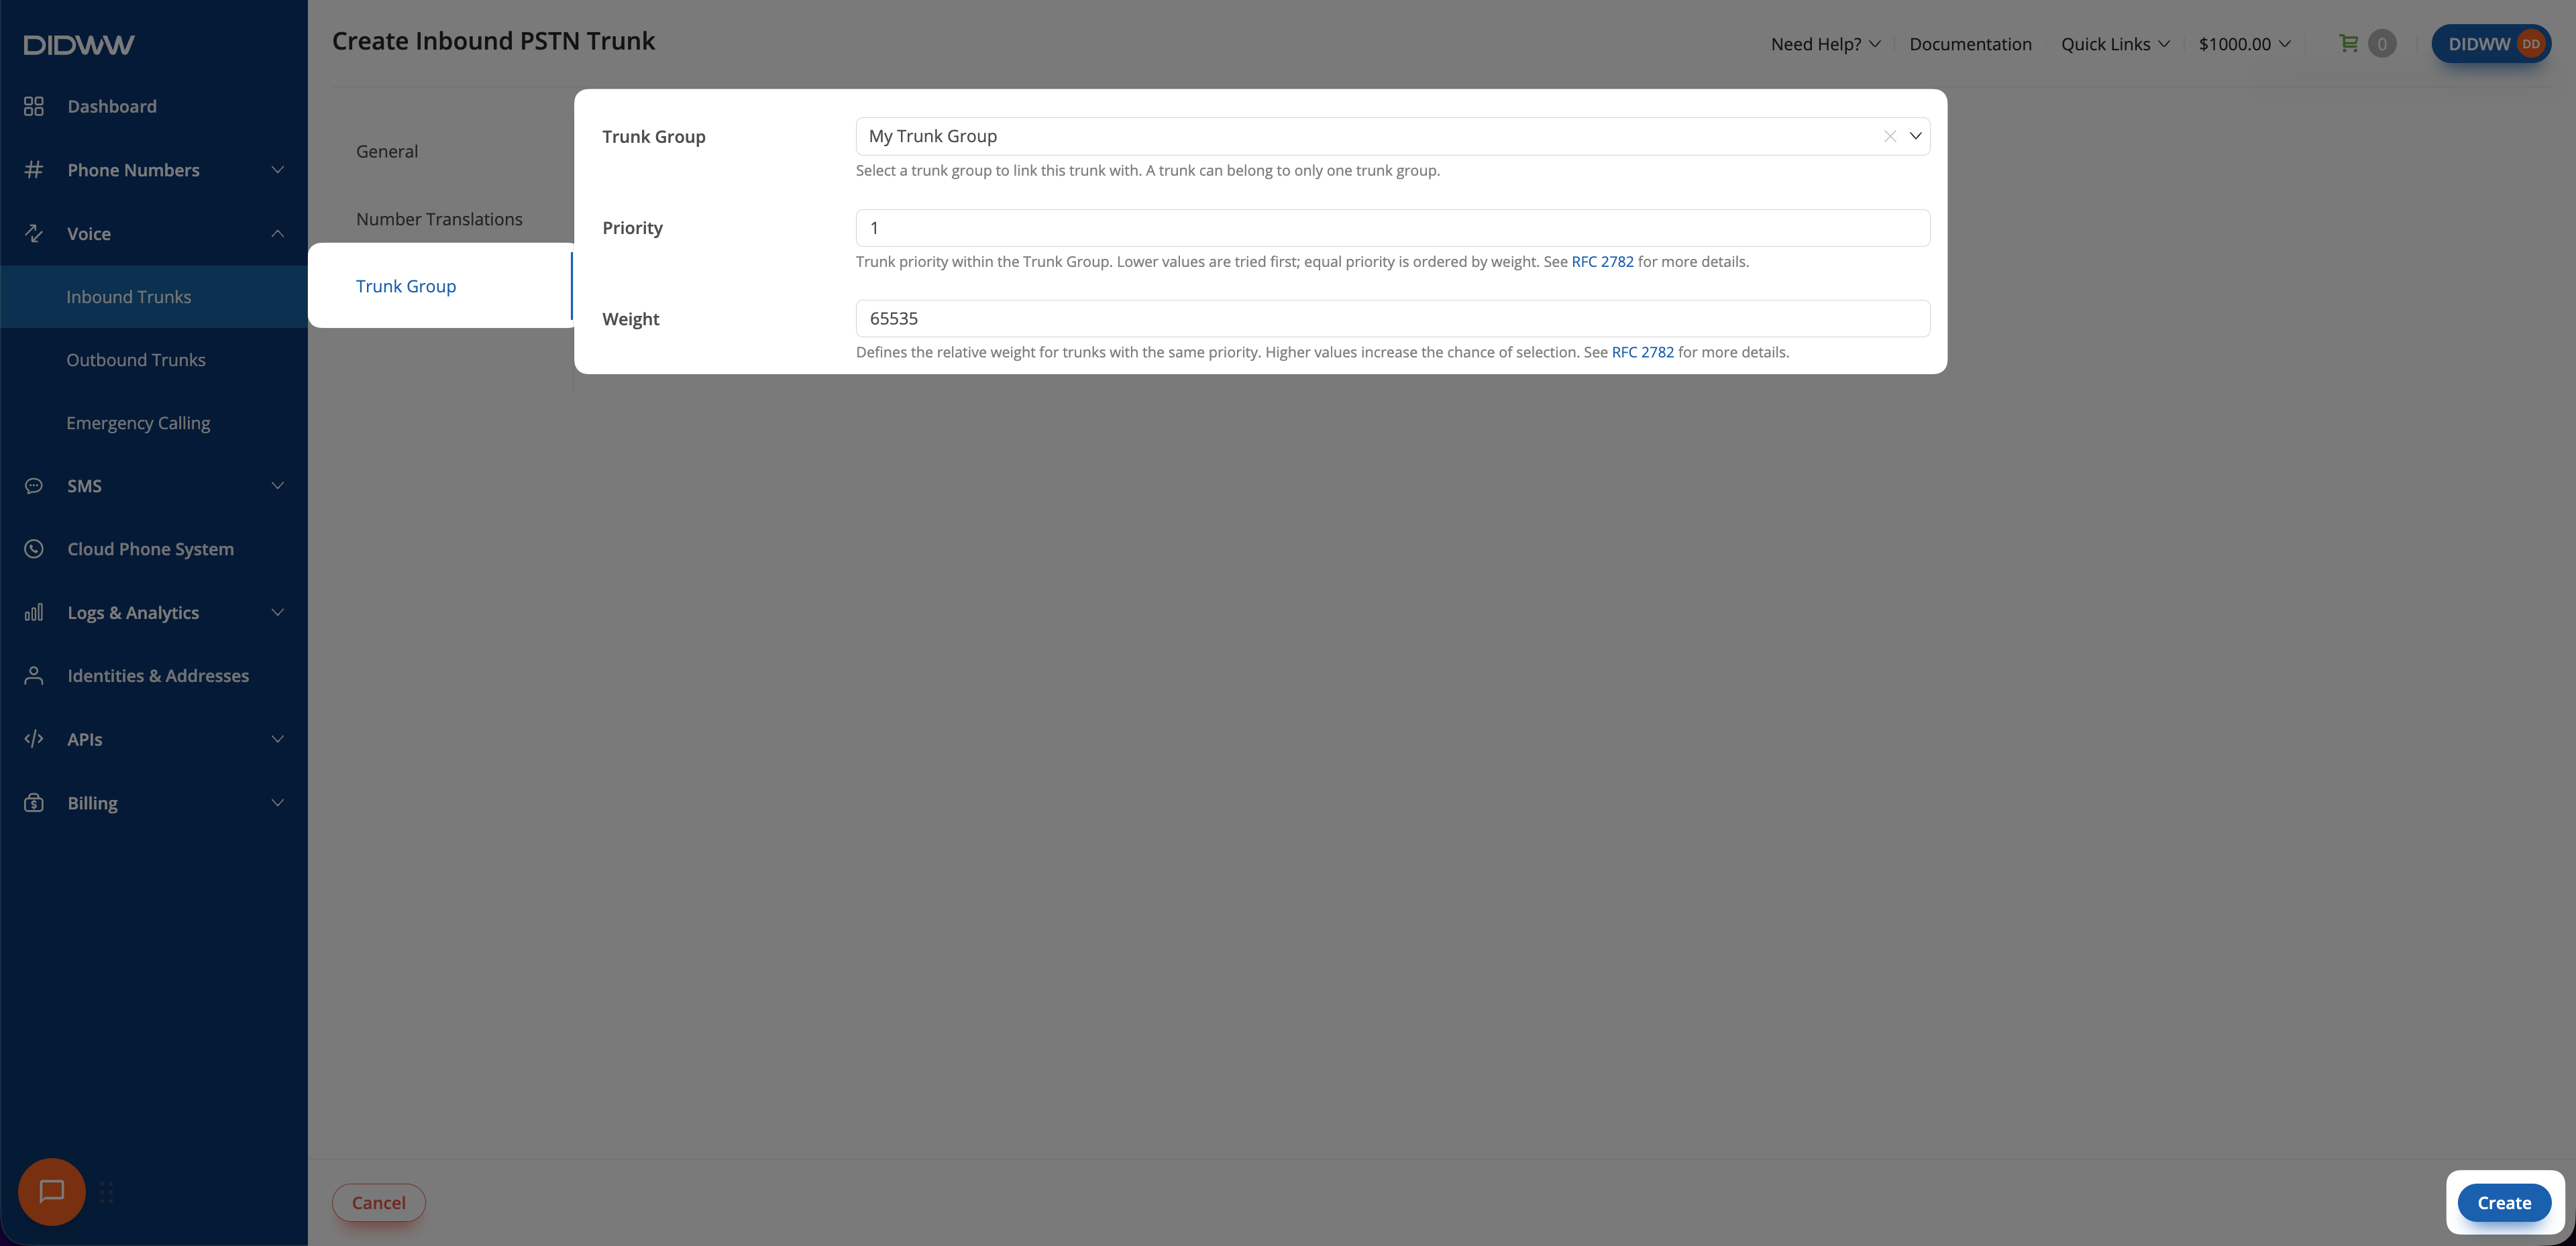
Fig. 5. Configure the Trunk Group settings#
Step 4: Create the trunk#
Review the trunk configuration and the destination’s per-minute rate.
Click Create to save the trunk.
The new trunk appears on the Trunks tab under Voice > Inbound Trunks. Creating the trunk does not assign it to a DID number.
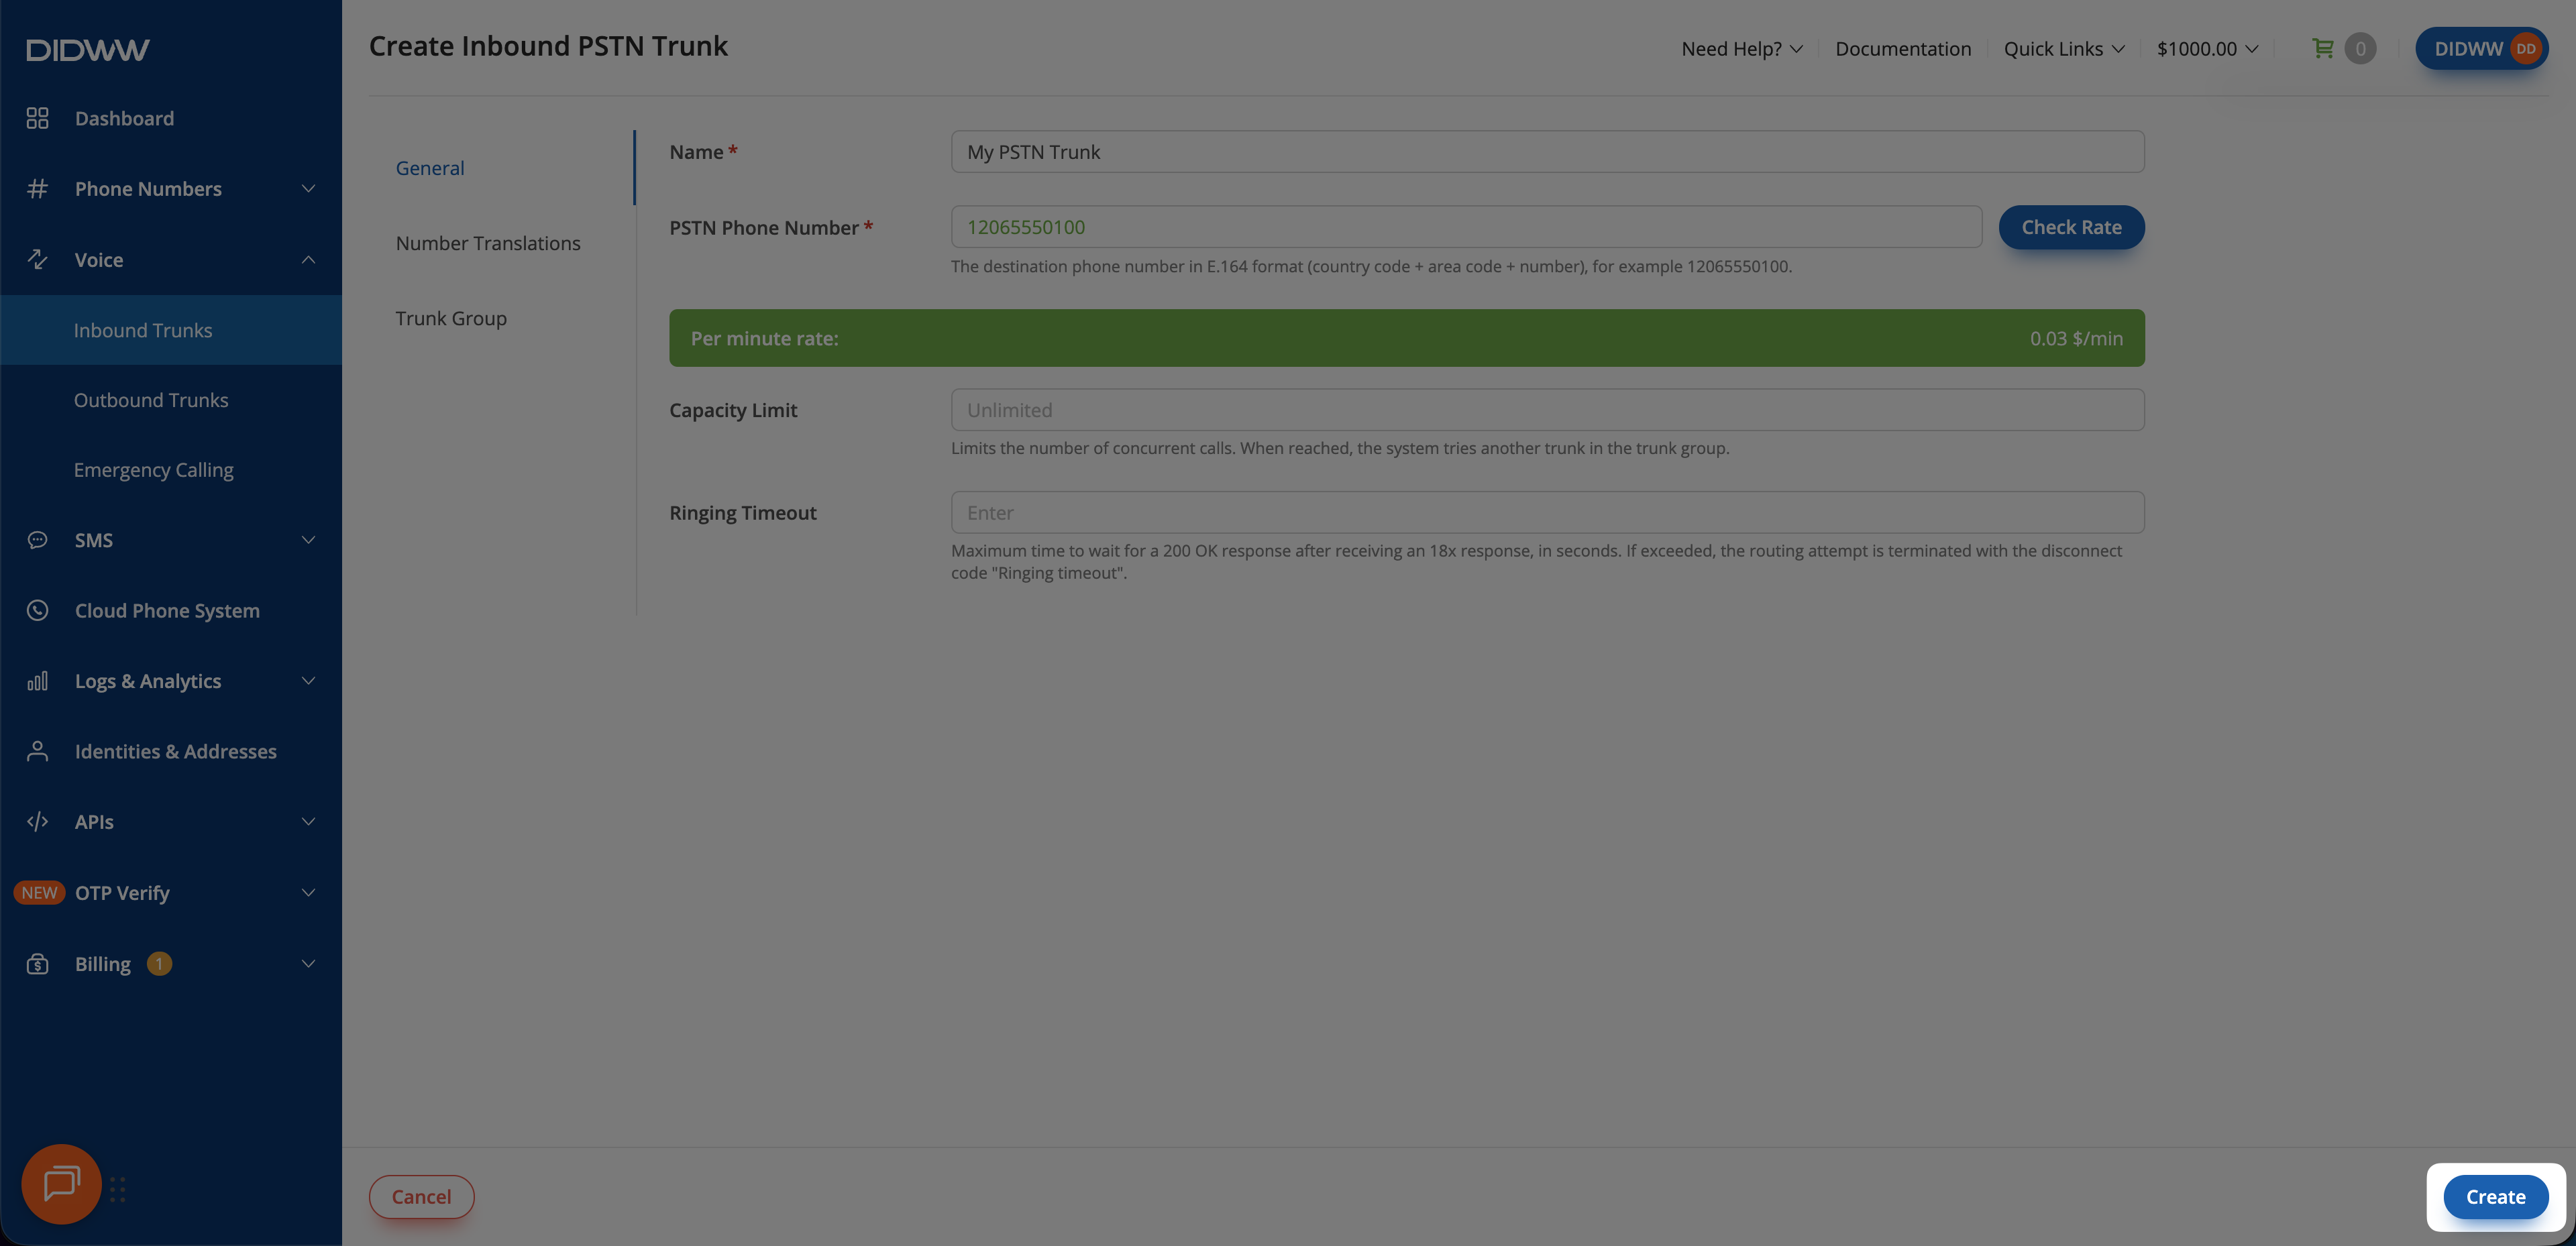
Fig. 6. Create the trunk#
Next steps#
Assign the trunk or its Trunk Group to one or more DID numbers before receiving calls. Each DID number must have sufficient Capacity.
Place a test call to an assigned DID number, then review Inbound Call Logs if the call does not reach the PSTN destination.