

Manage SMPP SMSC trunks#
Manage existing SMPP SMSC trunks from the SMS Trunks page. View the credentials that DIDWW uses to bind to your SMSC, edit a trunk’s settings, move it to another Server location, or delete trunks that are no longer required.
Before you begin#
An active DIDWW account is required. Sign in to DIDWW.
An existing SMPP SMSC trunk is required. If you do not have one, see Create an SMPP SMSC trunk.
View SMPP SMSC trunk credentials#
In the DIDWW User Panel, go to SMS > SMS Trunks.
Locate the SMPP SMSC trunk and click the key icon in the Credentials column.
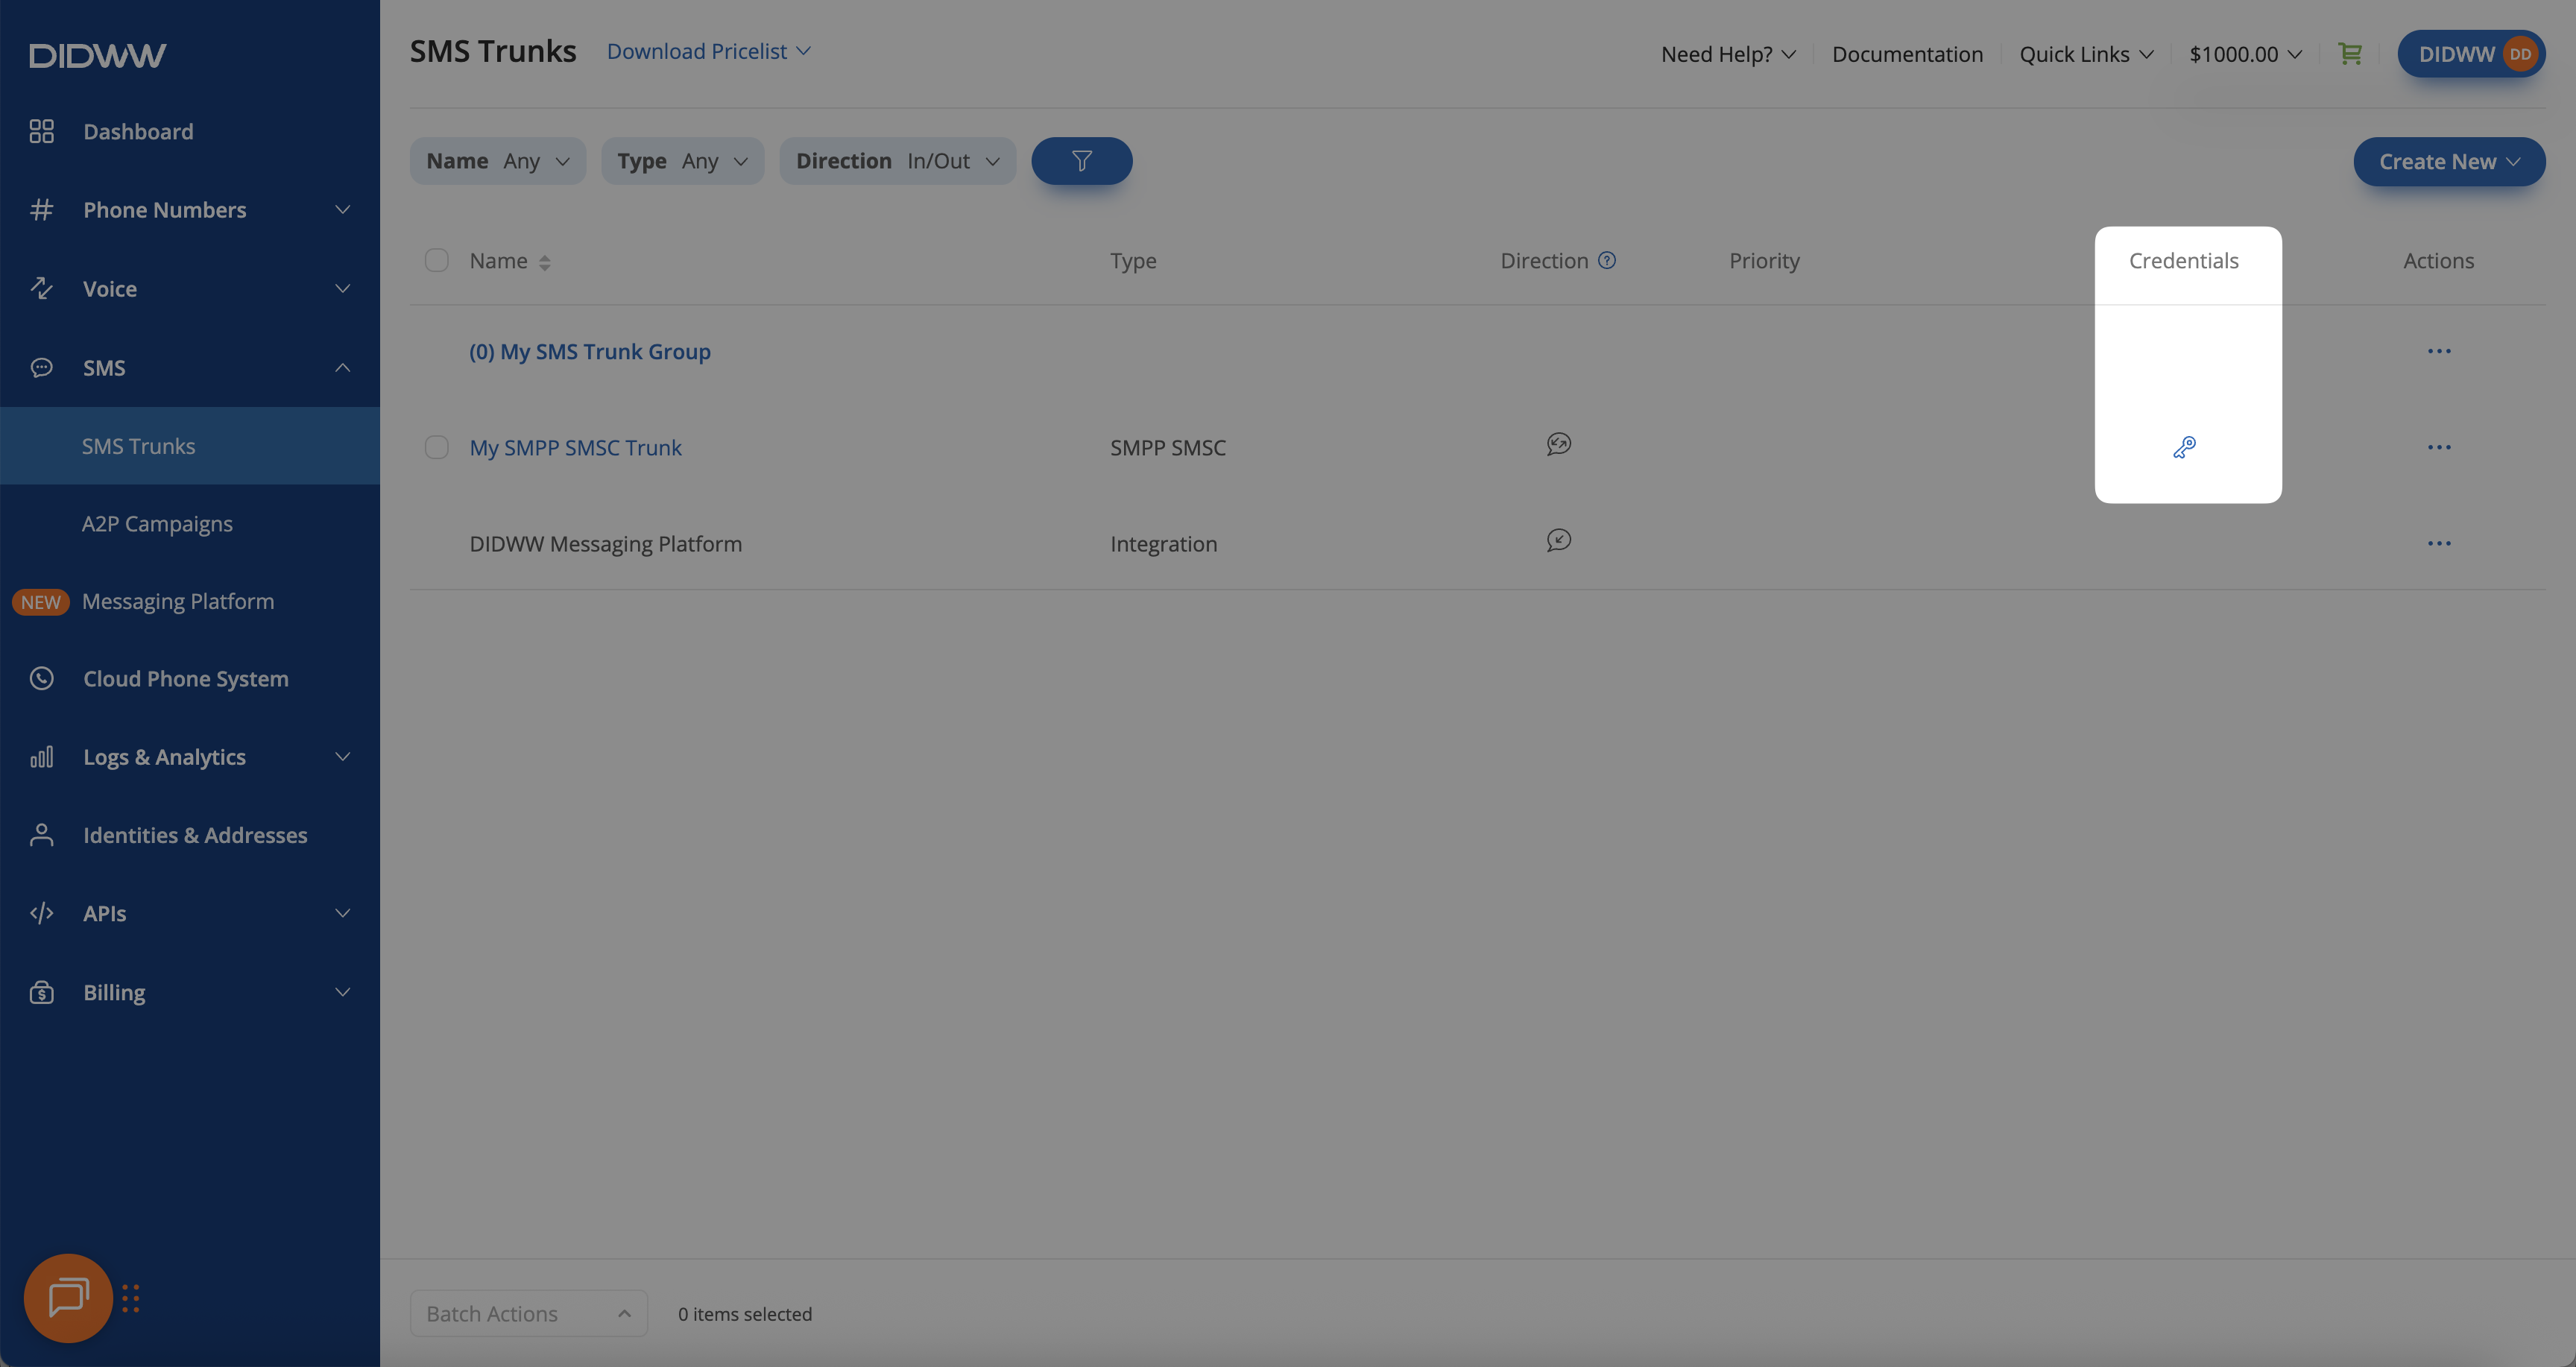
Fig. 1. Open the trunk credentials#
The credentials window shows the values that DIDWW uses to bind to your SMSC. To show the password, click the eye icon next to it.
Field |
Description |
|---|---|
System ID |
The System ID that DIDWW sends in the bind request. |
Password |
The password that DIDWW sends in the bind request. Hidden by default. |
System Type |
The System type that DIDWW sends in the bind request, if the trunk has one. |
SMSC Server Host |
The hostname or IP address of your SMSC that DIDWW connects to. |
Allowed Source Addresses |
The DID numbers that can be used as the sender ID. Any if all DIDs with outbound P2P SMS enabled are allowed. |
To change these values, edit the trunk.
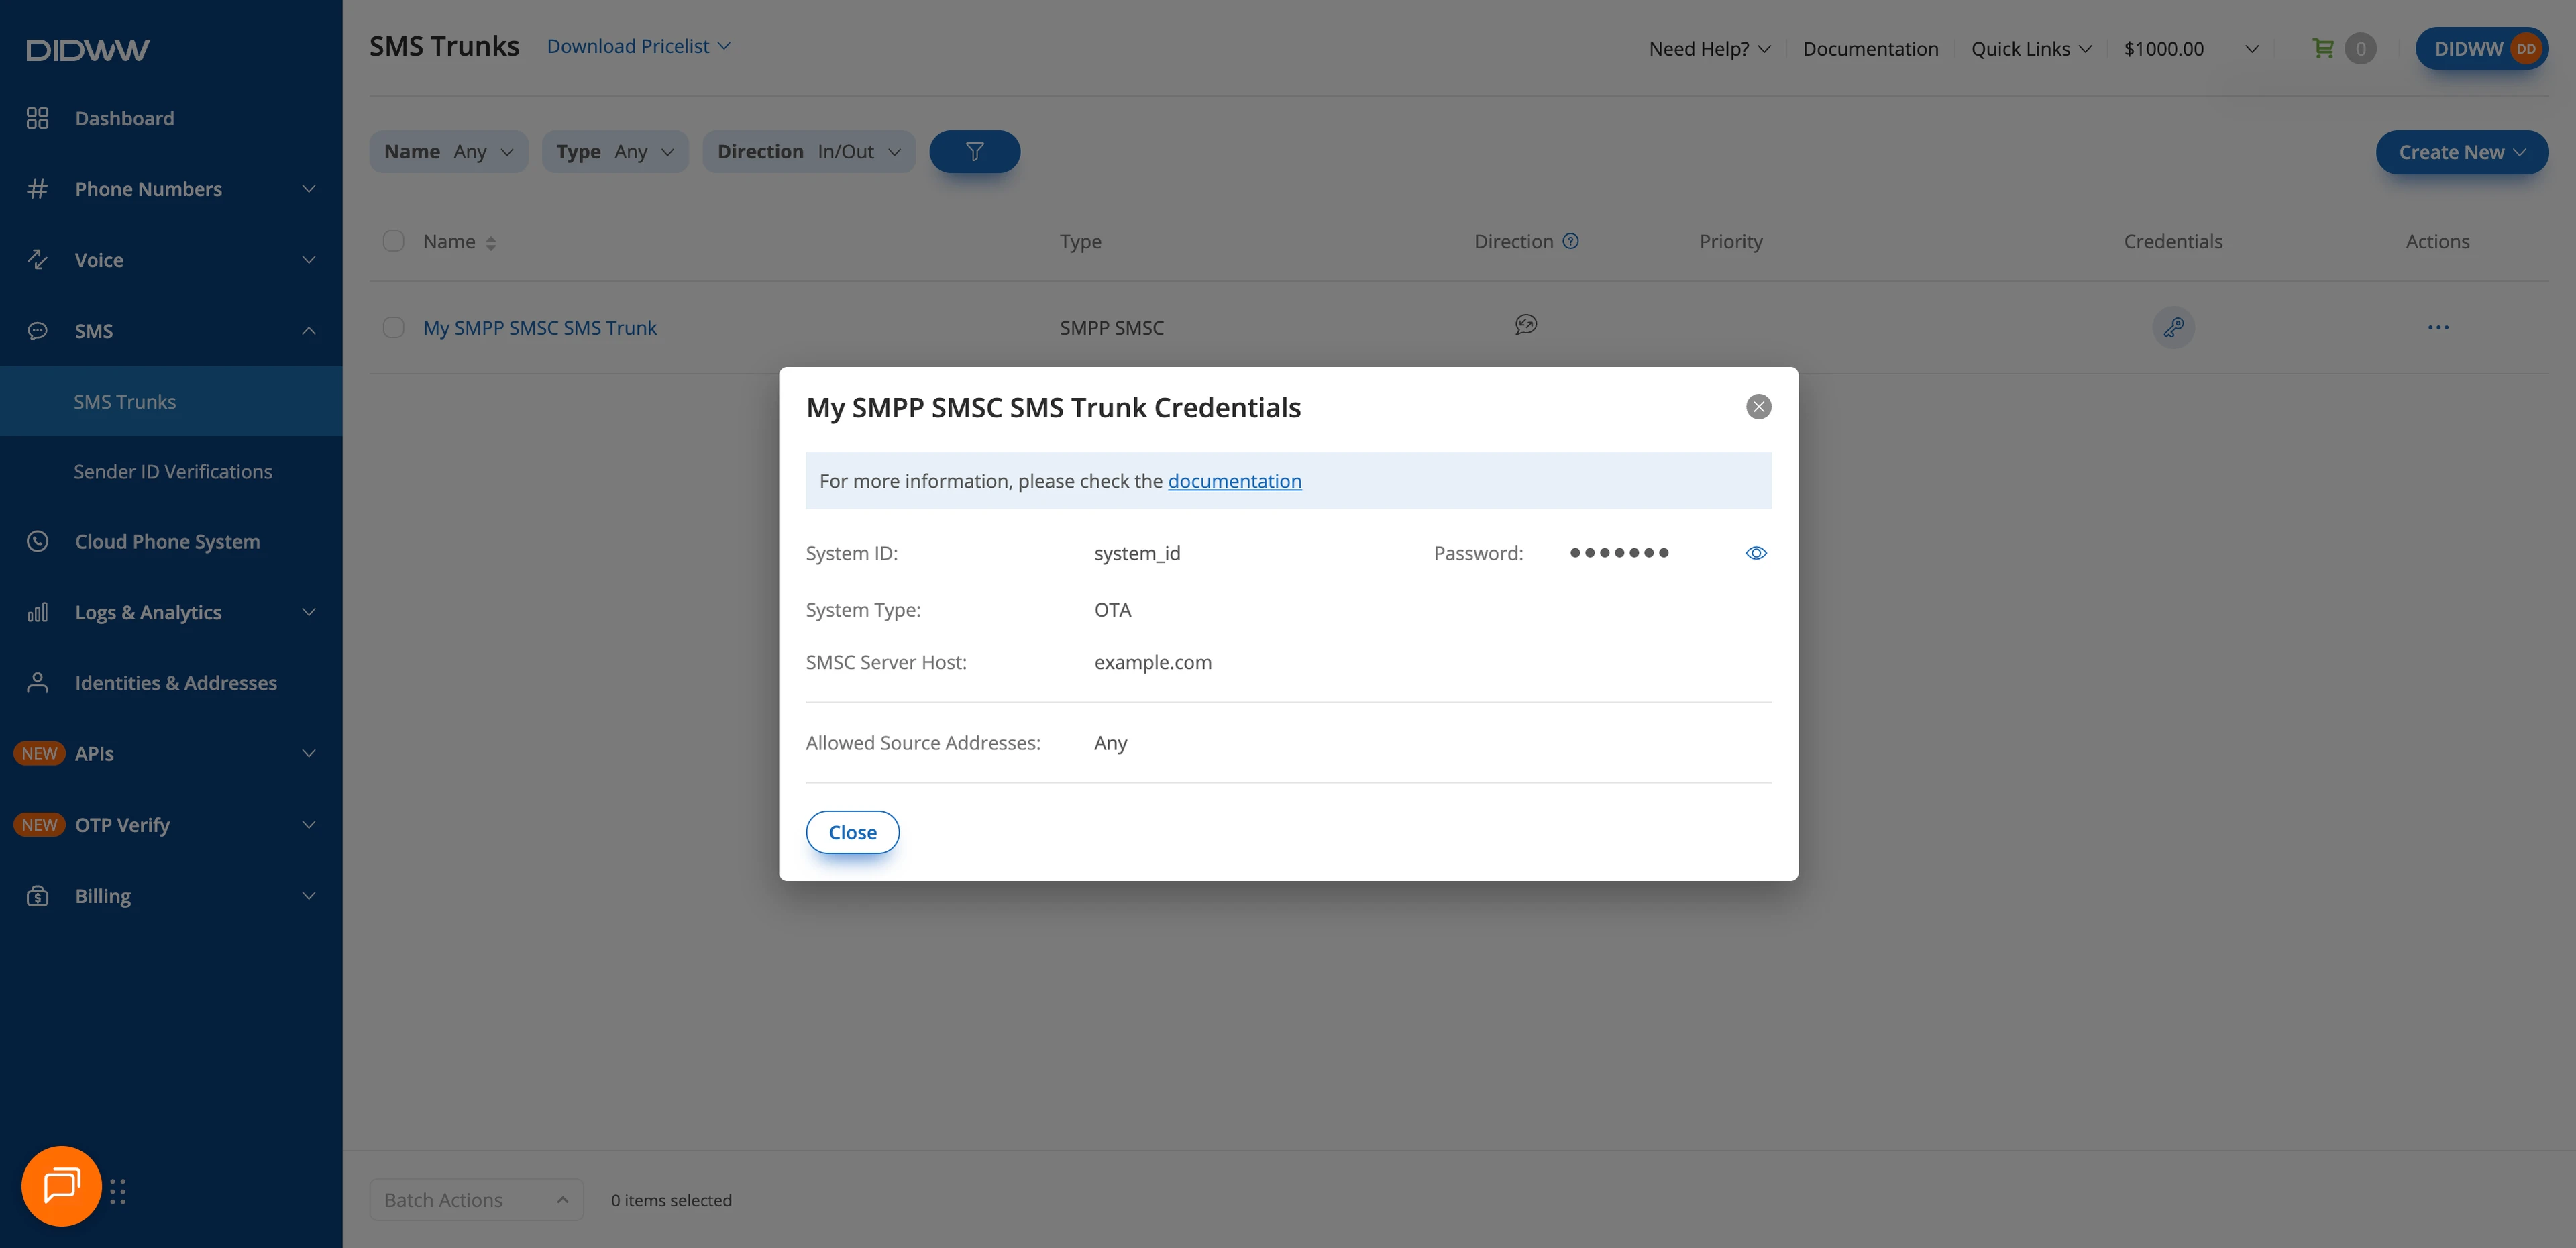
Fig. 2. Review the trunk credentials#
Edit an SMPP SMSC trunk#
In the DIDWW User Panel, go to SMS > SMS Trunks.
Locate the trunk you want to edit and click the Actions button next to it.
Select Edit.

Fig. 3. Open the SMPP SMSC trunk edit form#
On the Edit SMPP SMSC Trunk page, modify the settings as needed. The sections match those on the creation form. See Configure the General settings, Configure the source addresses, and Add the trunk to a trunk group.
Click Submit to apply your changes.
For definitions, defaults, and constraints of all settings, see SMPP SMSC trunk settings reference.
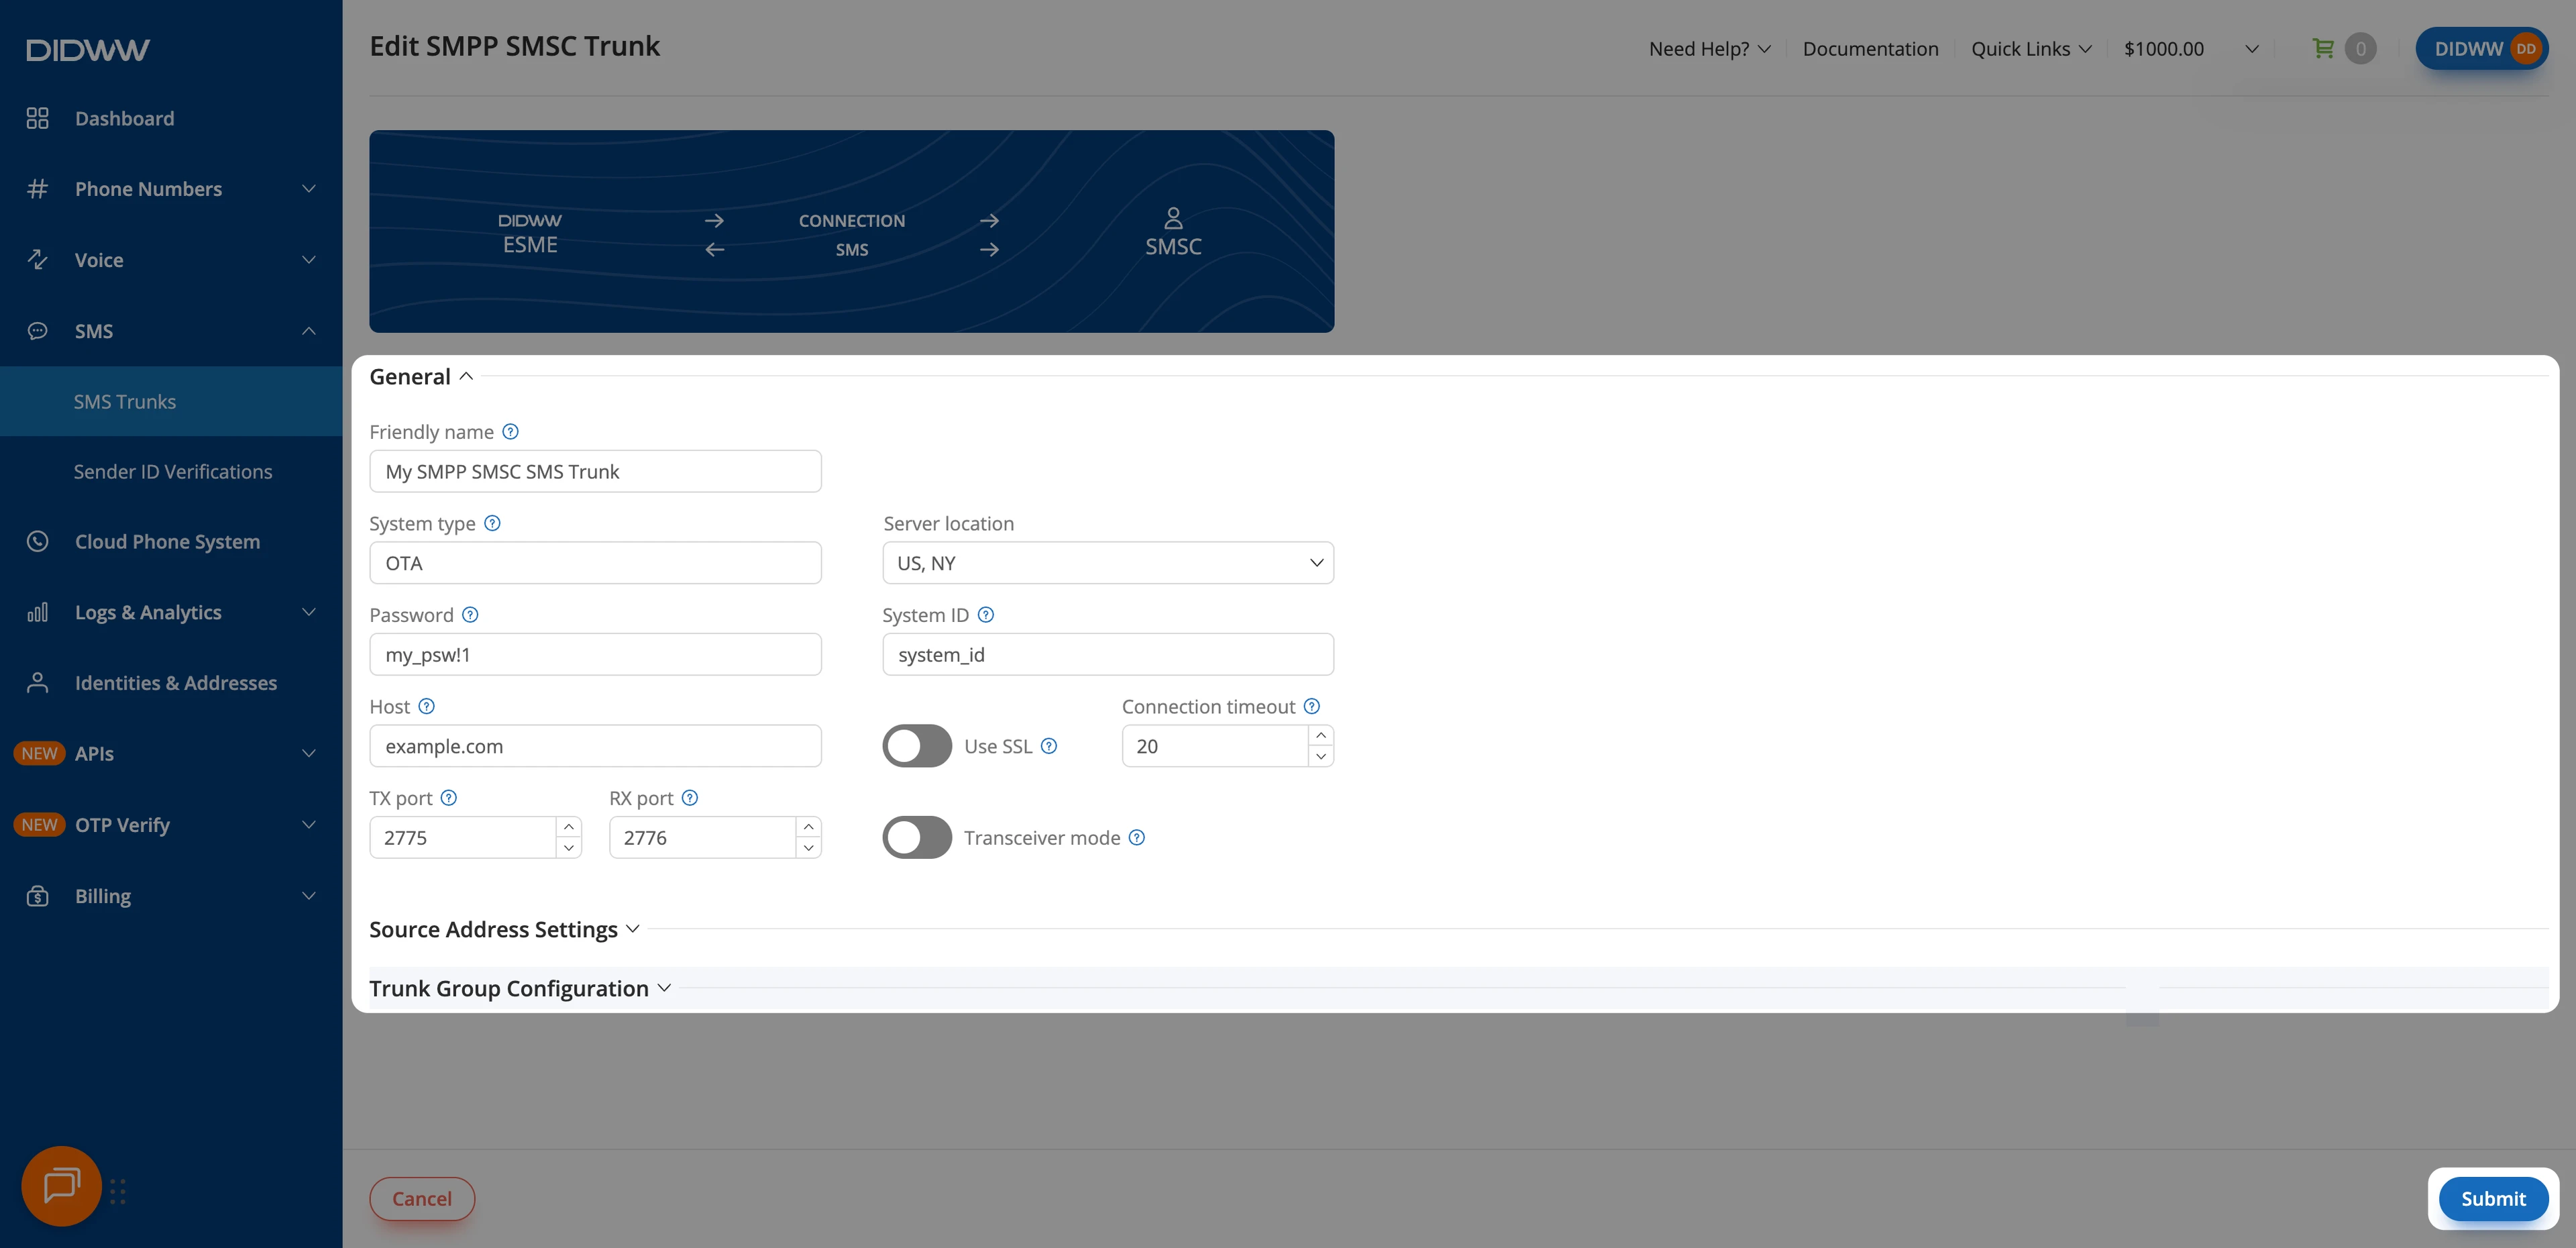
Fig. 4. Update and save the SMPP SMSC trunk settings#
Move a trunk to another Server location#
To change which DIDWW SMPP server connects and binds to your SMSC, change the trunk’s Server location. Your SMSC connection details stay the same.
Important
Before you save a new Server location, make sure your firewall accepts connections from the IP address of the new location. See Server locations and IP addresses.
In the DIDWW User Panel, go to SMS > SMS Trunks.
Locate the trunk, click the Actions button next to it, and select Edit.
Select a different Server location.
Click Submit.
DIDWW then binds to your SMSC from the new location. To confirm the bind, see Check SMPP SMSC trunk connection status.
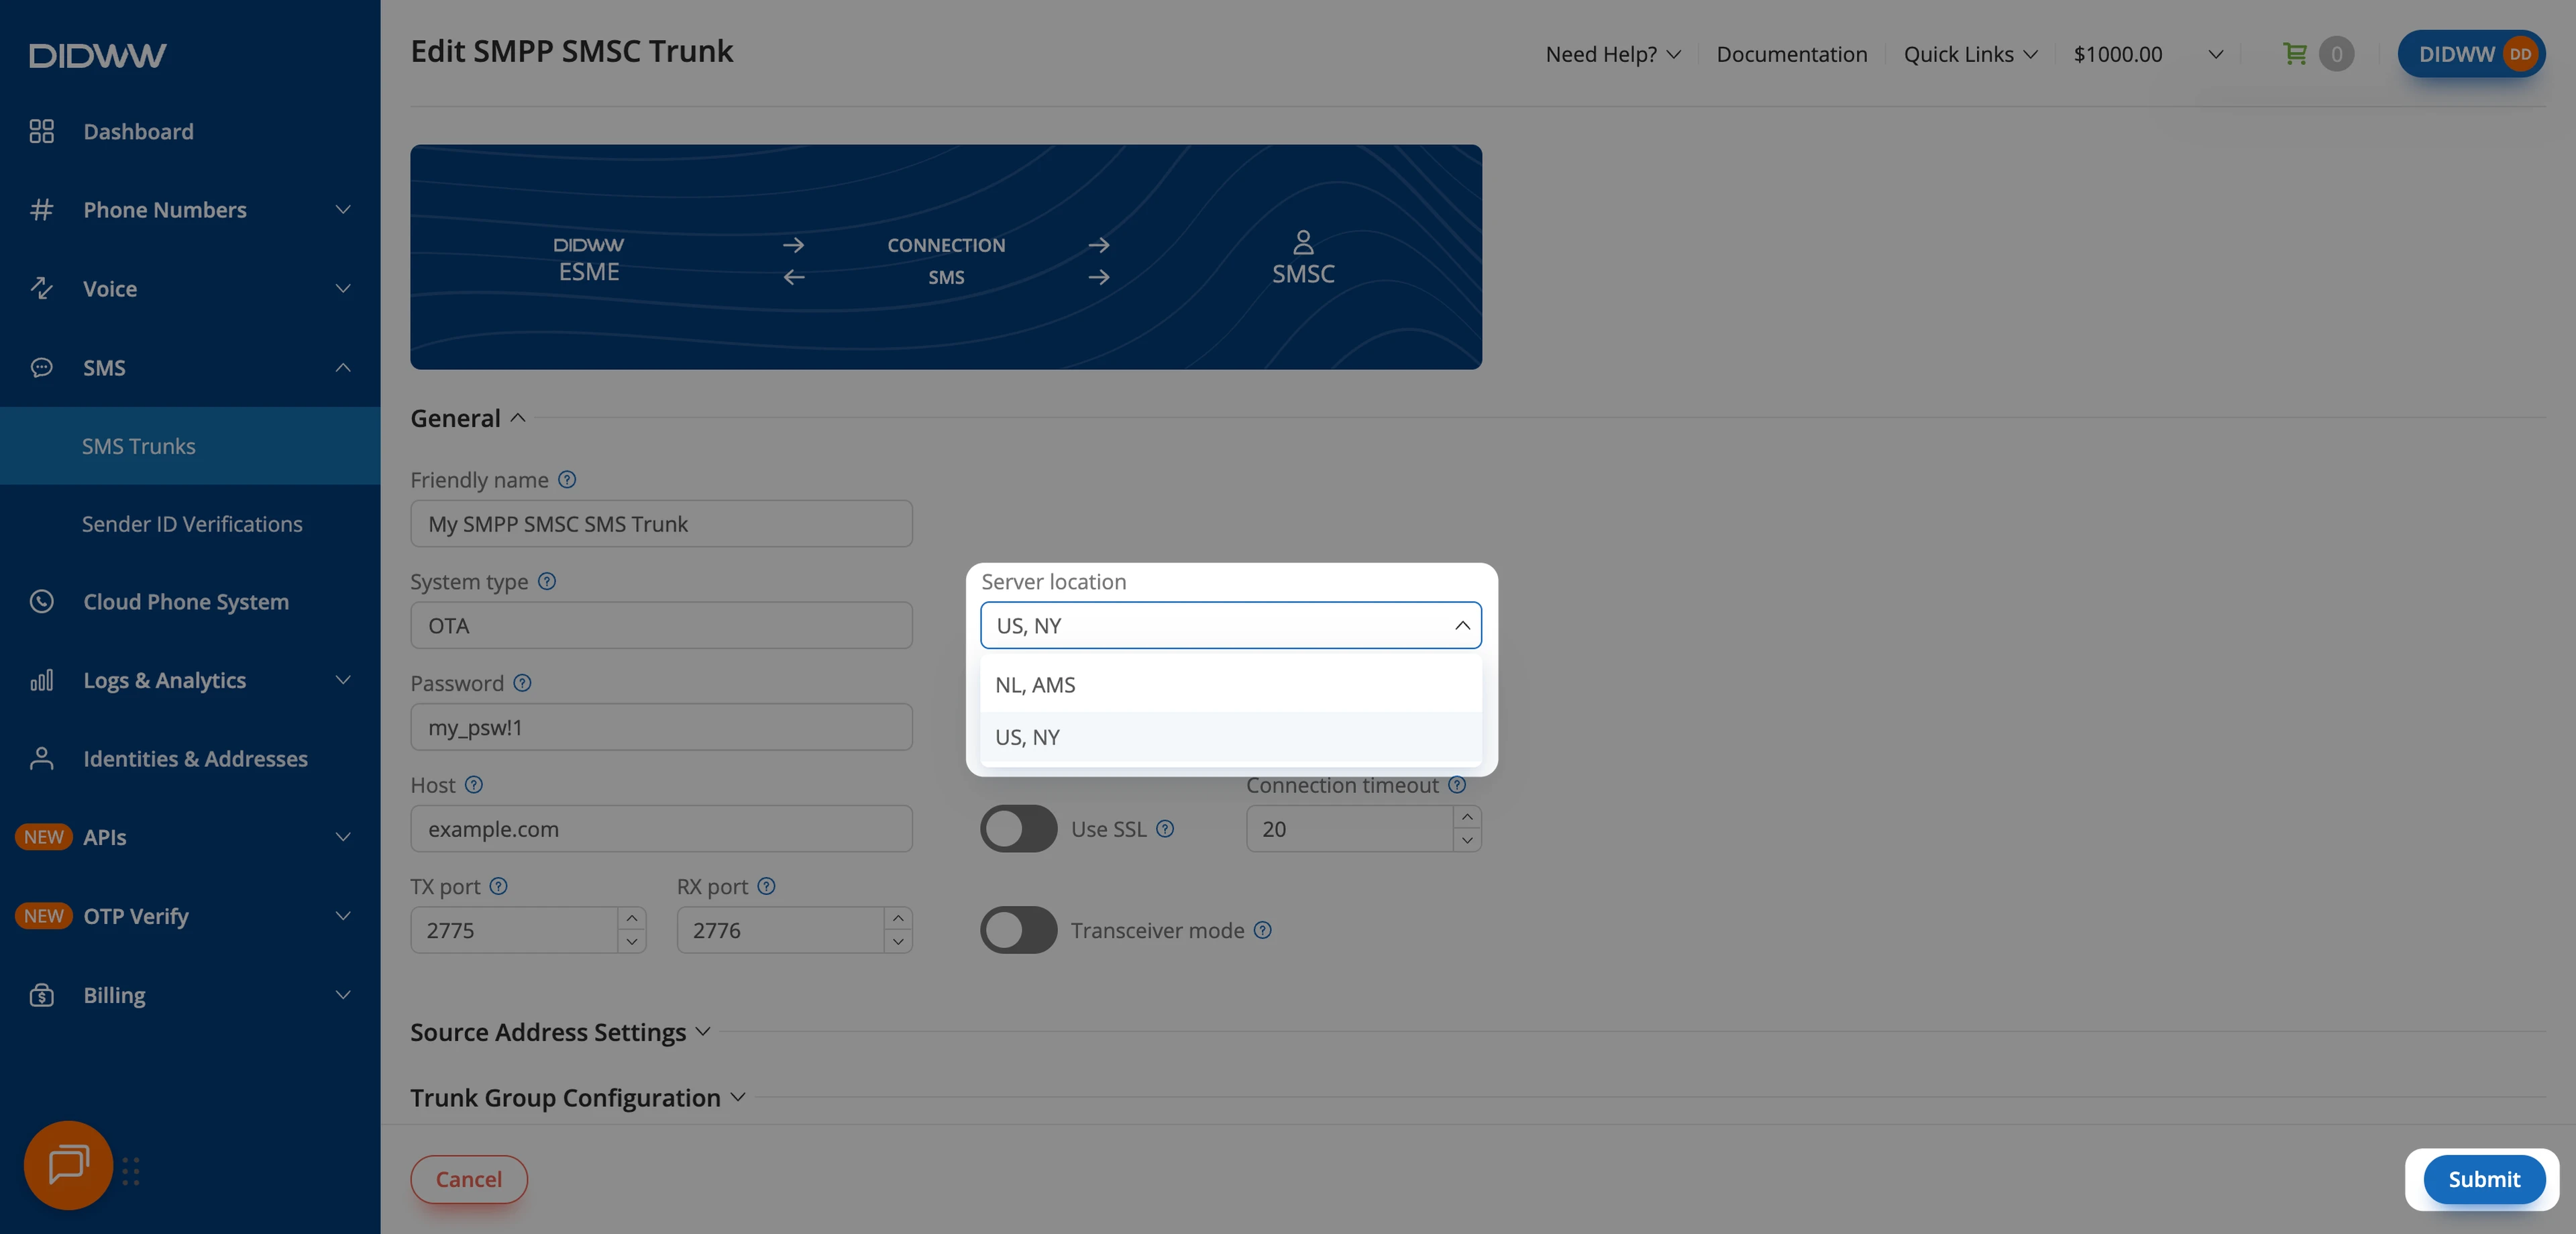
Fig. 5. Select a different Server location#
Delete SMPP SMSC trunks#
Delete one SMPP SMSC trunk from its Actions menu, or delete multiple trunks using Batch Actions.
Warning
Deleting a trunk is permanent and cannot be undone. A trunk that is assigned to any DID number cannot be deleted until it is unassigned. See Assign an SMS trunk.
In the DIDWW User Panel, go to SMS > SMS Trunks.
Locate the trunk you want to remove and click the Actions button next to it.
Select Delete.

Fig. 6. Delete one SMPP SMSC trunk#
In the Delete SMS Trunk(s) confirmation window, review the trunk and click Delete to permanently remove it.
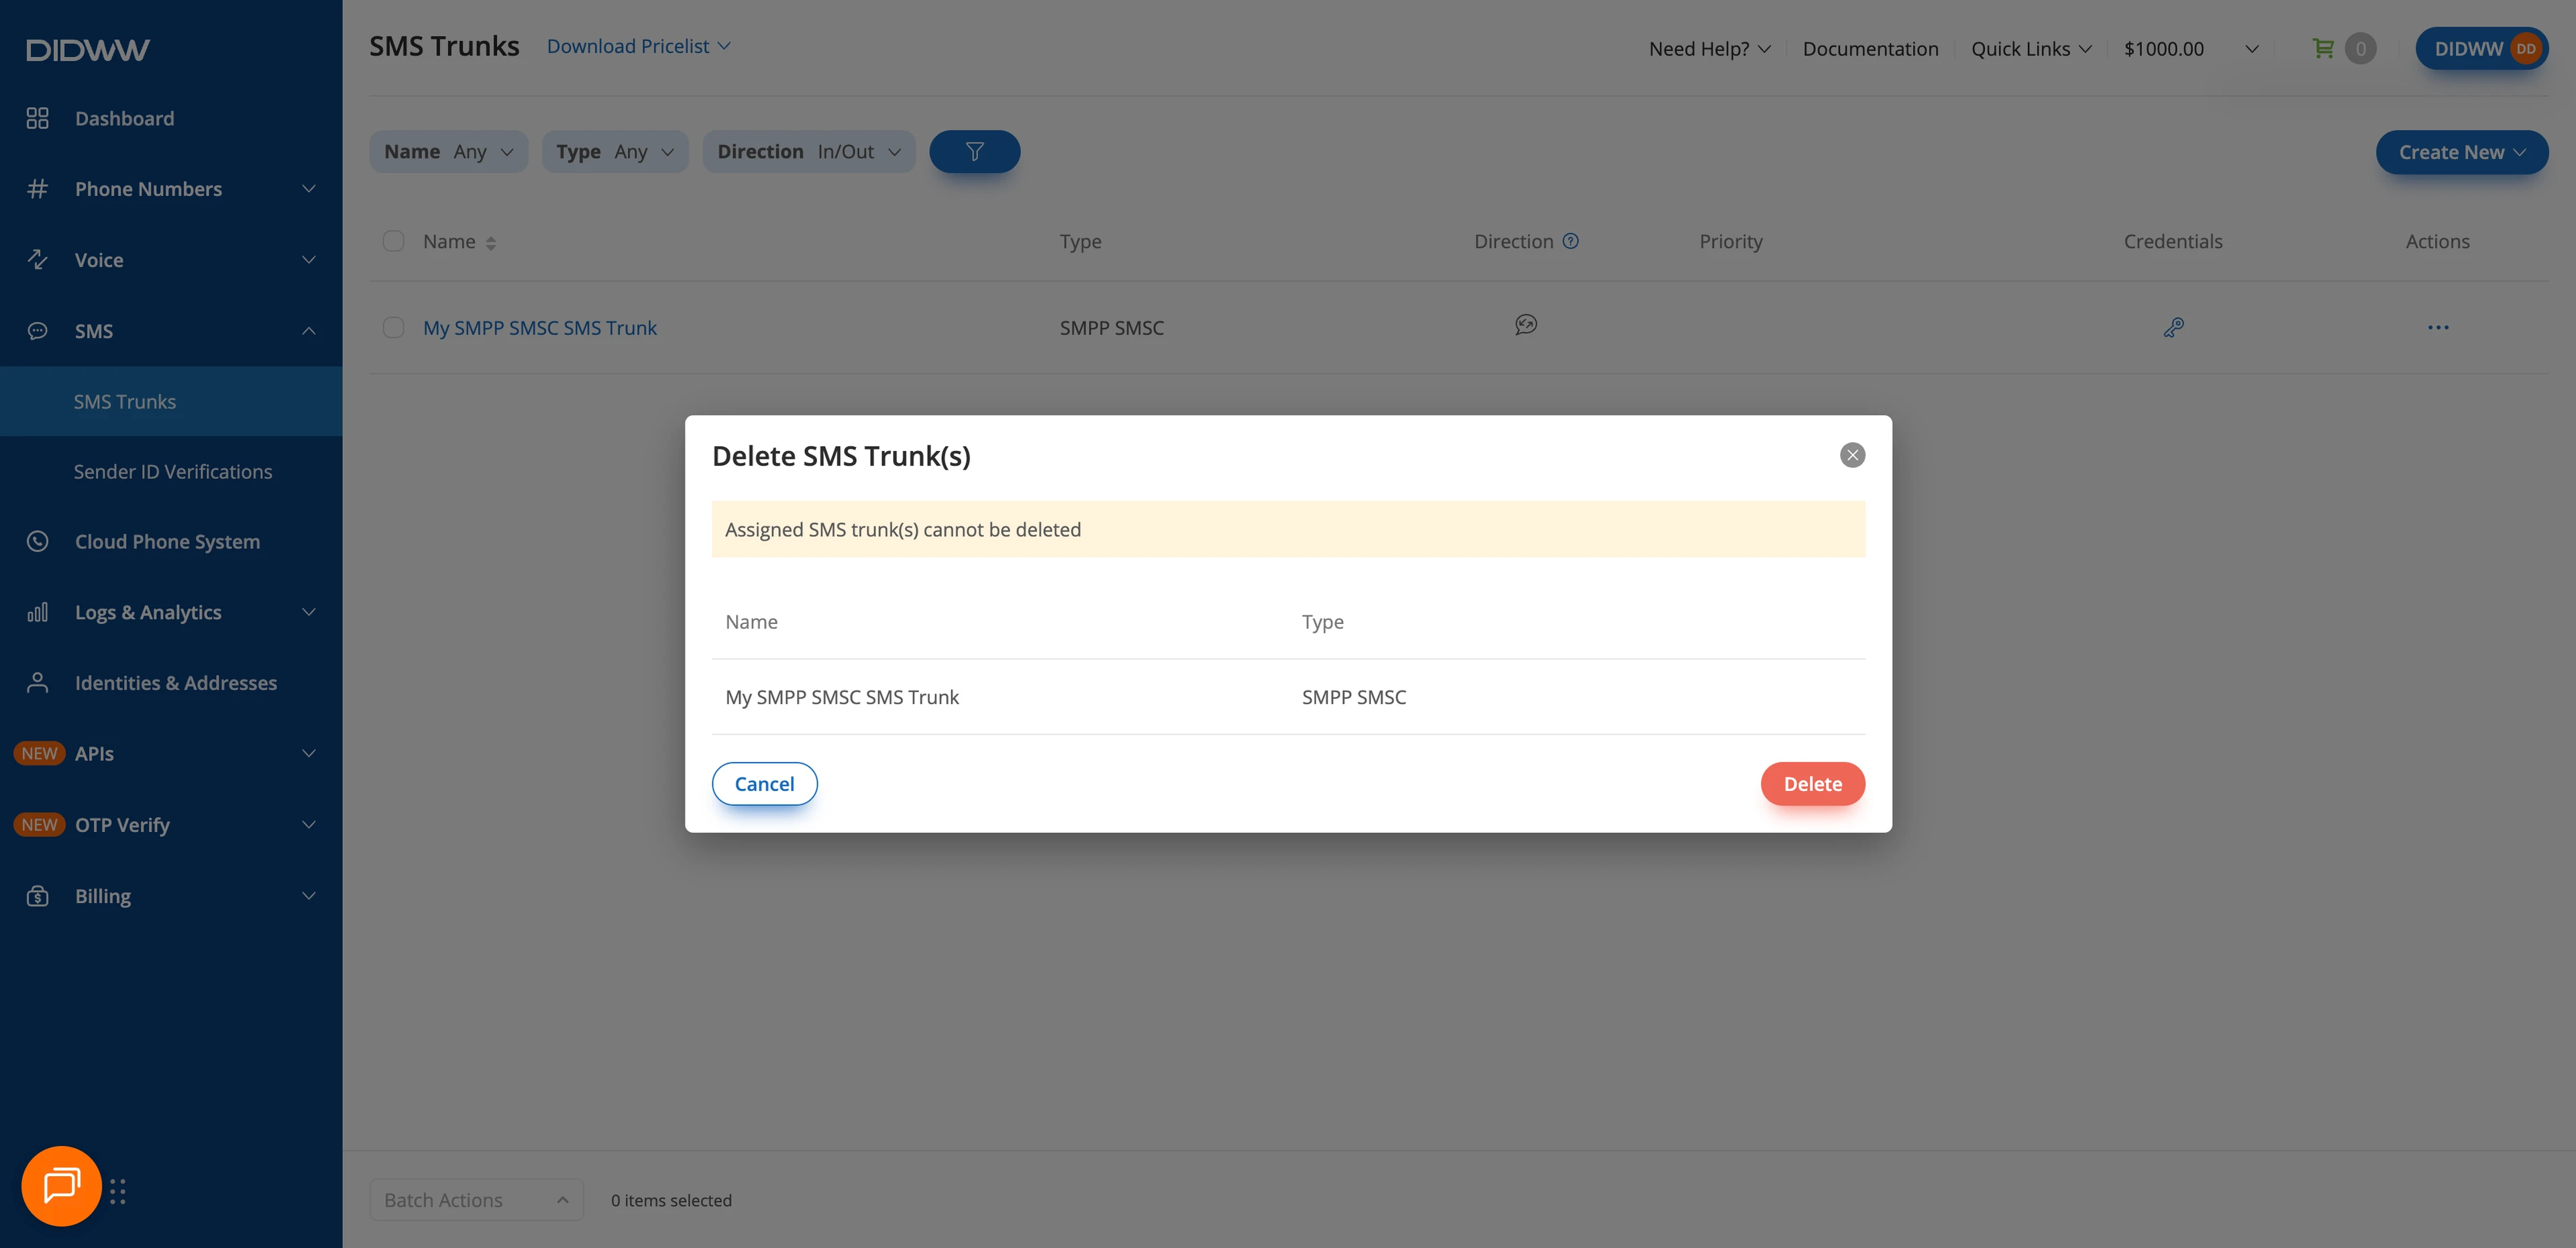
Fig. 7. Confirm the deletion#
In the DIDWW User Panel, go to SMS > SMS Trunks.
Select the trunks you want to delete by checking the boxes next to them.
At the bottom of the page, click Batch Actions > Delete SMS Trunk(s).

Fig. 8. Delete multiple SMPP SMSC trunks#
In the Delete SMS Trunk(s) confirmation window, review the selected trunks and click Delete to permanently remove them.
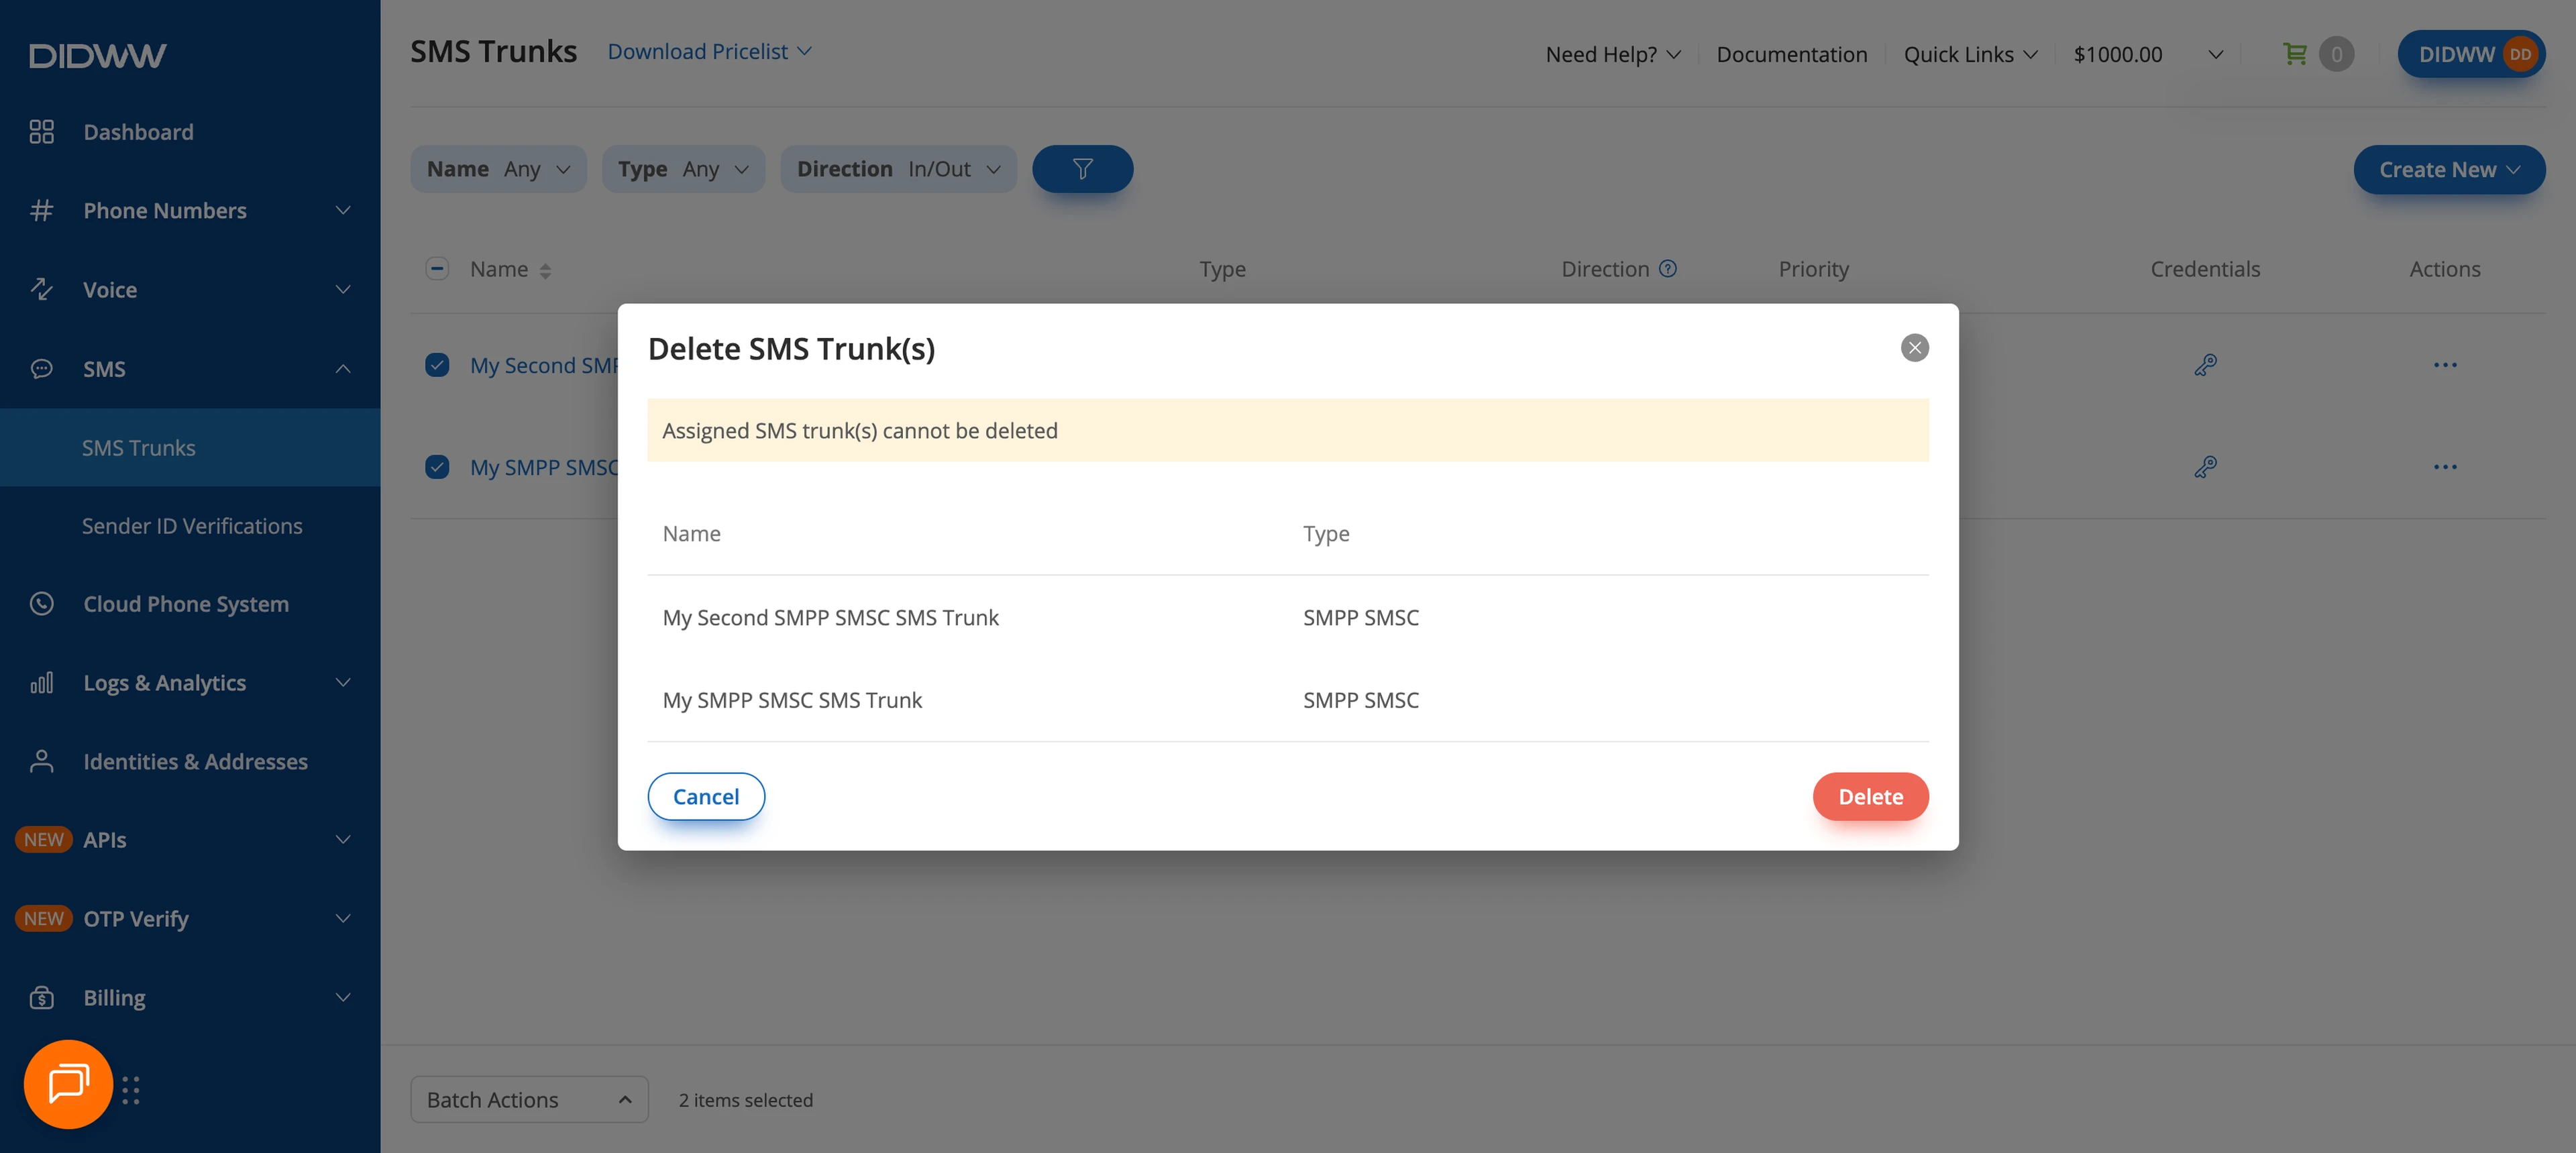
Fig. 9. Confirm the batch deletion#