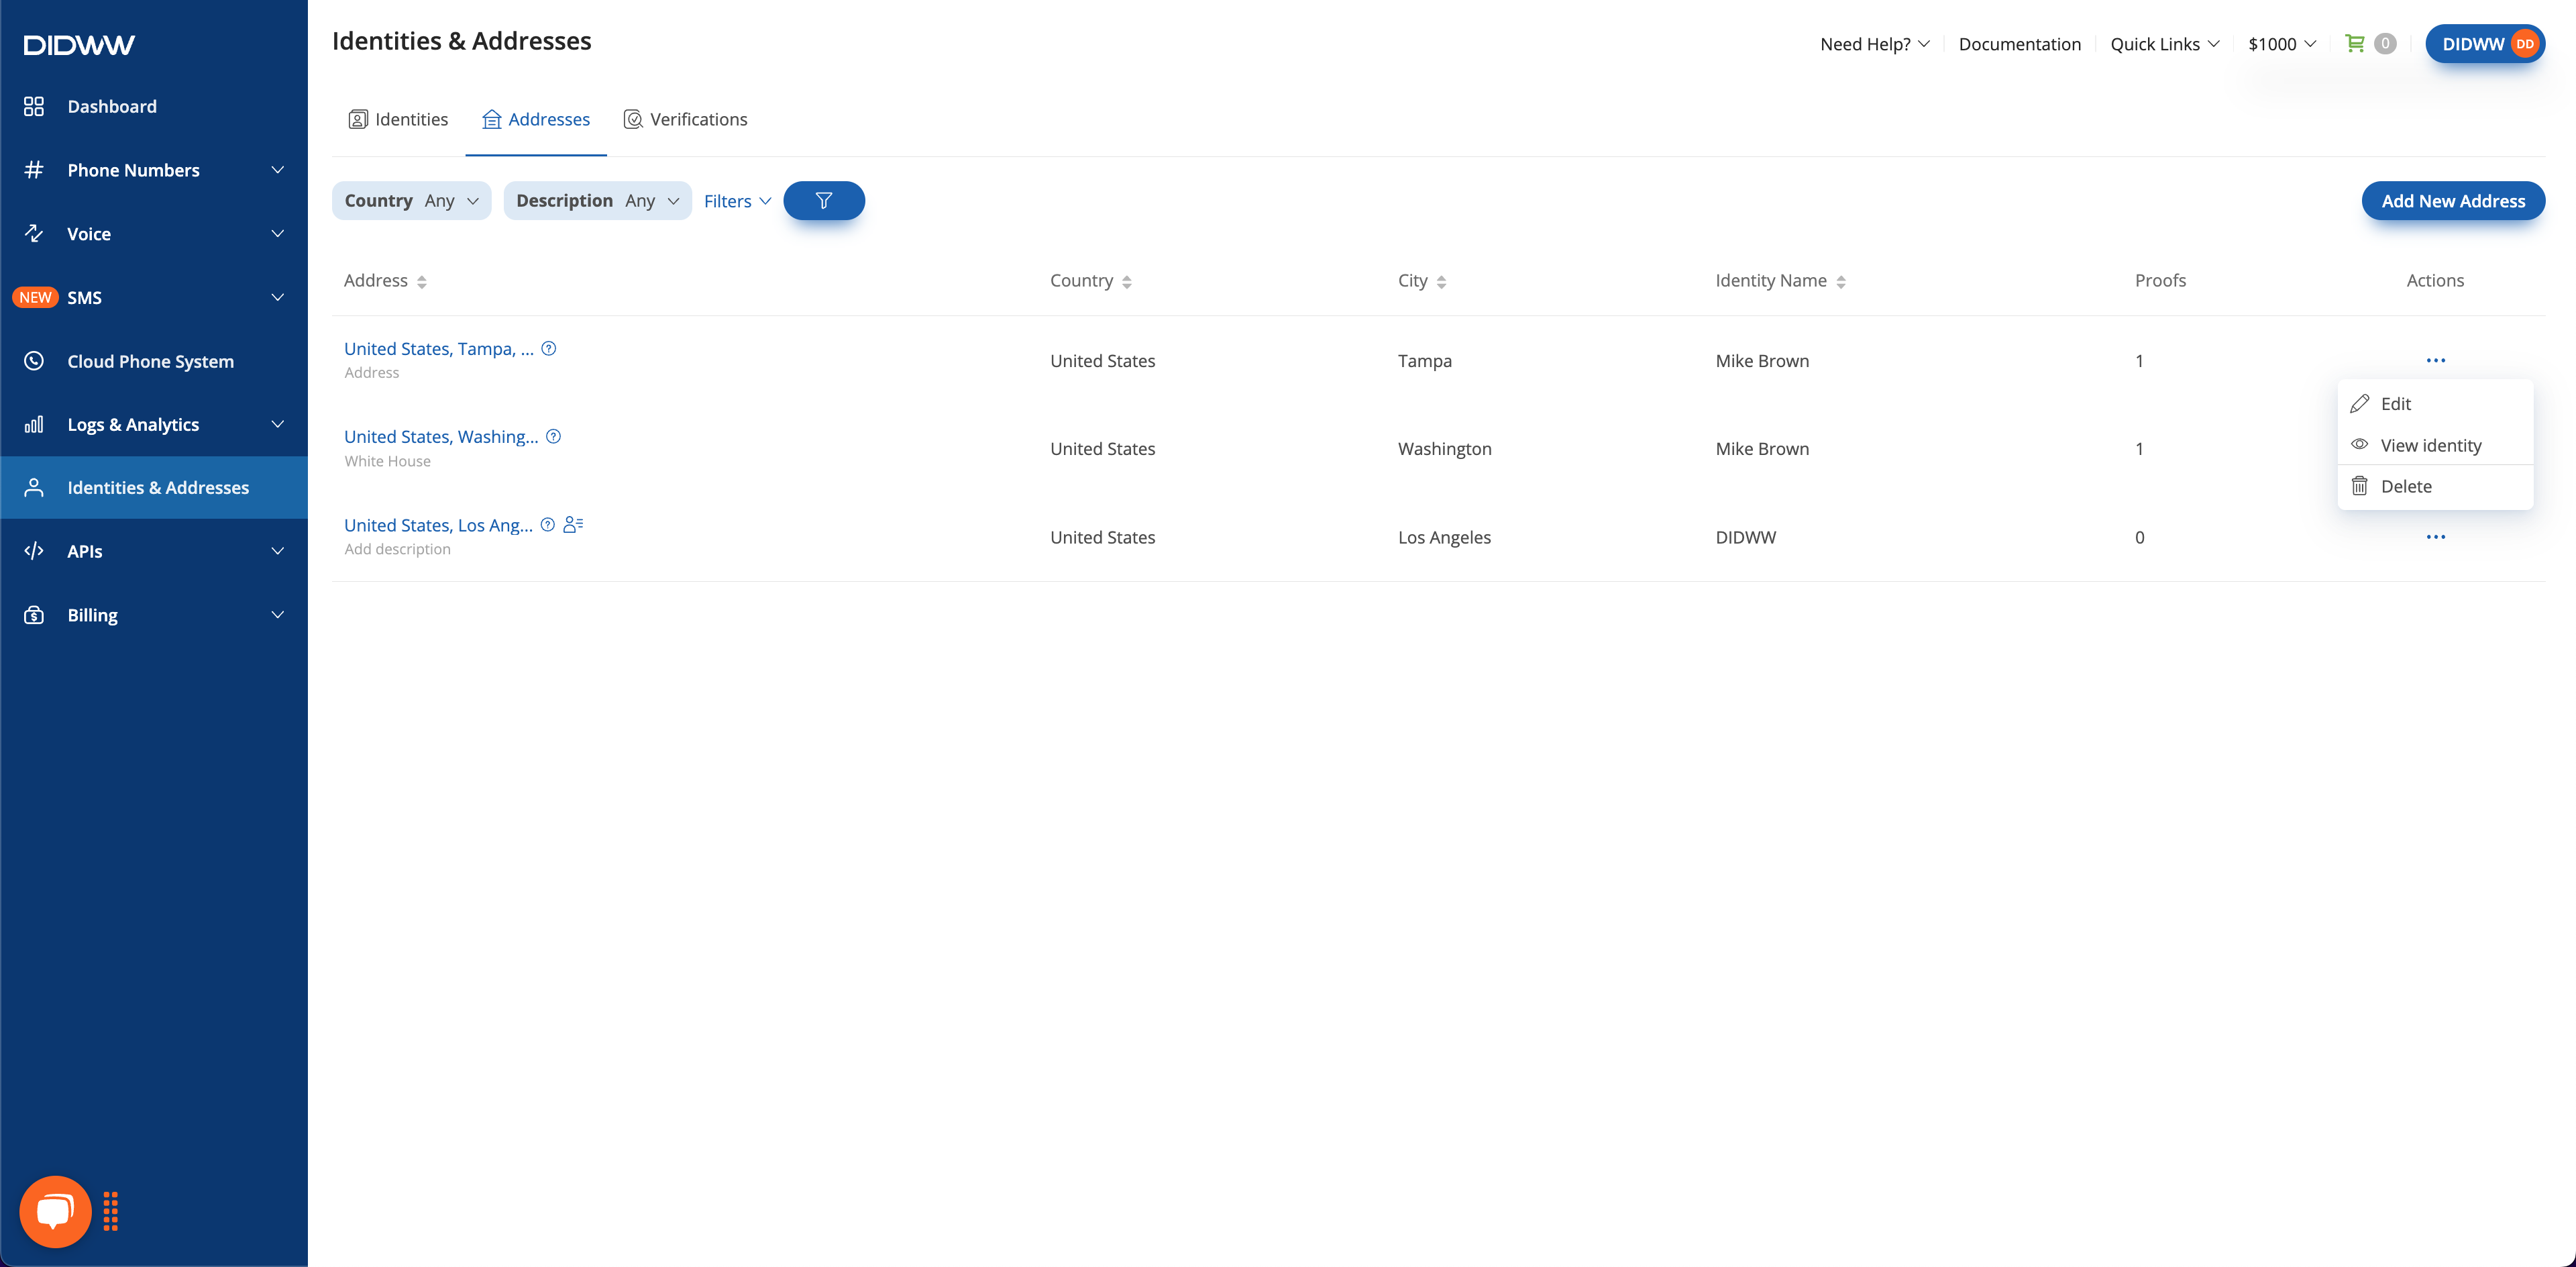
The Addresses section allows you to create and manage verified physical address records. These addresses are then linked to your identities to meet the regulatory requirements for various services.
Create a New Address
Learn the two ways to add a new address to your account.
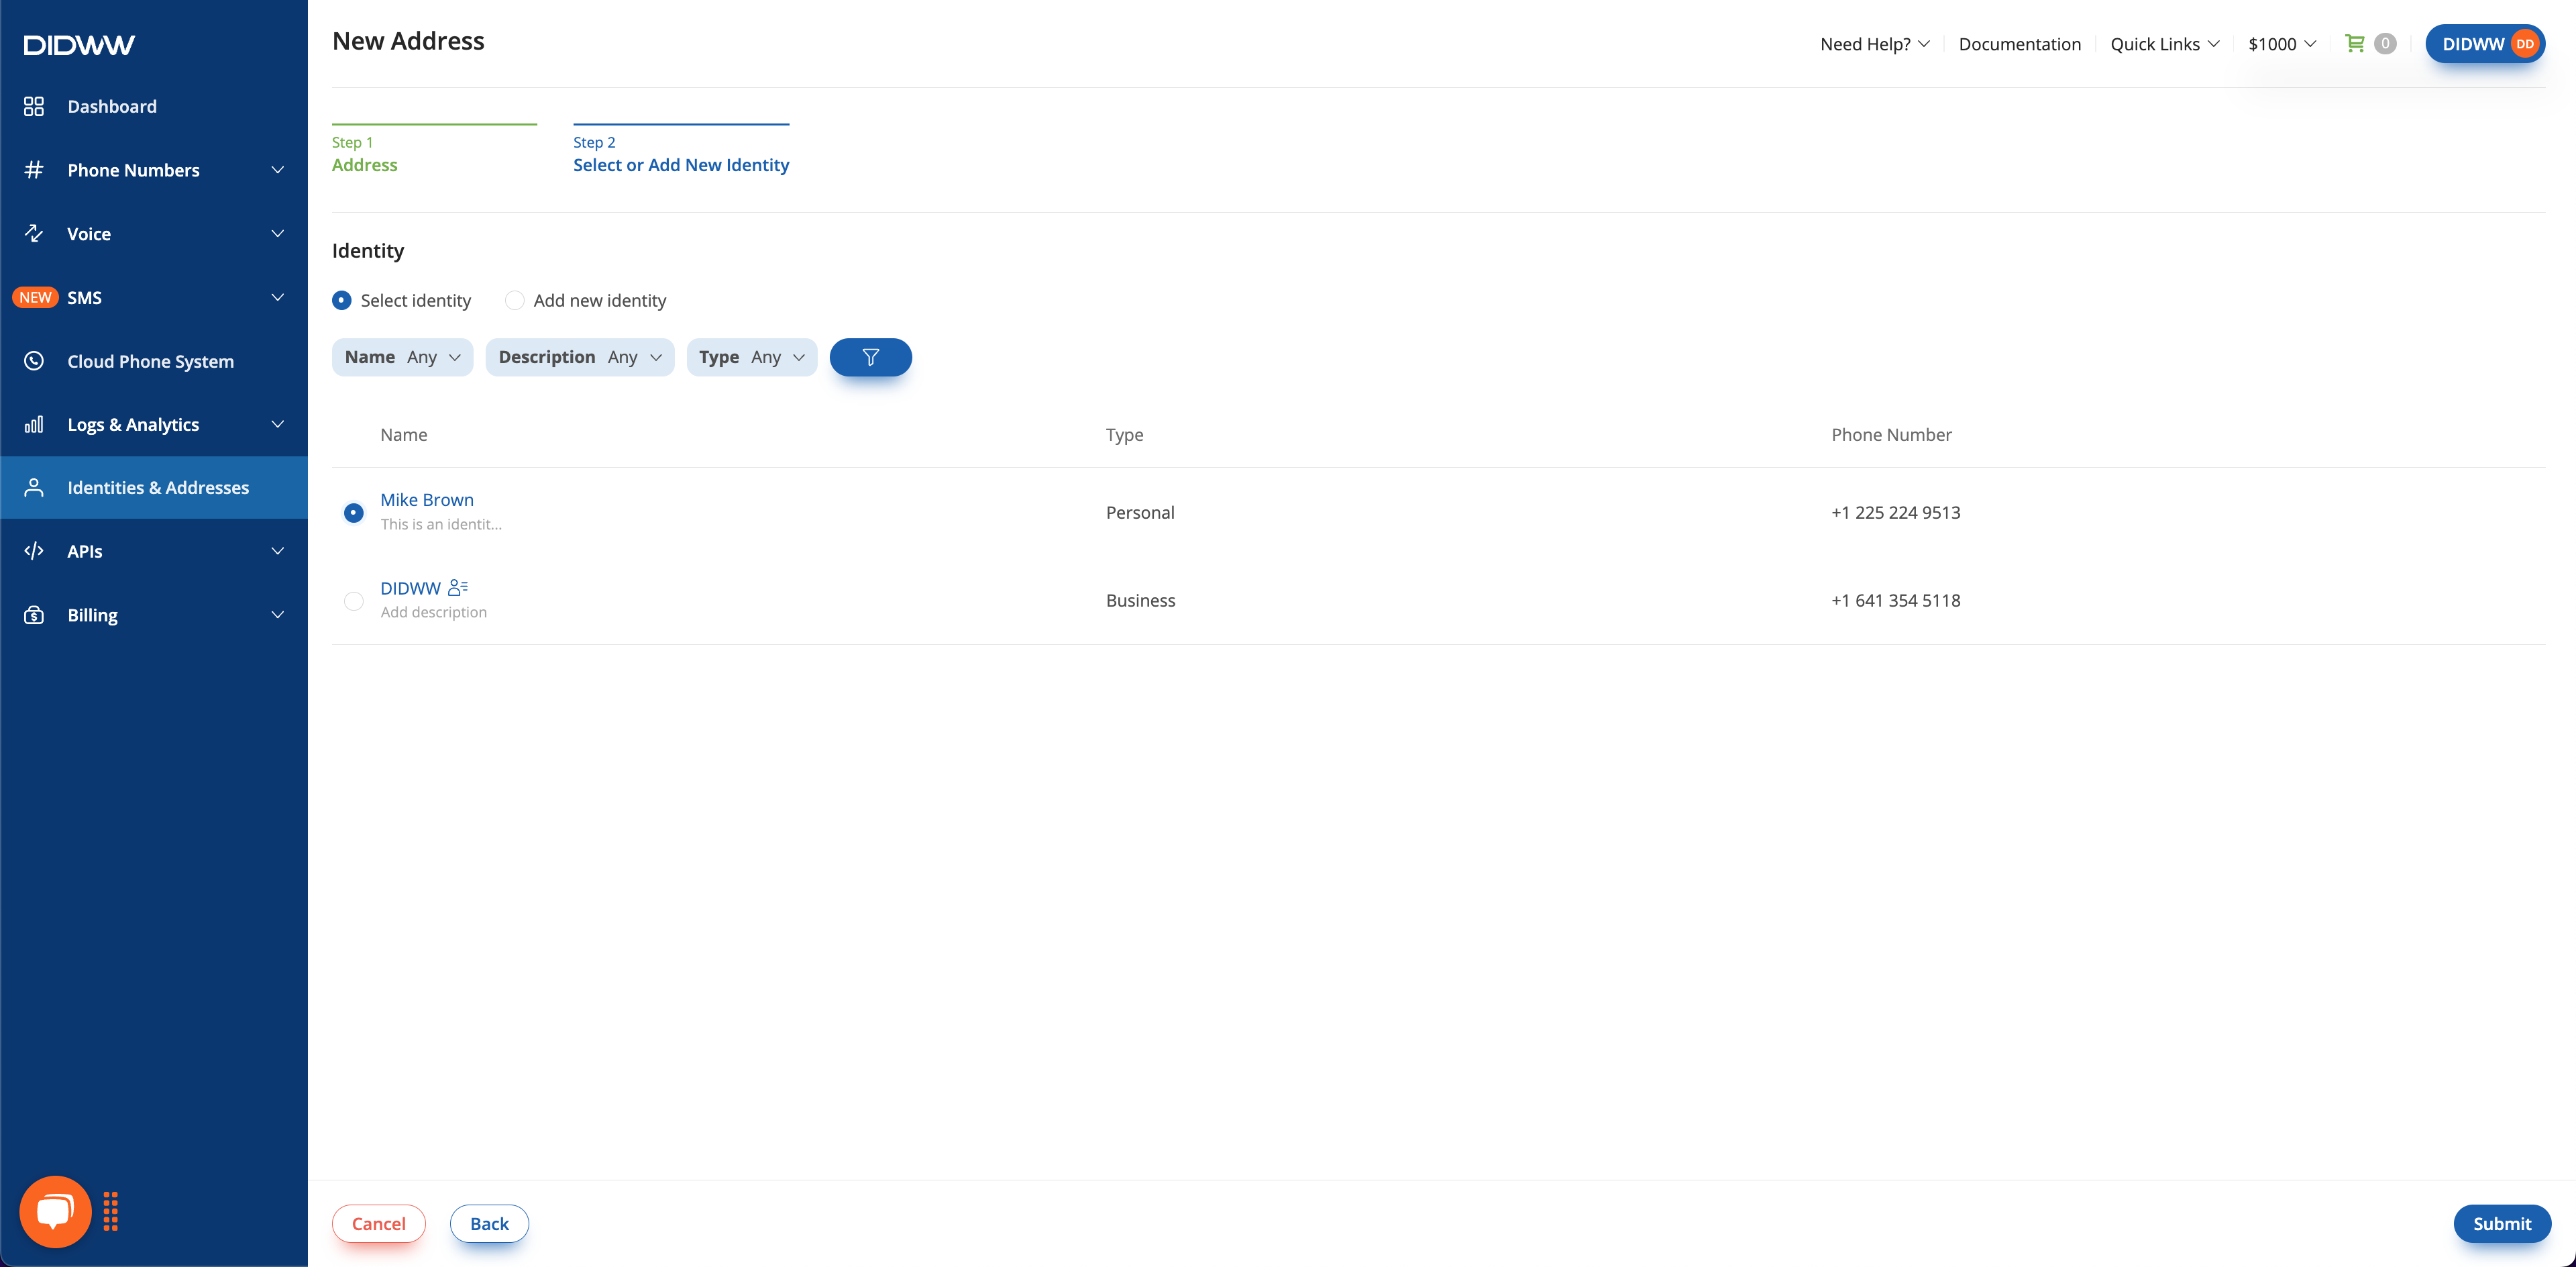
Use the Addresses tab in Identities & Addresses to add one or more addresses to an existing identity. You can also create a new address first and assign it to an identity during Step 2 of the identity creation wizard, either by selecting an existing identity or adding a new one.
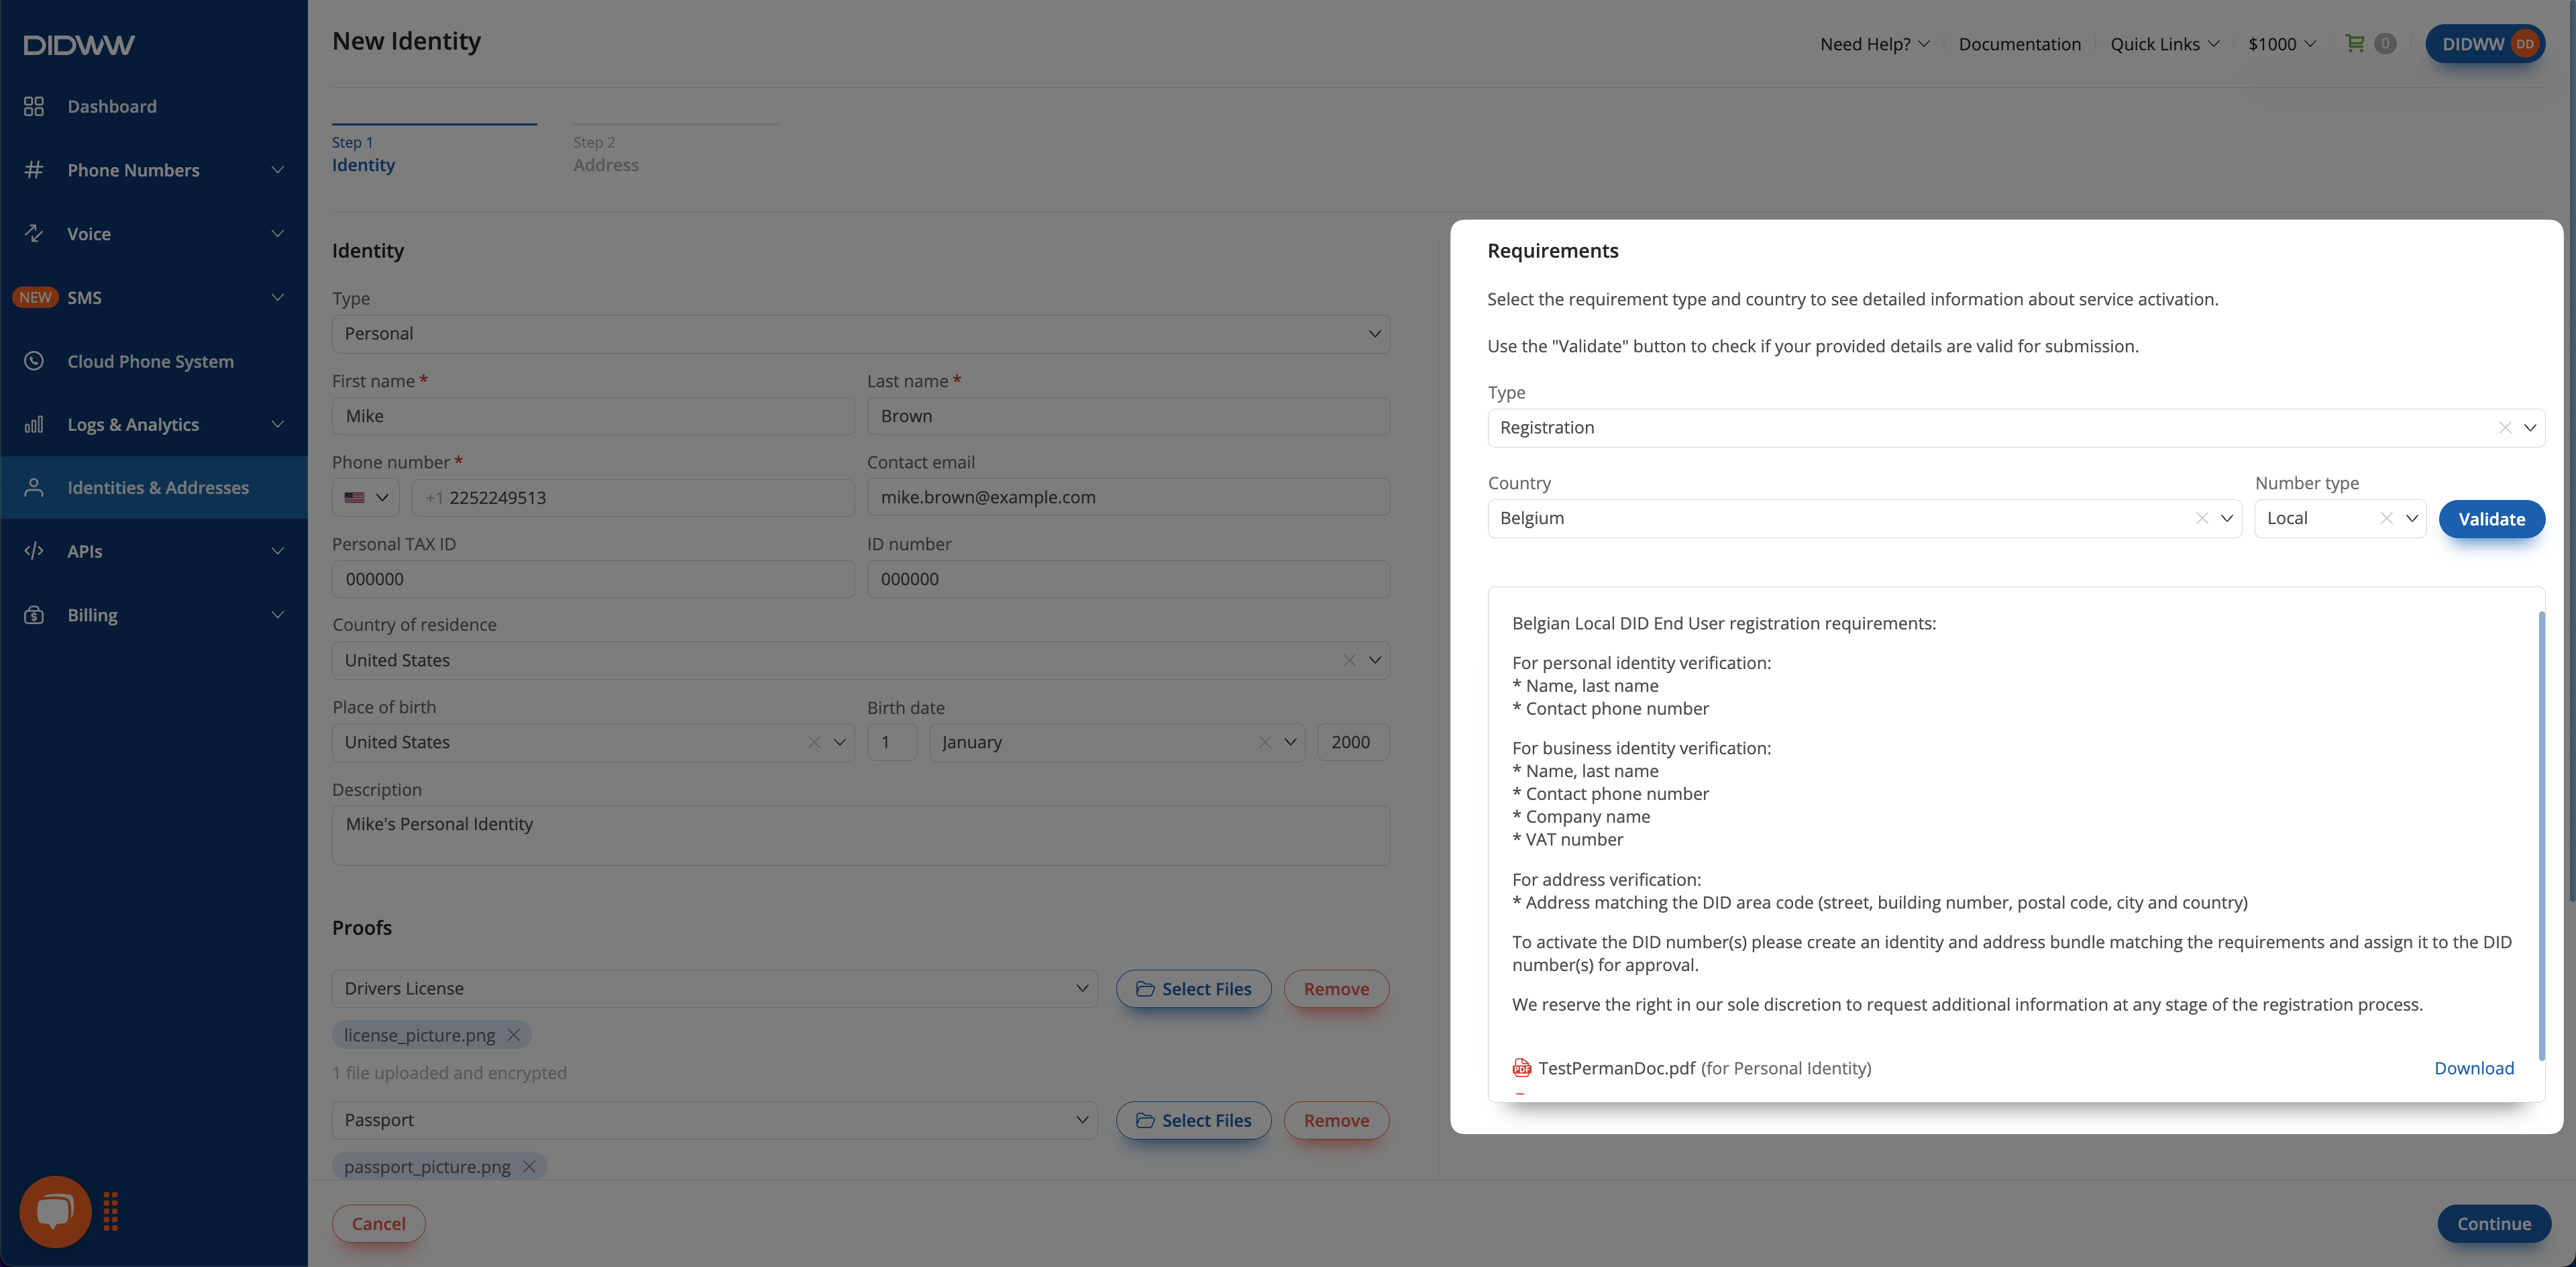
For the most efficient workflow, start by checking the requirements for your use case on the New Identity page. This ensures you have the correct documents and information before proceeding.
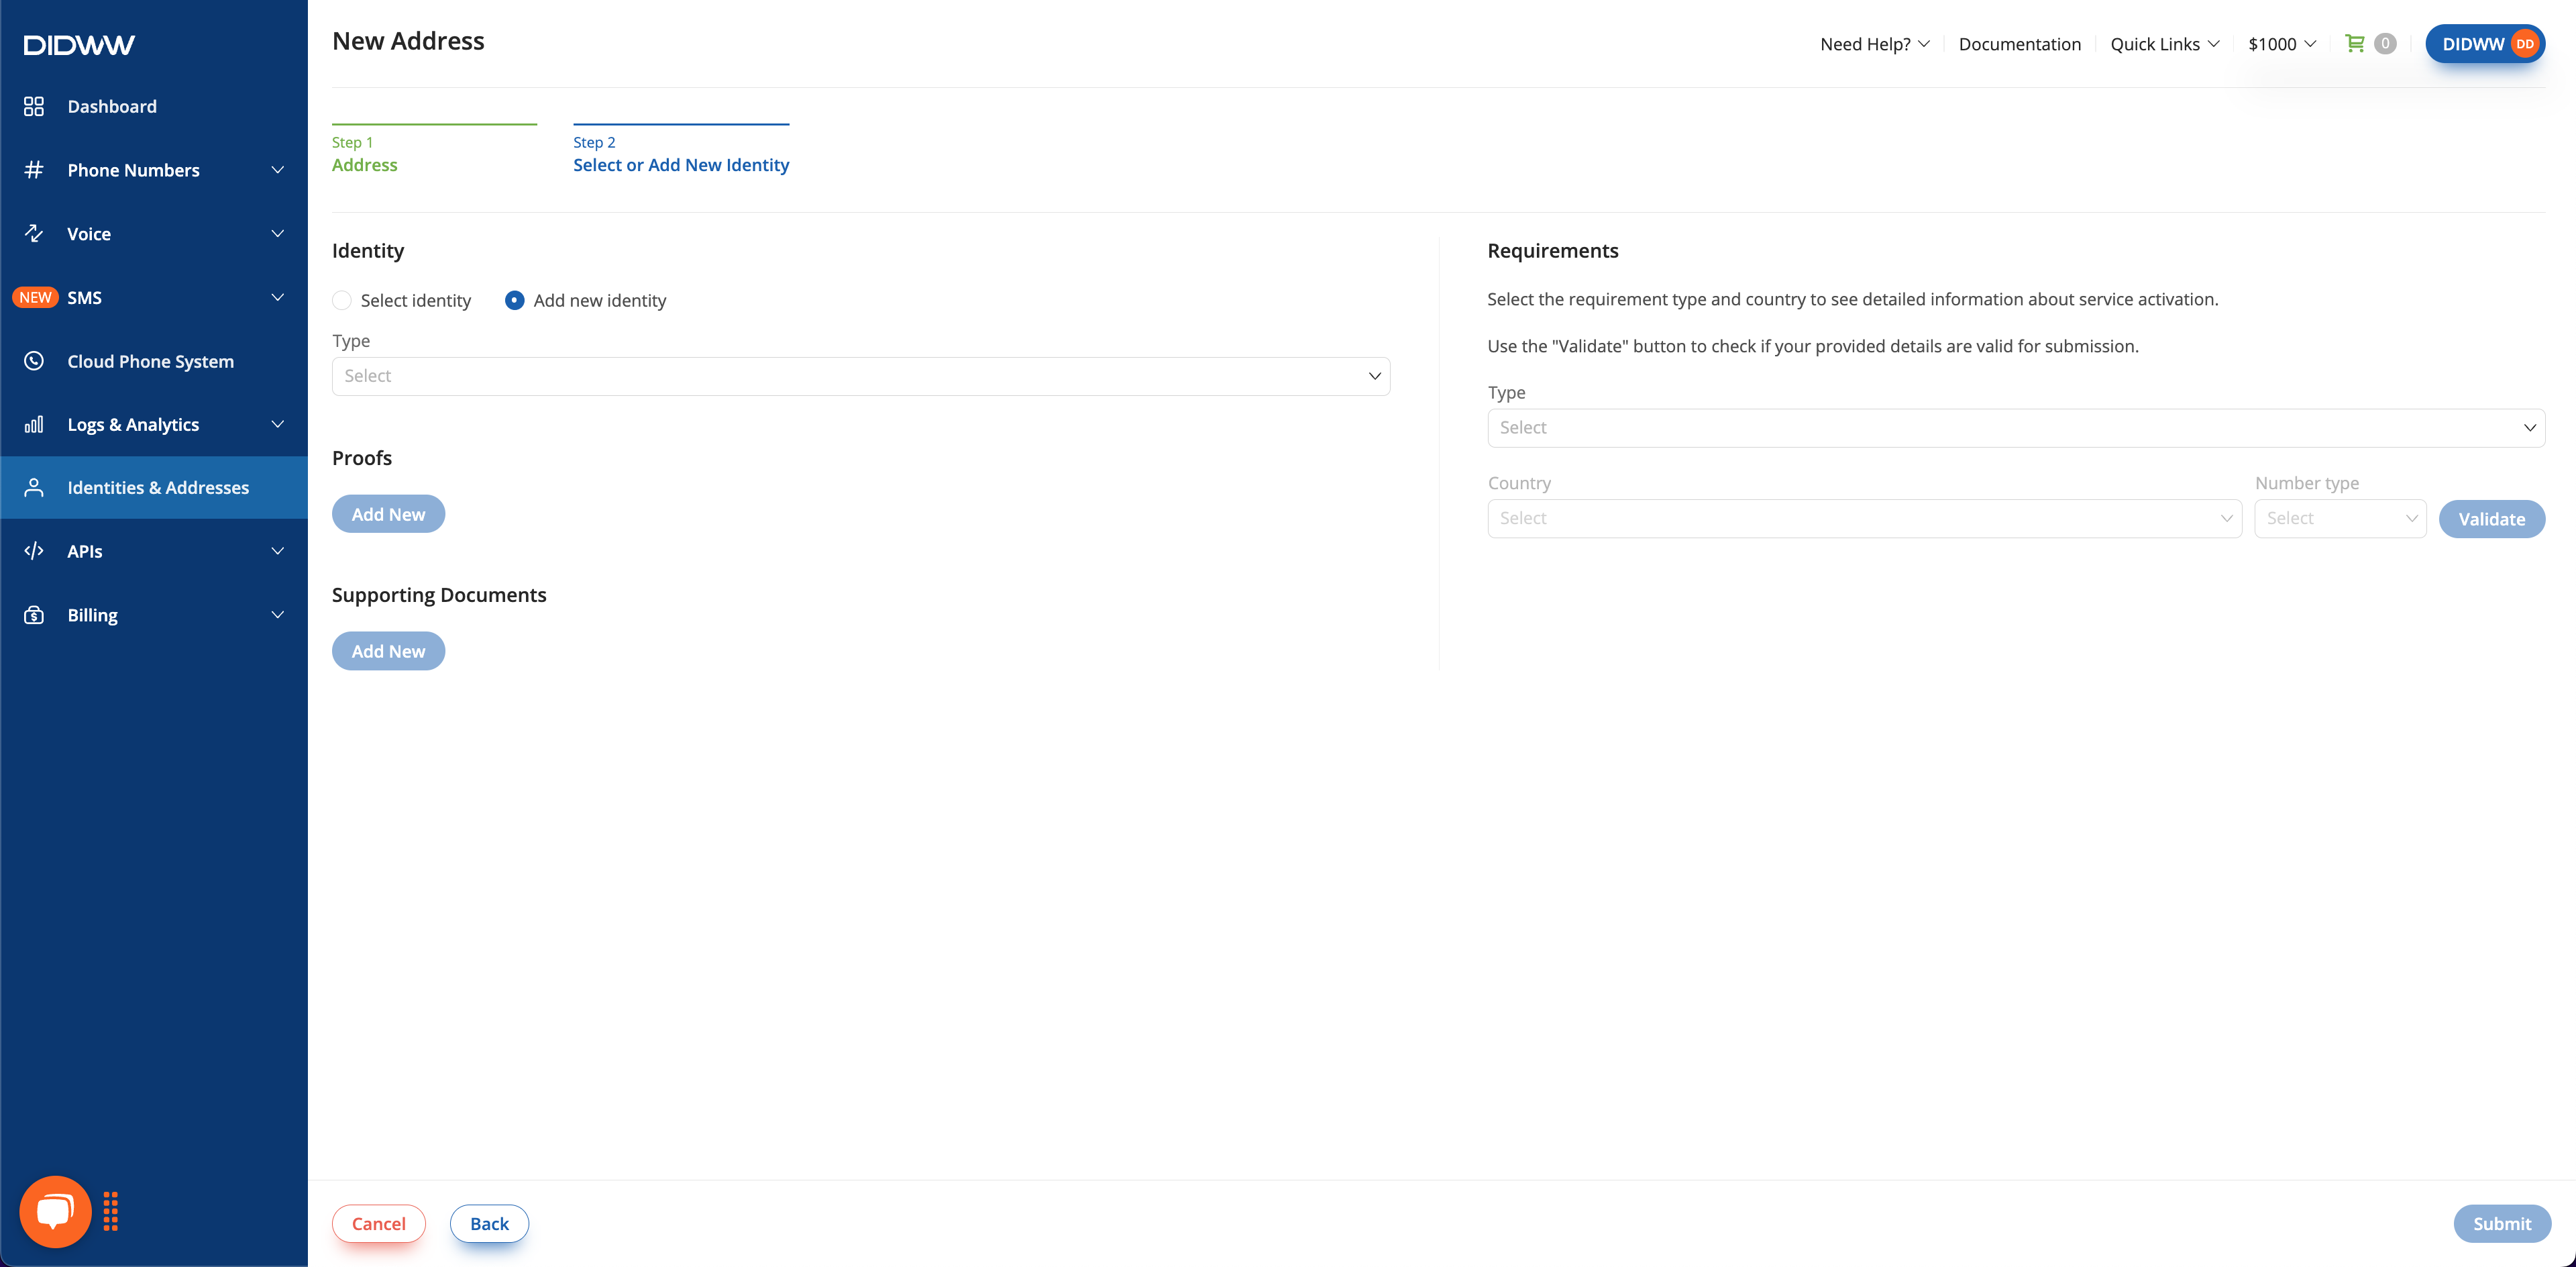
Use the Requirements checker on the right side of the page.
Select the service Type (e.g., Registration, Porting, A2P Campaigns, or Emergency Calling) and the target Country (e.g., Belgium).
Review the displayed list of required documents and details. If any downloadable forms are provided, download them, complete as instructed, and upload them as part of the submission.
Note
Each requirement type corresponds to a specific use case:
Registration – Submit documents needed to register a DID number’s end-user.
Porting – Provide details to create a porting request from another provider to DIDWW.
A2P Campaigns – Required to register and enable SMS delivery via Long Code or Alphanumeric Sender ID for A2P messaging services.
Emergency Calling – Required to register and enable emergency calling services for your DID number.
Fig. 2 Checking registration requirements for Belgium.#
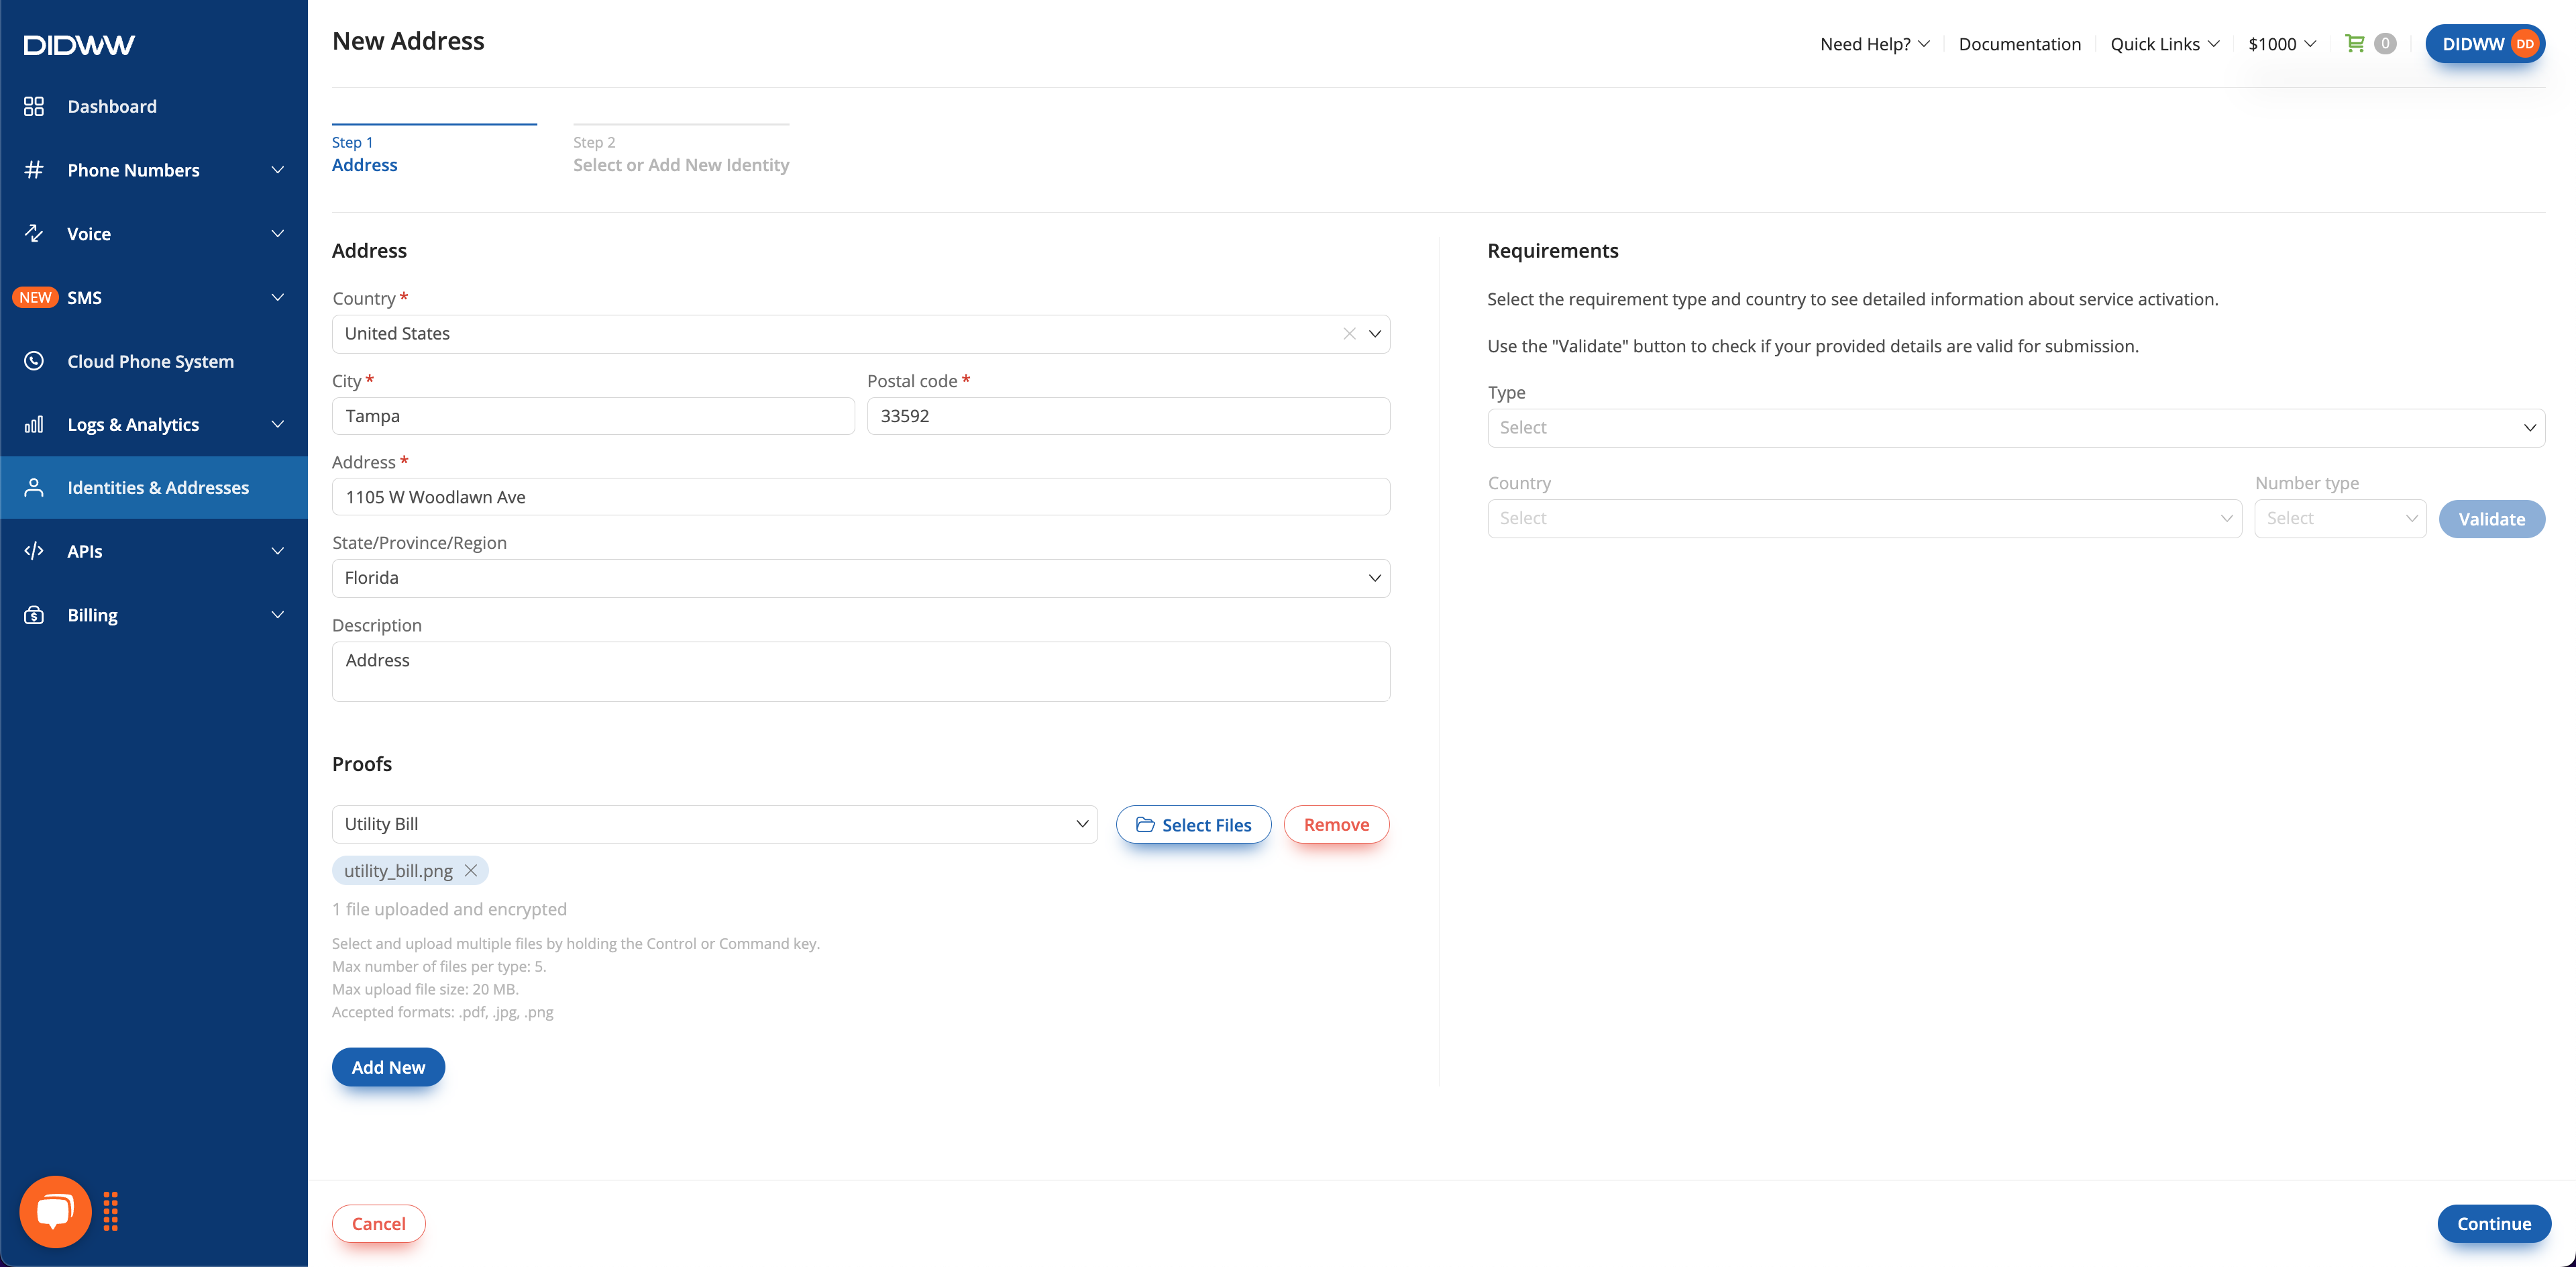
Step 3: Enter Address Details and Upload Documents#
Important
Providing incorrect or insufficient documents may result in a delayed or declined registration process.
All file content is encrypted with AES‑256‑CBC and stored on our servers. Only authorized parties can decrypt it using private keys stored in a Hardware Security Module (HSM).
The maximum upload file size is20MB. The supported file formats .pdf, .jpg, .png.
After reviewing the requirements, fill in the Step 1: Address details and upload the required documents.

button on the right, then select Edit.