

Manage Trunk Groups#
Manage existing inbound Trunk Groups from the Inbound Trunks page. View a group’s settings and member trunks, edit the group, configure how member trunks are selected, or delete groups that are no longer required.
Before you begin#
An active DIDWW account is required. Sign in to DIDWW.
An existing inbound Trunk Group is required. If you do not have one, see Create a Trunk Group.
View a Trunk Group#
In the DIDWW User Panel, go to Voice > Inbound Trunks.
Click the name of the Trunk Group.
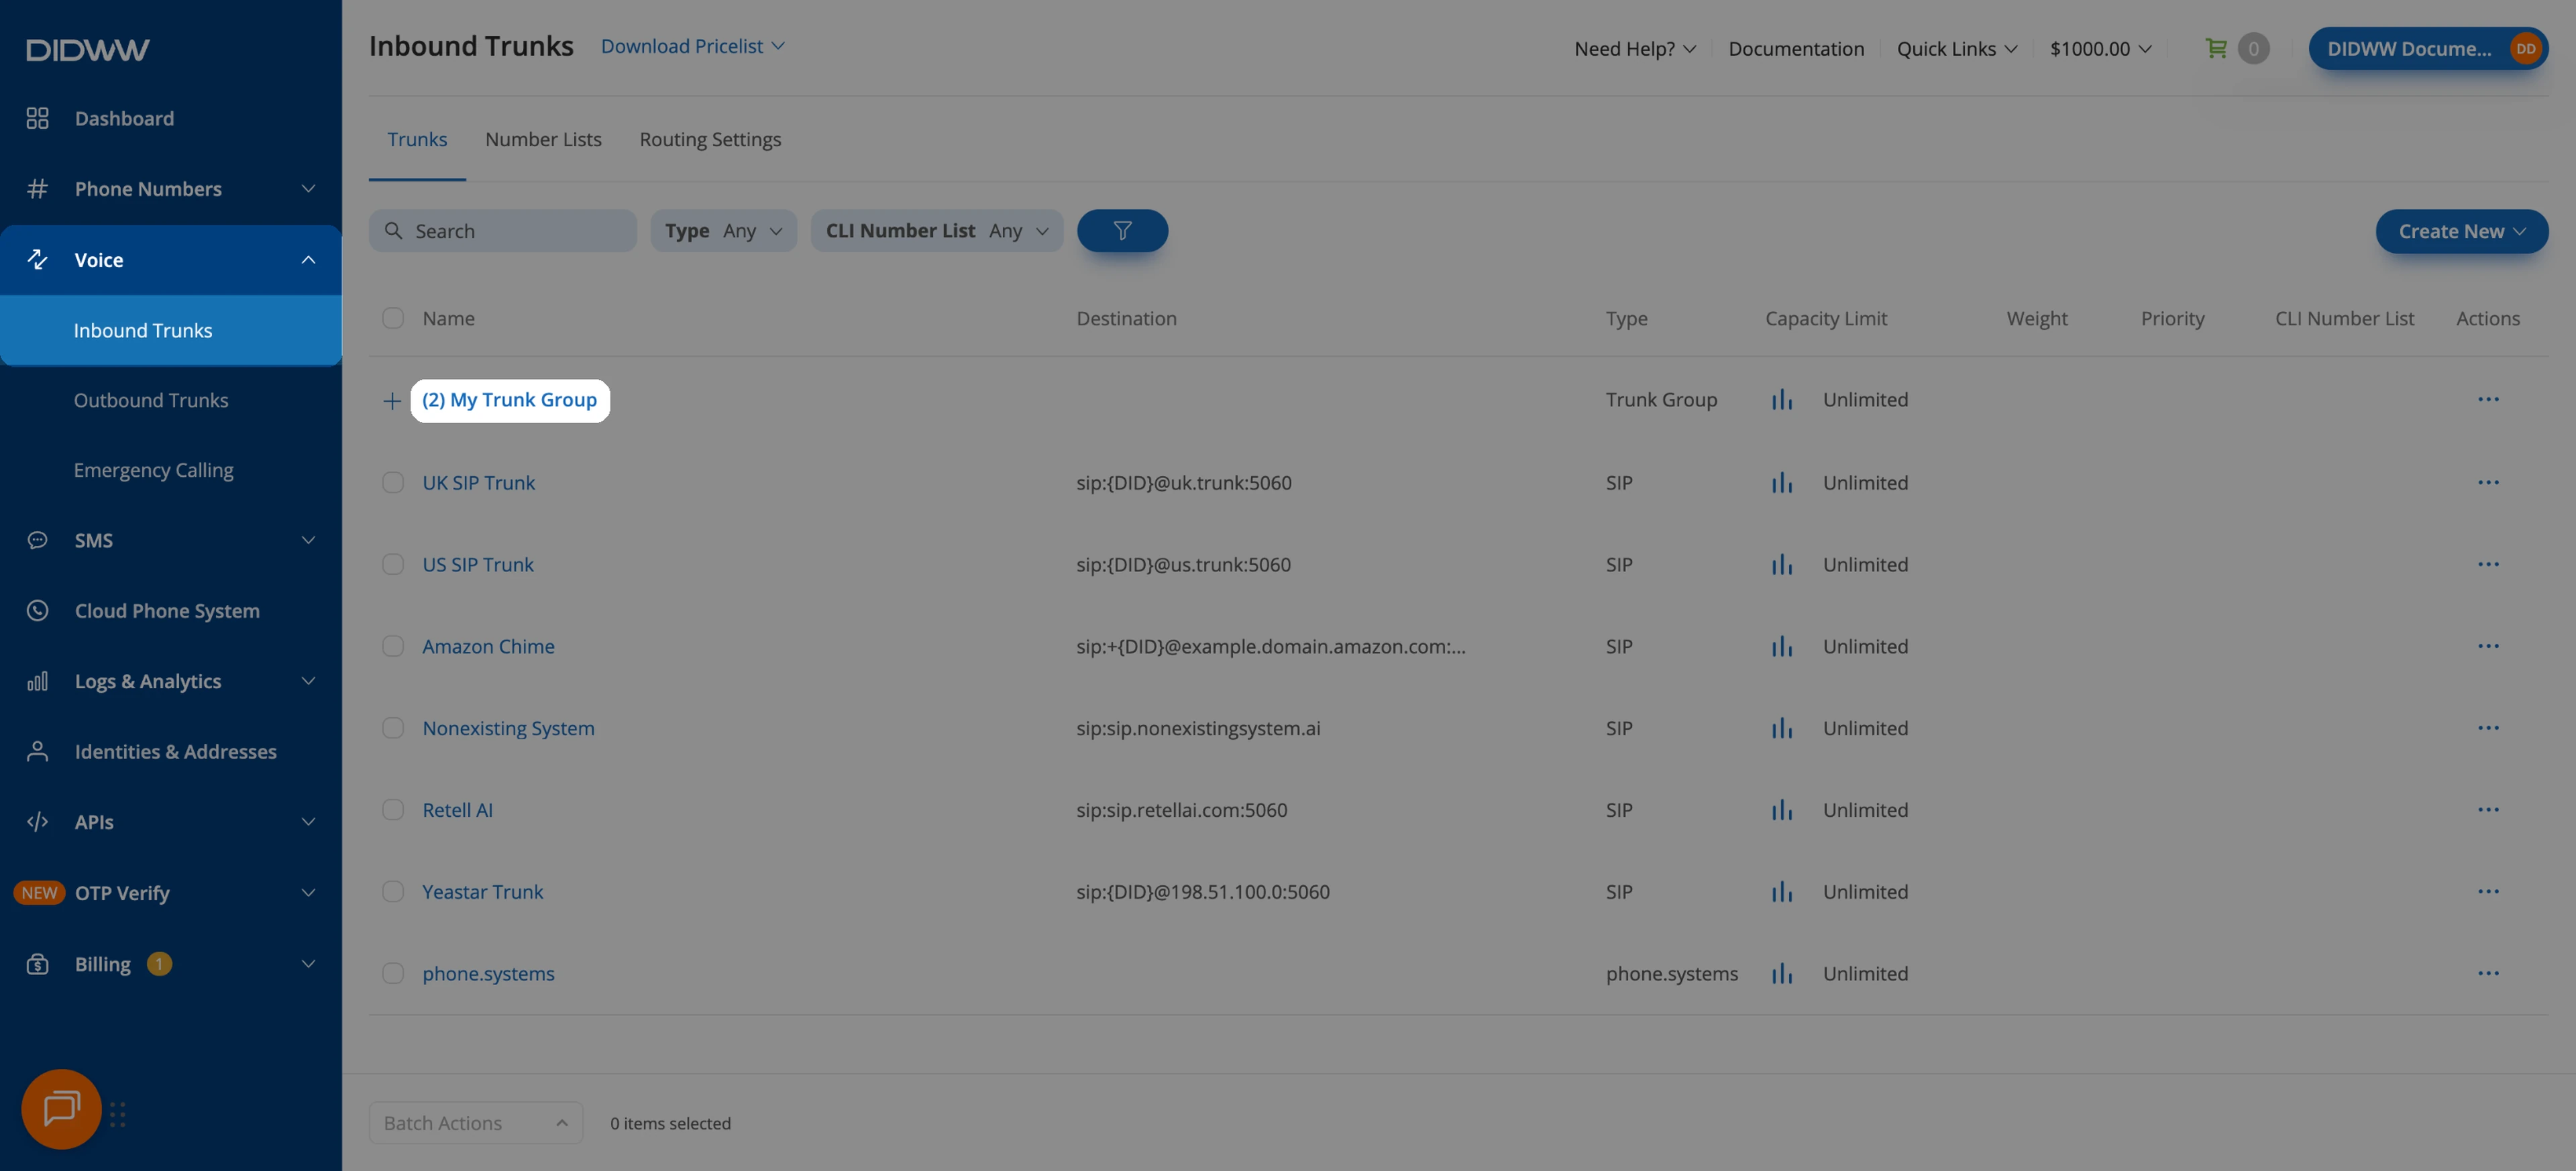
Fig. 1. Open the Trunk Group details#
View Inbound Trunk Group displays the group Name, Capacity Limit, and the member Trunks with their Priority and Weight. Click a member trunk name to open that trunk, or click Close to return to the trunk list.
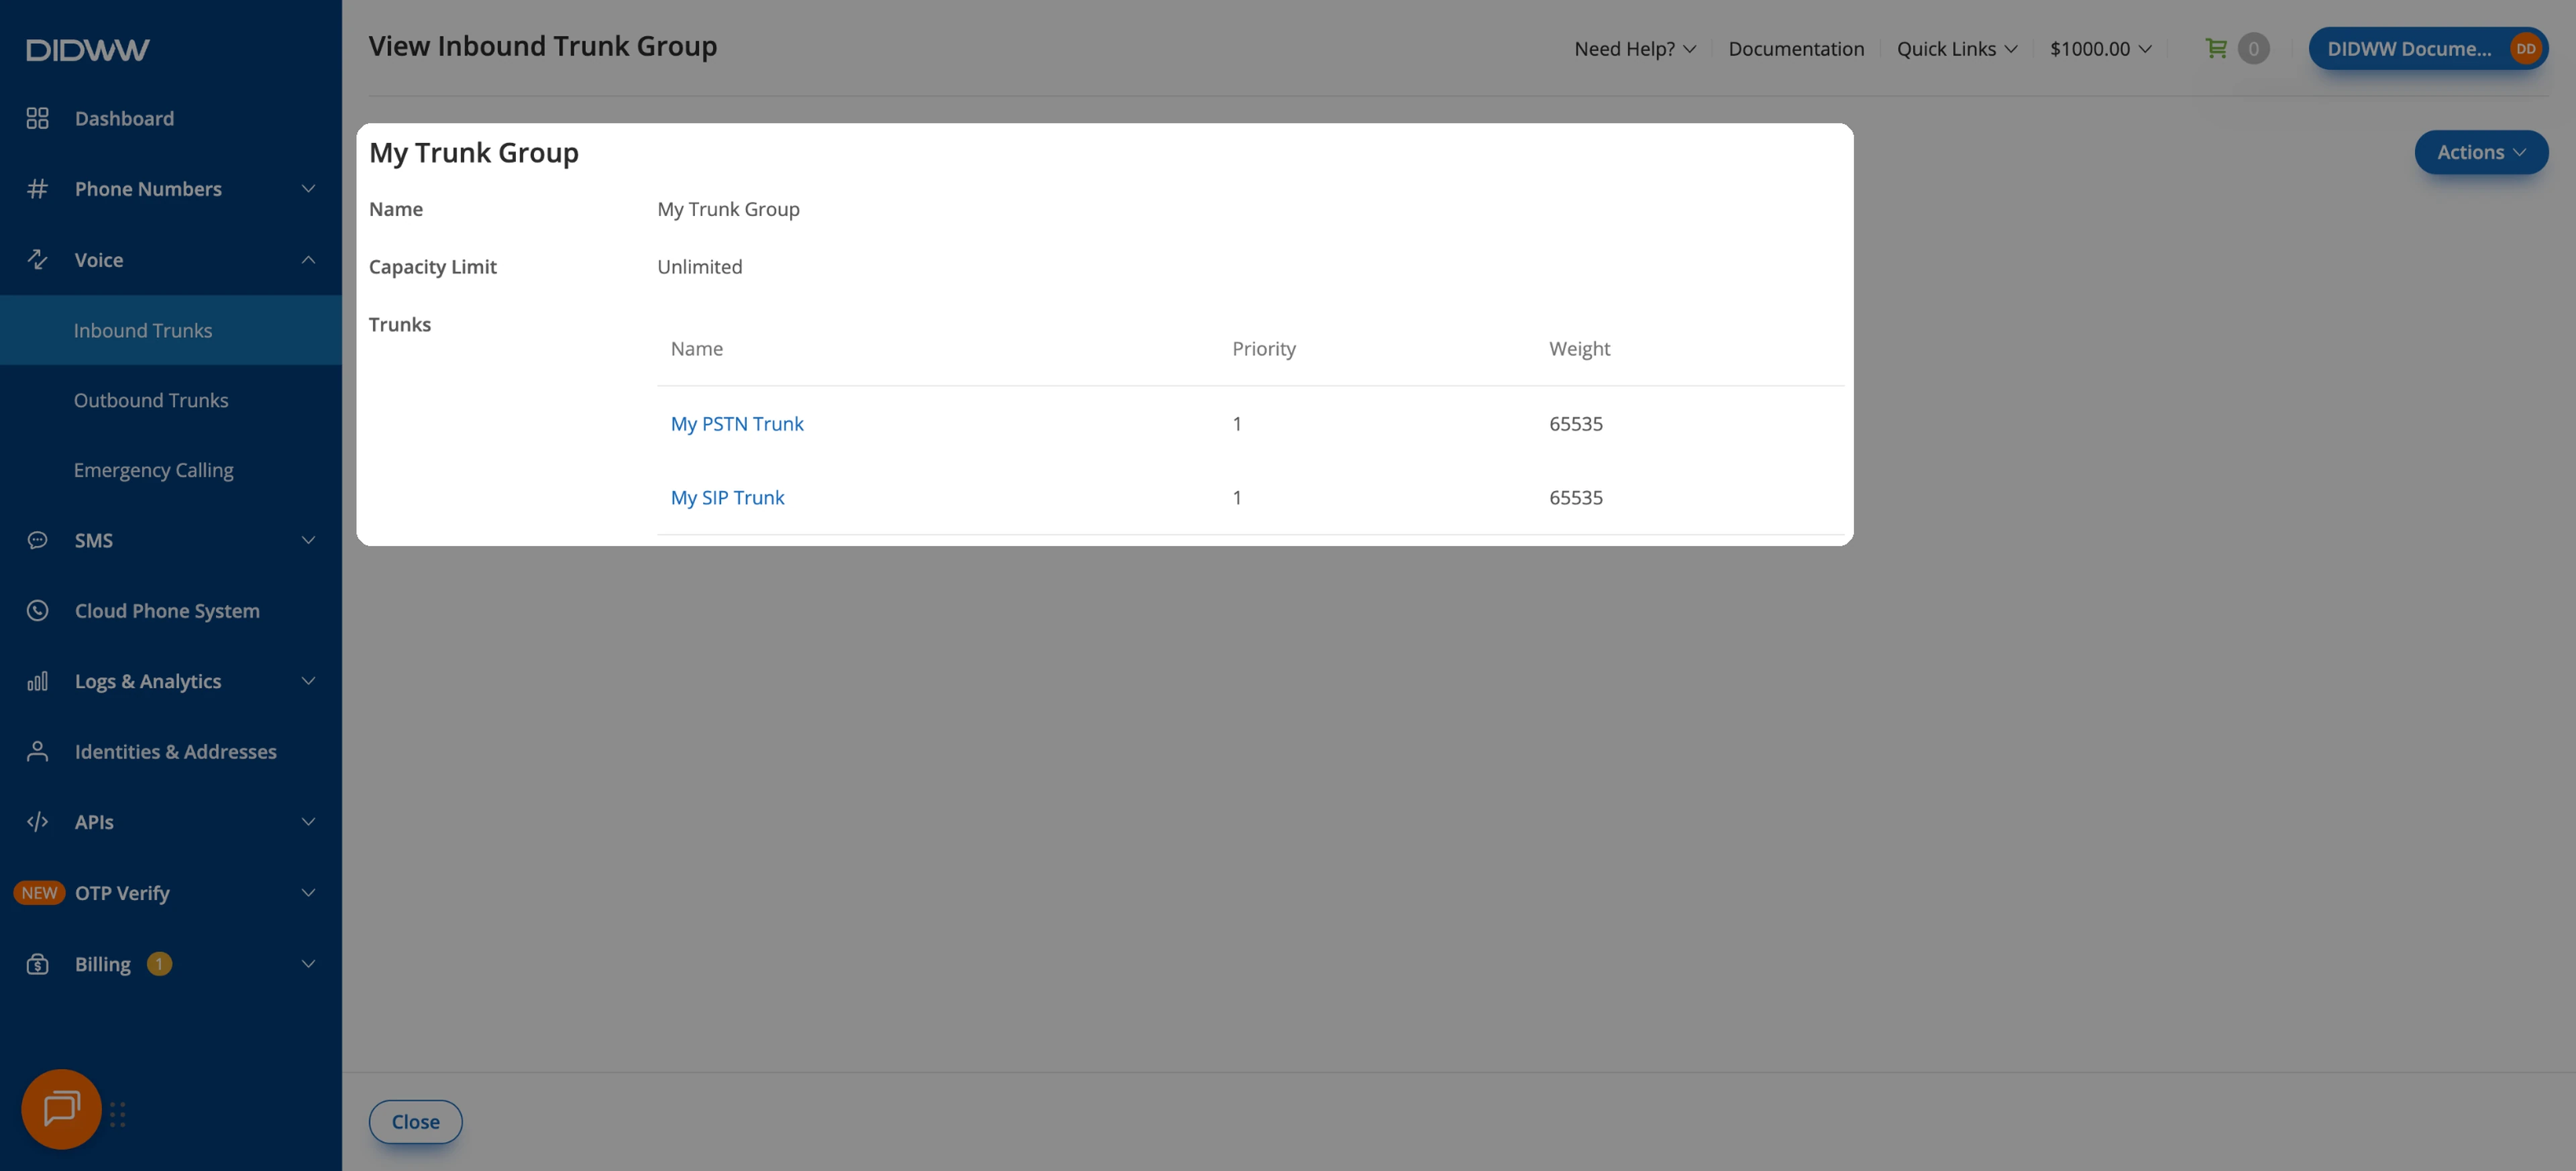
Fig. 2. Review the Trunk Group settings#
Edit a Trunk Group#
In the DIDWW User Panel, go to Voice > Inbound Trunks.
Locate the Trunk Group and open its Actions menu.
Click Edit.
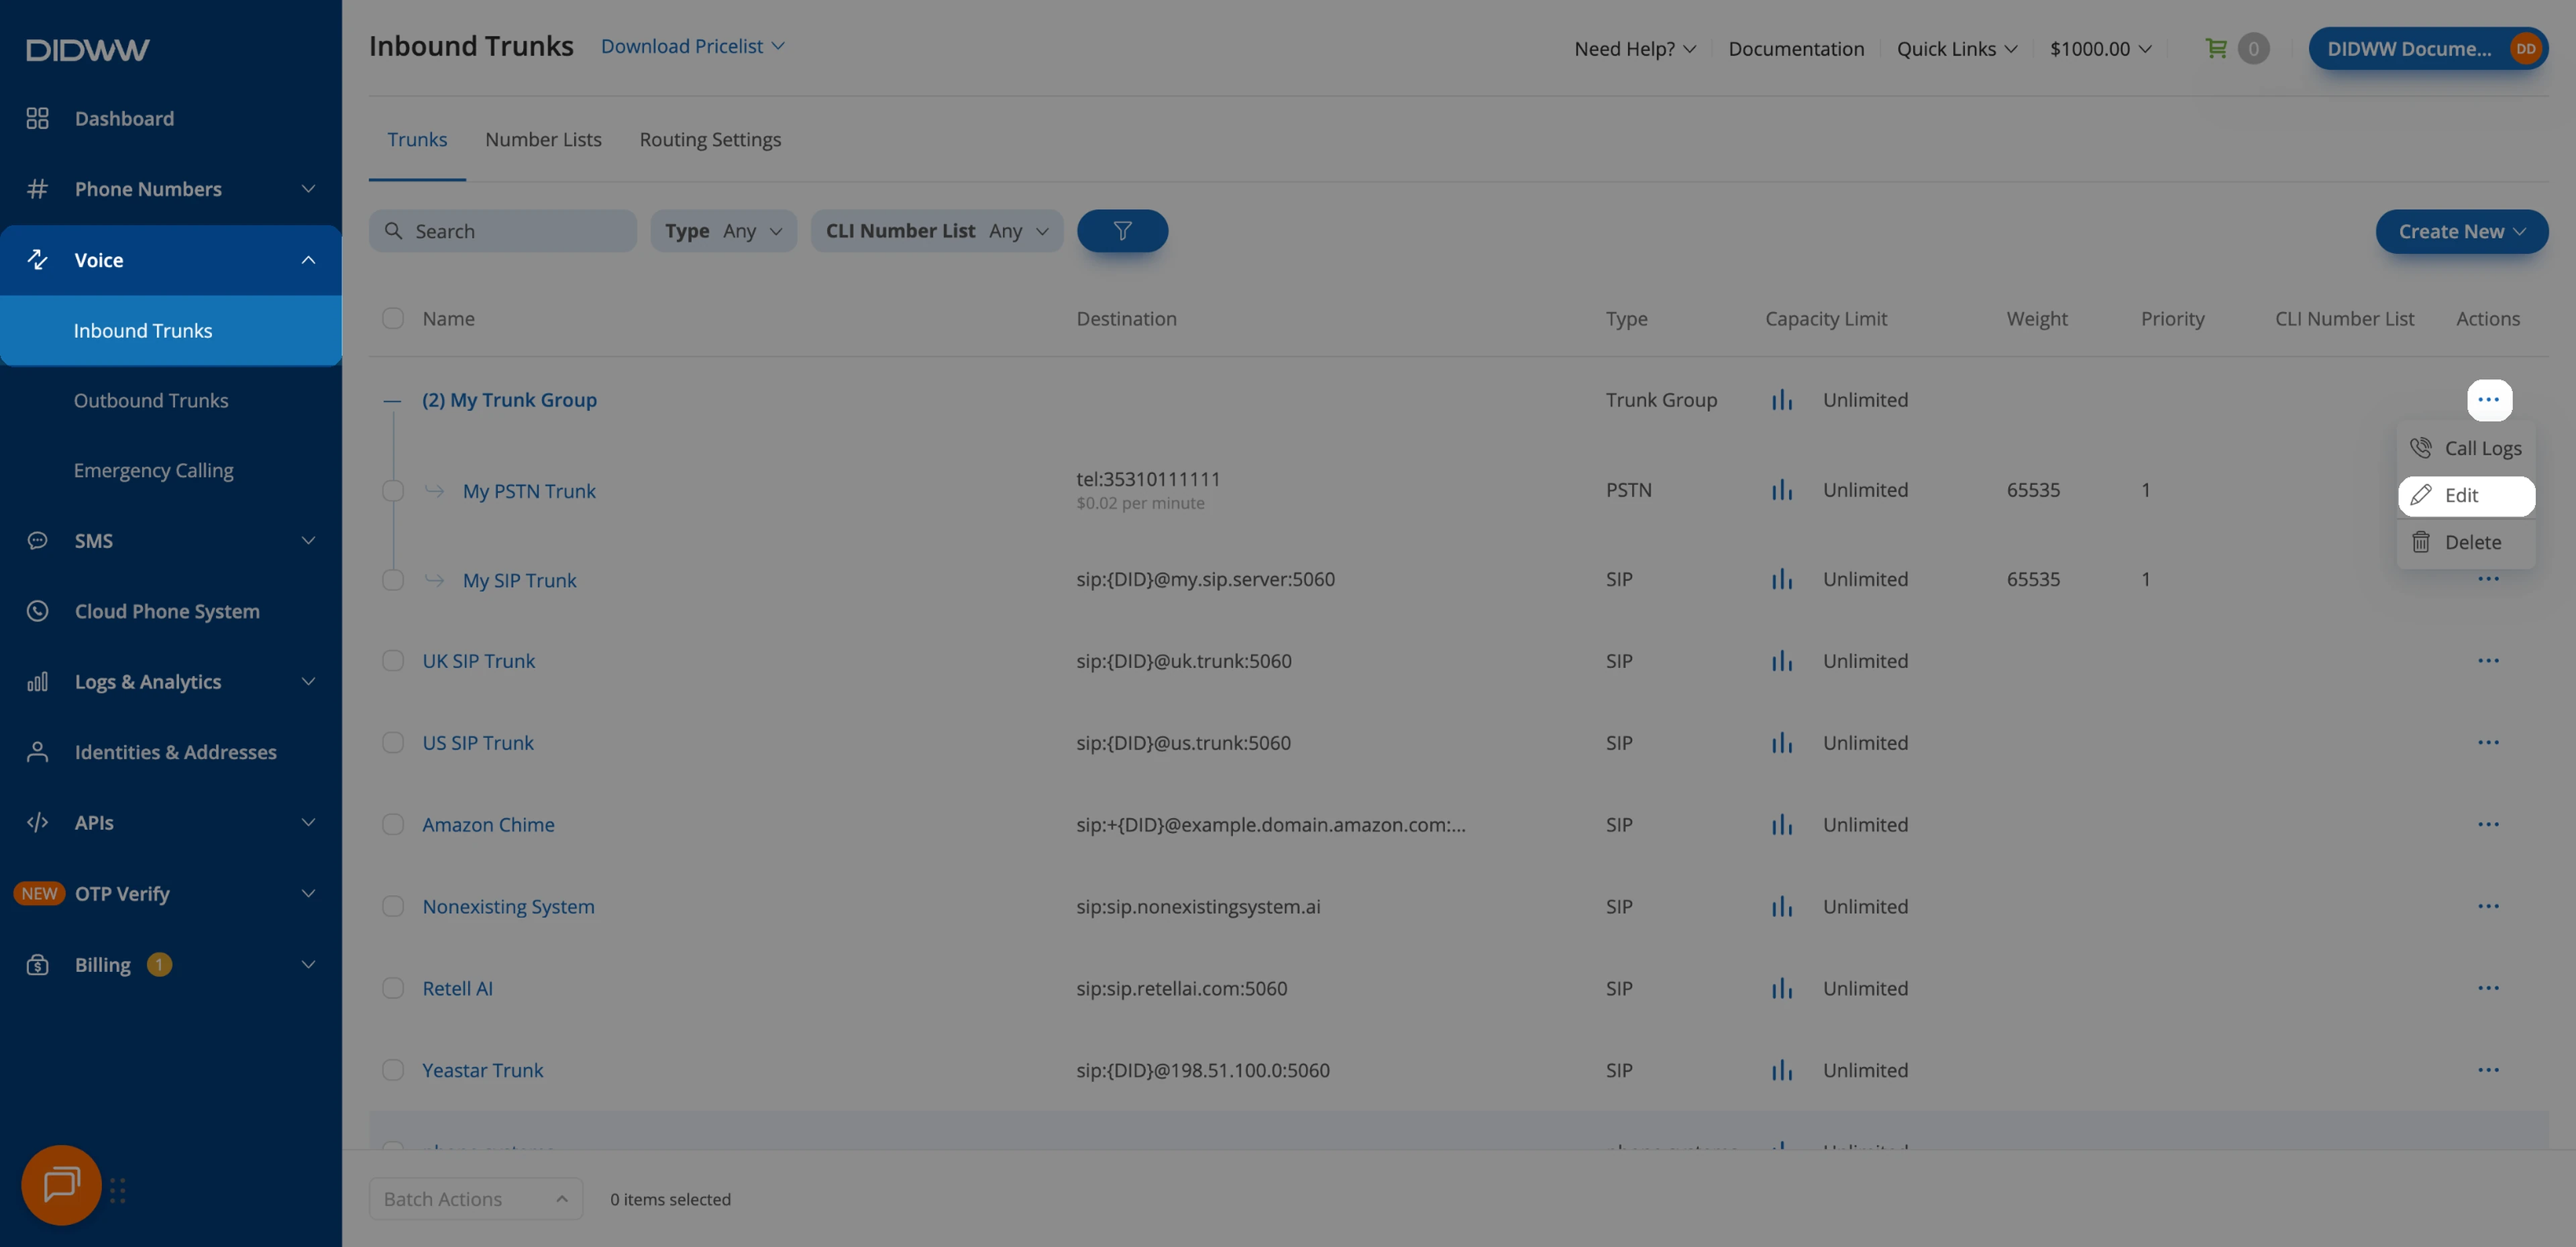
Fig. 3. Open the Trunk Group edit form#
In Edit Inbound Trunk Group, change the Name, Capacity Limit, or selected Trunks.
Click Submit.
Removing a trunk from the group does not delete the trunk. Field definitions, available values, and constraints are listed in General settings.
Fig. 4. Save the Trunk Group changes#
Configure member trunk routing#
Priority and Weight are set on each member trunk. Use Priority to define routing tiers and Weight to distribute calls among trunks in the same tier. For routing examples, see Trunk groups.
In the DIDWW User Panel, go to Voice > Inbound Trunks.
Click the + icon next to the Trunk Group to display its member trunks.
Open the member trunk’s Actions menu.
Click Edit.
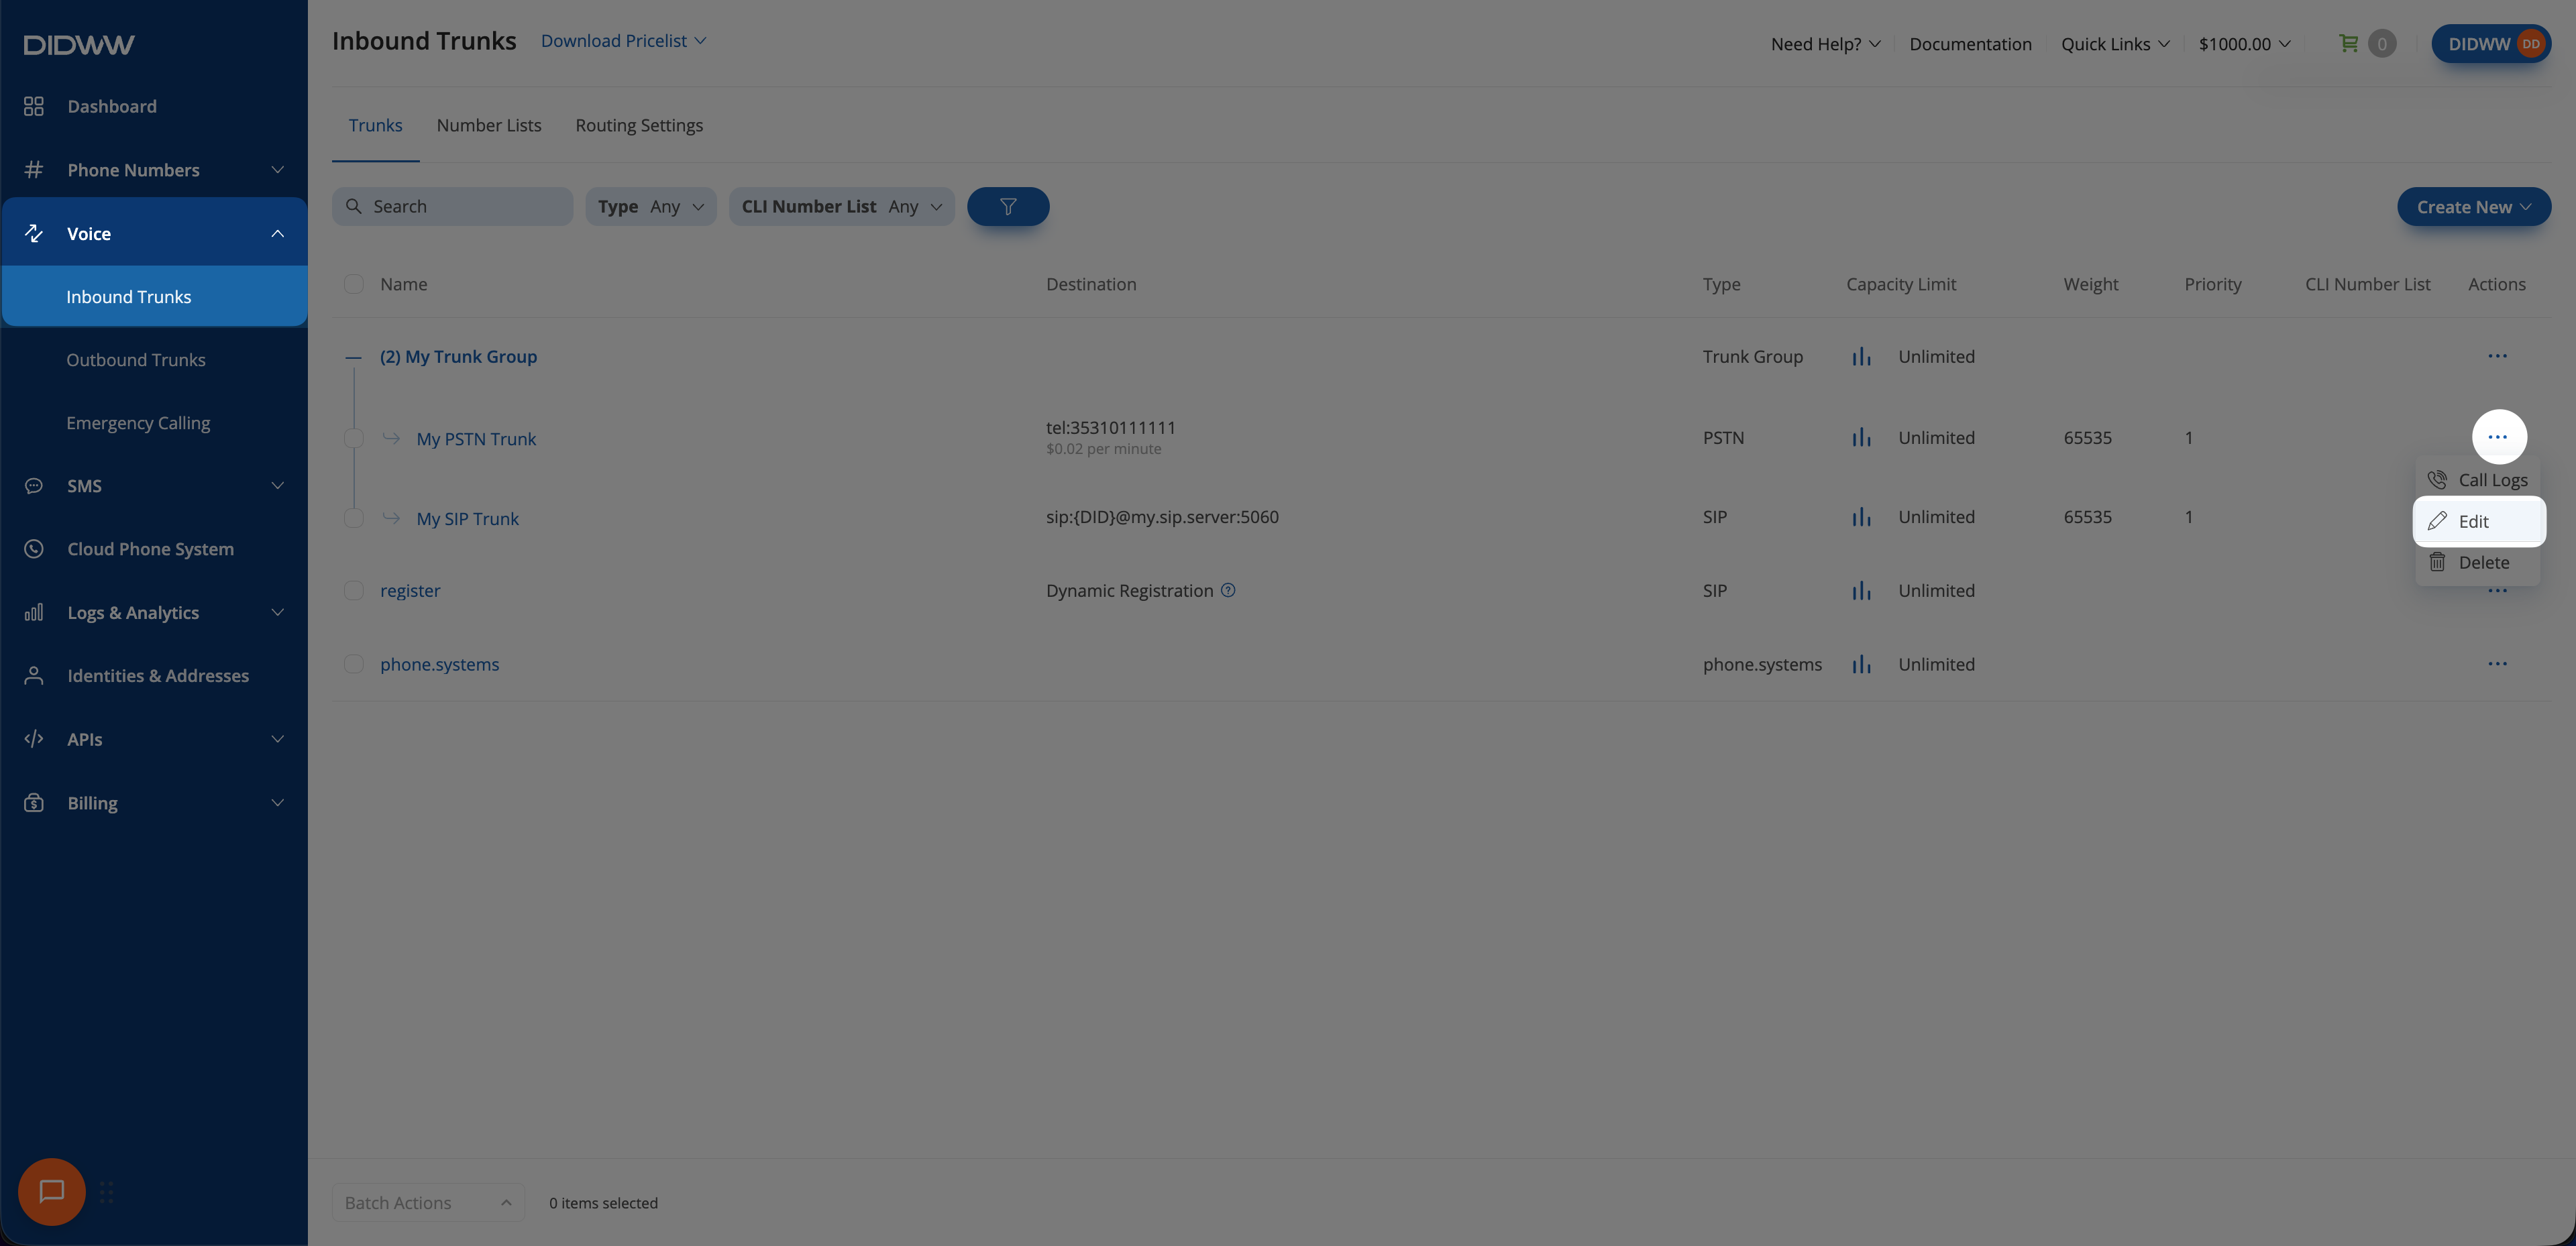
Fig. 5. Edit a member trunk#
Open the Trunk Group tab.
Change Priority and Weight as required. Lower Priority values are preferred. Weight applies only among trunks with the same priority.
For a SIP trunk, optionally change Re-routing Disconnect Codes.
Click Submit.
Changes to Priority and Weight take effect immediately. Field definitions, default values, and limits are listed in Member trunk settings.
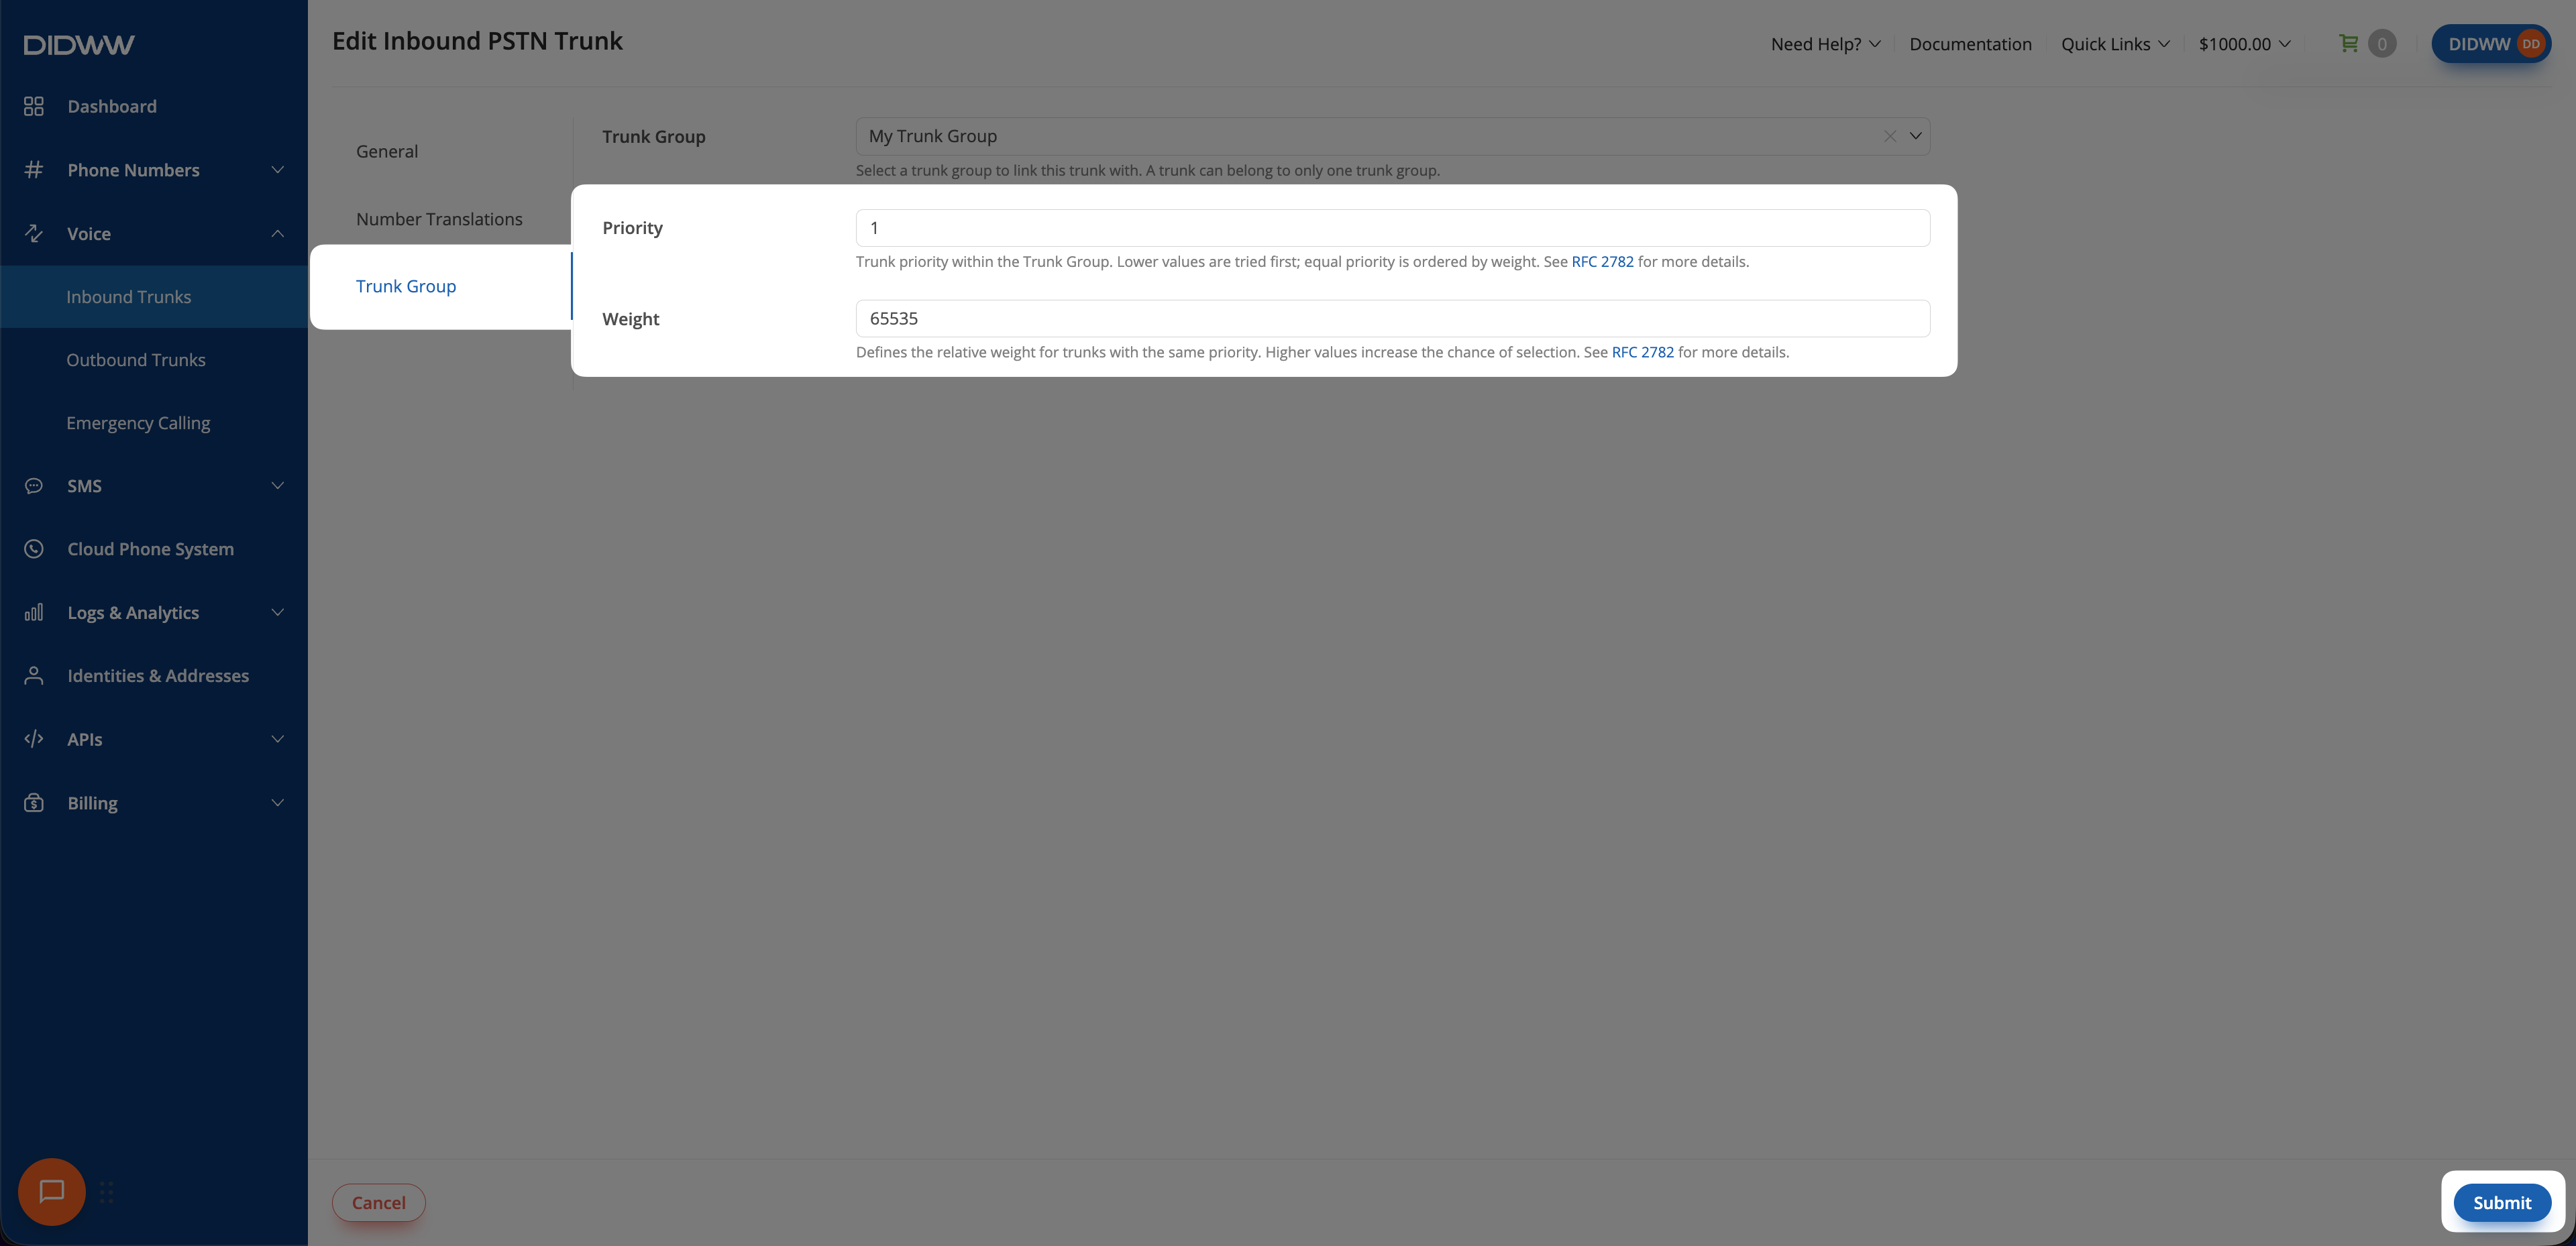
Fig. 6. Configure member trunk routing#
Delete a Trunk Group#
Warning
A Trunk Group that is assigned to DID numbers cannot be deleted. Before deleting it, remove the group assignment from all DID numbers. See Assign a voice trunk. Deletion cannot be undone.
In the DIDWW User Panel, go to Voice > Inbound Trunks.
Locate the Trunk Group and open its Actions menu.
Click Delete.
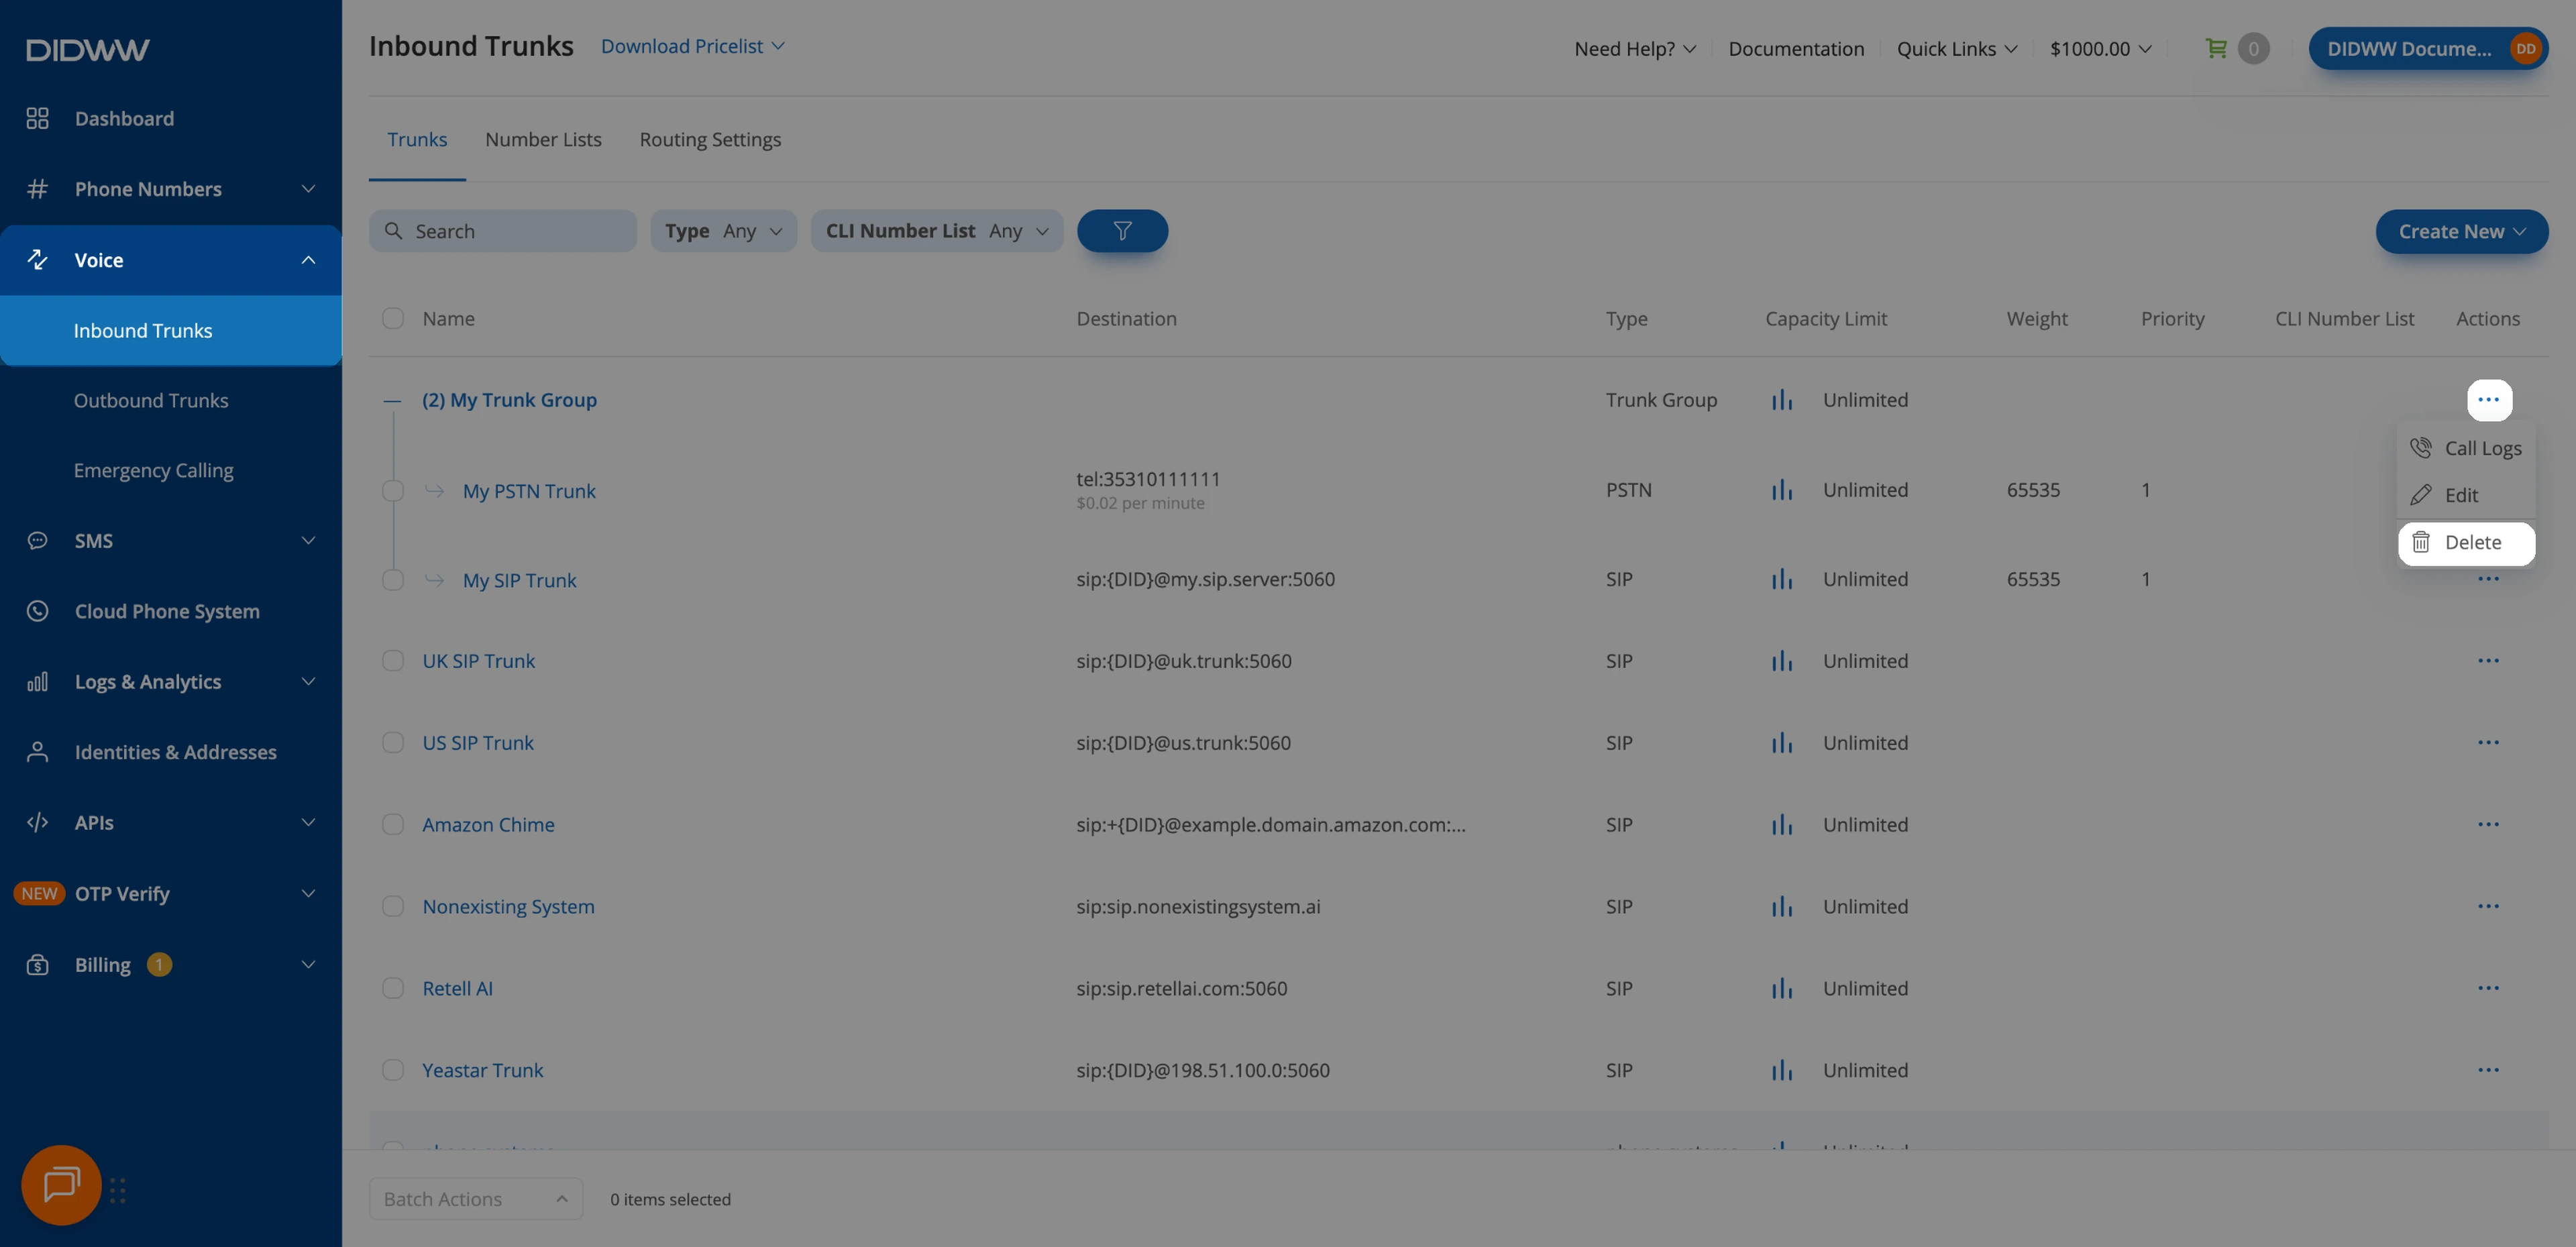
Fig. 7. Open the delete dialog#
In Delete Trunk Group, select one of the following options:
Delete trunk group removes only the group and keeps its member trunks.
Delete trunk group and trunks deletes the group and all trunks included in it.
Click Delete.
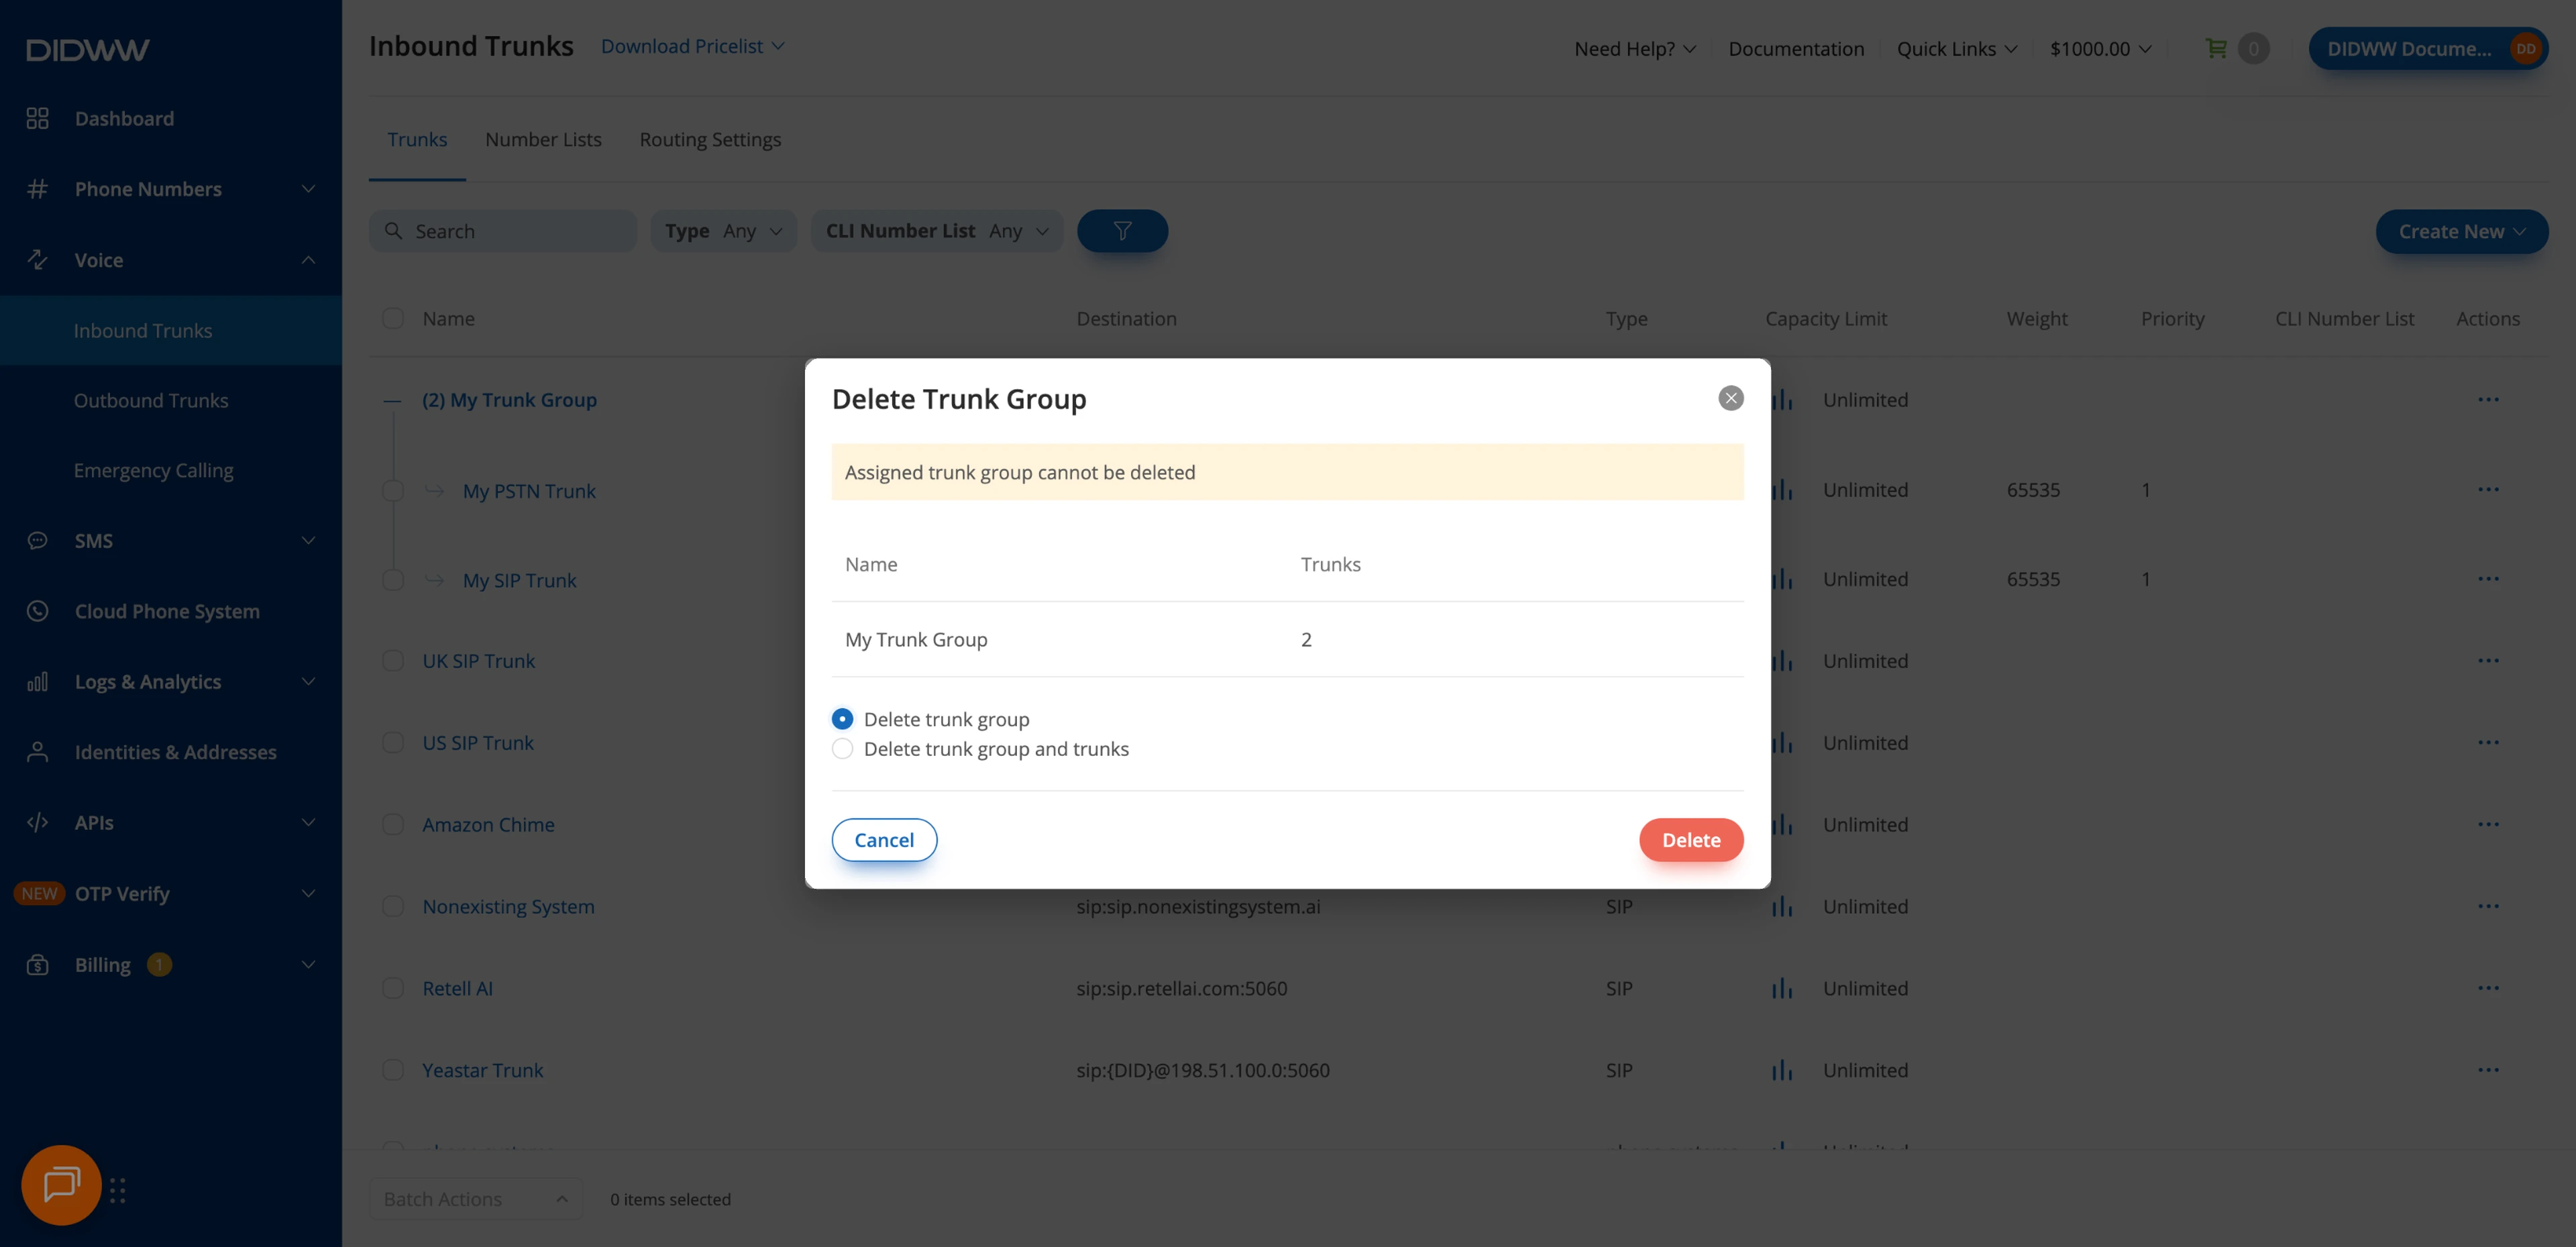
Fig. 8. Confirm the Trunk Group deletion#