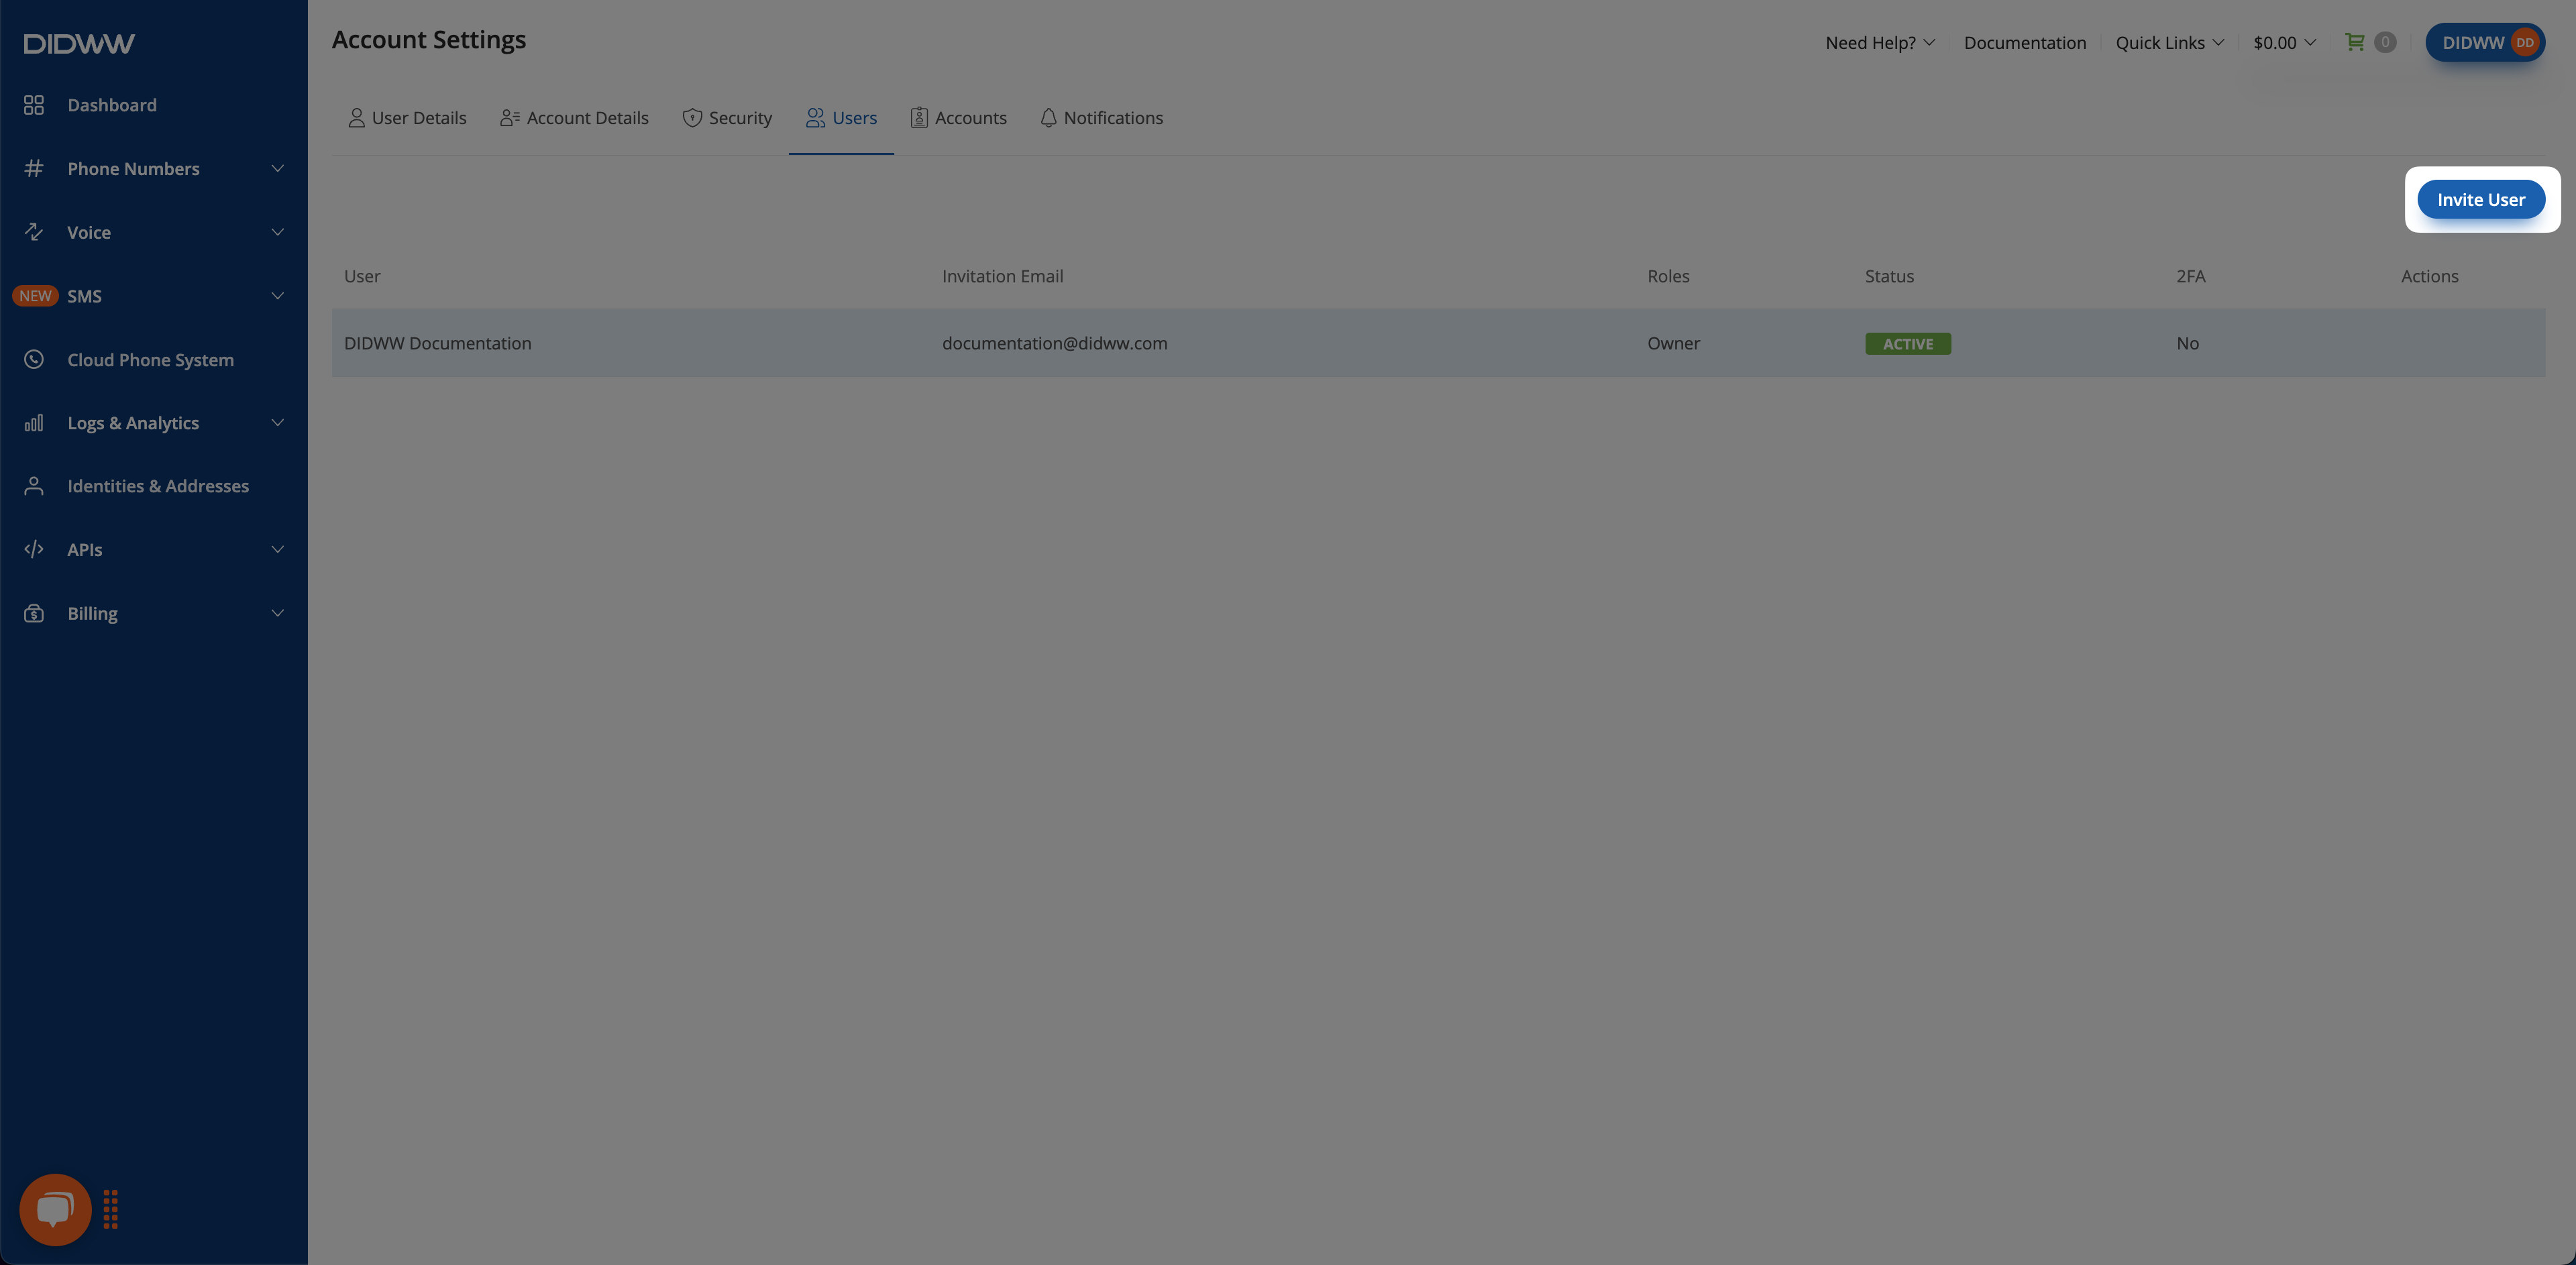
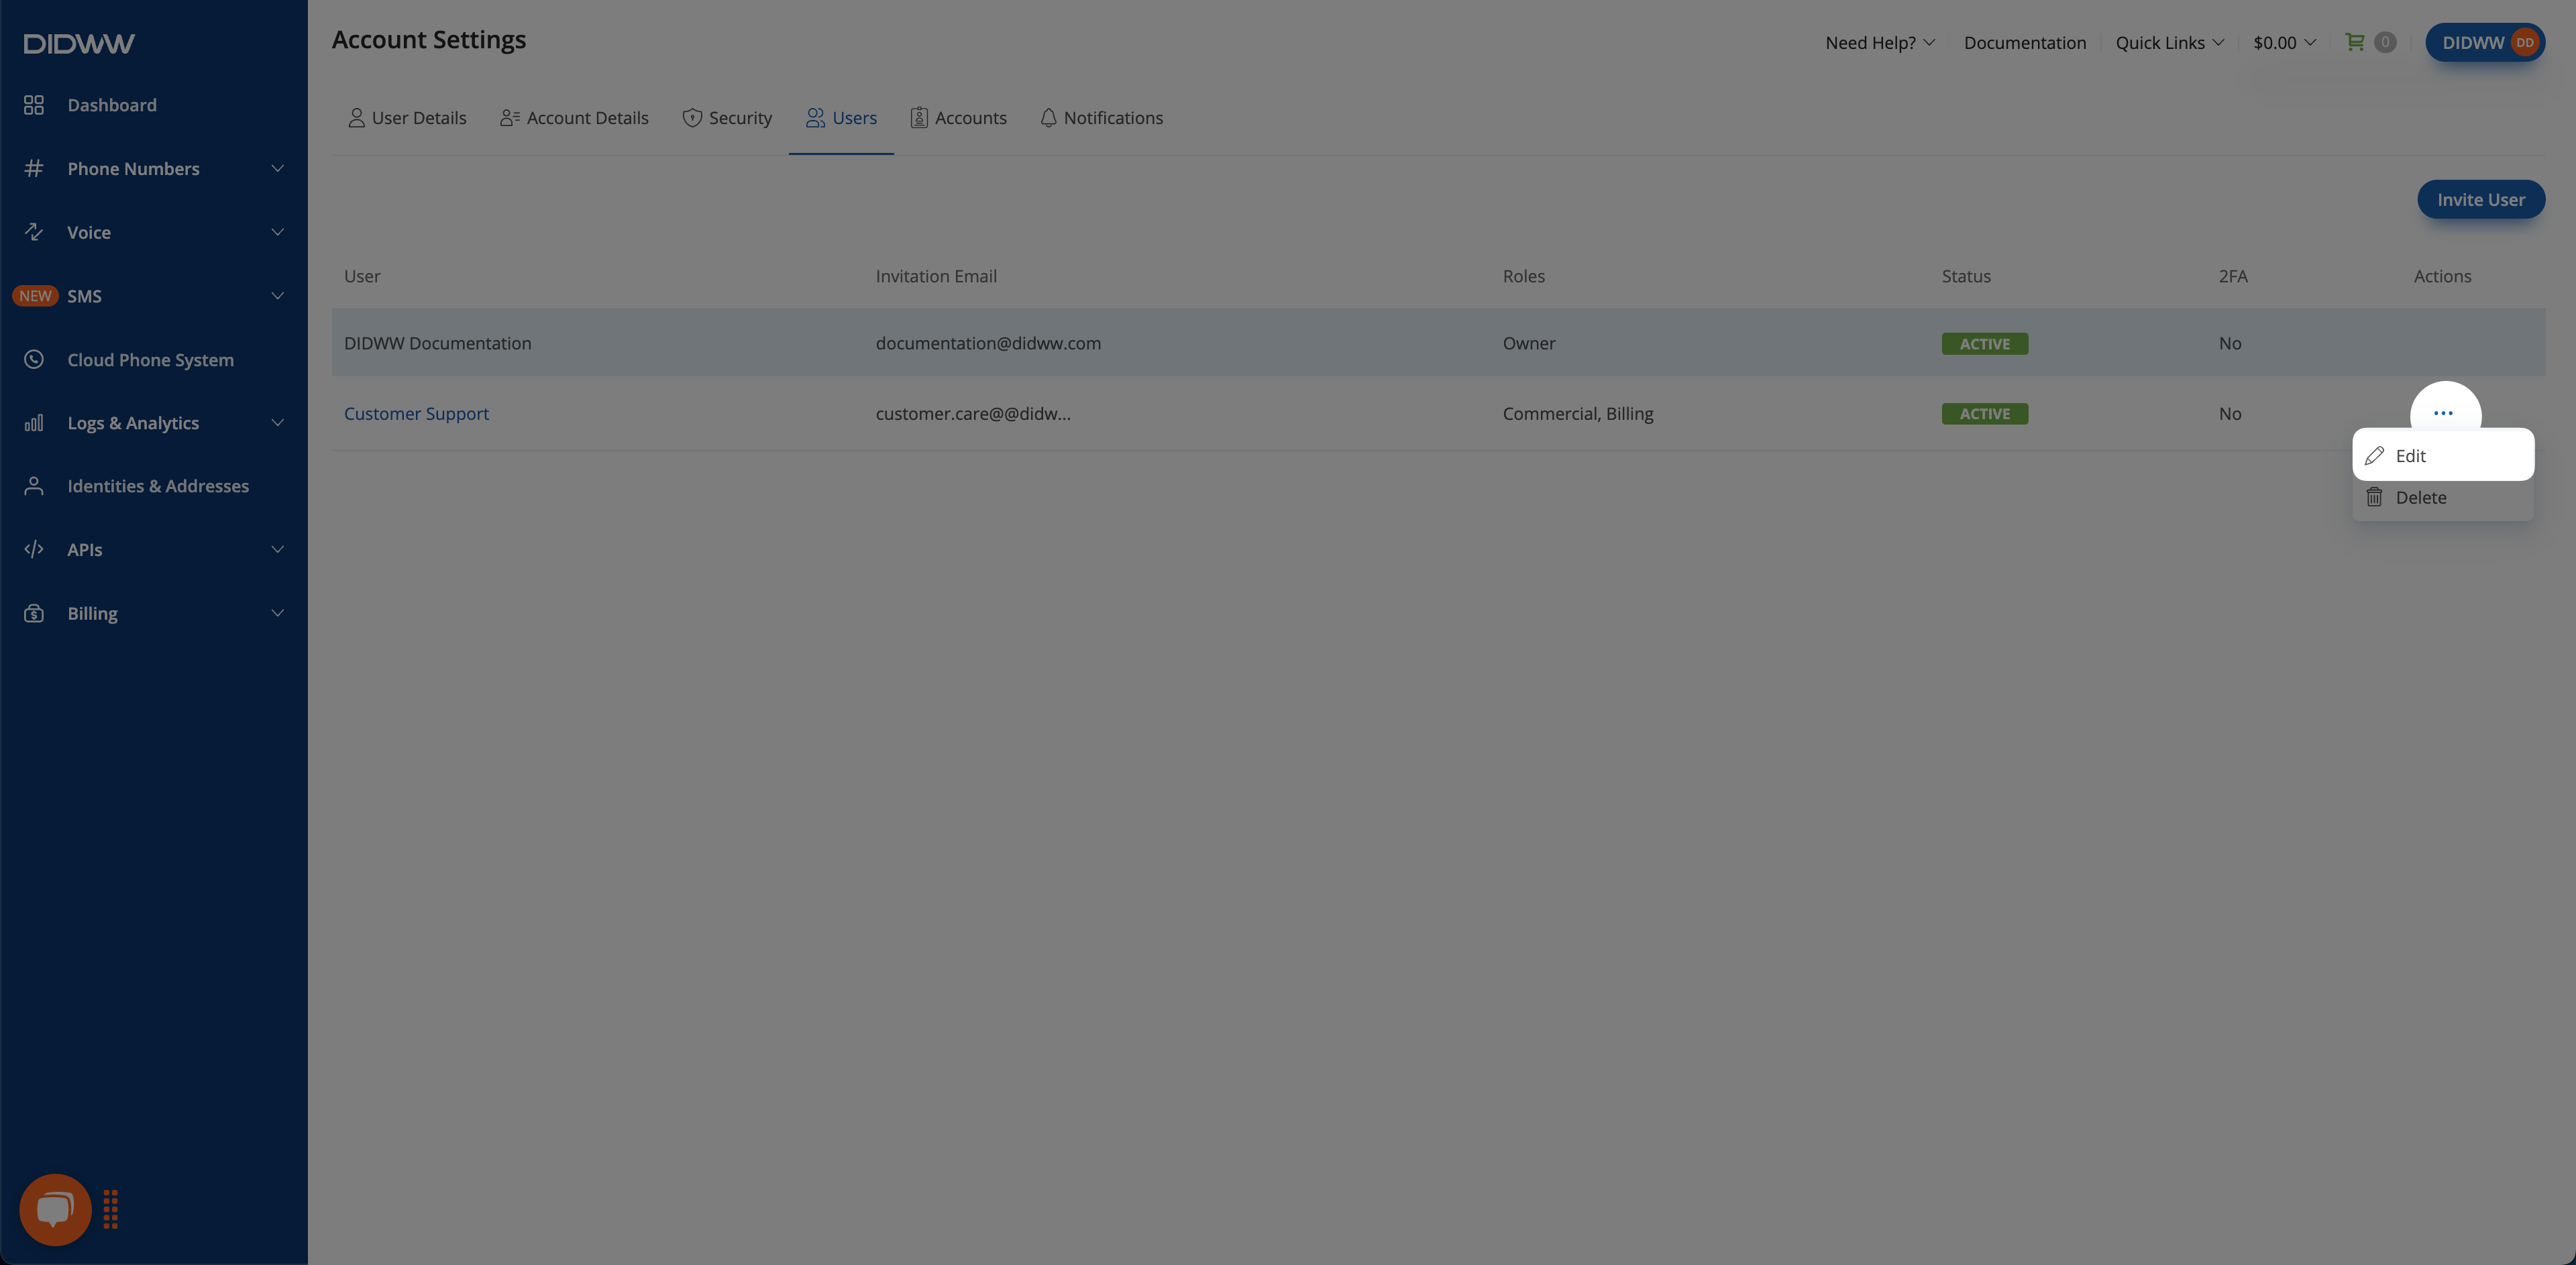
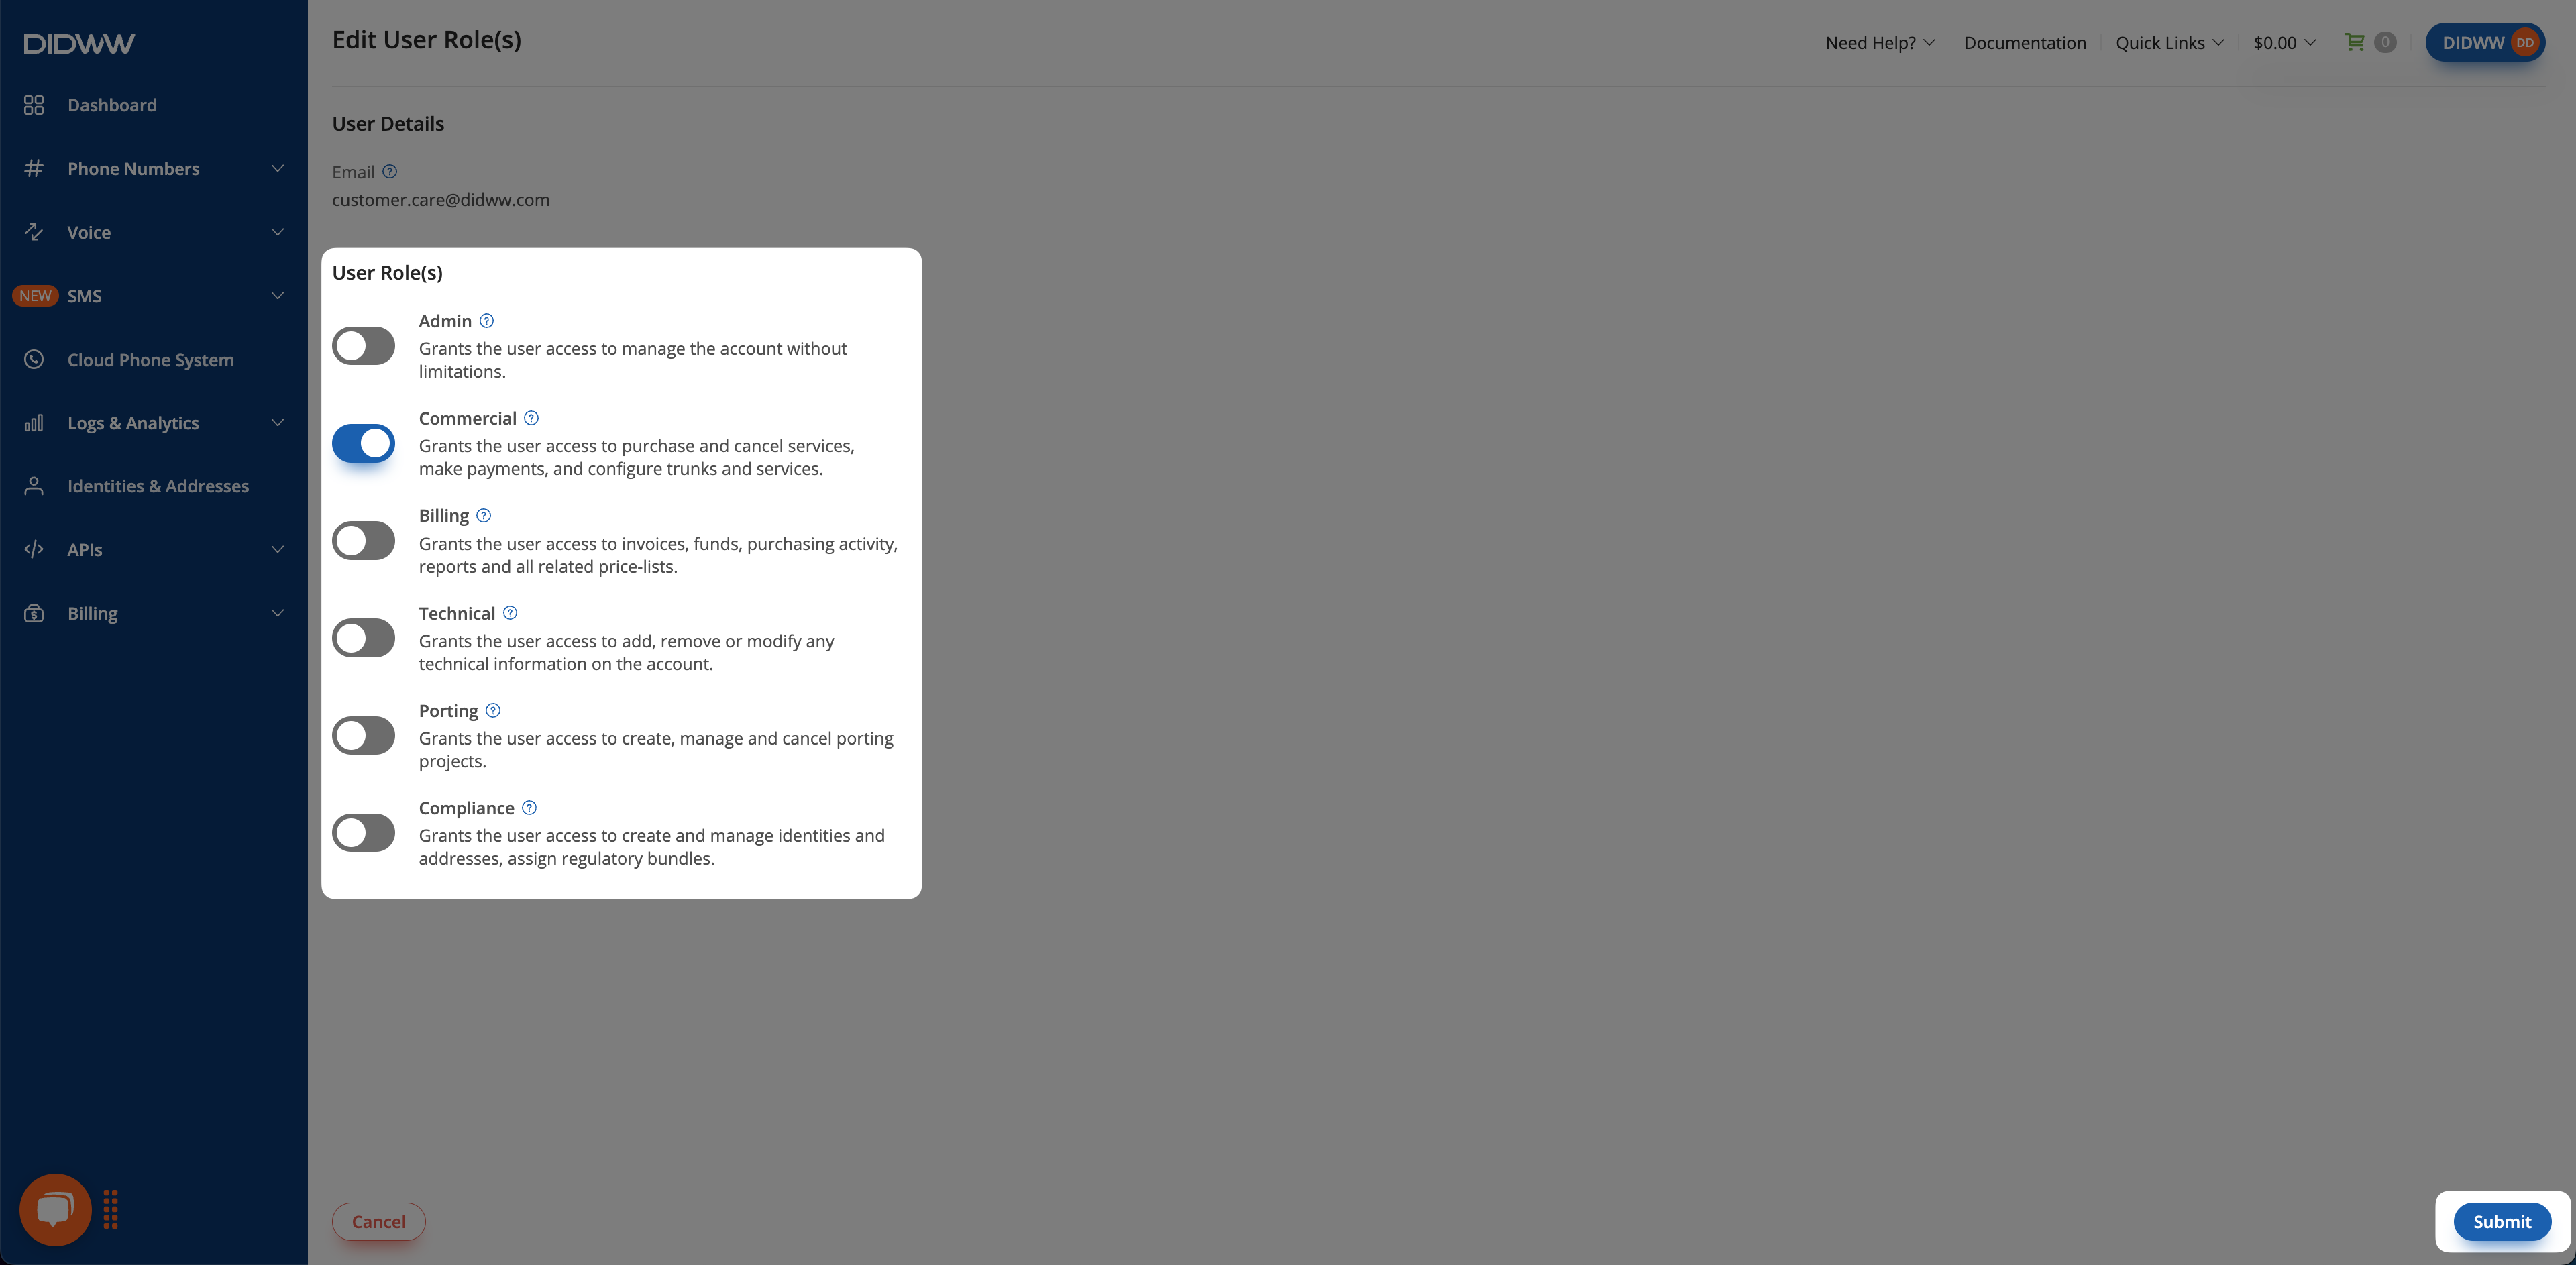
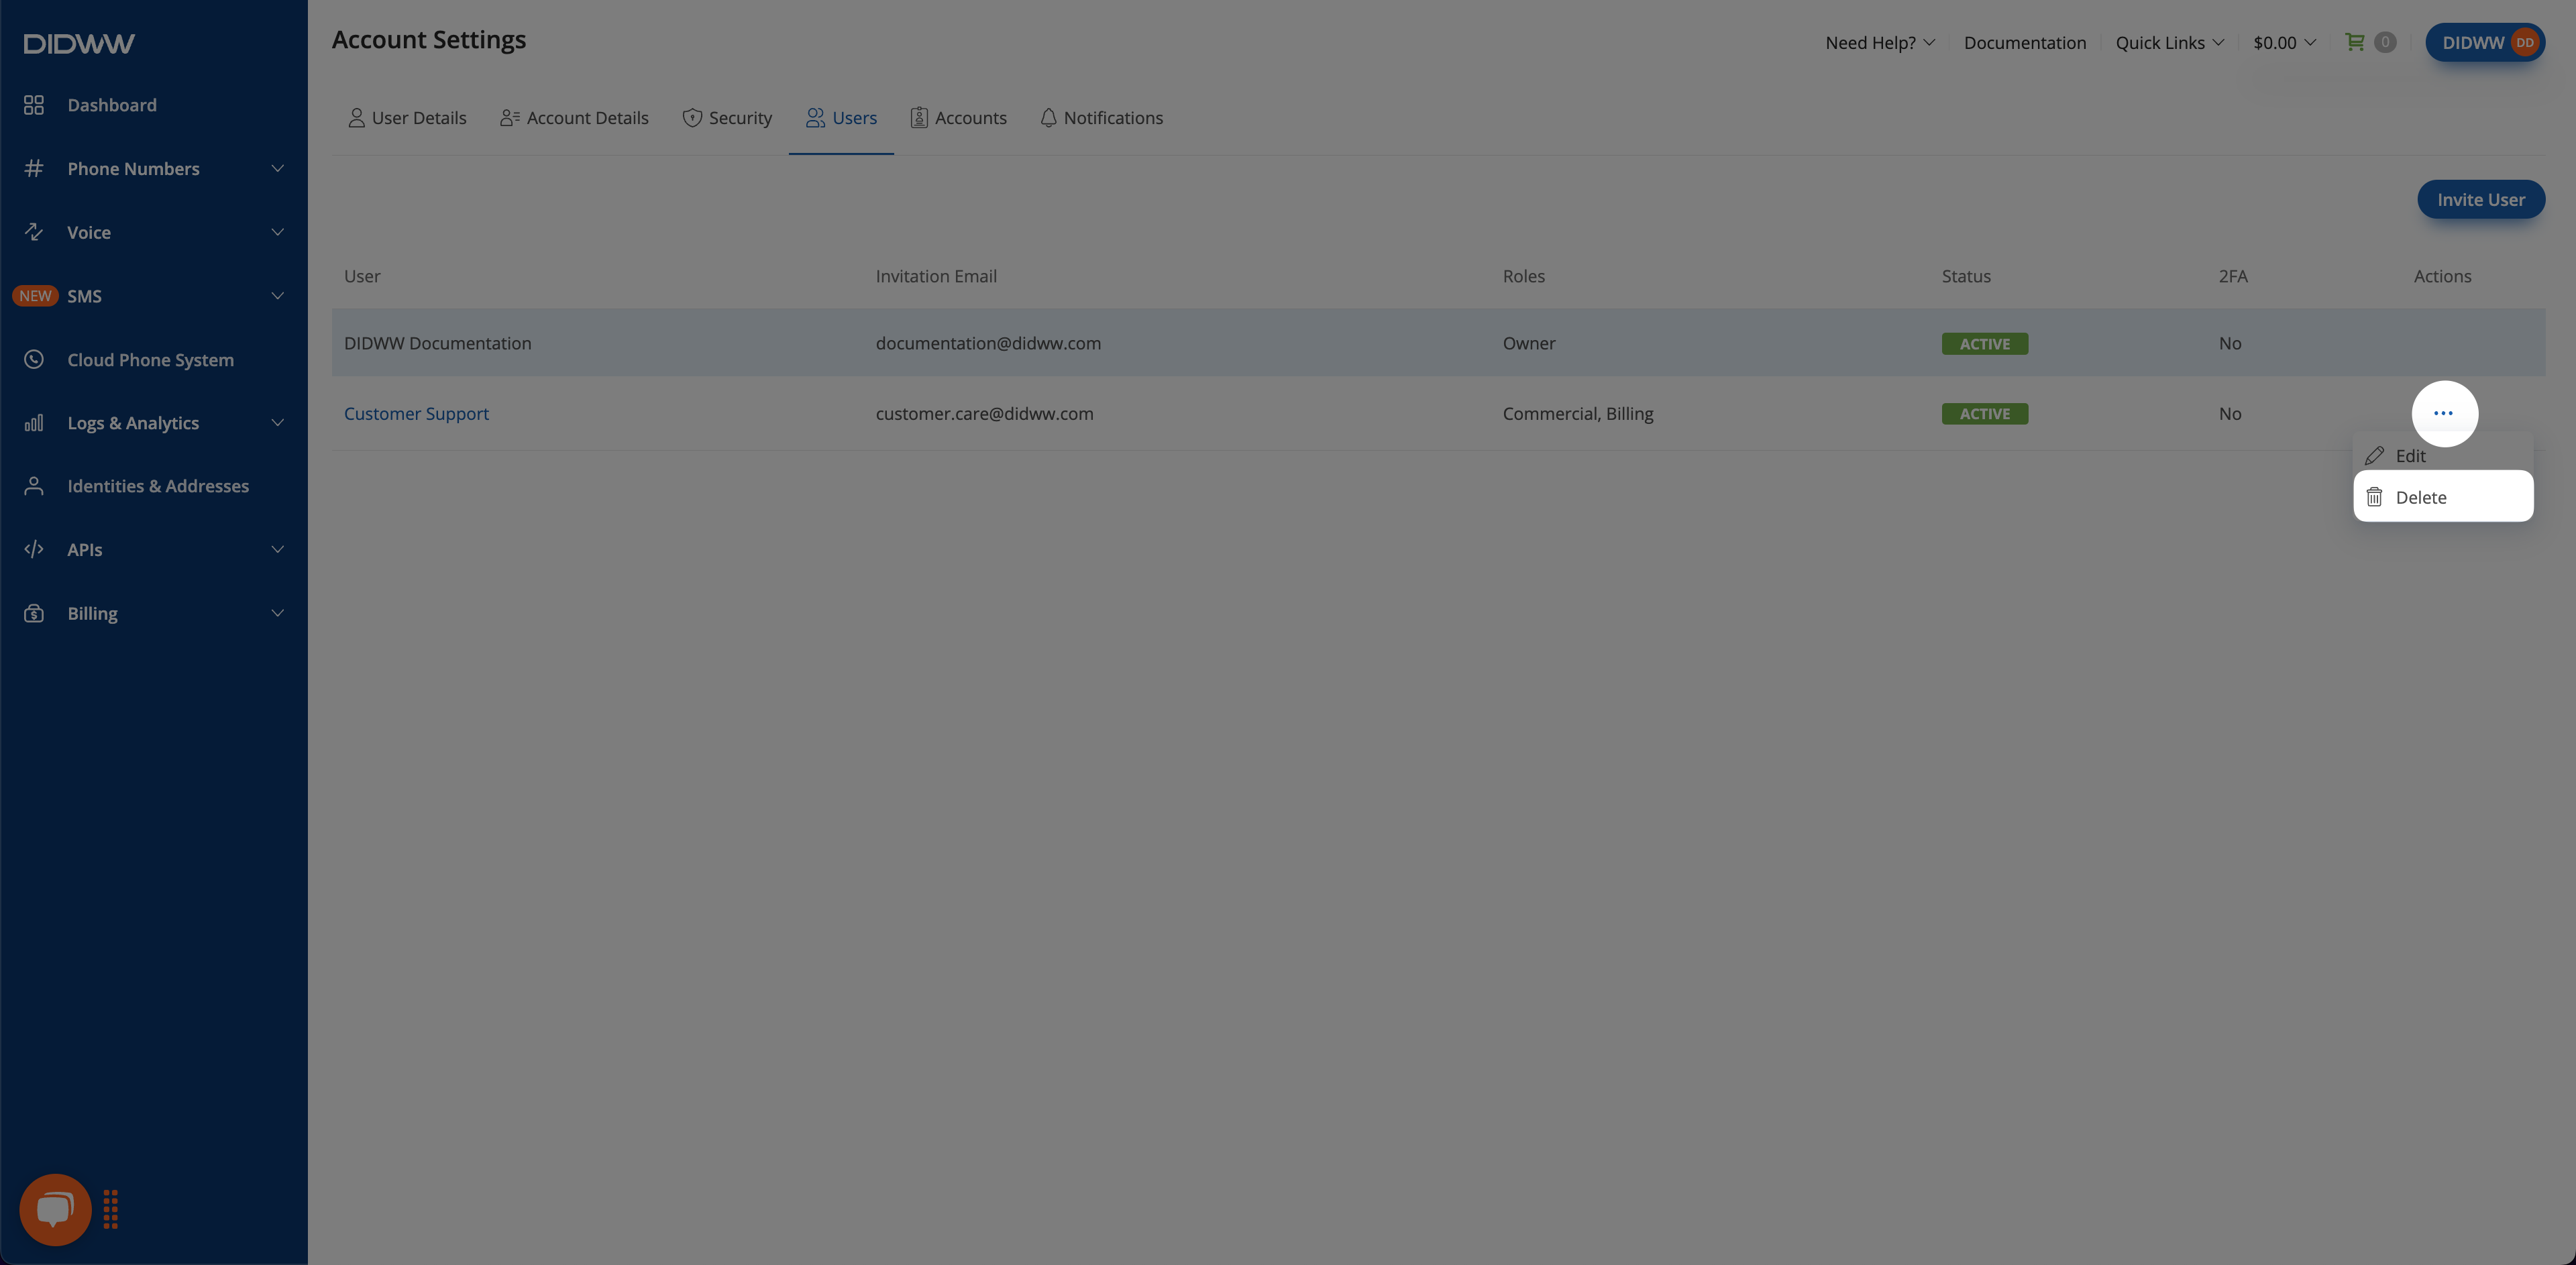
The Users section lets account owners and administrators manage who can access the account and what they can do.
Through role-based permissions, you can define what each user is allowed to view or modify.
Each role includes a defined set of permissions and restrictions that help you control access to account features securely.
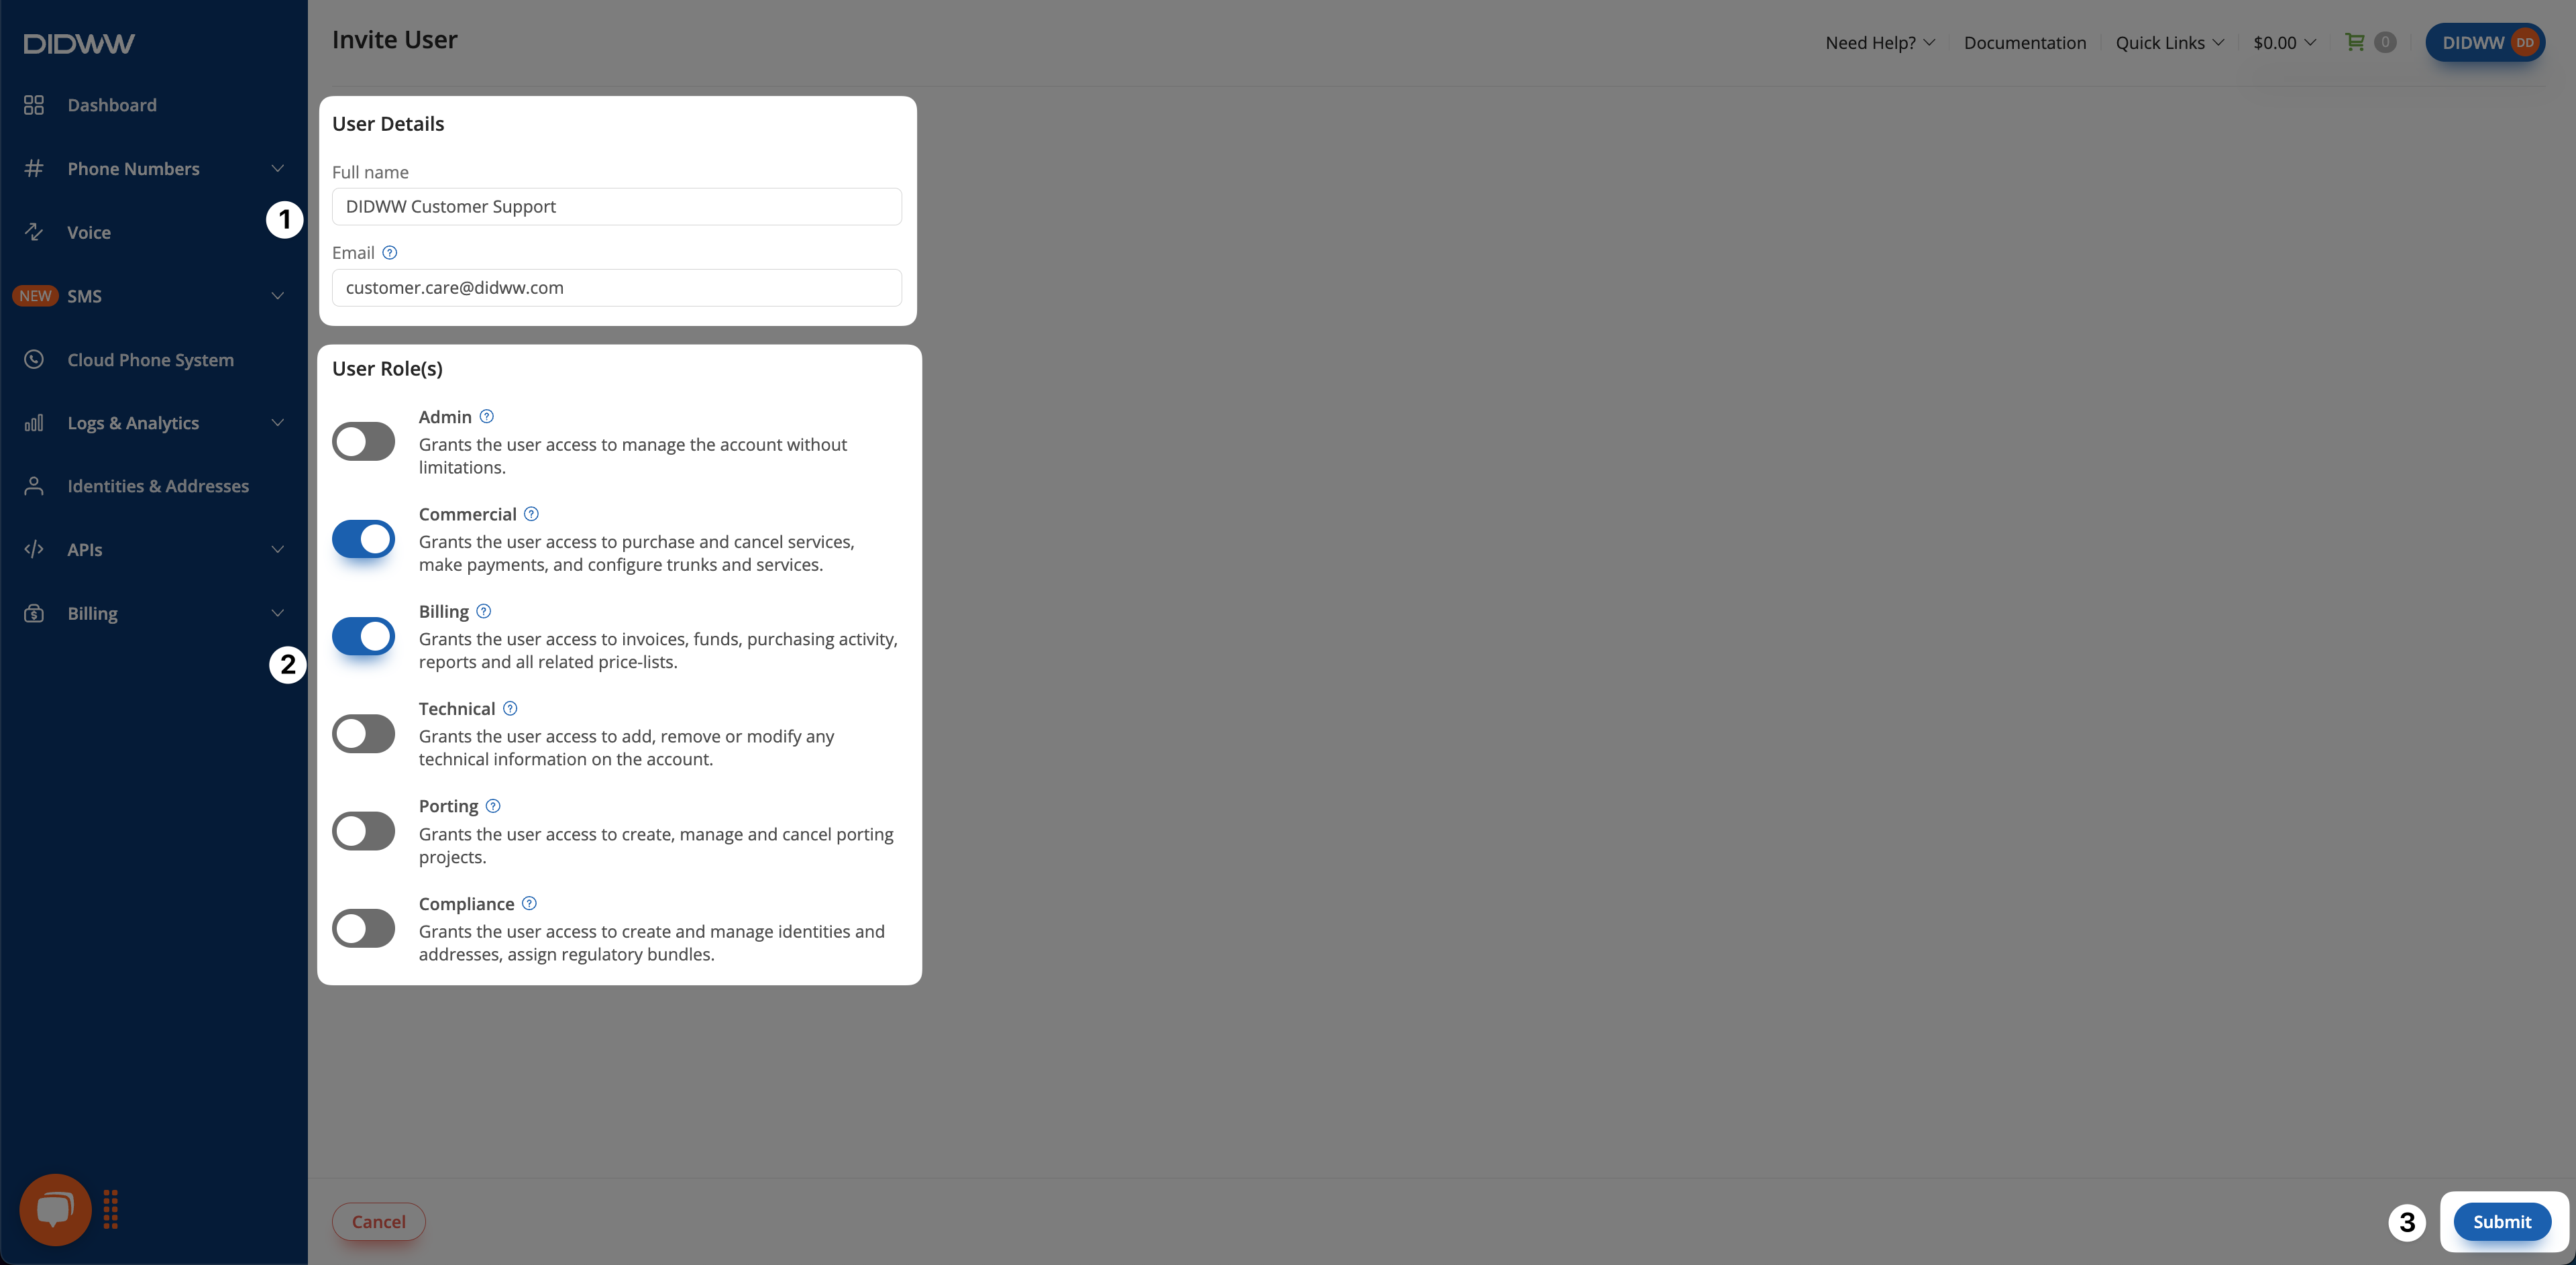
You can invite users, assign one or more roles, and adjust their access as needed.
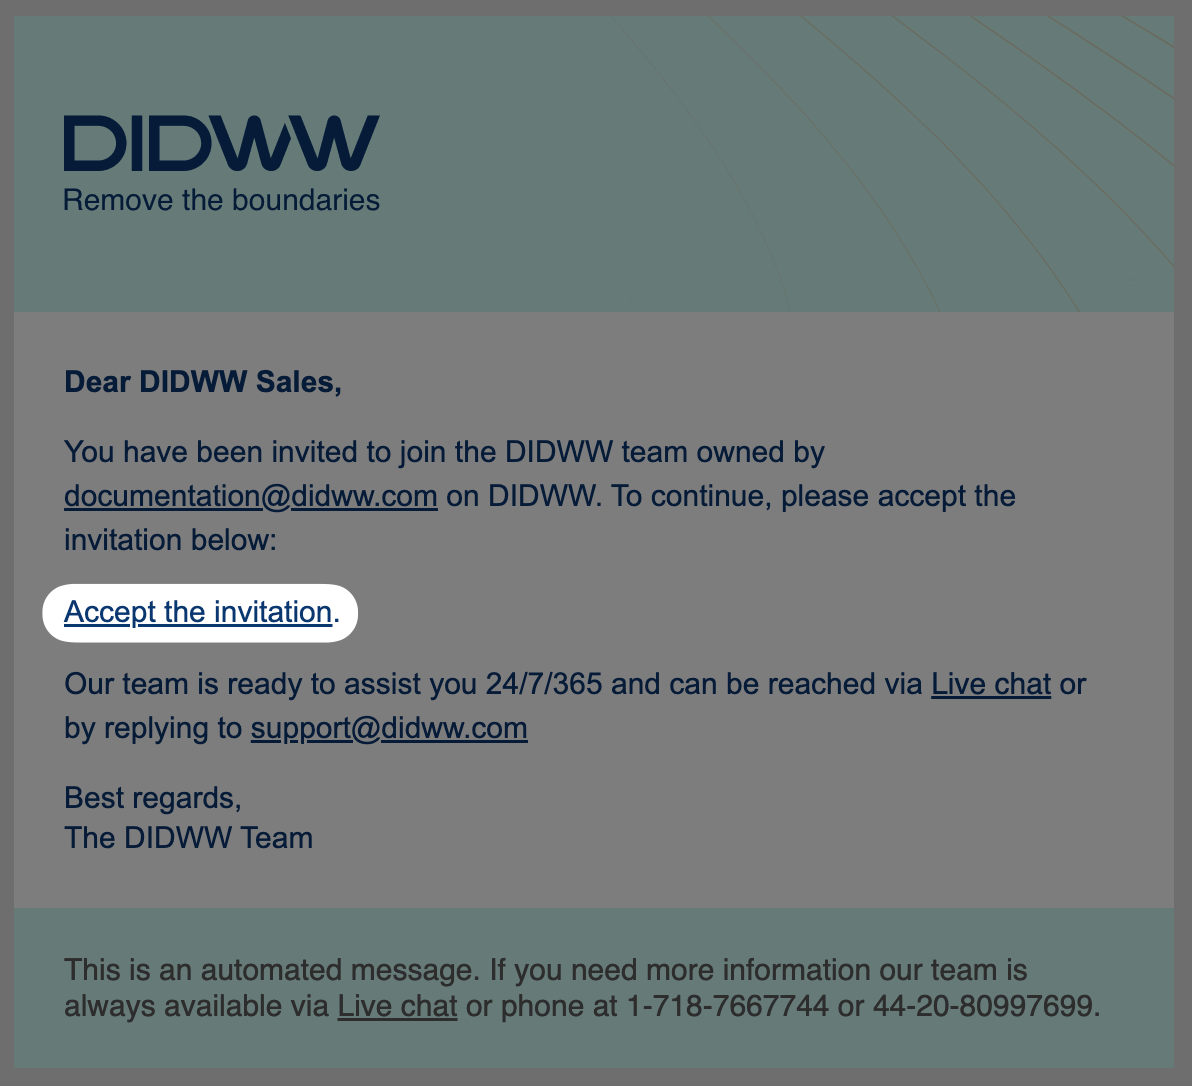
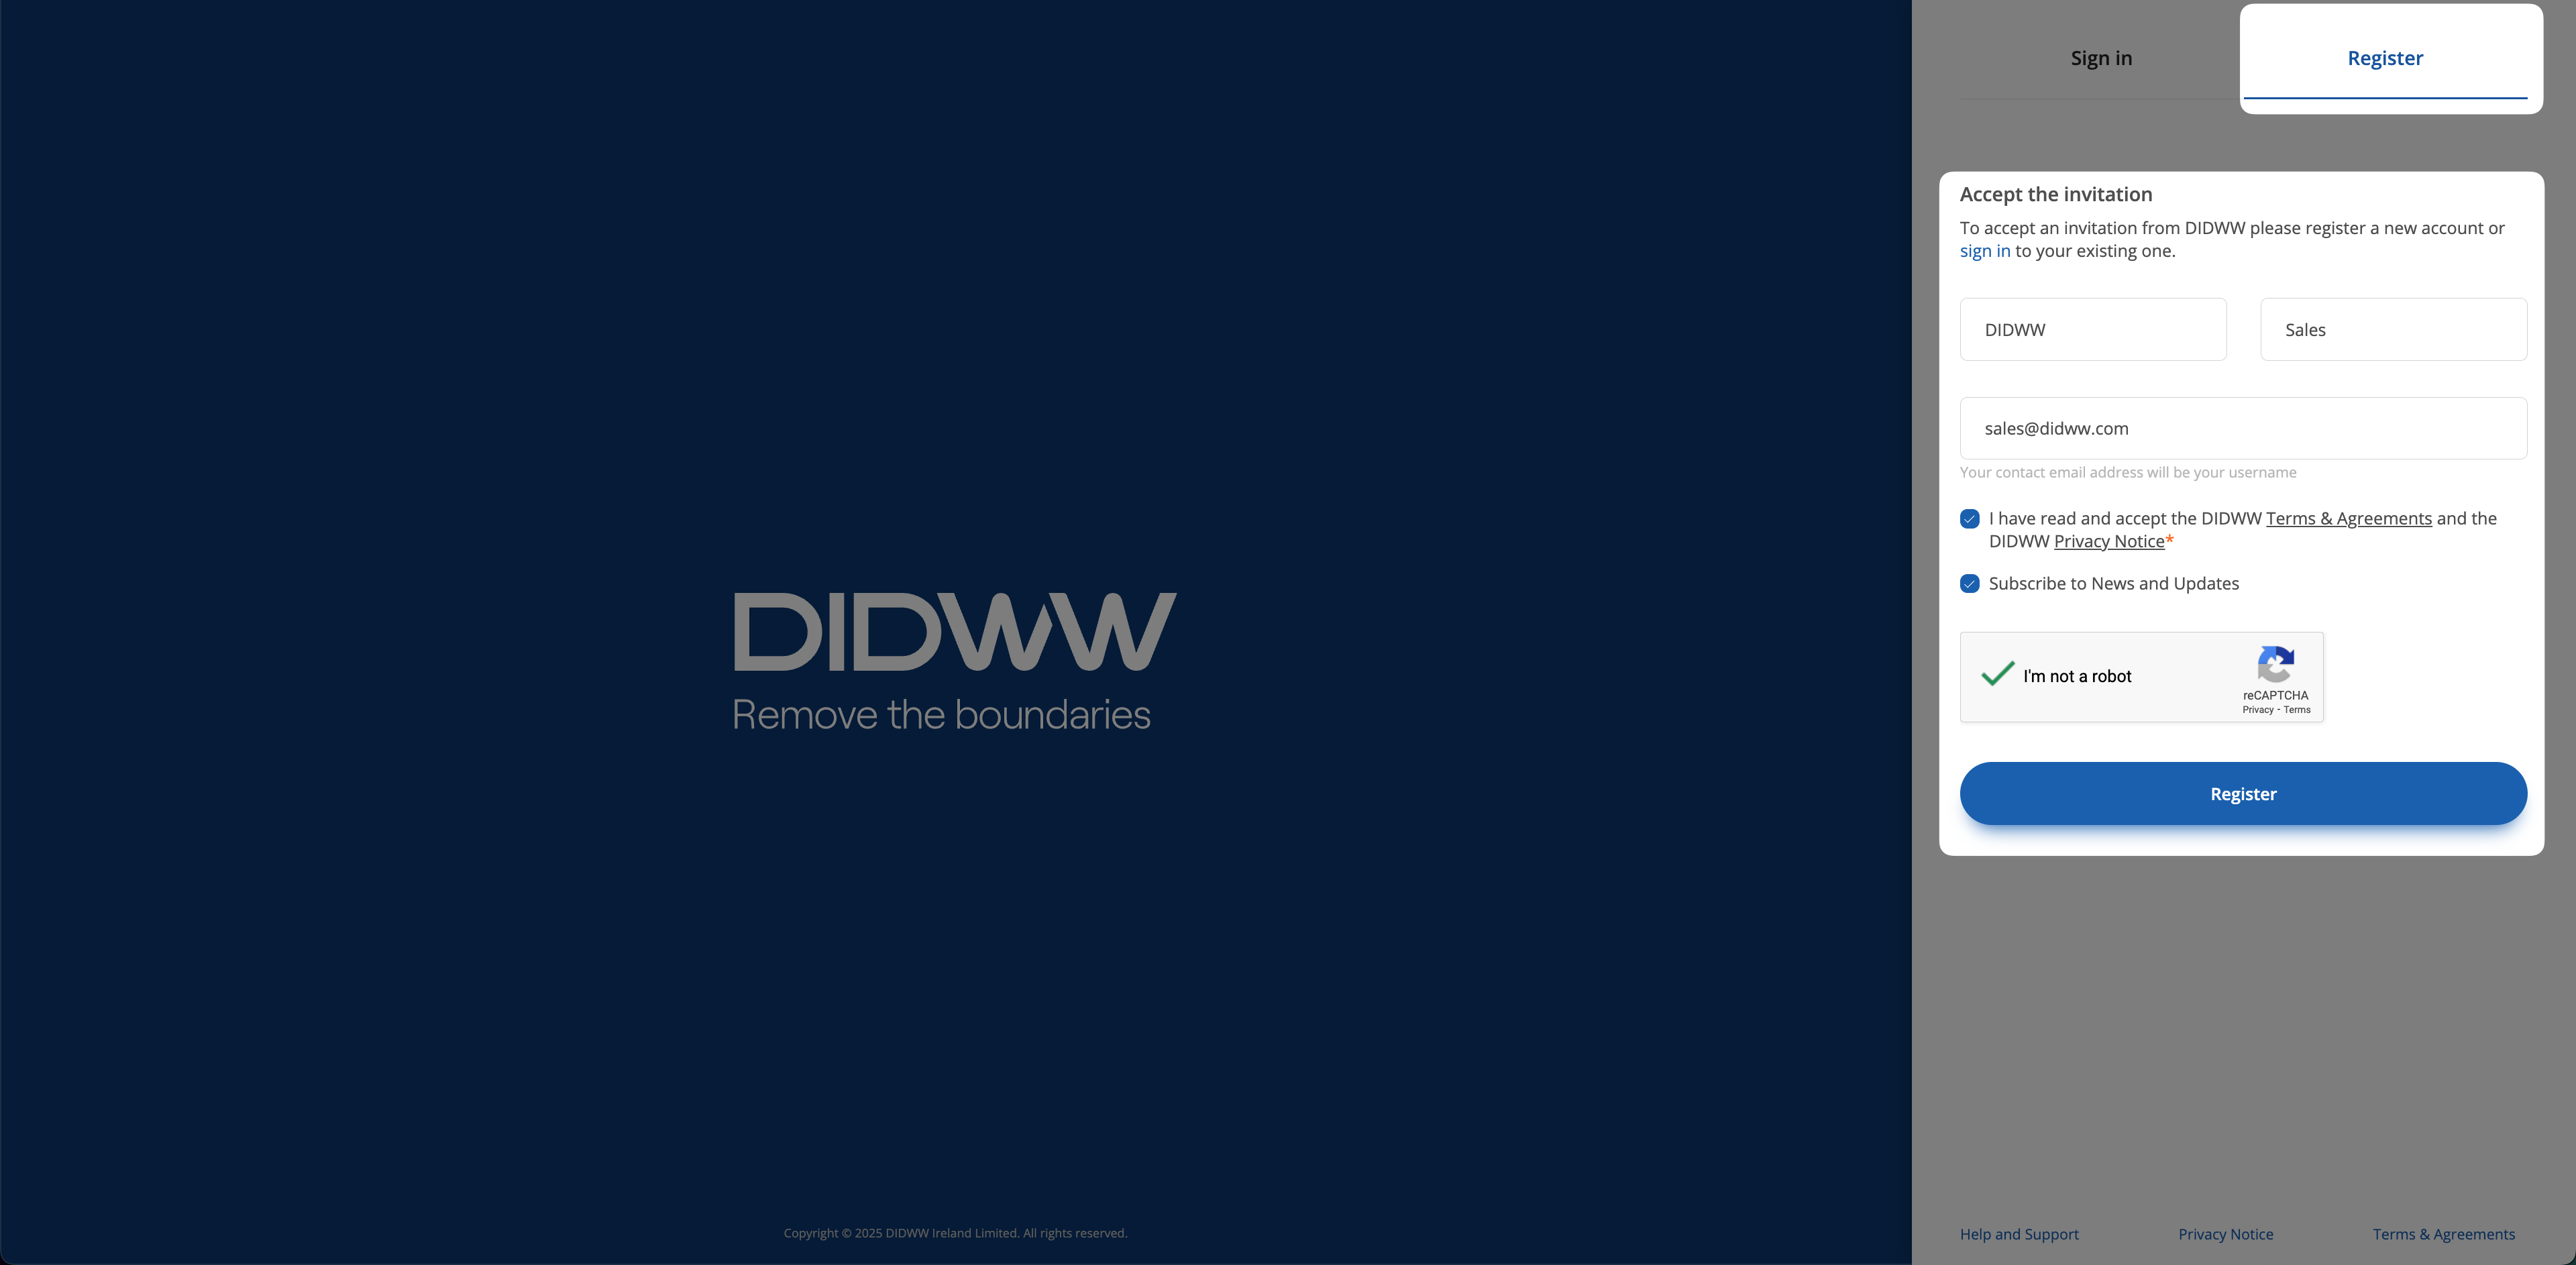
To accept an invitation, the user must either sign in with an existing account (as an account owner) or register a new one directly from the invitation (as a role-based user).
Note
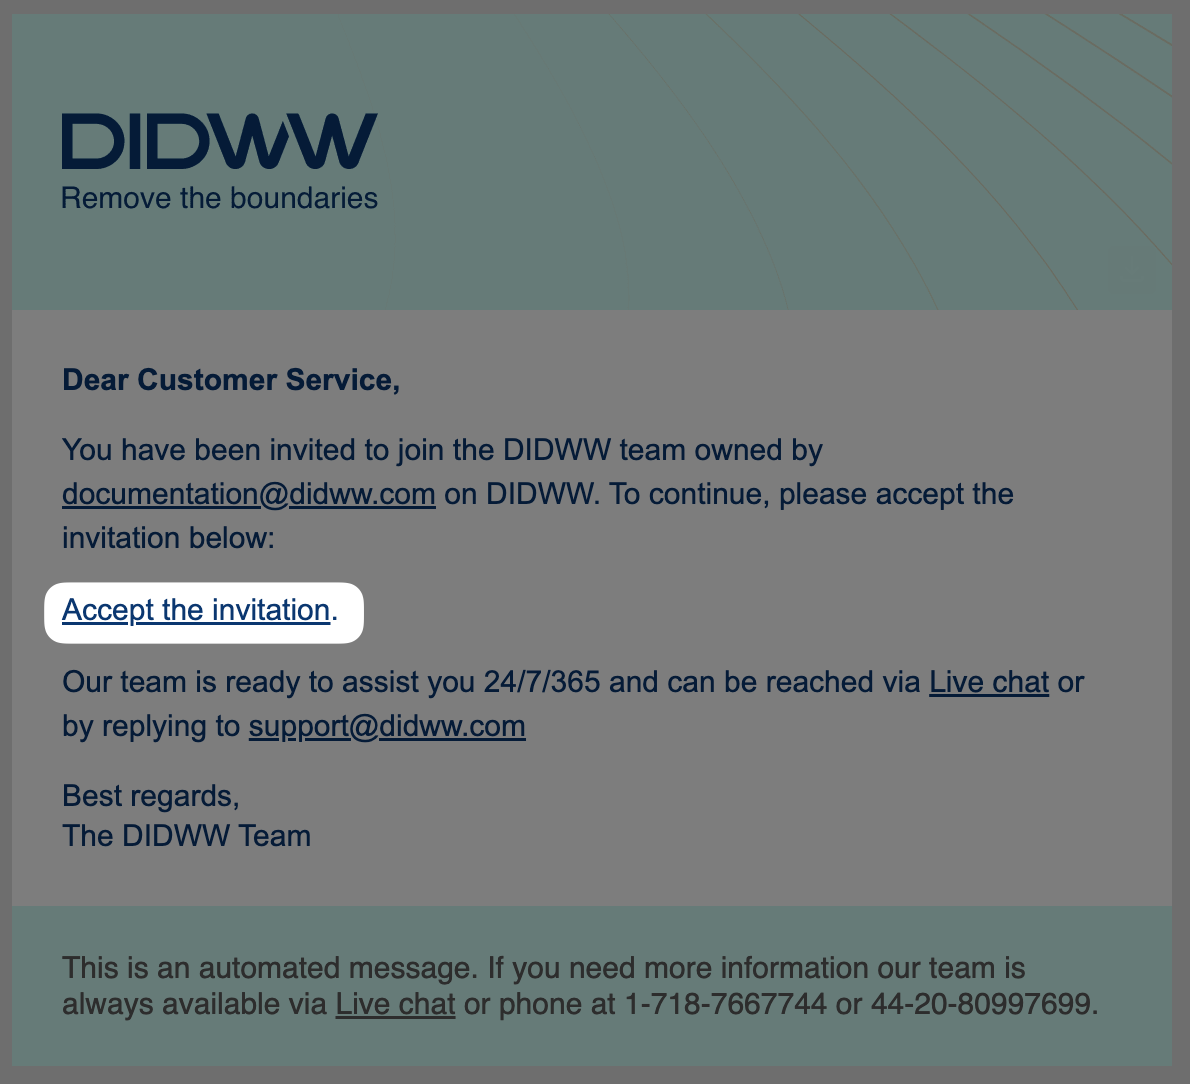
There are two ways to accept a user invitation, and each has different implications:
Sign in with an existing account (as an account owner):
If you already have a DIDWW account and accept the invitation while signed in, you will gain access to manage the invited account from within your own account. You can switch between your personal account and the managed account using the account switcher. If your access is later removed, your personal account remains active.
Register directly from the invitation (as a role-based user):
If you follow the invitation link and register a new user account, the new user is created specifically to manage the invited account. This user does not own any account and exists only to manage the assigned account. If access is removed, the user account is deleted as well.
Choose the option that best fits your needs:
If you want to have your own standalone account (e.g., to own services or accept future invitations), sign in or register separately, then accept the invitation.
If you only need access to manage someone else’s account, and don’t need your own separate account, register directly from the invitation link.
Accepting as a New Role-Based User
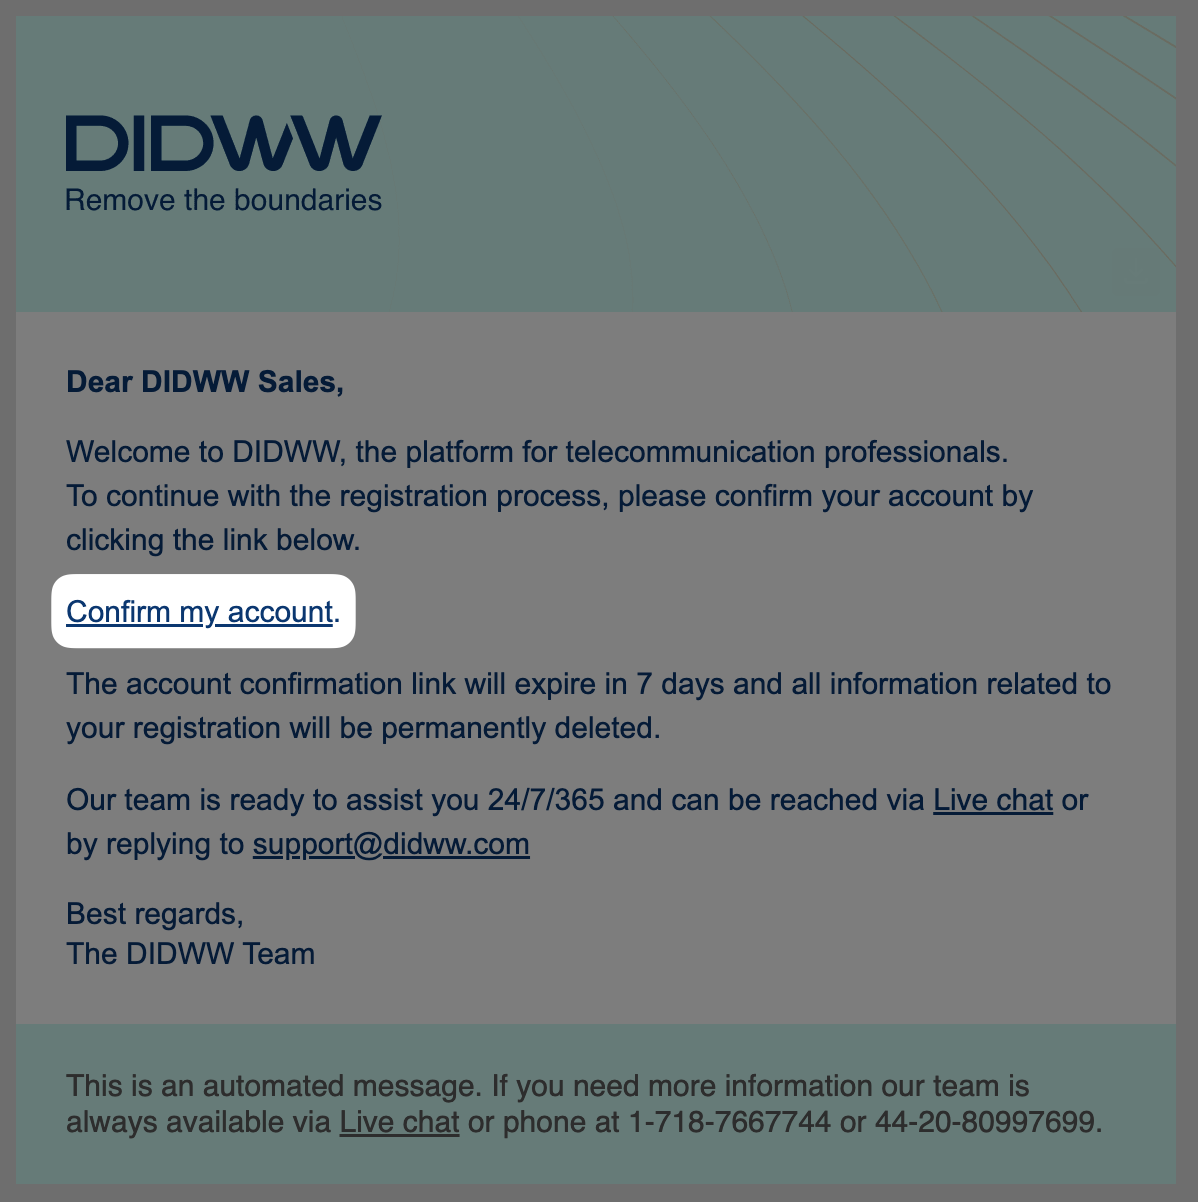
Learn how to accept an invitation by registering directly from the invitation email.
This process creates a user account specifically for managing the invited account. The new user does not own any services and exists only for assigned access. If your access is later removed, the user account will be deleted as well.
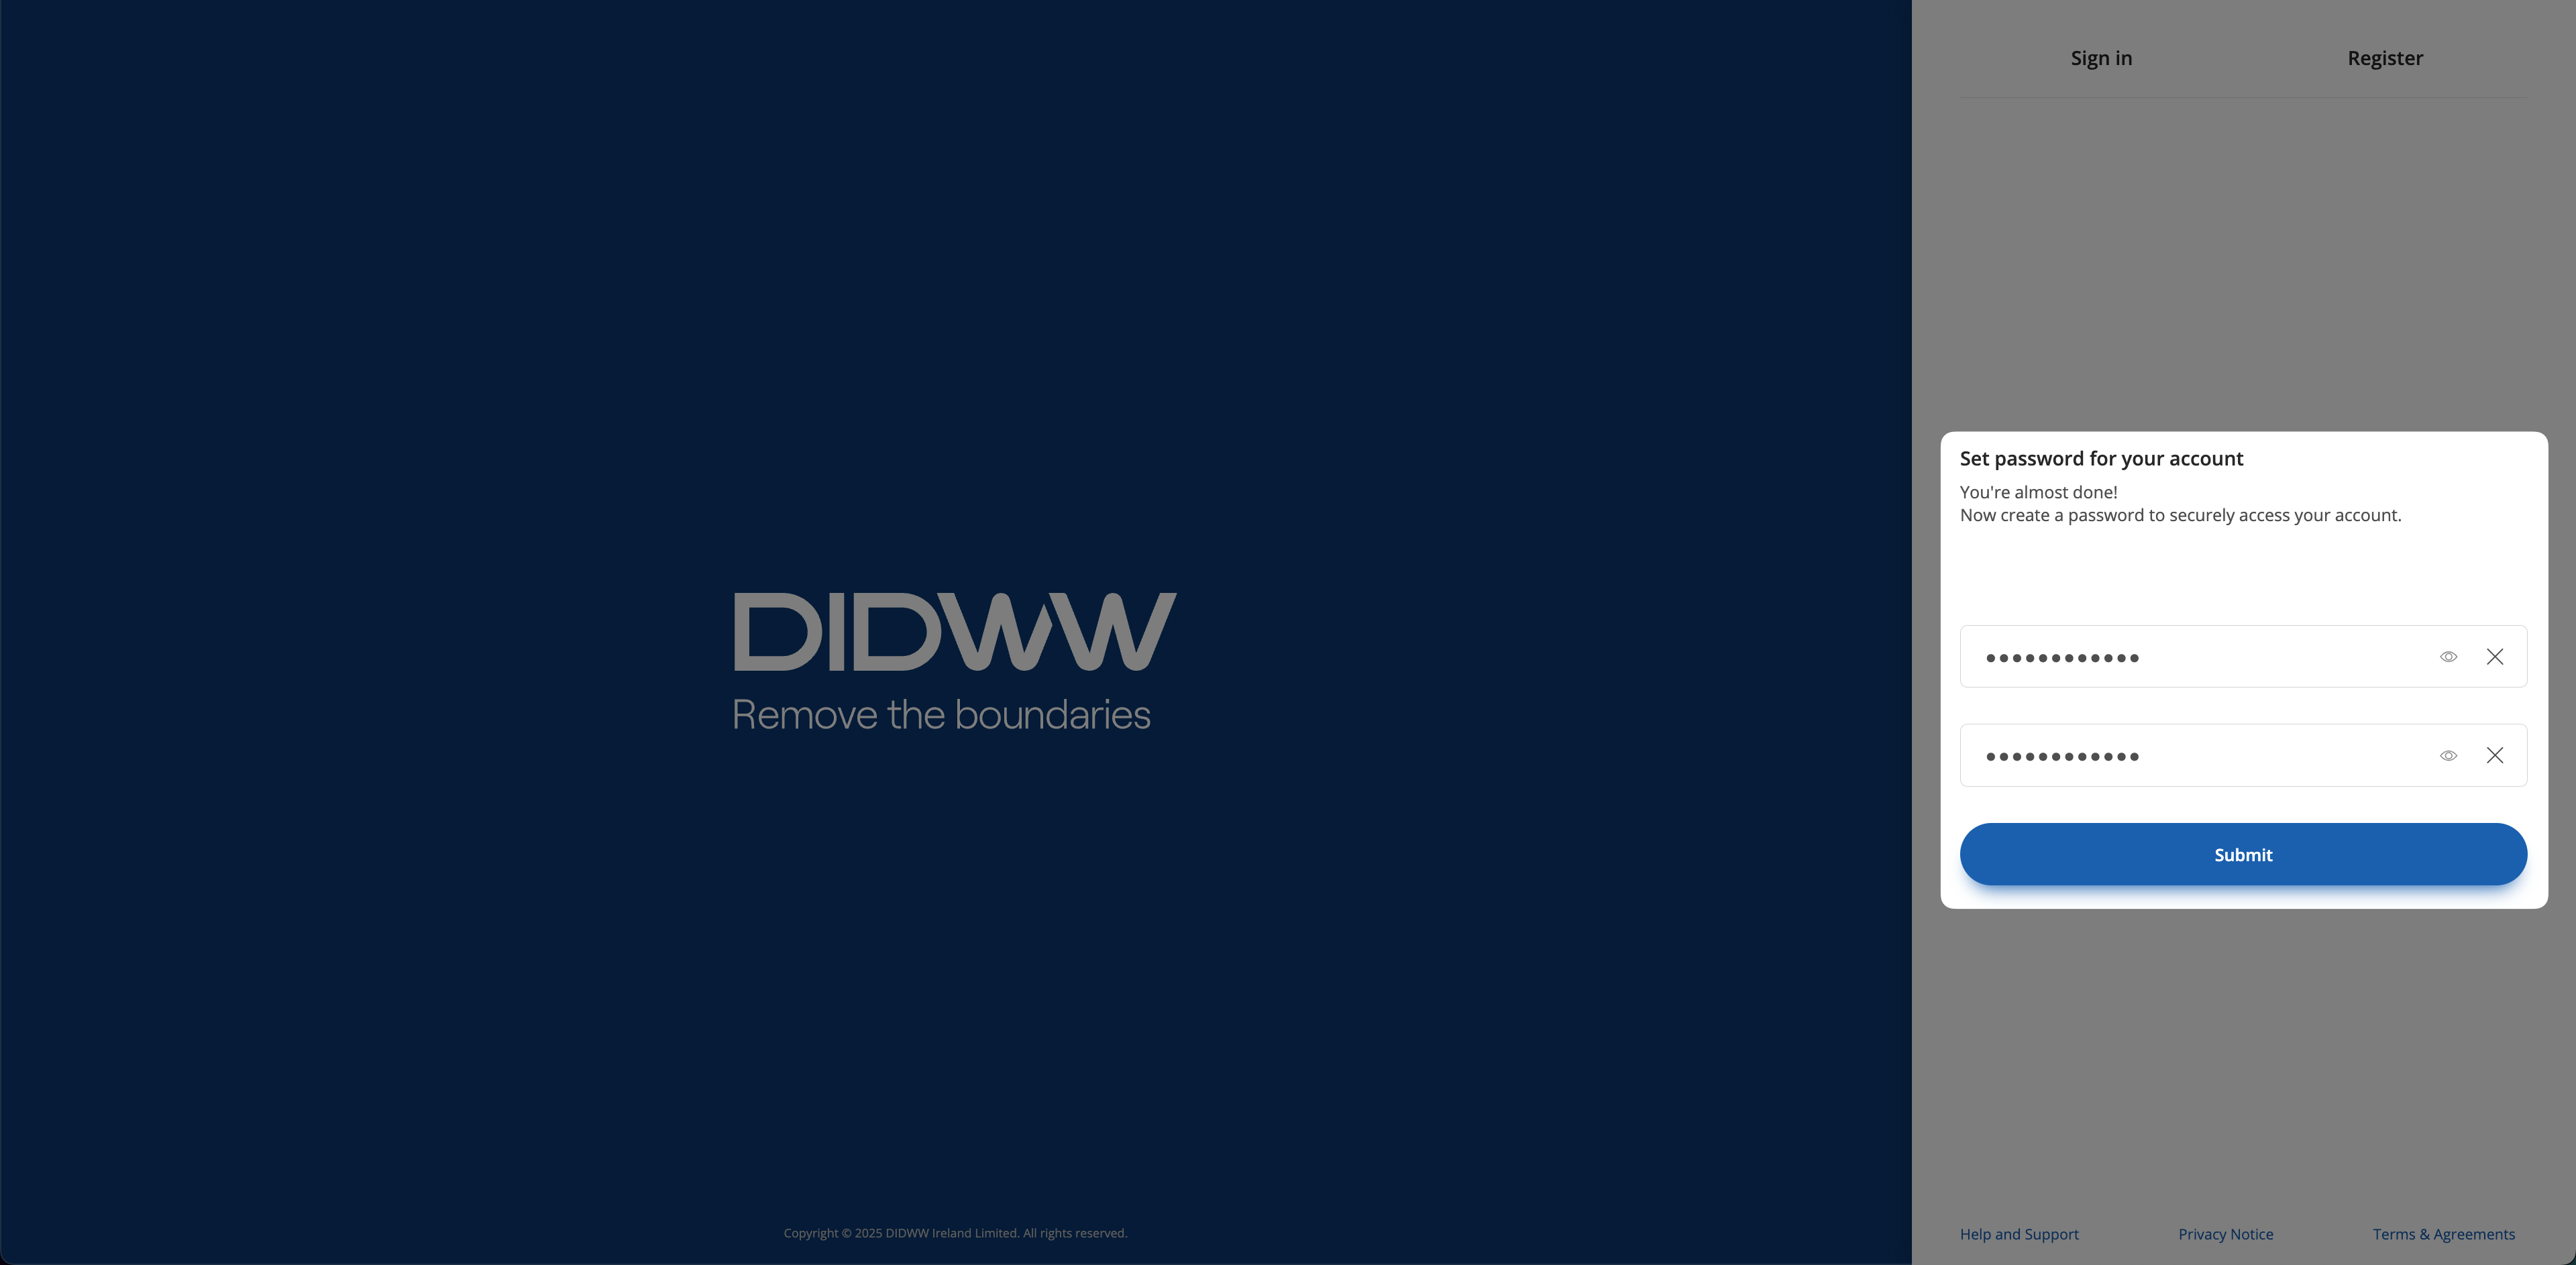
Follow the steps below to complete the registration:
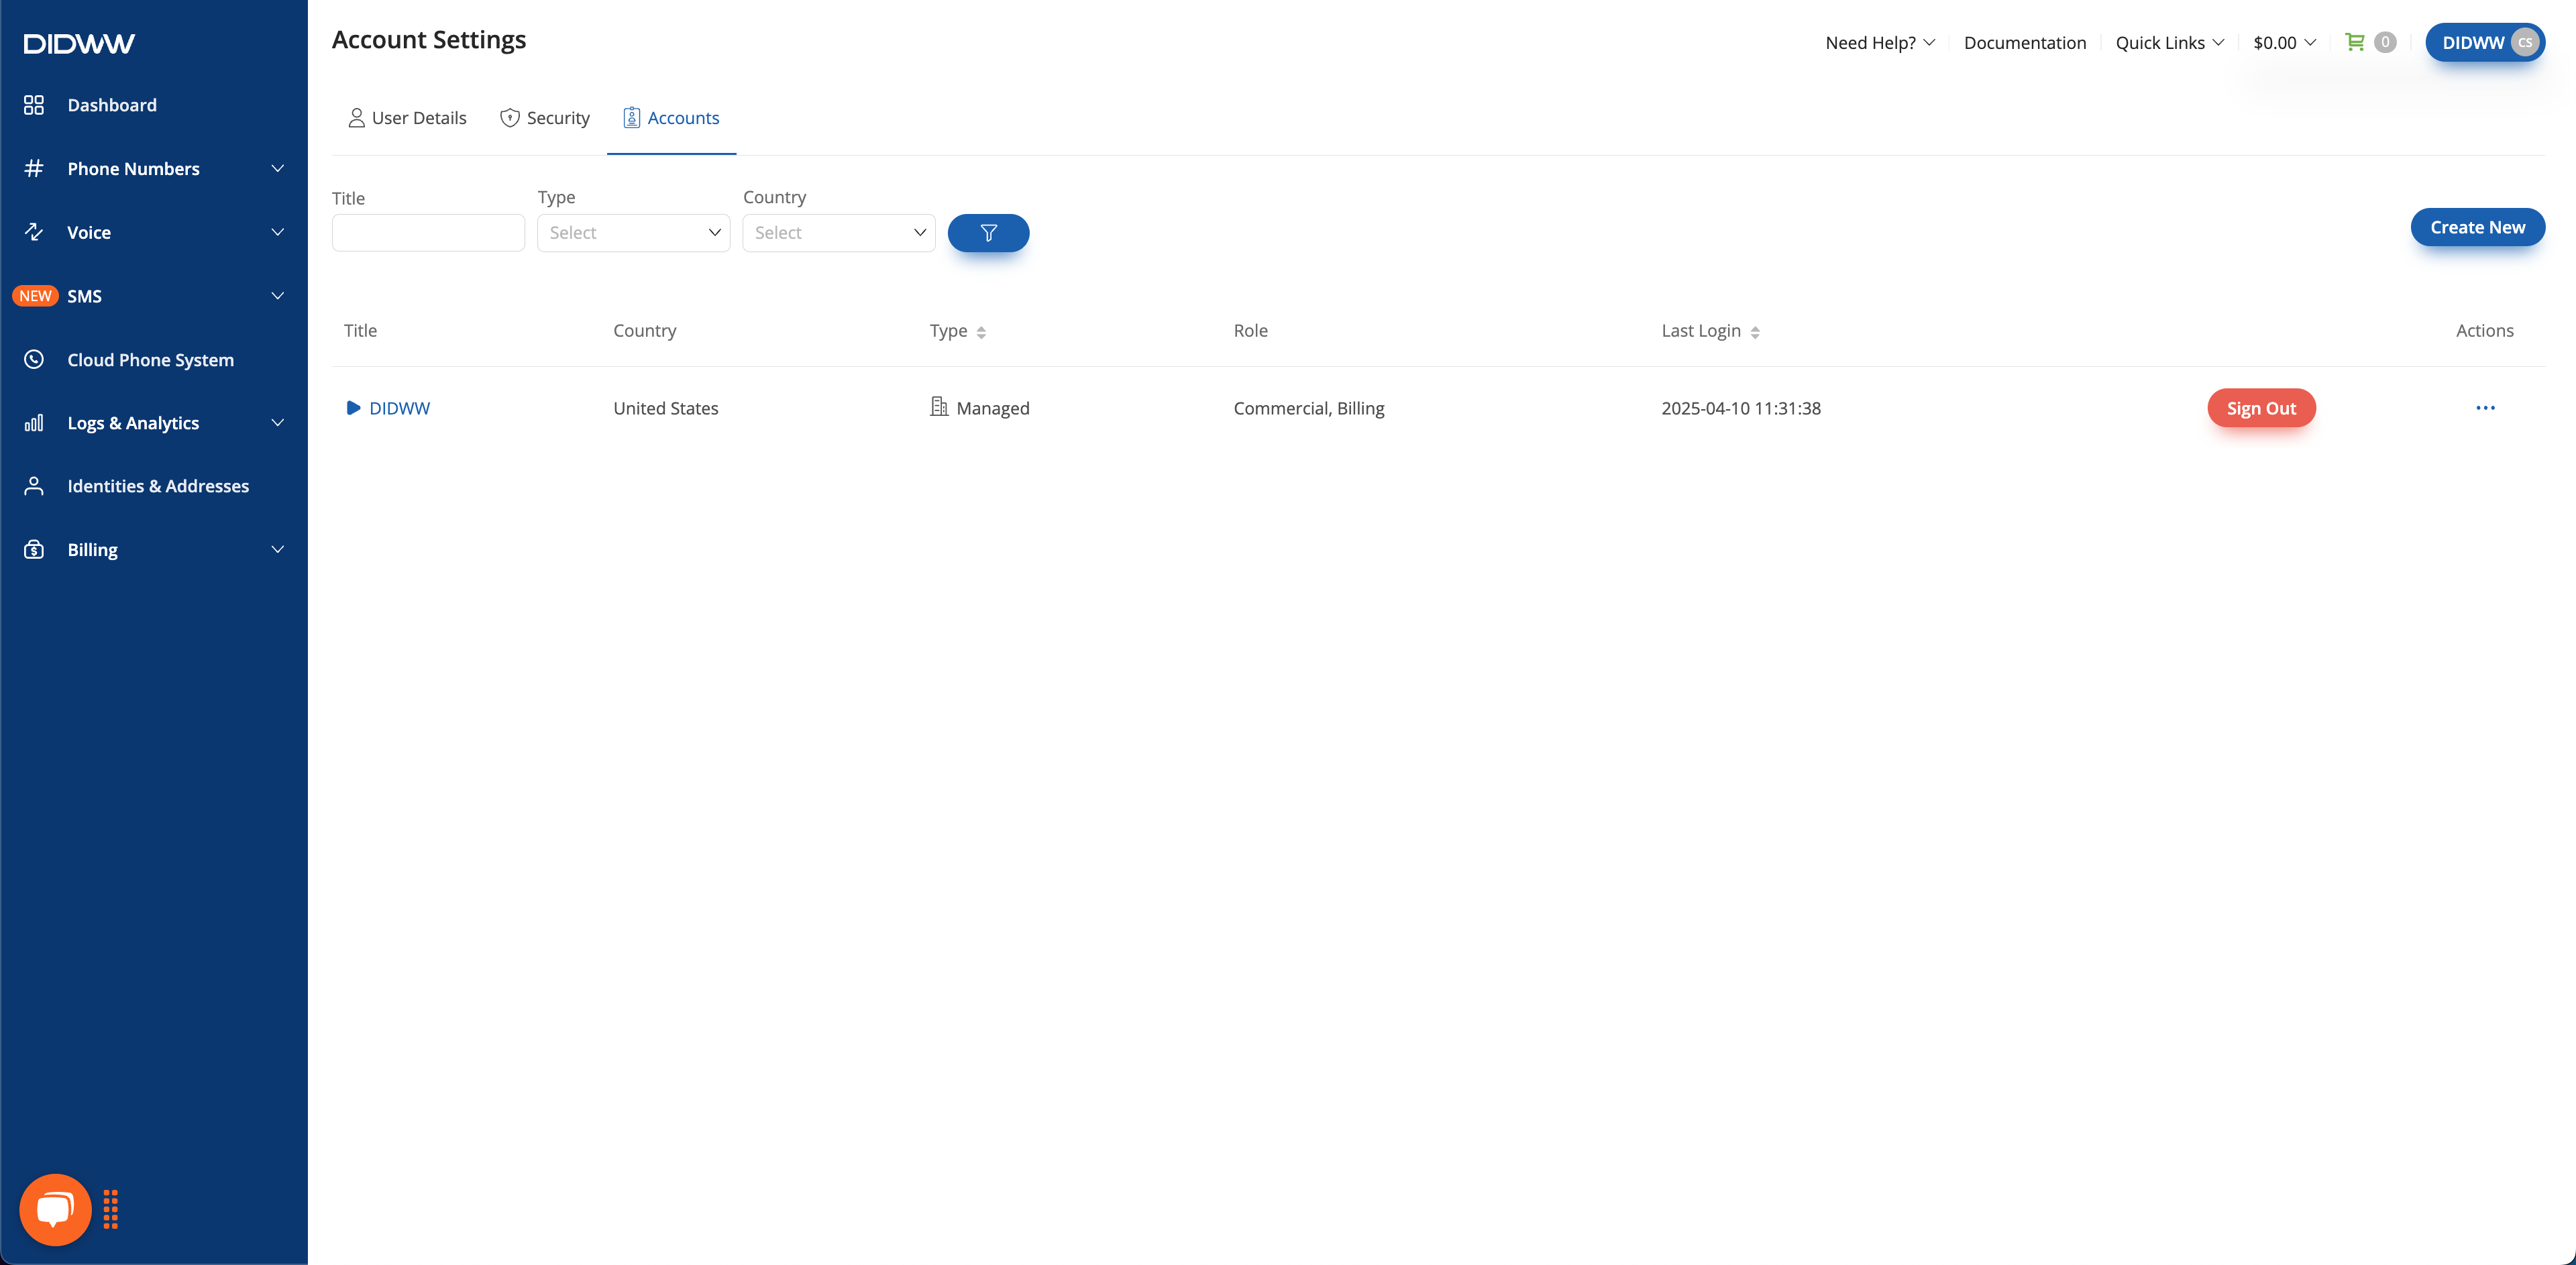
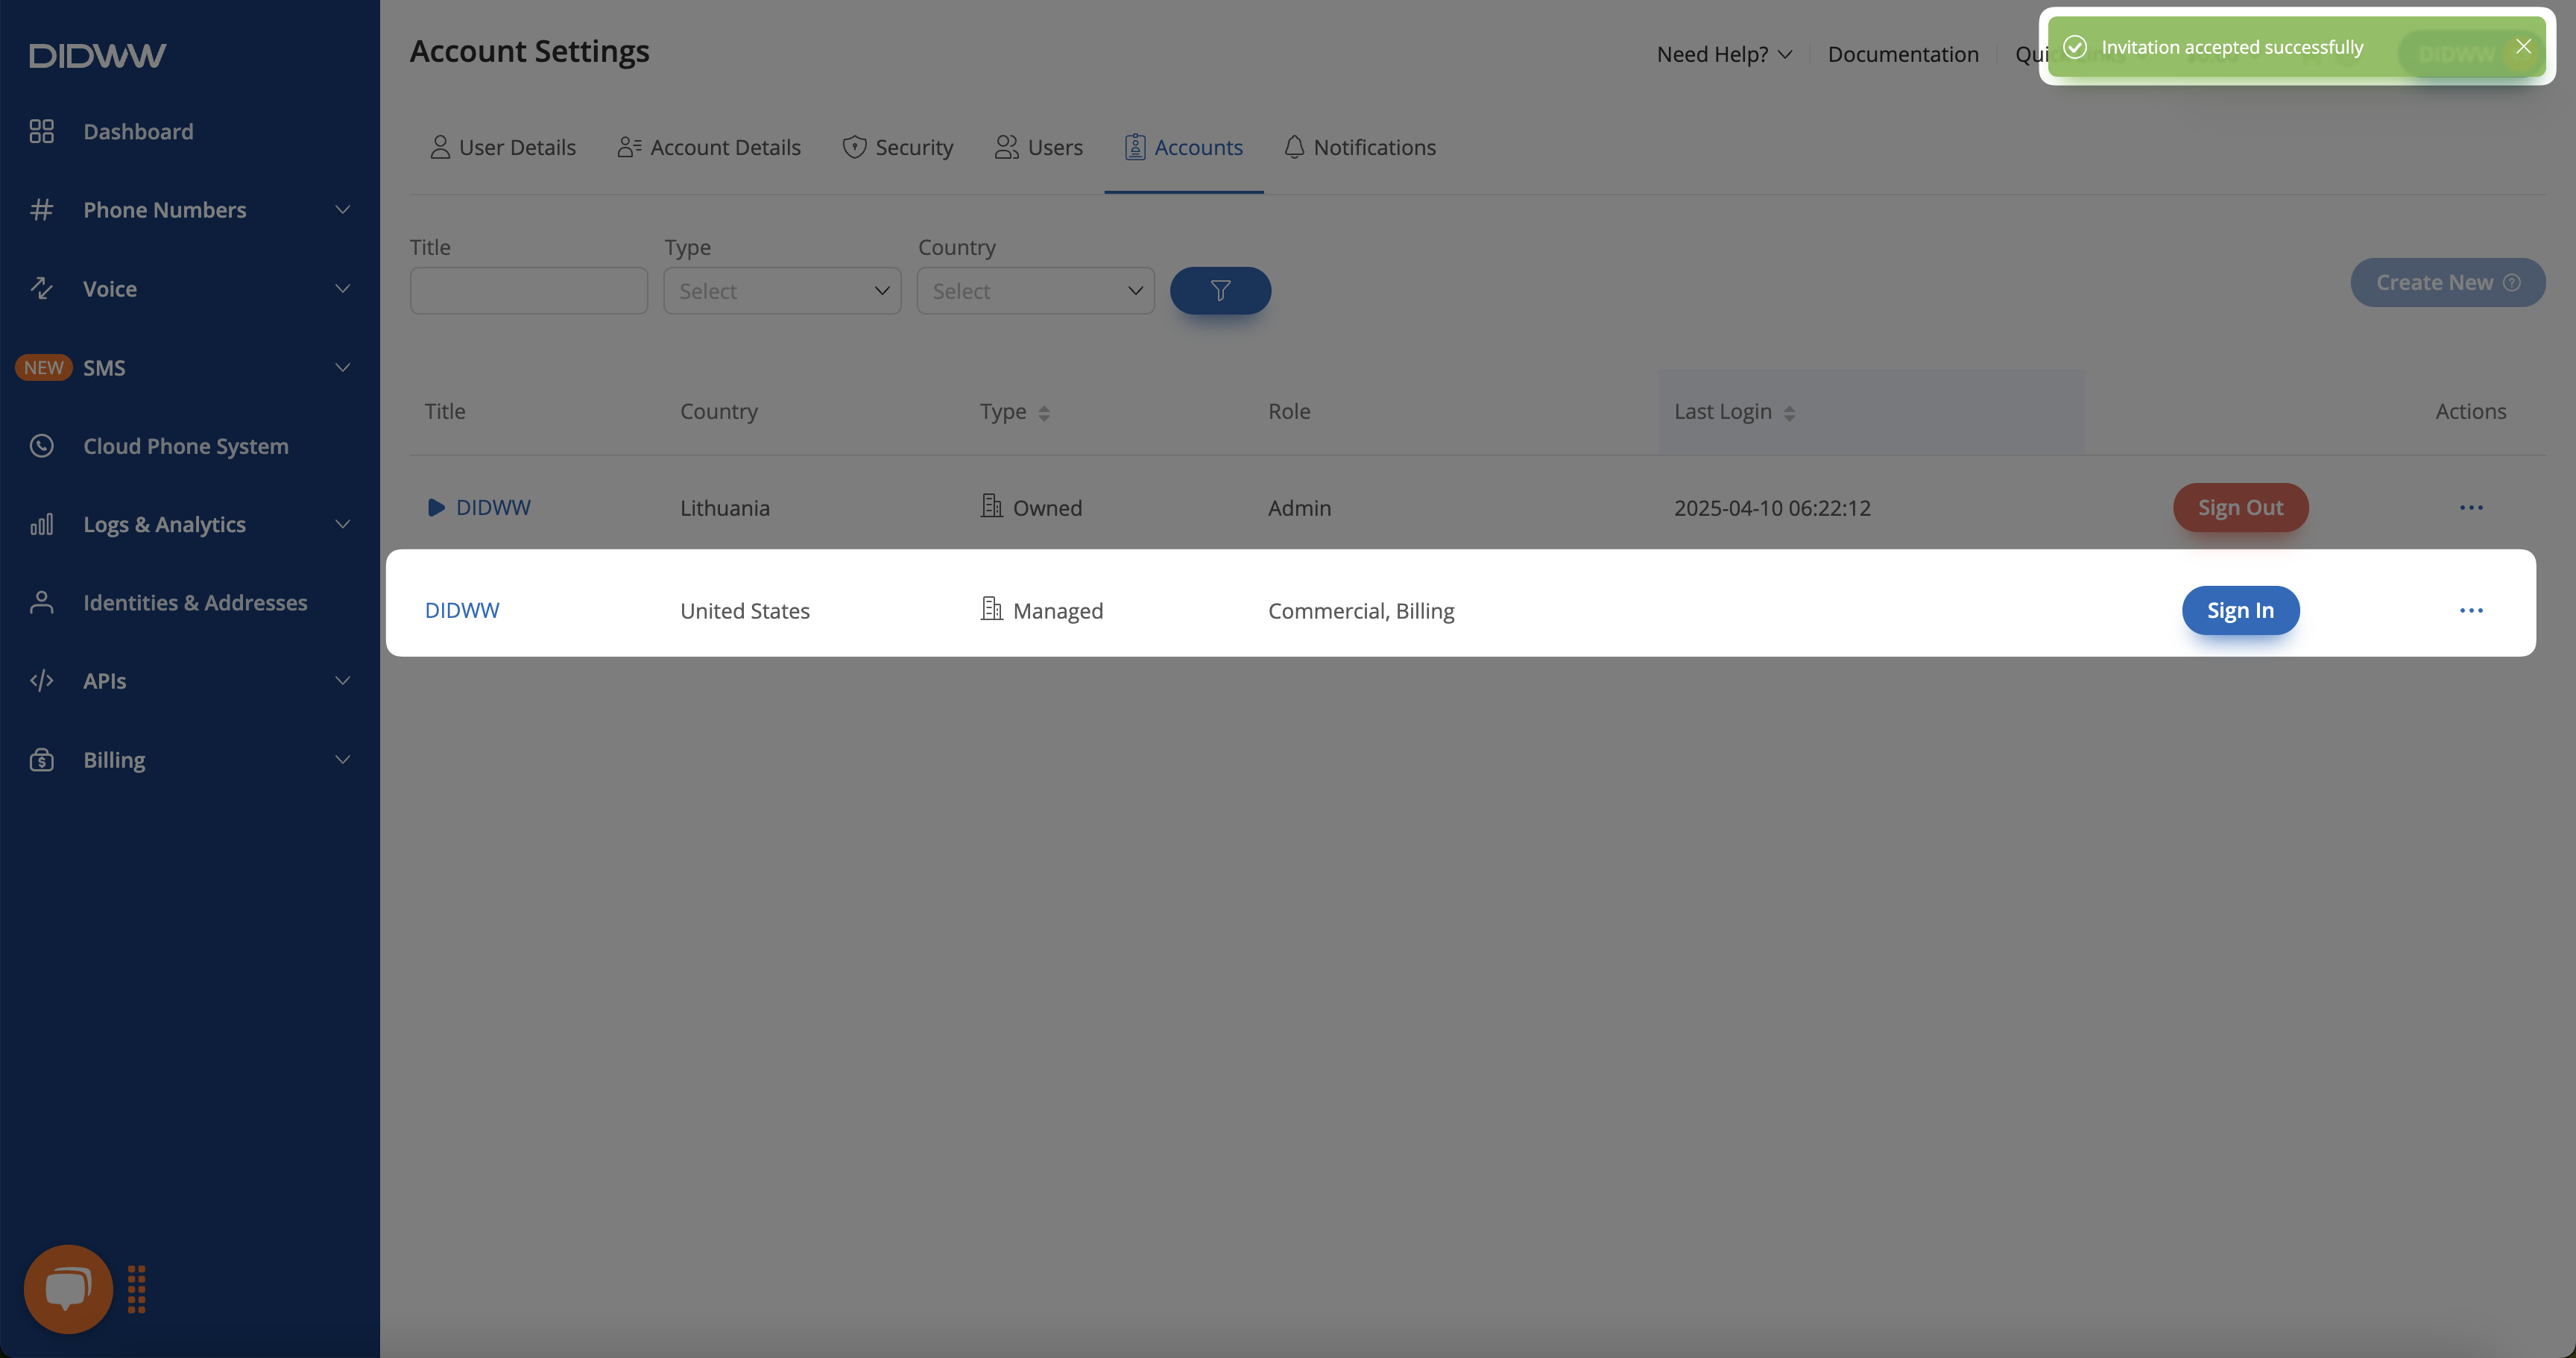
After completing registration and signing in, the invited managed account will appear in the Account Settings > Accounts section with the assigned role(s).
Fig. 7. Account successfully added for existing user.#
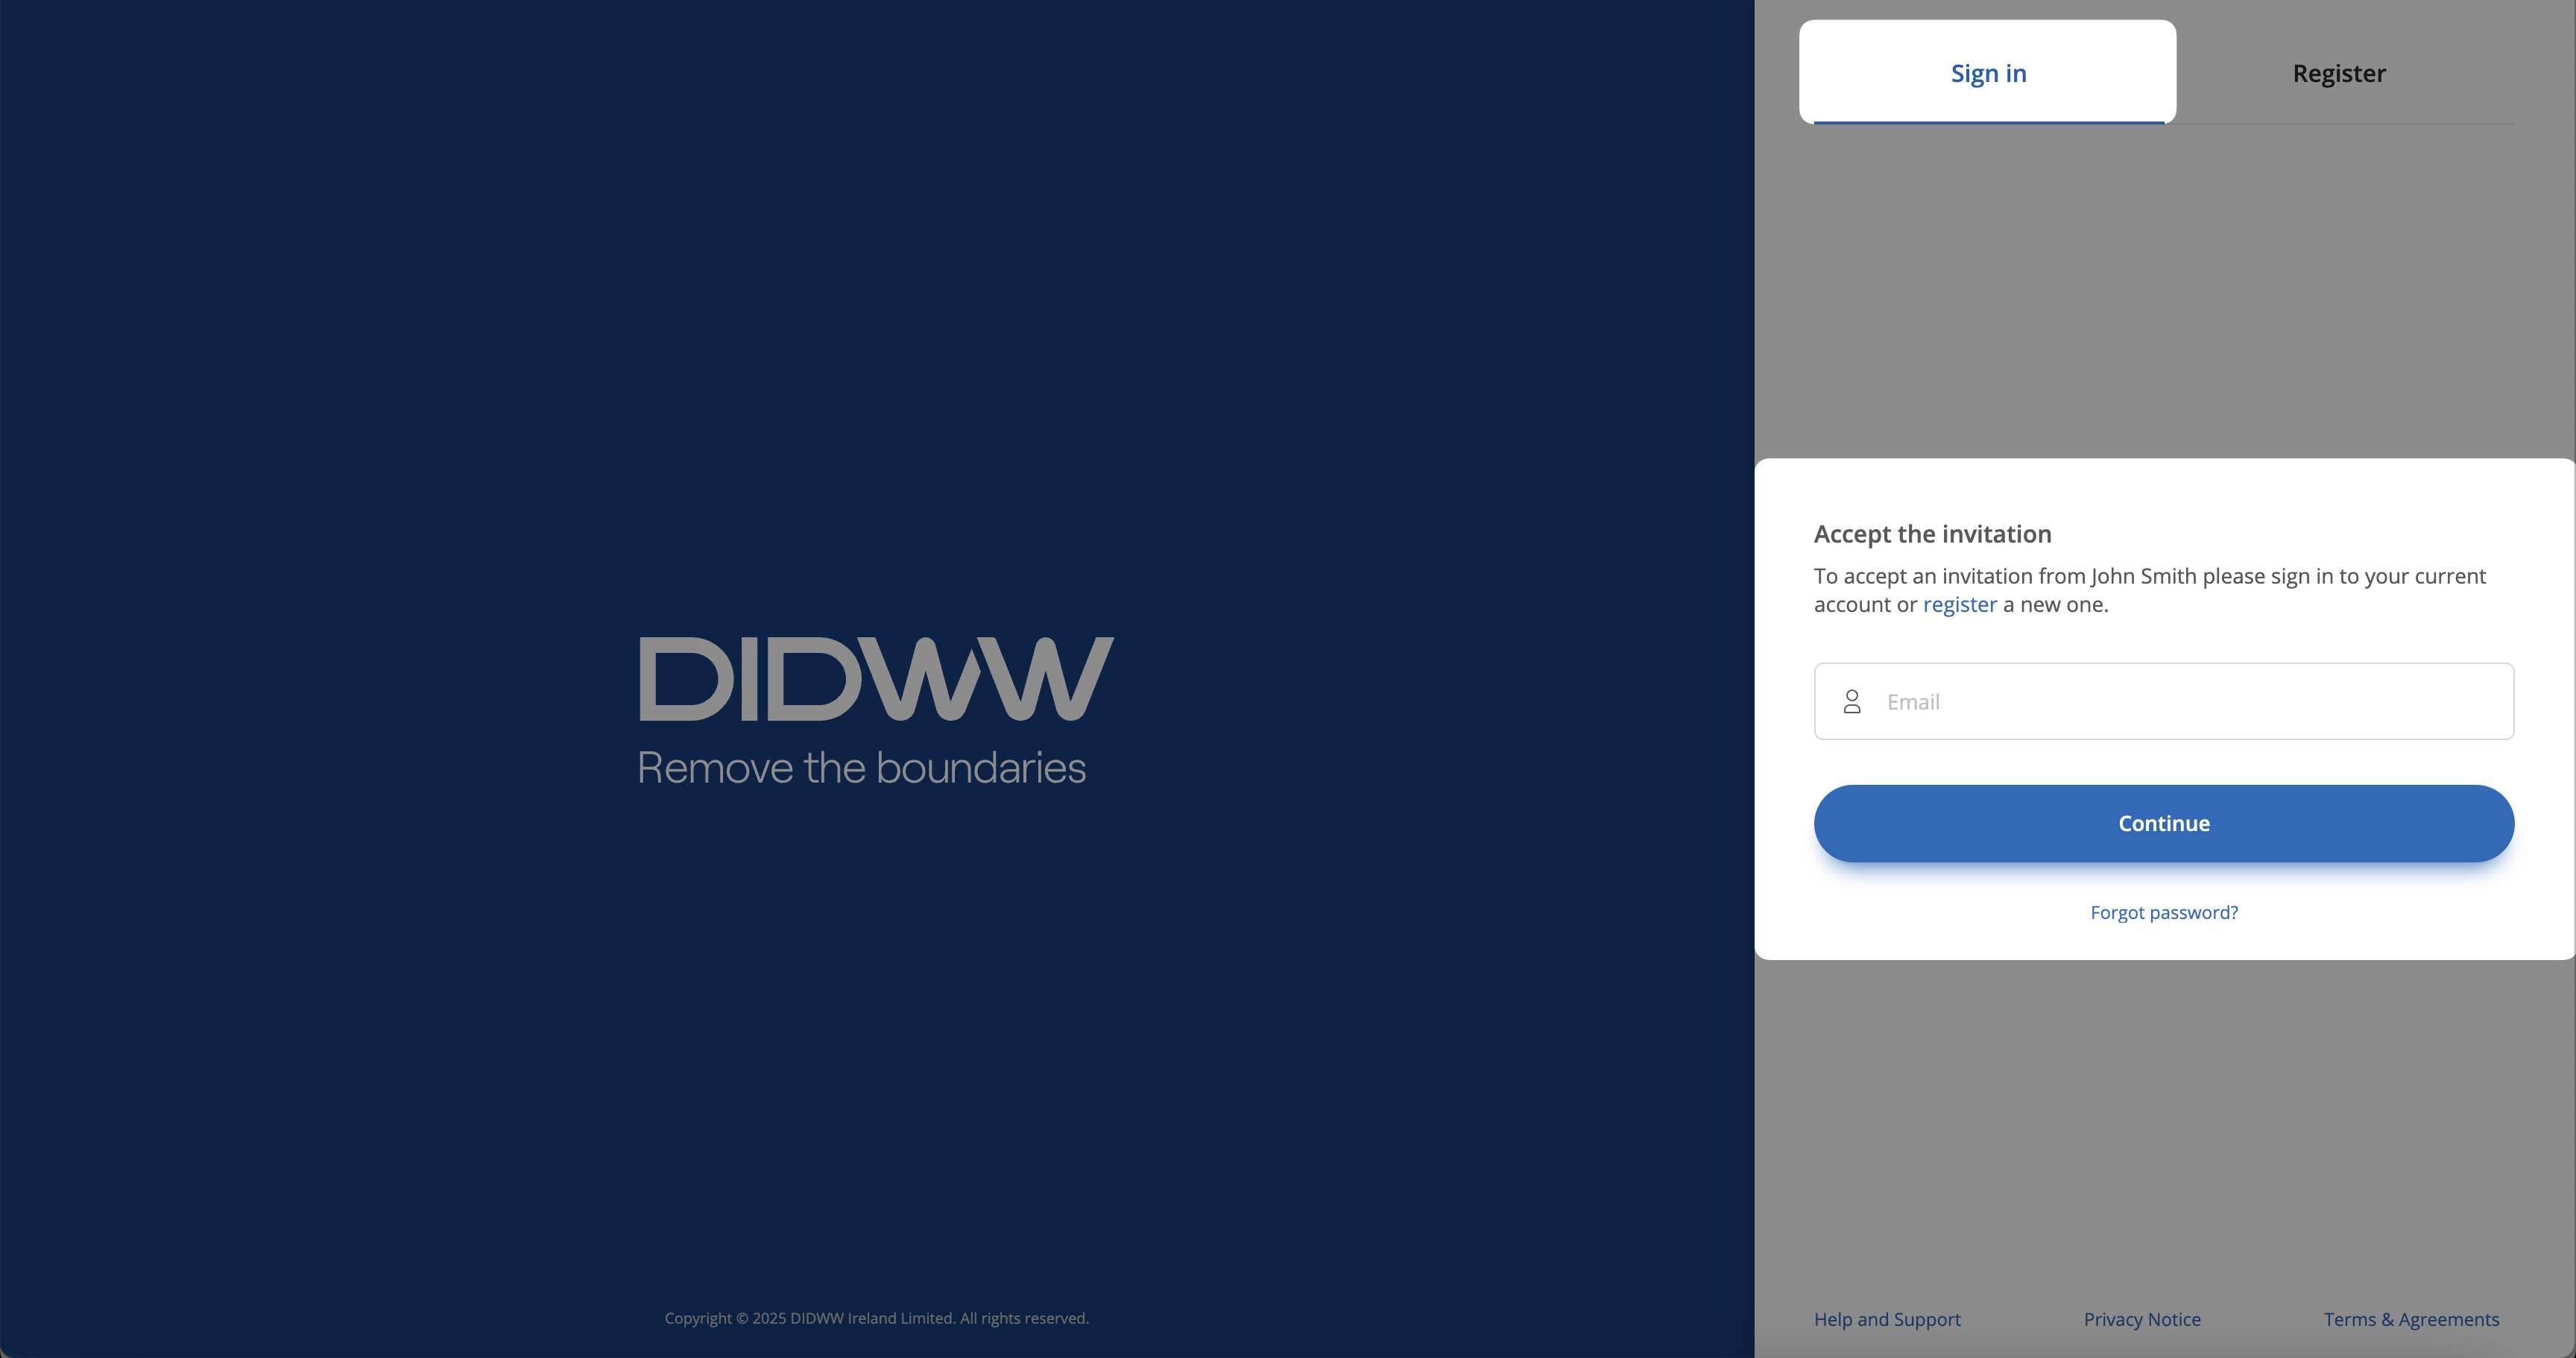
Accepting Invitation as an Existing Account Owner#
This option allows you to access and manage the invited account from your own personal account using the account switcher. Your personal account remains active even if access to the invited account is later removed.
By default, when you select Accept the invitation in the email, you will be redirected to the registration page with the Register tab open. To proceed, you can either select Sign in to log in to your existing DIDWW account or choose Register to create a new one.
Note
If you choose to register a new account separately, follow the guide at How to Register an Account with DIDWW first, and then accept the invitation.
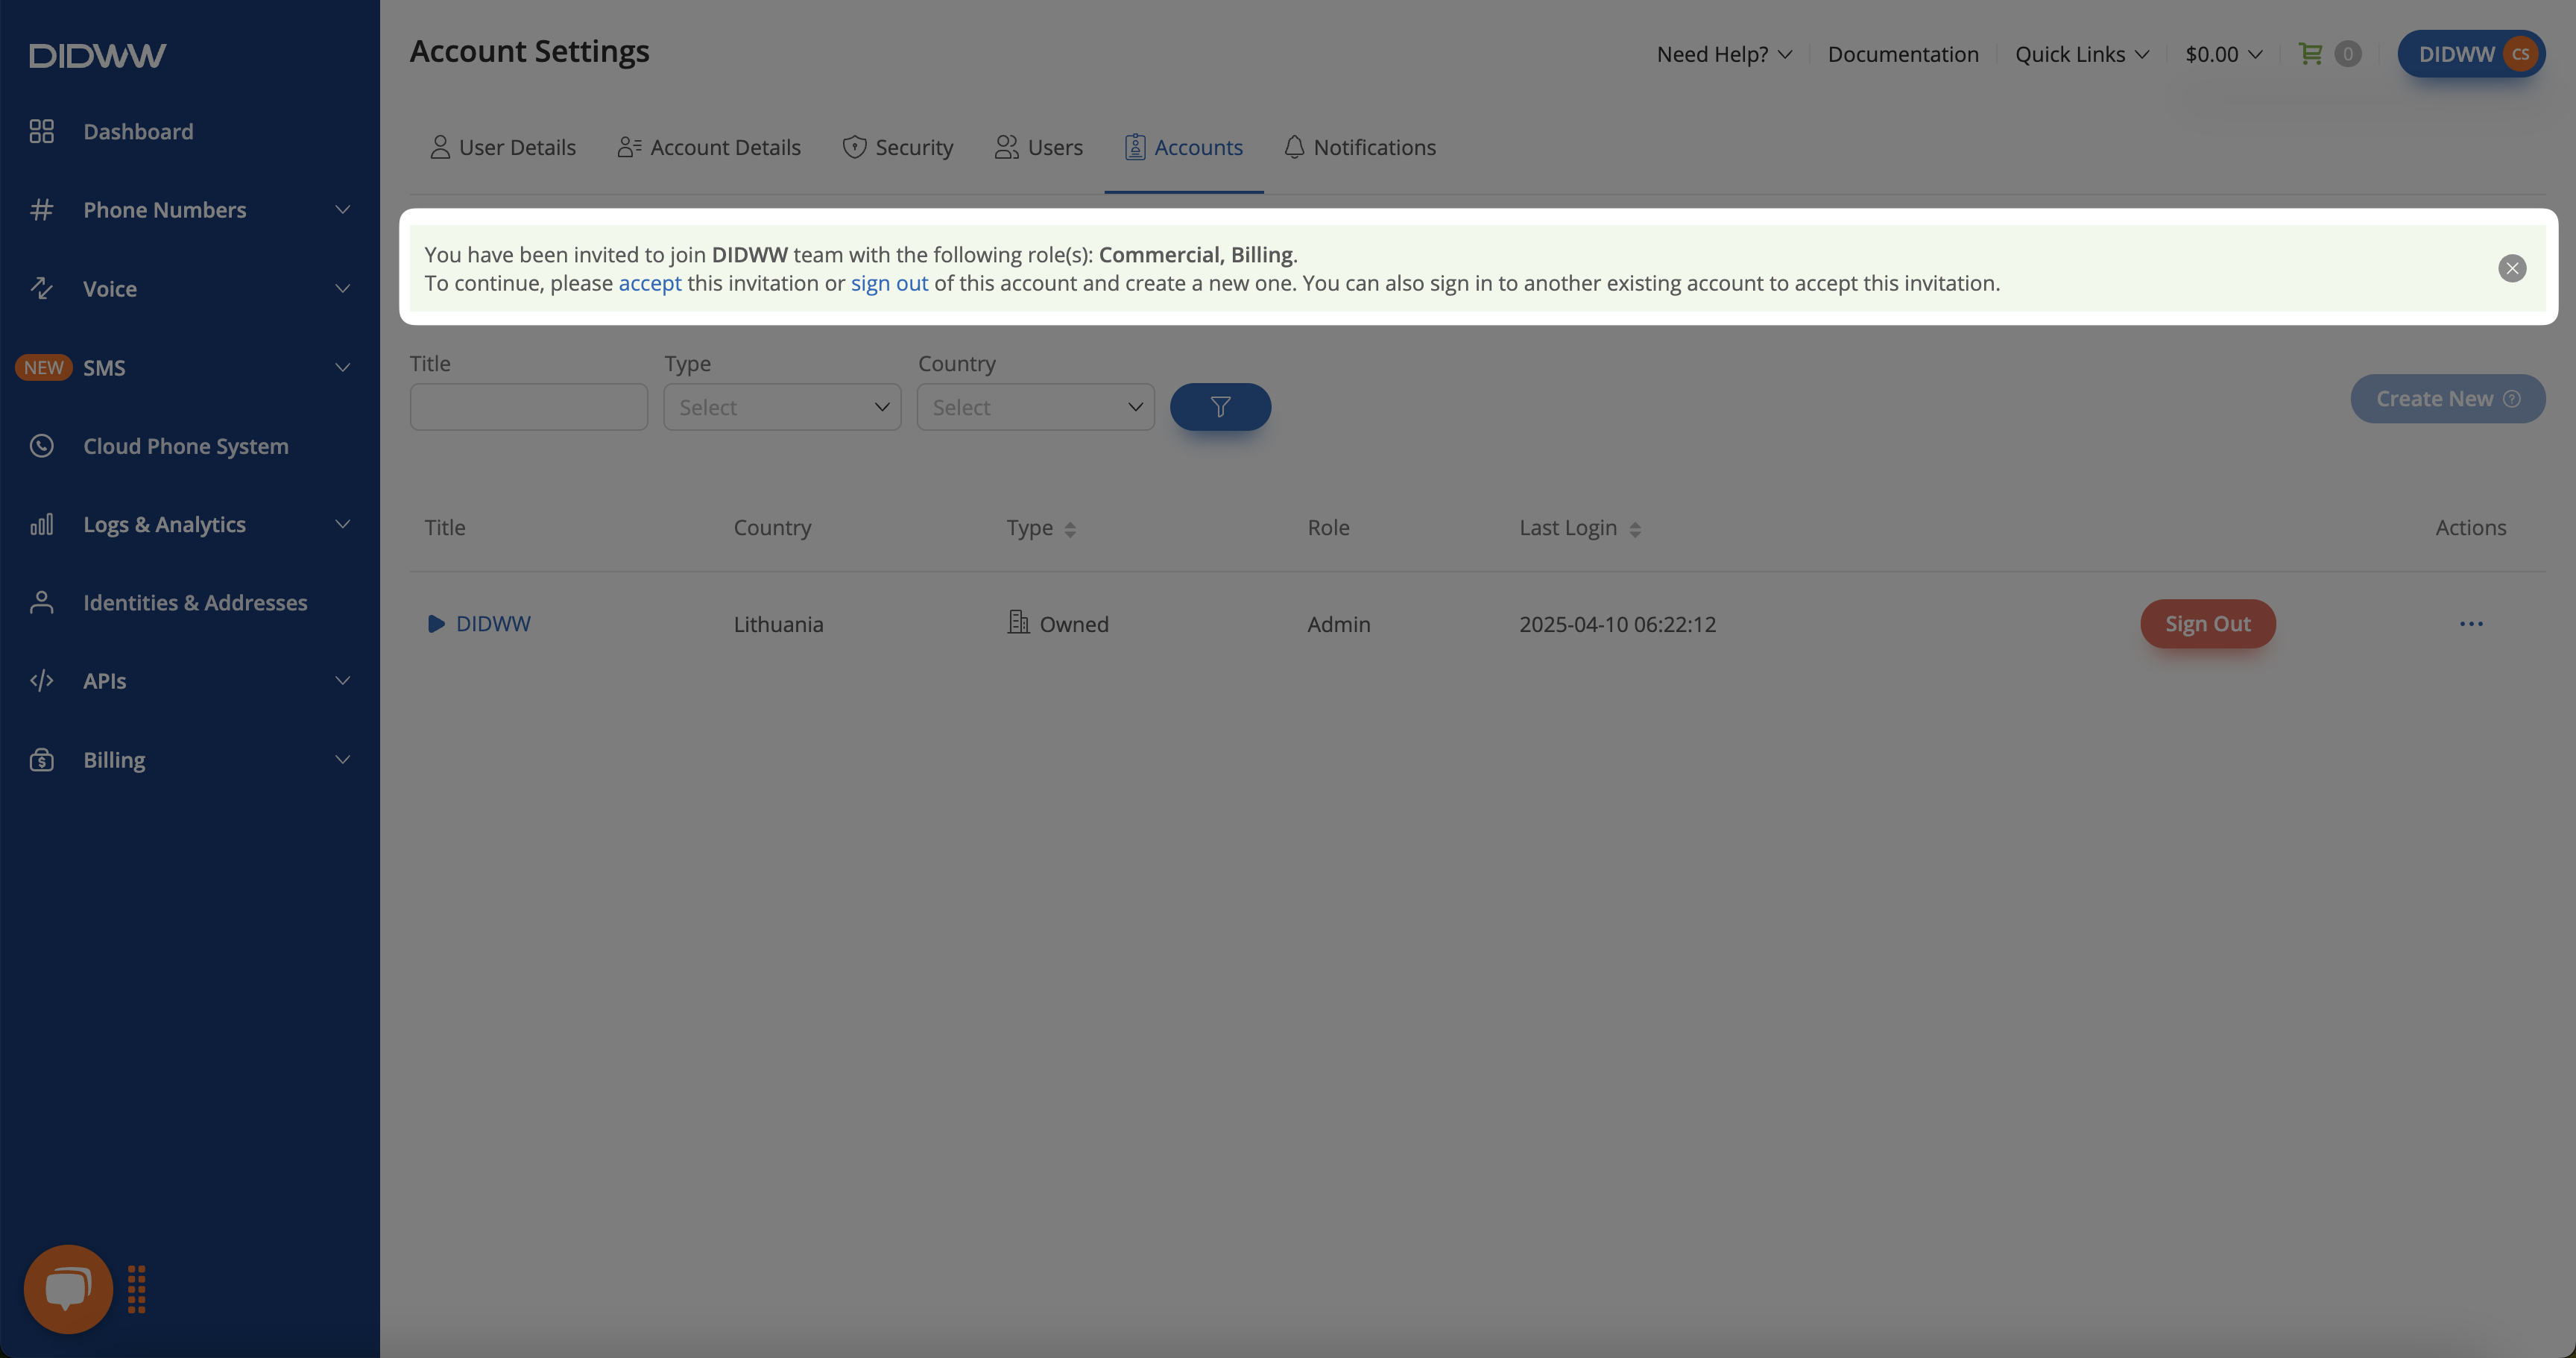
After signing in to your existing account, you’ll be redirected to the Account Settings > Accounts section, where a banner will prompt you to confirm the invitation.
If the account shown is the one you want to use to accept the invitation, select Accept.
If it’s not the correct account, sign out and log in to the account you want to use.
Fig. 10. Invitation banner with role information.#
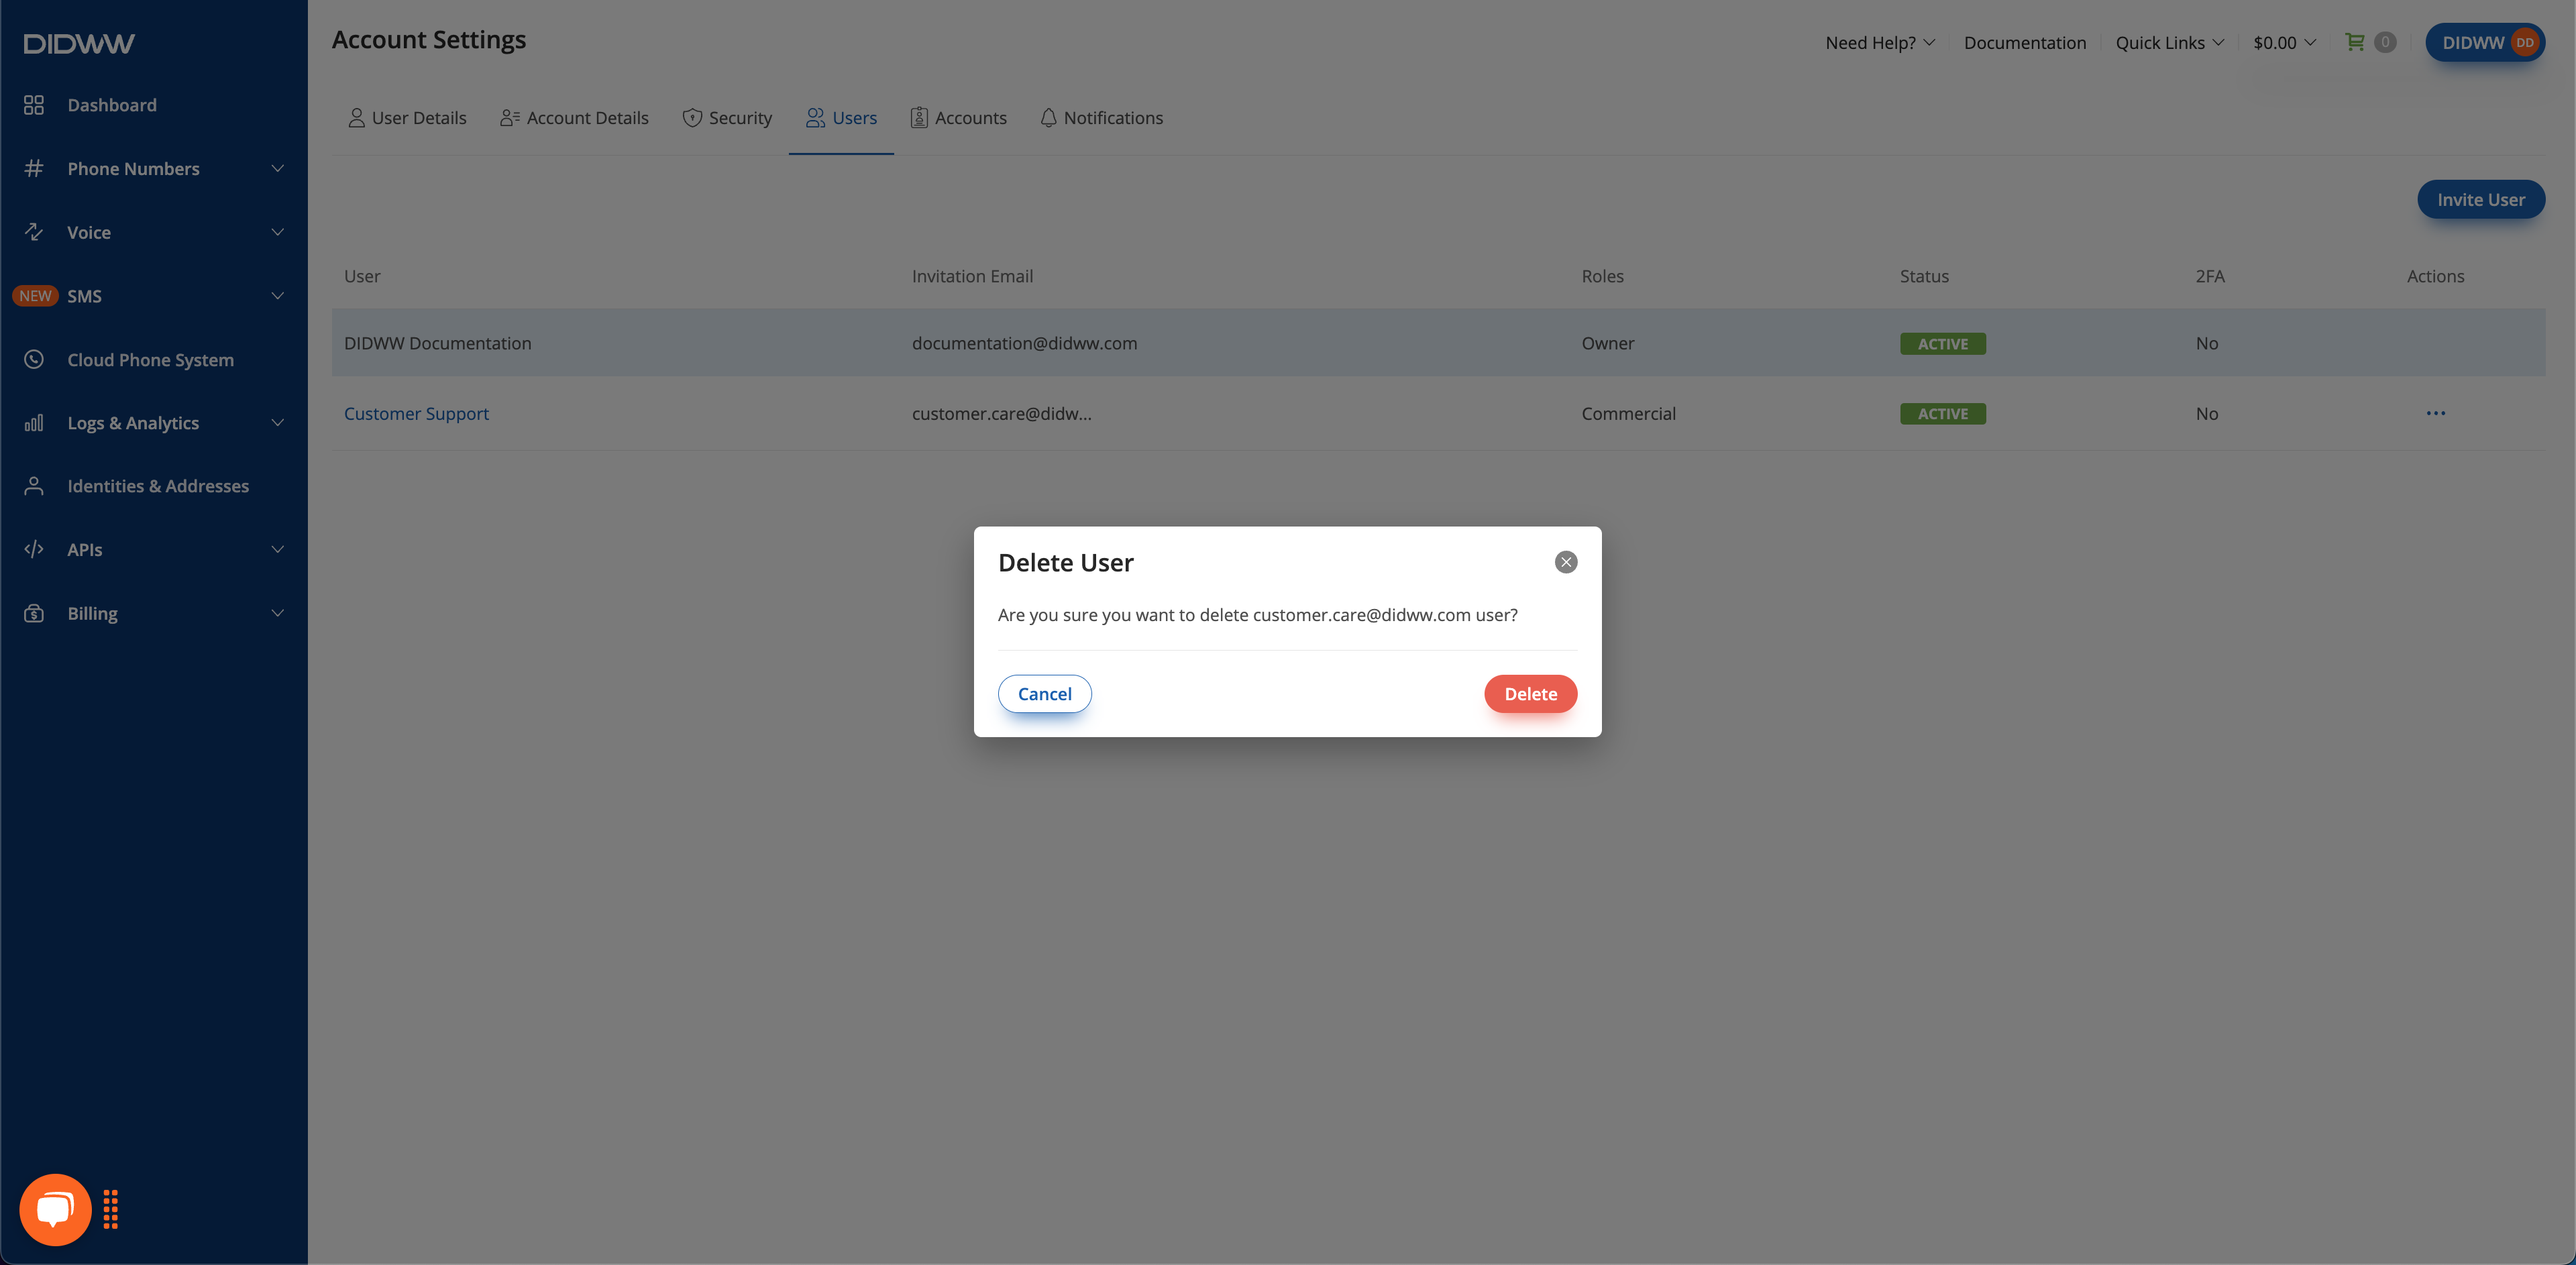
You can remove a user from your account if access is no longer needed.
Warning
If the user registered directly from the invitation as a role-based user, their account was created solely to manage the invited account. This type of user does not have a standalone account. If their access is removed, the user account will also be deleted, and they will no longer be able to sign in.