Getting Started#
This guide provides a step-by-step walkthrough to help you quickly set up and configure your billing and payment methods on the DIDWW user panel. By following these steps, you can ensure your account is always funded, your services remain active, and your billing is managed efficiently.
Securely add your primary payment method to the platform.
Configure rules to automatically refill your balance when it runs low.
Get email alerts before an auto top-up is performed.
Before You Begin#
Before you start, make sure you have the following:
A DIDWW Account: You’ll need an active DIDWW account. If you don’t have one yet, Sign up here .
Payment Method: Prepare a valid payment method.
Access Permissions: Confirm that you have the necessary permissions. If you’re unsure about your access level, review the available User Roles.
Step 1: Add a Credit Card#
Sign in to the DIDWW User Panel .
Go to Billing > Payment Methods or click here .
Click the Add Payment Method and select Credit Card.
Enter your card details in the form and click Submit.
Complete the 3-D Secure authentication to finish.
Note
The first card you add will have Auto-charge enabled by default.
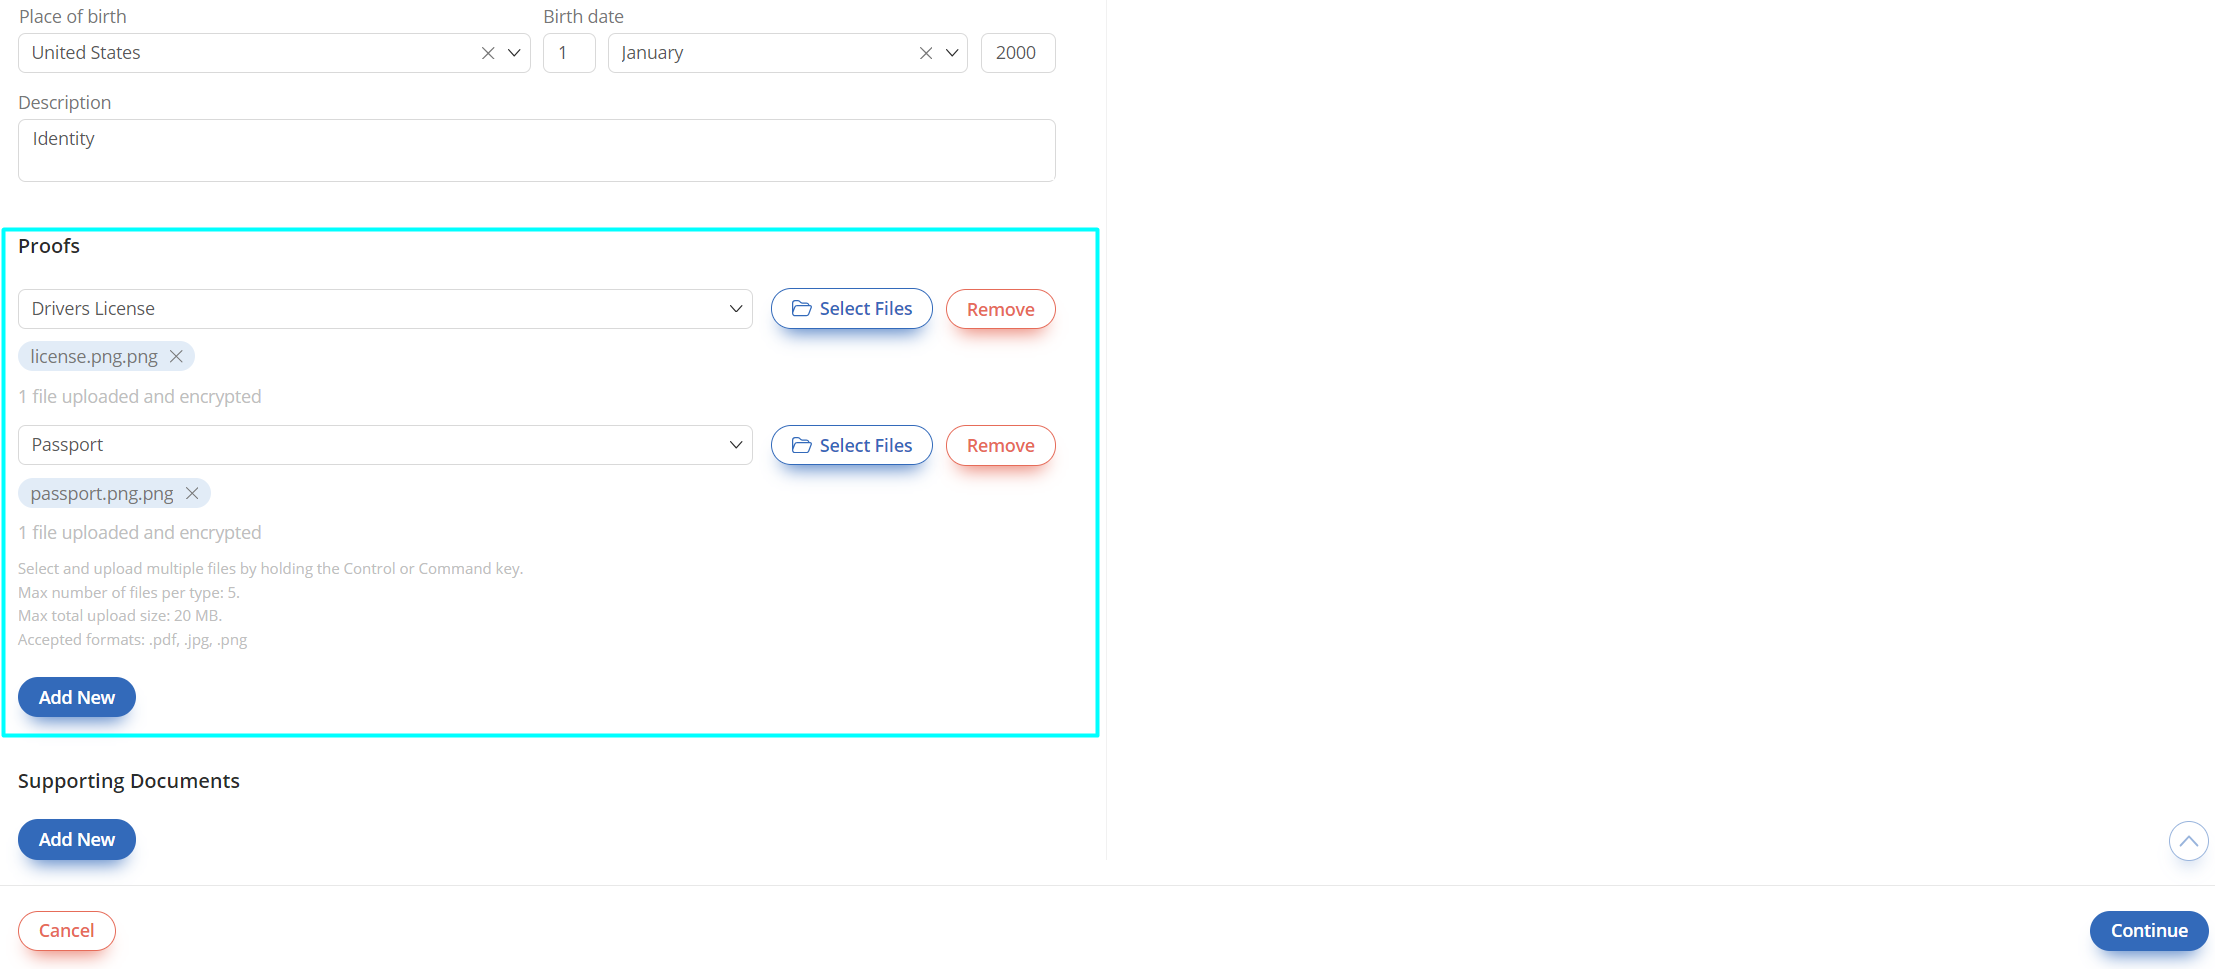
Fig. 1. The form for adding credit card and billing details.#
Step 2: Configure Auto Balance Top-Up#
Once you have a card added, you can configure the system to automatically top up your balance when it runs low. This is the recommended way to ensure uninterrupted service.
On the Payment Methods page, locate the Low Balance Settings panel on the right.
Enable the Automatically refill when threshold is reached toggle.
Enter the Threshold amount (when top-up should trigger) and the Refill amount.
Click Apply Changes to save your settings.
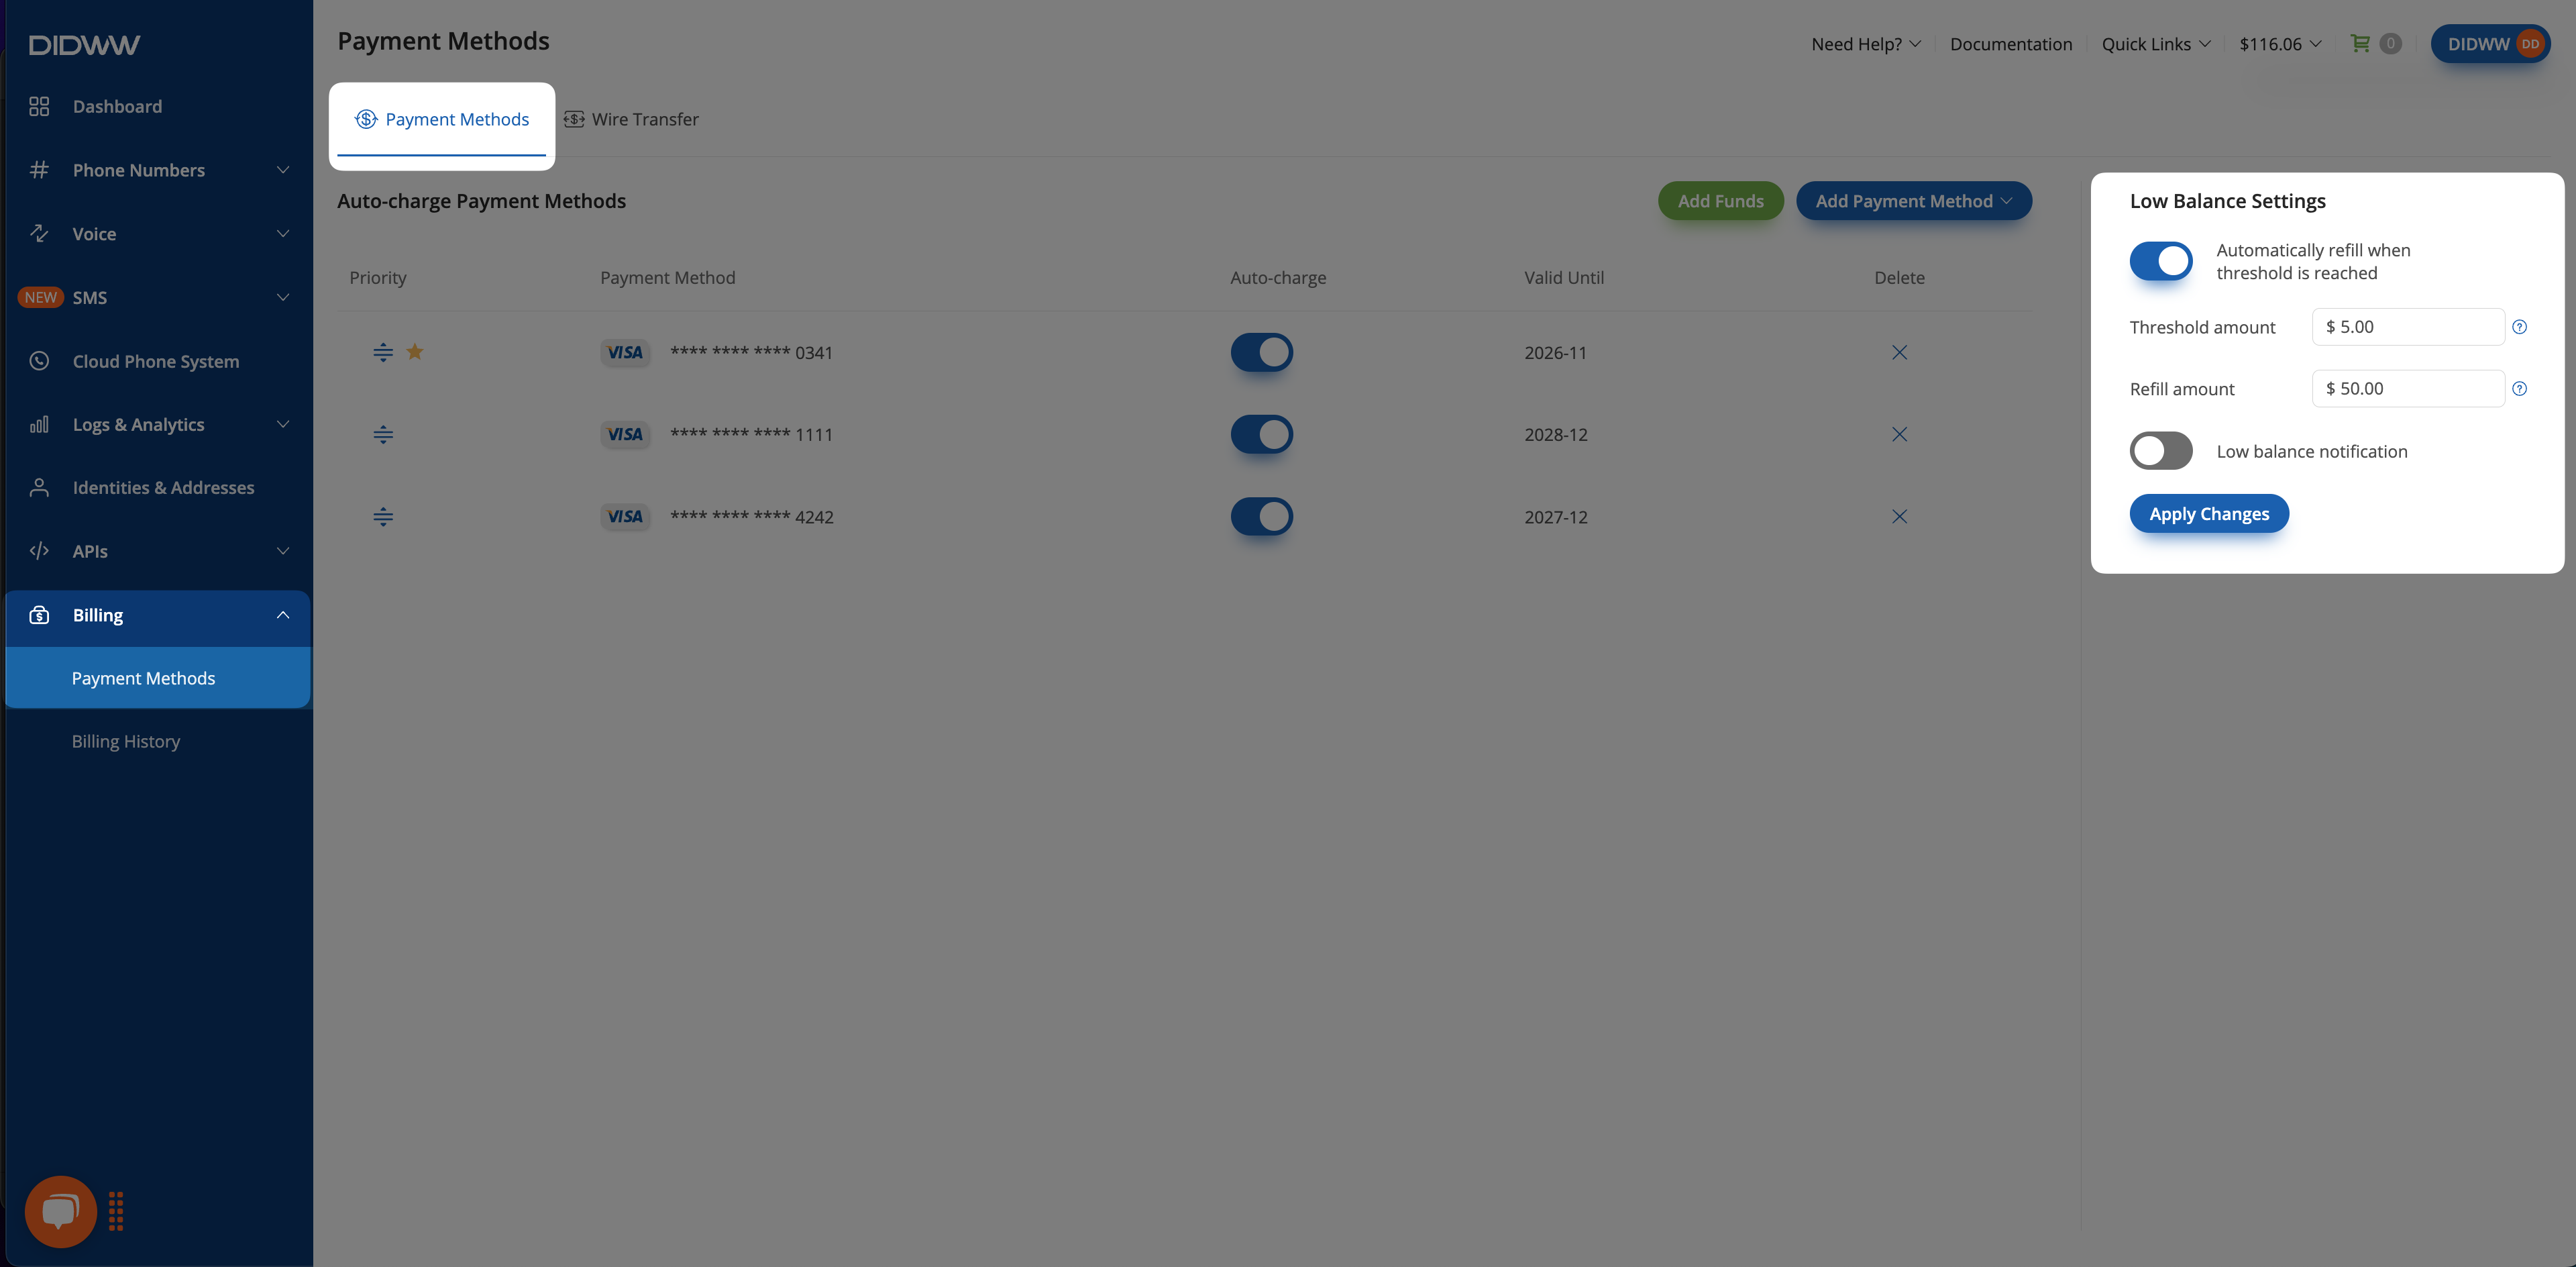
Fig. 2. Configuring automatic balance top-up.#
Step 3: Set Up Low Balance Notifications#
Enable email notifications to get notified when your account balance falls below a defined threshold.
In the Low Balance Settings panel, enable the Low balance notification toggle.
Enter the minimum balance that will trigger the email alert.
Click Apply Changes.
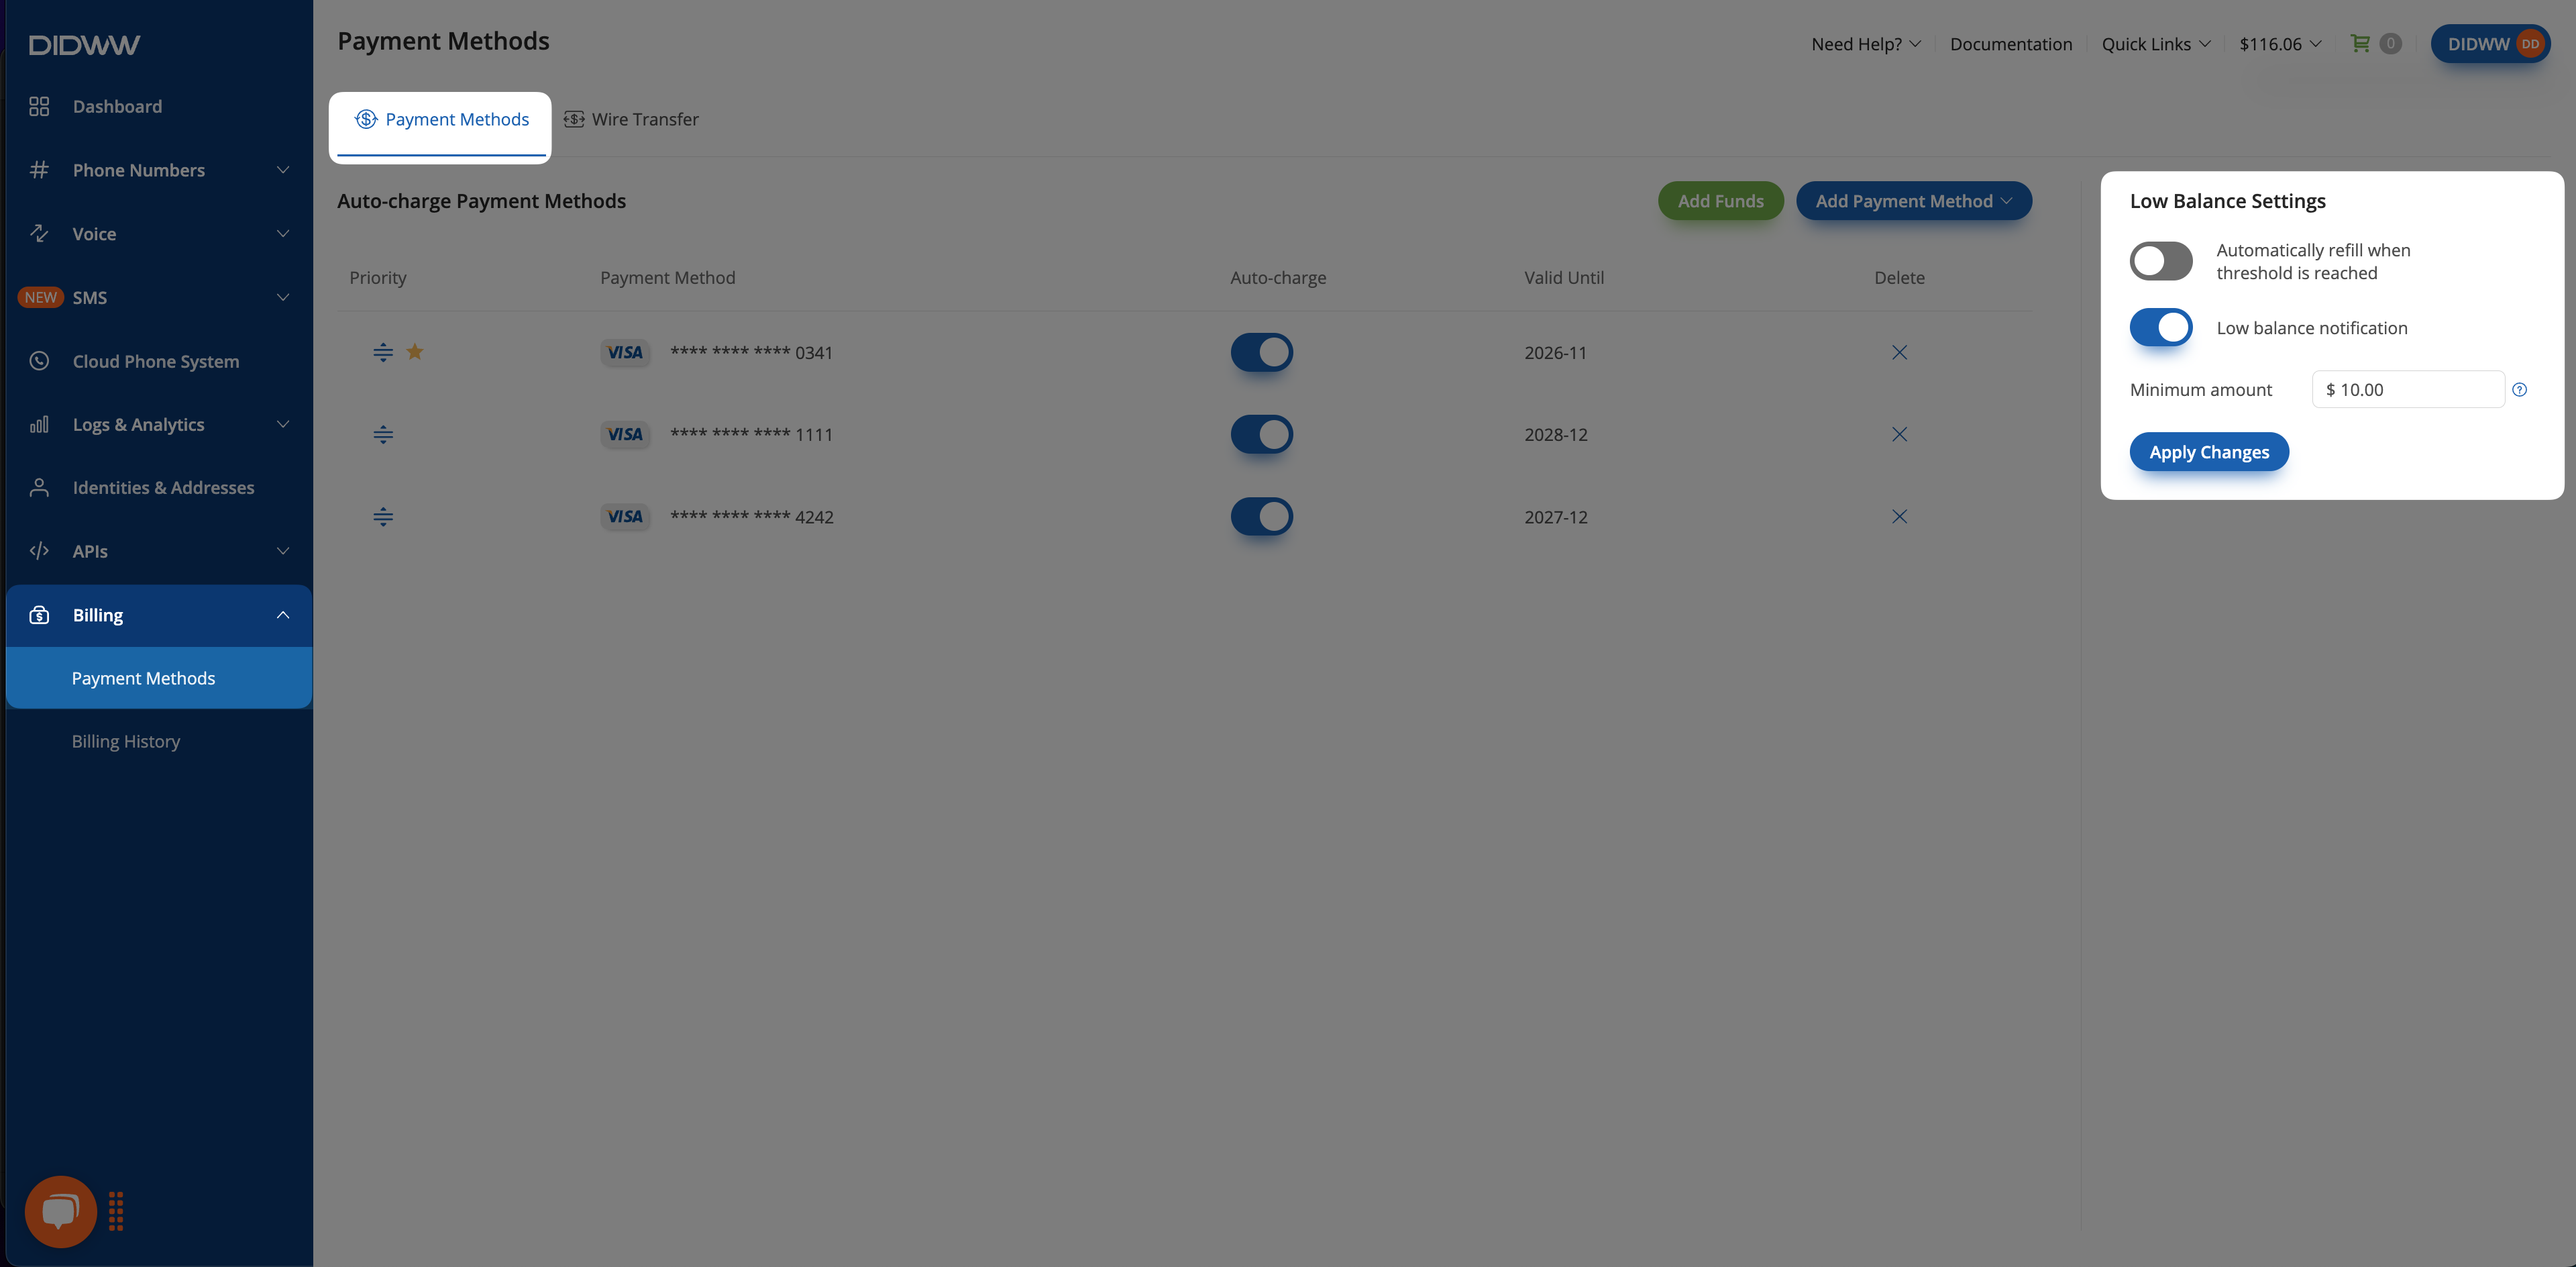
Fig. 3. Low balance notification configuration.#
Additional Resources#
Now that your billing is ready, explore and purchase DID numbers.
Learn how to automate payments, manage charge priorities, and retry failed payment methods.