

Add new address to identity#
Add an address to an existing identity, or create a new identity together with the address. To create an identity and its first address in one wizard, see Create identity and address.
Step 1: Add a new address#
In the DIDWW User Panel, go to Identities & Addresses.
Open the Addresses tab.
Click Add New Address.
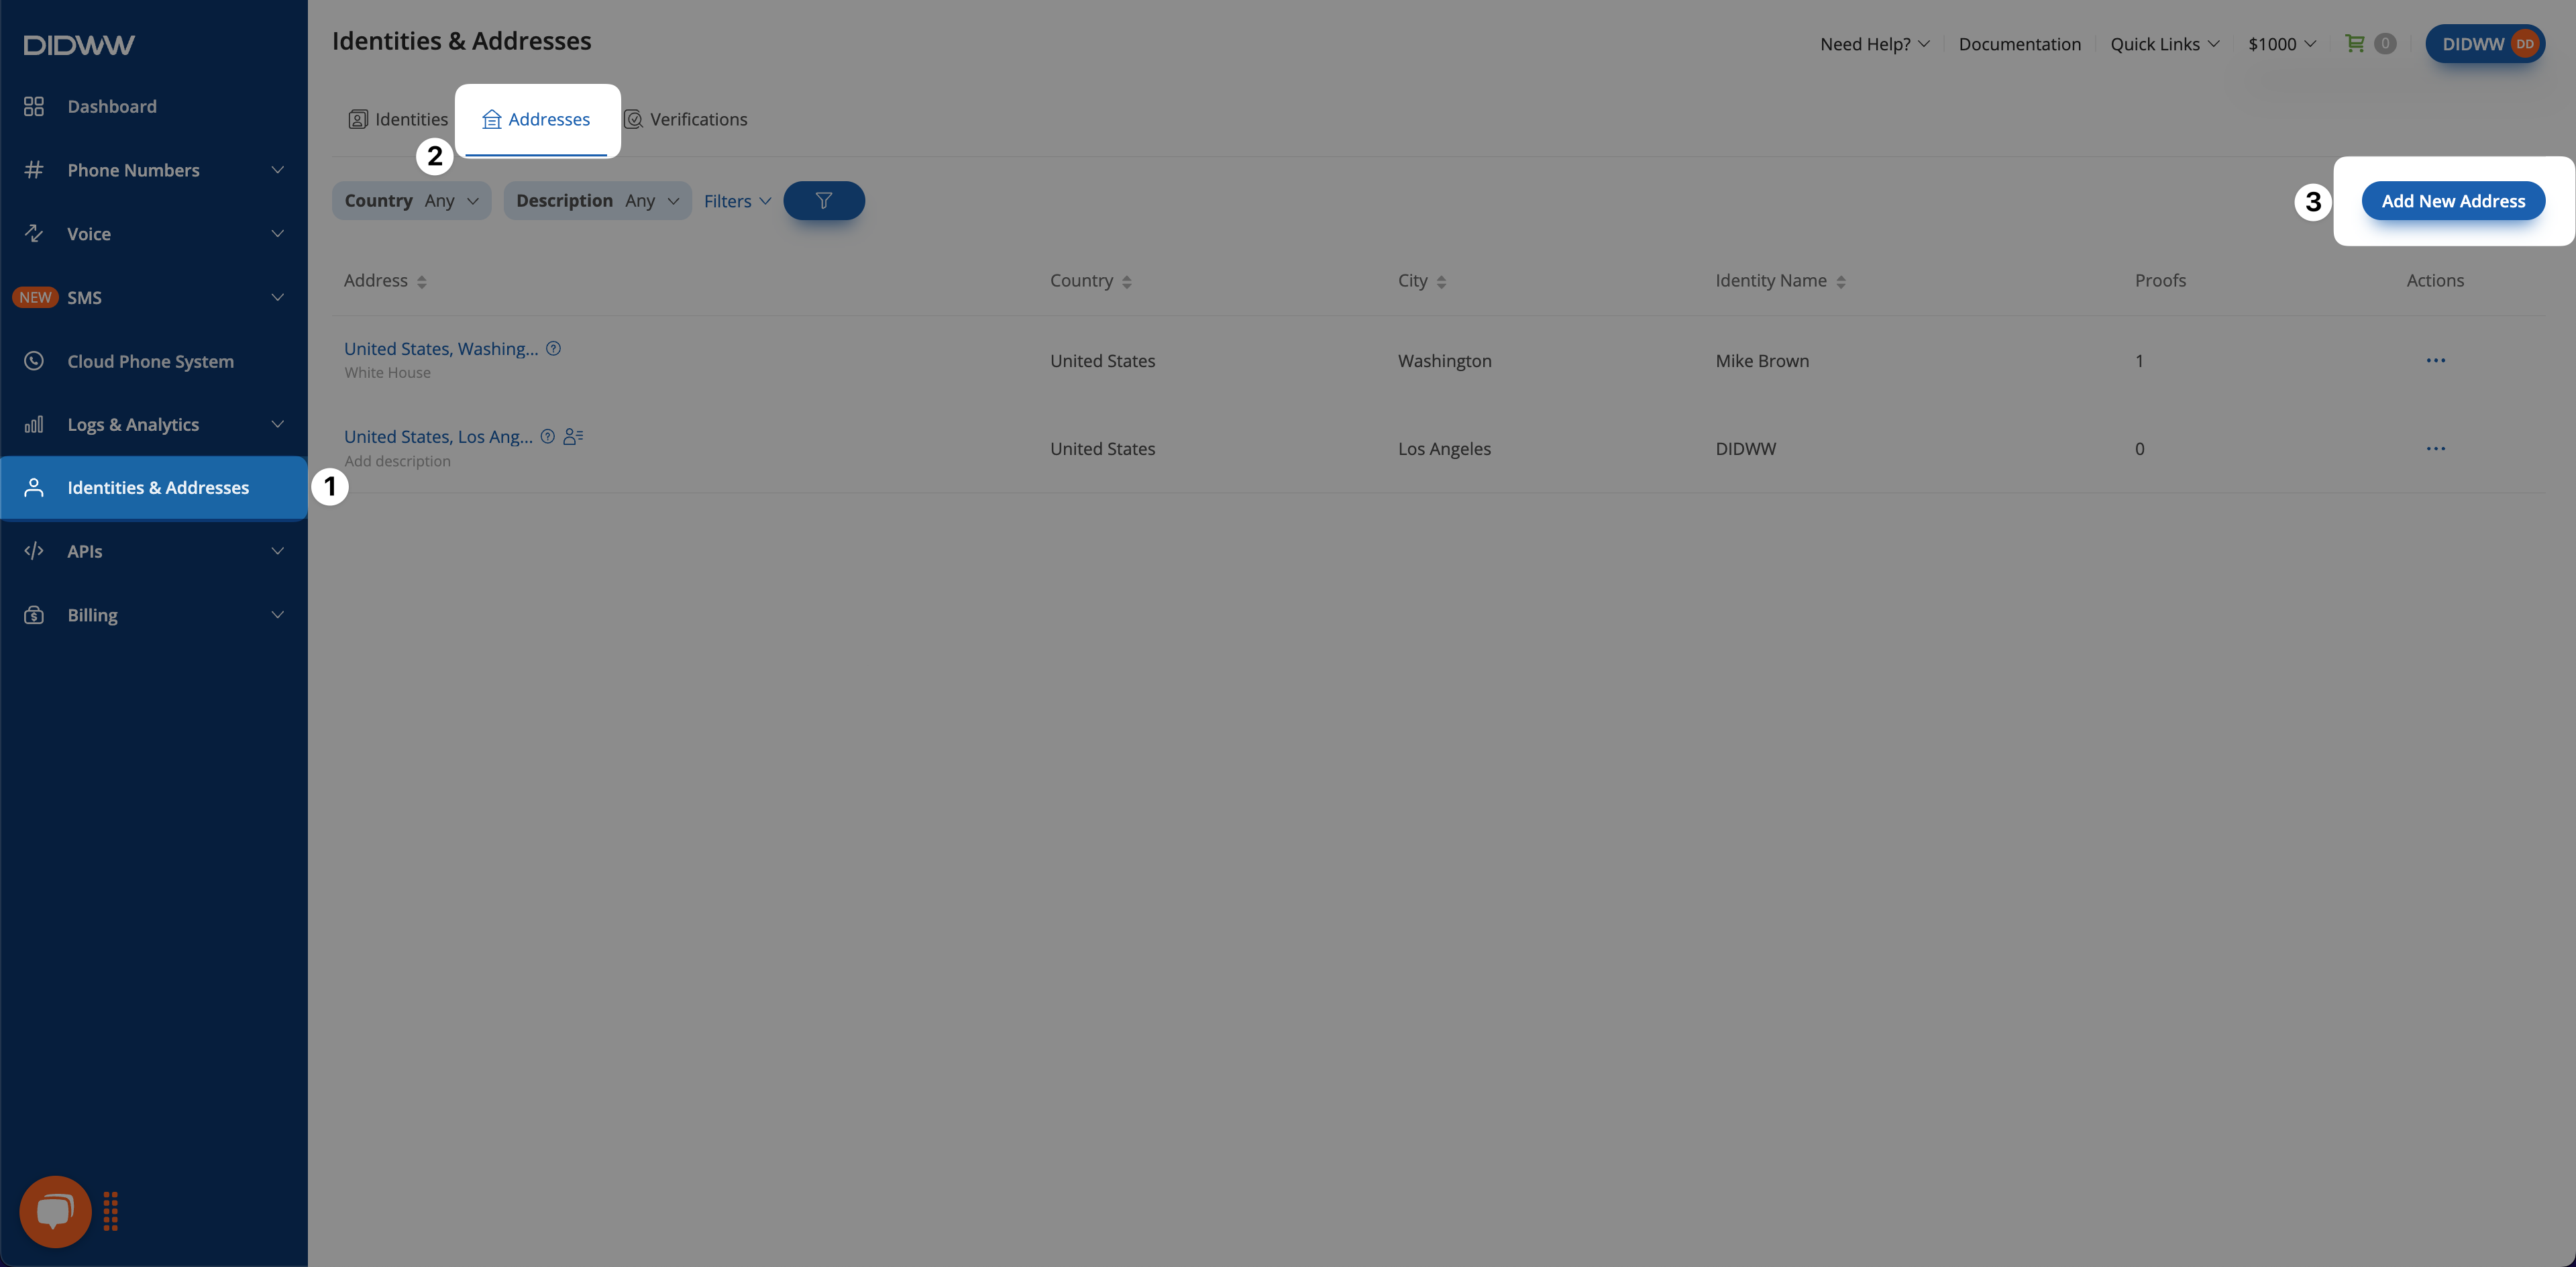
Fig. 1. Add New Address button.#
Step 2: Check requirements by service type#
For the most efficient workflow, start by checking the requirements for your use case. This ensures you have the correct documents and information before proceeding.
Use the Requirements panel on the right side of the page.
Select the service Type, the target Country (for example, Belgium) and, if shown, the Number type or Sender ID type.
Type lists only the services available on your account: Registration, Porting, Sender ID Verifications or Emergency Calling. CNAM OUT is not in the list.
For Registration and Porting, select the type of number, for example Local, Mobile or Toll-free. For Sender ID Verifications, select the type of Sender ID. Only the types available in the selected country can be selected.
Review the displayed list of required documents and details. If any downloadable forms are provided, download them, complete as instructed, and upload them as part of the submission.
Note
Each requirement type corresponds to a specific use case:
Registration: the documents needed to register the end user of a DID number.
Porting: the details needed for a porting request that moves numbers from another provider to DIDWW.
Sender ID Verifications: required to verify a Sender ID, such as a Long-code or Alphanumeric Sender ID, for A2P messaging.
Emergency Calling: required to enable emergency calling services for your DID numbers.
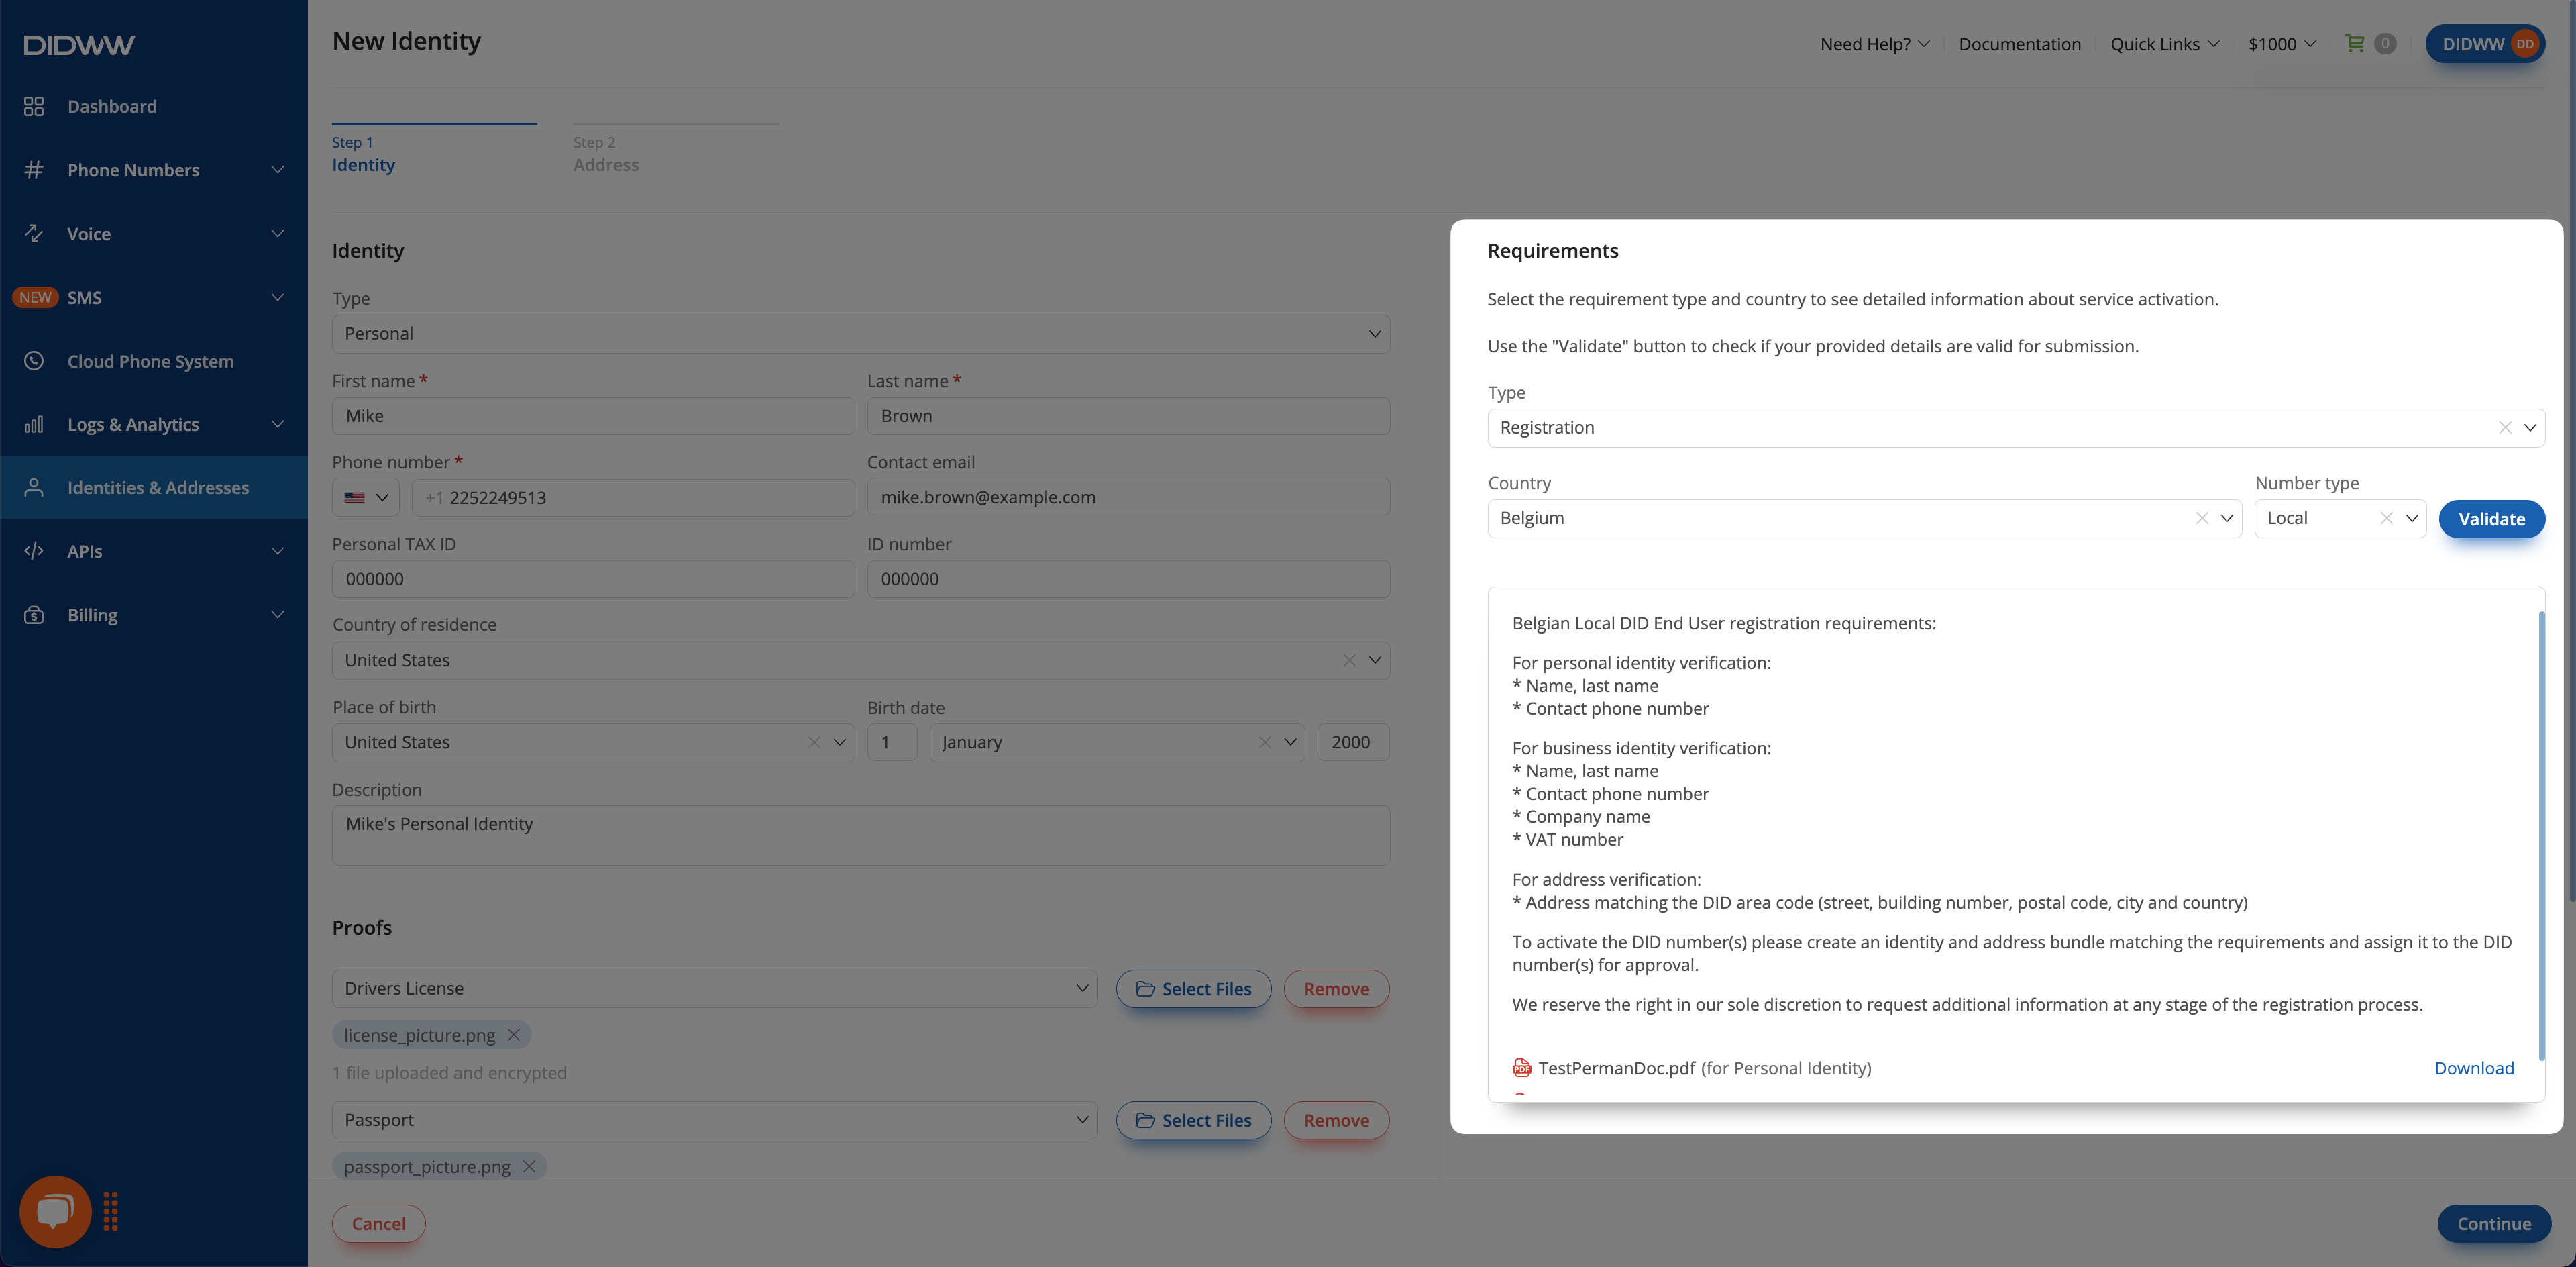
Fig. 2. Checking registration requirements for Belgium.#
Step 3: Enter address details and upload documents#
In the Address step, fill in the address details. For the fields, see the Addresses reference.
In Proofs, click Add New, select the proof type and upload the document. For accepted formats and limits, see Document uploads.
Optionally, click Validate in the Requirements panel to check the address against the requirement. Valid only means that the input is complete. It does not approve the records.
Click Continue.
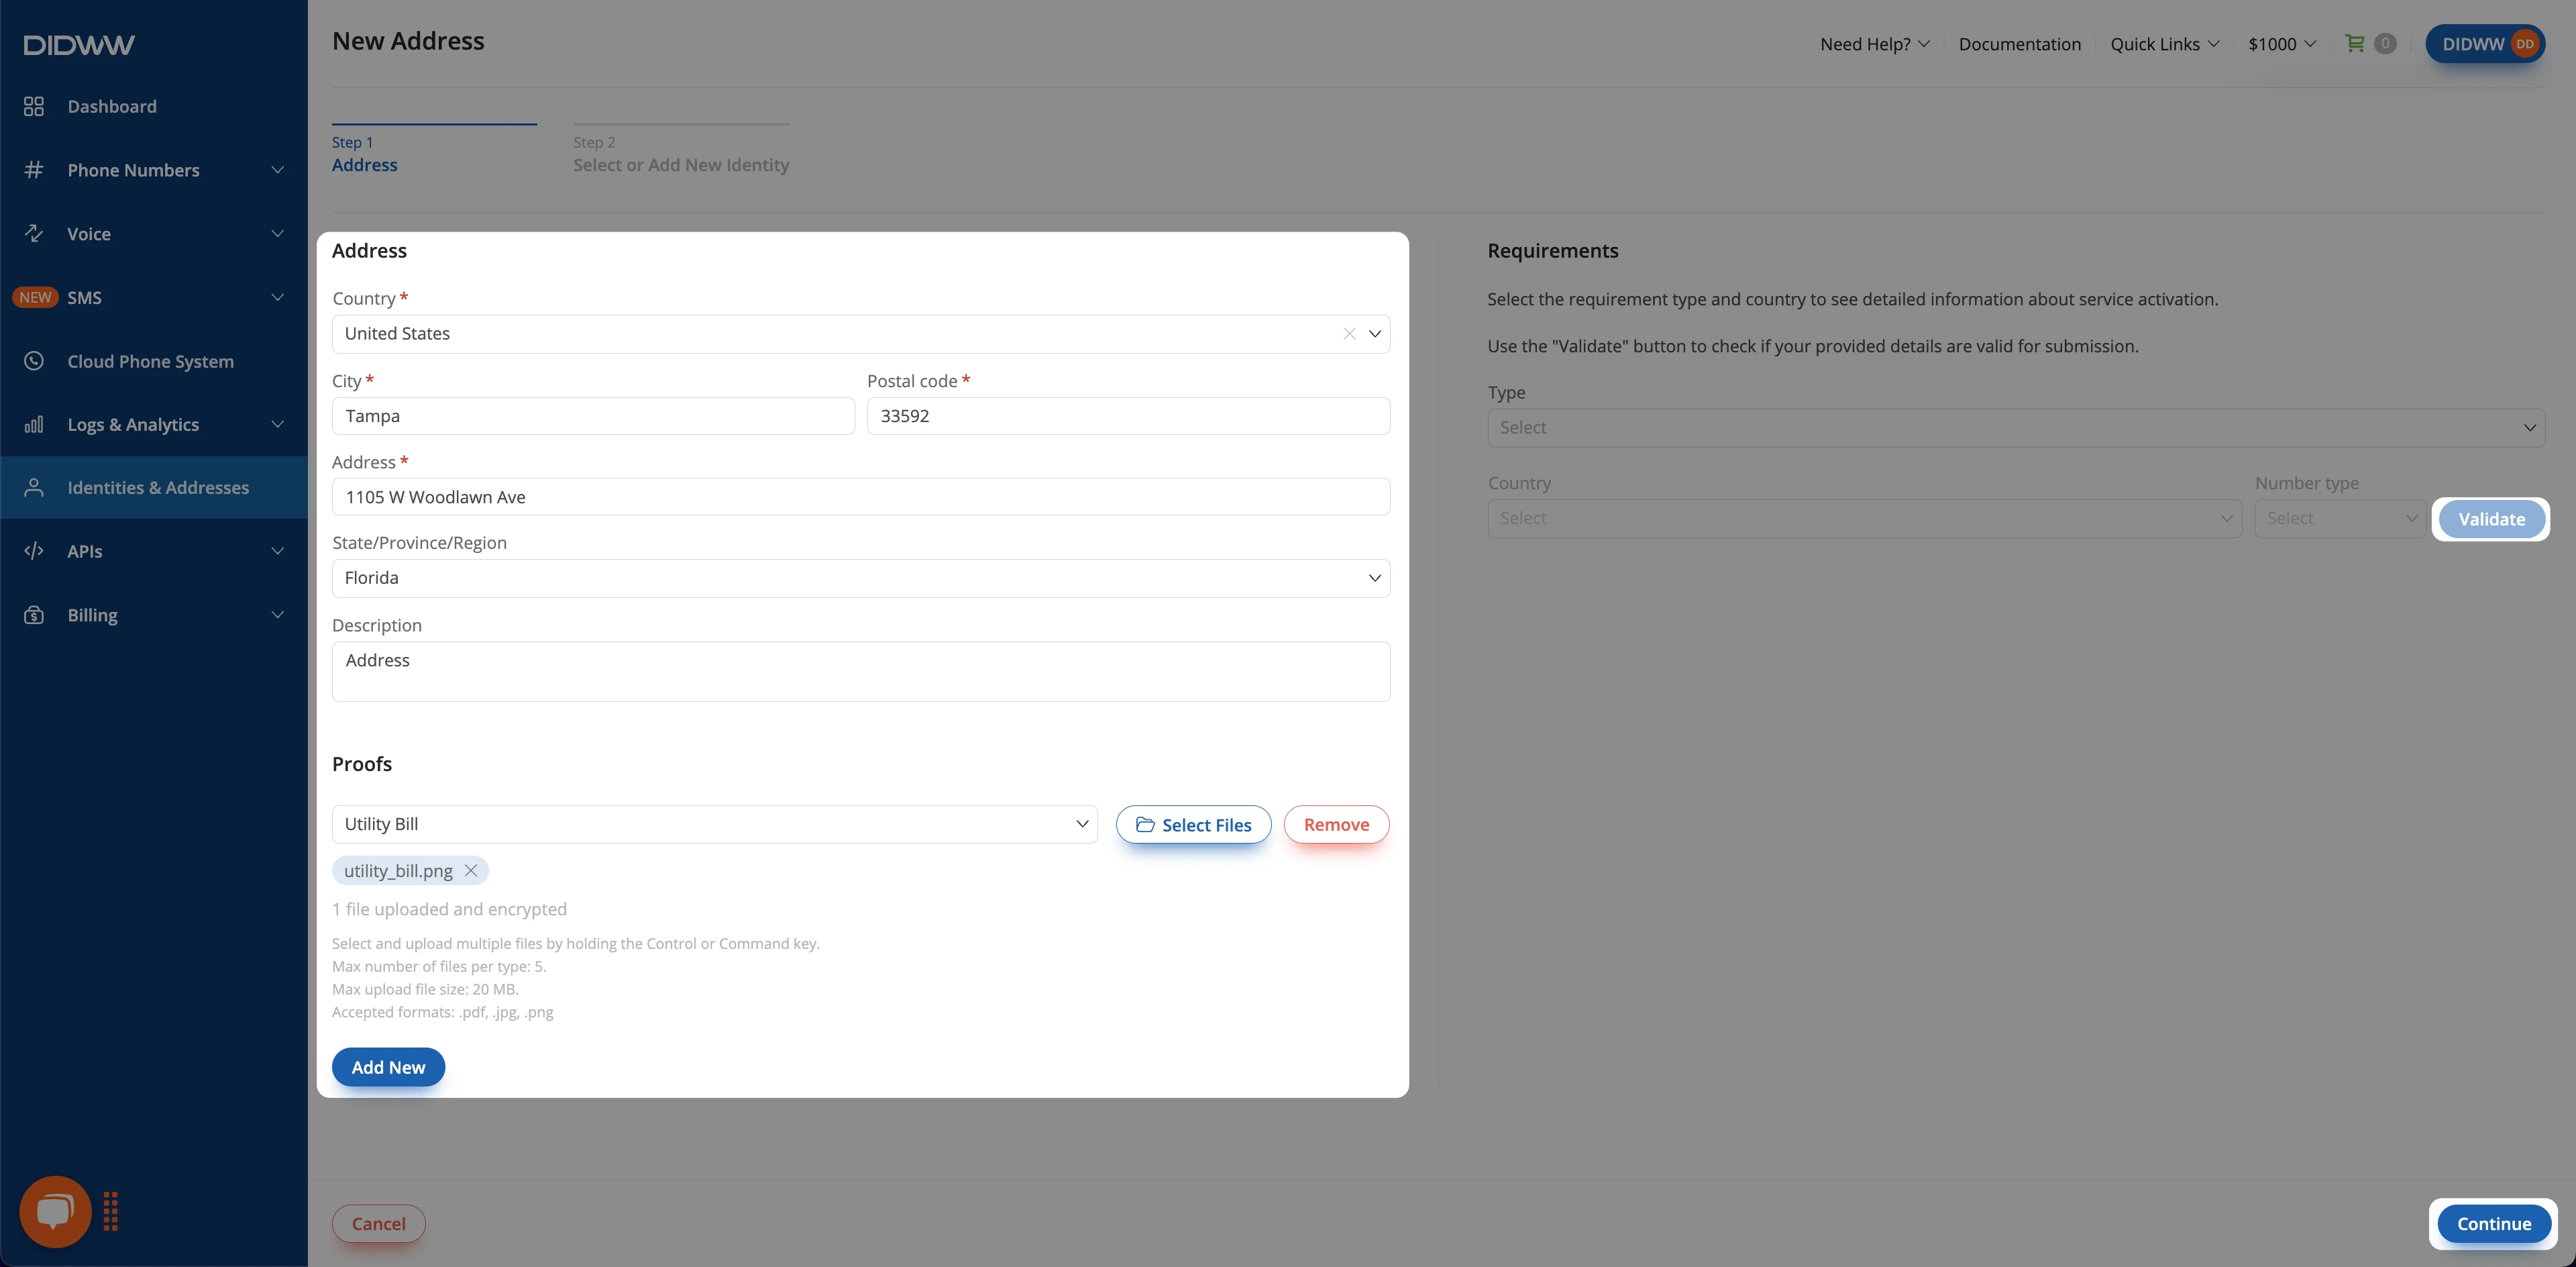
Fig. 3. The New Address form.#
Step 4: Select or add an identity and submit#
In the Select or Add New Identity step, choose who the address belongs to:
Choose Select identity, then select an existing identity in the list. Use the Name, Description and Type filters to find it.
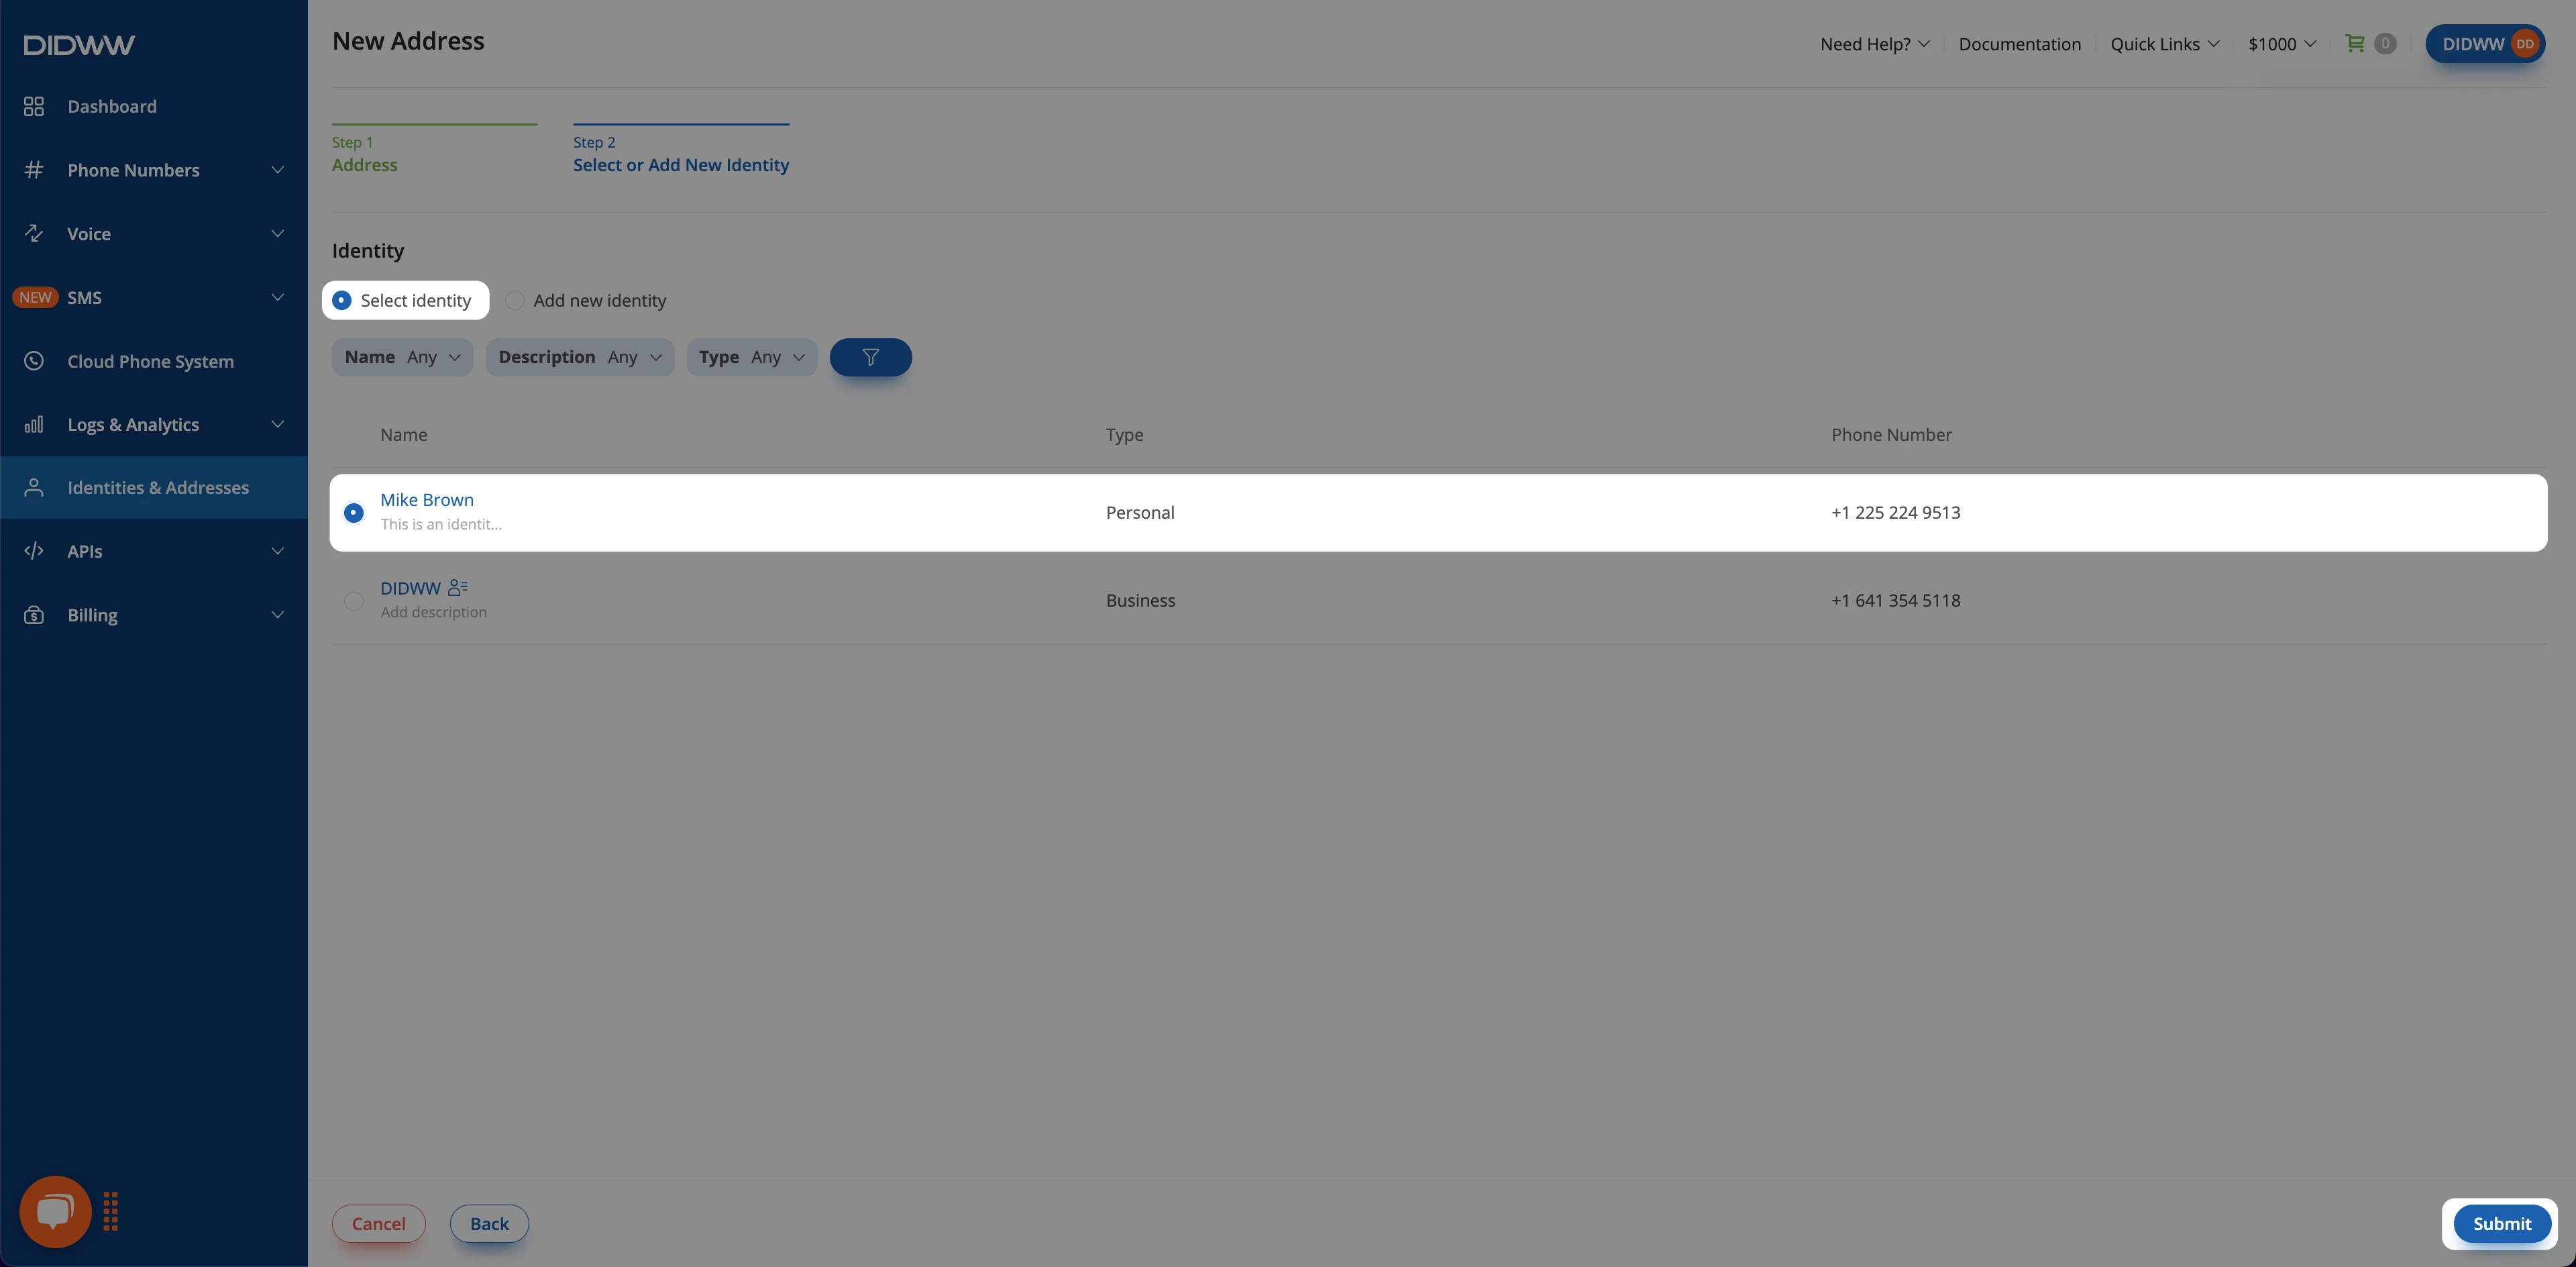
Fig. 4. The Select identity option.#
Choose Add new identity to create an identity together with the address. Select the identity Type, fill in the details and upload the required documents. For the fields, see the Identities reference.
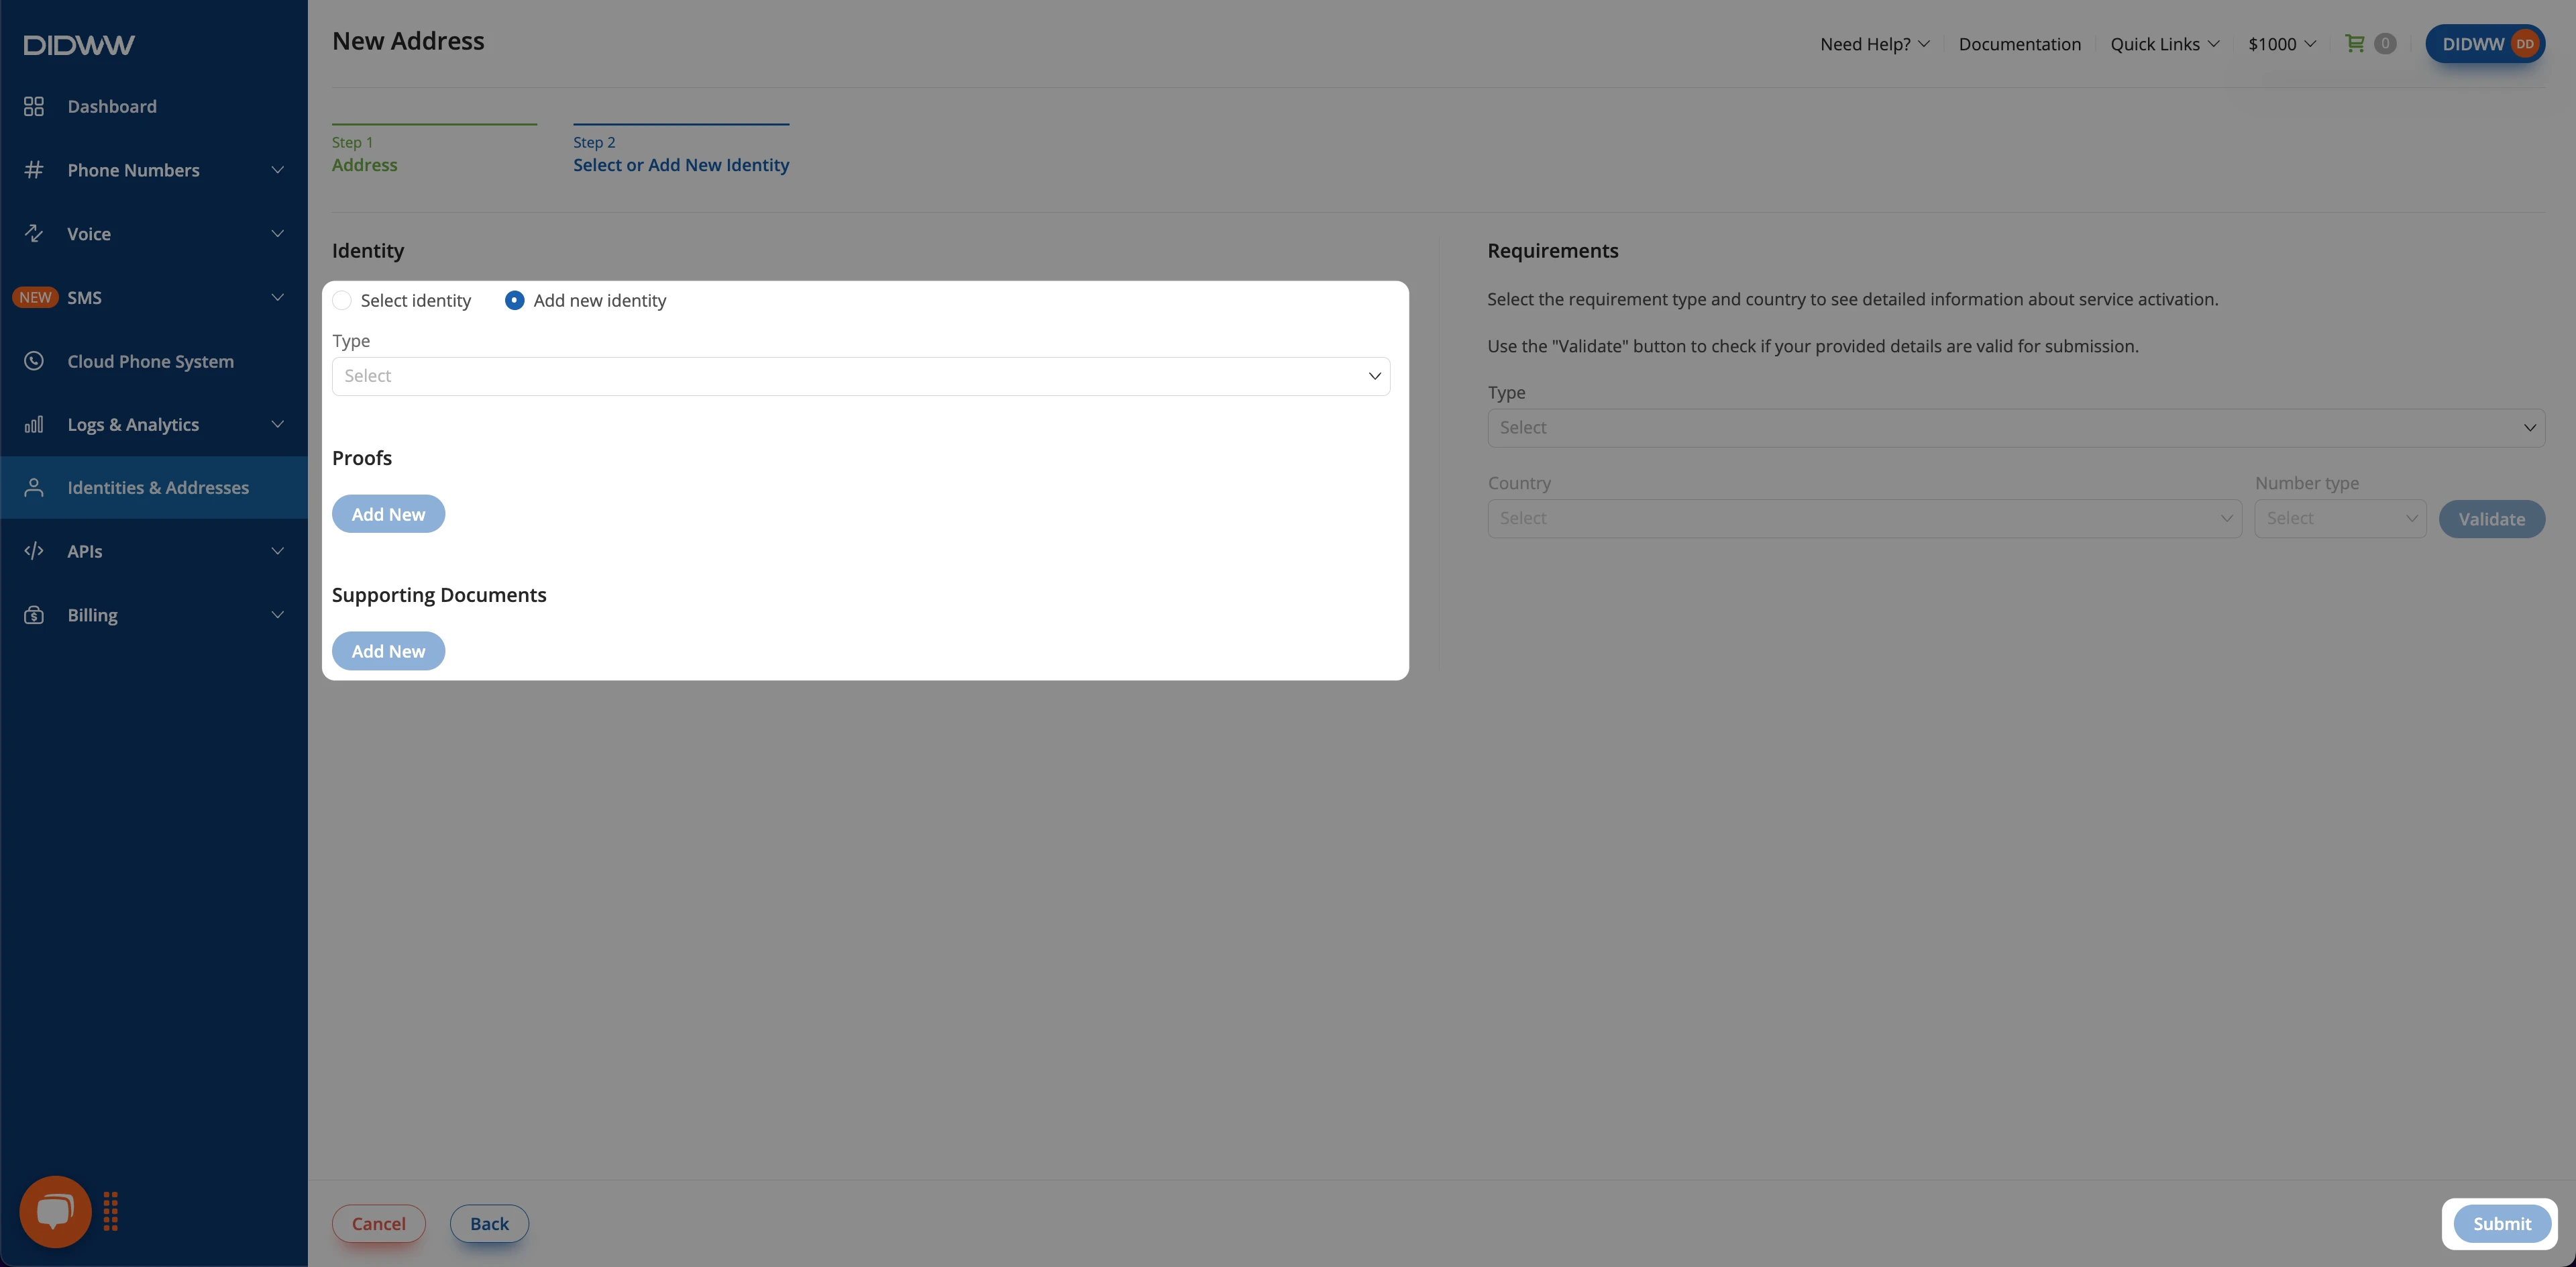
Fig. 5. The Add new identity option.#
Click Submit. Submit is available after you select an identity or fill in the new identity. The address is added to the Addresses list, with the identity in the Identity Name column.
Next steps#
Submit the identity and address to the service that needs them:
Buy a DID number: submit the records during checkout. See Submit end-user details, if required.
DID numbers you already own: assign the records from Phone Numbers > My Numbers. See Assign end-user details.
Track the review: each submission for DID numbers creates a verification request in Identities & Addresses > Verifications. See How DID number verification works.
Other services: select the records when you create a porting request, a Sender ID Verification or an Emergency Calling Service.