

Create an HTTP OUT trunk#
Create an HTTP OUT trunk to send outbound SMS from your application through the DIDWW Outbound SMS API. Set the trunk name, the Callback URL that receives status callbacks, the IP addresses allowed to submit requests, and the DID numbers that can be used as the sender ID.
For how your application, the API, and status callbacks work together, see HTTP OUT trunk.
Before you begin#
An active DIDWW account is required. Sign in to DIDWW or Create DIDWW account.
To use your DID numbers as sender IDs, at least one DID number with outbound P2P SMS enabled is required. See P2P Outbound SMS access.
To receive status callbacks, prepare a URL on your server that DIDWW can reach. See Status callbacks and delivery receipts.
Step 1: Open the creation form#
In the DIDWW User Panel, go to SMS > SMS Trunks.
Click Create New in the top-right corner.
Select HTTP OUT.
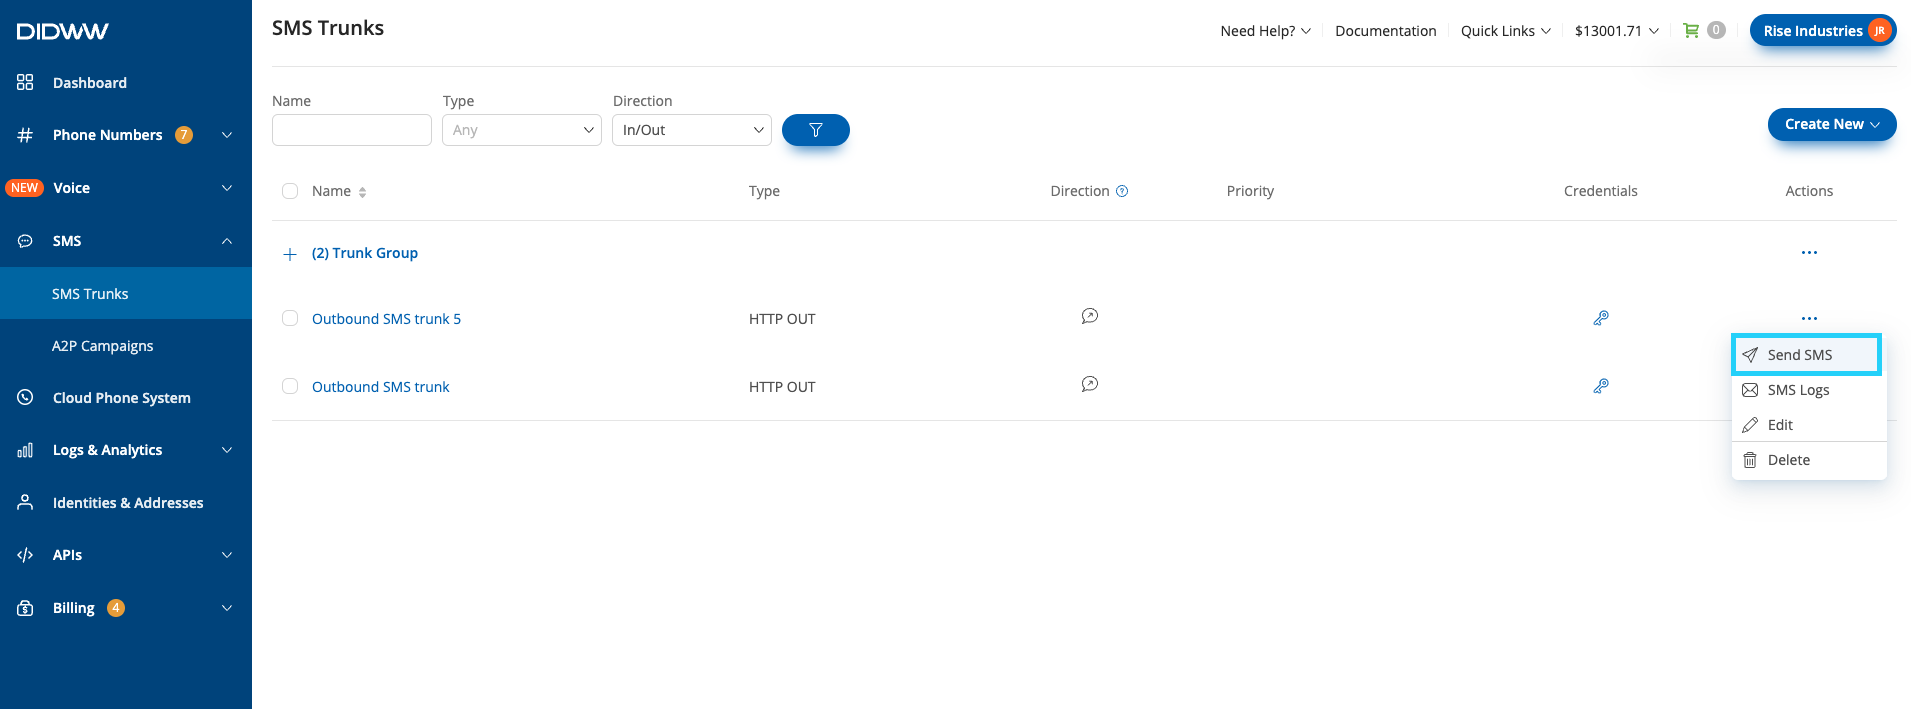
Fig. 1. Select HTTP OUT#
Step 2: Configure the General settings#
In the General section, name the trunk, set where DIDWW sends status callbacks, and choose which IP addresses can submit API requests.
In Friendly name, replace the suggested name with a unique, descriptive name to identify the trunk.
Optionally, to receive status callbacks, enter the URL on your server in Callback URL. For example,
https://example.com/callback. DIDWW sends status callbacks for the messages you submit through this trunk to this URL. Your application does not send messages to it.Optionally, in Allowed IP addresses, enter each IP address from which your application sends API requests, in the format
(IPv4|IPv6)[/mask], and press Enter. If an entry is marked as invalid, correct it or click Remove invalid. If the field is empty, requests from all IP addresses are allowed.
Field definitions, formats, and constraints are listed in General settings.
Fig. 2. Configure the General settings#
Step 3: Configure the source addresses#
By default, Allow any DID(s) for SMS OUT is on, and all DIDs with Outbound P2P SMS enabled in your account can be used as the sender ID. To allow only specific DID numbers, restrict the source addresses. Otherwise, skip this step.
In Source Address Settings, turn off Allow any DID(s) for SMS OUT.
In Available source addresses, select the DID numbers to allow. To find numbers, filter the list by Source address, Description, Country, or Region.
Click the right arrow button to add the selected numbers to Allowed source addresses, or click Add all to add every listed number. Only the numbers you add are available as sender IDs.
Note
When the Allow any DID(s) for SMS OUT toggle is turned off, the Available source addresses list shows only DIDs that support outbound P2P SMS.
To remove numbers, select them in Allowed source addresses and click the left arrow button, or click Remove all.
Field definitions are listed in Source address settings.
Fig. 3. Select the allowed source addresses#
Step 4: Create the trunk#
Click Create at the bottom of the page to save the new trunk.
The new trunk appears on the SMS Trunks page. DIDWW generates its username and password, which your application uses to authenticate API requests.
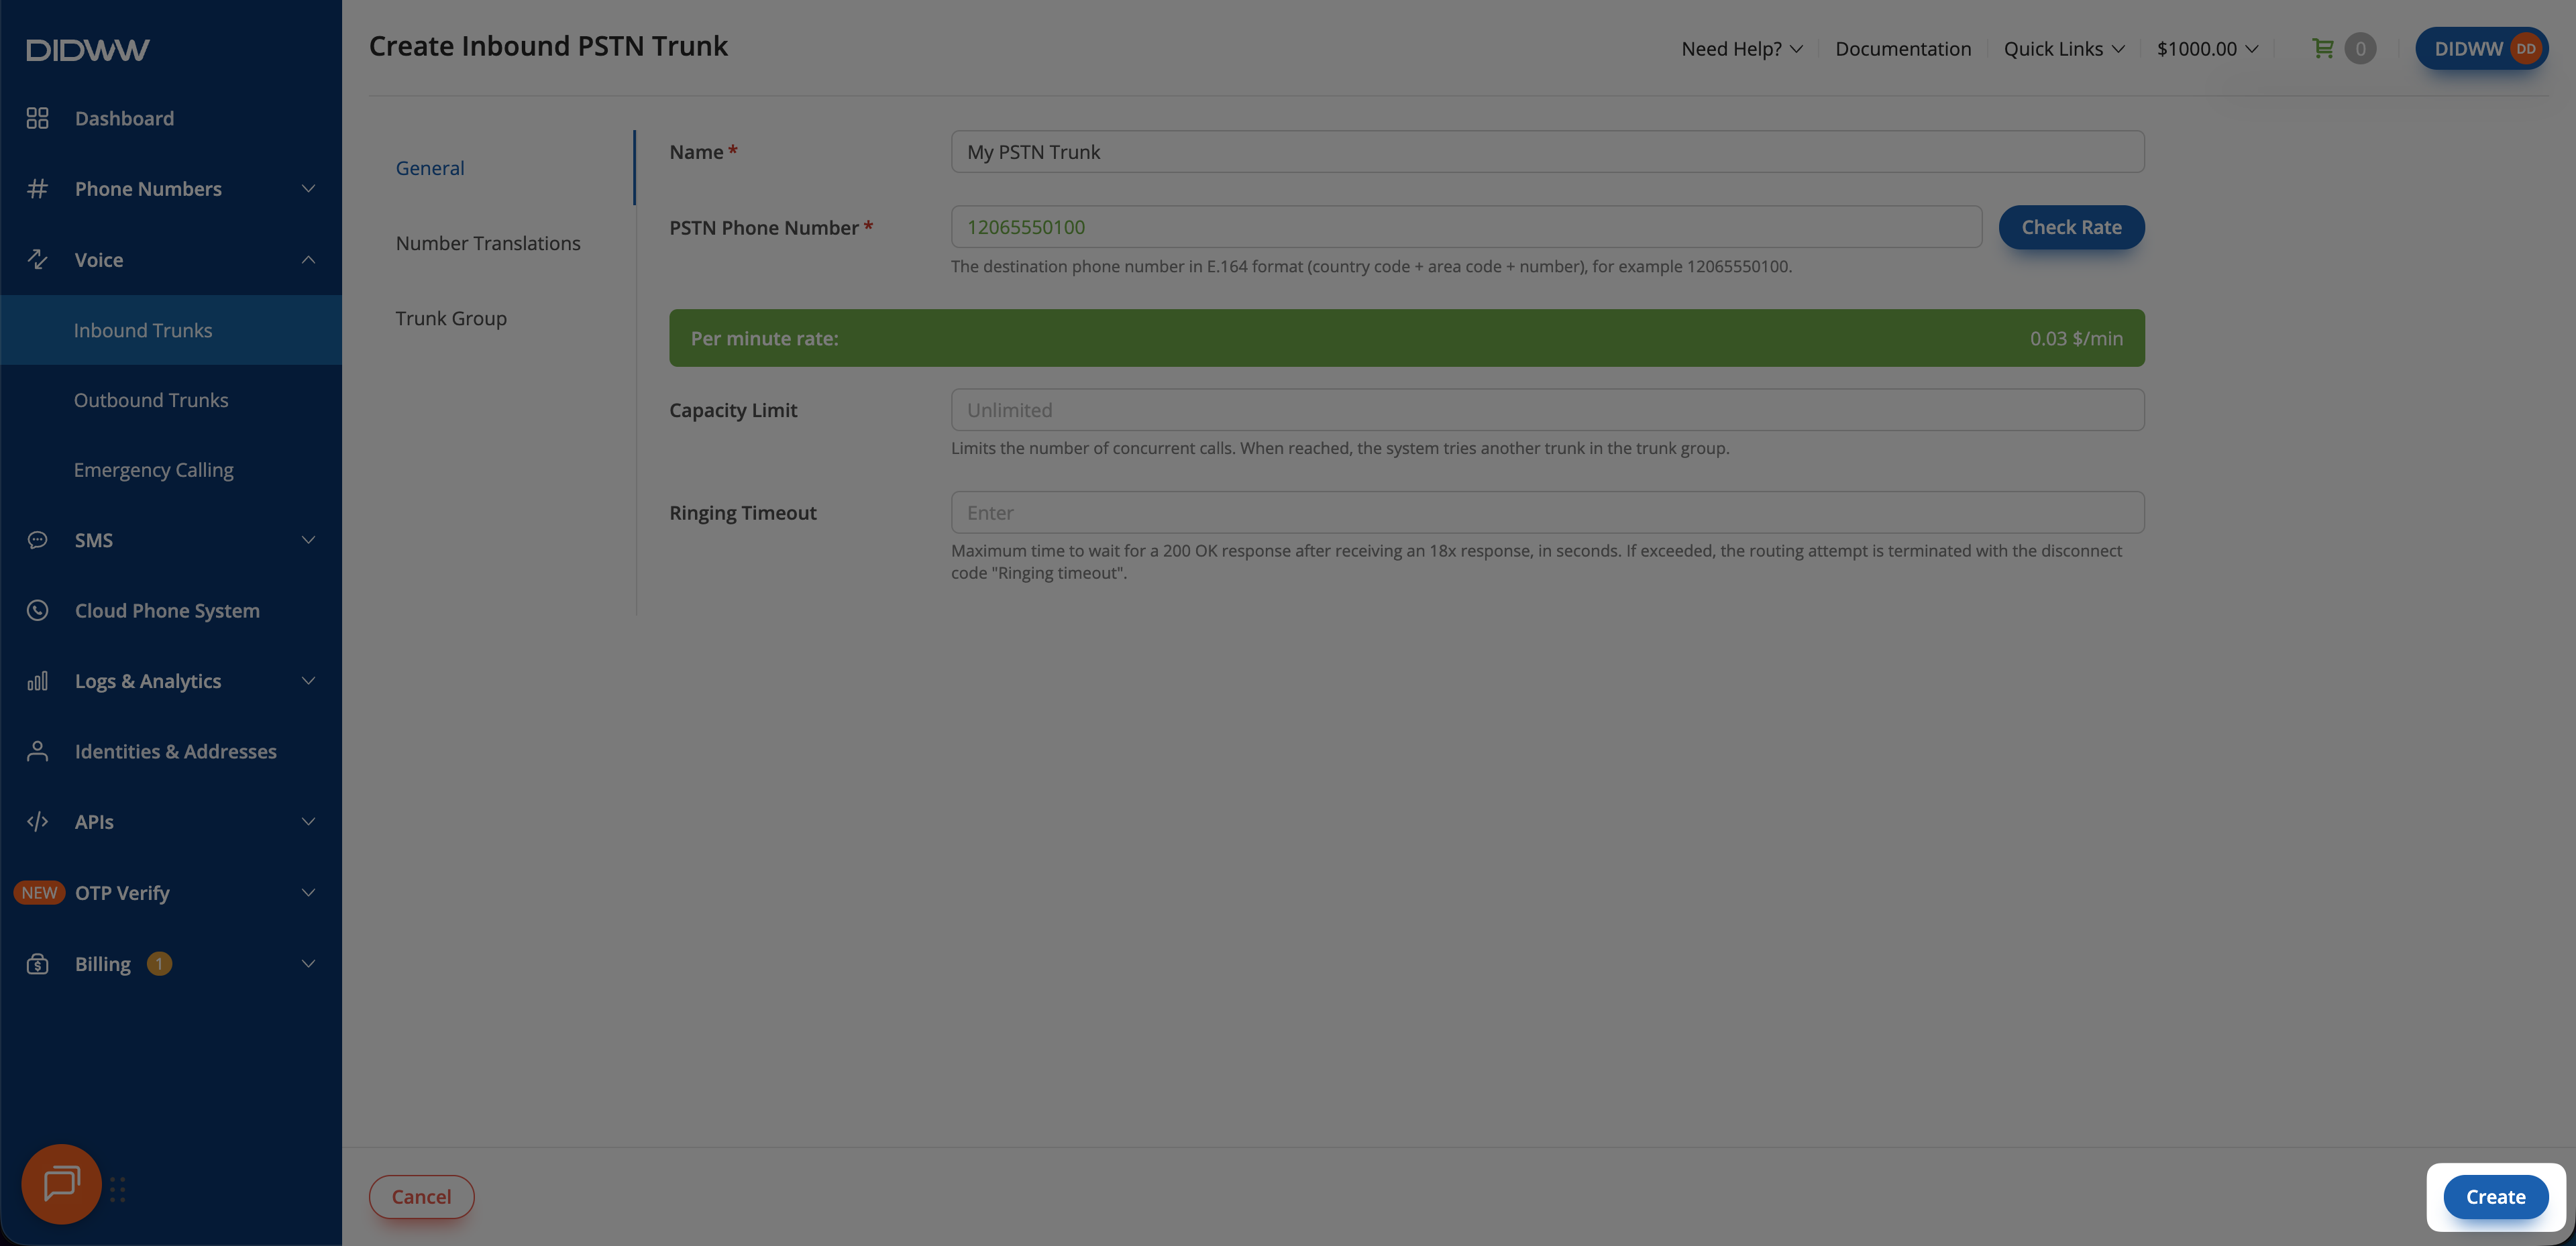
Fig. 4. Create the trunk#
Next steps#
View the trunk credentials to get the username, password, and API endpoints for your application.
Send your first SMS with the API, or send a test message from the User Panel.
To send A2P messages with a verified Sender ID, associate an active Sender ID Verification with the trunk.