Security#
The Security section helps you protect your account with Two-Factor Authentication (2FA). You can enable one or more of the following methods:
Attention
Two-Factor Authentication (2FA) is required for all accounts that have created orders.
We recommend setting up at least two authentication methods, such as an authenticator app and email verification, to help ensure you can access your account if one method becomes unavailable.
Use a mobile authenticator app to generate a verification code each time you sign in.
Receive a unique verification code by email to complete your sign-in process.
Use device-based authentication methods like biometrics or PIN for secure sign-in.
Authenticator App#
The Authenticator App Two-Factor Authentication (2FA) method uses time-based one-time passwords (TOTP) generated by a compatible app, such as Google Authenticator or Microsoft Authenticator.
To set it up, follow these steps:
Step 1: Download an authenticator app#
Before you enable this method, install an authenticator app on your phone. Choose your platform below:
Open the App Store and install an authenticator app before continuing.
Open Google Play and install an authenticator app before continuing.
Step 2: Enable the Authenticator App#
In the User Panel Security tab , enable the Authenticator App toggle to activate this authentication method.
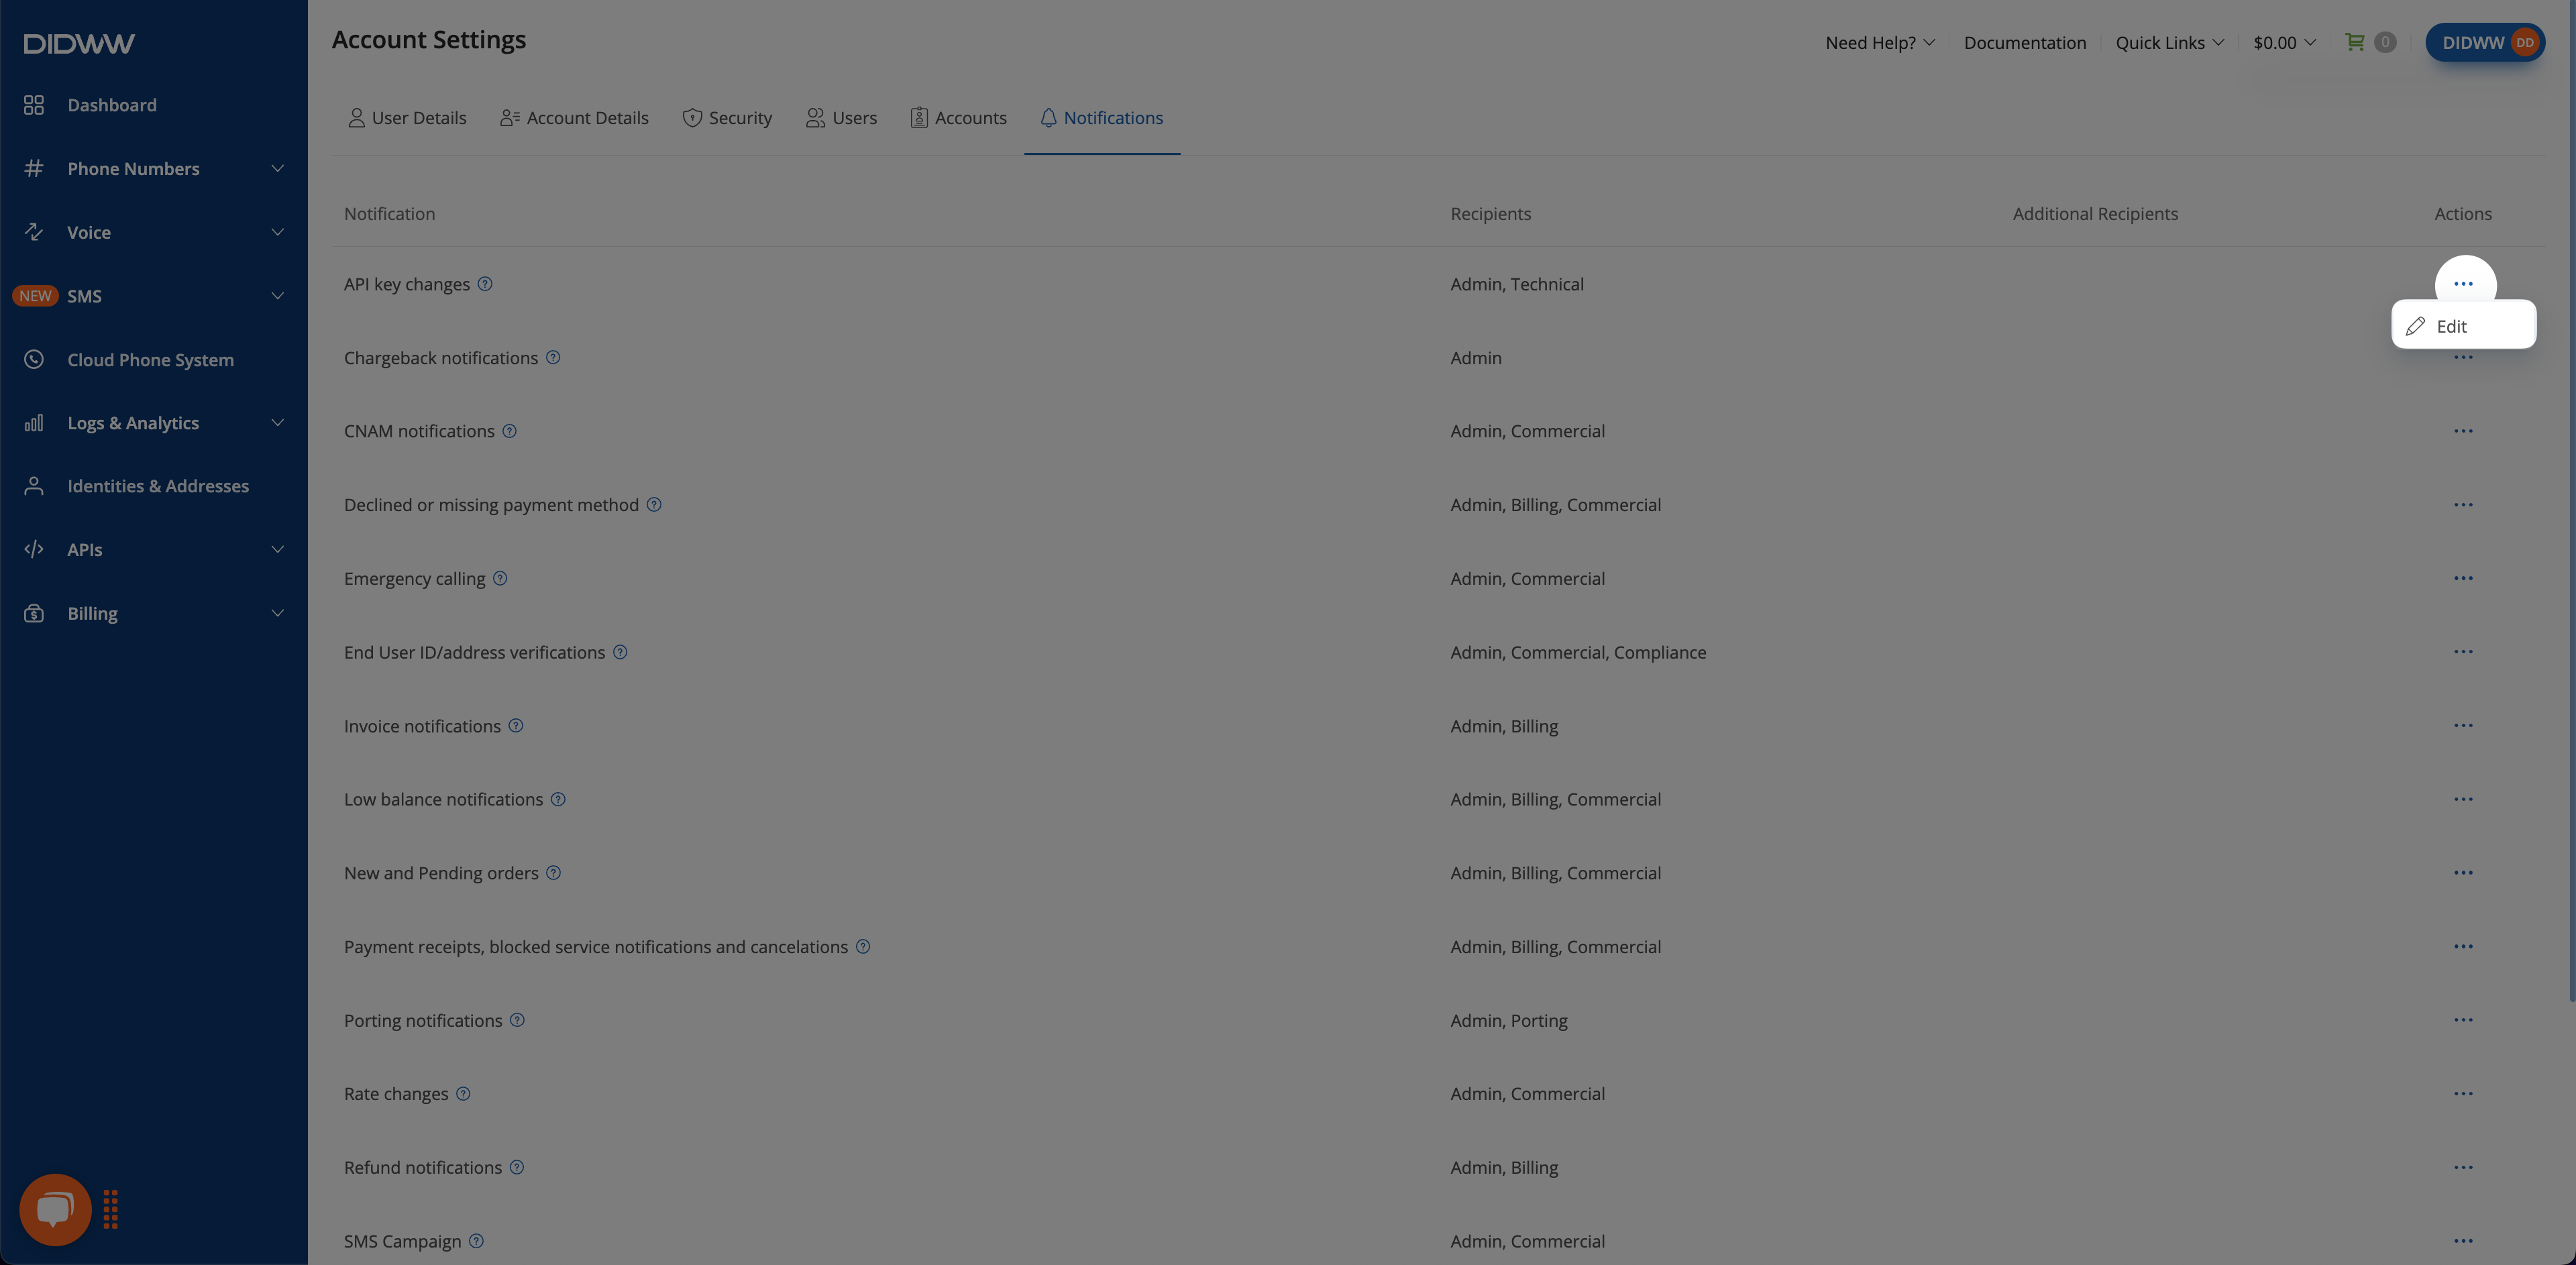
Fig. 1. Enable Authenticator App.#
Step 3: Scan the QR Code and Enter the Code#
Scan the displayed QR code using your authentication app. Then enter the verification code generated by the app and click Submit.
Fig. 2. Scan the QR code and submit the generated code.#
Step 4: Sign in Using the Authenticator App#
Once Authenticator App (2FA) is successfully enabled, you will use your authentication app to generate a unique verification code each time you sign in. To complete the authentication process, open your app and enter the current code displayed for your account.
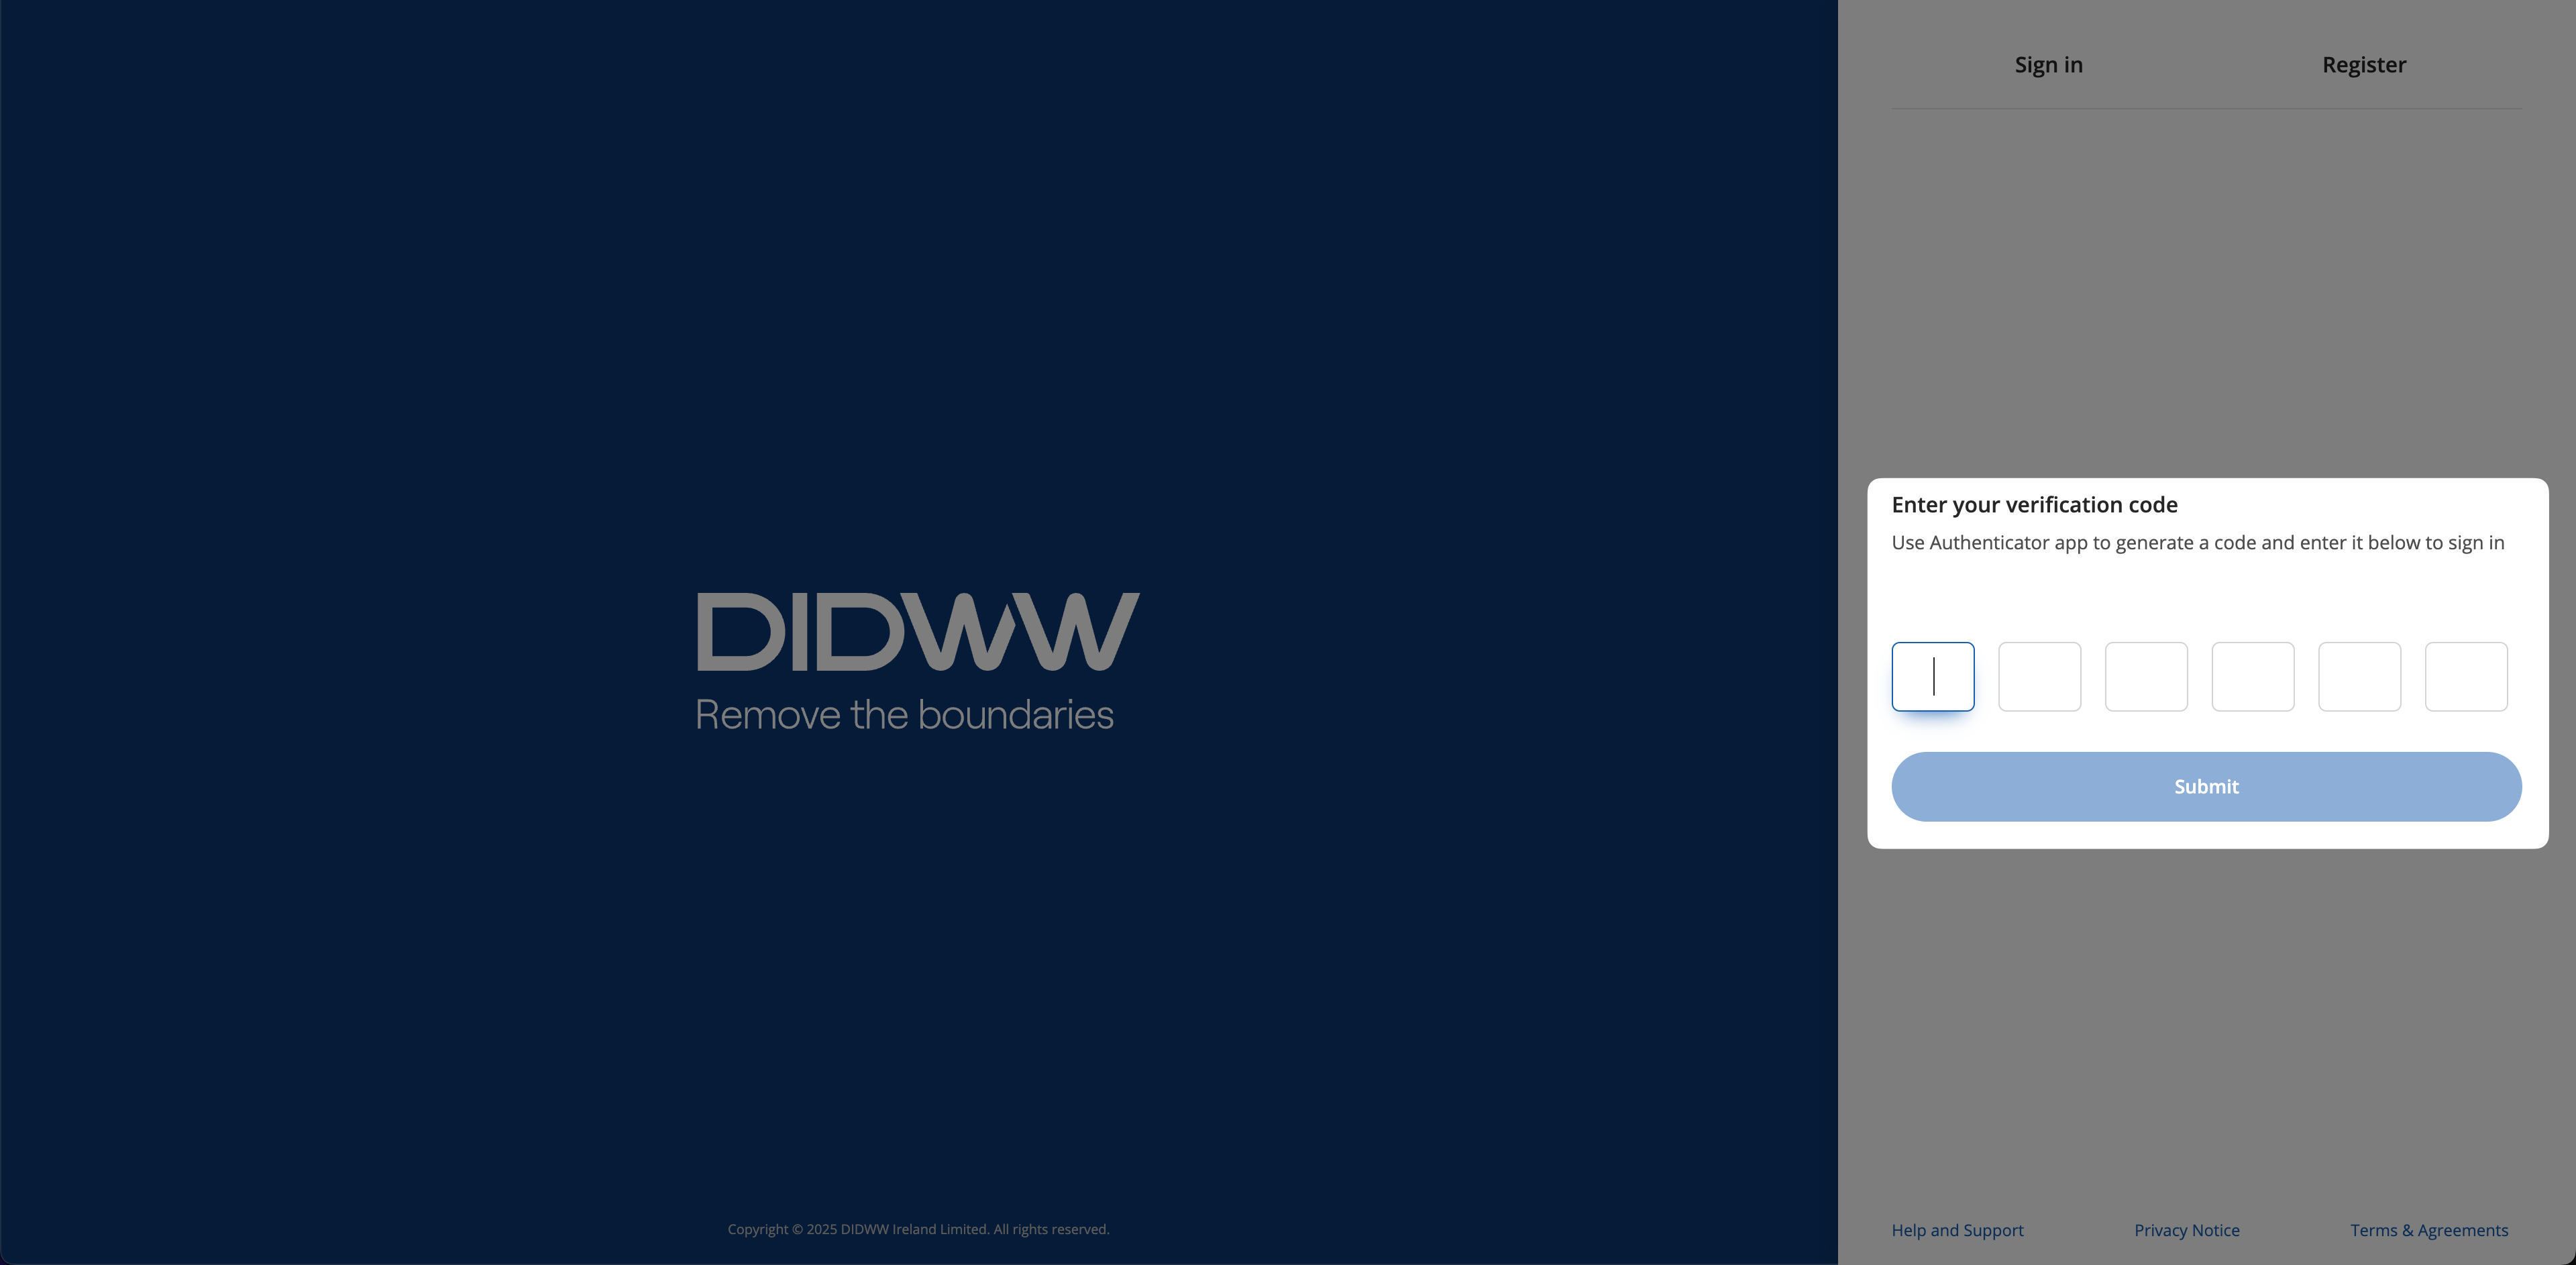
Fig. 3. Enter the app-generated verification code during login.#
Email Verification#
The Email Verification Two-Factor Authentication (2FA) method sends a one-time code to your email address each time you sign in.
To set it up, follow these steps:
Step 1: Enable Email Verification#
In the User Panel Security tab , toggle the Email Verification option to activate this authentication method, enter your email address, and select Submit.
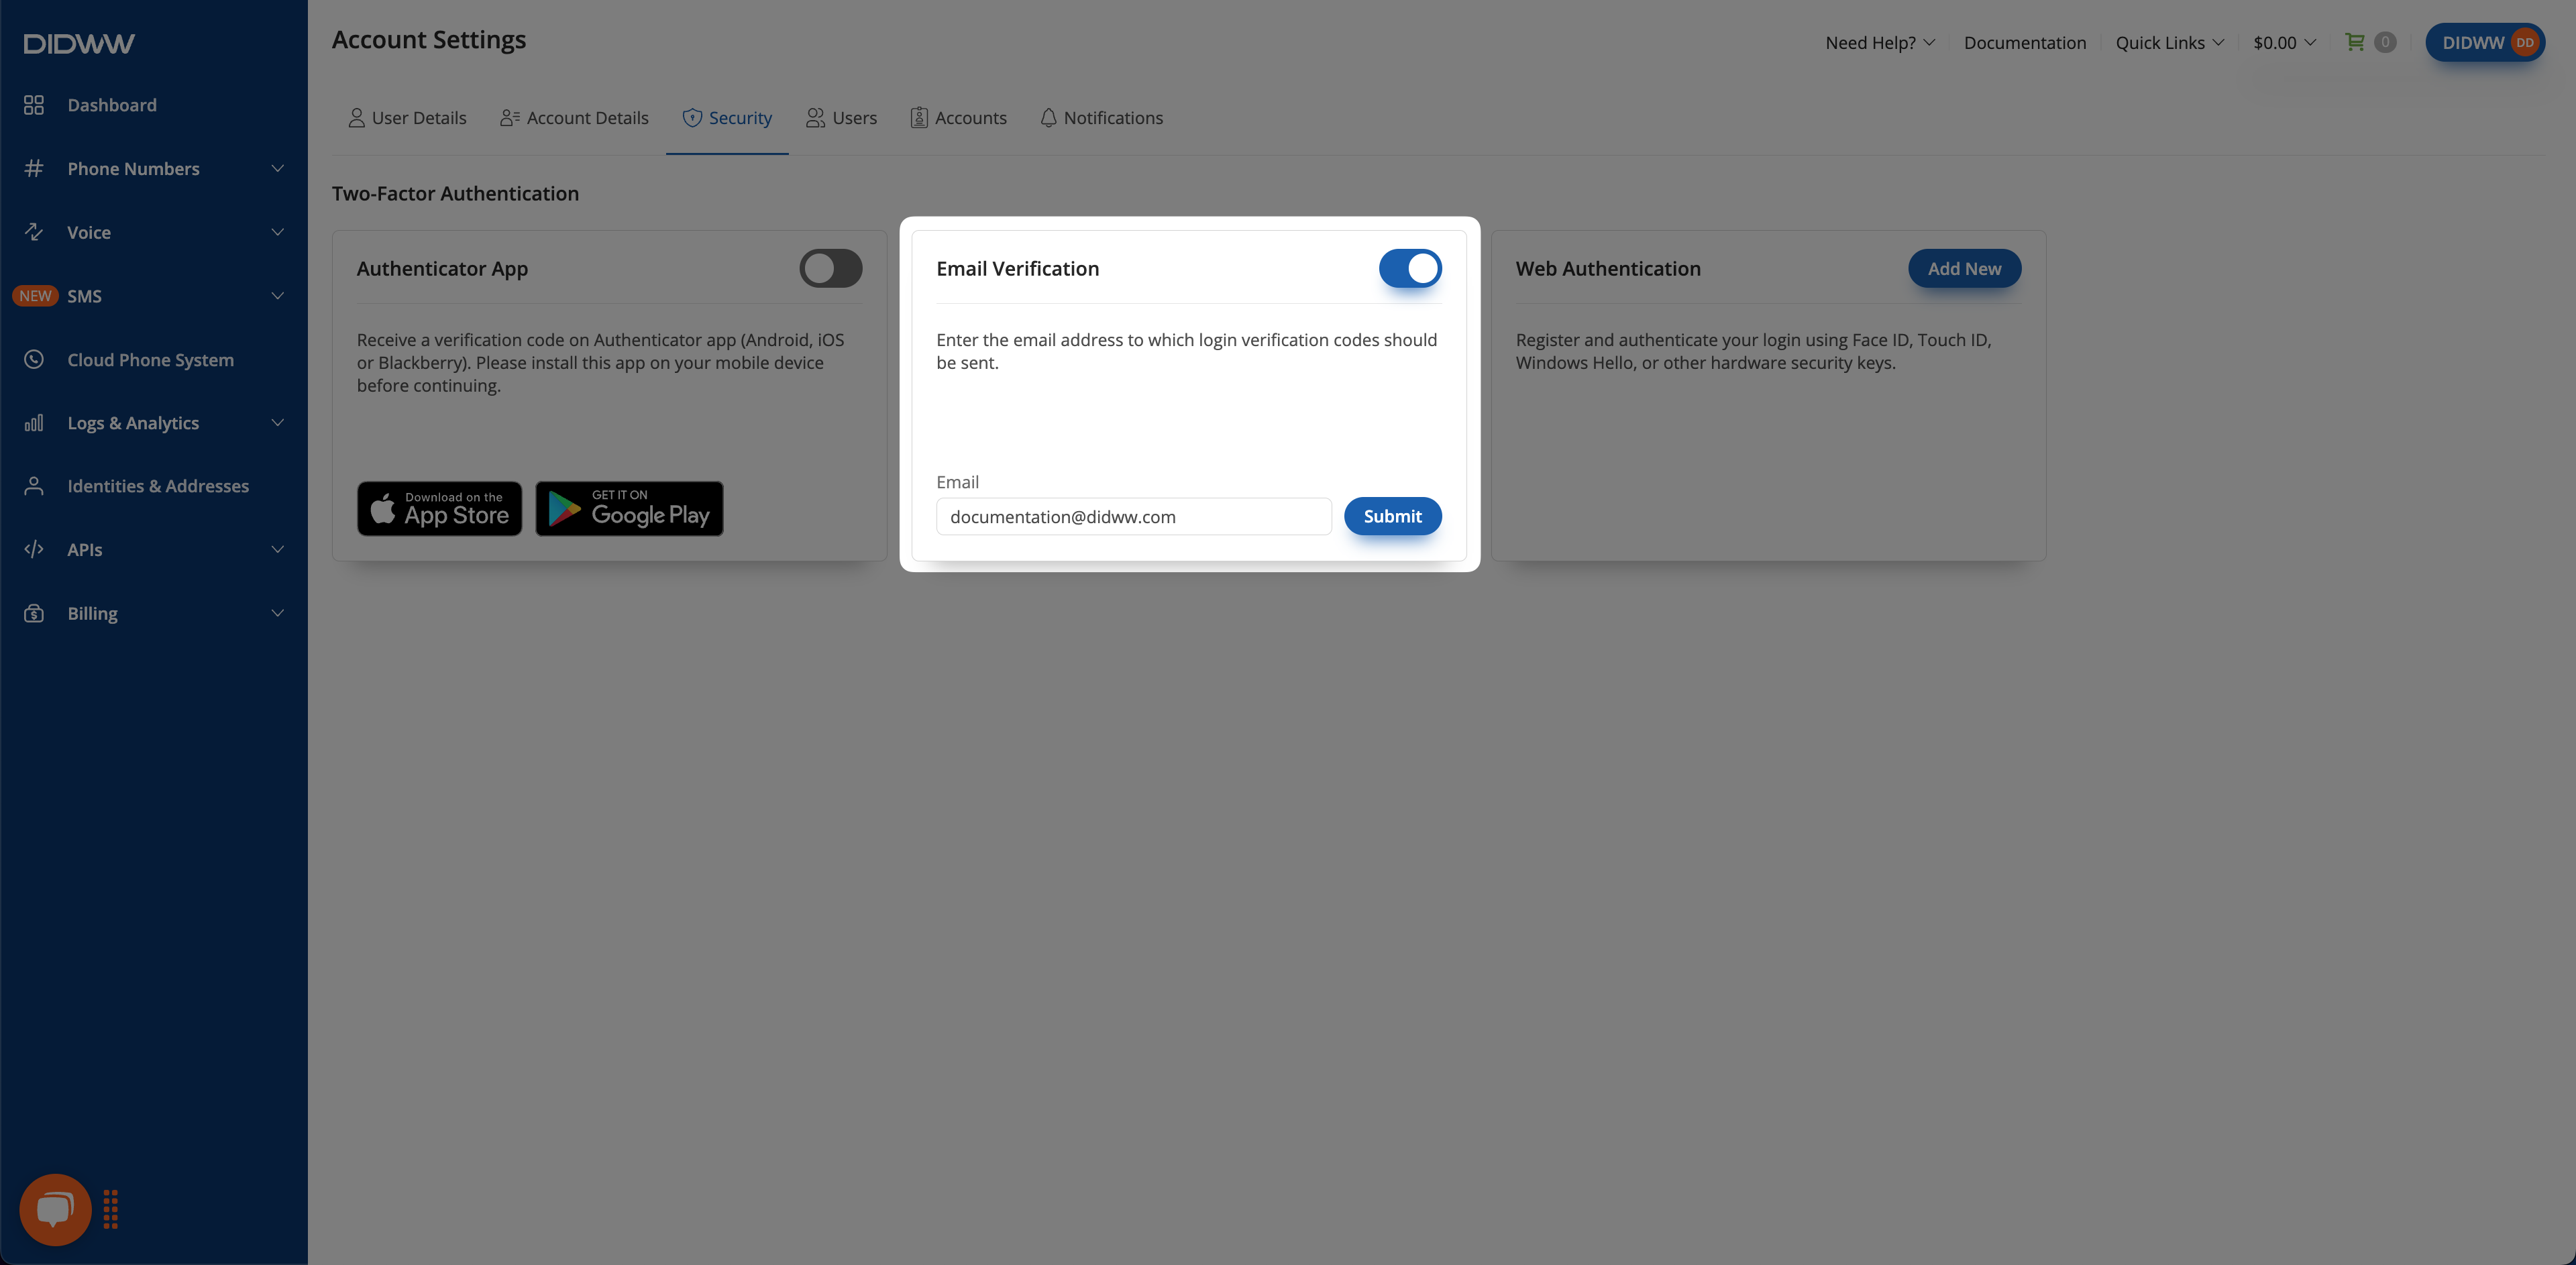
Fig. 4. Enter the email address for receiving verification codes.#
Step 2: Enter the Verification Code#
A 6-digit verification code will be sent to the contact email address you provided on the User Details page.
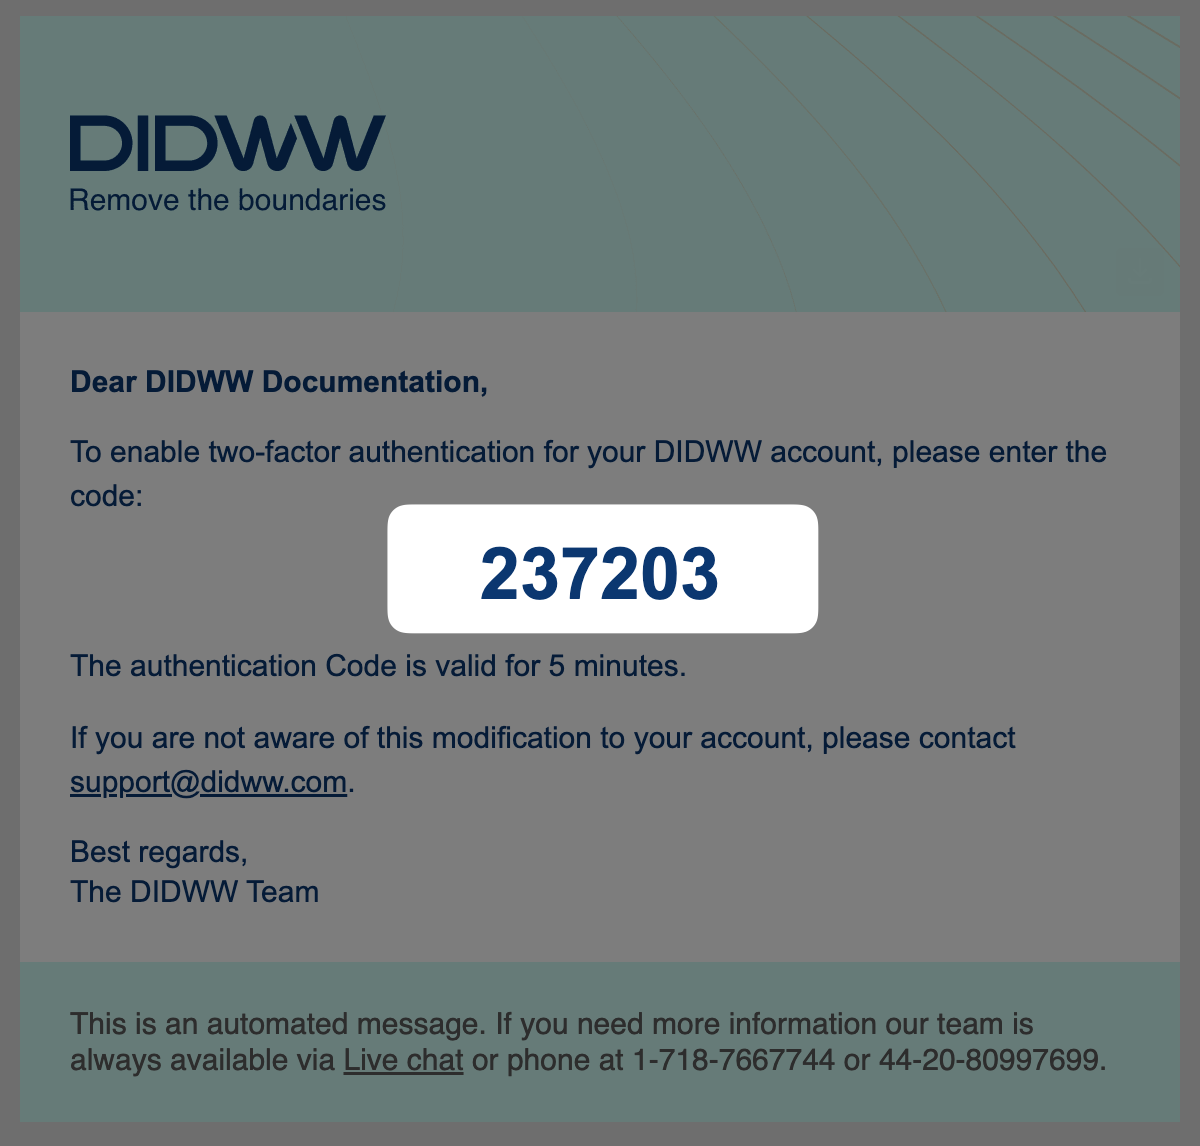
Fig. 5. Email message containing the authentication code.#
Enter the code into the verification field and select Submit.
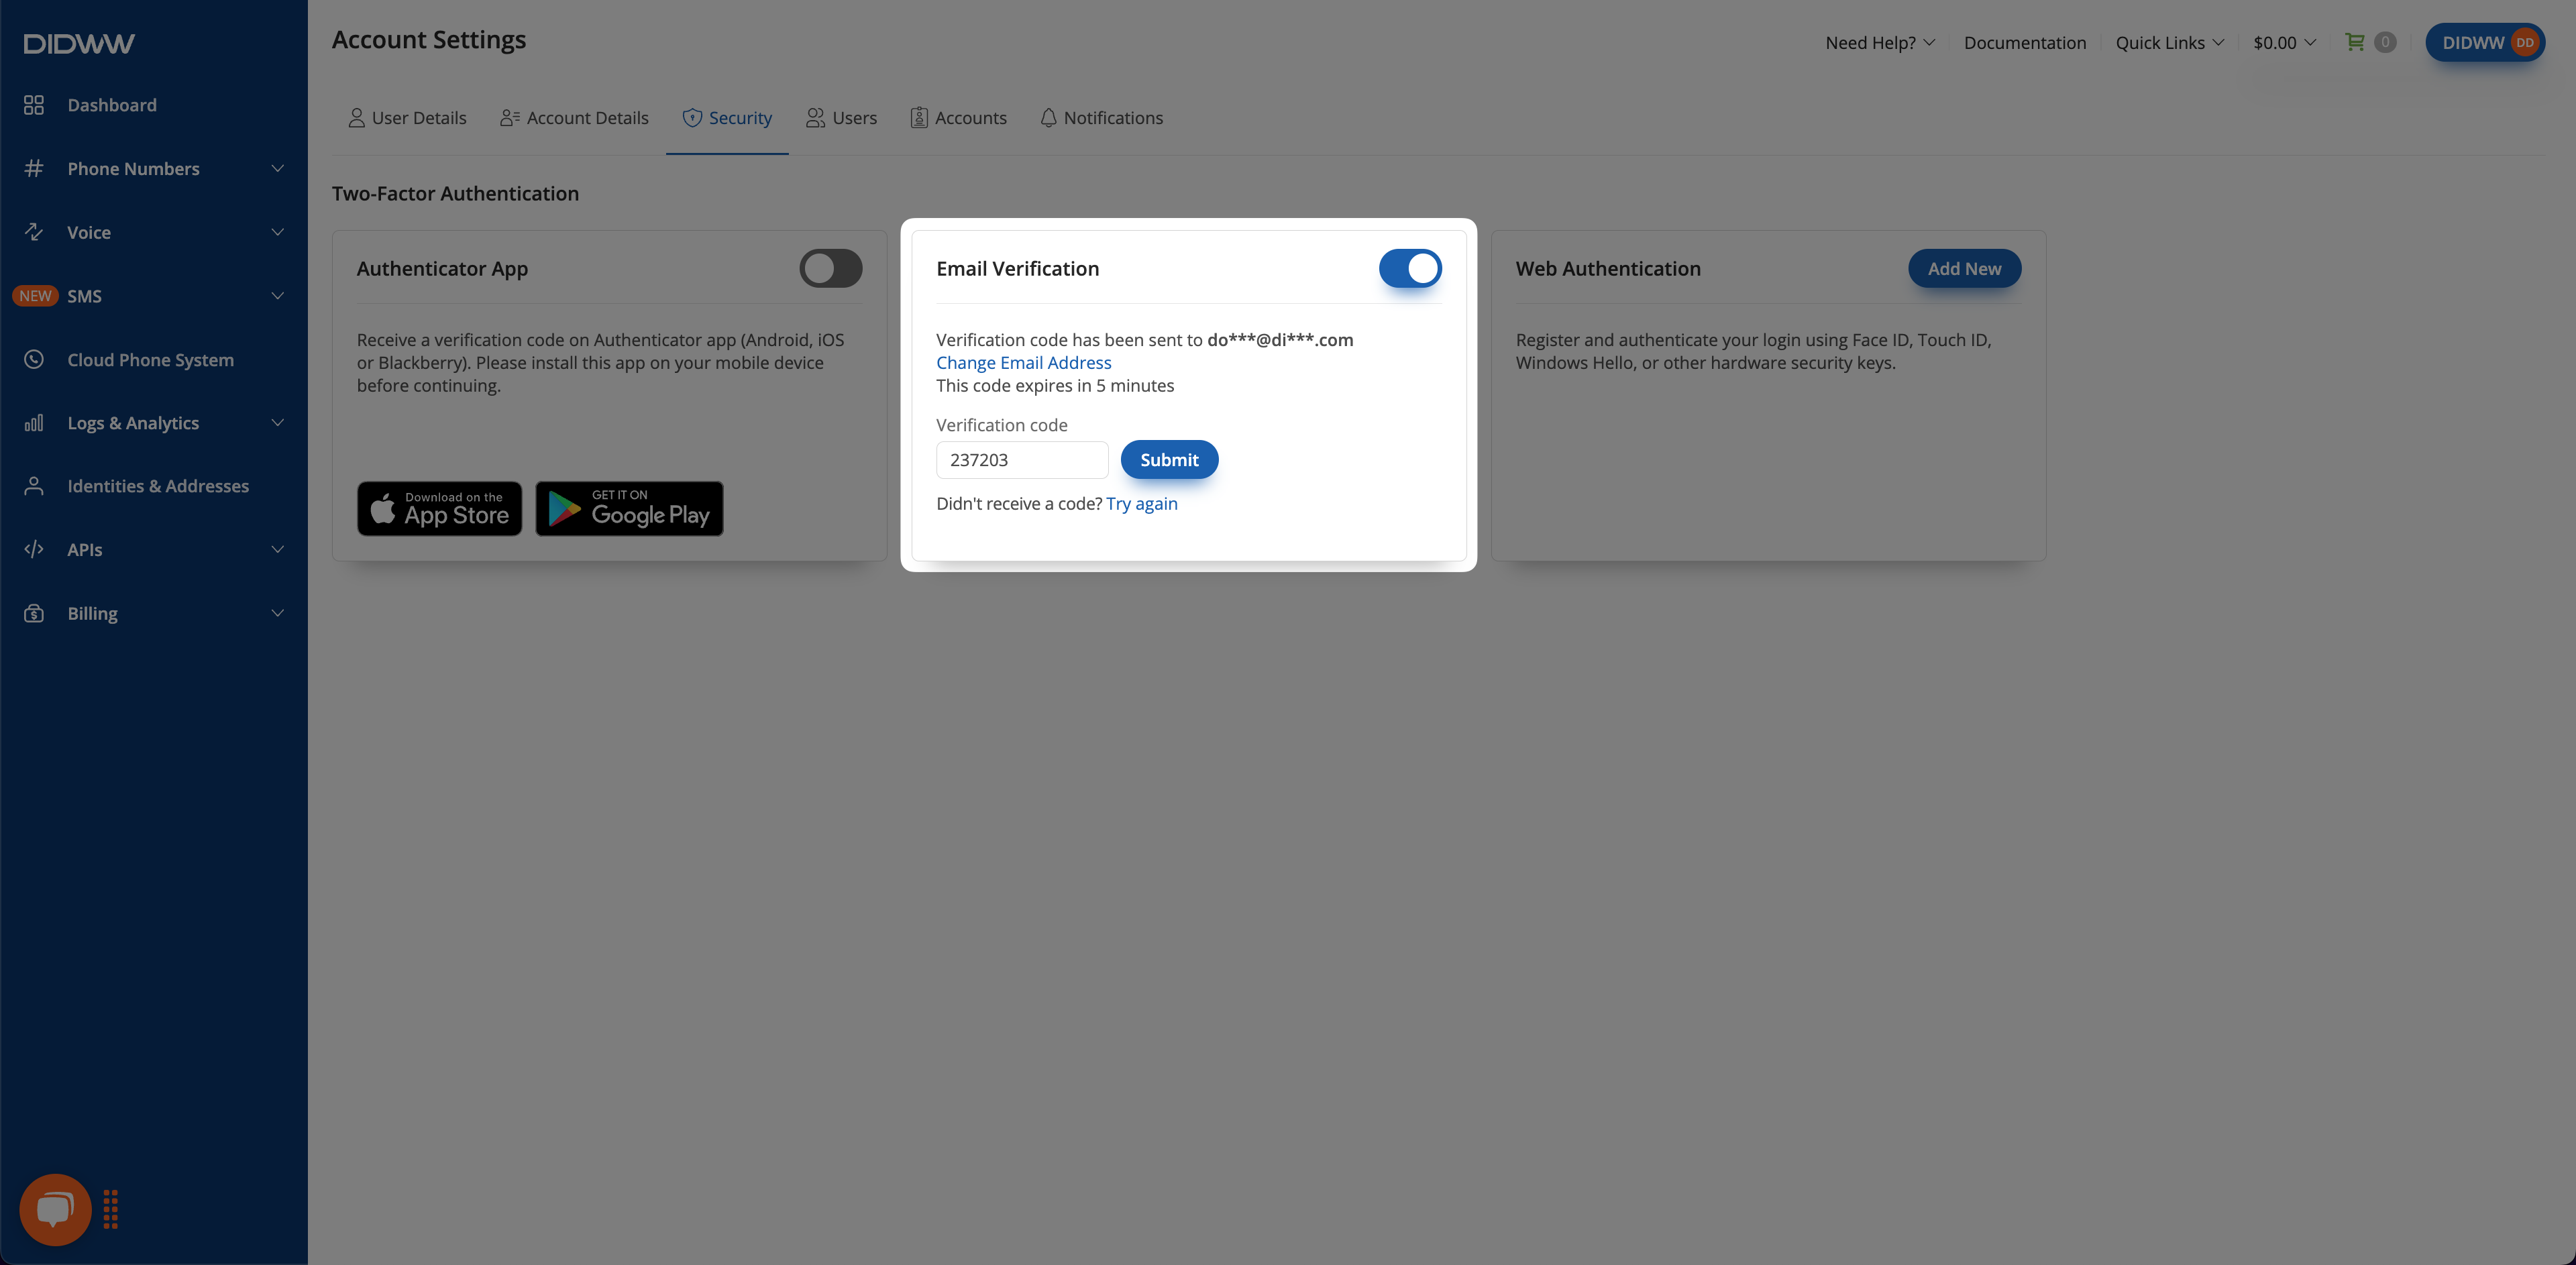
Fig. 6. Submit the verification code to complete setup.#
Step 3: Sign in Using Email Verification#
Once Email Verification (2FA) is successfully enabled, you will receive a unique verification code via email each time you sign in. To complete the authentication process, enter the code sent to your registered email address.
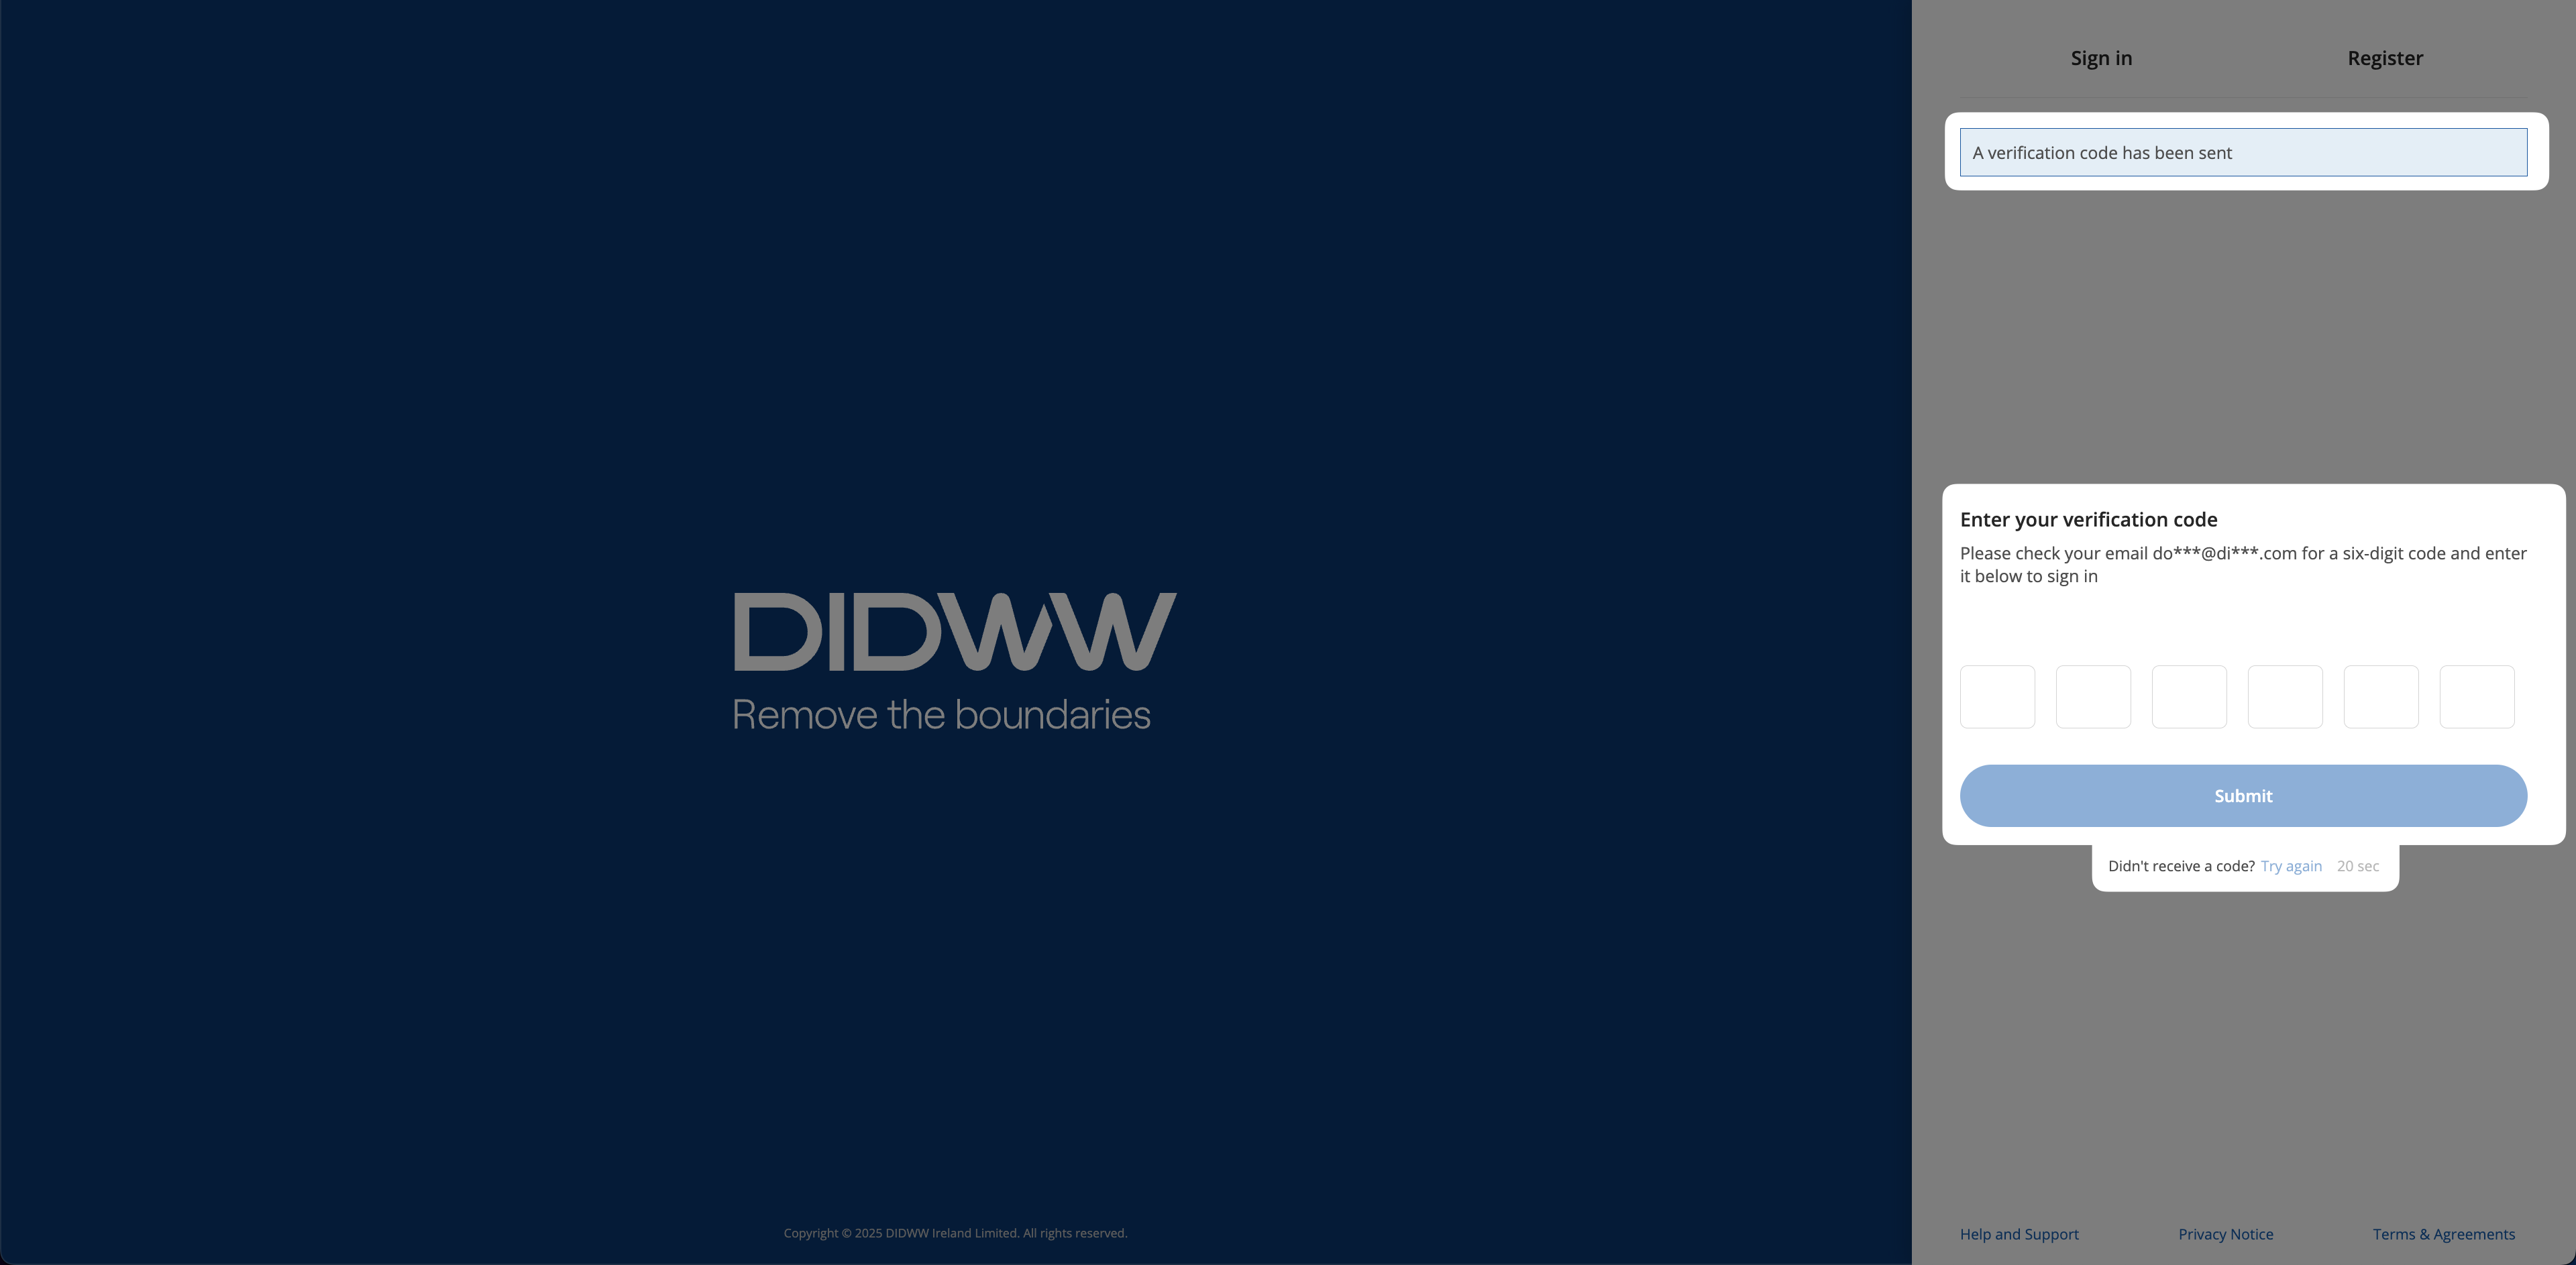
Fig. 7. Enter the email-based verification code during login.#
Web Authentication#
The Web Authentication Two-Factor Authentication (2FA) method allows secure sign-in using device-based credentials such as Touch ID, Face ID, or Windows Hello.
To set it up, follow these steps:
Step 1: Add New Web Authentication Method#
Click Add New, enter a friendly name for your device, and select Submit to begin registration process on your device.
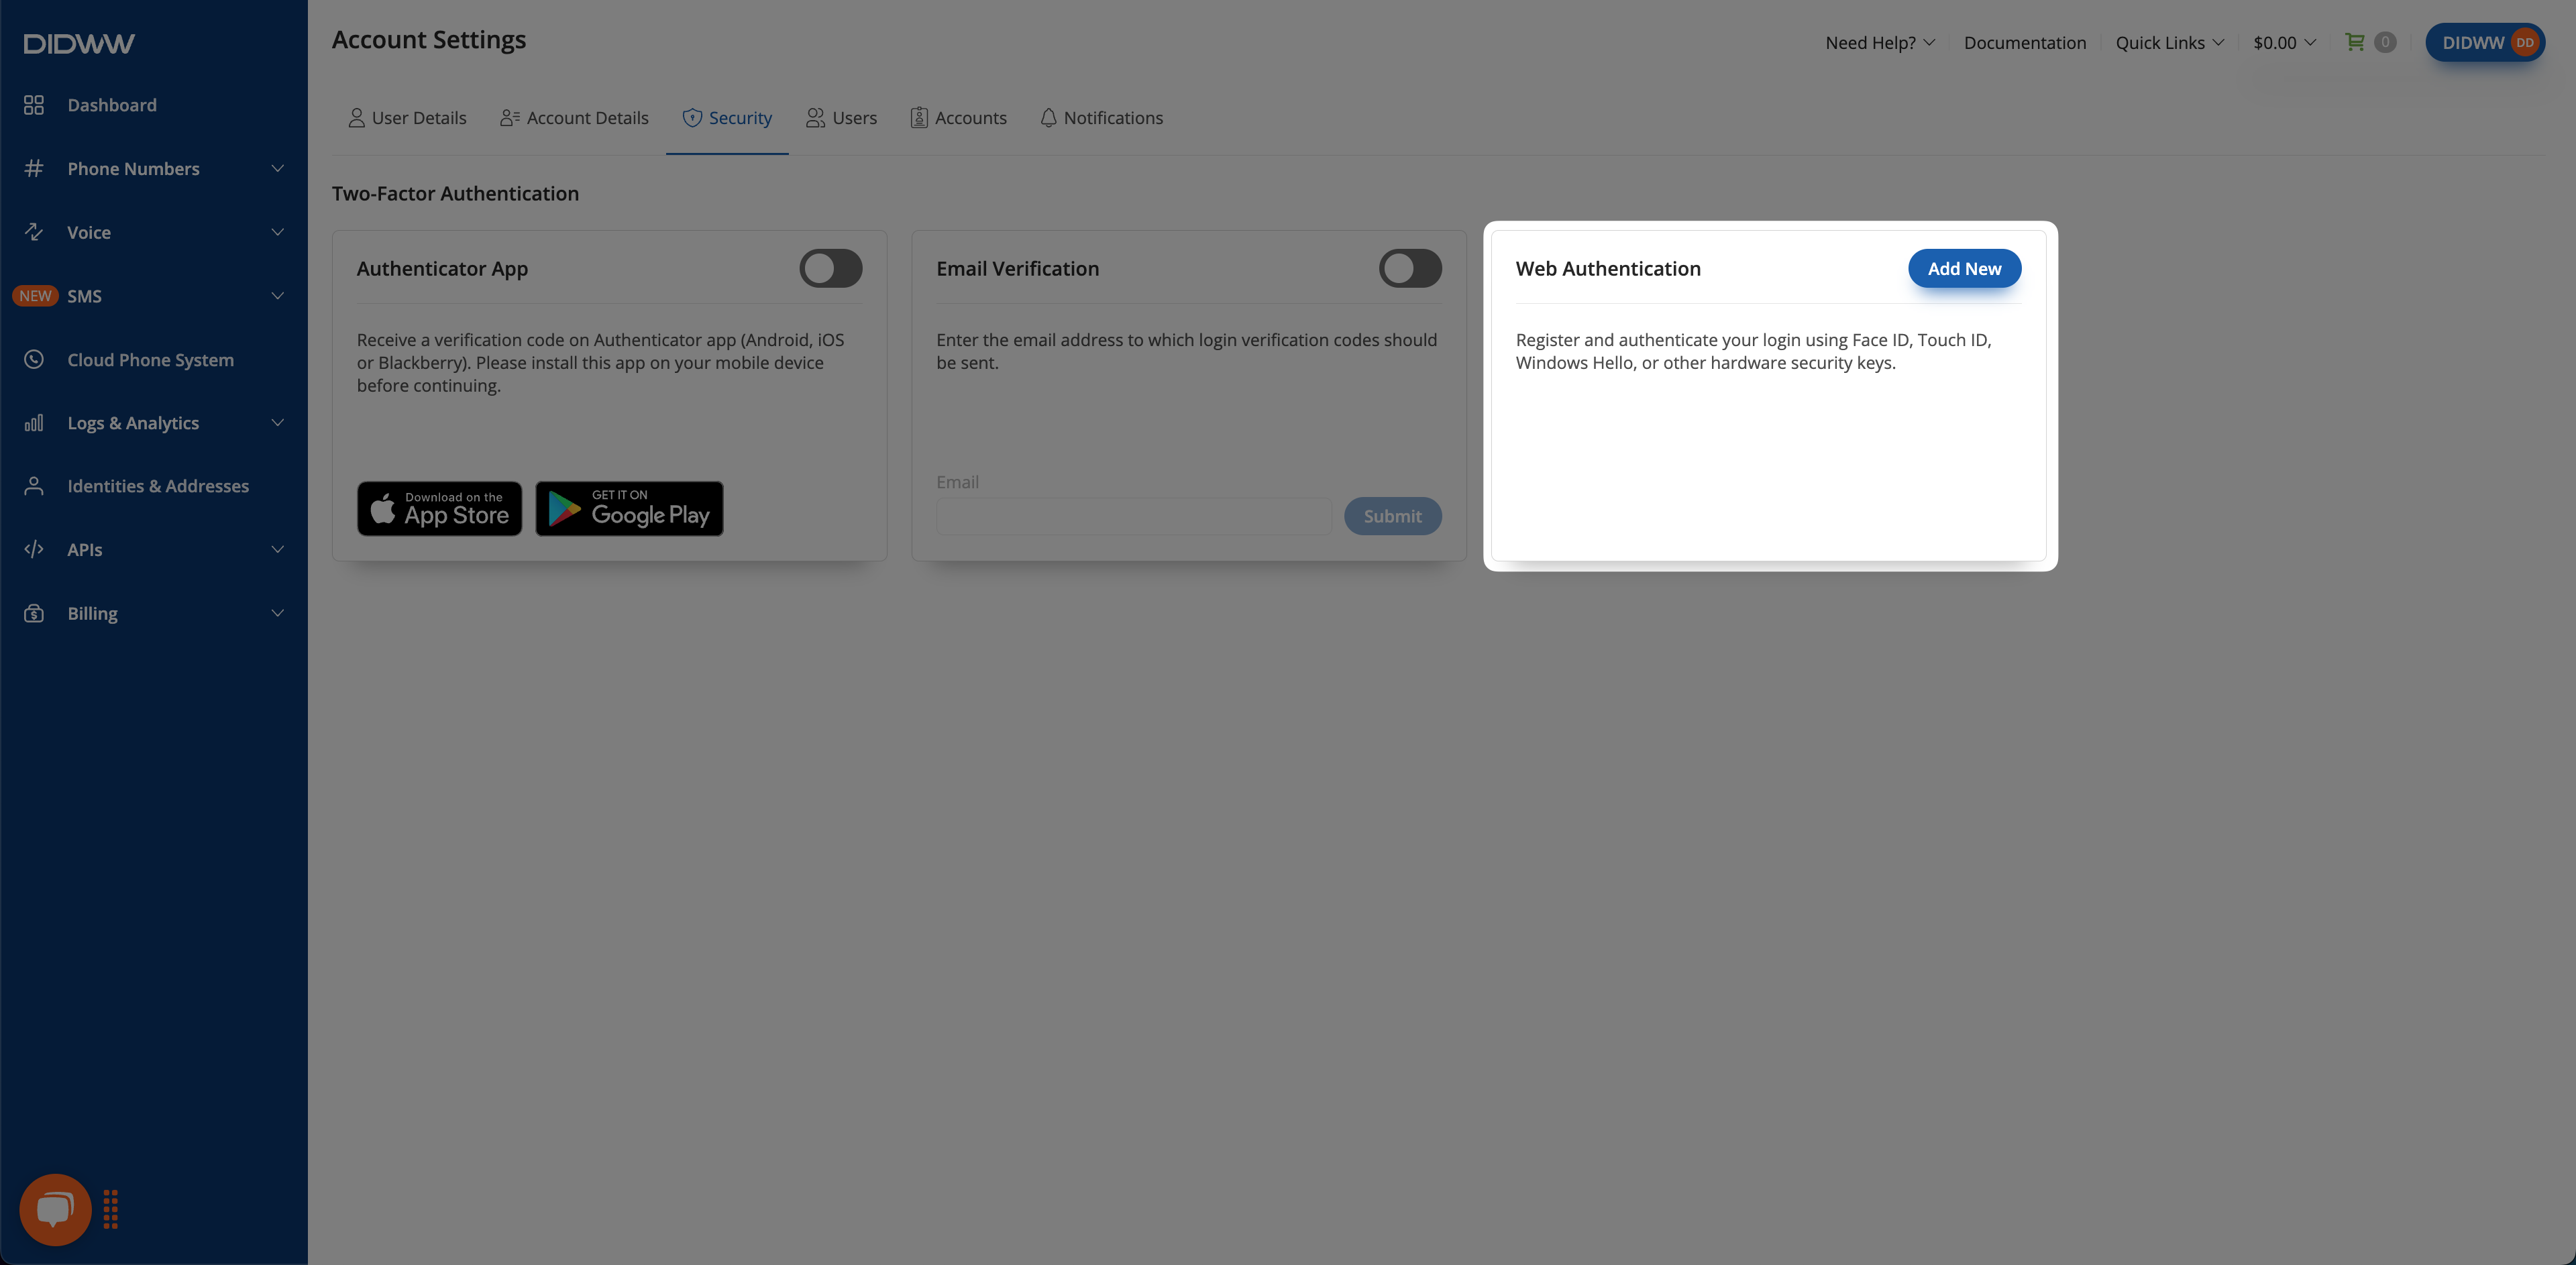
Fig. 8. Web Authentication Two Factor Authentication Method.#
Step 2: Authenticate with Device#
Follow the prompts from your browser to register a supported method such as biometrics, password, or PIN. Complete the registration using your selected method.
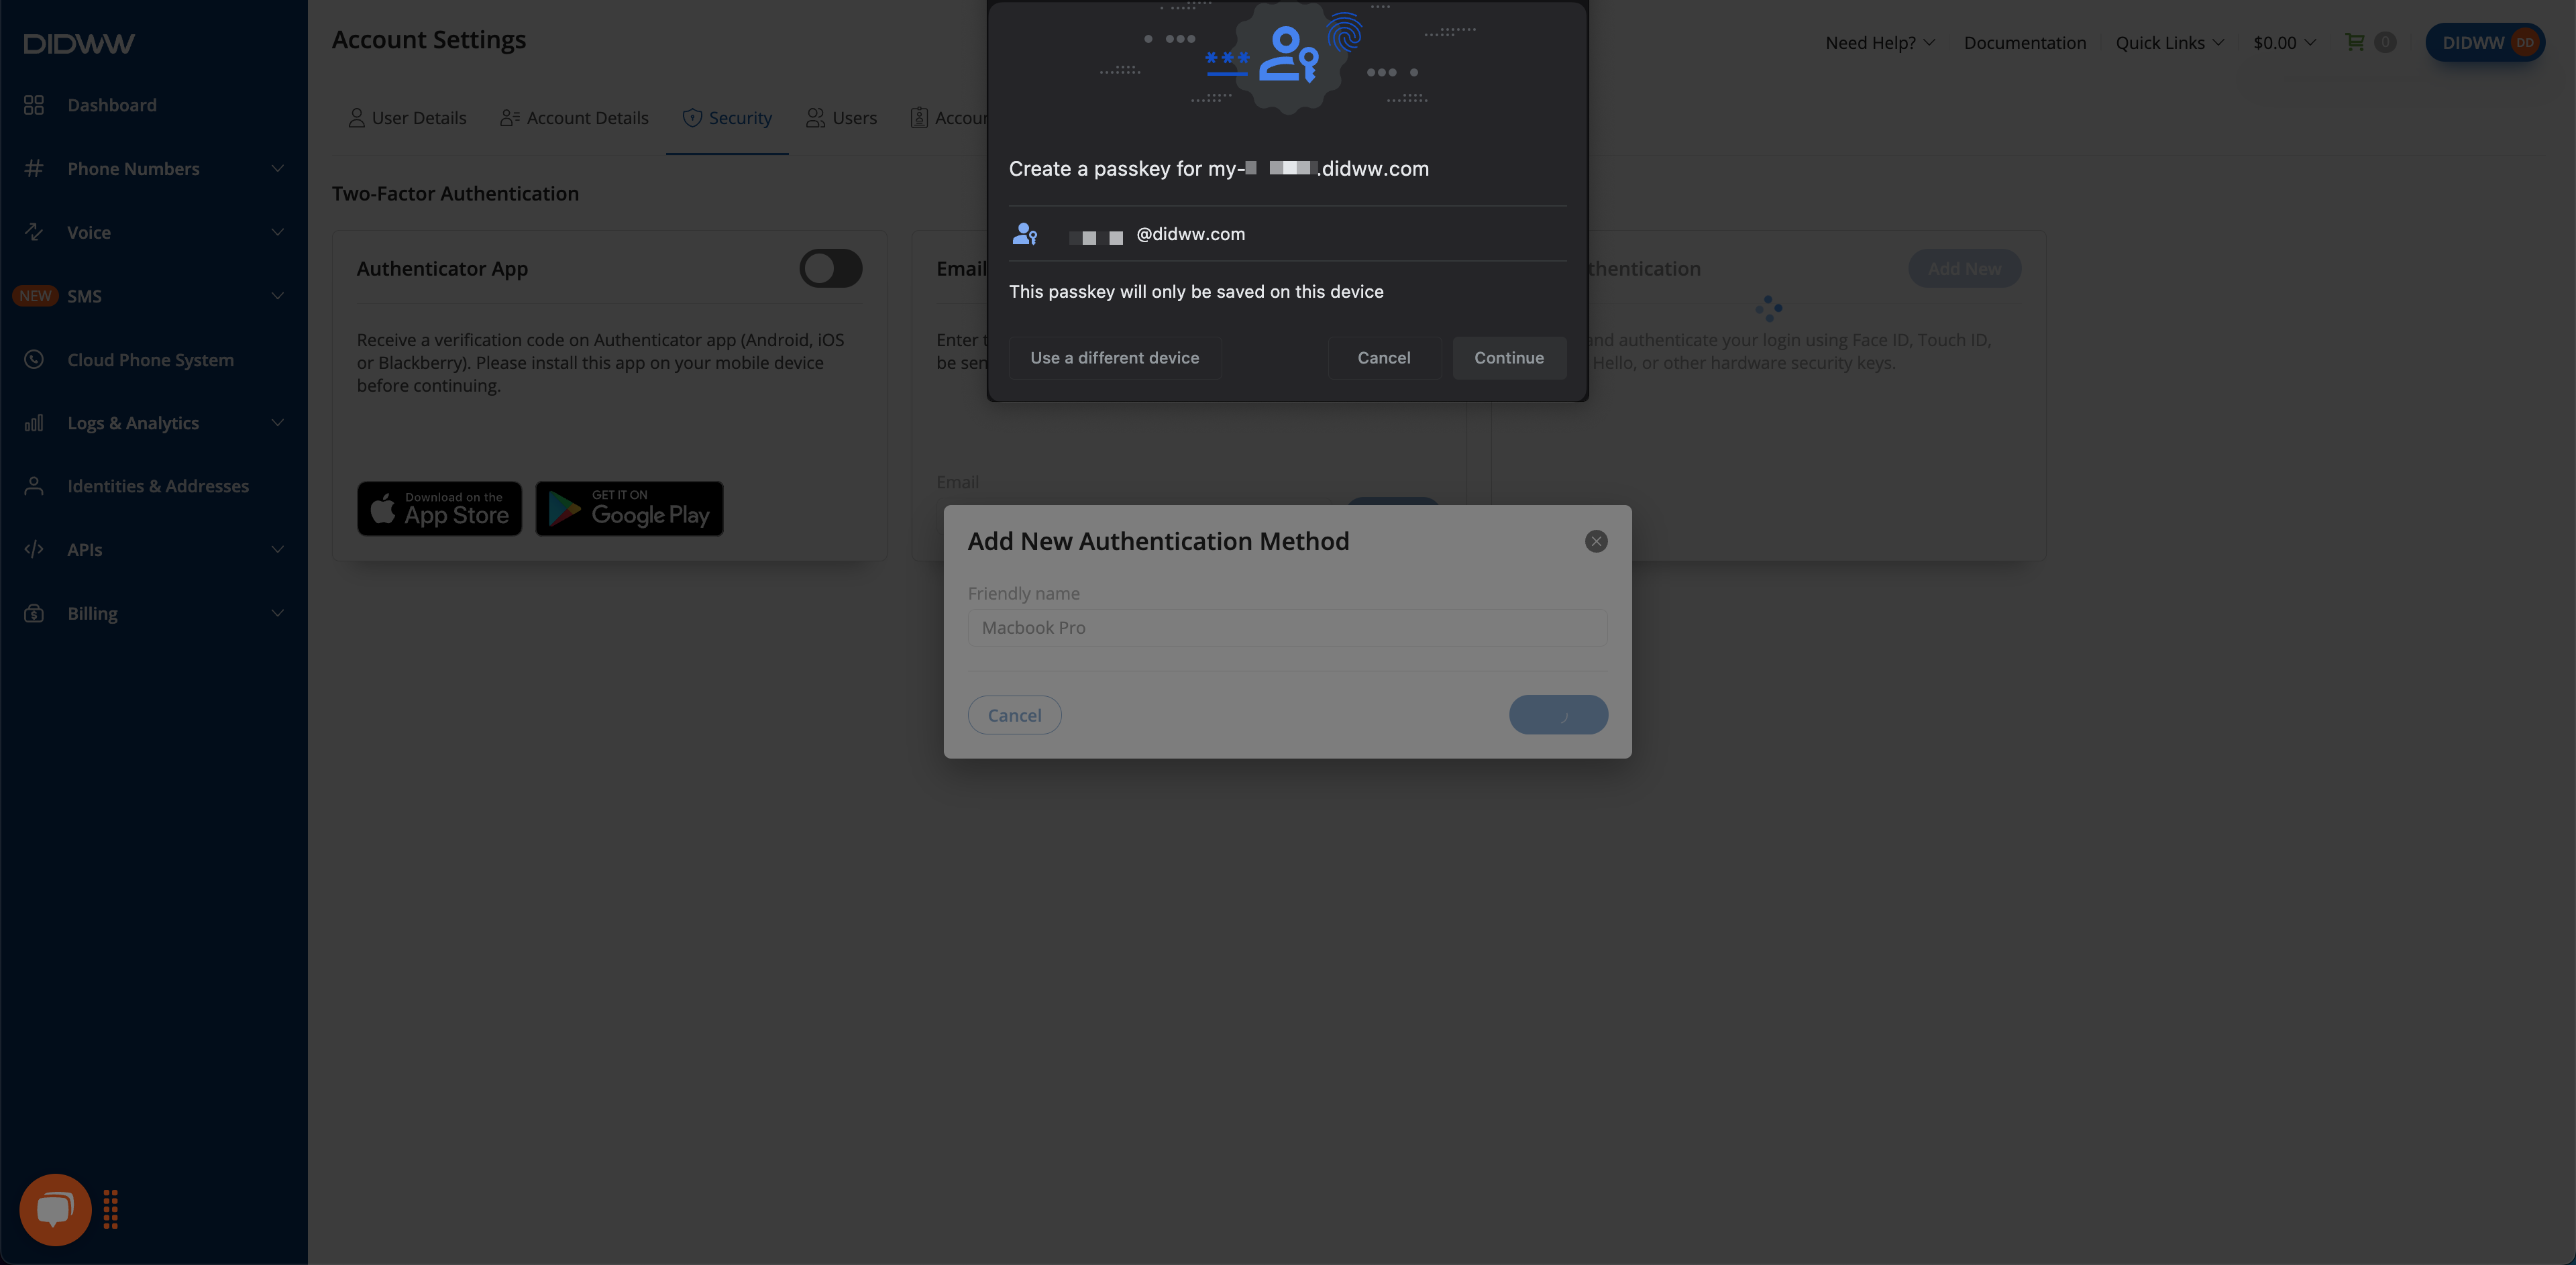
Fig. 9. Confirm credential creation with your system.#
Complete the authentication with your selected device method.
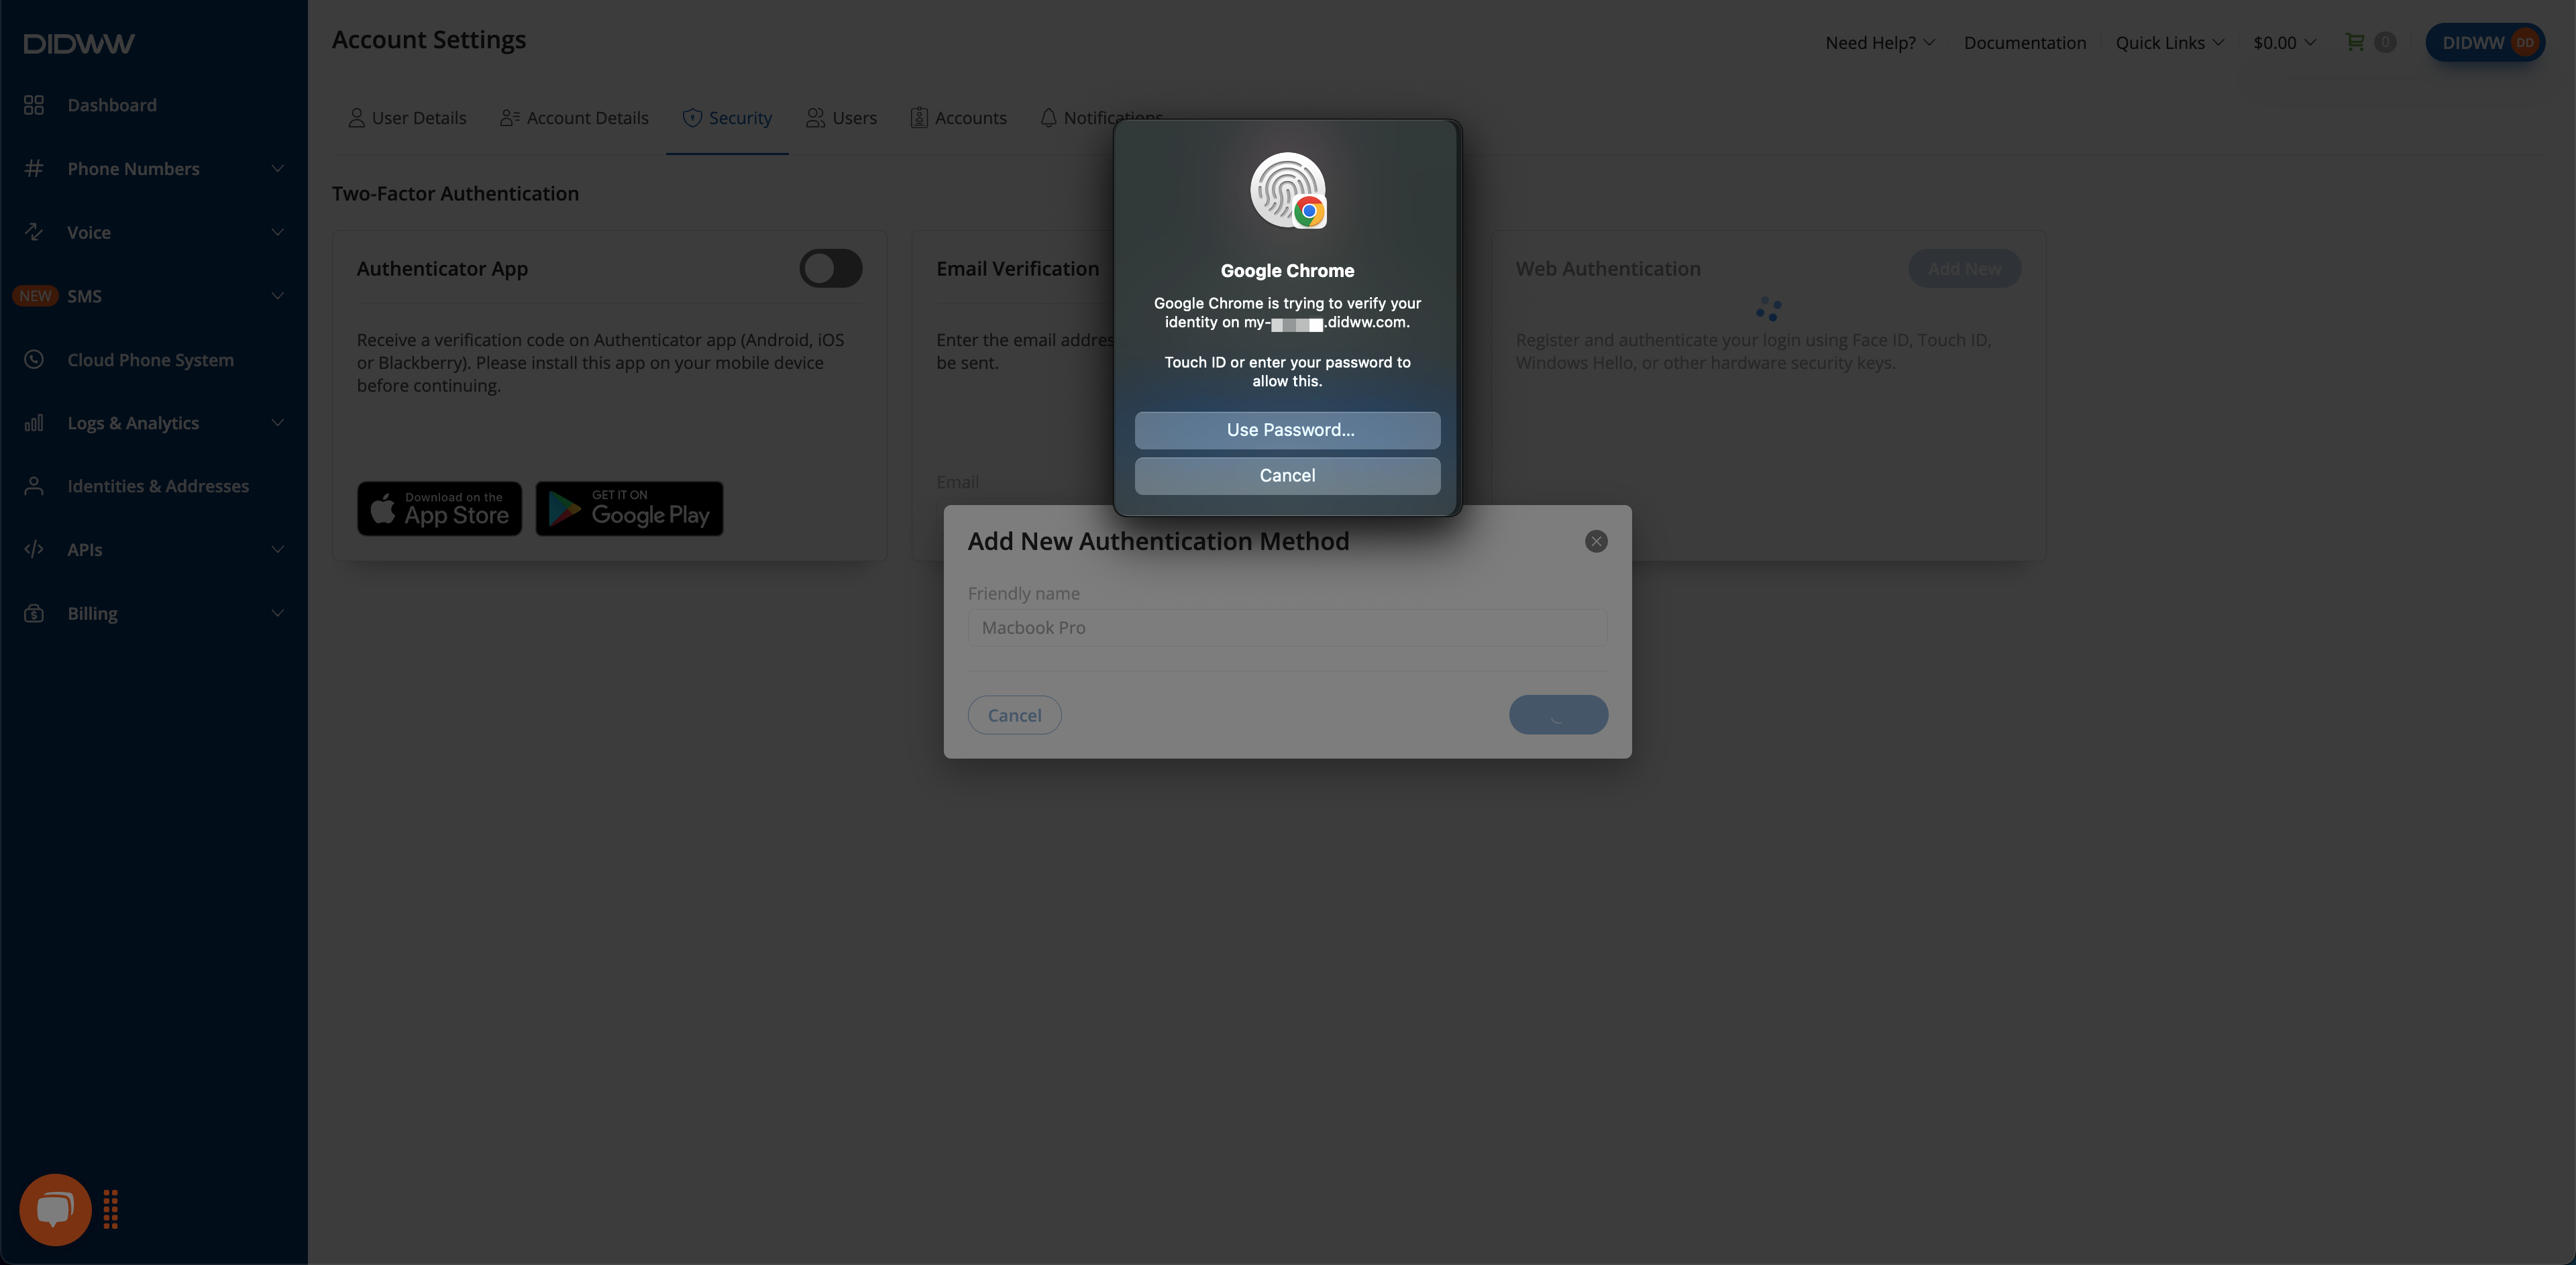
Fig. 10. Authenticate with biometric or password to complete registration.#
Once registered, your device will appear in the list of active authentication methods, and a confirmation email will be sent.
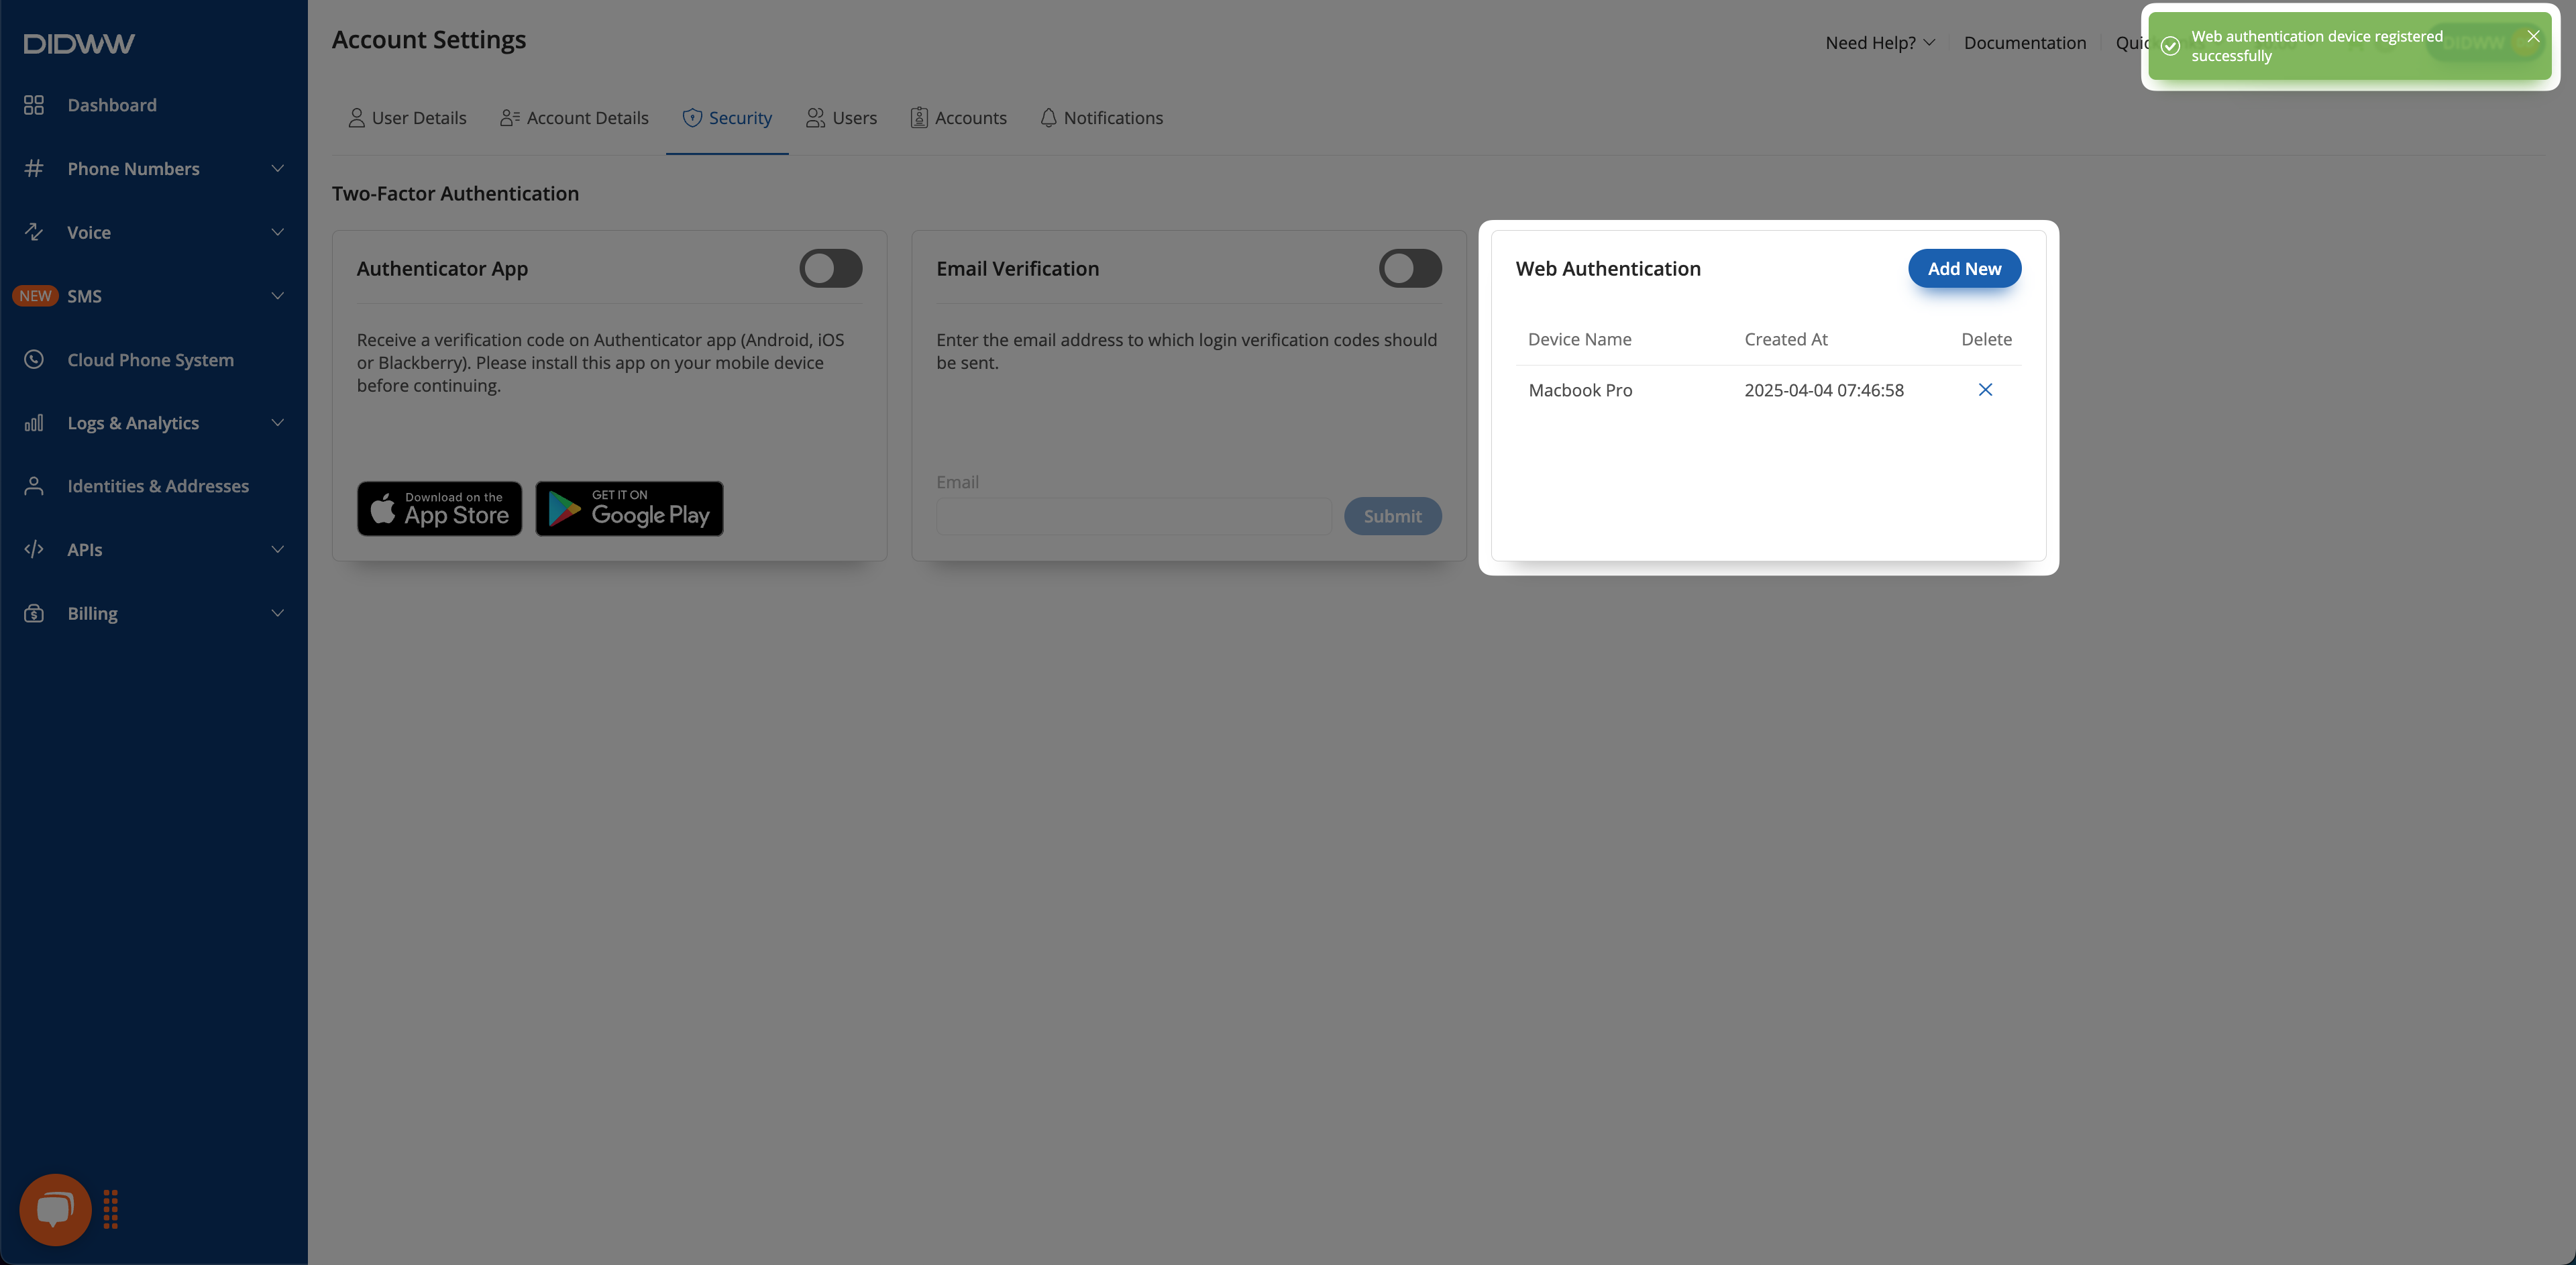
Fig. 11. Device successfully added for Web Authentication.#
Step 3: Sign in Using Web Authentication#
Once Web Authentication (2FA) is successfully enabled, your registered device will prompt you to verify your identity each time you sign in. If you are using the same device and browser that were originally registered, you can authenticate using your selected method, such as biometrics (e.g., fingerprint or facial recognition) or a PIN.
Note
Web Authentication works only on the device and browser where it was initially registered. If you’re signing in from a different device or browser, we recommend using an alternative 2FA method to access your account.
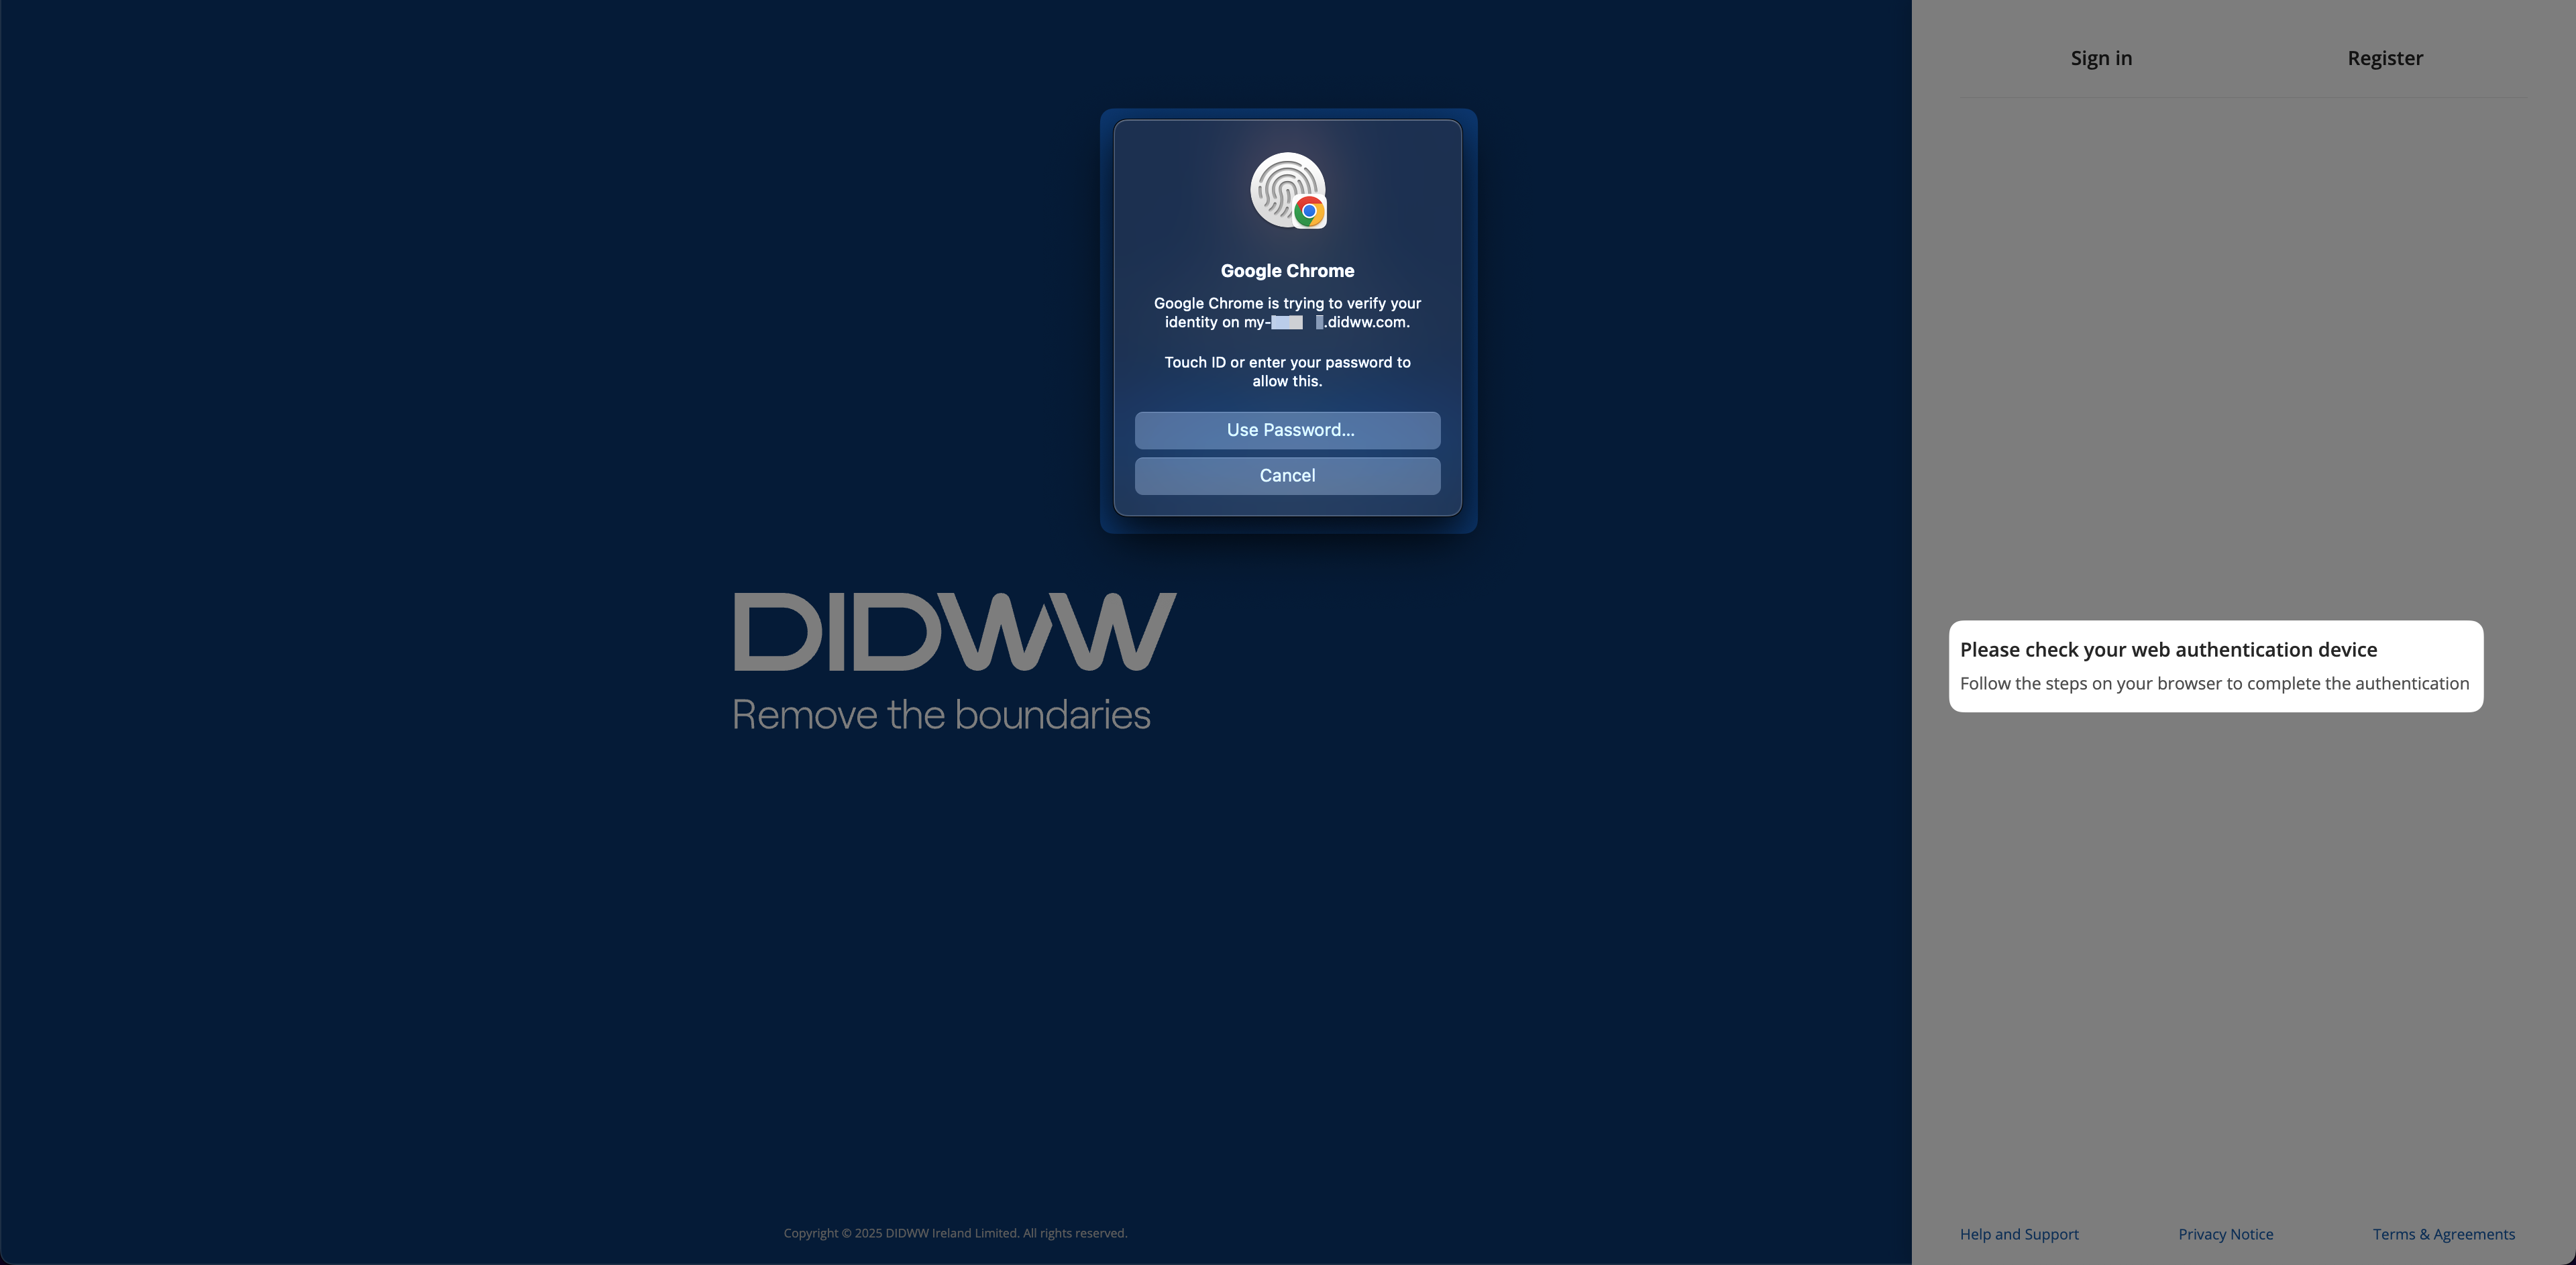
Fig. 12. Web Authentication During Login.#
Additional Information#
Learn how users can update their name, contact email, and password.
Learn how to manage company identity, contact information, and address.
Learn how to configure notifications, set role-based recipients, and add custom email addresses for account alerts.
Learn about user roles, how to invite team members, assign access levels, and manage users.
Learn how to manage multi-accounts and access accounts you’ve been invited to, based on assigned roles.