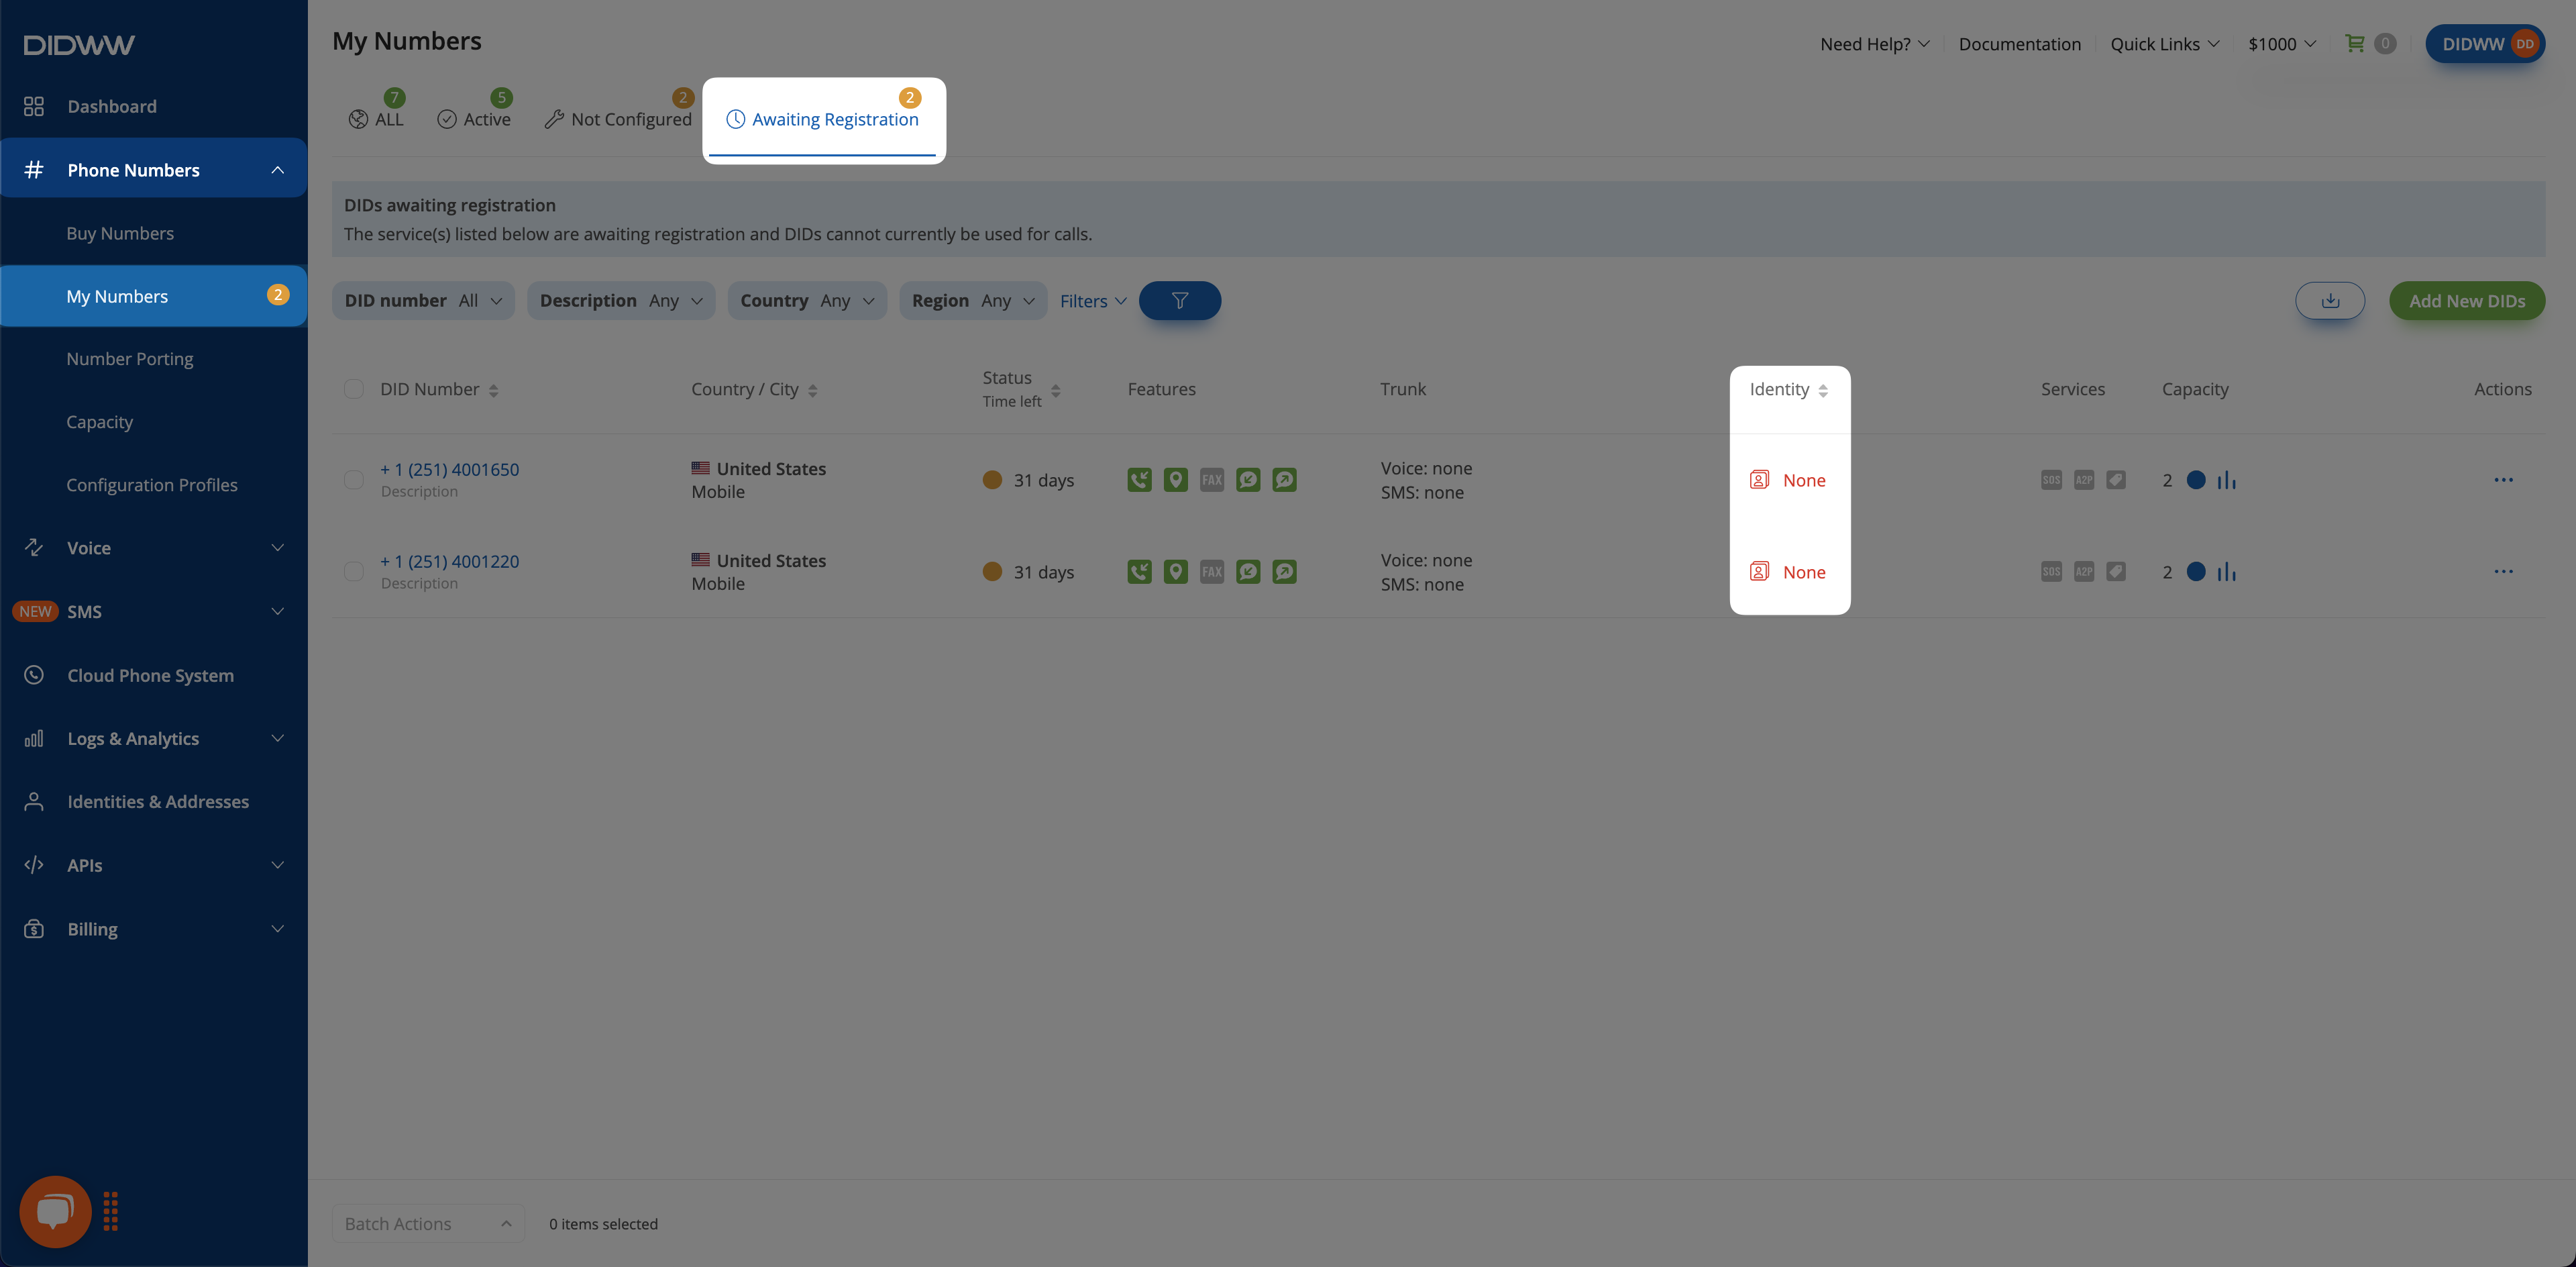
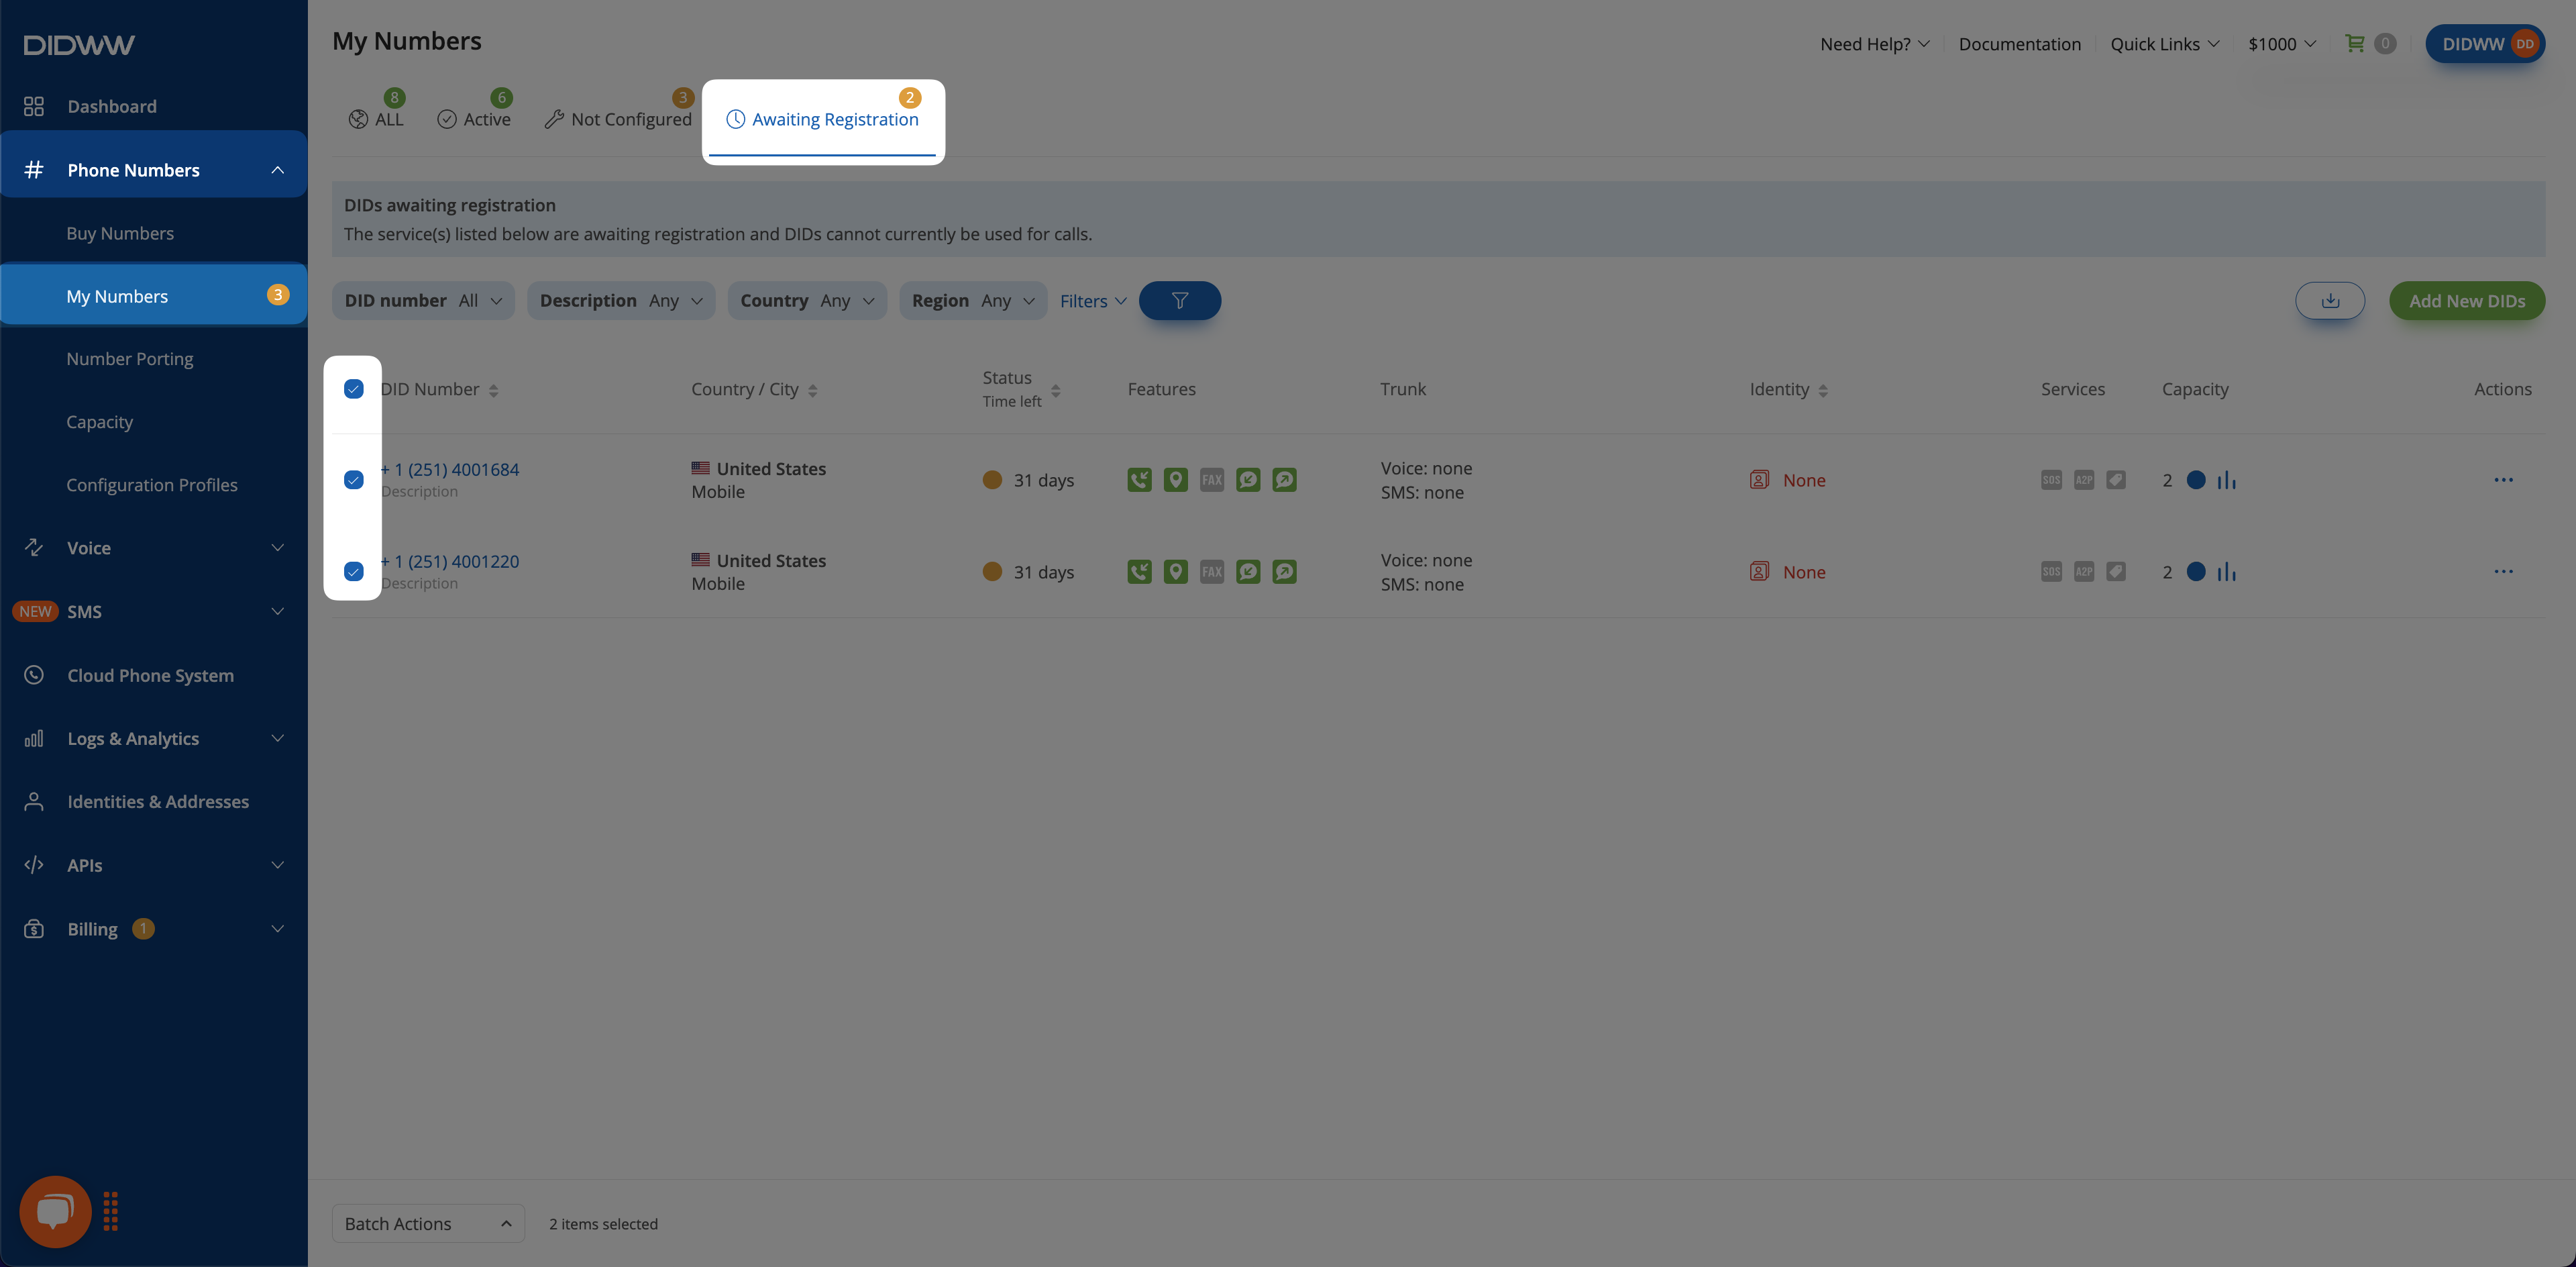
The Verifications tab provides a centralized place to track the status of all your identity and address submissions required for services like DID number registration. Every time you assign an identity and address to a number, a new verification request is created and can be monitored here.
Tracking Verifications
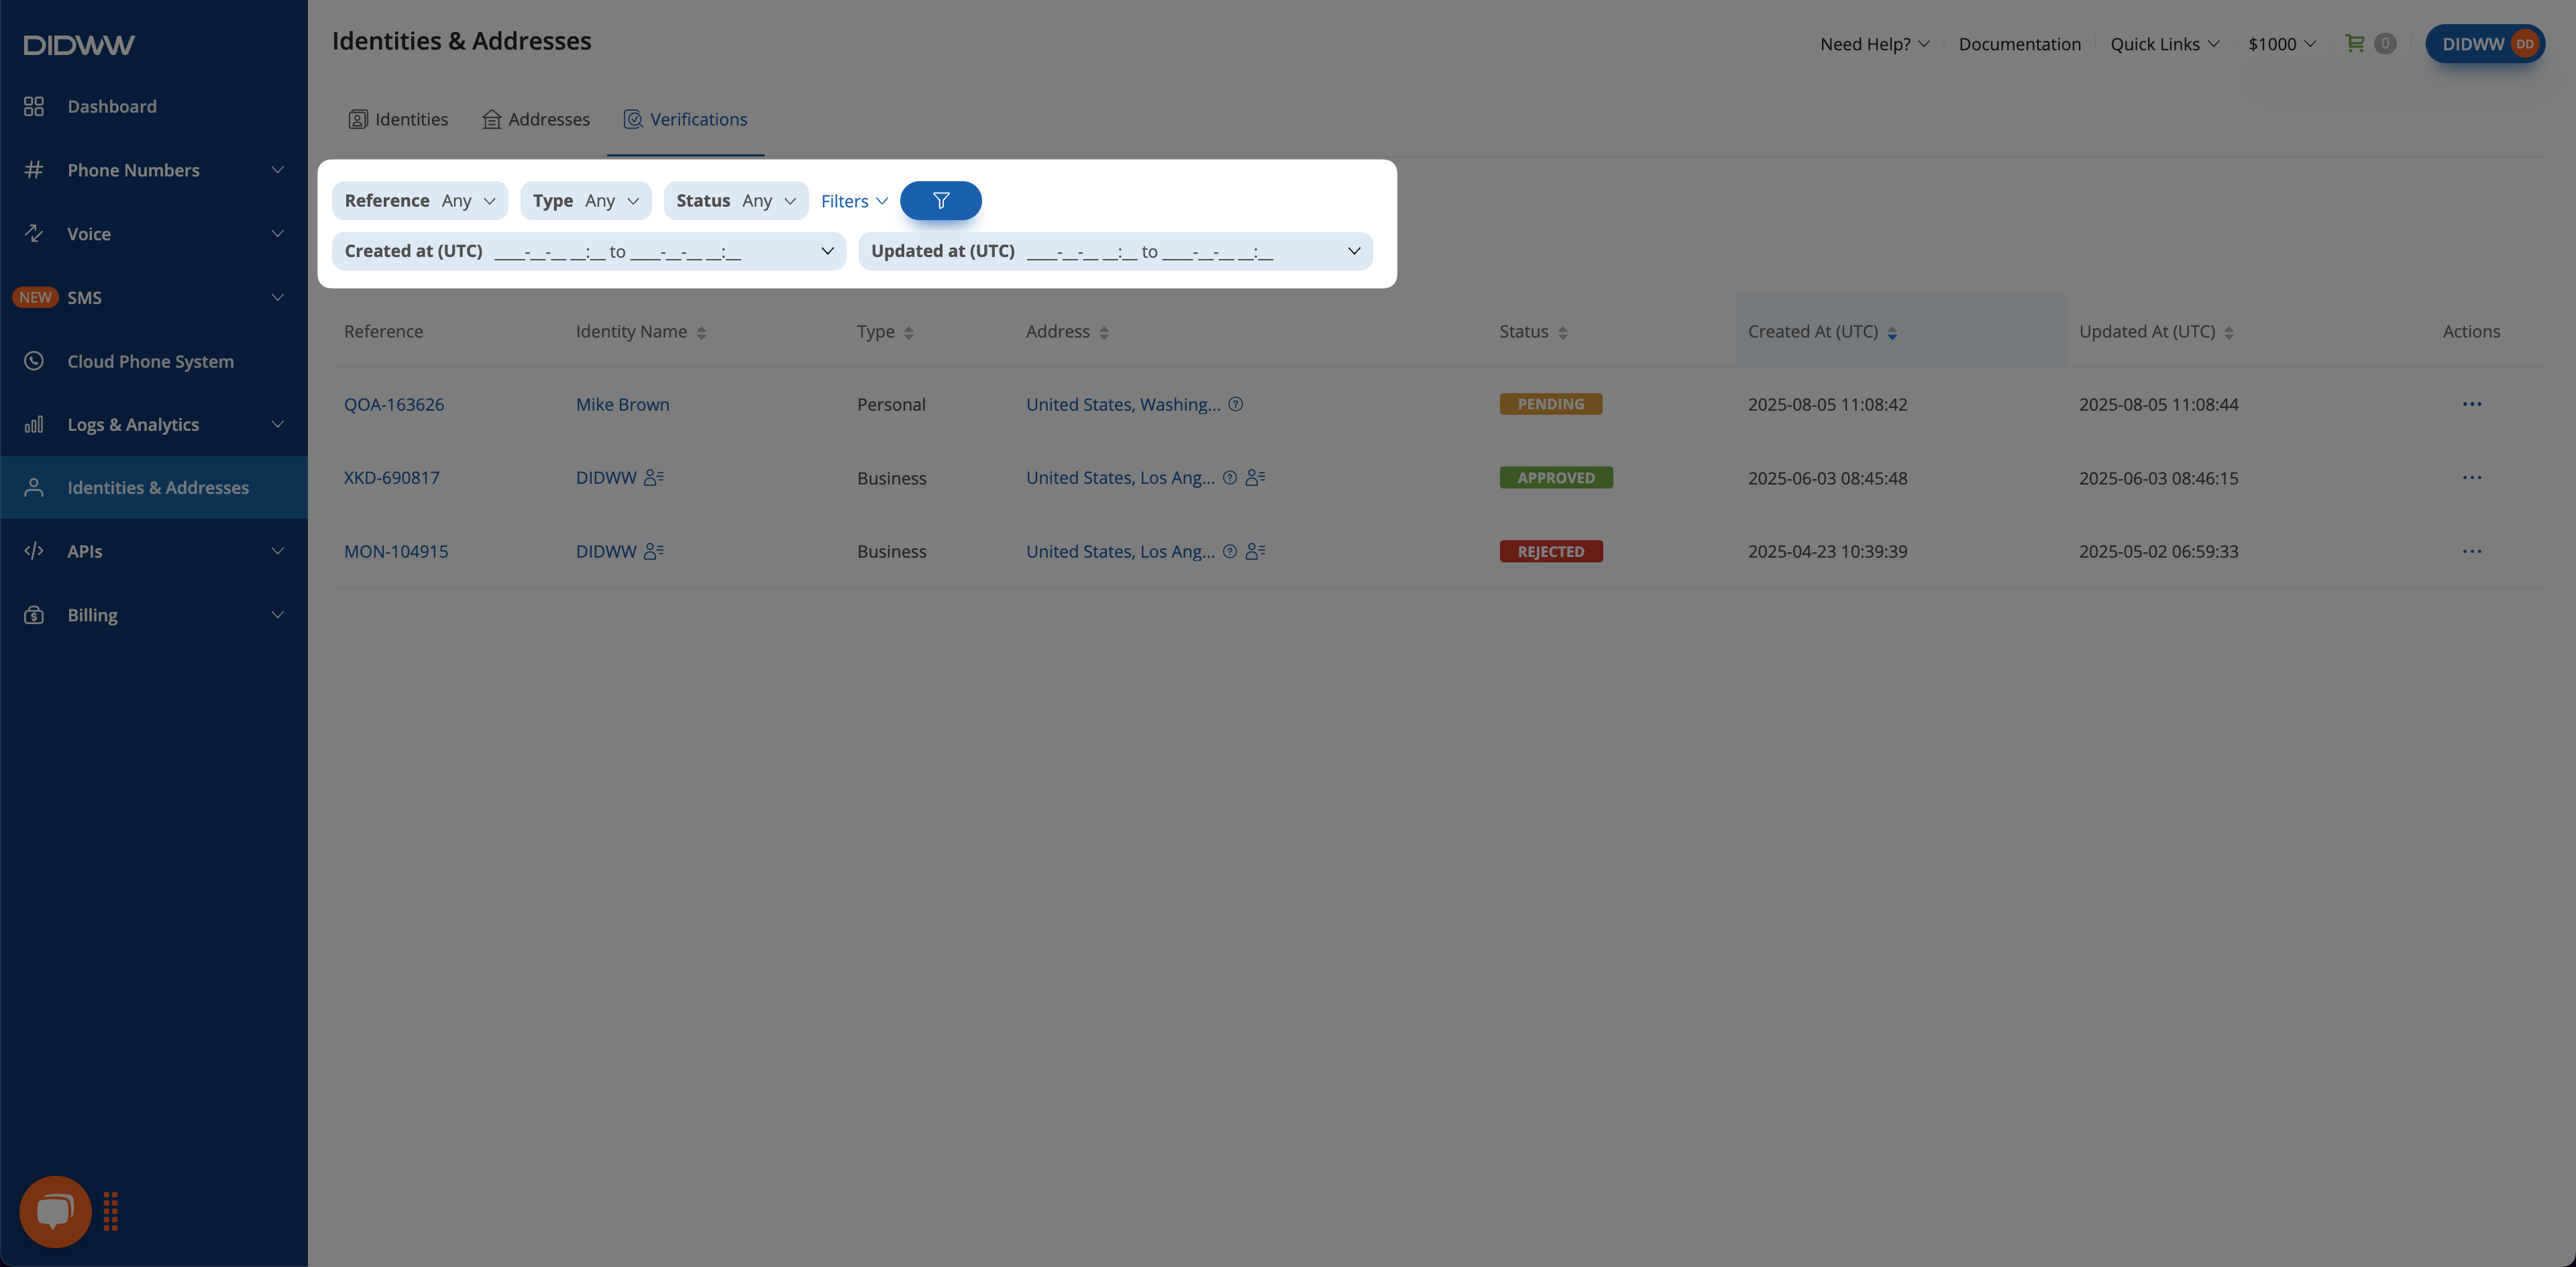
Learn to interpret the statuses, filters, and columns on the Verifications page.
The Verifications tab provides a searchable and filterable overview of all submitted registration requests. Each entry includes the identity type, linked address, current status (Pending, Approved, or Rejected), and timestamps for creation and last update. Use the filters to sort by reference, identity type, status, or date range to easily manage and monitor verification progress.
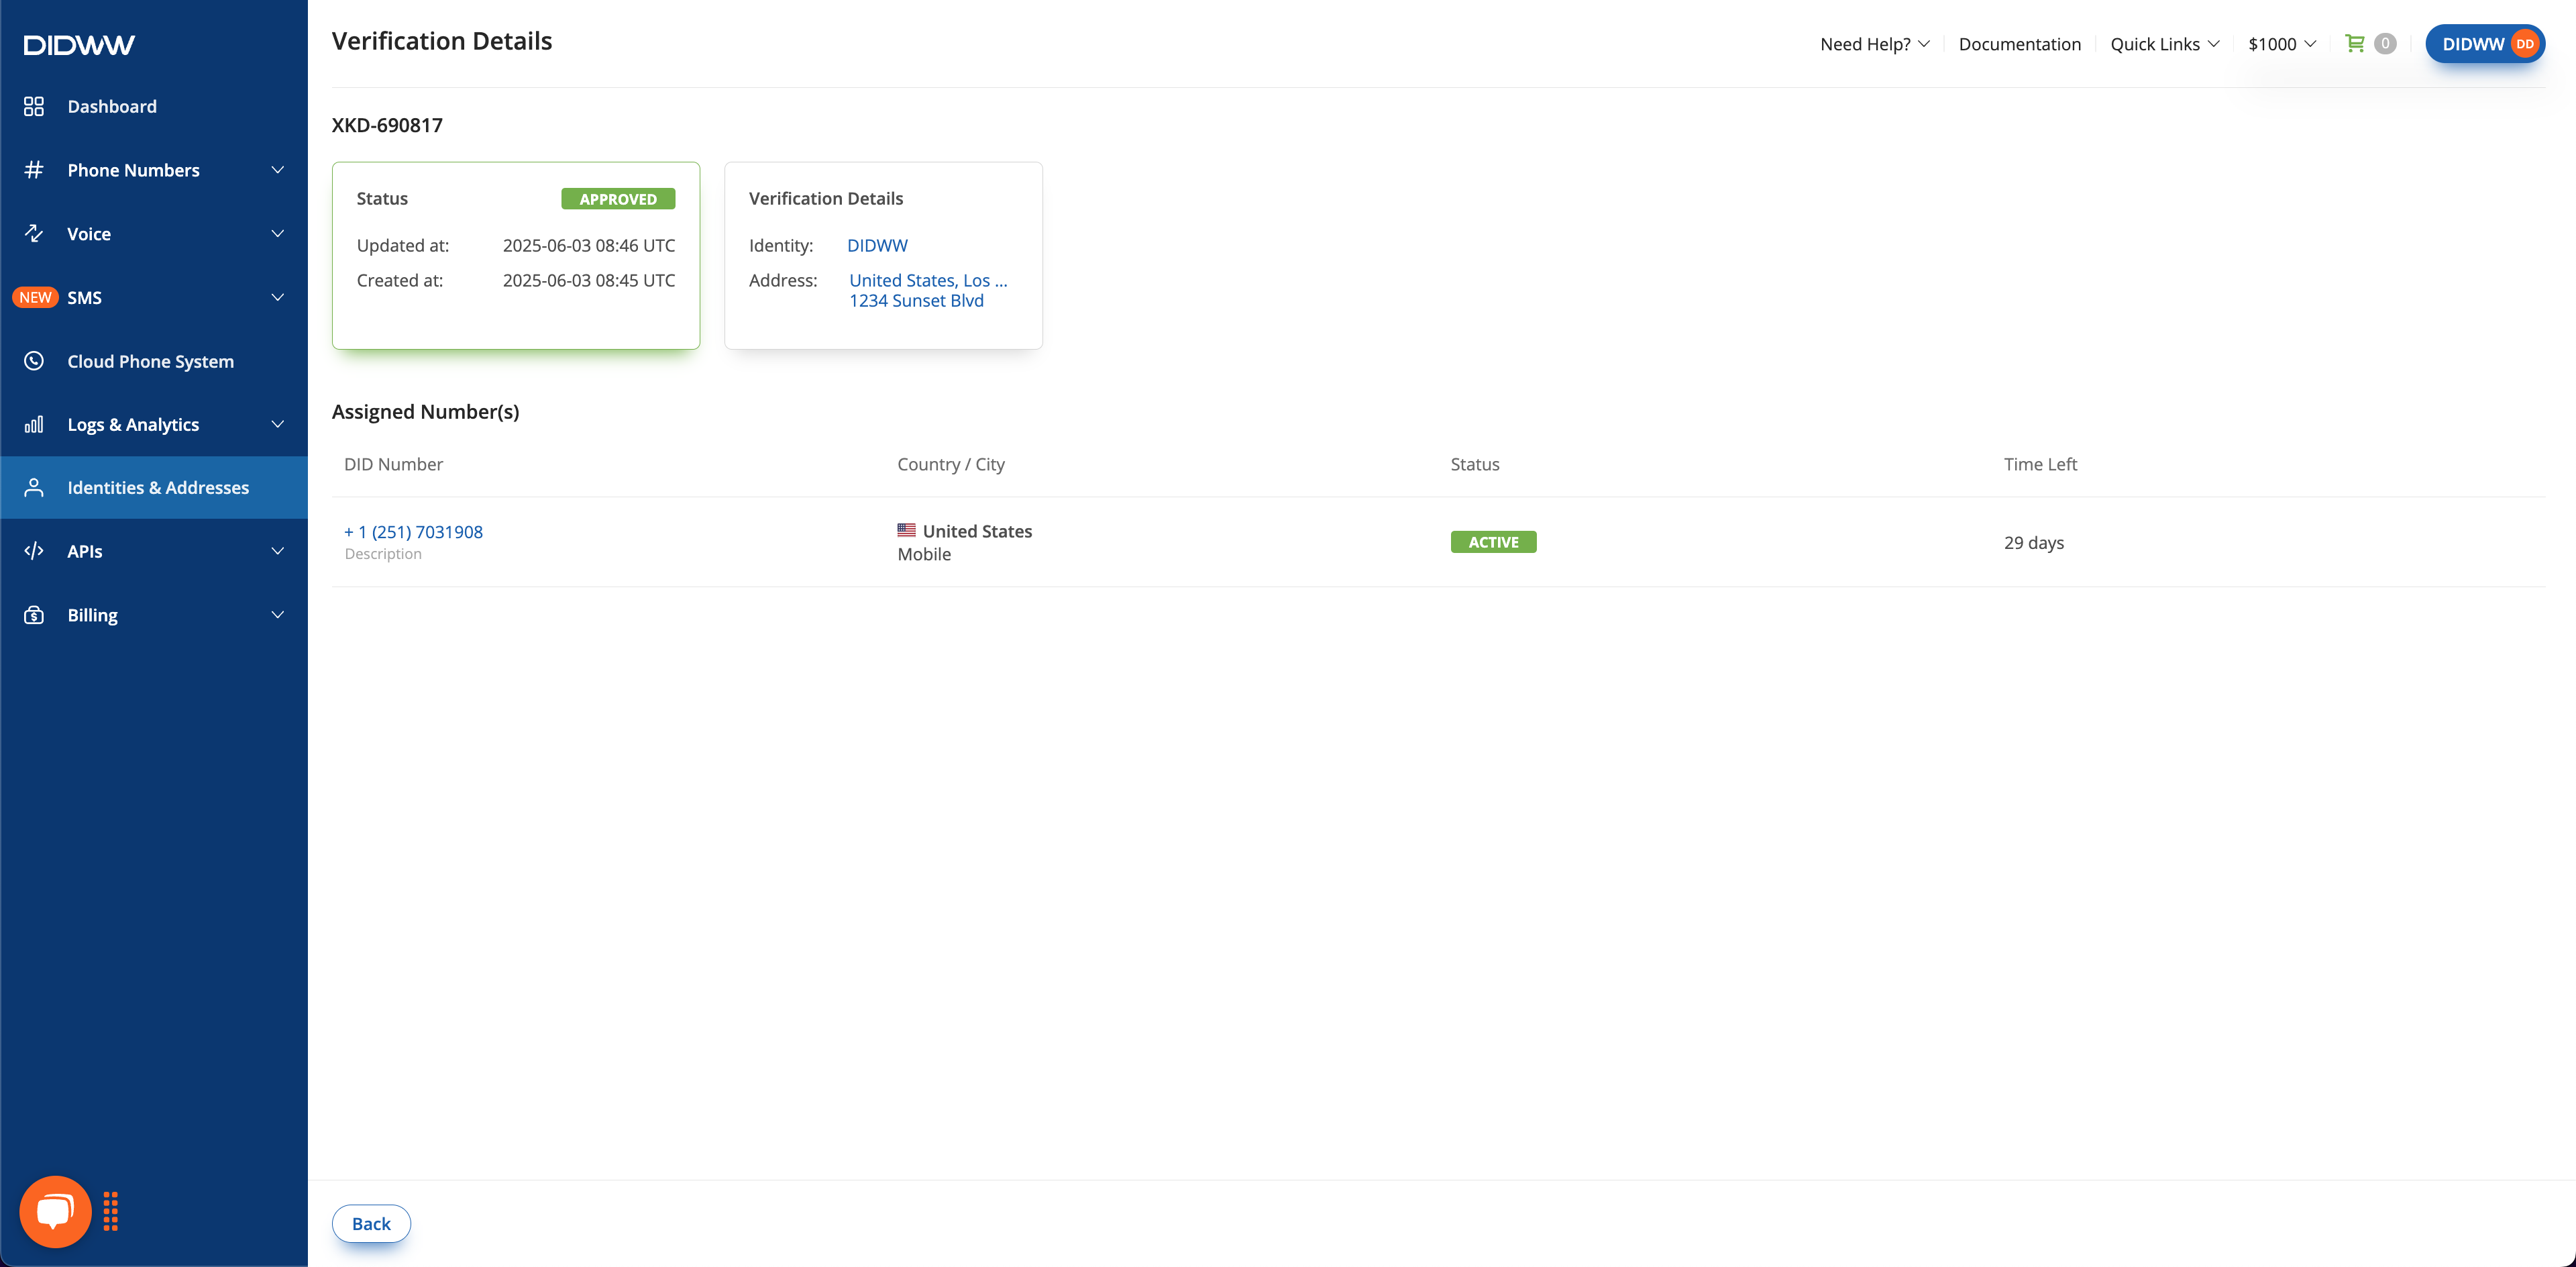
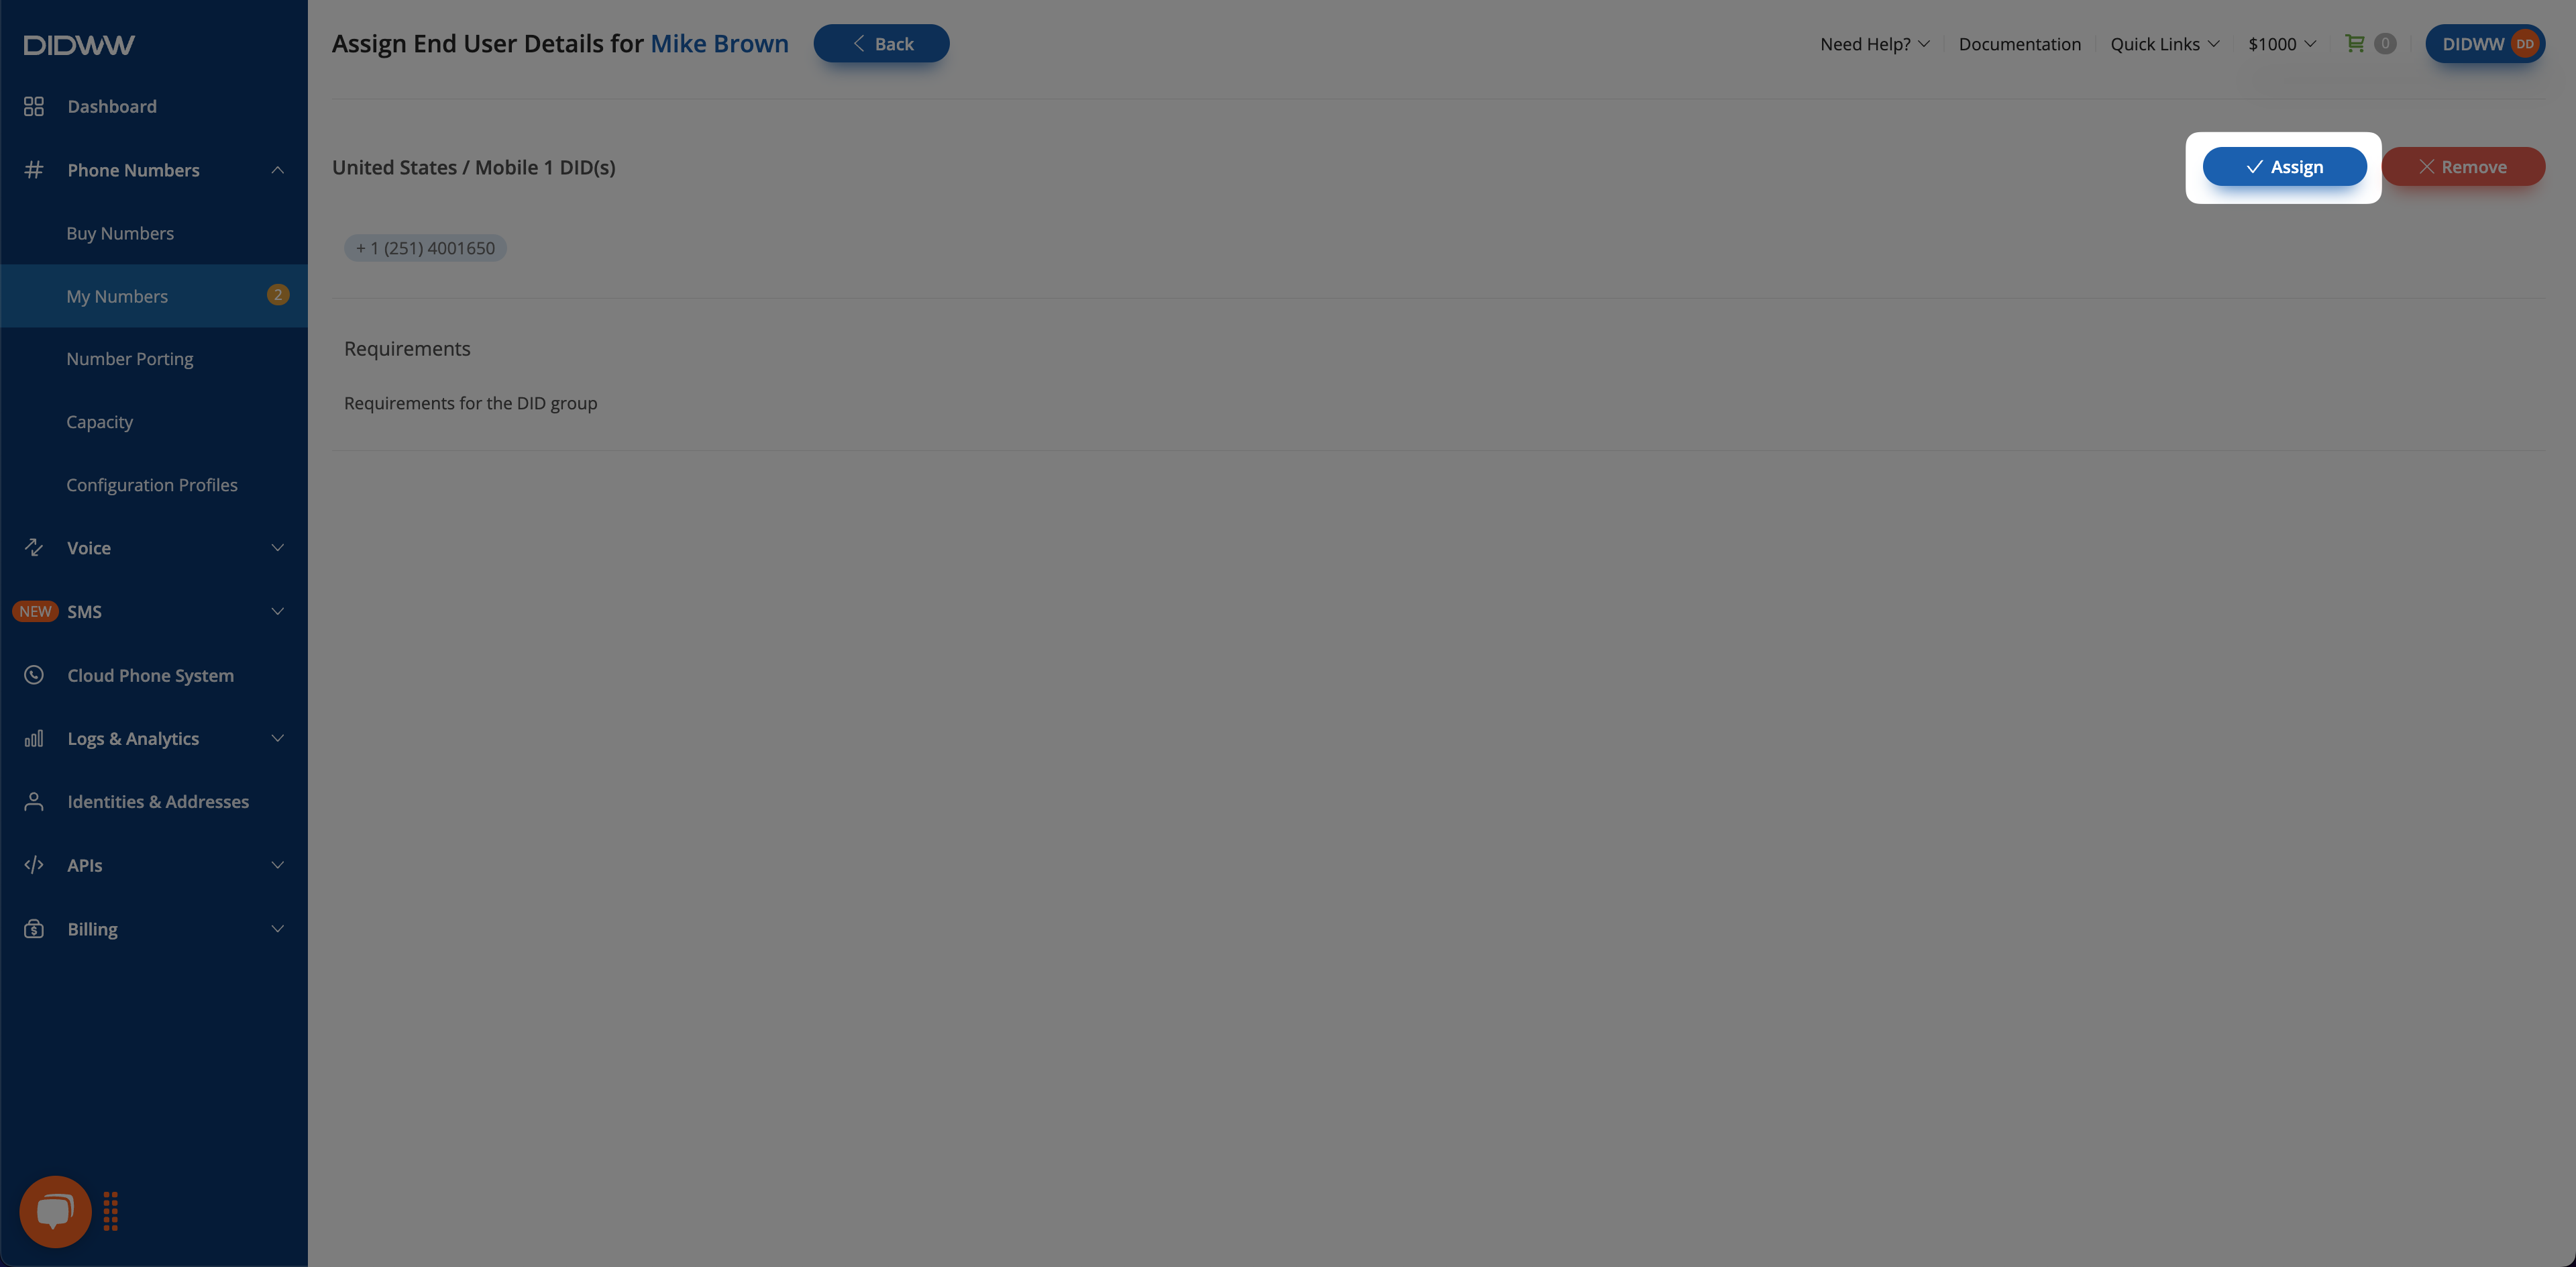
By clicking the actions
button for a specific request, you can open the Verification Details screen. This page provides a complete breakdown of the request and lists all the numbers associated with it.
This tab provides an overview of the verification request.
Field
Description
Status
The current status of the request (
,
, or
).
Hint
If a verification is Rejected, hover your mouse over the status label to see a tooltip explaining the reason for the rejection.
Updated at / Created at
The UTC timestamps indicating when the request was created and last updated.
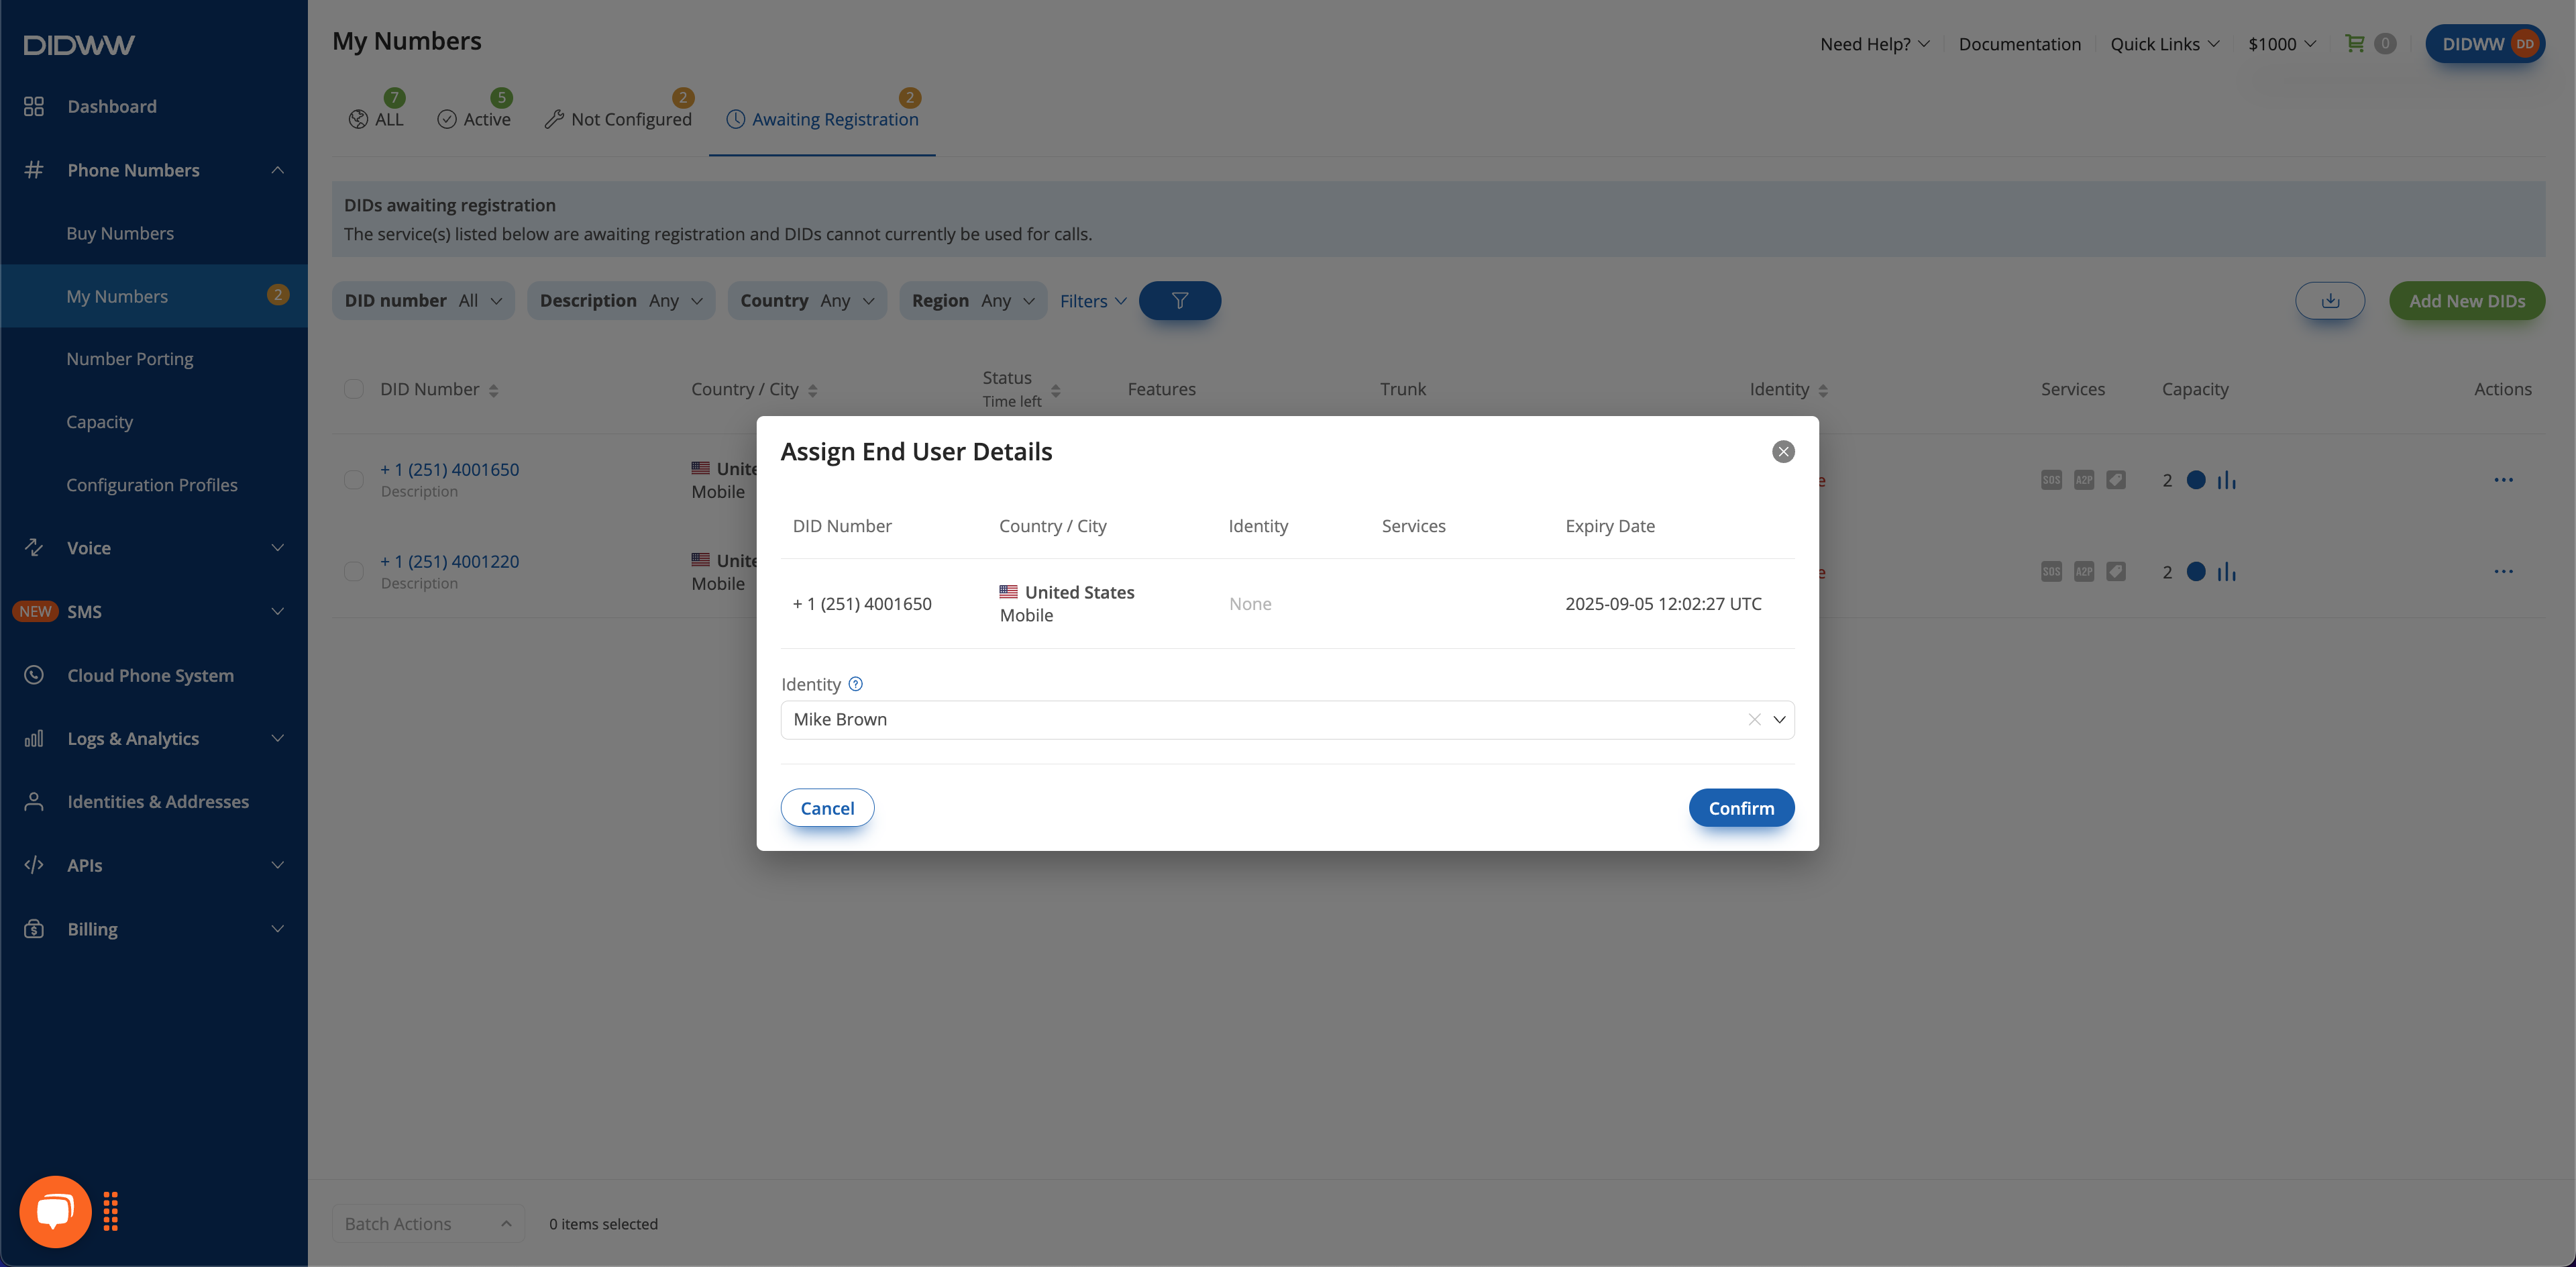
Identity
The name of the Identity used for the verification.
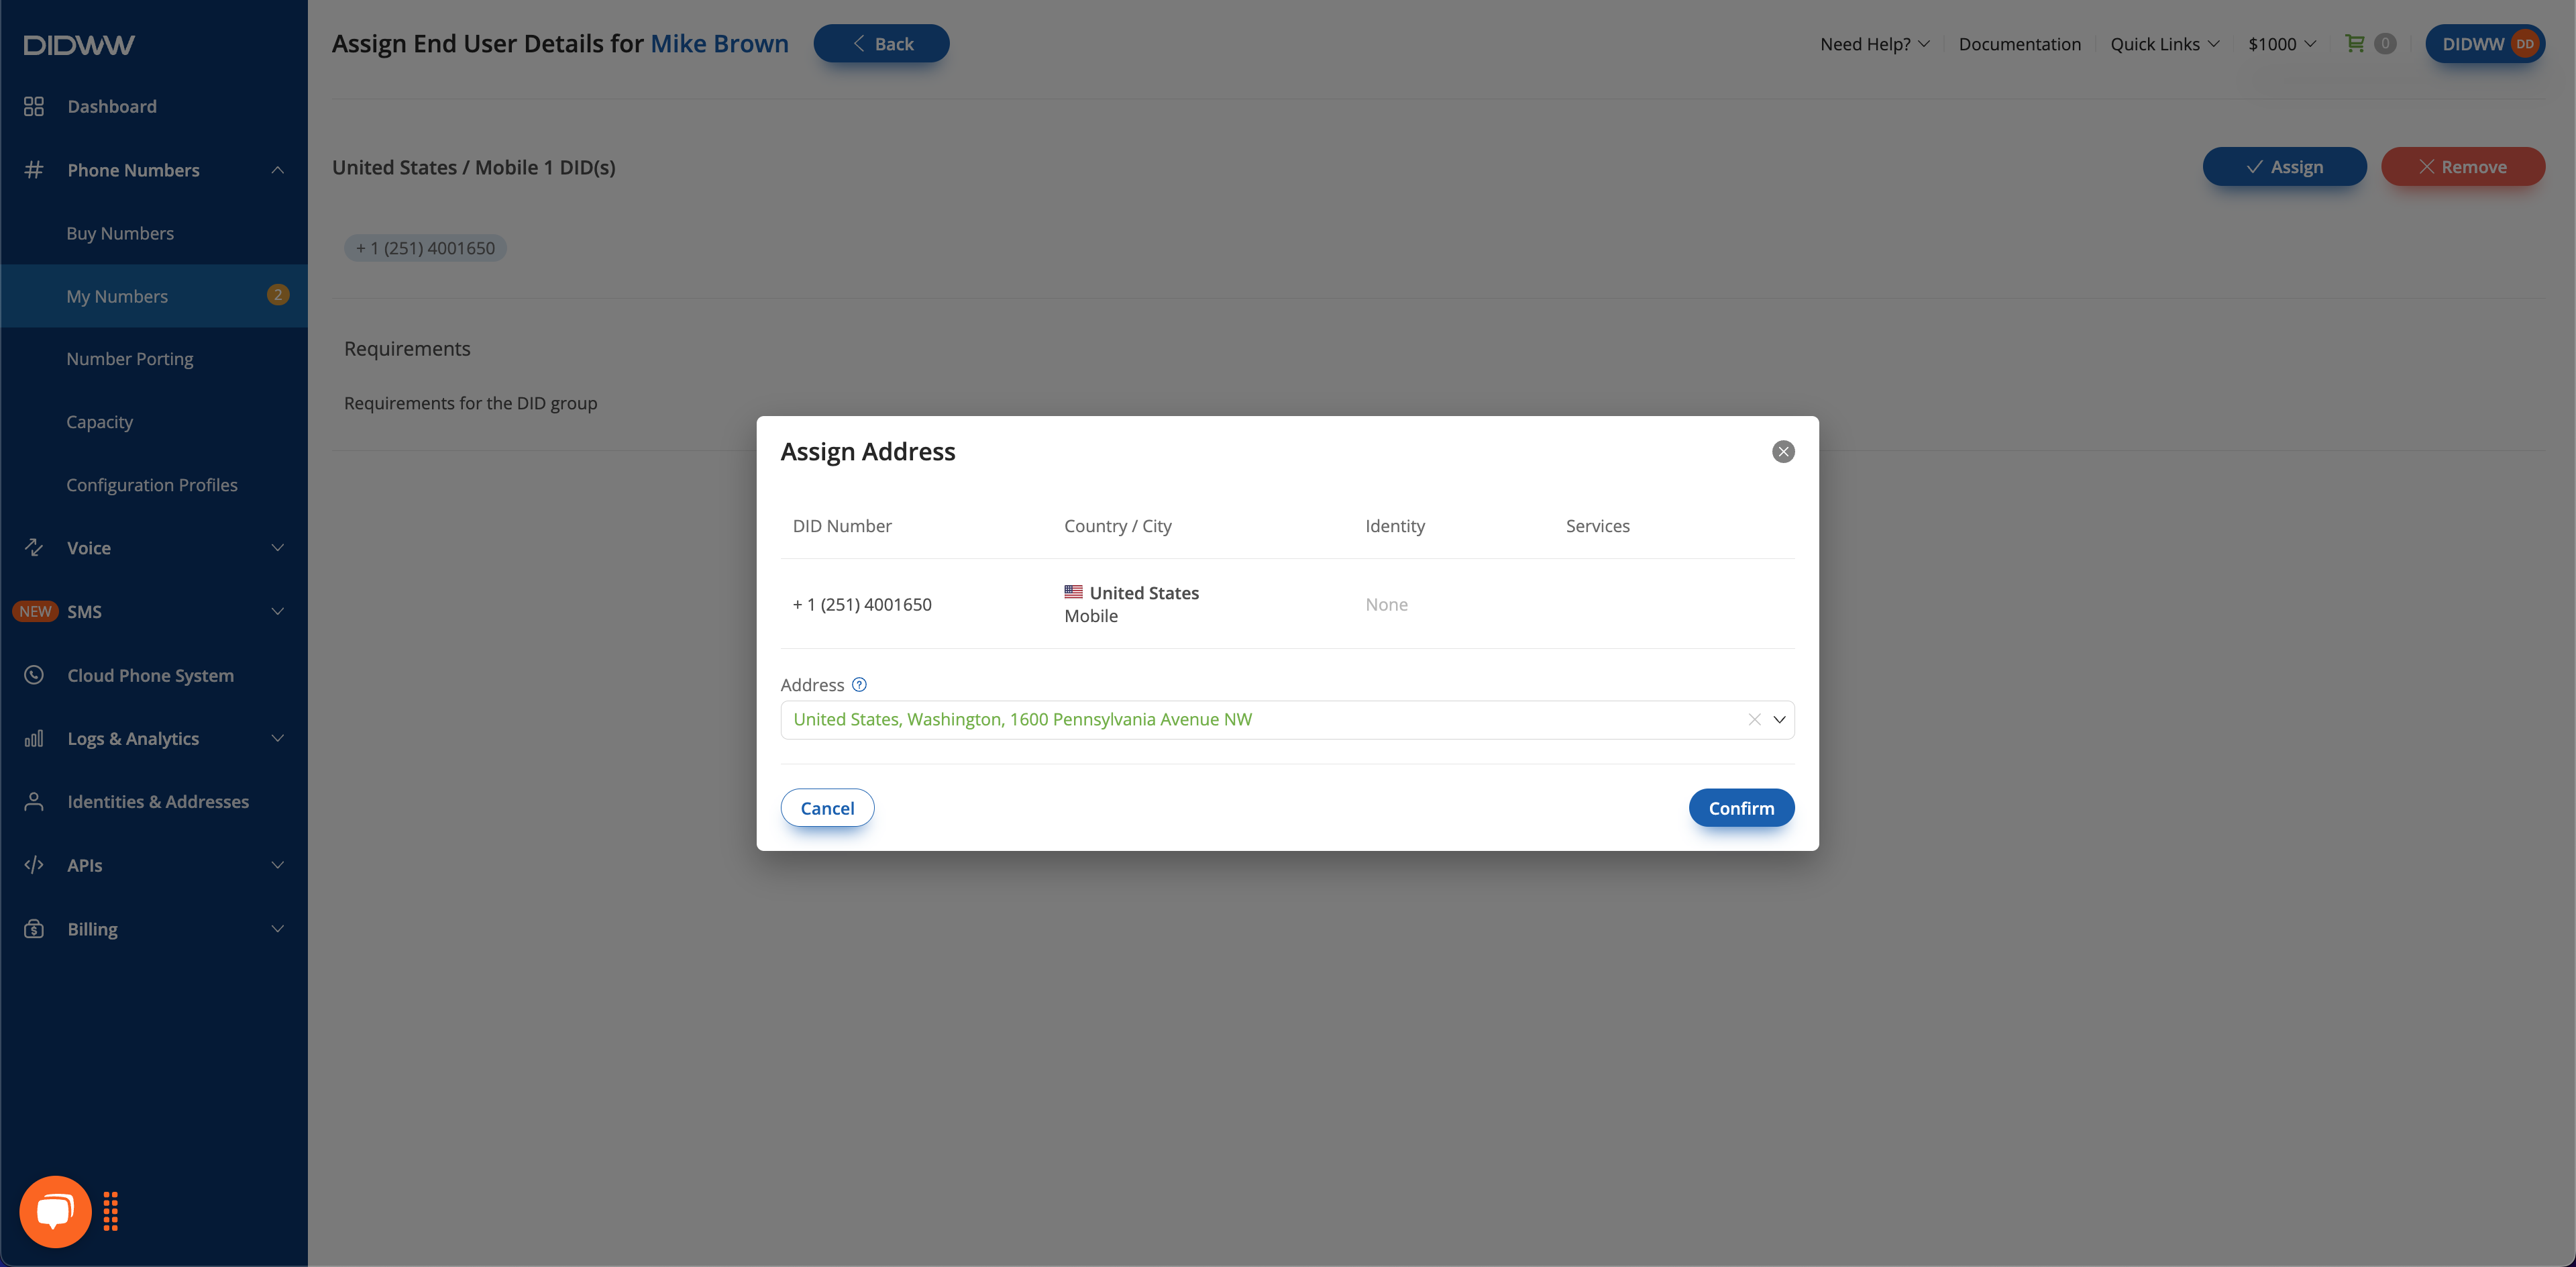
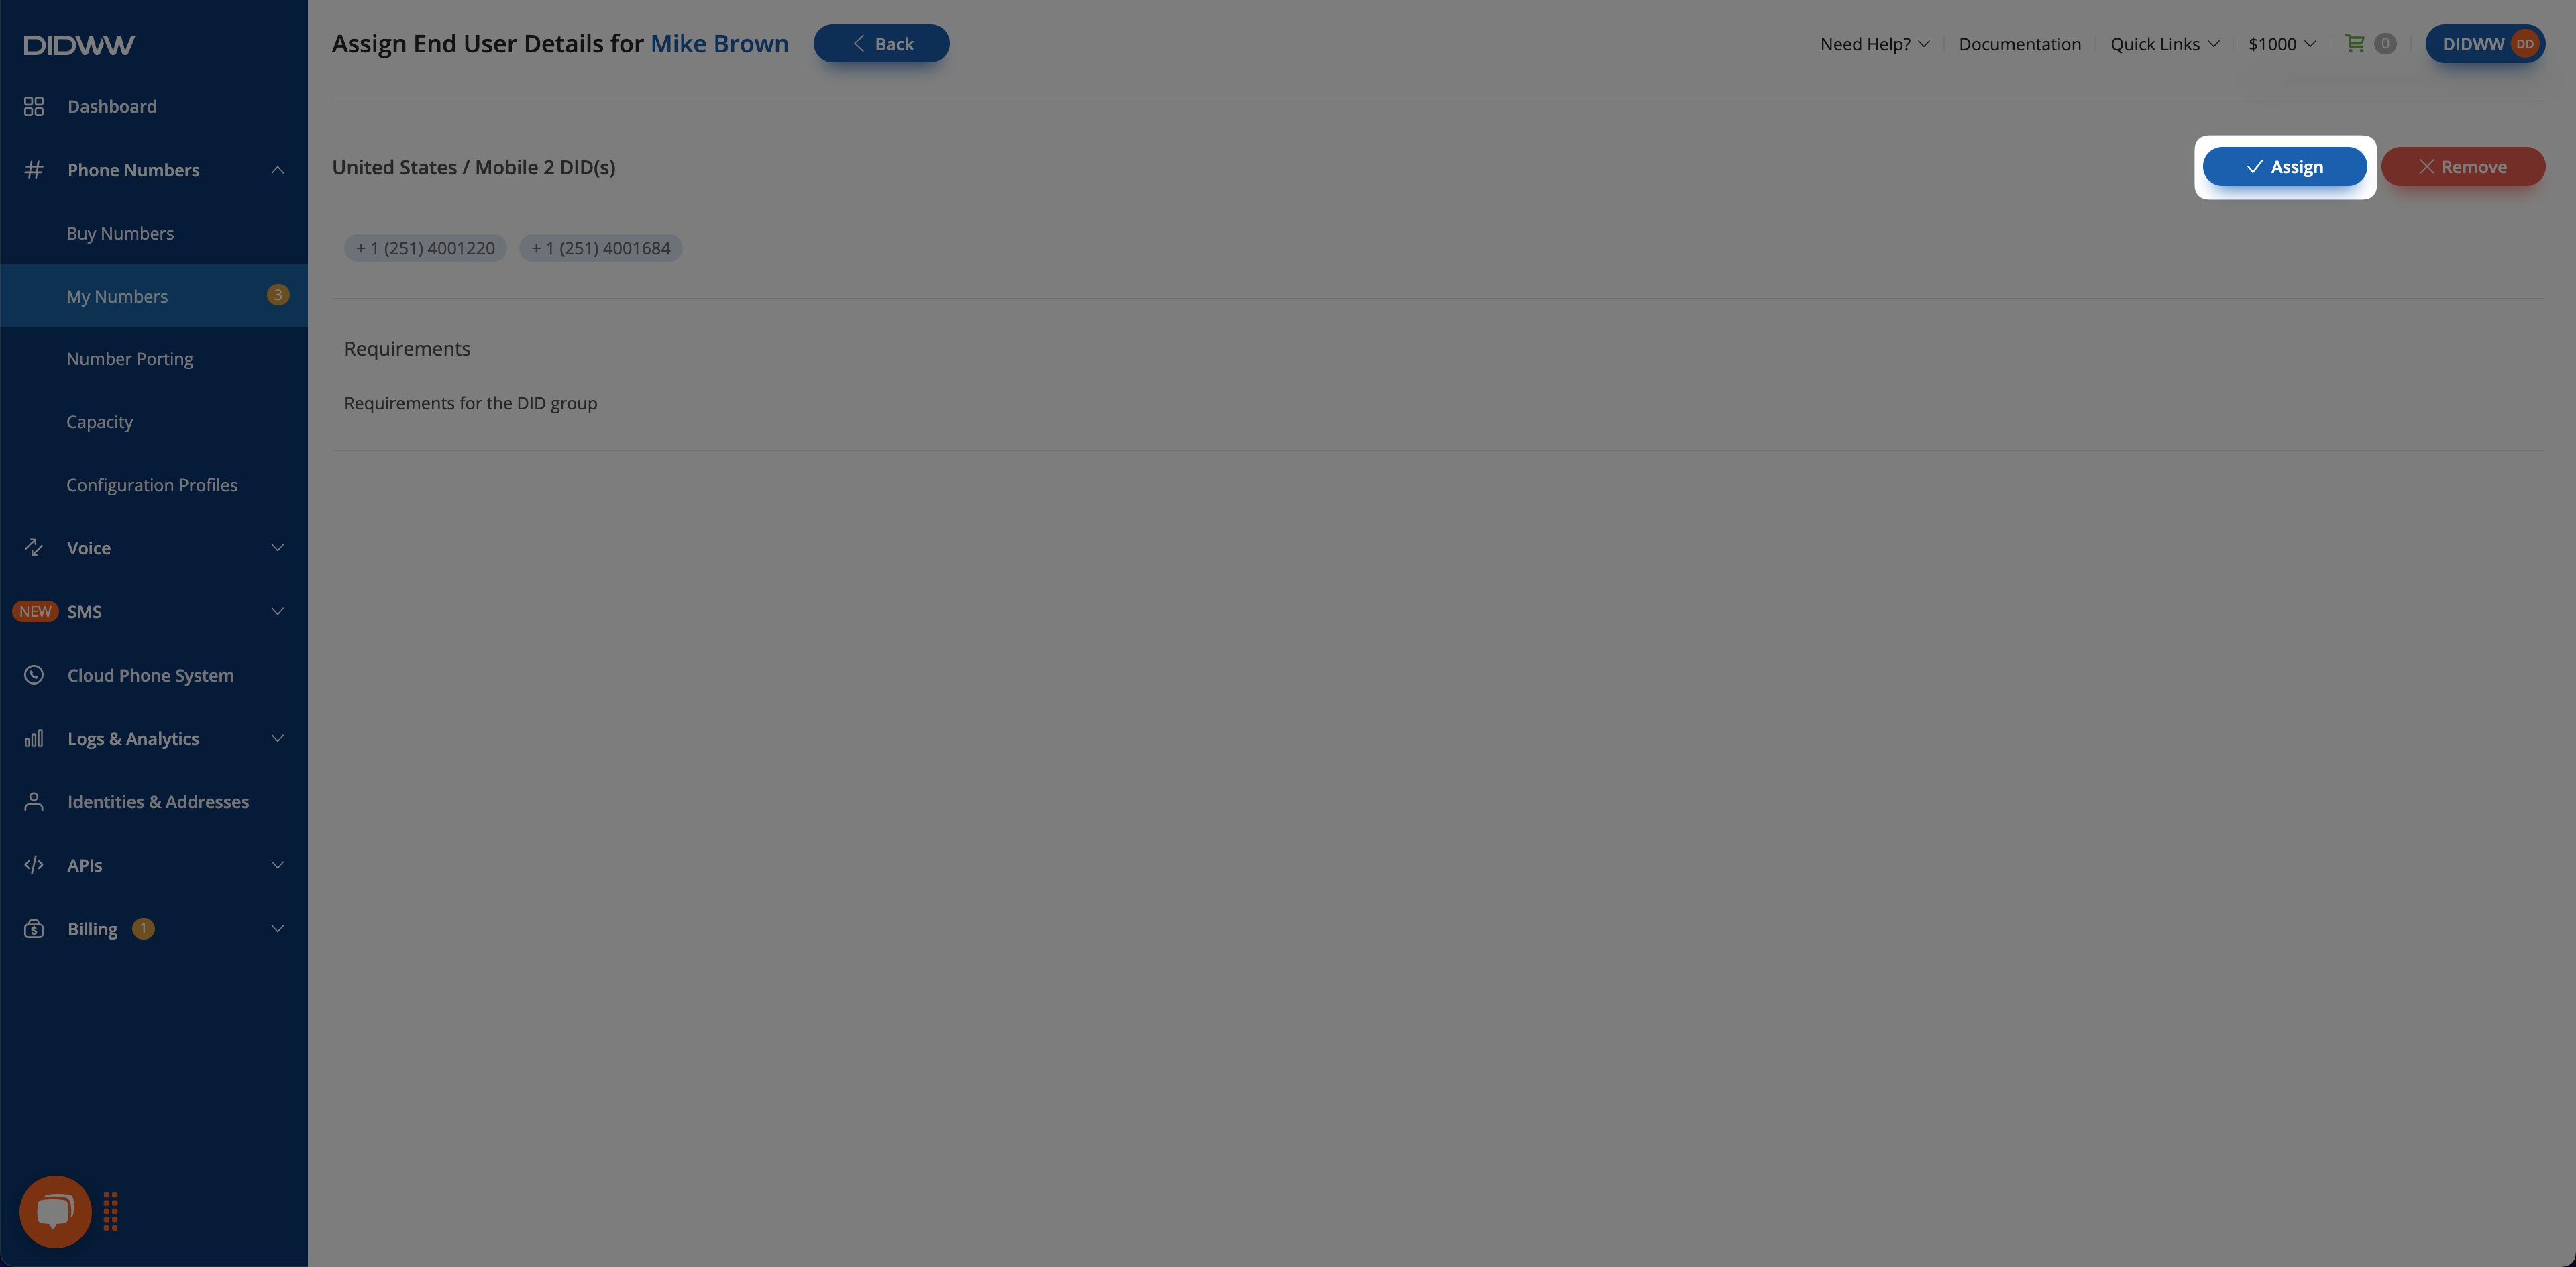
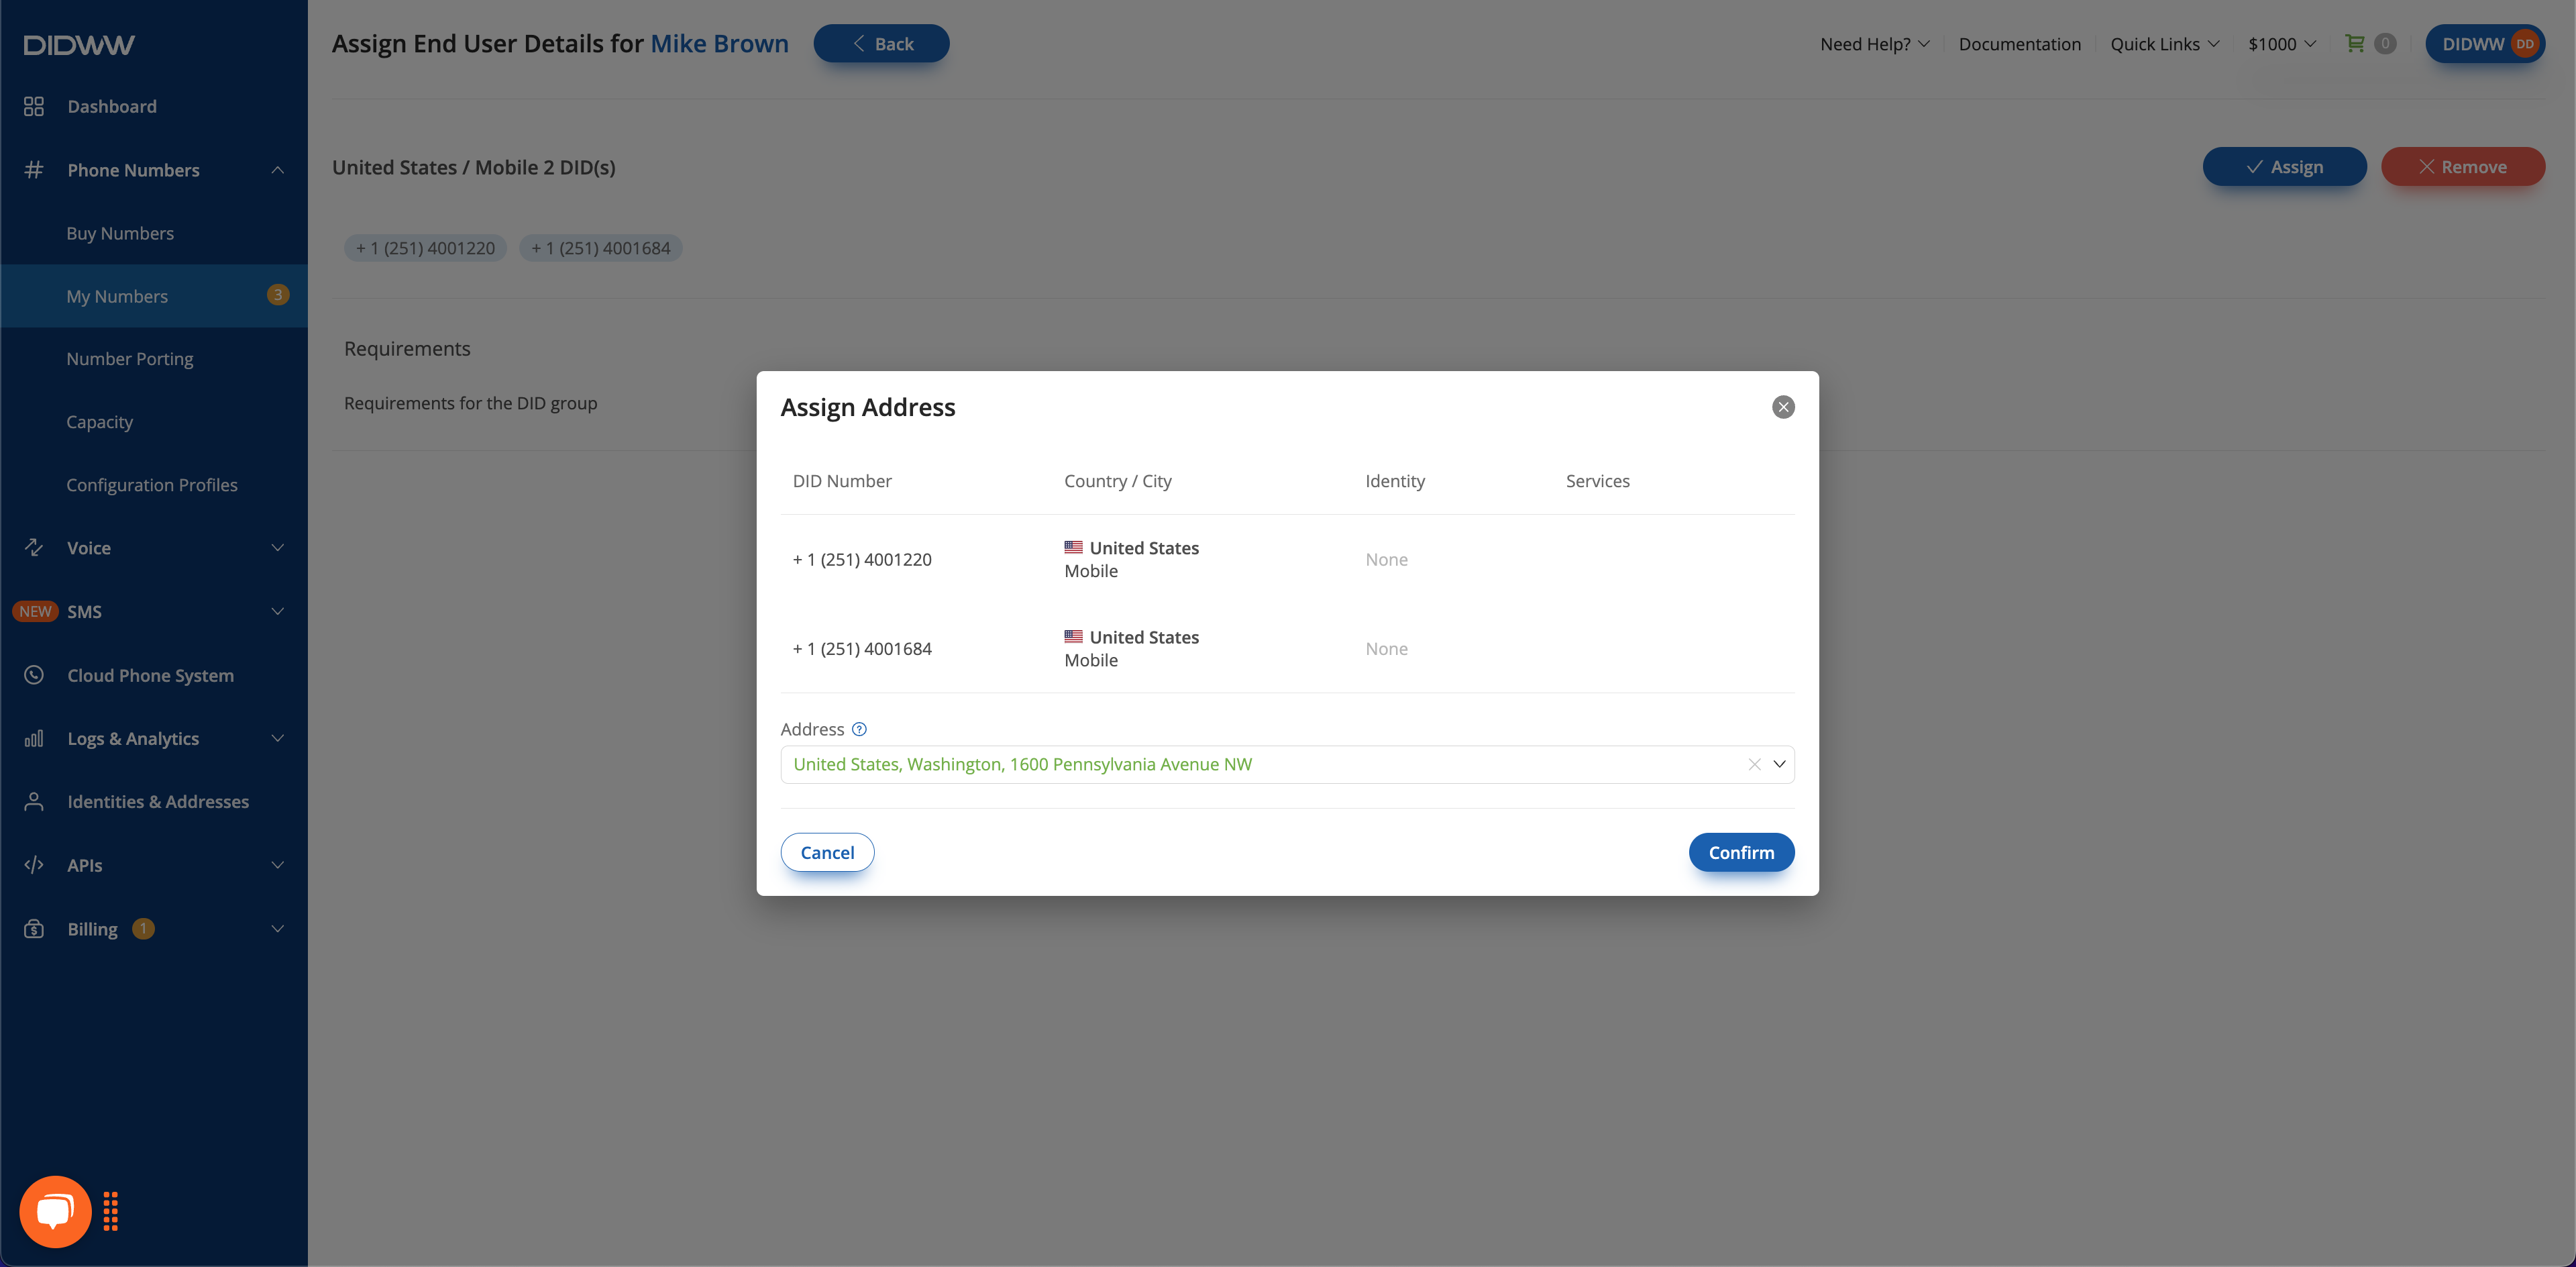
In the final Assign Address pop-up, select the Address to apply to all numbers and click Confirm. The verification process will now begin for all selected DIDs.
Fig. 13 Selecting the Address for a batch of DIDs.#
Resubmit in the verification details page is available only when the number is Awaiting Registration and still linked to the same verification reference.
Before using Resubmit, make sure you update your identity and address information, and upload any required documents.
See Edit Identity and Edit Address for details on updating these records based on the reason your request was rejected.
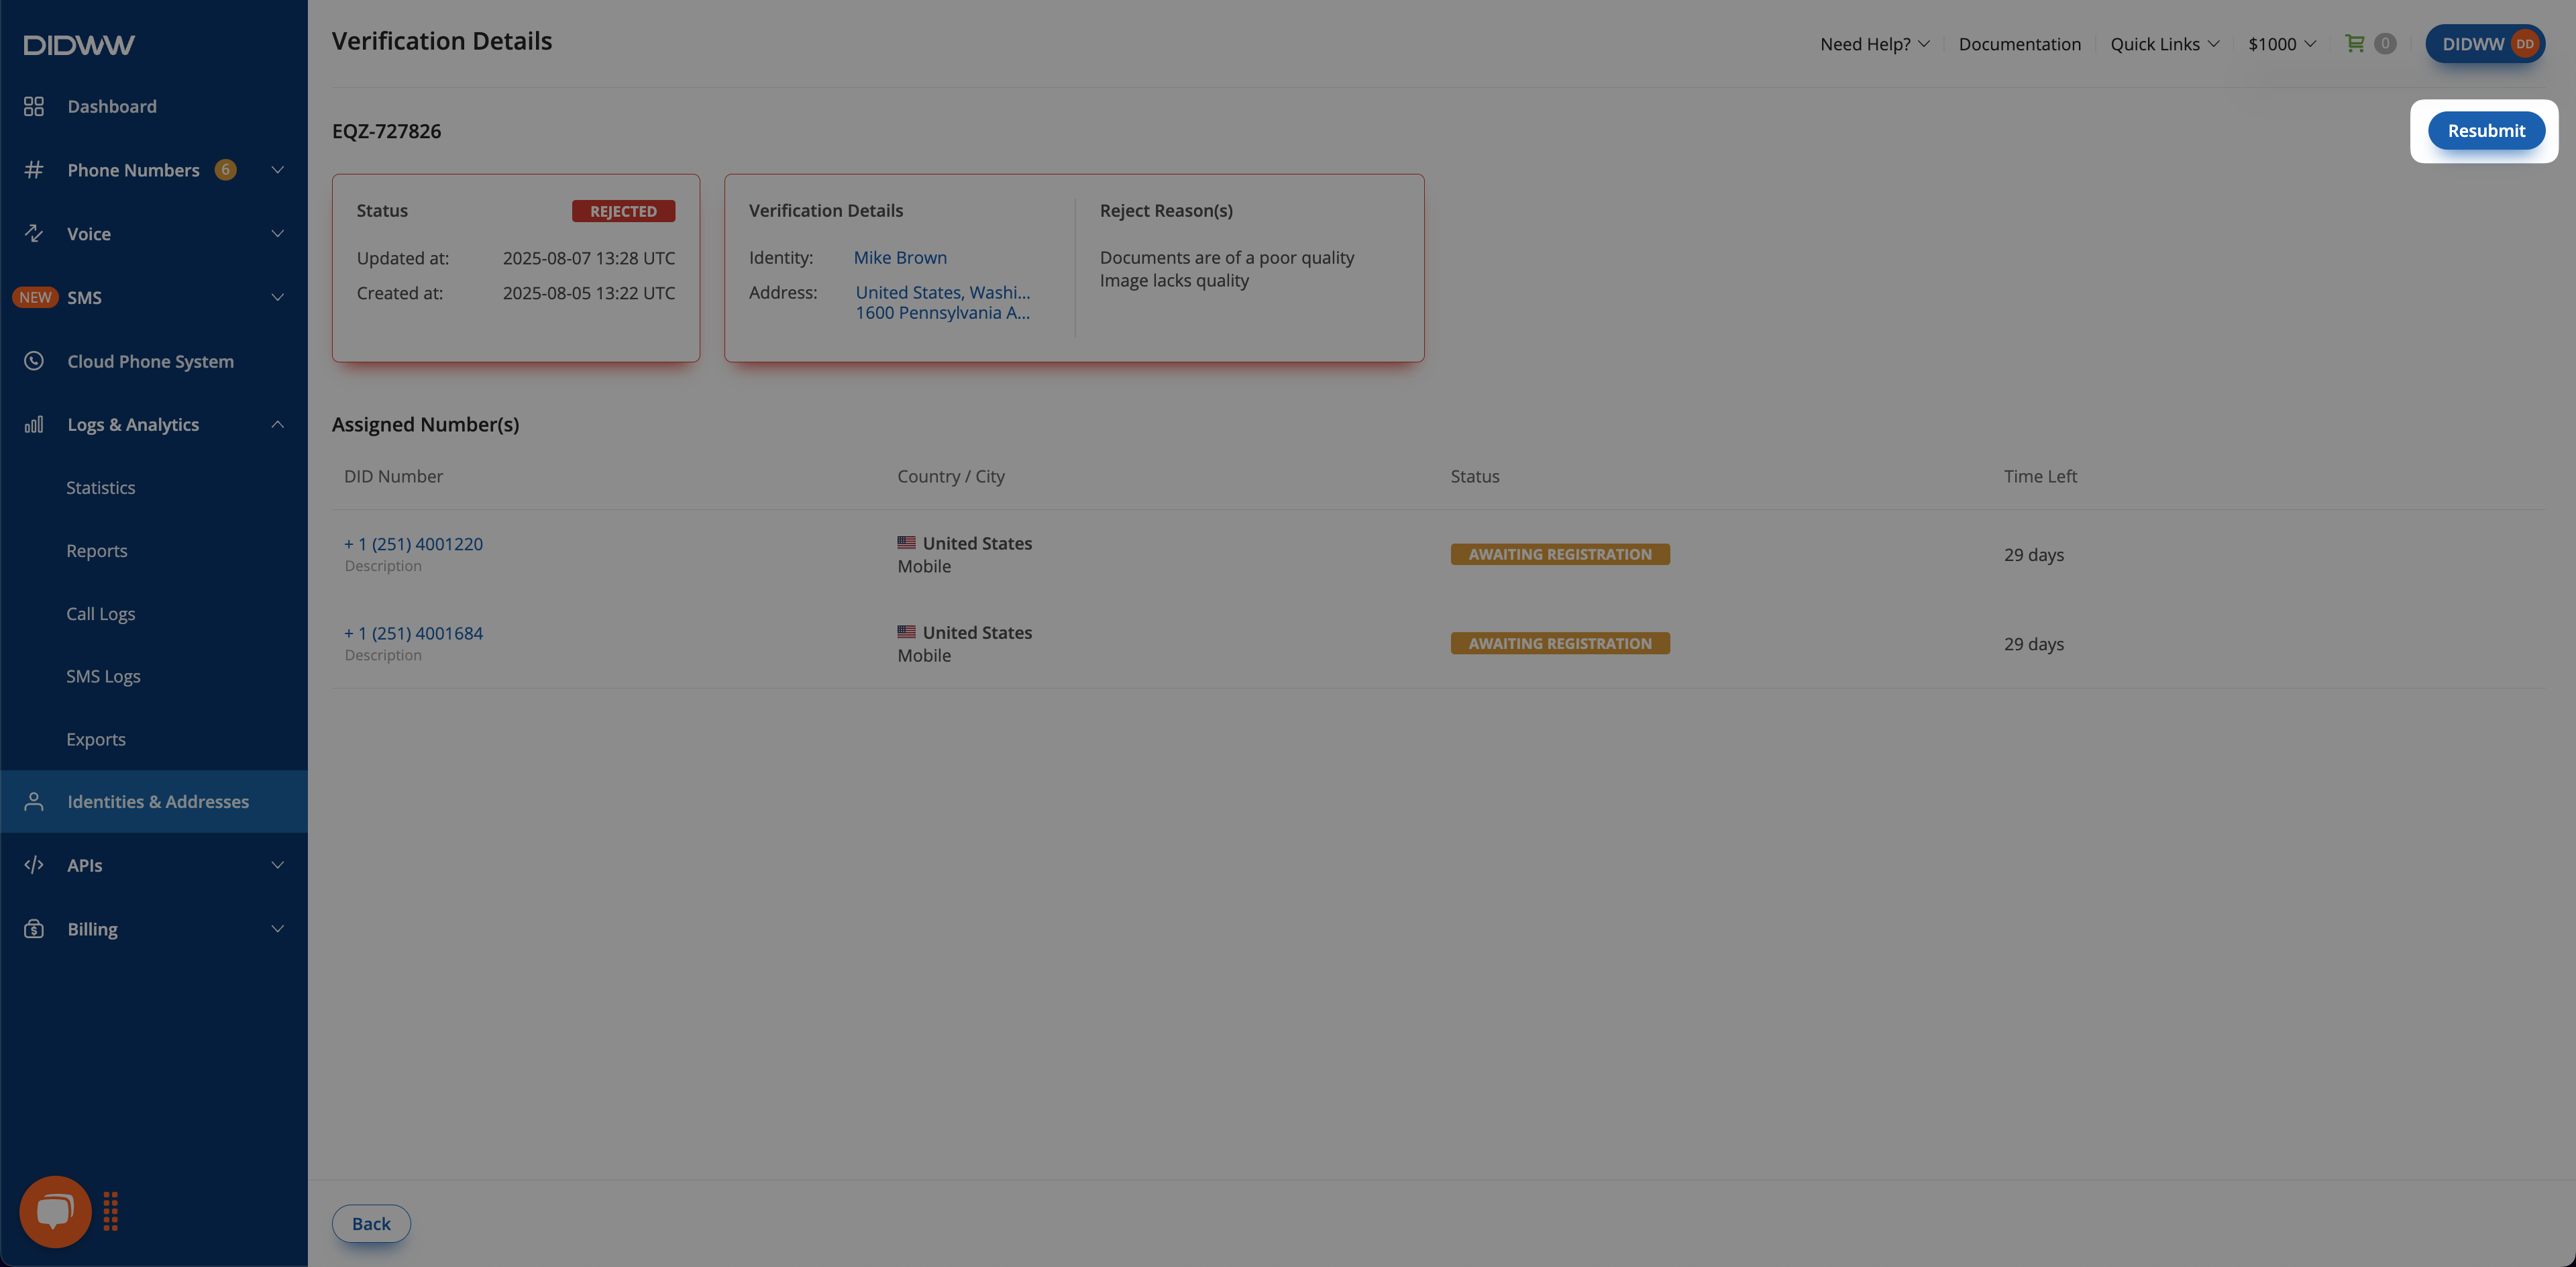
If a verification request is rejected, you can update the required information and resubmit the request using the Resubmit option in the verification details page.
Go to Identities & Addresses > Verifications tab.
Locate the rejected verification in the list.
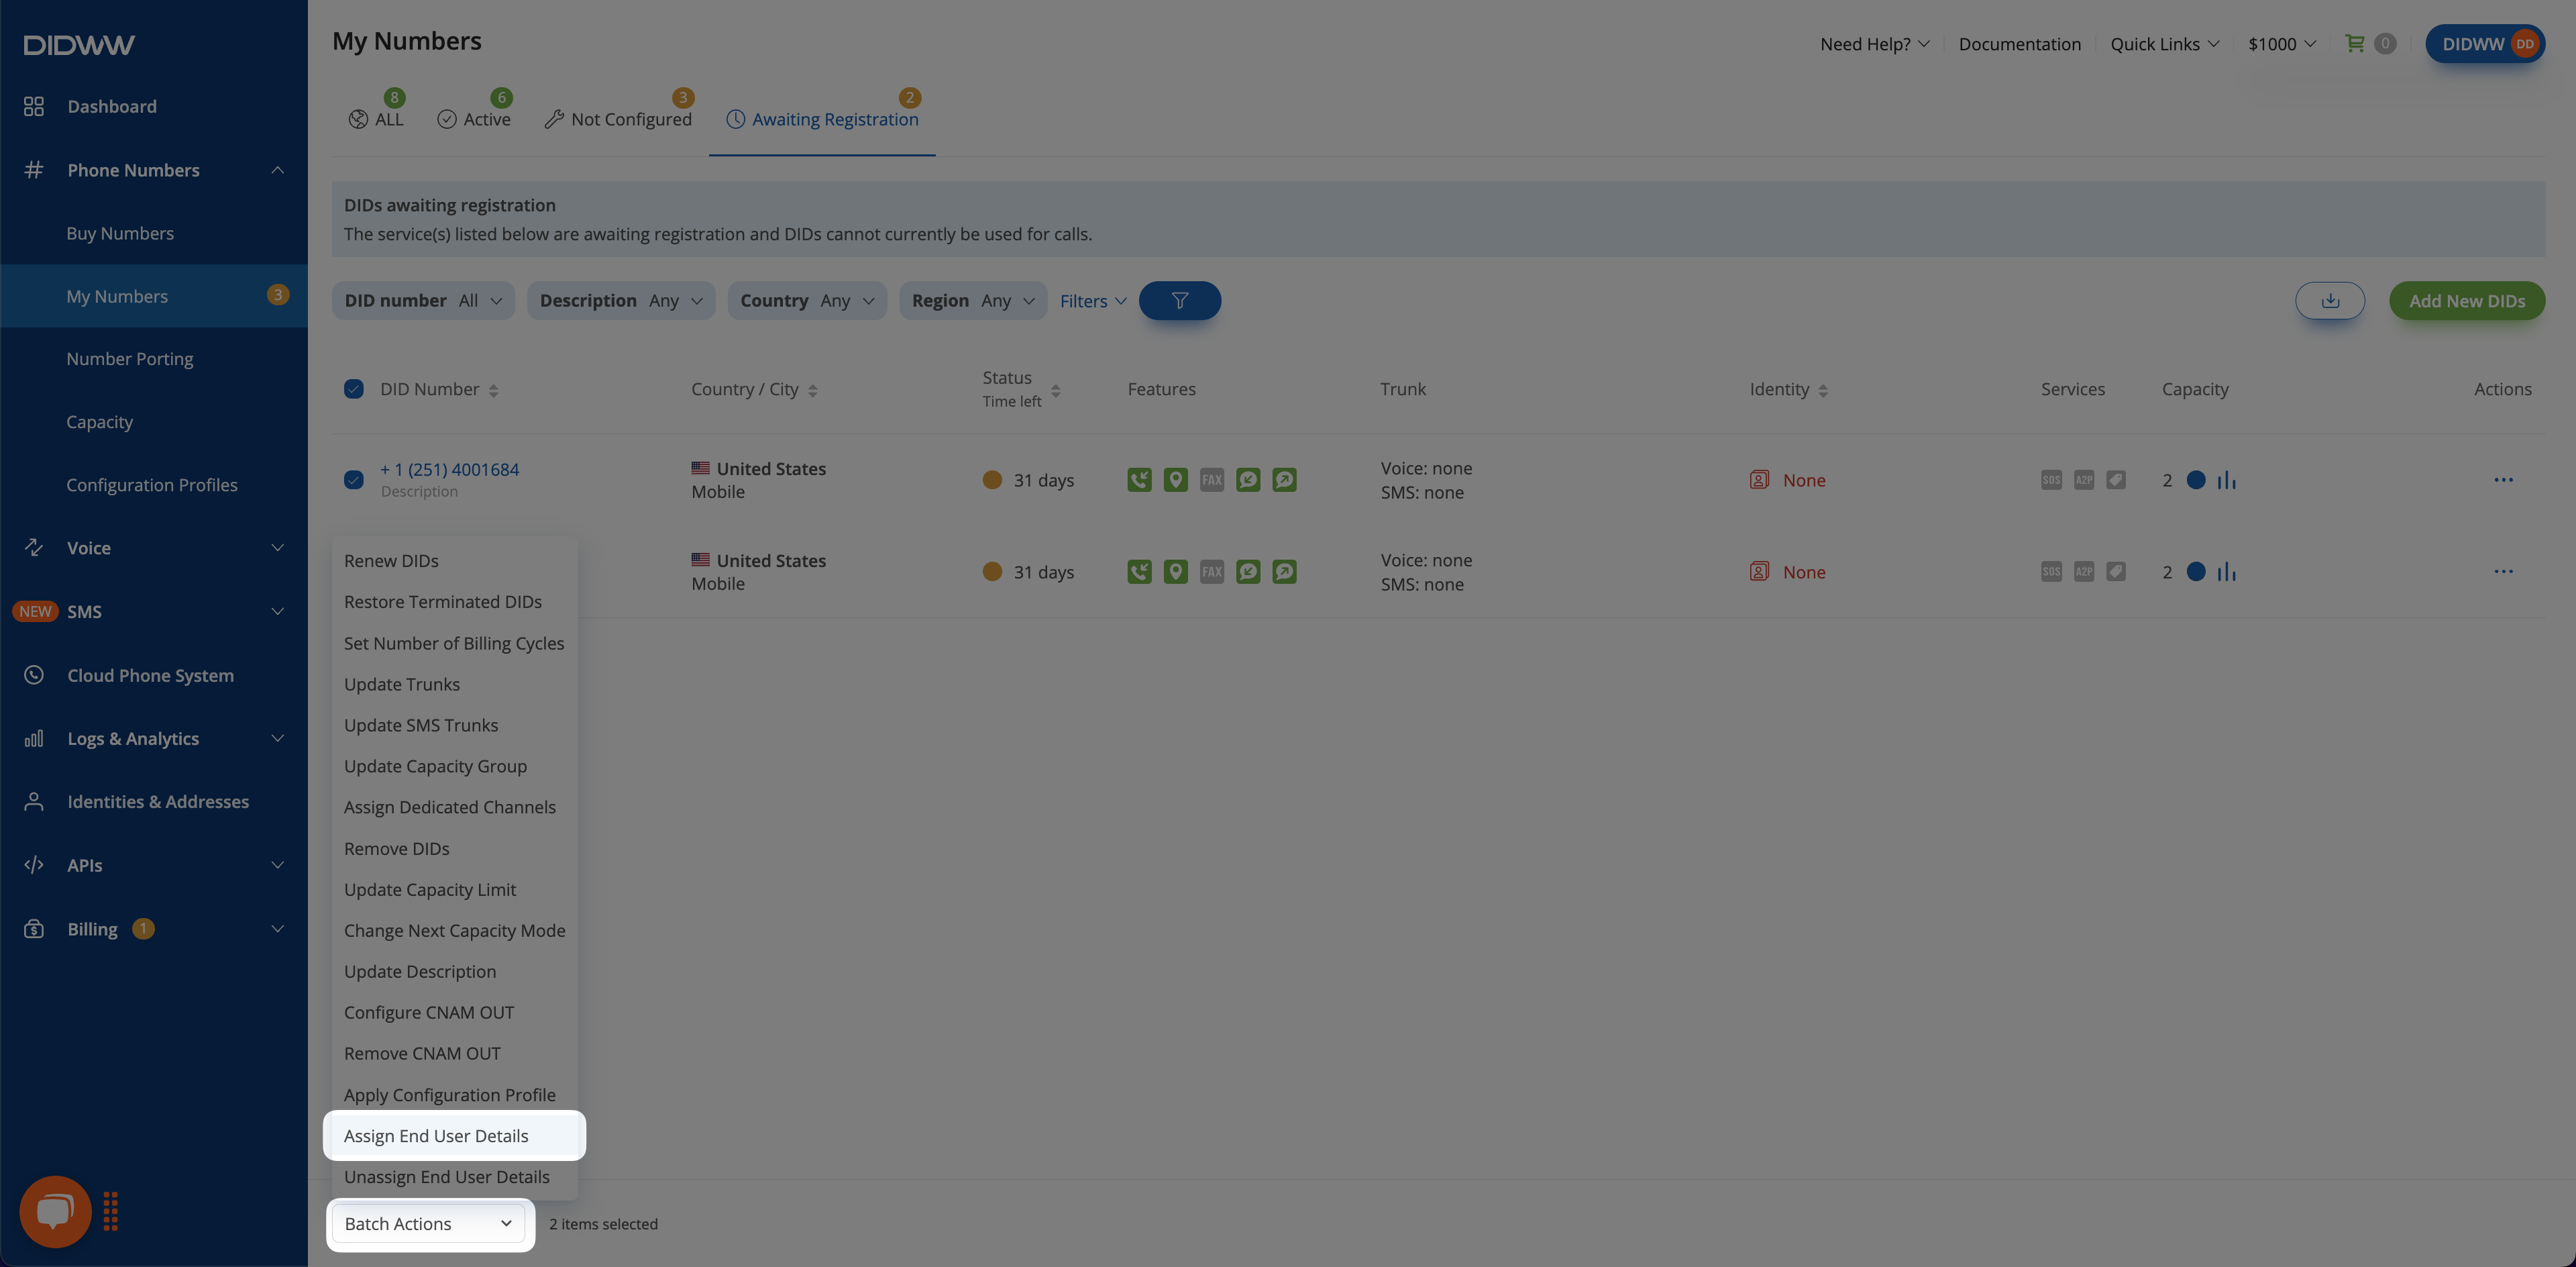
Click the Actions menu (⋯), then click Resubmit, or open the verification details page and click Resubmit.
Fig. 14 Rejected verification with rejection reason and DID number status.#
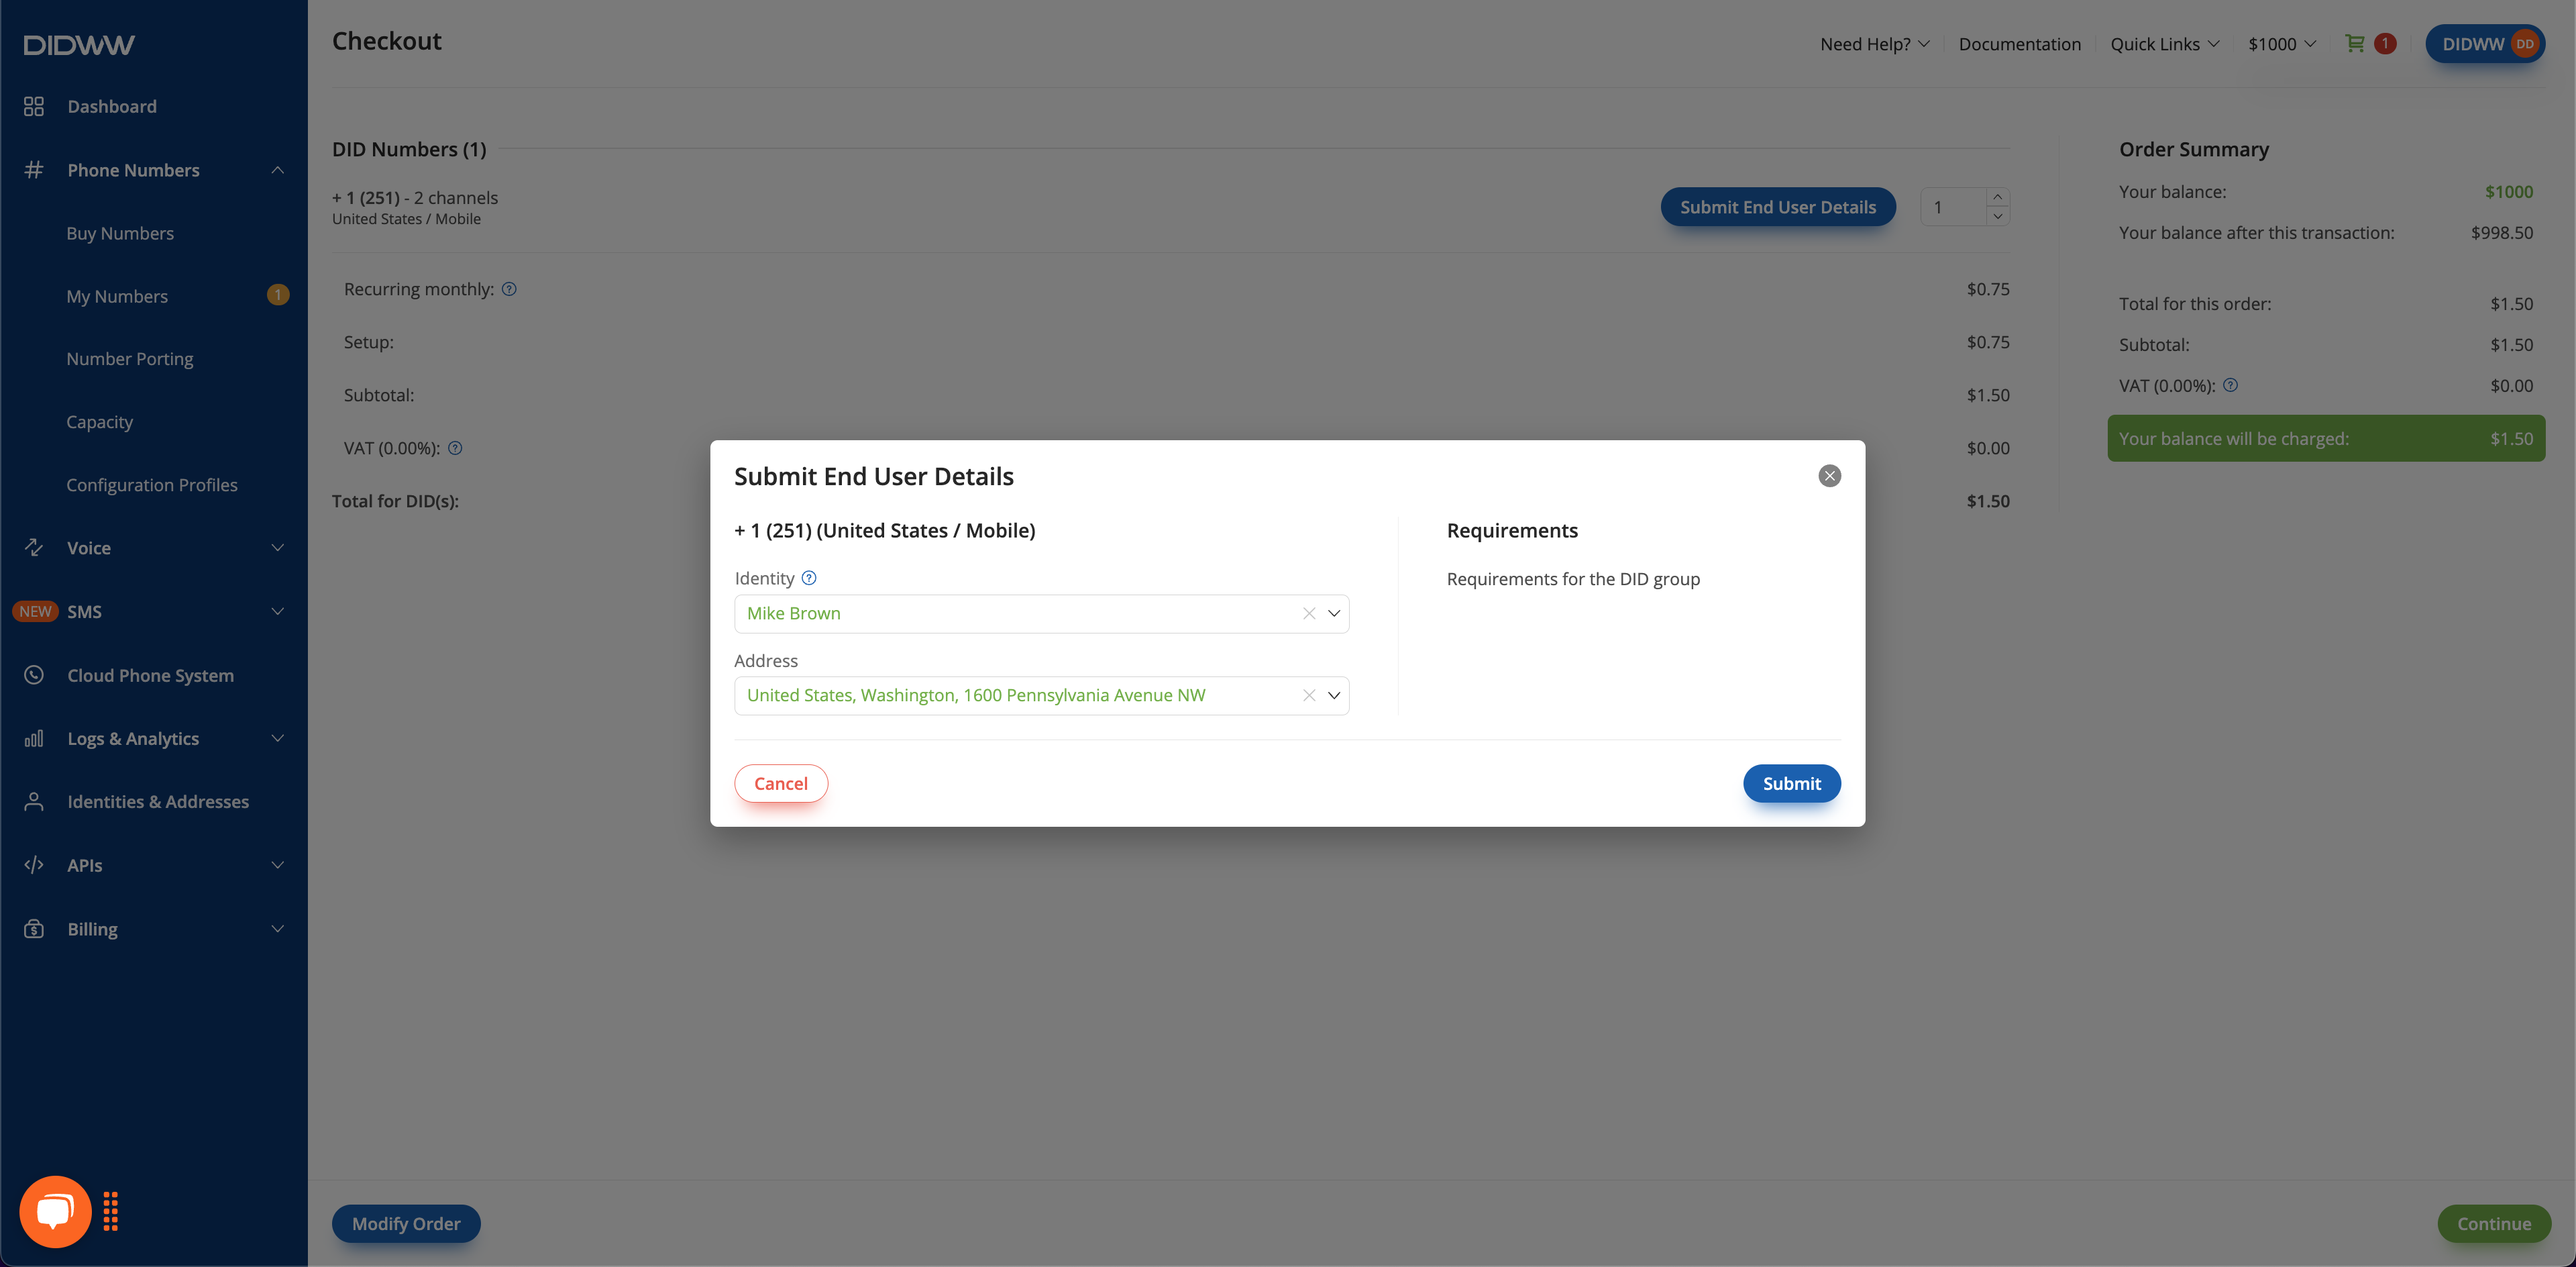
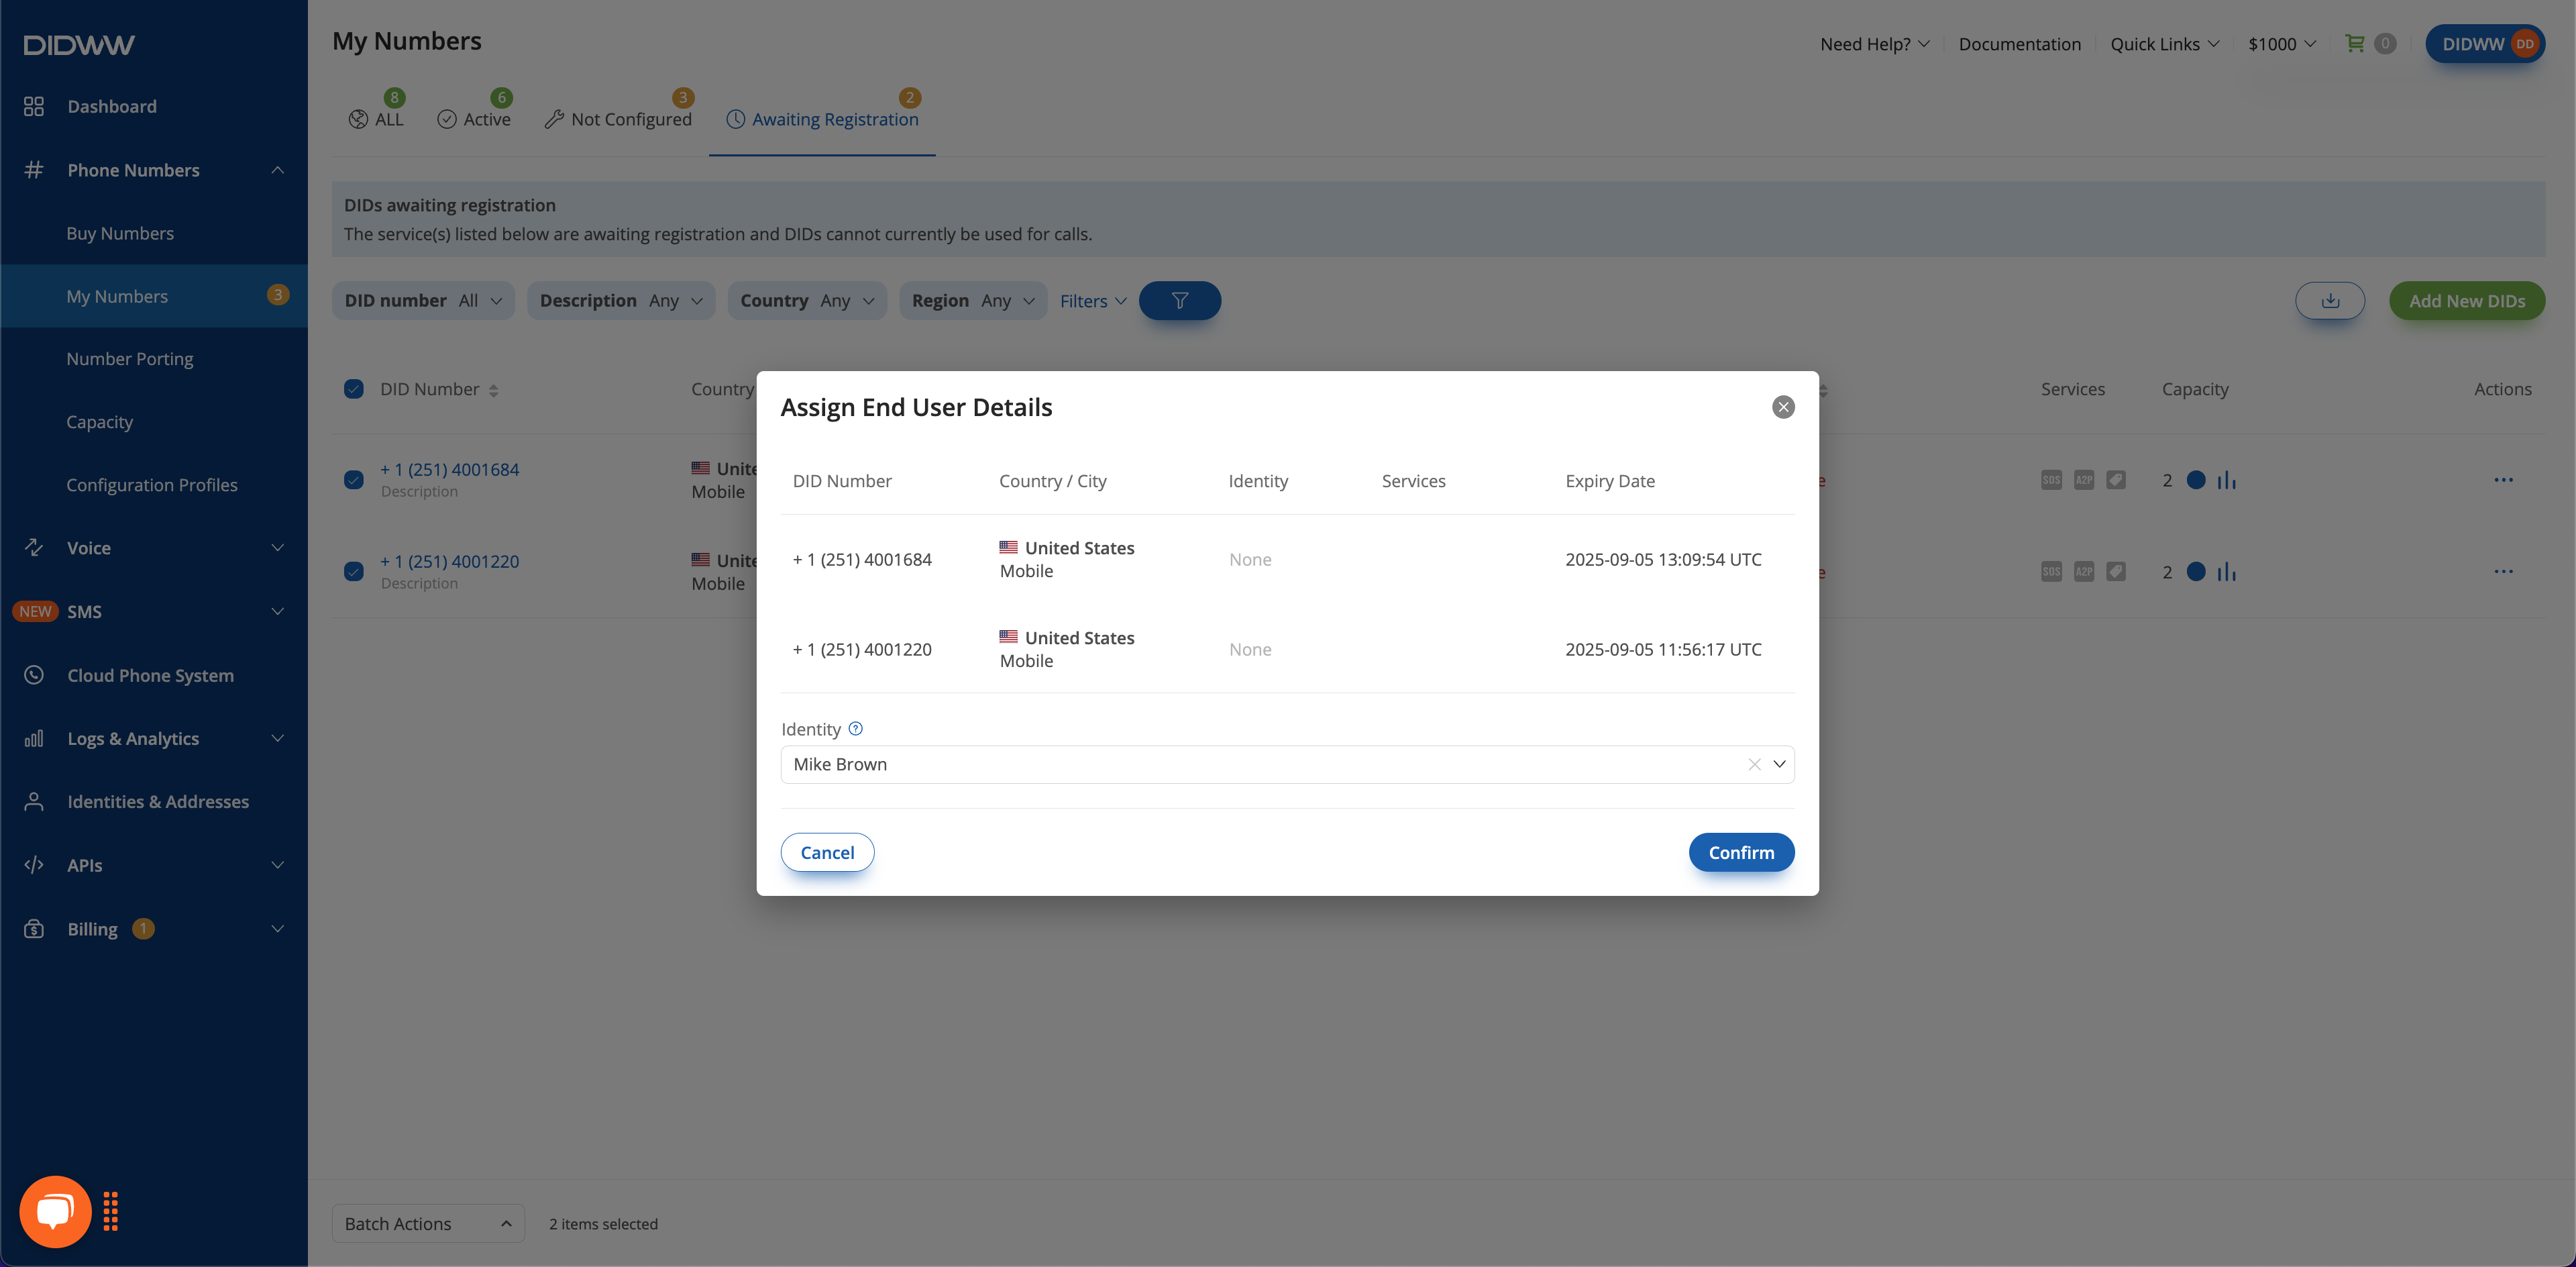
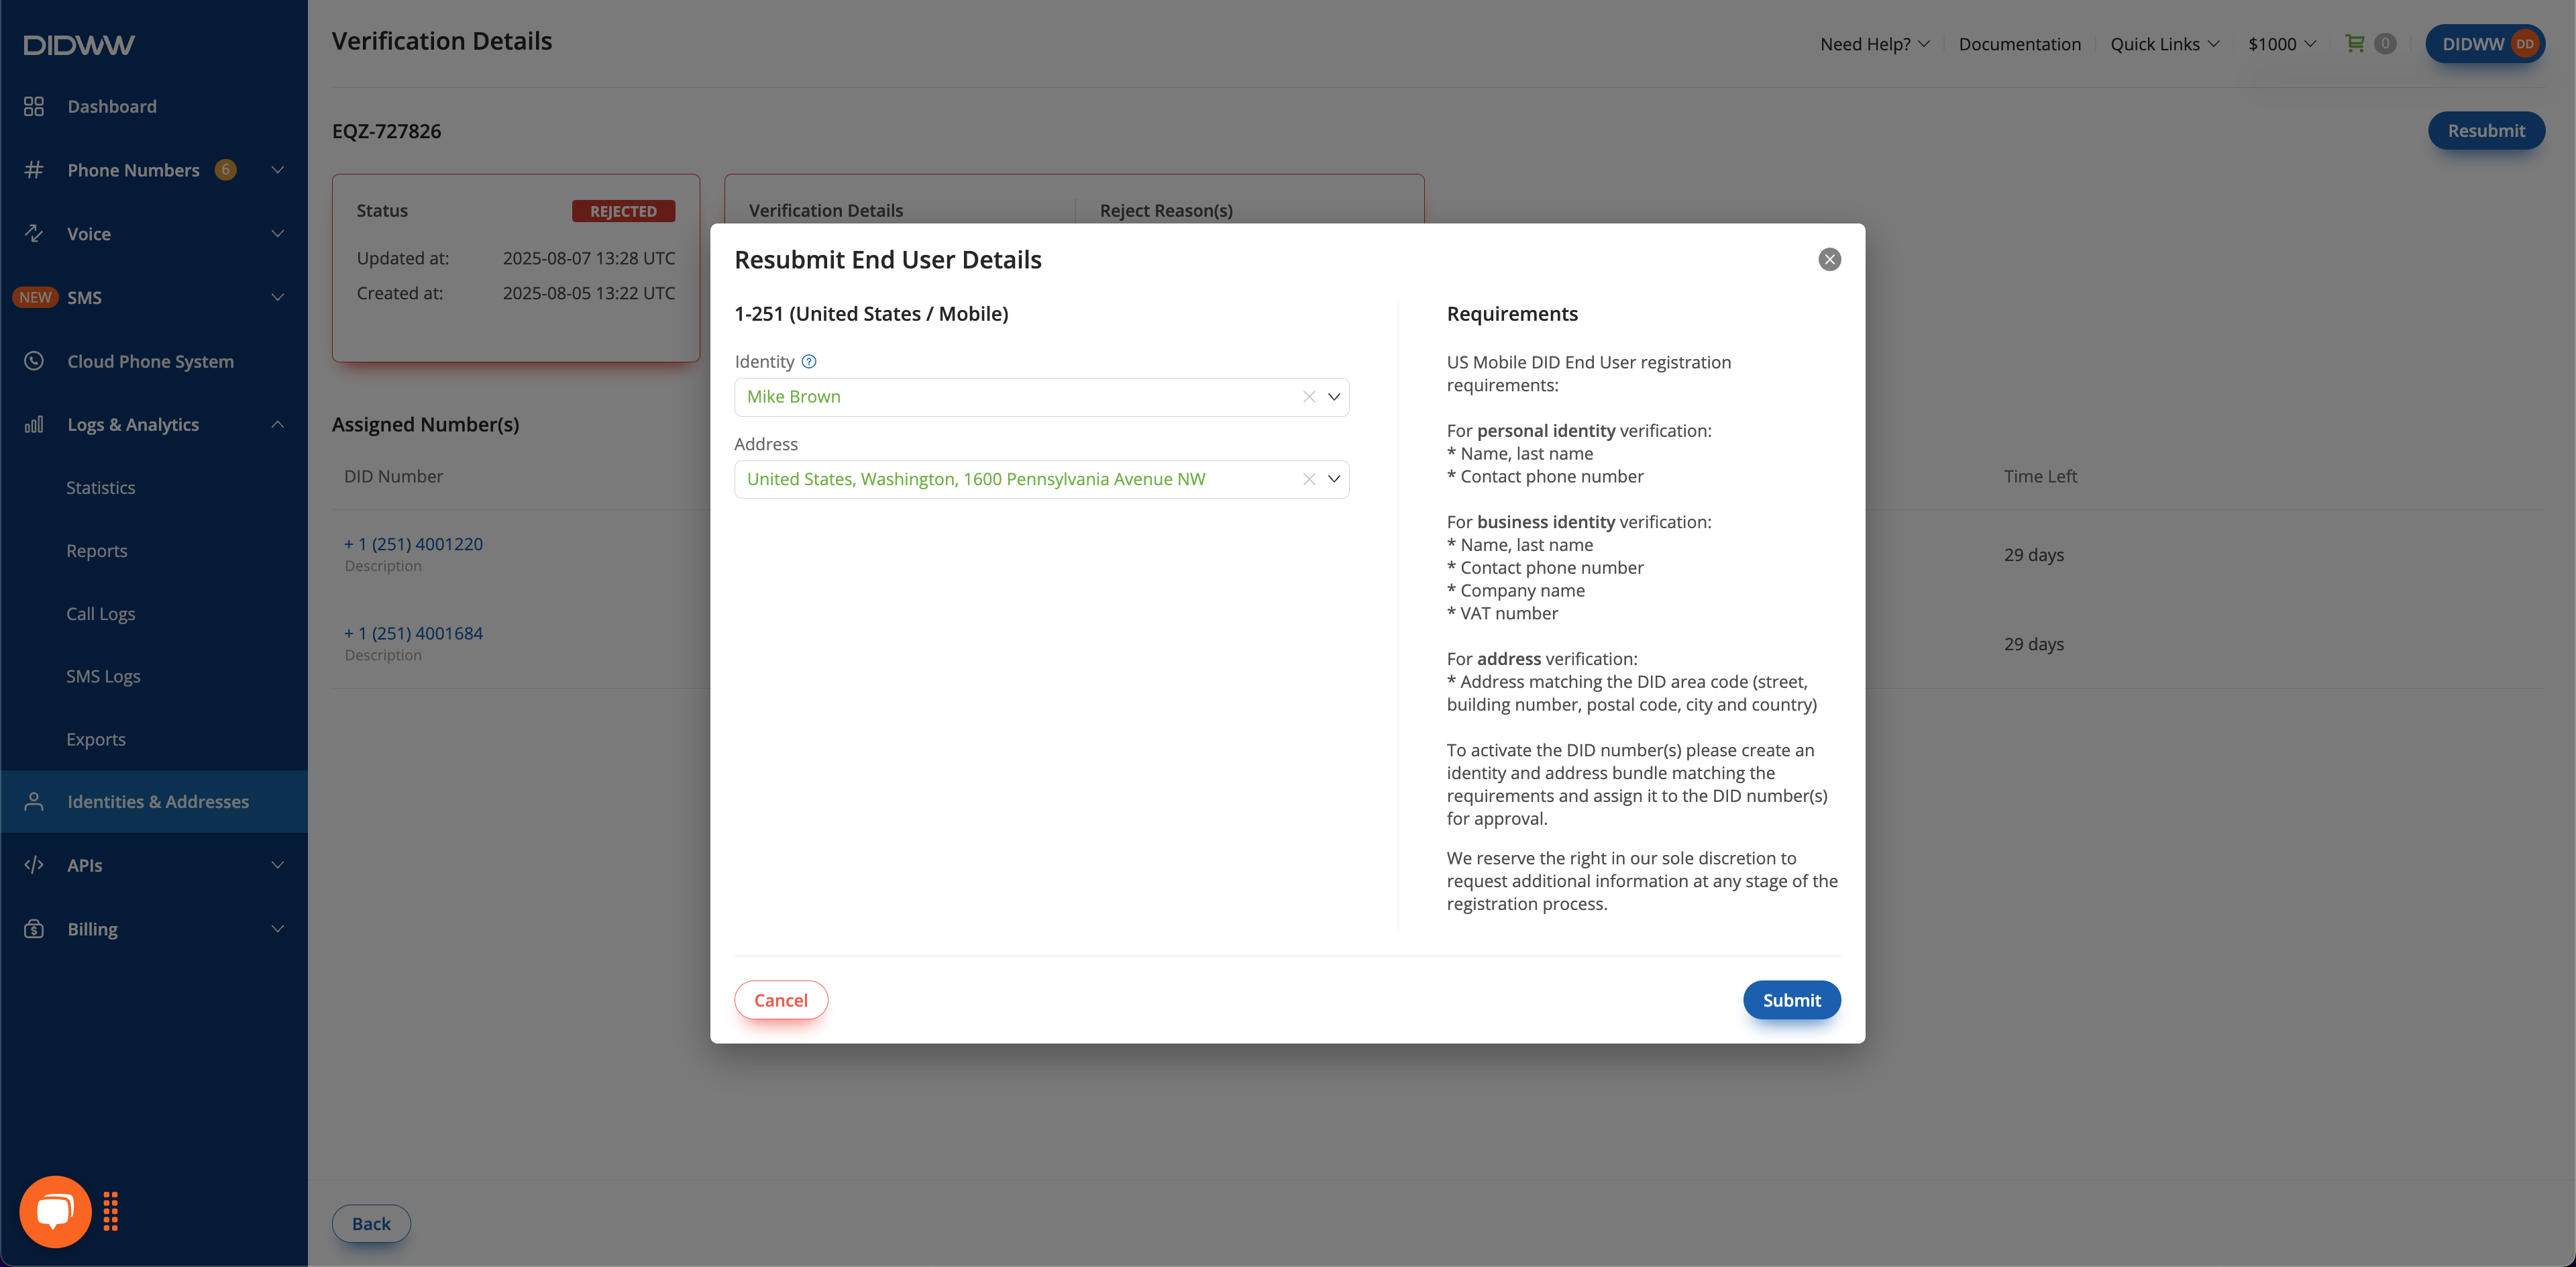
In the Resubmit End User Details popup, select the updated Identity and Address that now meet the requirements.
Fig. 15 Select updated Identity and Address for resubmission.#
Click Submit to create a new verification request. The system will automatically reassign all originally assigned DID numbers to the new request.
A new reference ID will be created, and the request will appear in the Verifications list in
status.
 button for a specific request, you can open the Verification Details screen. This page provides a complete breakdown of the request and lists all the numbers associated with it.

icon.
 status.