Accounts#
The Accounts section provides access to all accounts you own, as well as accounts you’ve been invited and accepted to manage as a role-based user.
You can view, create, and access additional accounts, referred to as sub-accounts or multi-accounts.
You can also view, access, or leave any managed accounts you’ve been invited to.
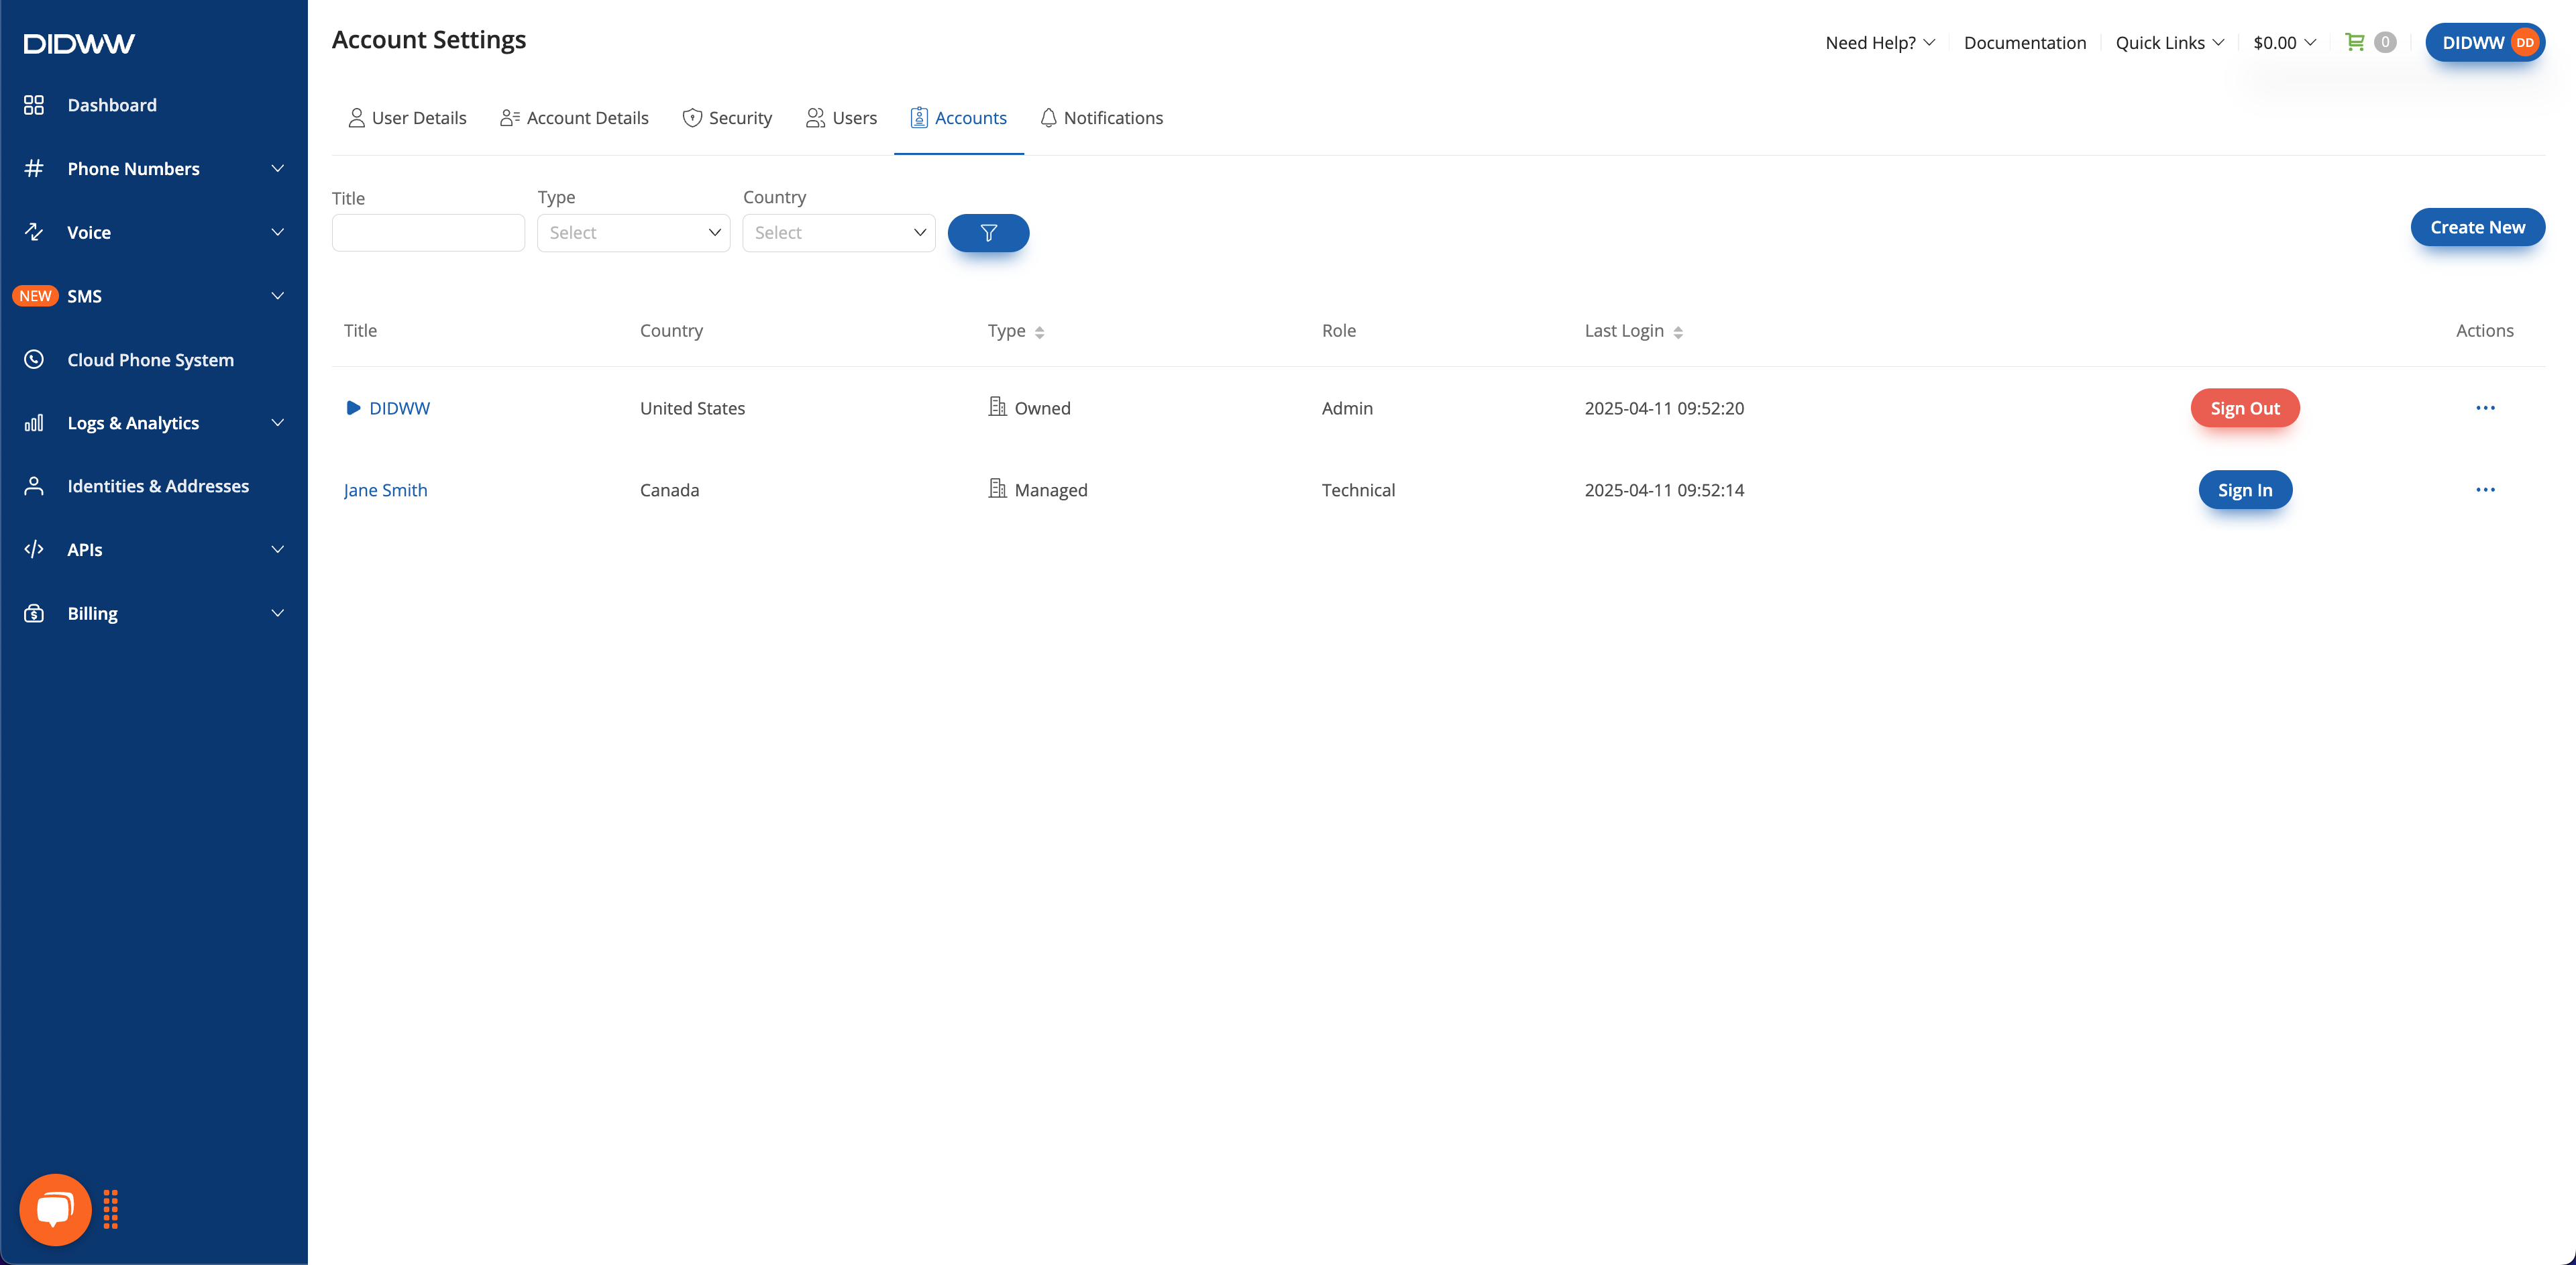
Fig. 1. Accounts tab.#
Create Multi-Accounts#
You can create additional accounts from the Accounts section. These are known as sub-accounts or multi-accounts. Each functions independently from your main account and includes its own services, orders, and invoices. While these accounts provide the same features as your main account, they do not require a separate login. Access is managed through your main (parent) account using your primary credentials.
To create a new sub-account, follow these steps:
Step 1: Select Create New#
In the Accounts tab, select the Create New button in the top-right corner.
Fig. 2. Create New Account#
Step 2: Enter Account Details#
Fill in the required fields. If you are creating a business account, provide the business name, contact email, address, and other relevant information.
After entering all required information, click Create.
Note
To create a personal account instead of a business account, turn off the Business account toggle.
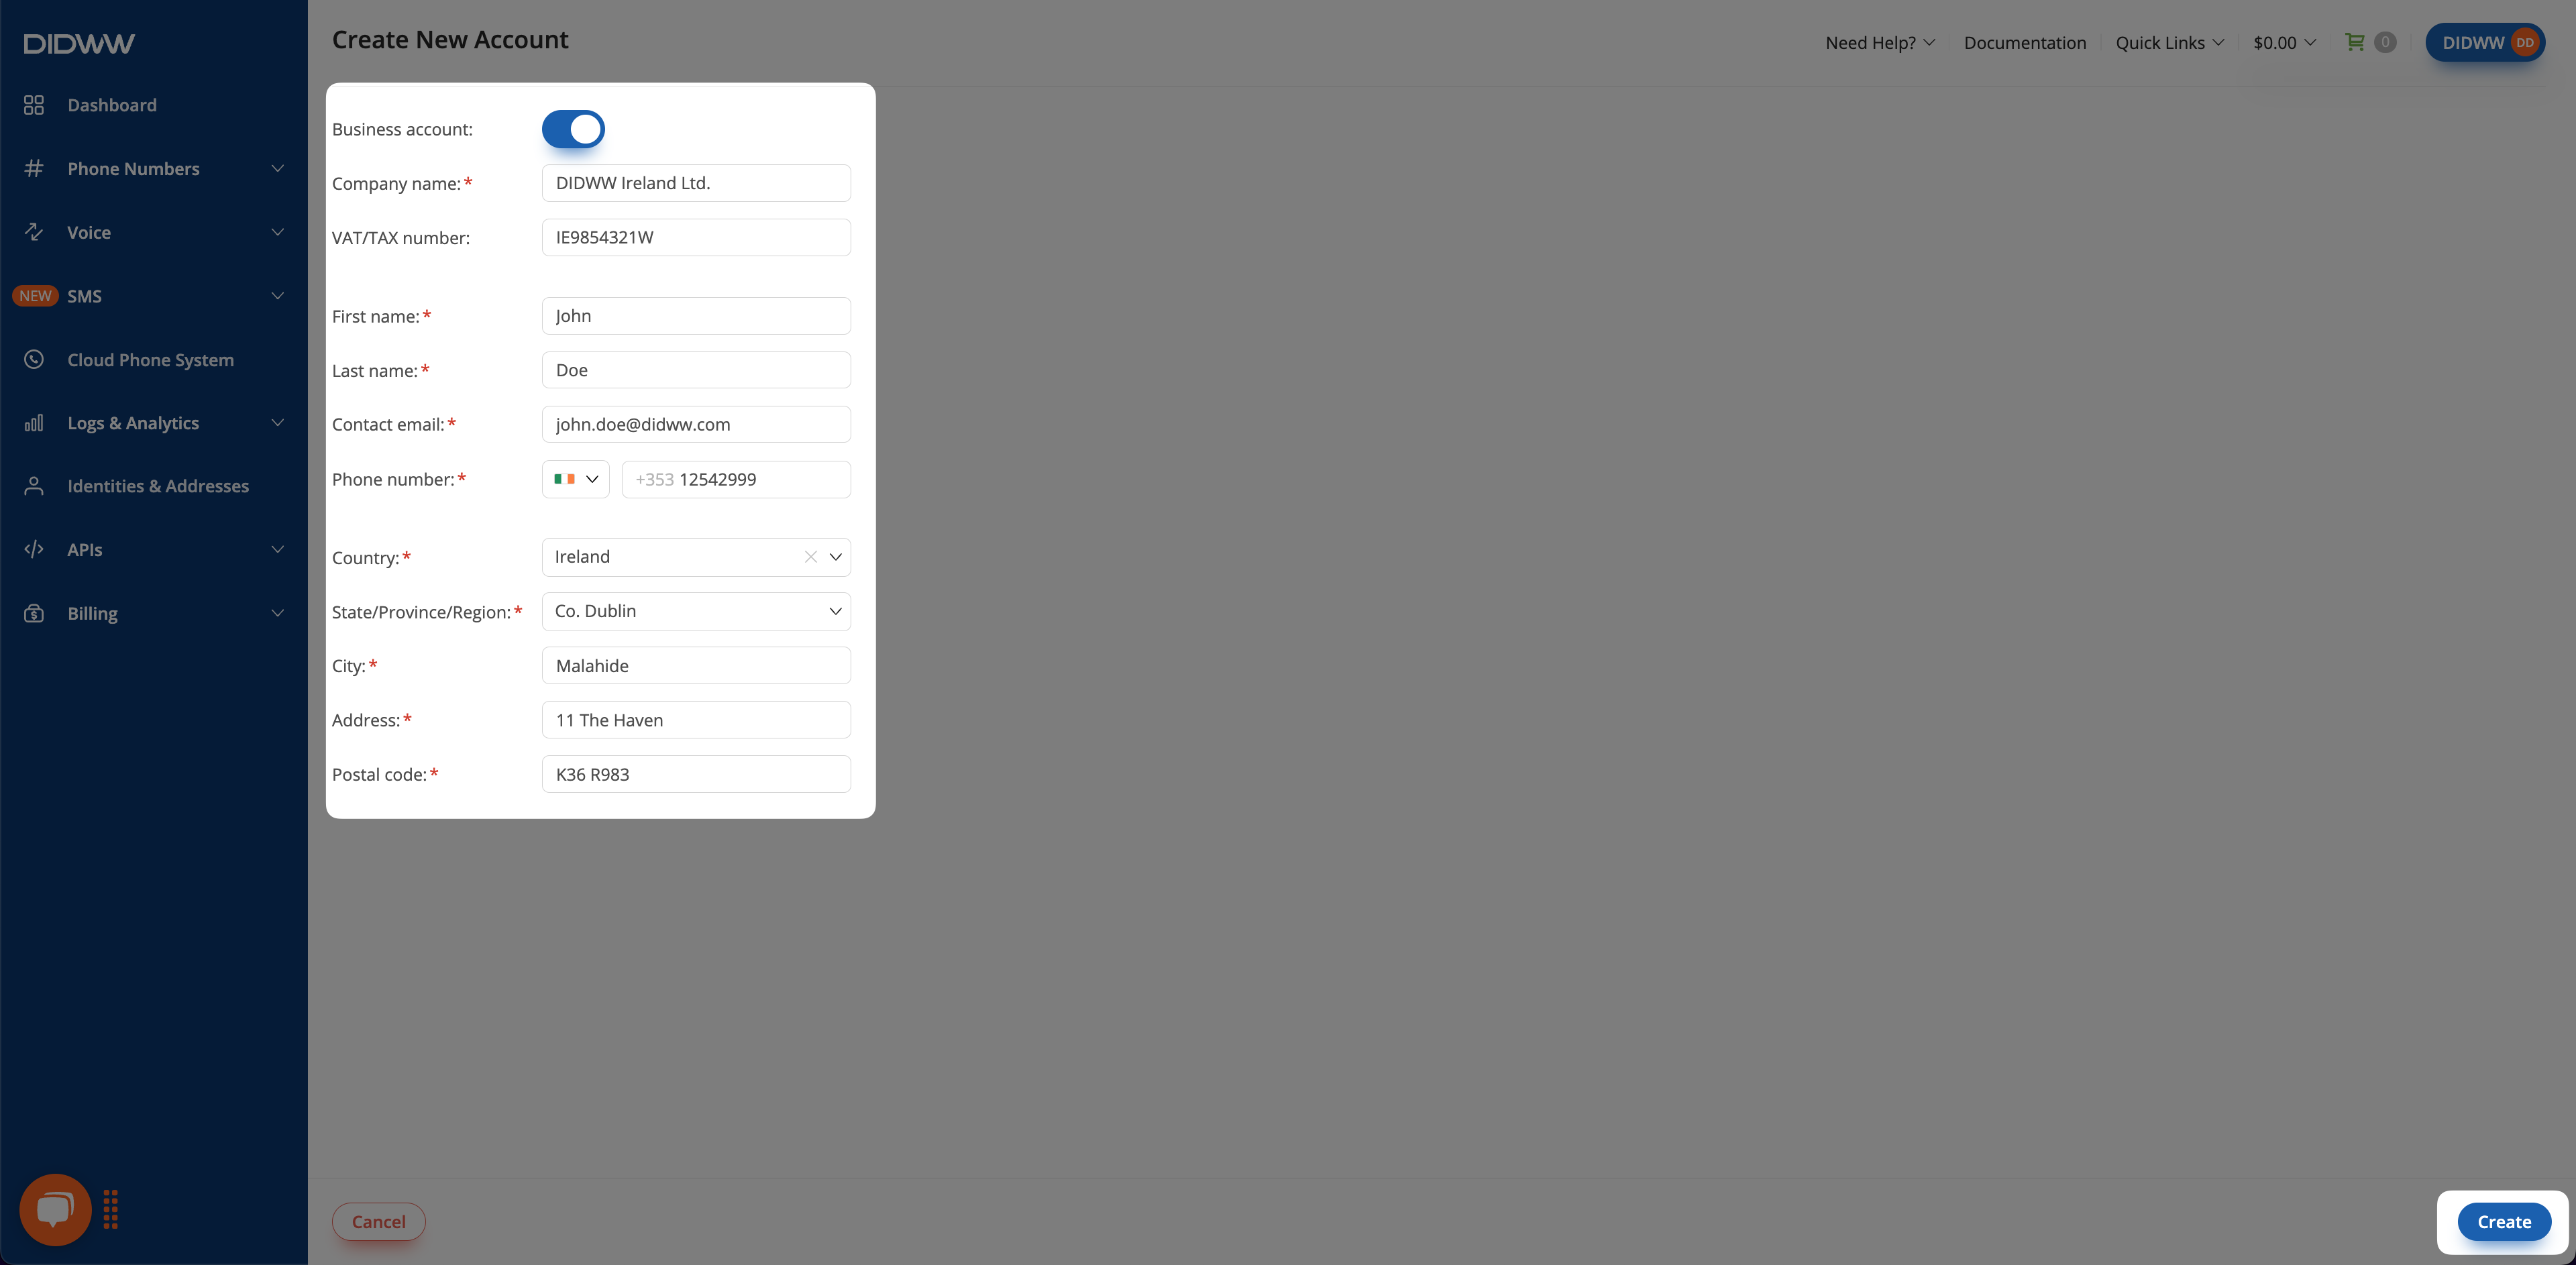
Fig. 3. Account creation form#
Step 3: View and Access the Multi-Accounts#
Once submitted, the new account will appear in the Accounts section as an Owned account type labeled Owned. You can access it from this page or by using the account switcher in the top-right corner.
Fig. 4. Multi-Accounts List.#
Switch Between Accounts#
If you manage multiple accounts, you can easily switch between them using the account switcher located in the top-right corner of the interface.
The switcher displays a list of recently accessed accounts for quick access.
If the account you want is not visible in the recent list, select All accounts from the dropdown. Then, locate the account by type, such as Owned or Managed, and select Sign In.
Note
Use the account switcher to navigate between your main account, owned multi-accounts, and accounts you’ve been invited to manage. Switching does not require logging out. All features remain available based on your assigned role in each account.
To switch accounts:
Select the account switcher button in the top-right corner.
In the dropdown list, find the account you want to access and select the title name to sign in.
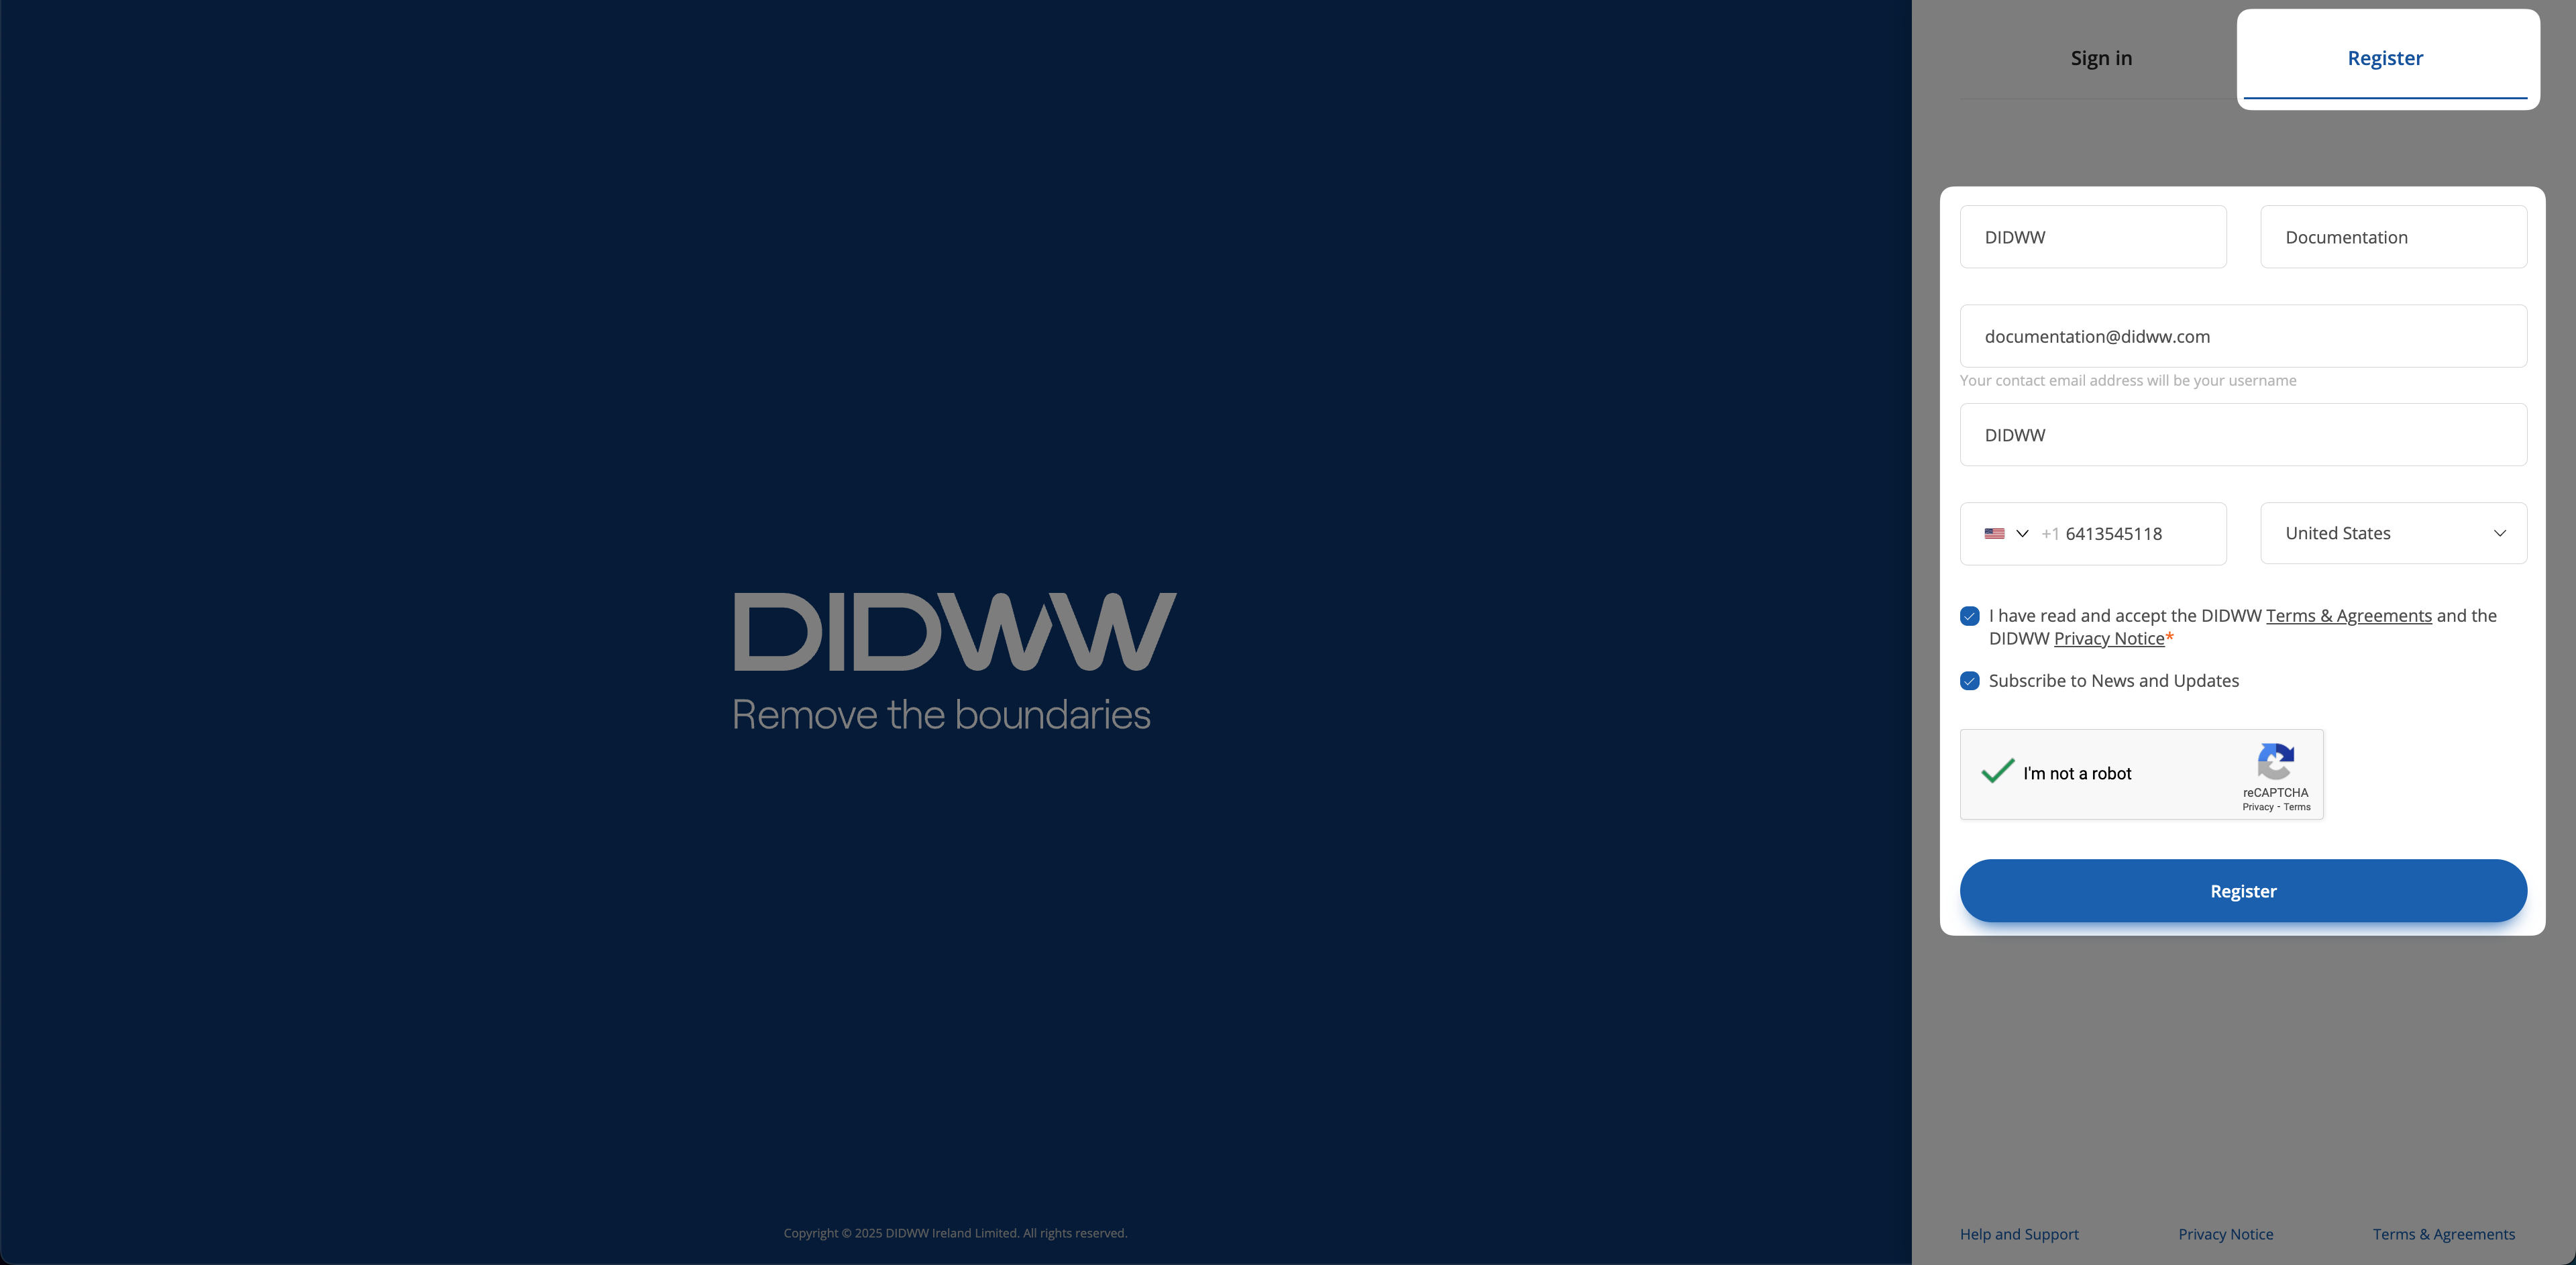
Fig. 5. Account selection dropdown for switching between accounts.#
Edit Account Title#
You can modify the title of your accounts as needed by following these steps:
Step 1: Open the Edit Menu#

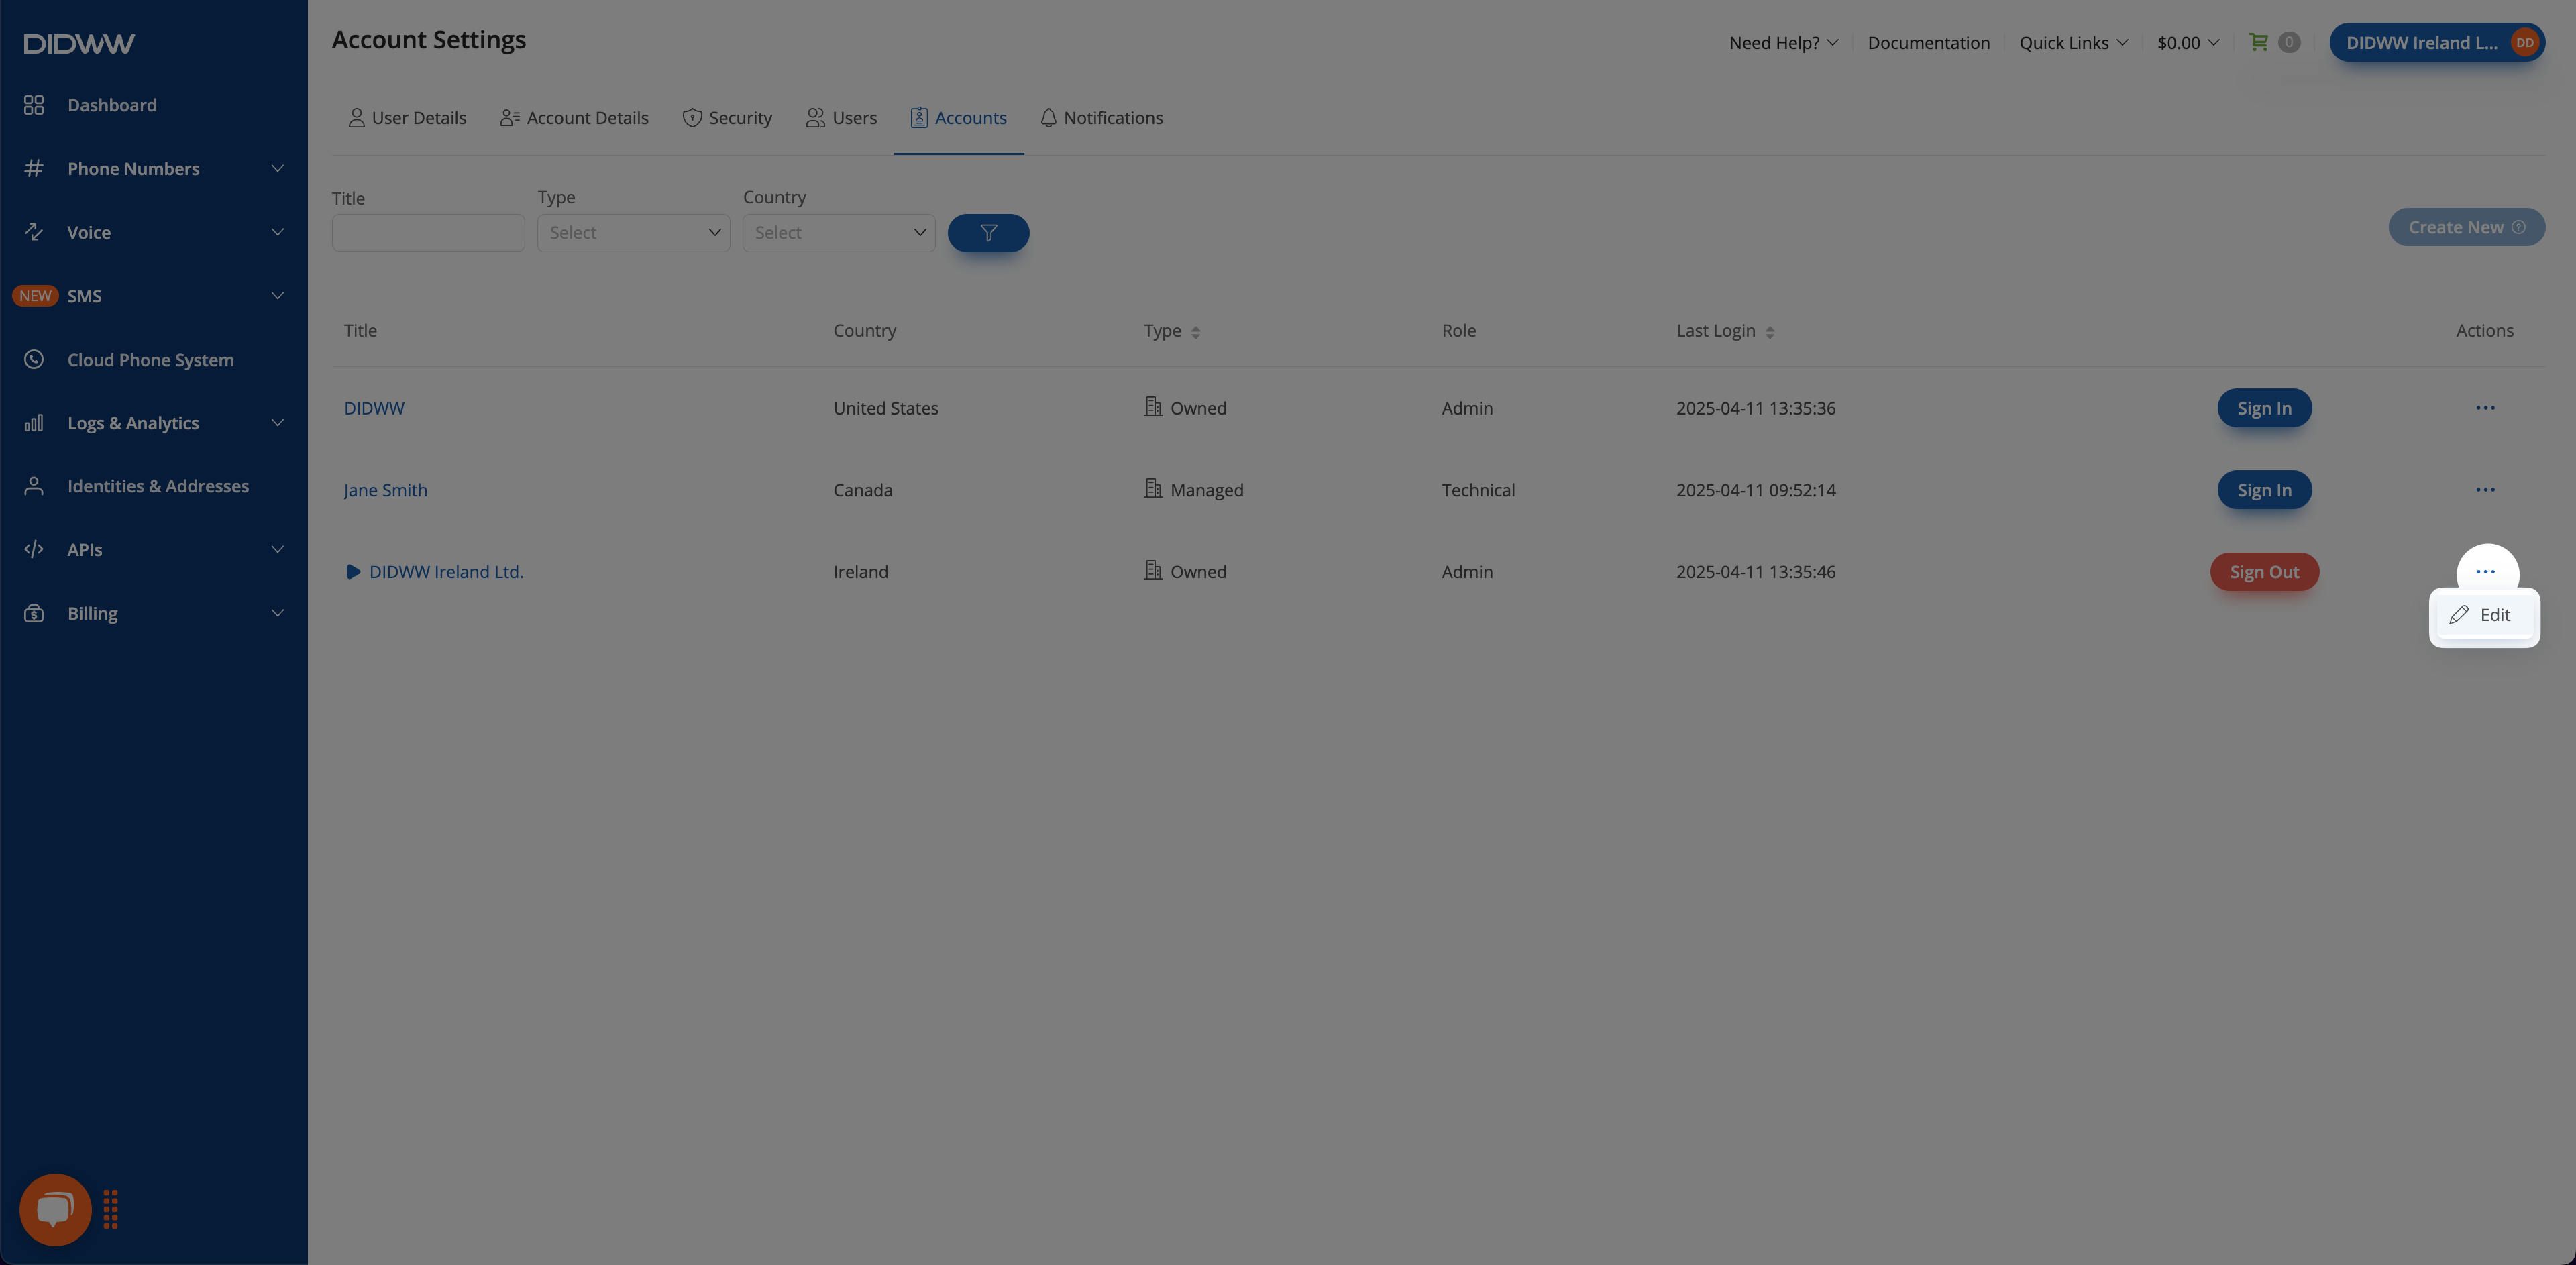
Fig. 6. Actions Button.#
Step 2: Edit the Account Name#
In the edit menu, change the account title as needed.
Select Submit to save your changes.
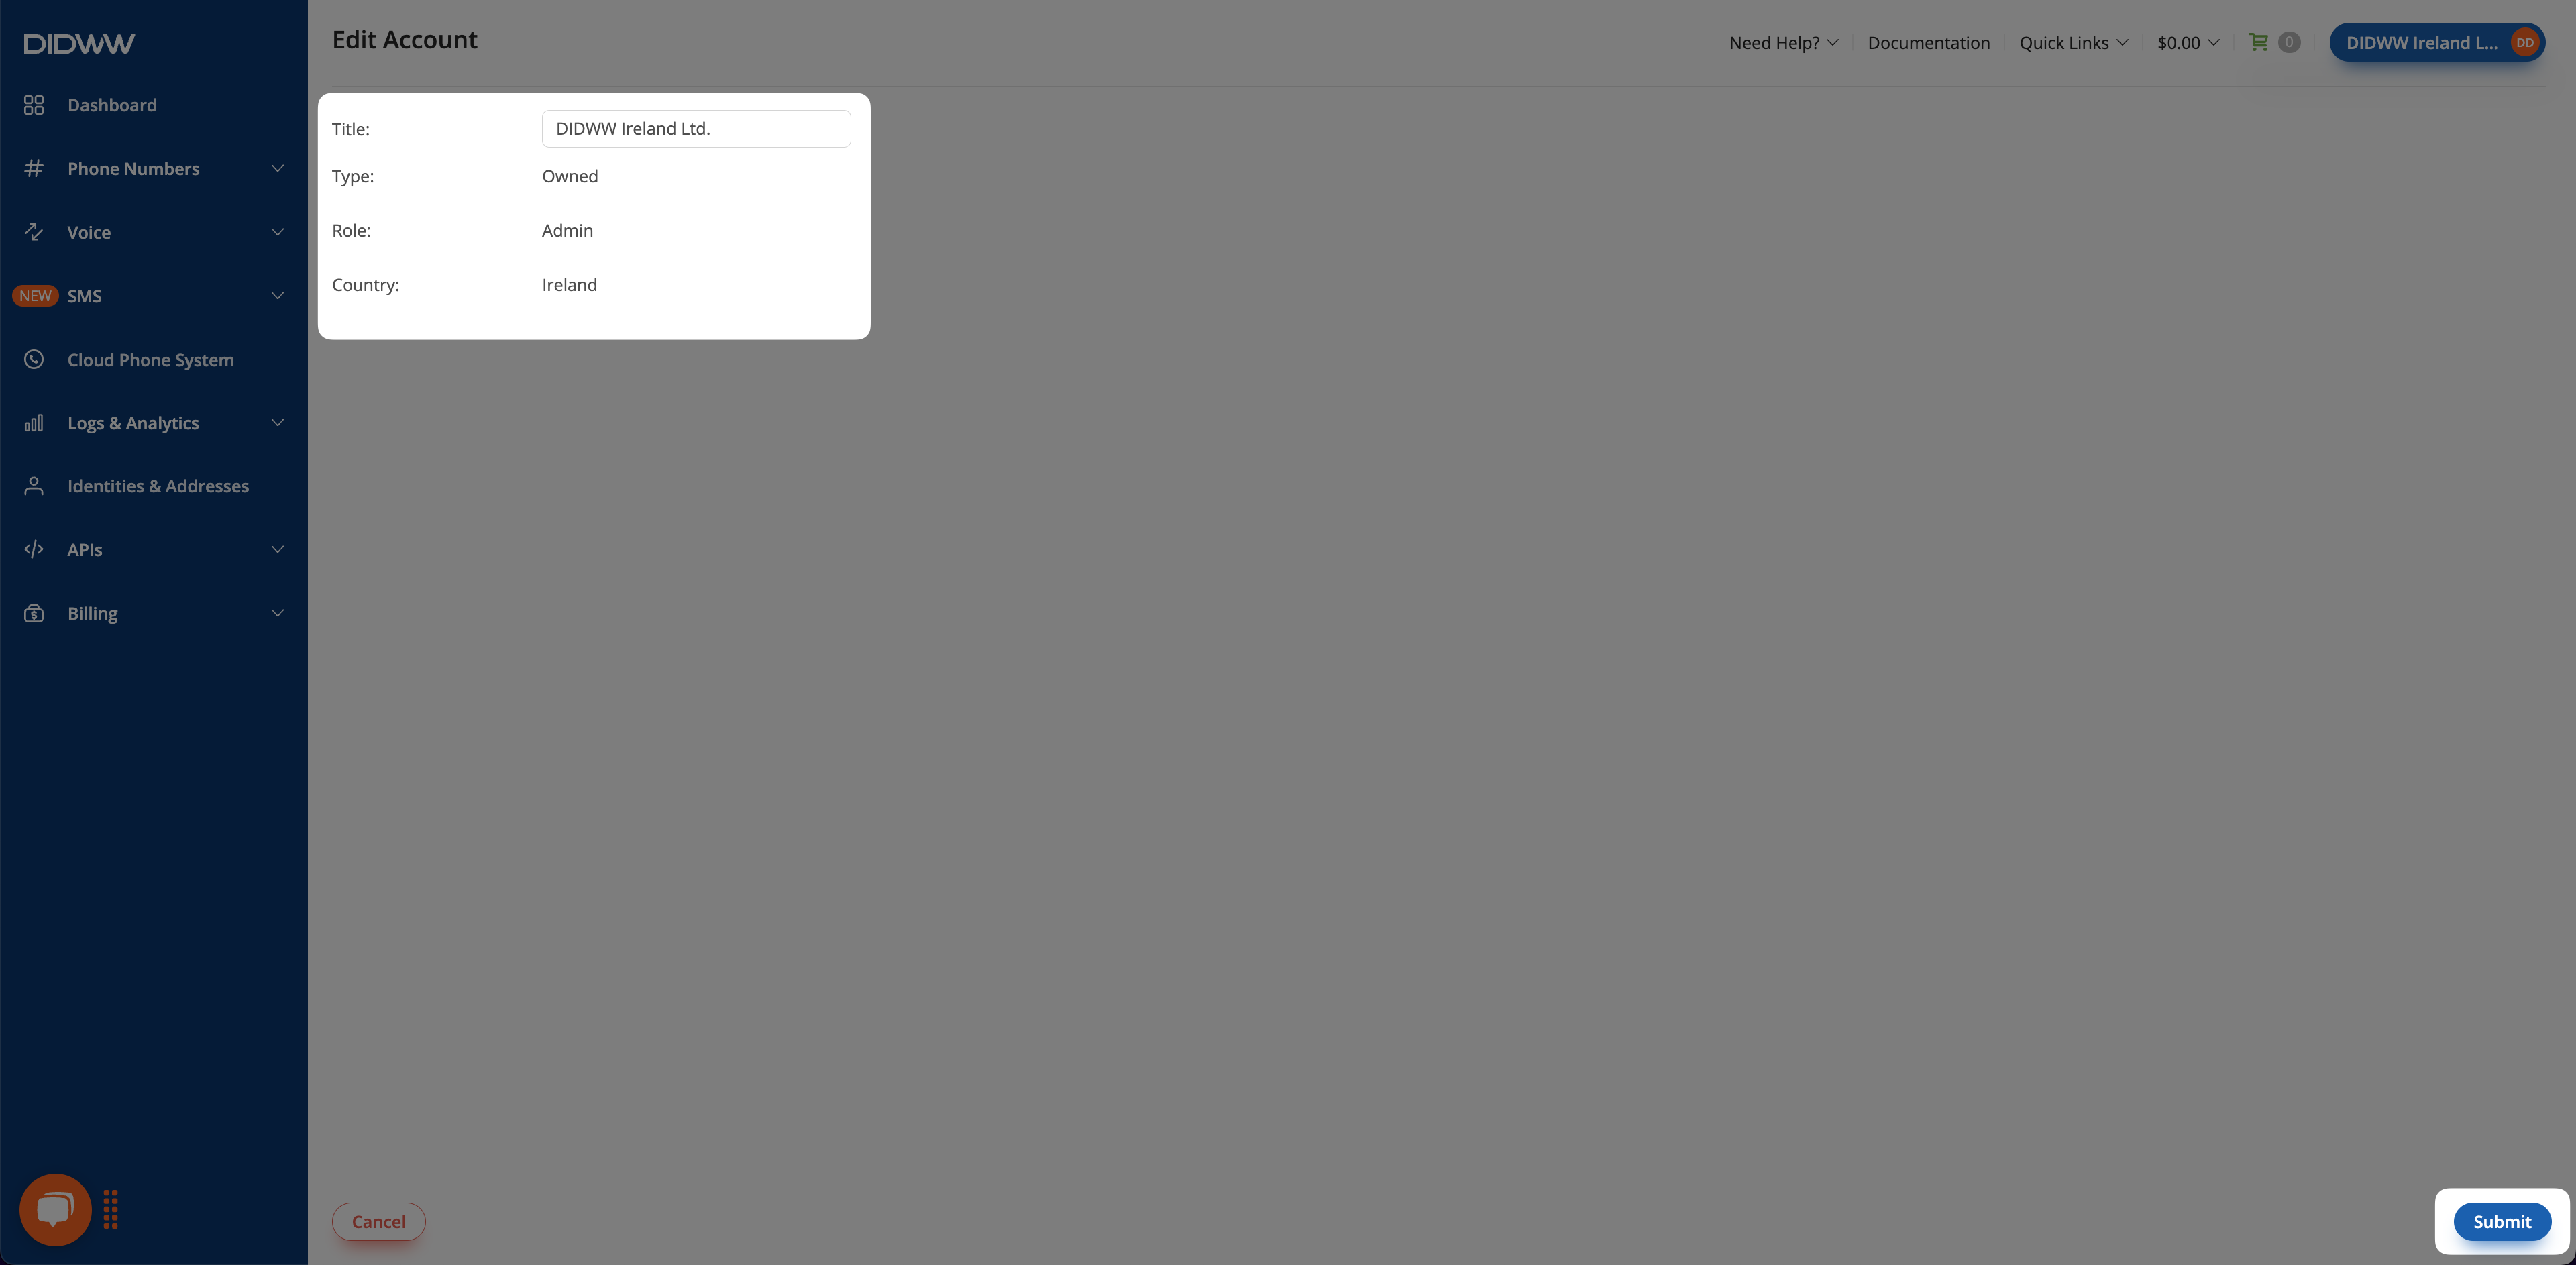
Fig. 7. Edit Account.#
Leave Managed Account#
If you’ve accepted an invitation to manage someone else’s account, you can leave that account at any time. This option is useful when access is no longer needed or your assigned role is no longer required.
Warning
If you registered directly from the invitation as a role-based user, your account was created solely to manage the invited account and does not exist independently. If you leave the managed account, your access is removed immediately, and your user account will also be deleted. You will no longer be able to sign in unless you have a separate owner account.
Important
Leaving a managed account will permanently revoke your access. To regain access, you must be re-invited by the account owner.
To leave a managed account, follow the steps below.
Step 1: Open Leave Managed Account#

Fig. 8. Selecting the leave option.#
Step 2: Confirm Leave Managed Account#
In the confirmation window, select Confirm to leave the account permanently.
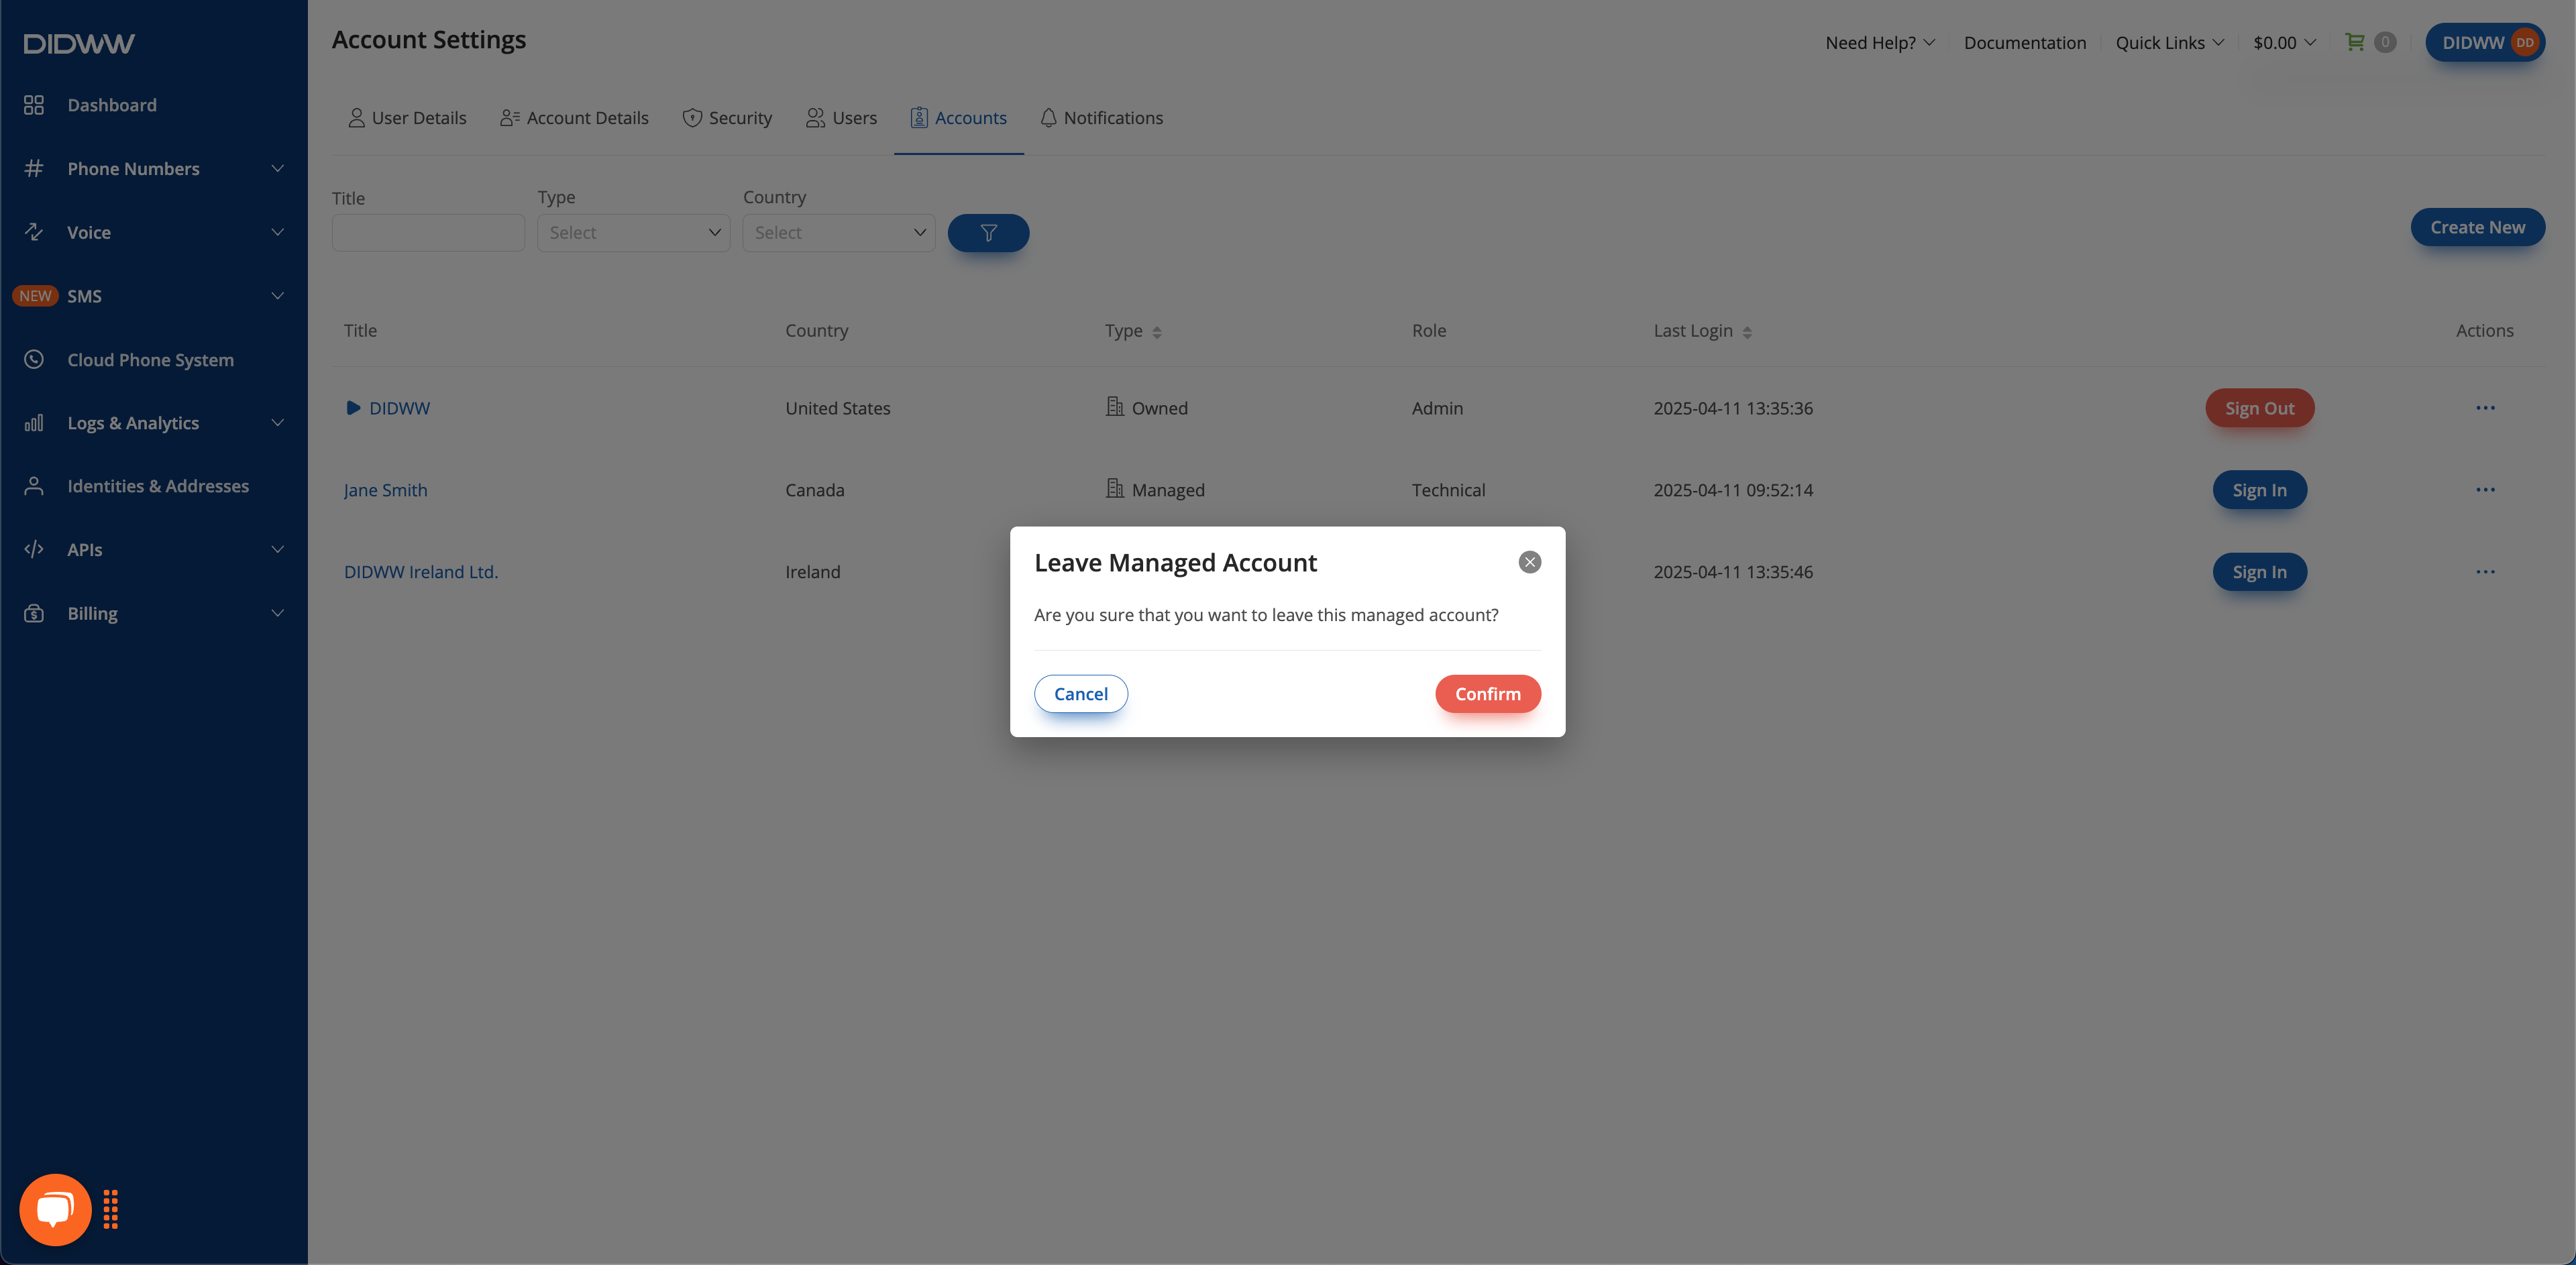
Fig. 9. Confirmation dialog for leaving a managed account.#
Additional Information#
Learn how users can update their name, contact email, and password.
Learn how to manage company identity, contact information, and address.
Learn how to enable Two-Factor Authentication (2FA) for user accounts.
Learn how to configure notifications, set role-based recipients, and add custom email addresses for account alerts.
Learn about user roles, how to invite team members, assign access levels, and manage users.