Assign end-user details#
Assign end-user details to DID numbers that require registration. End-user details connect the number to an identity and address, then start the verification process required for activation.
Before you begin#
A DID number in Awaiting Registration status is required.
An identity and address that meet the number requirements are required. See Identities & Addresses.
Assign end-user details to a single DID number#
Use this flow when you need to submit identity and address information for one DID number.
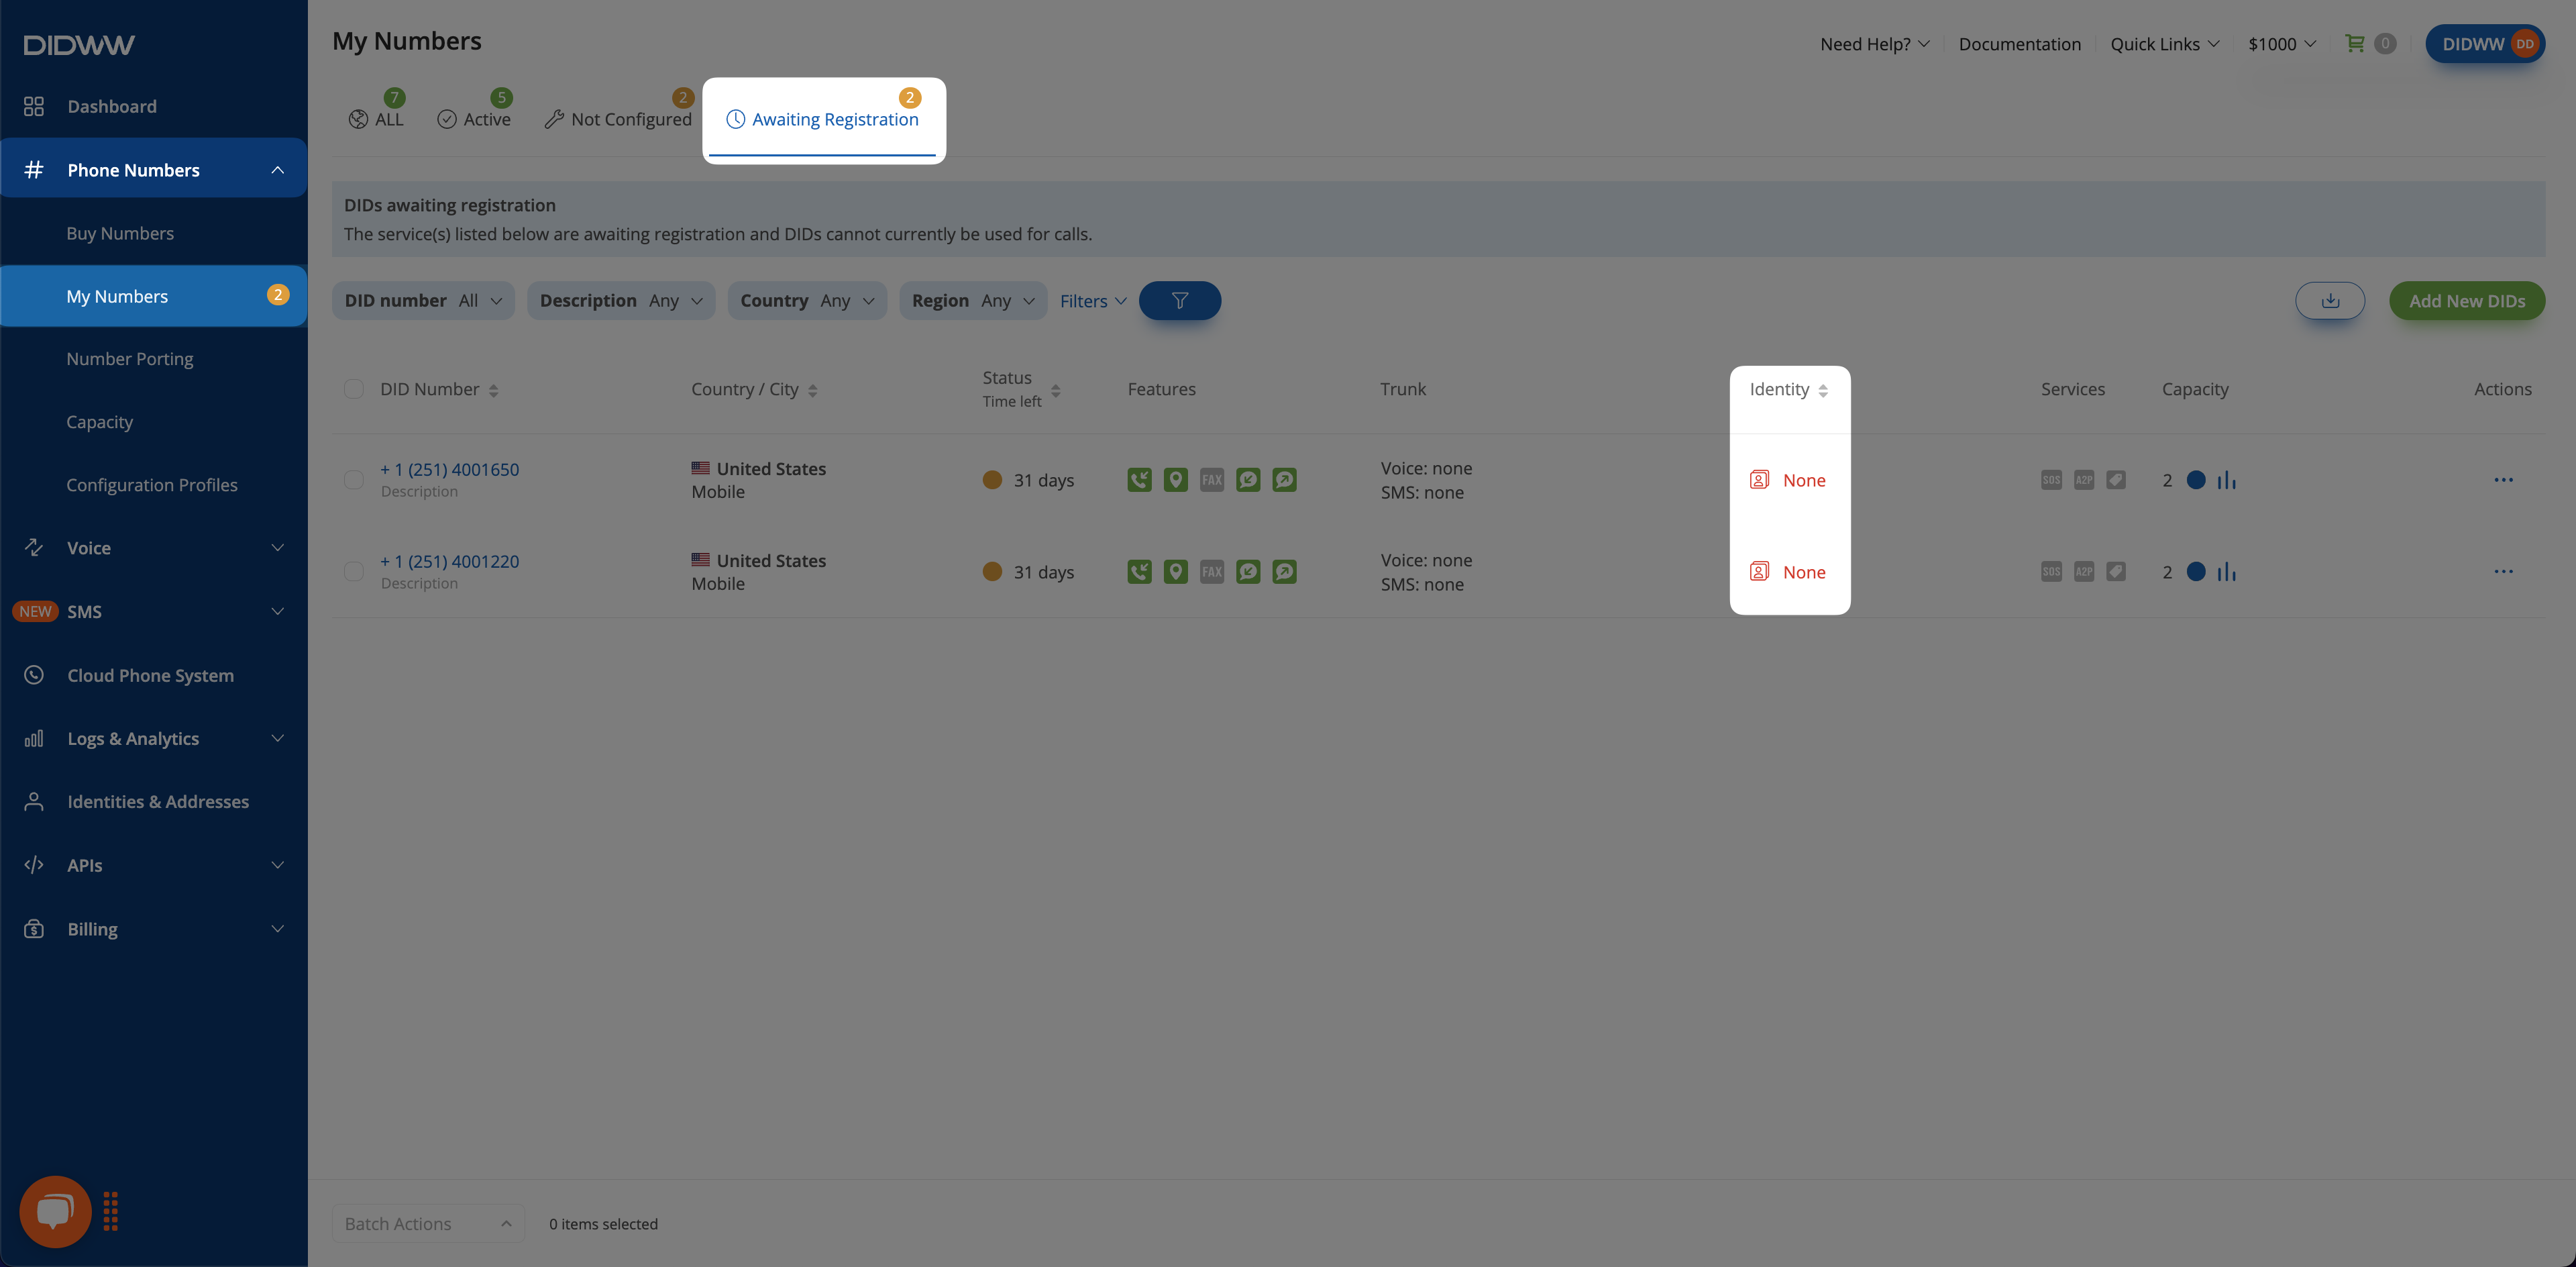
Step 1: Open the Awaiting Registration quick filter#
Go to Phone Numbers > My Numbers.
Open the Awaiting Registration quick filter.
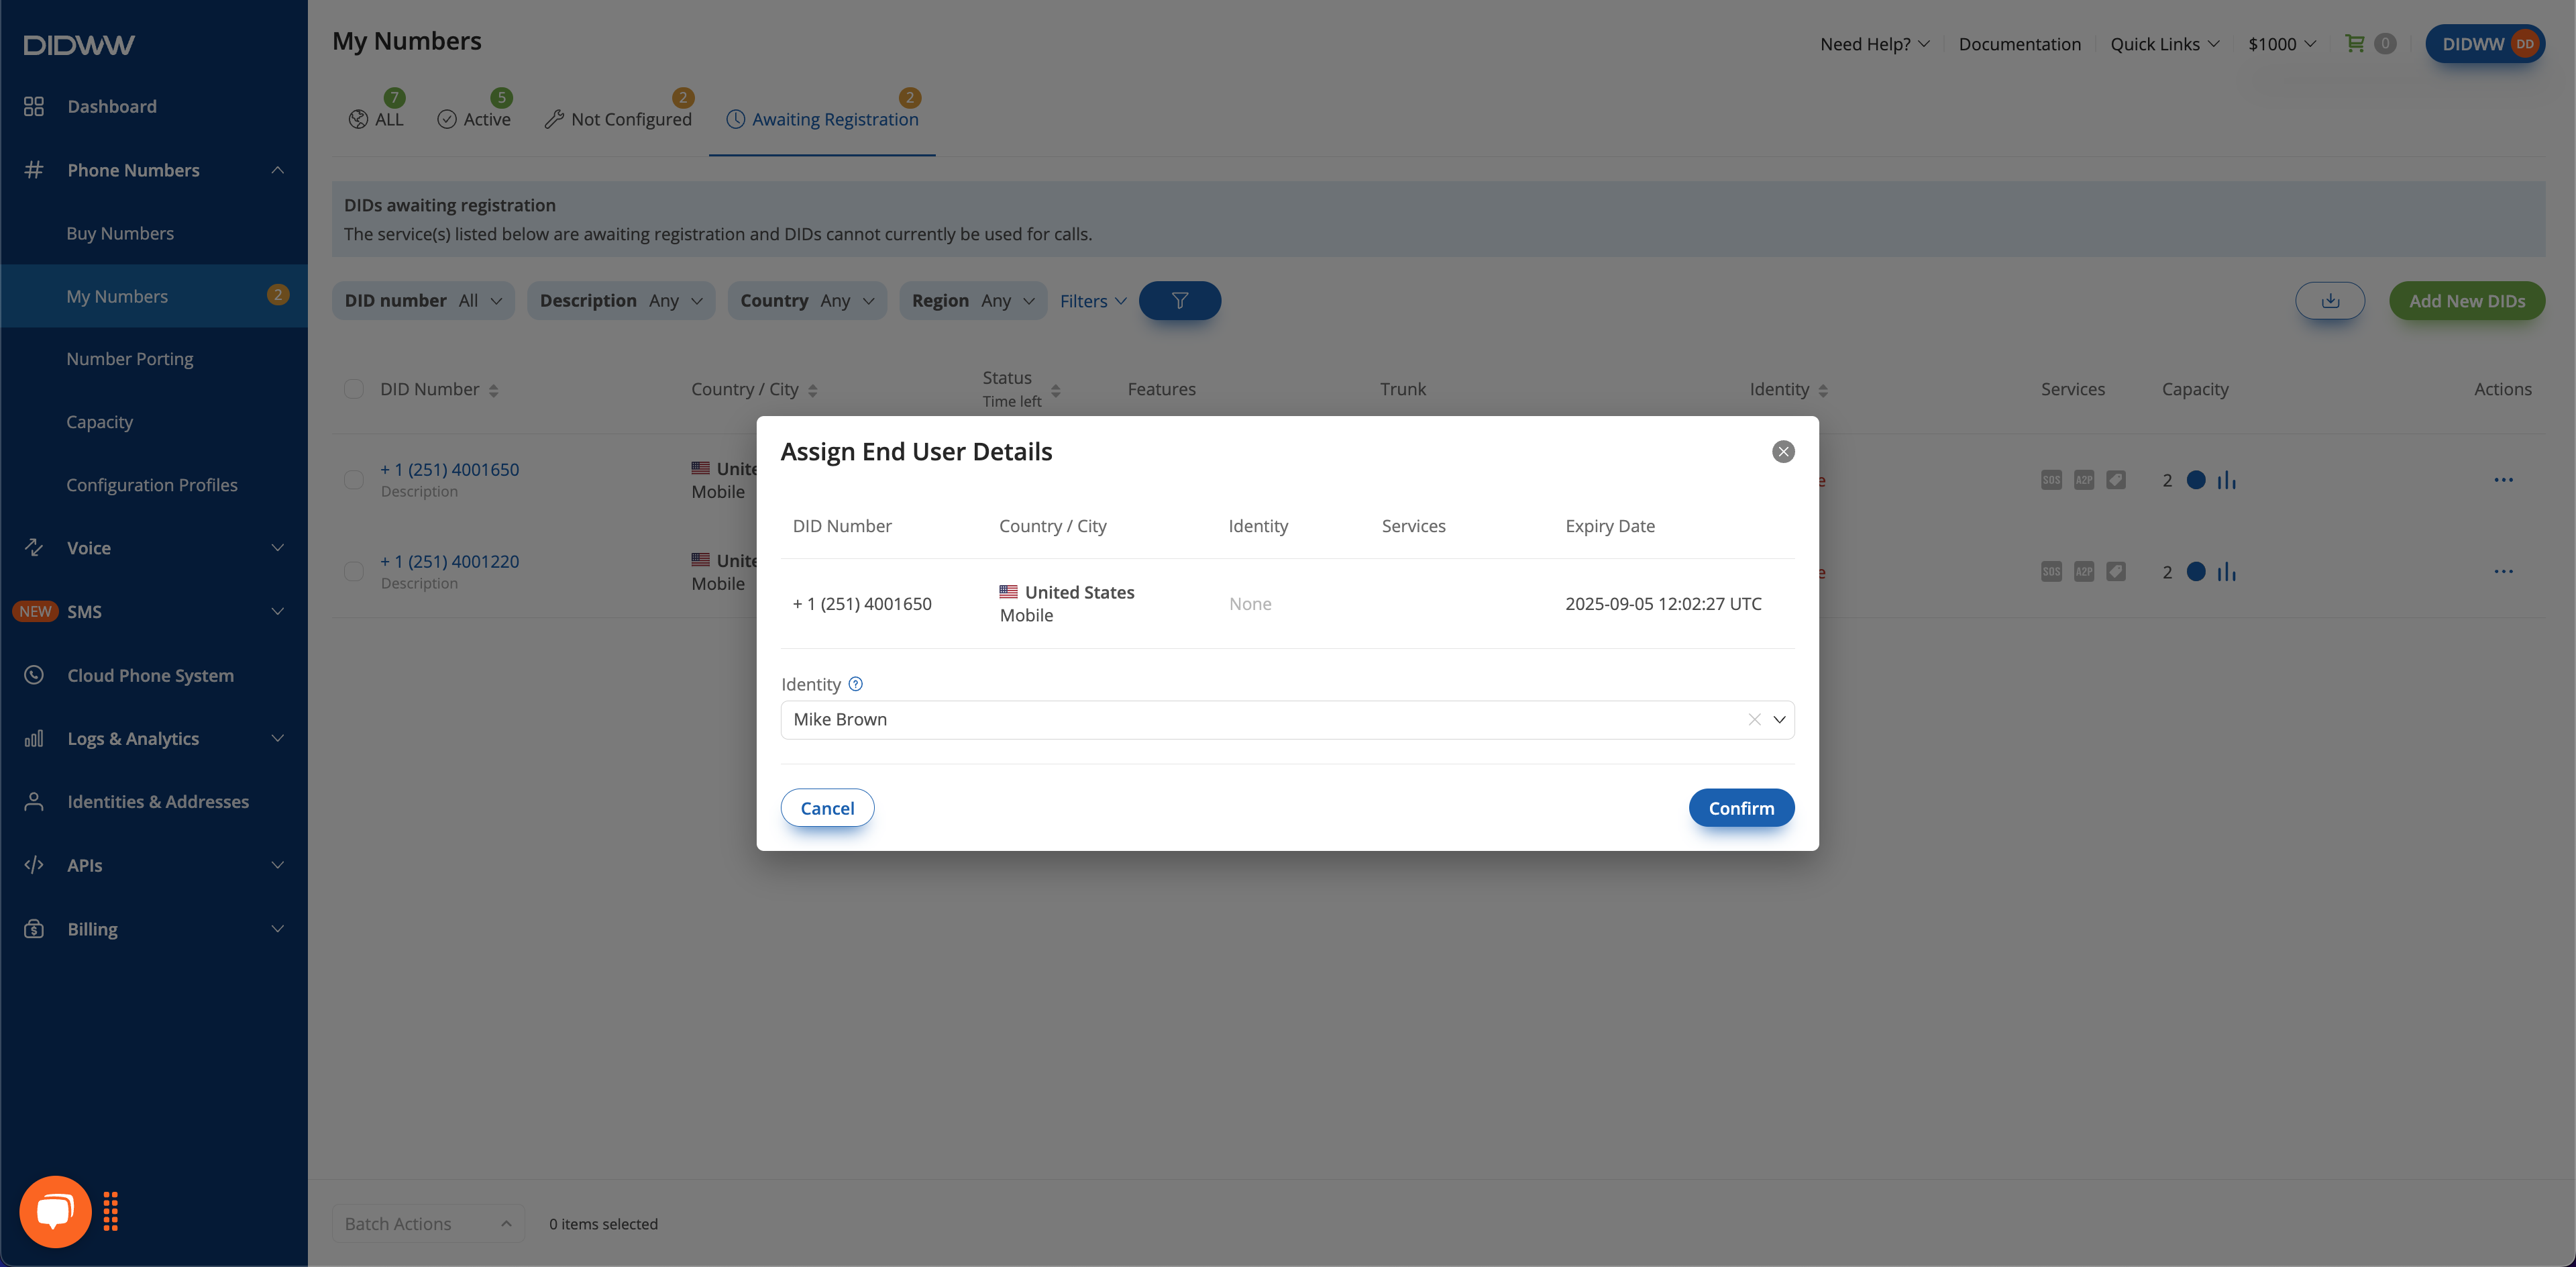
Step 2: Assign the identity#
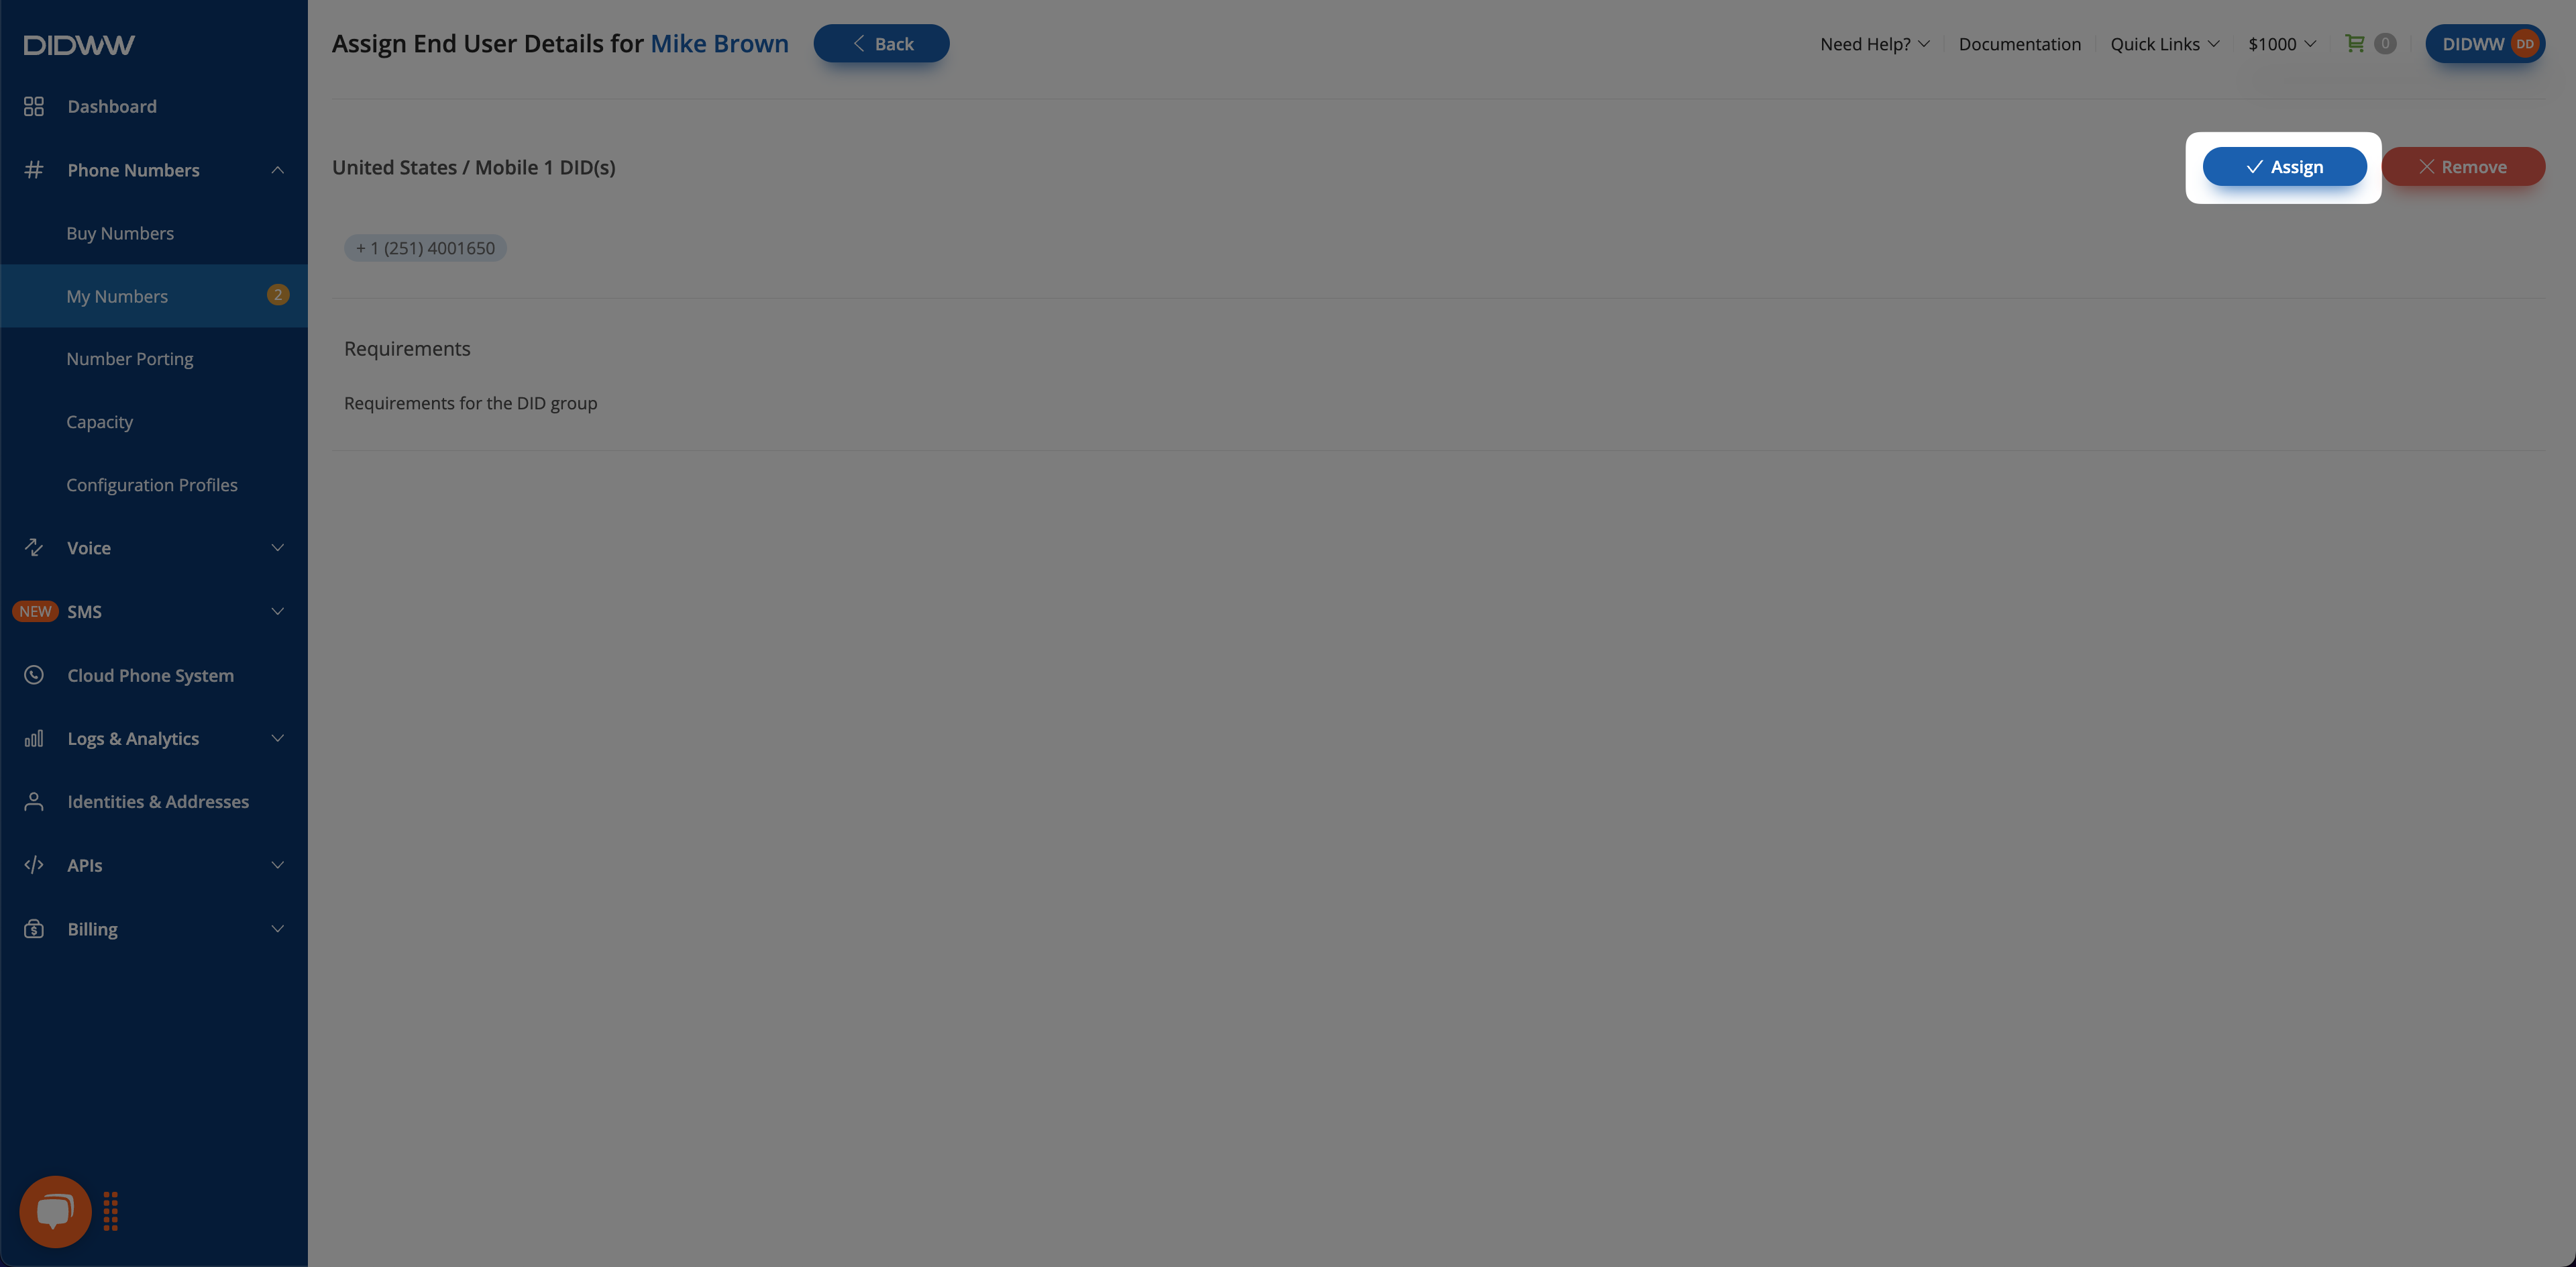
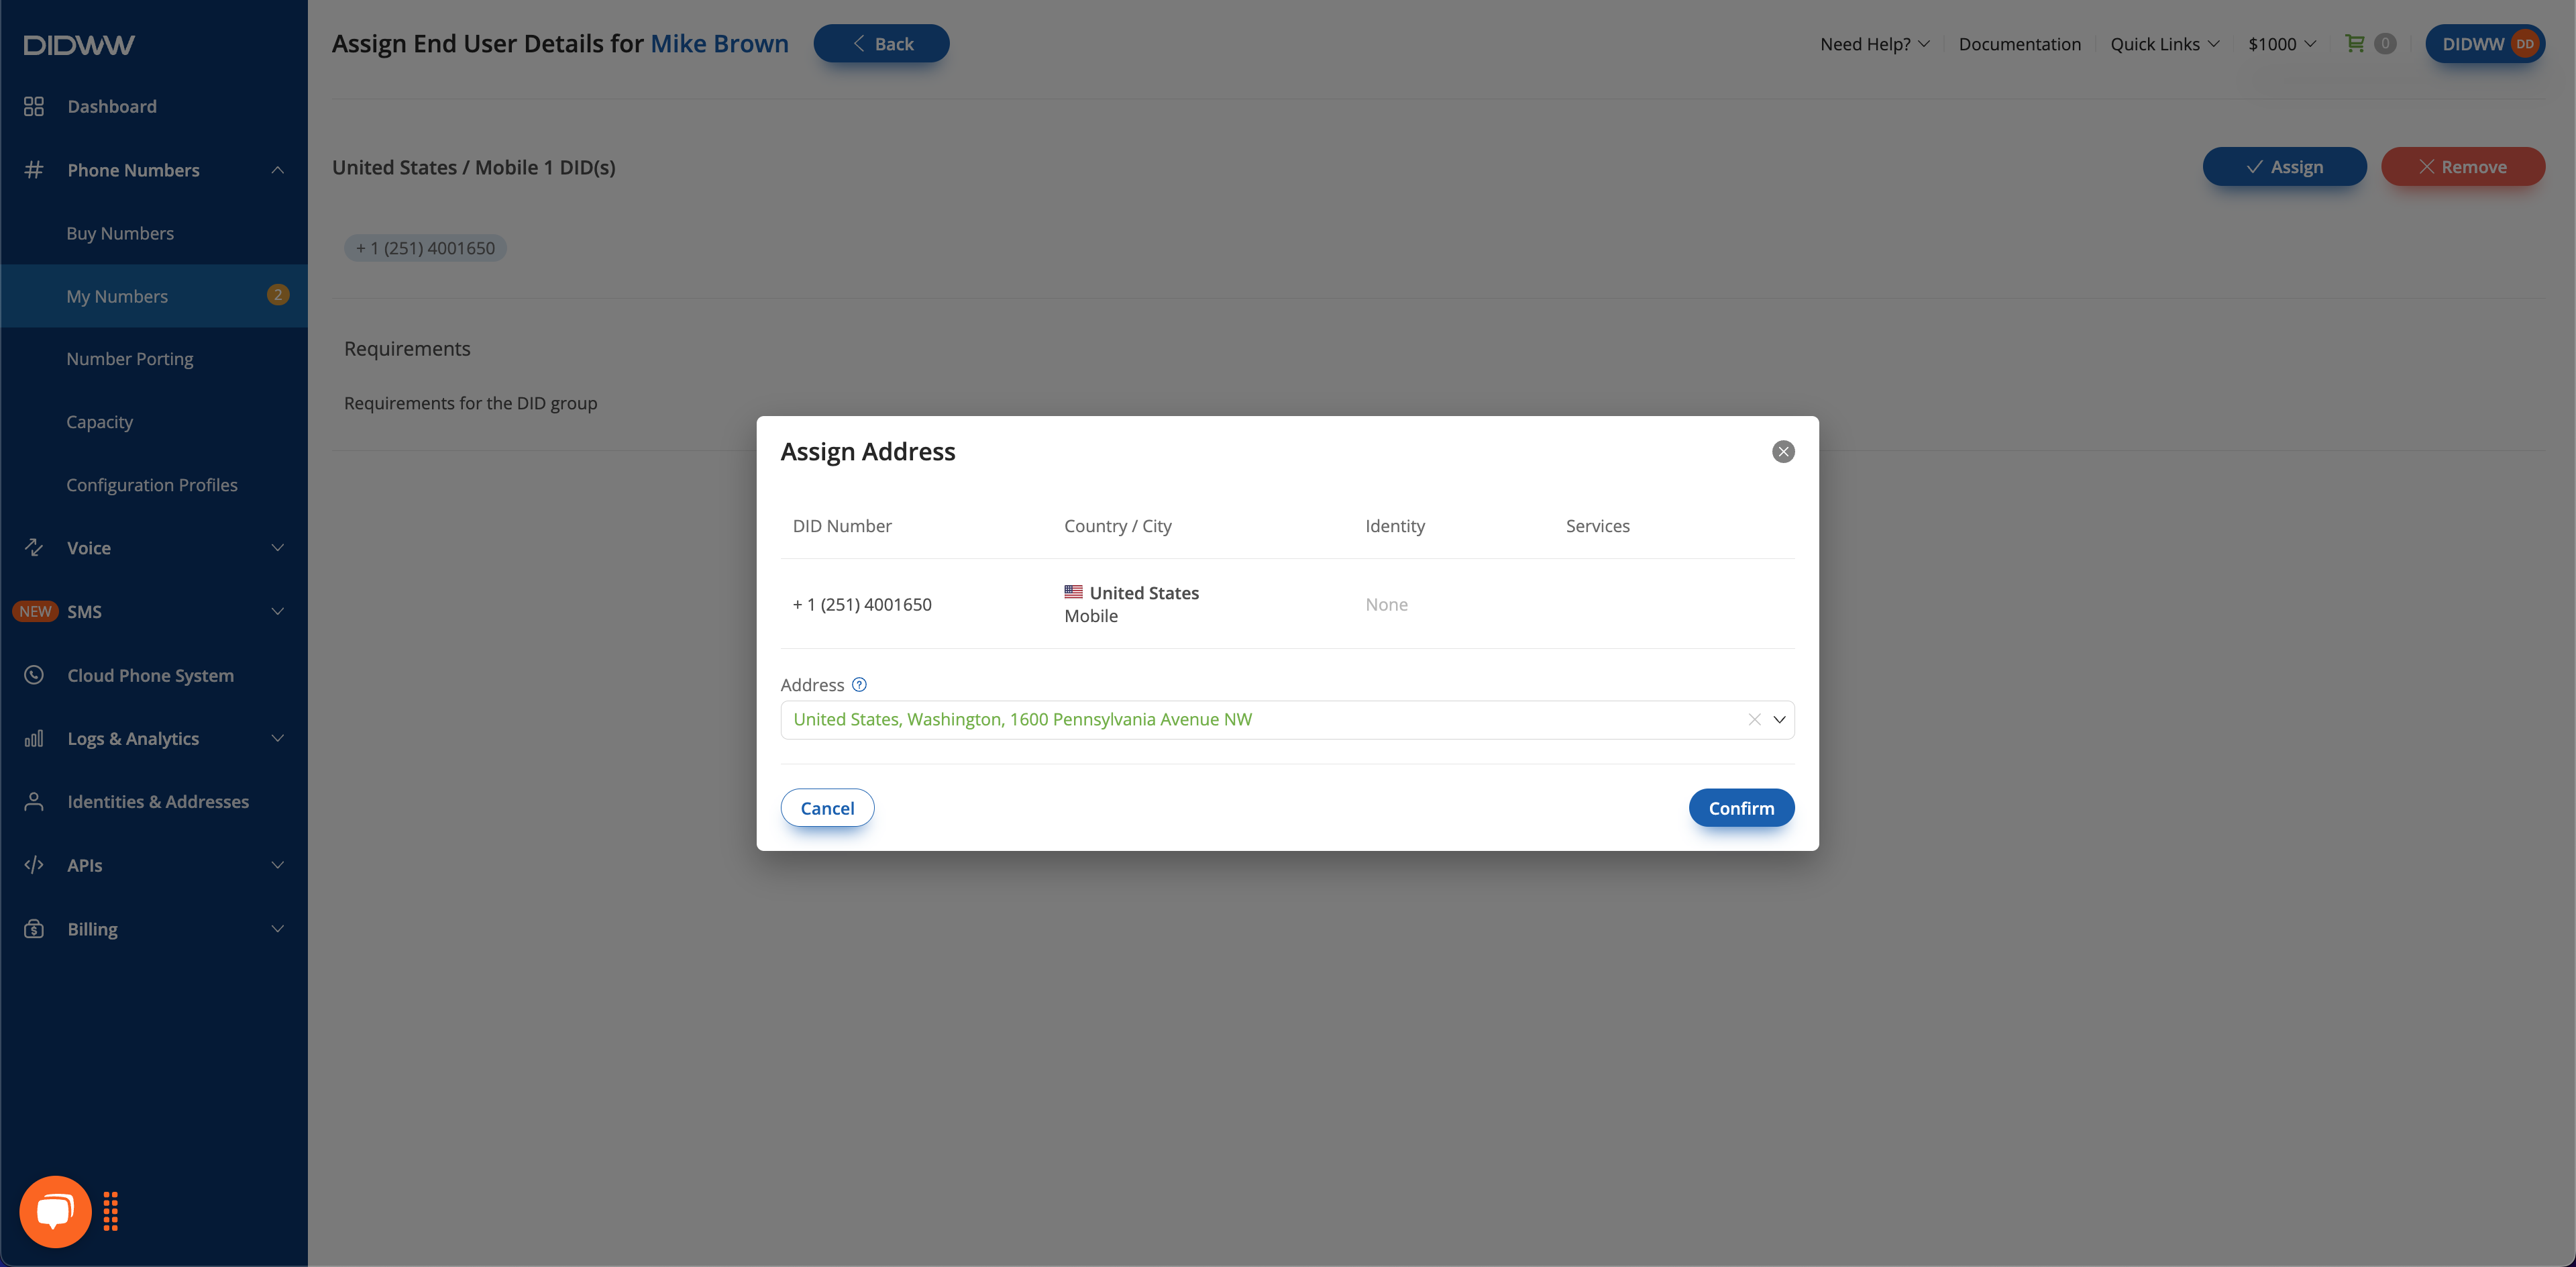
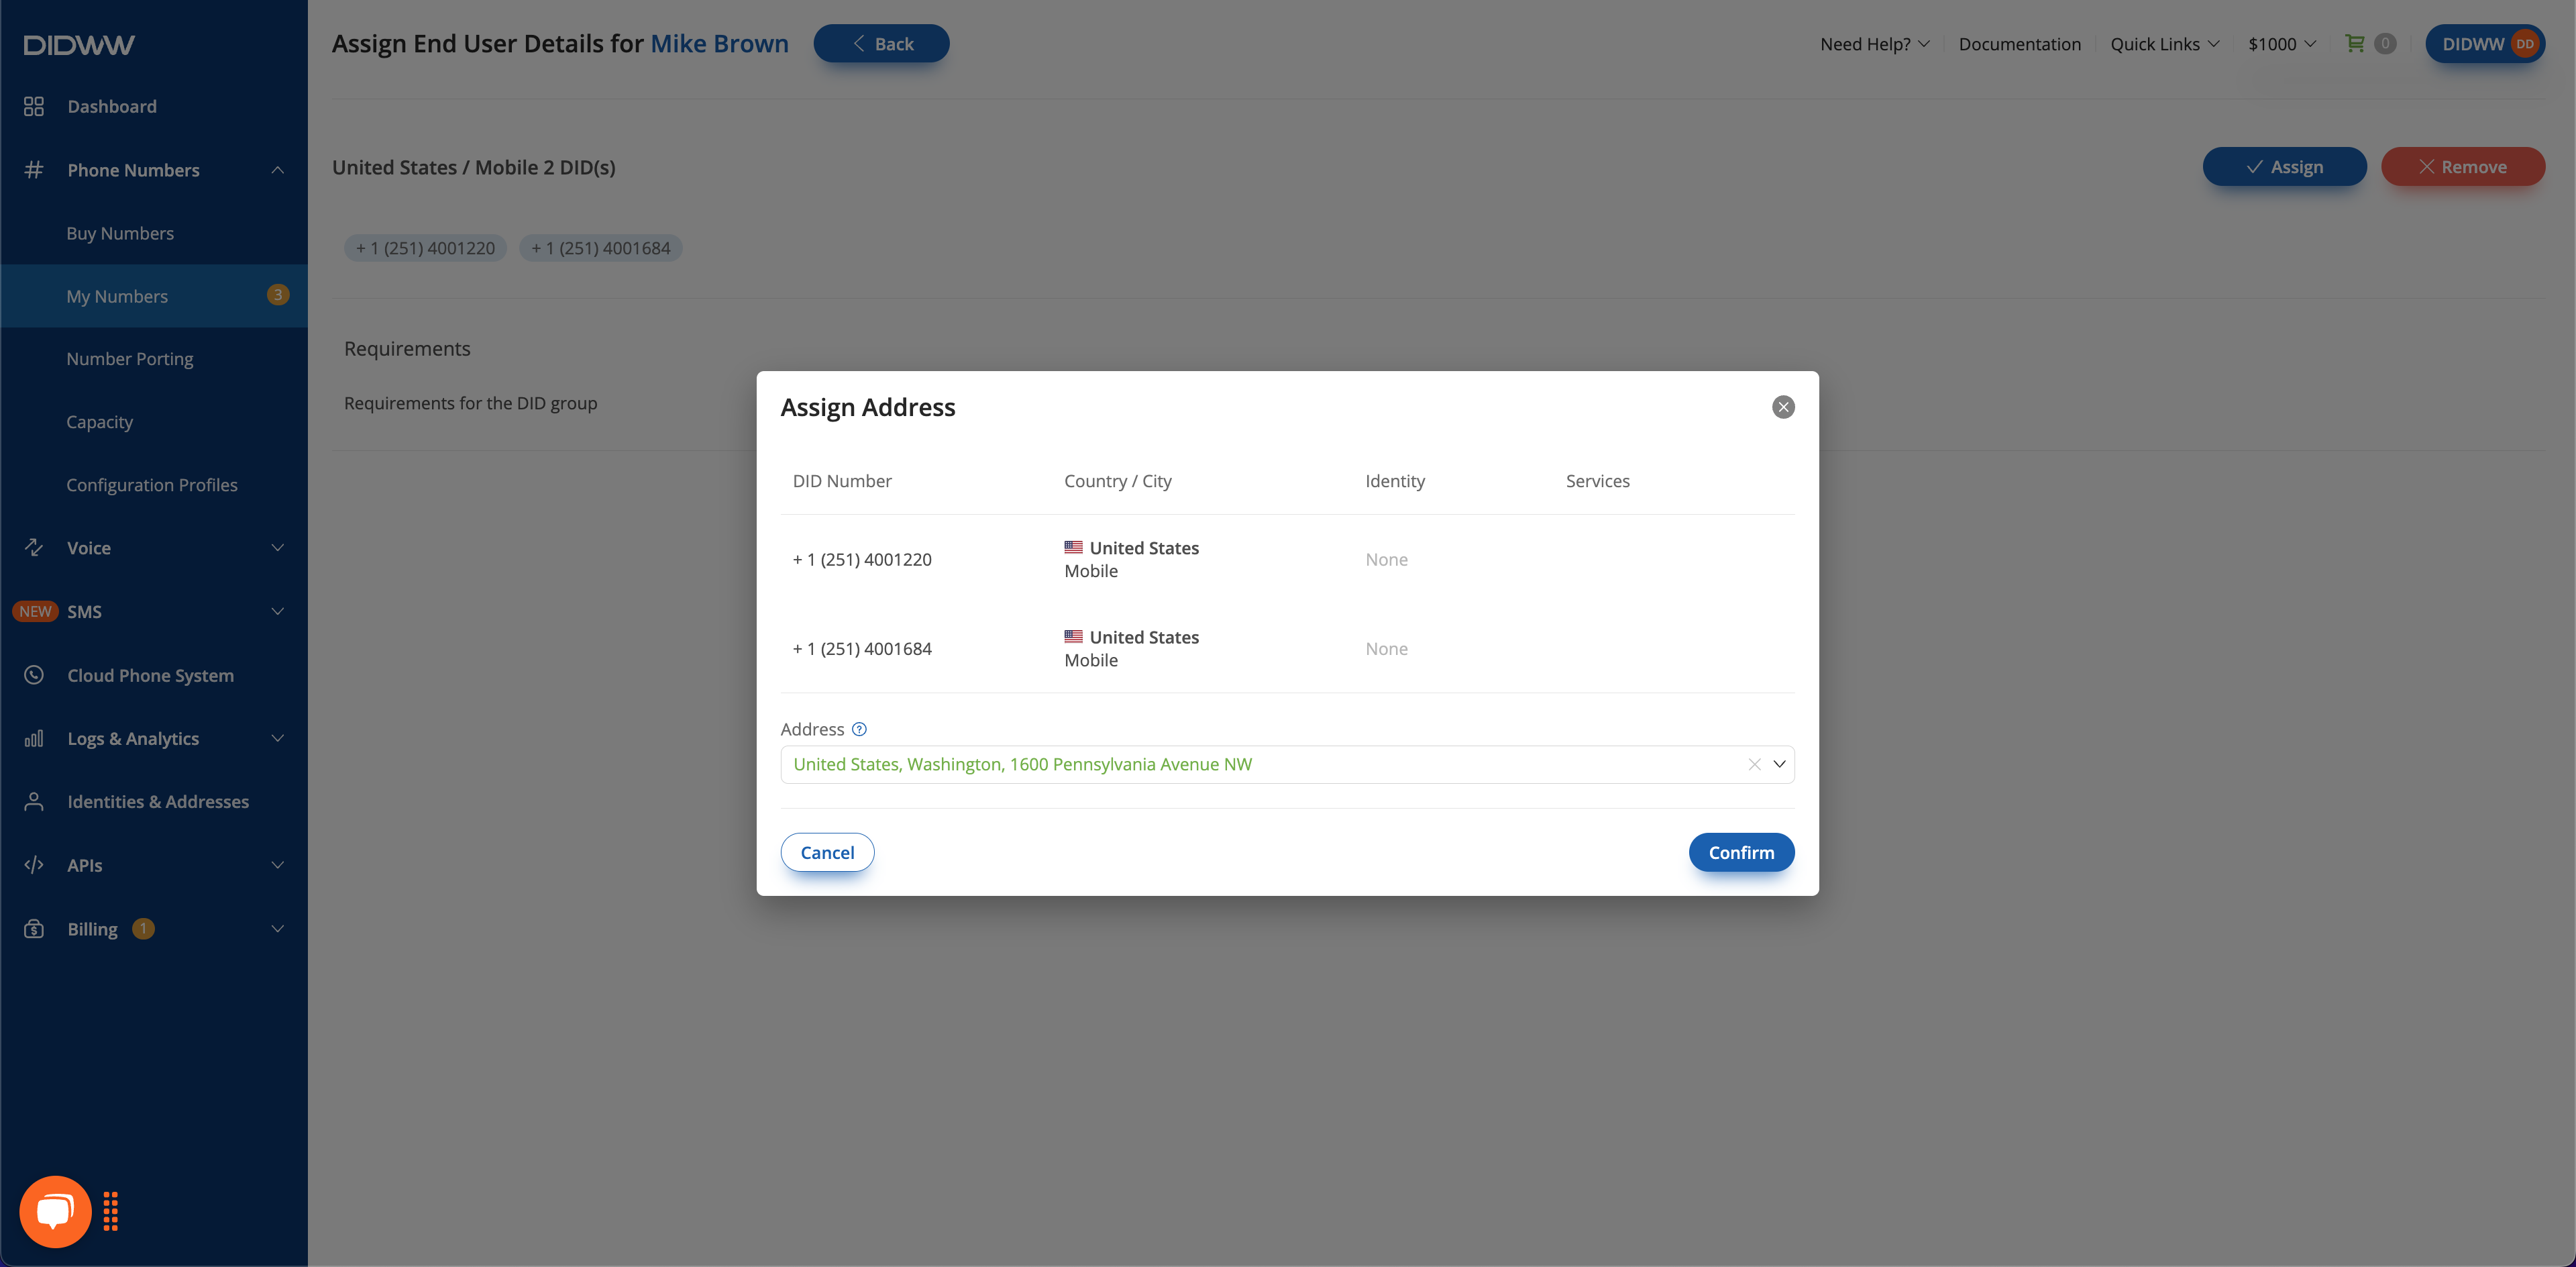
Step 3: Assign the address#
Assign end-user details to multiple DID numbers#
Use this flow when several DID numbers can use the same identity and address records.
Step 1: Open the Awaiting Registration quick filter#
Go to Phone Numbers > My Numbers.
Open the Awaiting Registration quick filter.
Step 2: Select numbers#
Select the DID numbers you want to update.
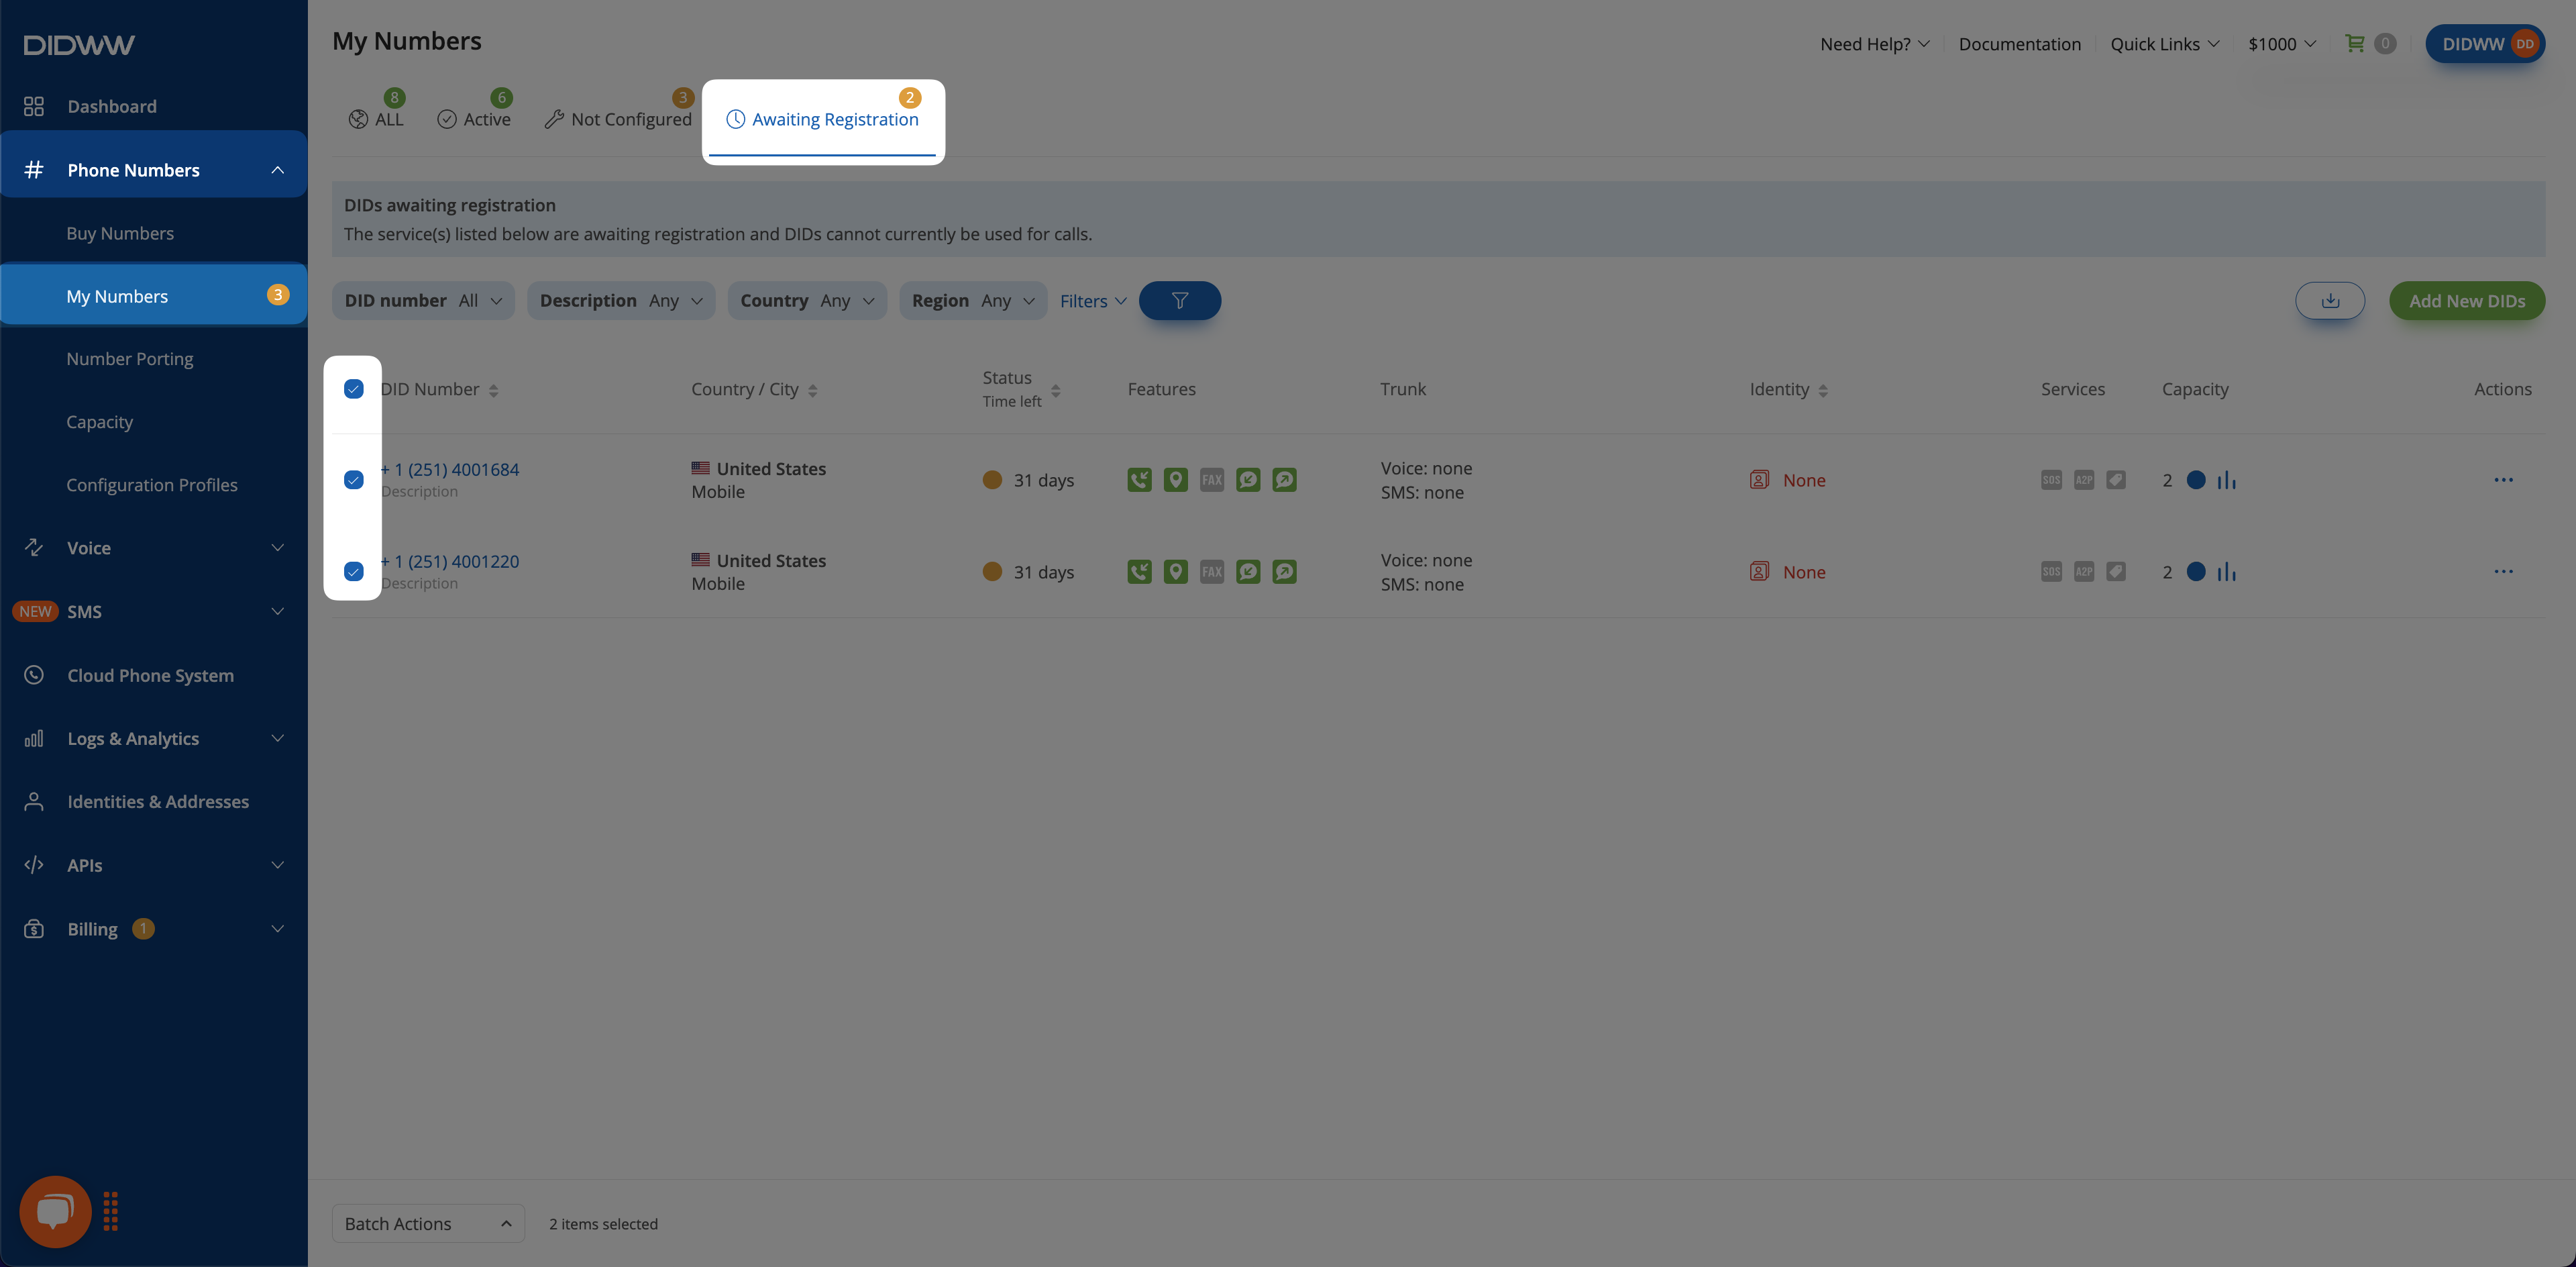
Fig. 5. Selecting multiple DID numbers.#
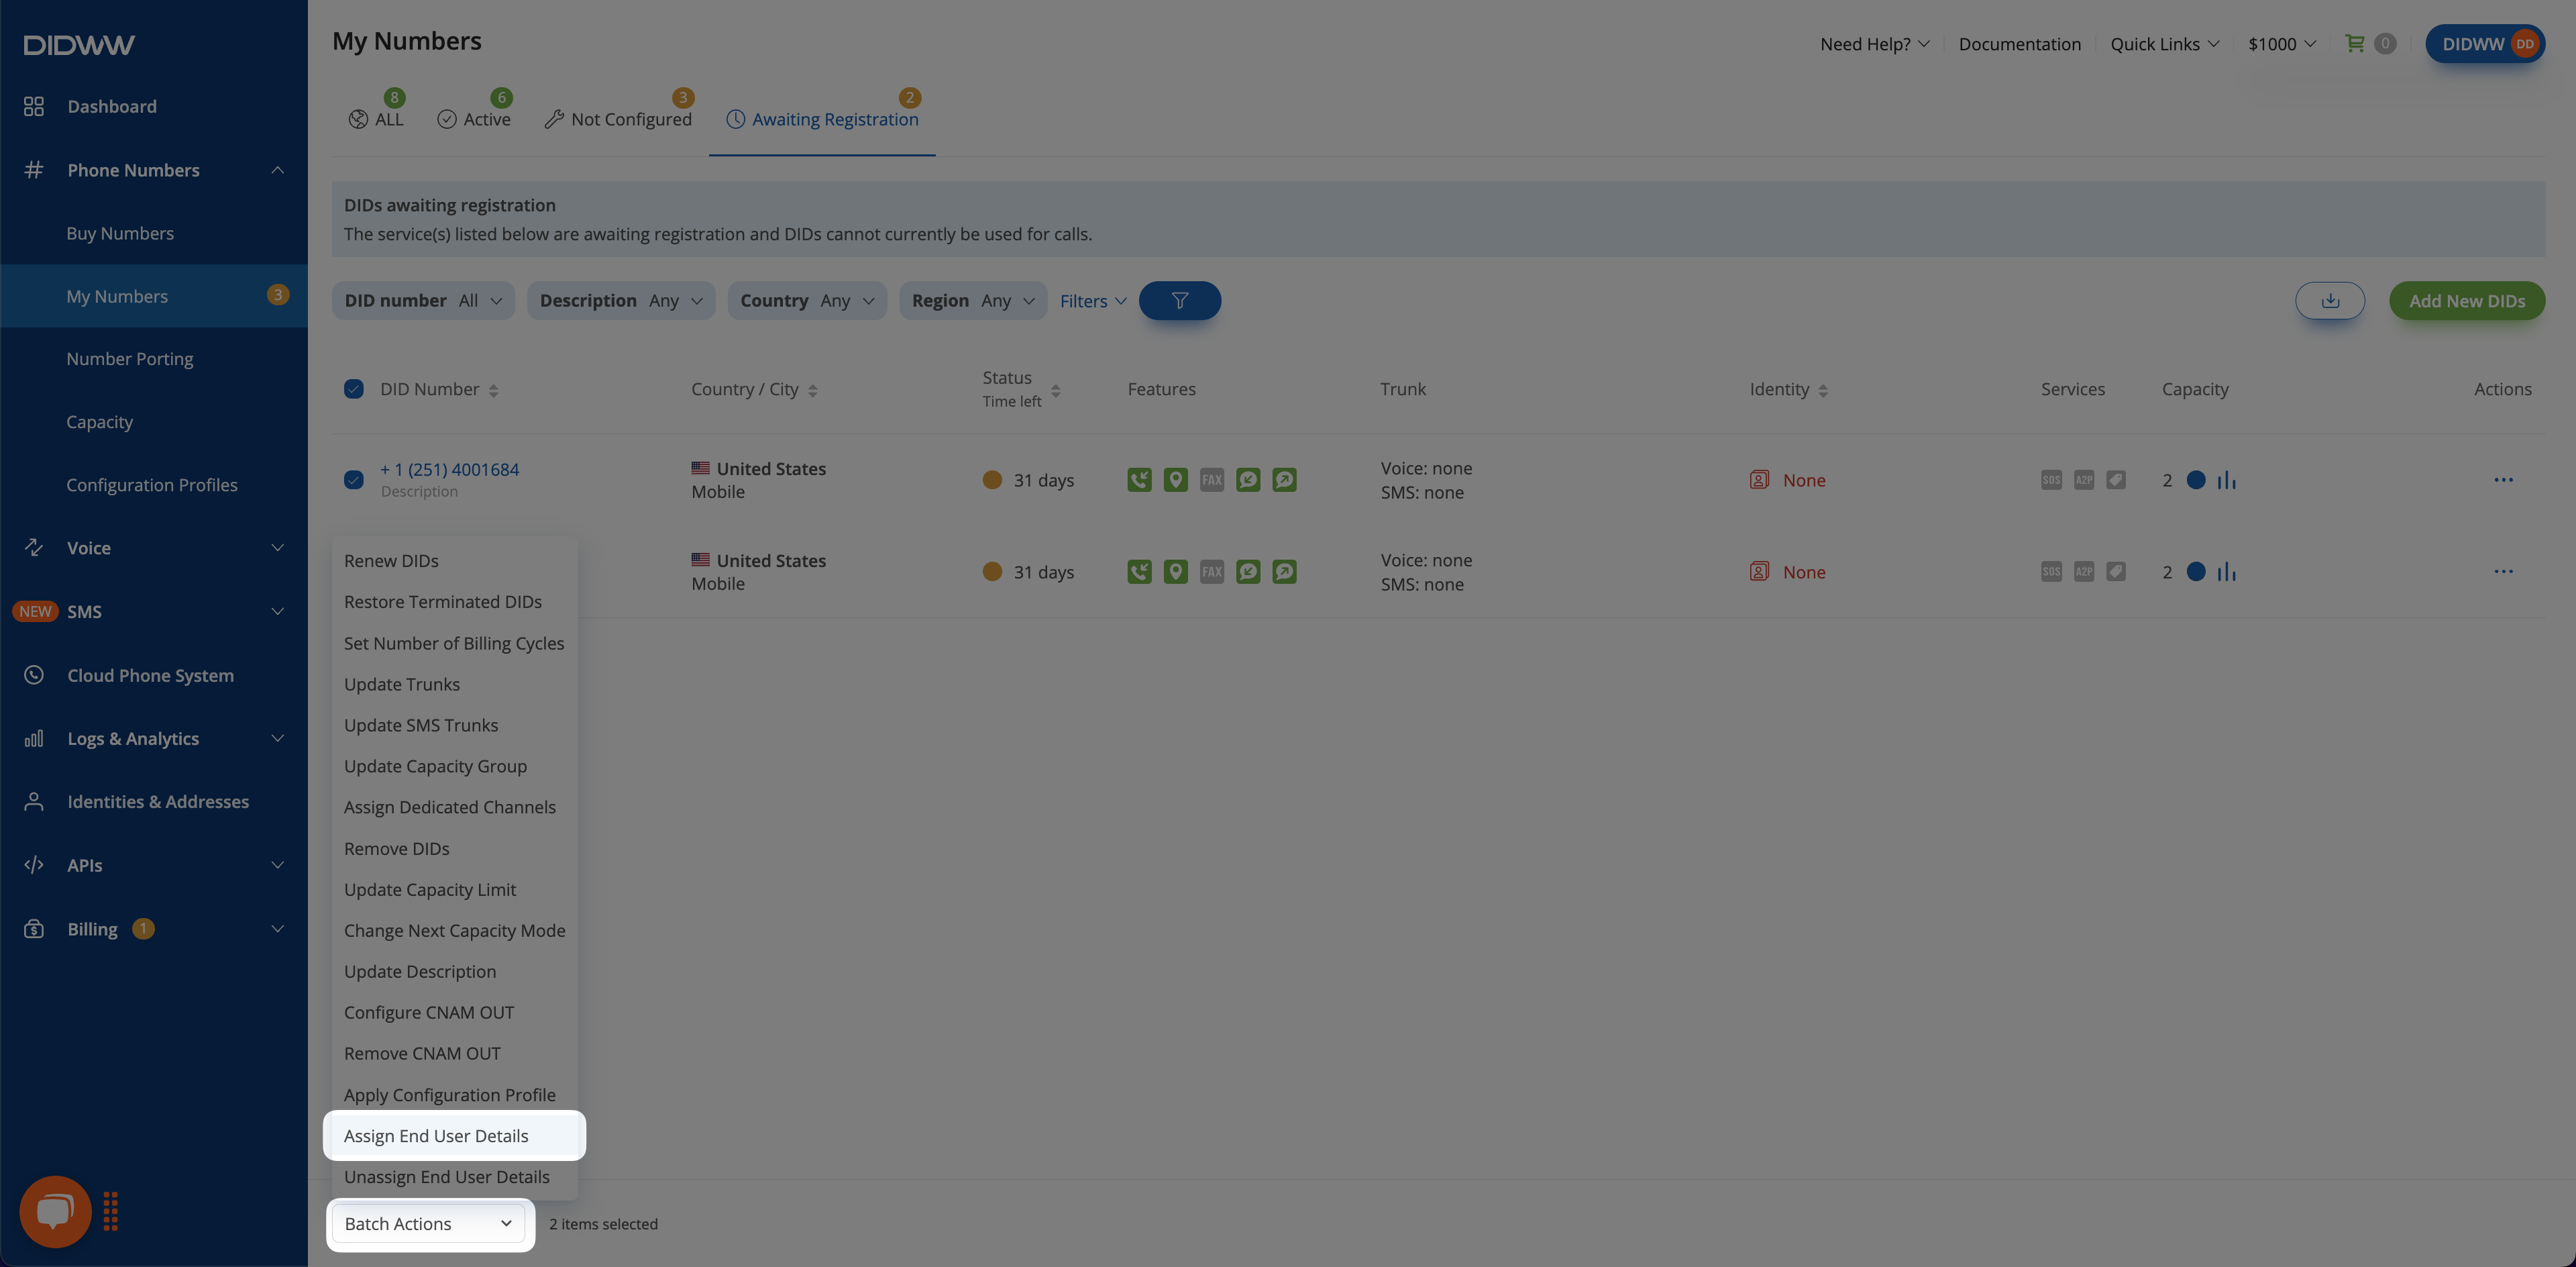
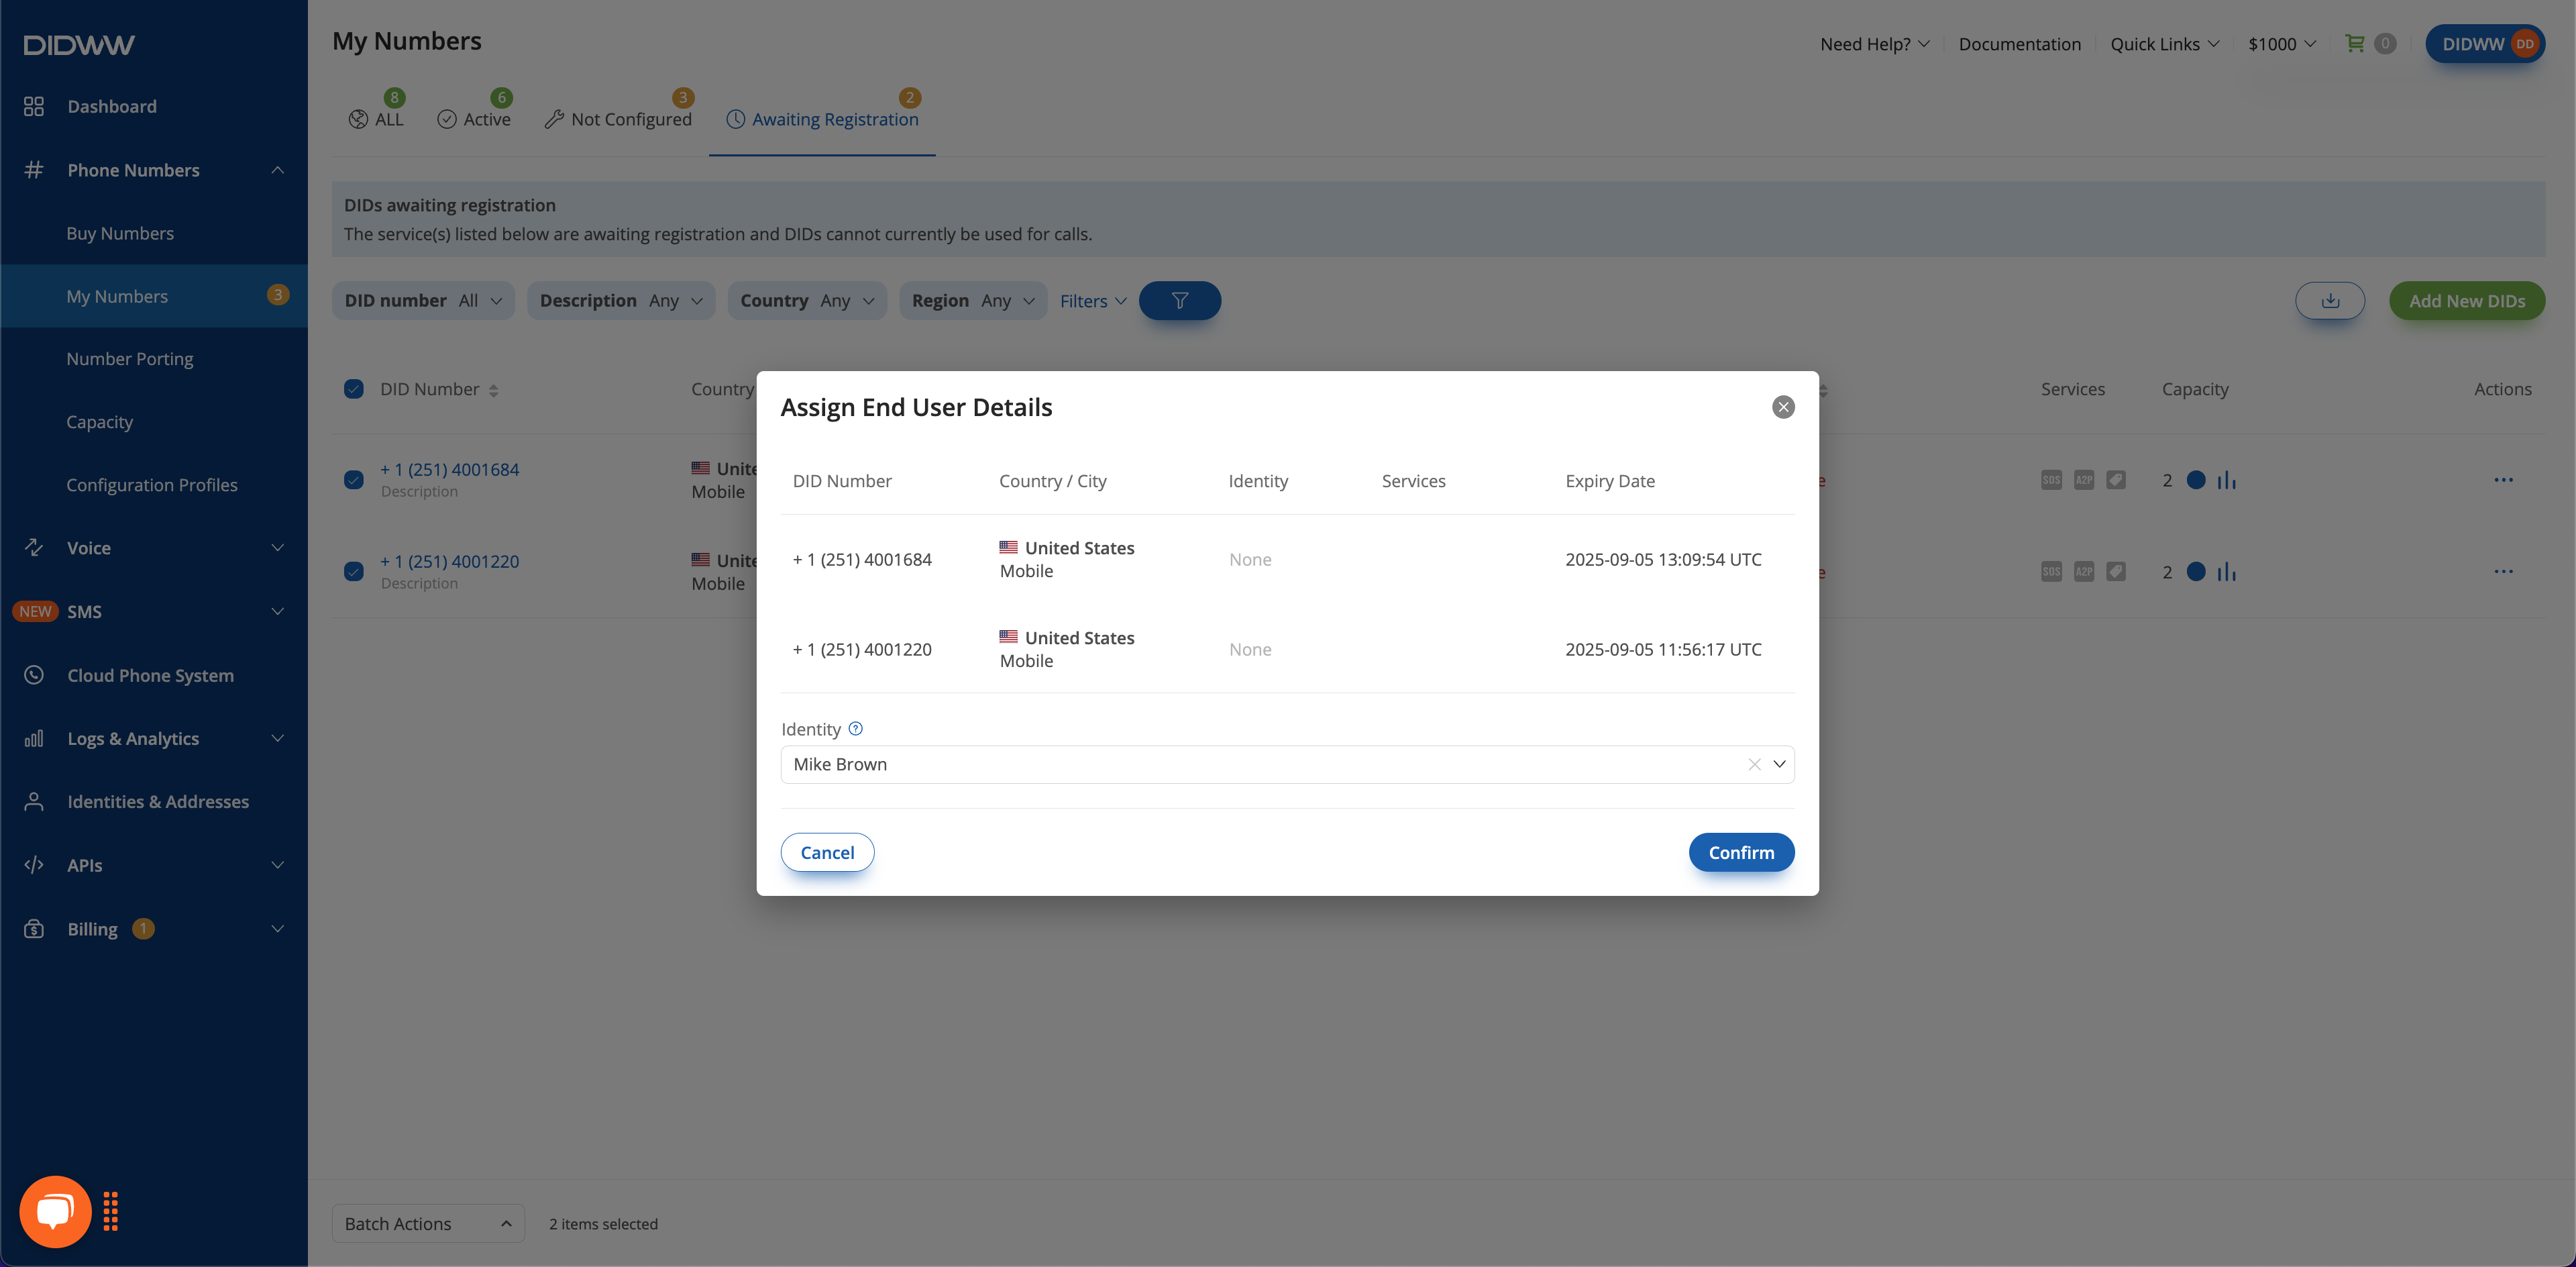
Step 3: Select the identity#
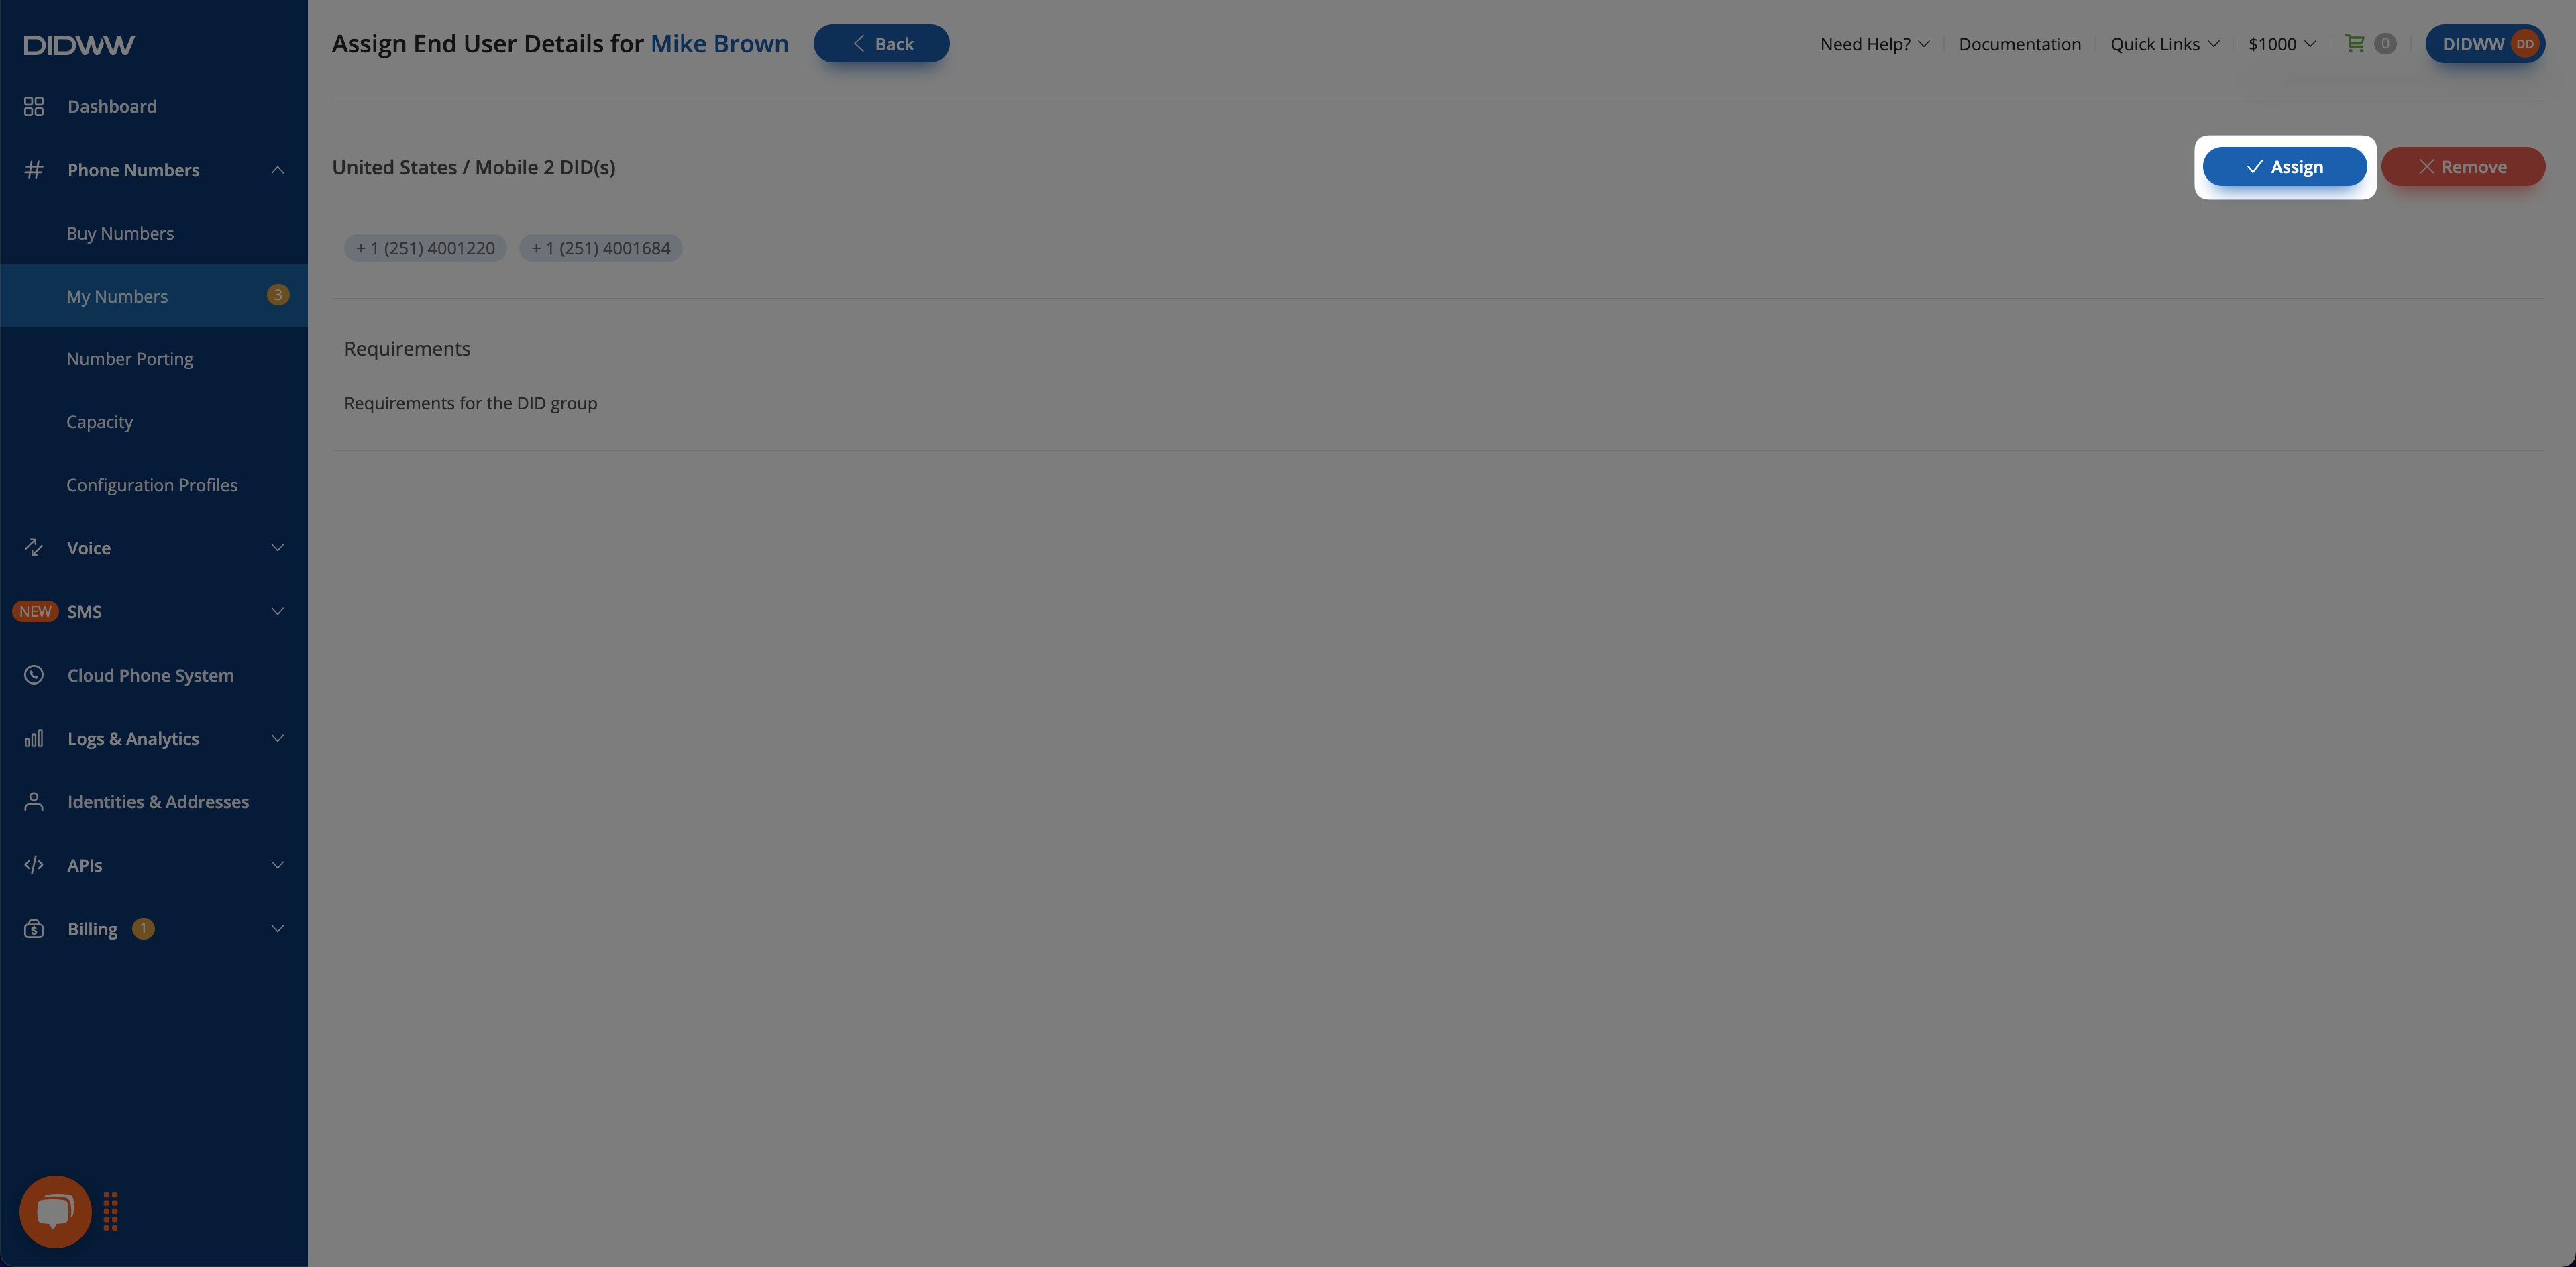
Step 4: Assign the address#
Next steps#
Verifications — Track the verification request status.
End-user verification — Understand End-user verification and activation.
Batch actions reference — Review the Assign End User Details batch action.