SMS Trunk Groups#
SMS Trunk Groups provide failover (redundancy) for your inbound SMS services. By grouping multiple SMS trunks together, you can define a prioritized order for routing messages. If the primary trunk is unavailable, the system will automatically attempt to deliver the message via the next trunk in the sequence.
Create and configure a new SMS Trunk Group.
Add trunks to the group and set their priority order.
Update the name or modify the members of an existing trunk group.
Remove a trunk group and its assigned trunks from your account.
Before You Begin#
Make sure you have at least two existing SMS trunks. A trunk group requires multiple trunks to provide redundancy and failover.
Create SMS Trunk Group#
Step 1: Start Creating Trunk Group#
In the user panel menu, navigate to SMS > SMS Trunks. Click the Create New button and select Trunk group from the dropdown menu.
Fig. 1. Navigating to create a new SMS Trunk Group.#
Step 2: Configure Trunk Group#
Assign a descriptive friendly name to identify the group and select two or more SMS trunks.
Note
The SMS trunk dropdown shows only trunks that are not already part of another trunk group.
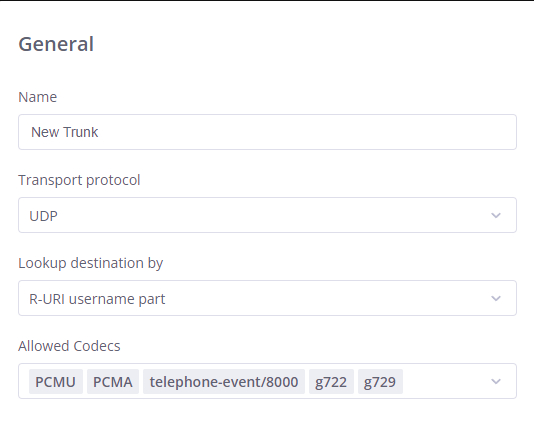
Fig. 2. The SMS Trunk Group configuration page.#
Step 3: Create the Group#
After entering all required details, click Create at the bottom of the page to save your trunk group. The group will then appear in the SMS Trunk Groups list.
Step 4: Assign the Trunk Group to DIDs#
To receive messages, assign the trunk group to one or more DIDs that support inbound SMS. For detailed steps, see Assign an SMS trunk.
Manage Trunks in a Group#
After creating a trunk group, you can manage its member trunks from the SMS Trunks list.
Setting Trunk Priority#
Priority controls the order in which trunks are used for message delivery. Trunks with a lower priority number are attempted first.
In the SMS Trunks list, expand the trunk group by clicking the arrow next to its name.
The member trunks will be displayed, each with a Priority field.
Click the number in the Priority column to edit it. A lower value represents a higher priority.
If the trunk with priority 0 fails, the system will automatically try the trunk with priority 1, then 2, and so on.
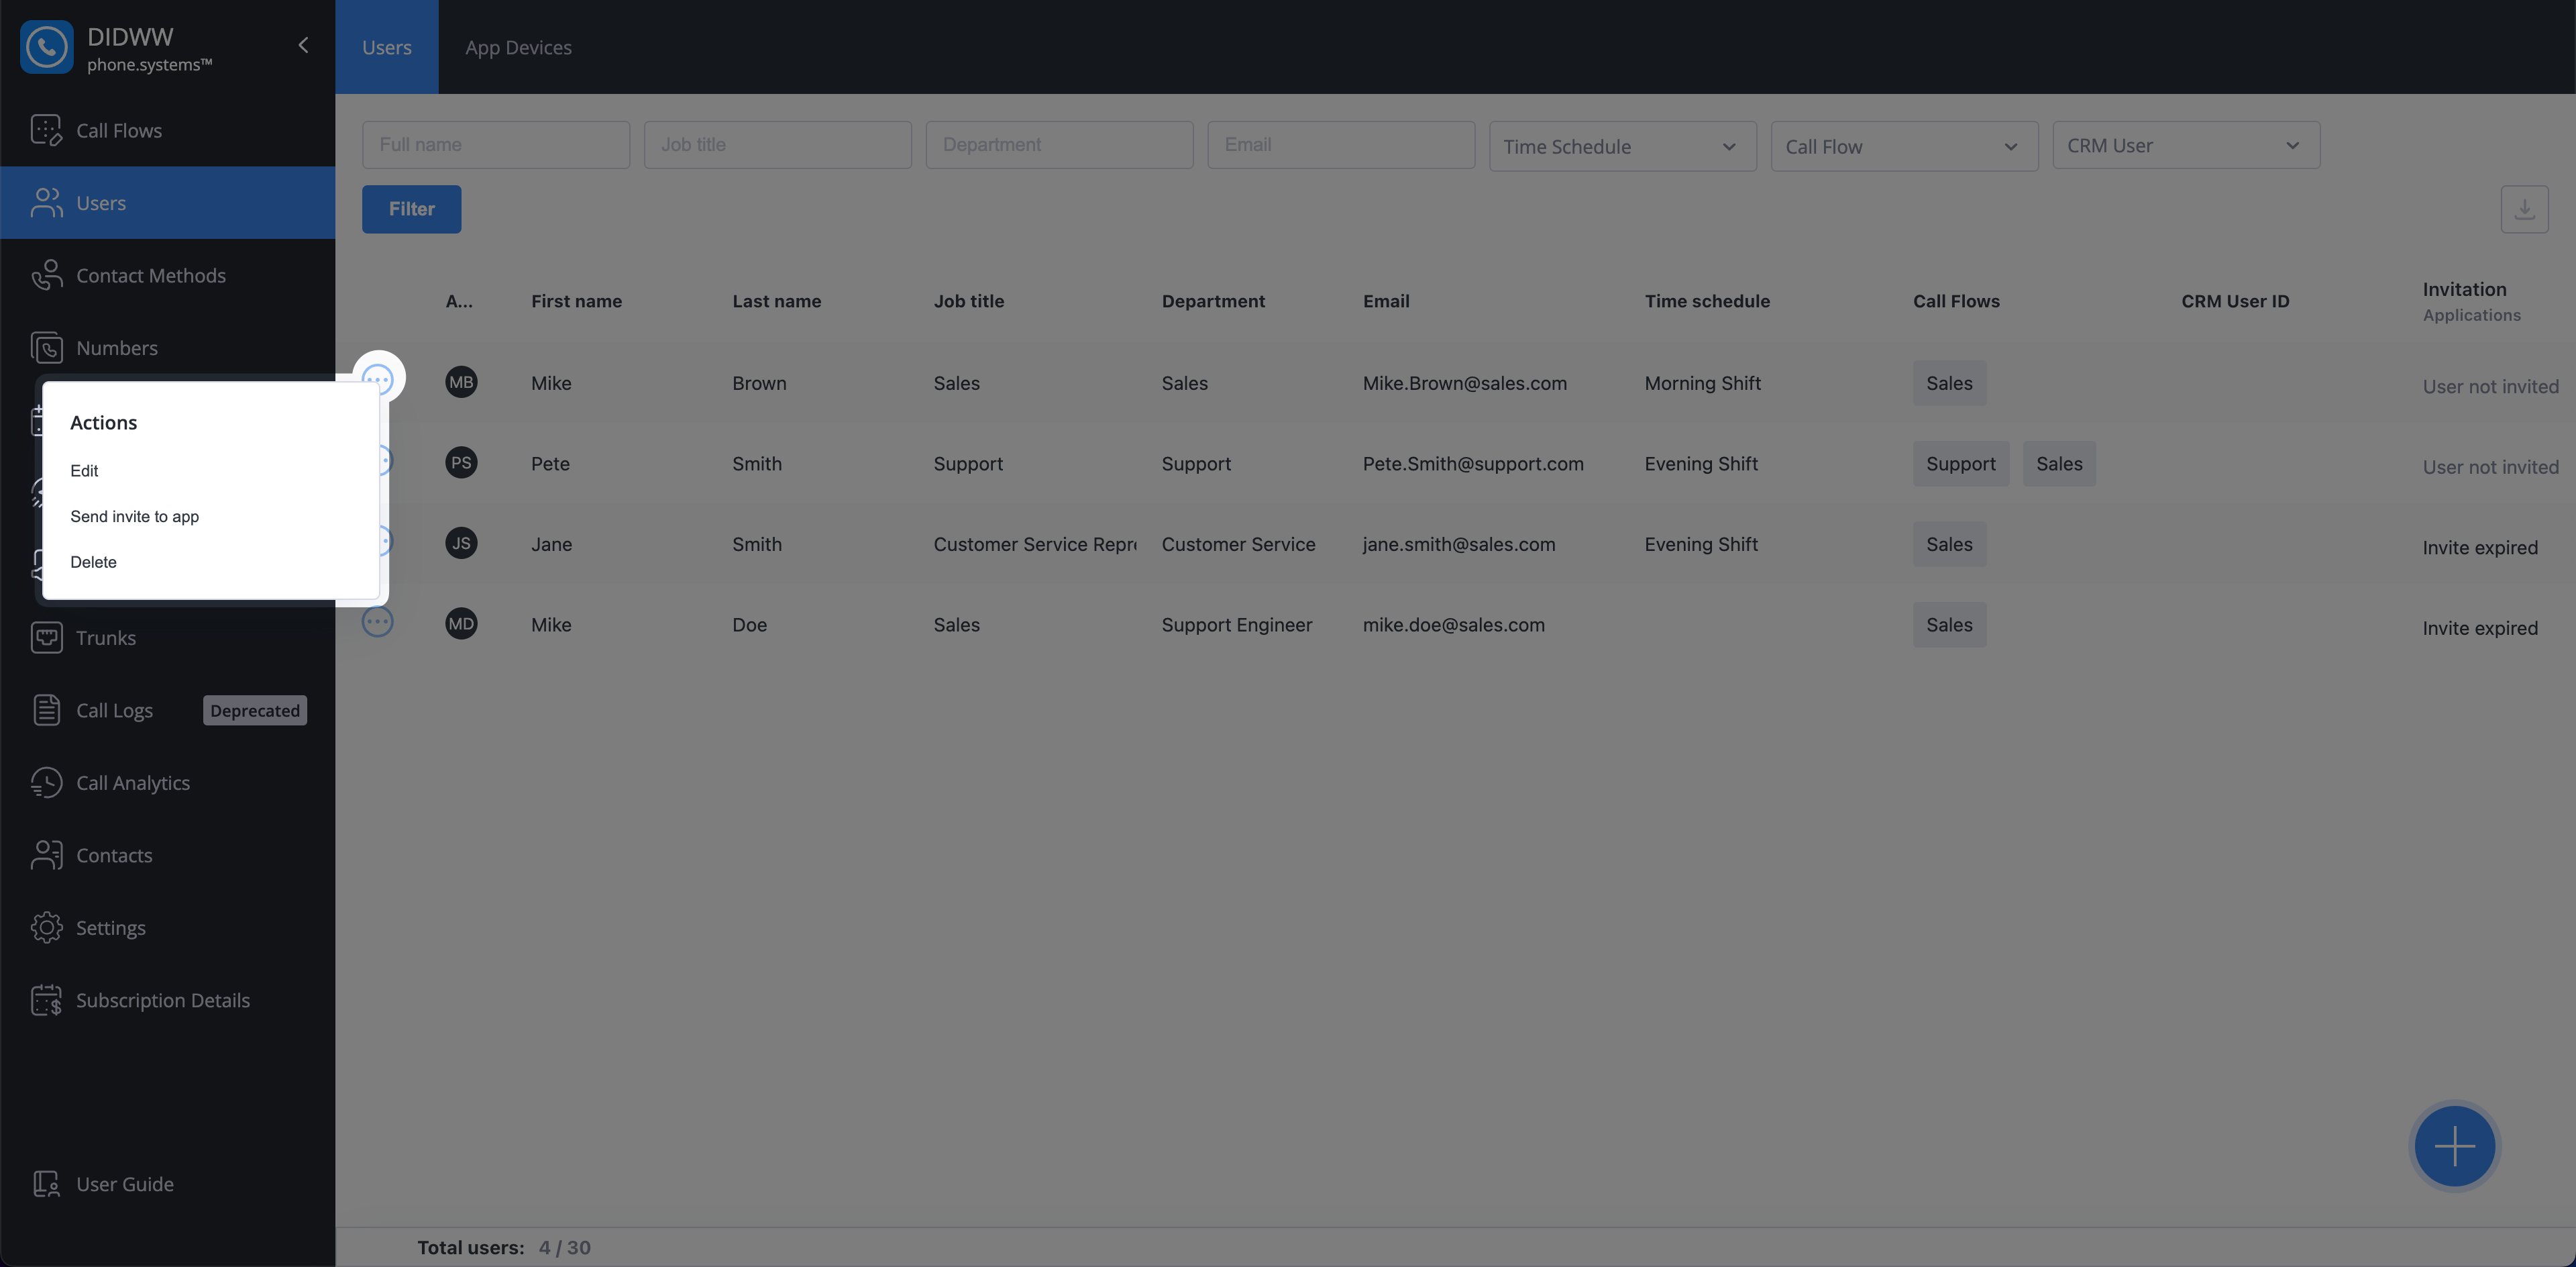
Fig. 3. Managing trunk priorities.#
Edit SMS Trunk Group#
Navigate to the SMS Trunks list page.
Select Edit, make the necessary changes, and click Save.
Fig. 4. The Edit SMS Trunk Group button.#
Delete SMS Trunk Group#
Navigate to the SMS Trunks list page.
Find the trunk group you want to remove and click the actions button
 .
.Select Delete.
Fig. 5. The Delete SMS Trunk Group button.#
In the confirmation window, choose how to handle the member trunks:
Remove SMS trunks from the group — Deletes the trunk group but keeps the individual trunks in your account.
Delete SMS trunks — Permanently deletes both the group and all of its member trunks.
Click Delete to confirm.
Note
SMS trunks that are currently assigned to a DID cannot be deleted. Unassign the trunks from all DIDs before attempting to delete them.
Fig. 6. The Delete SMS Trunk Group confirmation window.#