SMPP ESME Trunk#
An SMPP ESME (External Short Messaging Entity) trunk lets your application connect directly to the DIDWW SMSC (Short Message Service Center) to send and receive SMS. This provides a fast, reliable solution for real-time application-to-person (A2P) messaging. Two-way communication is supported when you assign one or more DIDs with inbound SMS to the SMPP ESME trunk.
Create and configure a new SMPP ESME Trunk.
Access or update your System ID and password.
Connect your application using the trunk credentials.
Update the settings of an existing trunk.
Remove one or more trunks from your account.
Create SMPP ESME Trunk#
Step 1: Start Creating SMPP ESME Trunk#
In the user panel menu, navigate to SMS > SMS Trunks. Click the Create New button and select SMPP ESME from the dropdown menu.
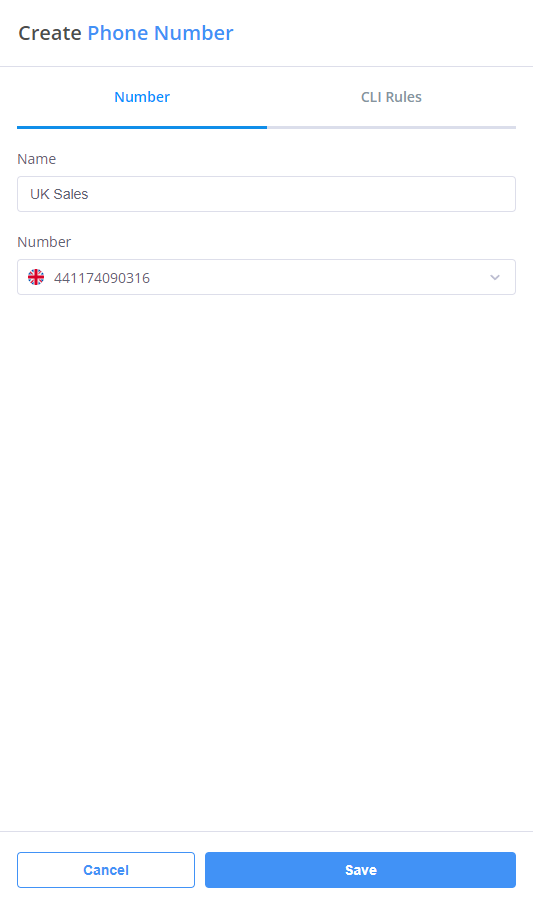
Fig. 1. Navigating to create a new SMPP ESME Trunk.#
Step 2: Configure SMPP ESME Trunk#
Enter the general information required to configure your SMPP ESME trunk. Provide a unique friendly name, specify which IP addresses are authorized to connect, and optionally define a system type to categorize your ESME binding.
Fig. 2. The SMPP ESME Trunk configuration page.#
General Settings#
Setting
Description
Friendly name
A unique name to identify this trunk.
Allowed IP addresses
IP addresses from which access to the API is allowed in the format (IPv4|IPv6)[/mask] (not mandatory).
Allow all IP addresses if empty.System type
The system_type parameter is used to categorize the type of ESME that is binding to the SMSC.
Examples include “VMS” (voice mail system) and “OTA” (over-the-air activation system).
Source Address Settings#
The Source Address Settings section controls which DID numbers can be used as the sender ID for outbound SMS.
Use the Allow any DID(s) for SMS OUT toggle to choose how sender IDs are assigned:
Toggle on (default): All DIDs with Outbound P2P SMS enabled in your account can be used as the sender ID.
Toggle off: You can specify which DIDs are allowed. To do this, select numbers from the Available Source Addresses list and add them to the Allowed Source Addresses list. Only the numbers you add will be available as sender IDs.
Fig. 3. Authorizing specific DIDs as sender IDs.#
Note
When the Allow any DID(s) for SMS OUT toggle is turned off, the Available Sender IDs list shows only DIDs that support outbound P2P SMS.
Trunk Group Configuration (Optional)#
You may assign the trunk to an existing trunk group in order to enable failover or load-balancing. Within the trunk group, you can also define the trunk’s priority, which determines the order in which trunks will be used.
Note
The system will always attempt to contact the target SMS trunk with the lowest-numbered priority first.
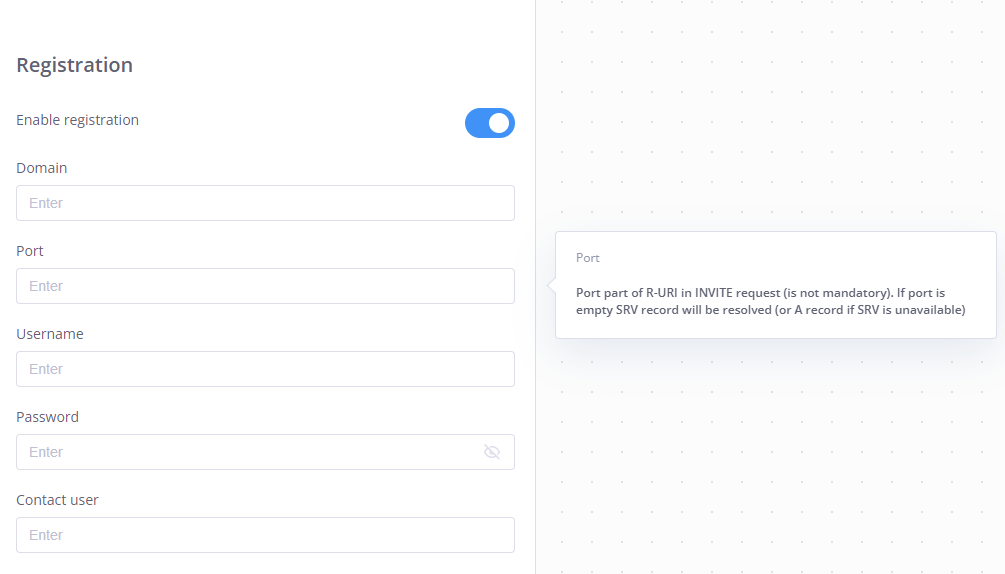
Fig. 4. Trunk Group configuration section for SMPP ESME Trunk.#
Step 3: Create the SMPP ESME Trunk#
Once you have entered all required fields, click Create at the bottom of the page to save the new trunk. The trunk credentials (System ID, Password, Host, and Port) will then be available for you to use when binding your application to the DIDWW SMSC.
Note
For detailed instructions on how to connect, see Bind SMPP ESME Trunk.
Step 4: Assign the SMPP ESME Trunk to DIDs (Inbound SMS Only)#
Note
You only need to assign DIDs if you want to receive inbound SMS. For outbound SMS, DID assignment is not required.
To receive SMS on this trunk, assign one or more DIDs that support inbound SMS. Messages sent to those DIDs are then delivered to your SMPP connection. For detailed steps, see Assign an SMS trunk.
View or Regenerate Credentials#

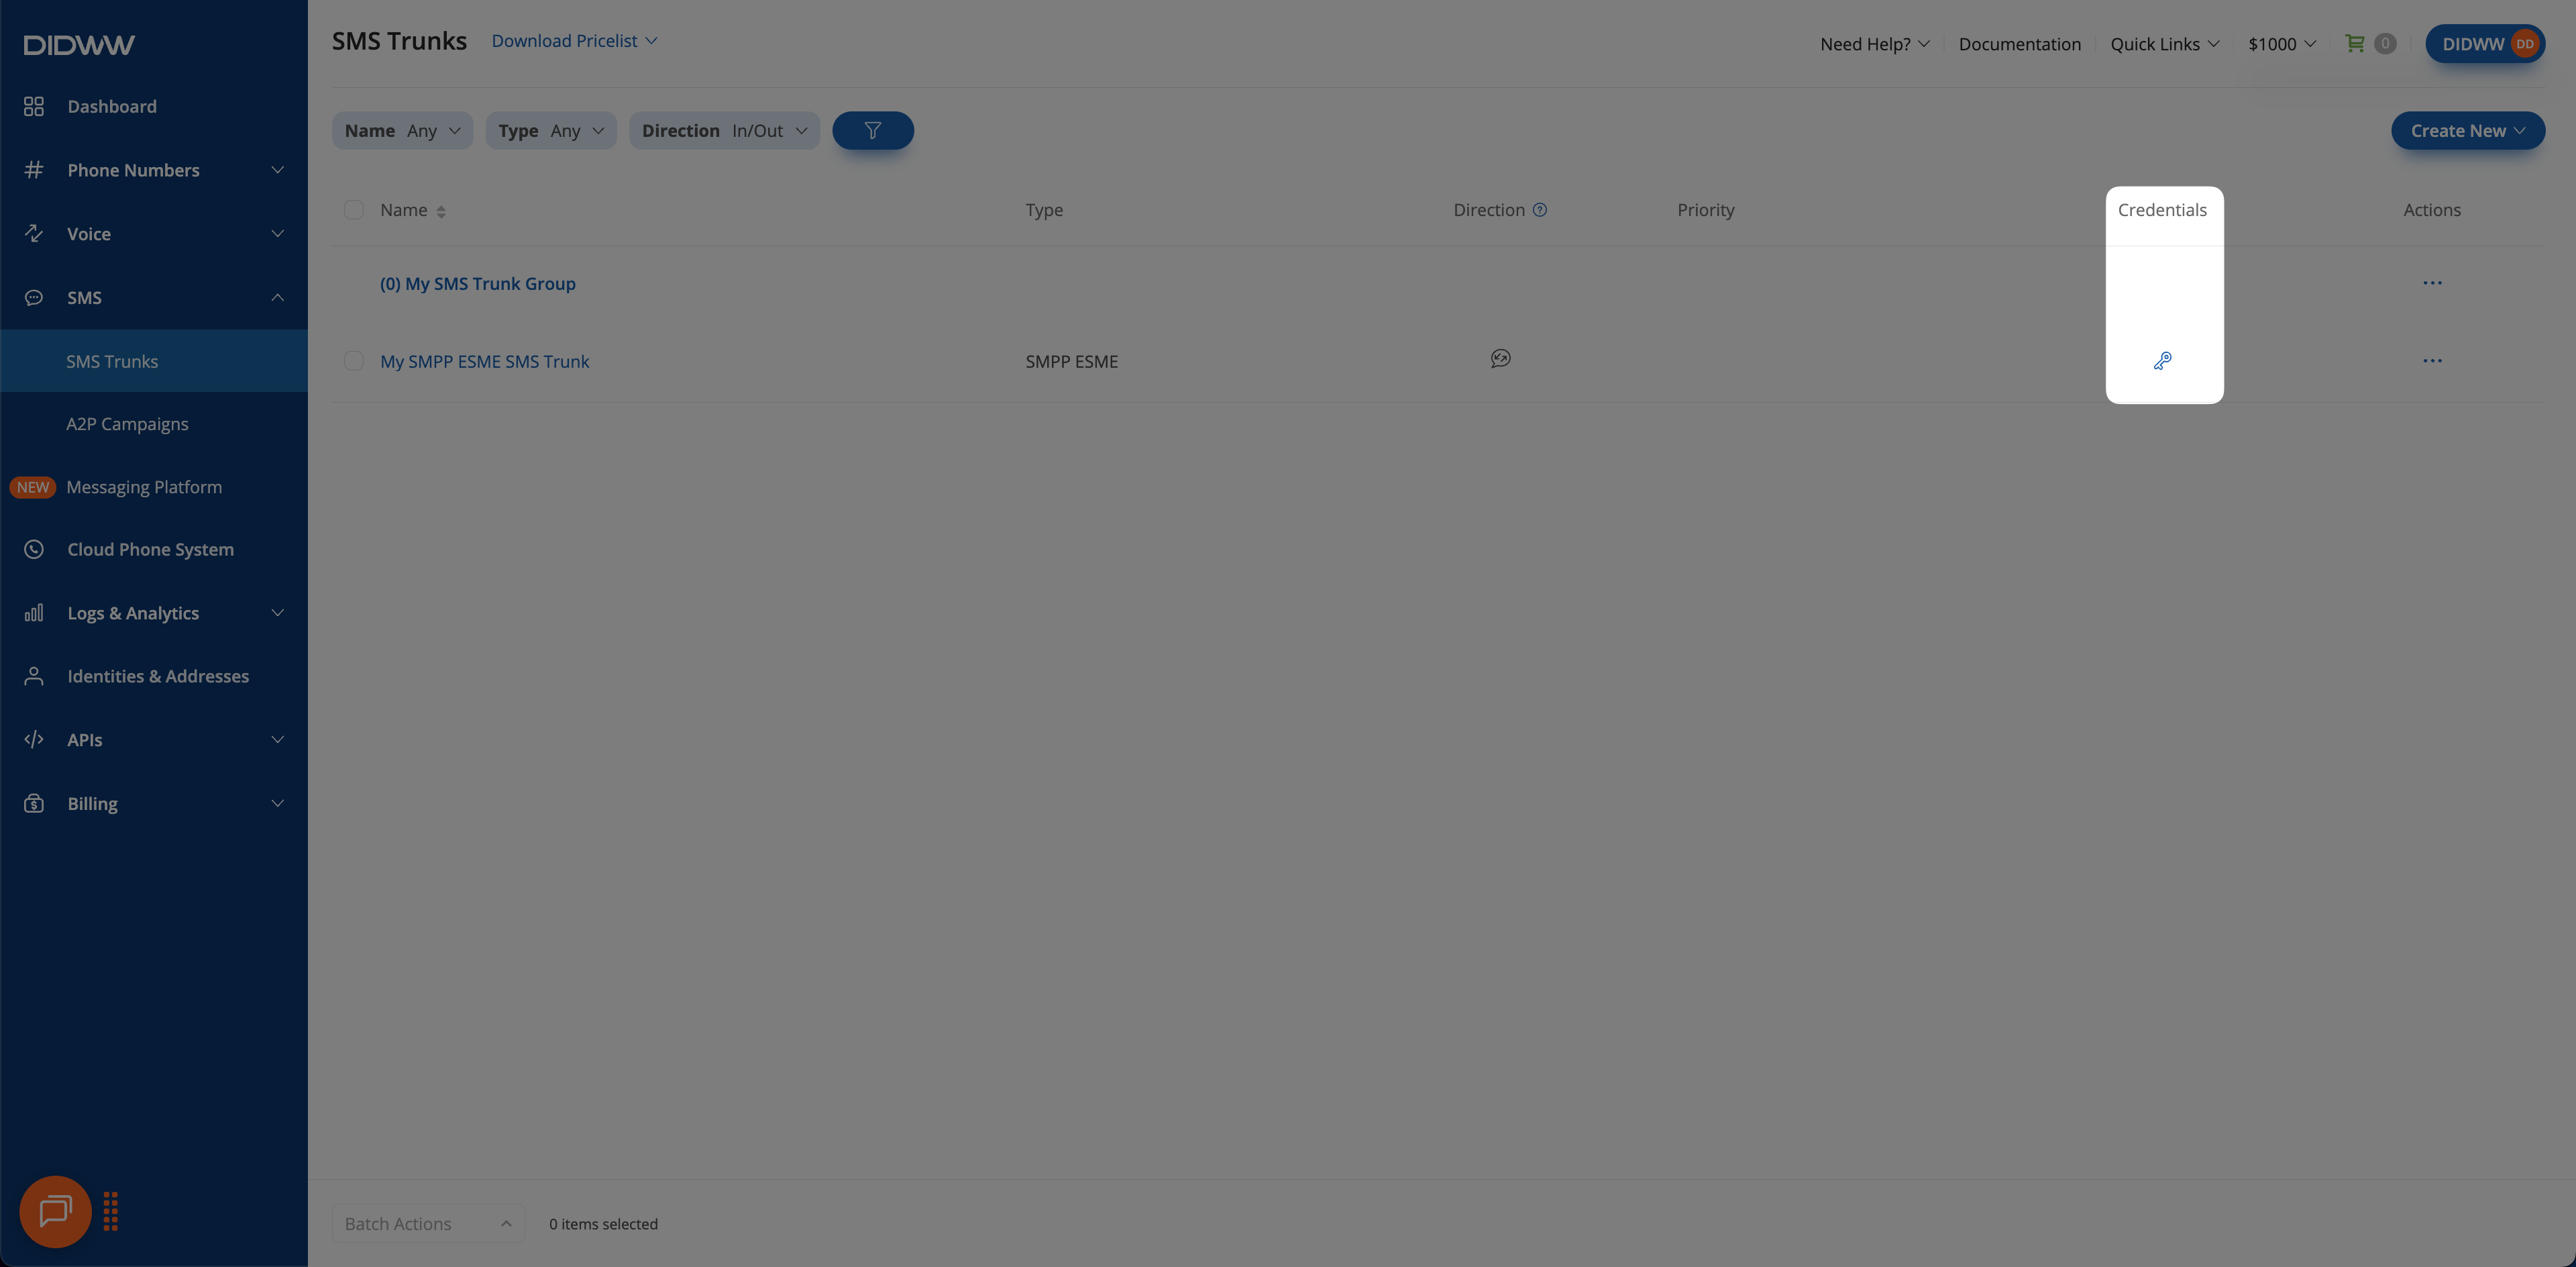
Fig. 5. Credentials button.#
In the credentials pop-up window, you can view the SMPP ESME connection details. Click the eye icon to show the password.
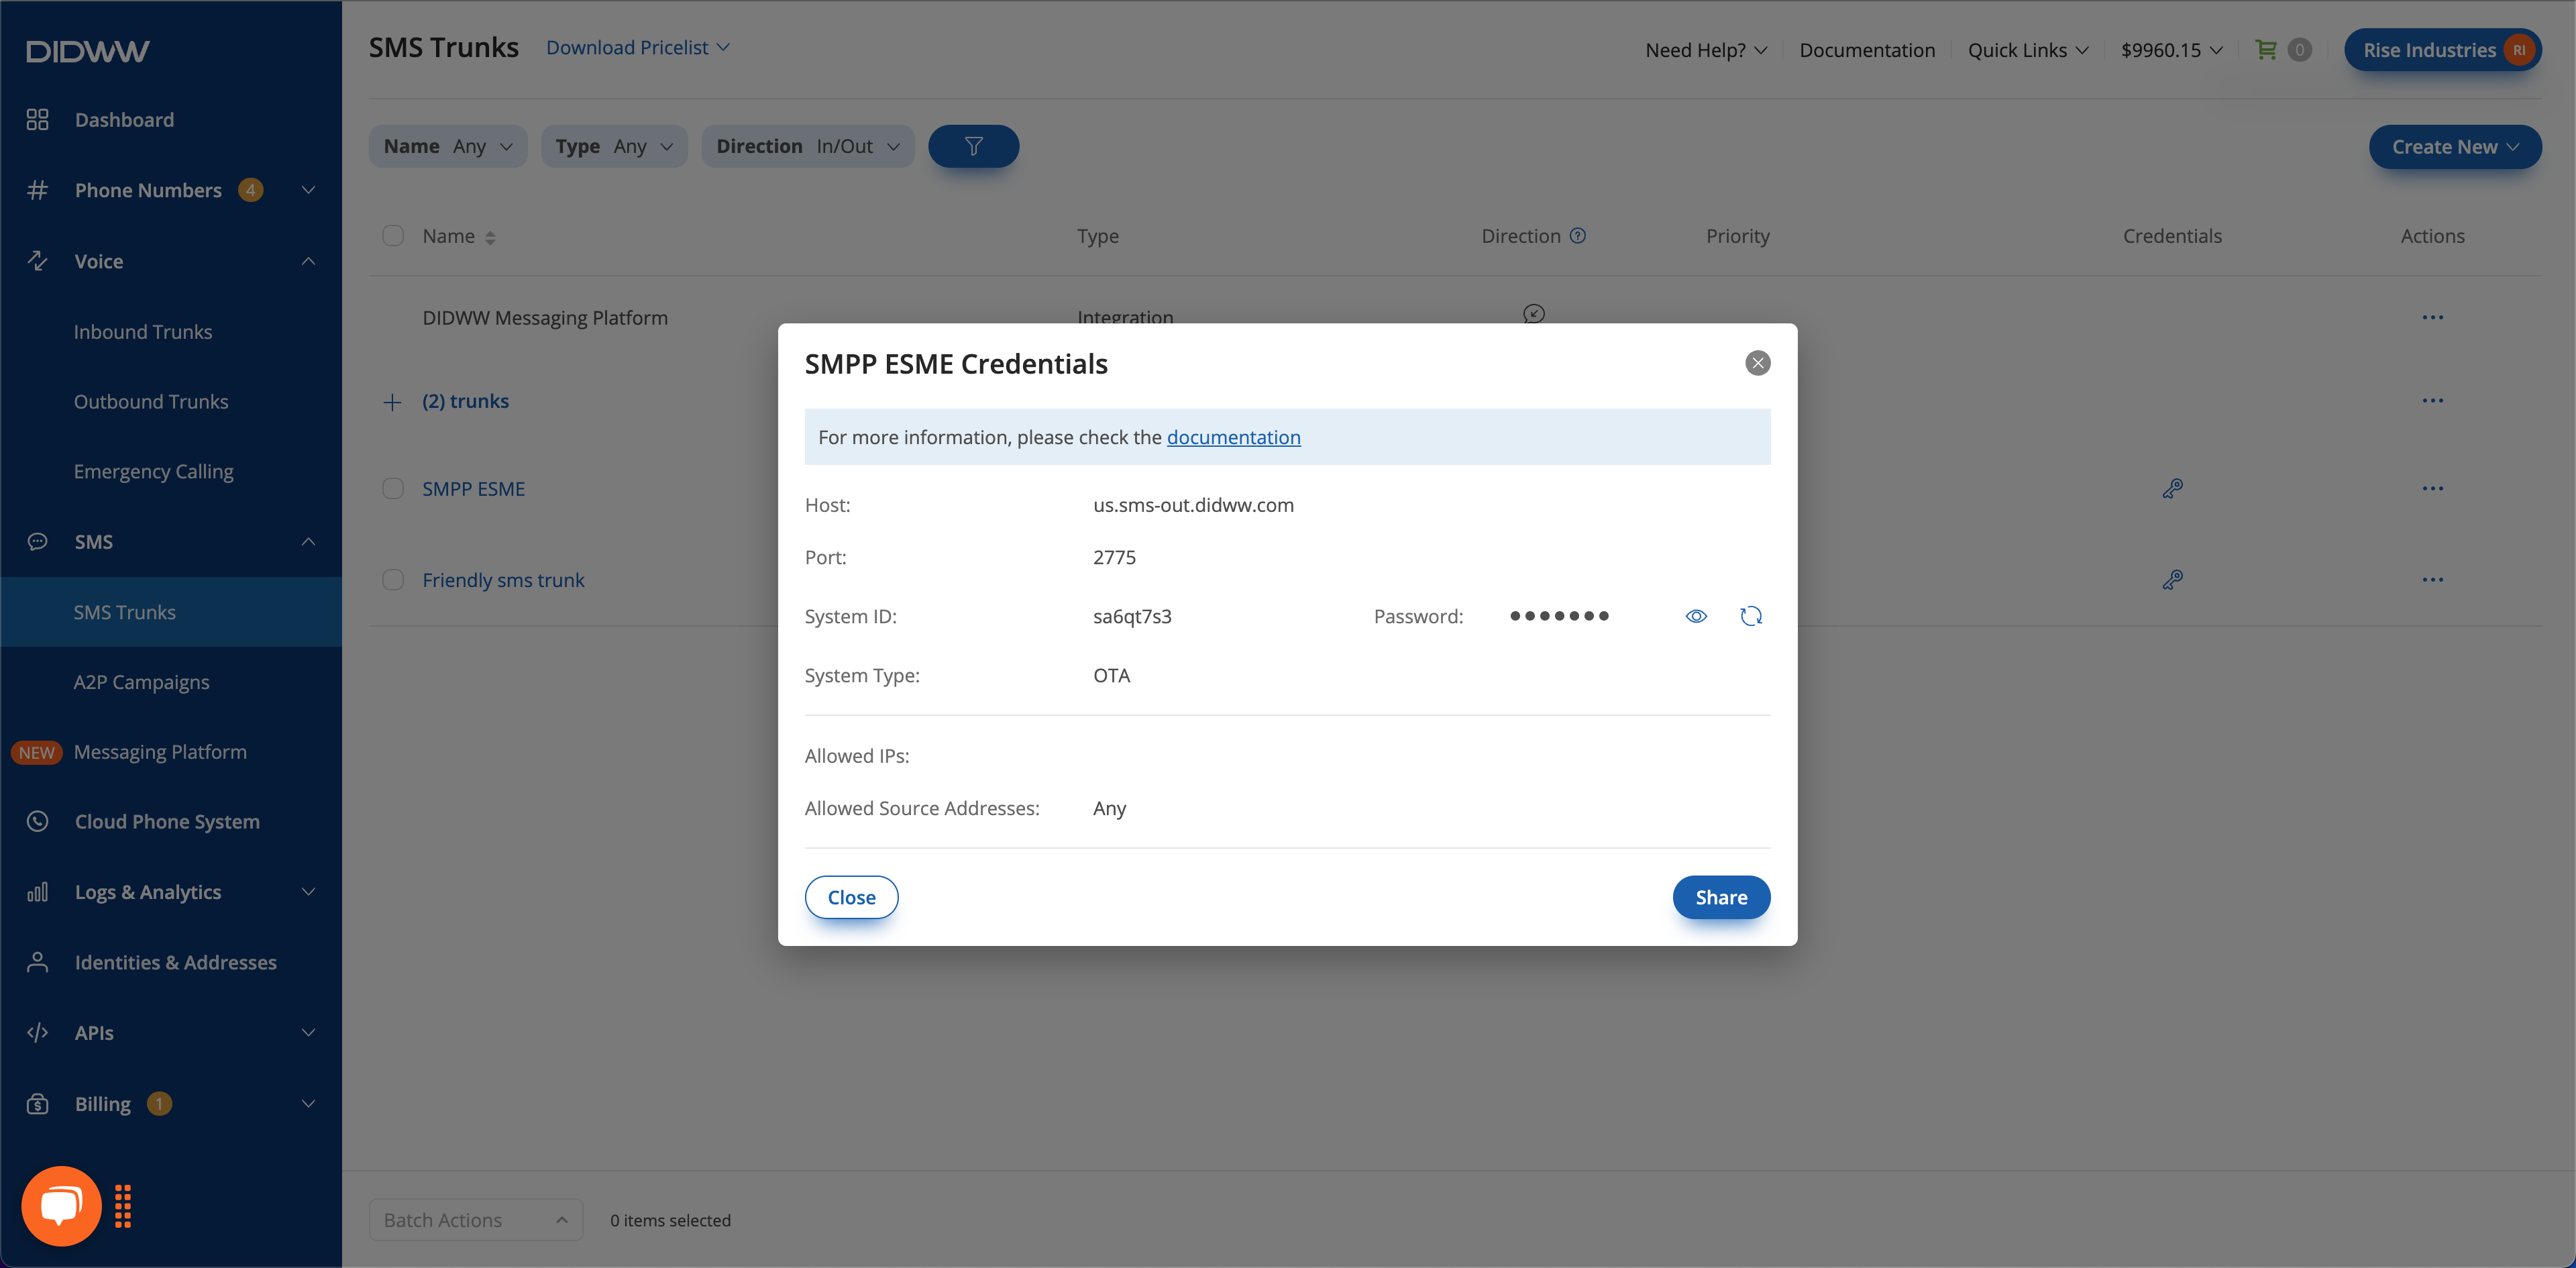
Fig. 6. Viewing credentials.#
Important
The password is updated immediately when you regenerate credentials. Update all integrations right away to avoid authentication failures.
In the credentials pop-up window, click Regenerate next to the Password field to generate new credentials.
Copy the new System ID and Password, and update all systems that use these credentials.
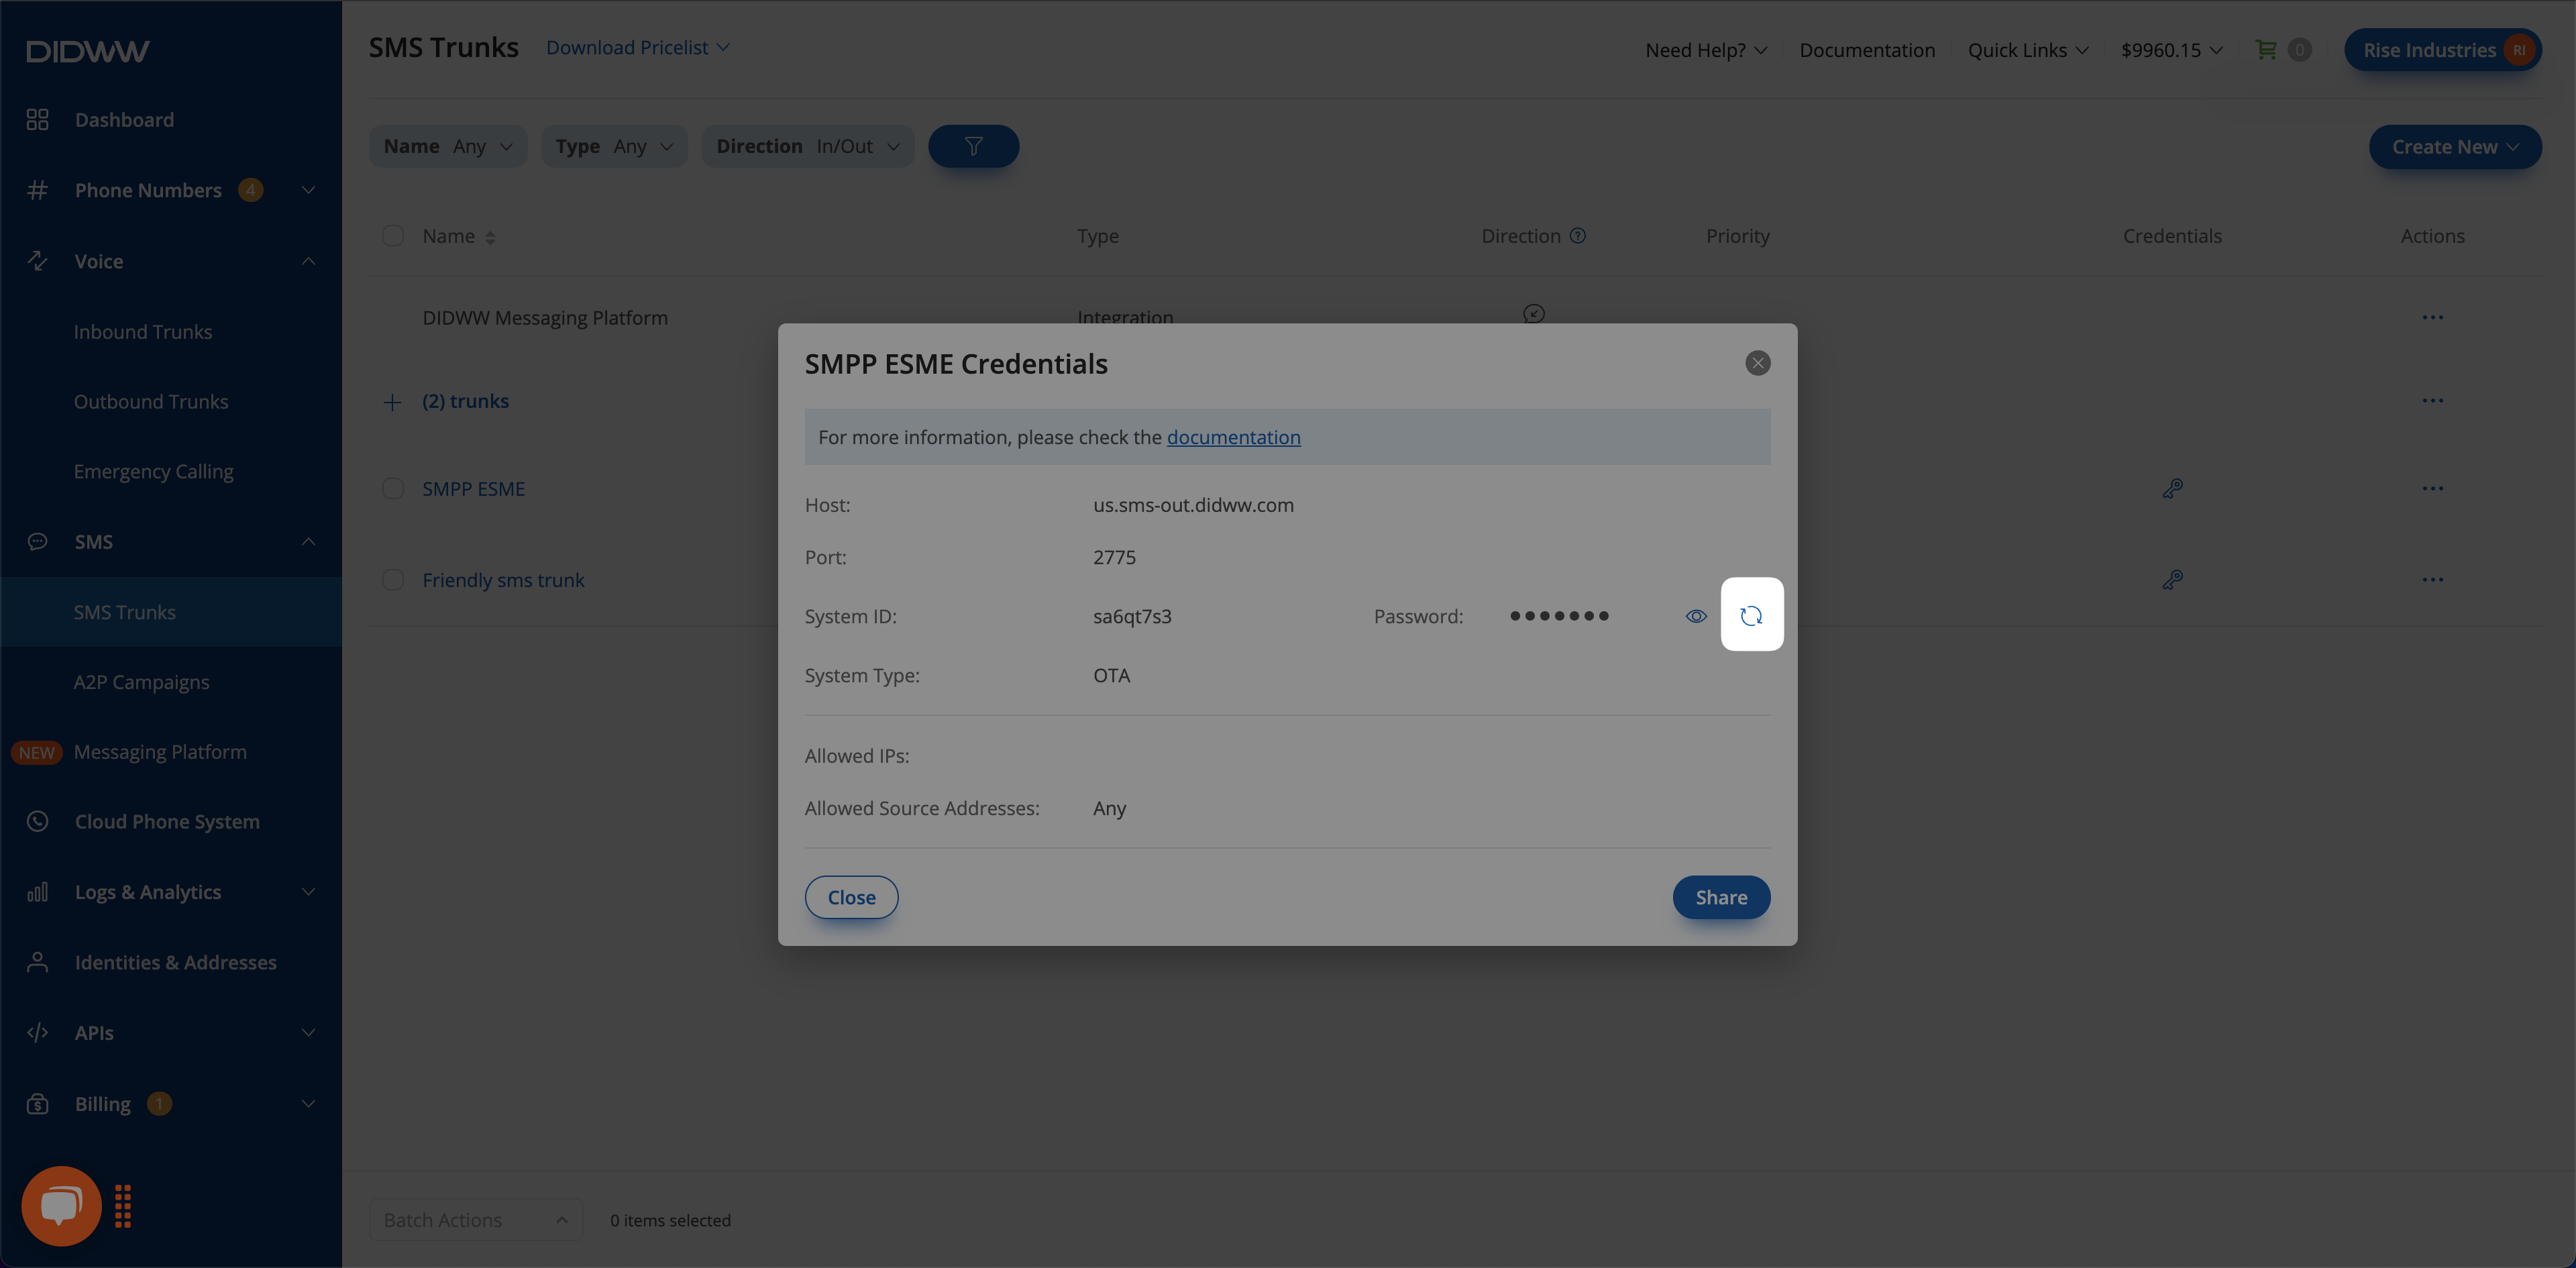
Fig. 7. Regenerating credentials.#
Bind SMPP ESME Trunk#
Configure your application to connect (or “bind”) to the DIDWW SMSC gateway using the credentials of your SMPP ESME trunk.
Before You Begin#
Make sure you have an SMPP ESME trunk configured in the DIDWW User Panel. If you don’t have one yet, see instruction in Create an SMPP ESME Trunk.
Have the trunk’s credentials ready (Host, Port, System ID, Password, and System Type).
Mandatory SMPP ESME Bind Parameters#
Parameter
Value
host
us.sms-out.didww.com(SMPP endpoint list)port
2775system_id
The System ID from the trunk’s Credentials.
password
The Password from the trunk’s Credentials.
system_type
The value you defined in the trunk’s System type field.
Note
For complete technical details, including encoding, concatenated messages, and all available endpoints, refer to our SMPP Specifications guide.
Check SMPP ESME Bind Status#
After configuring your application to bind, you can verify the connection status directly from the user panel:
A pop-up will display the current connection status of your trunk (e.g., “Connected” or “Not Connected”).
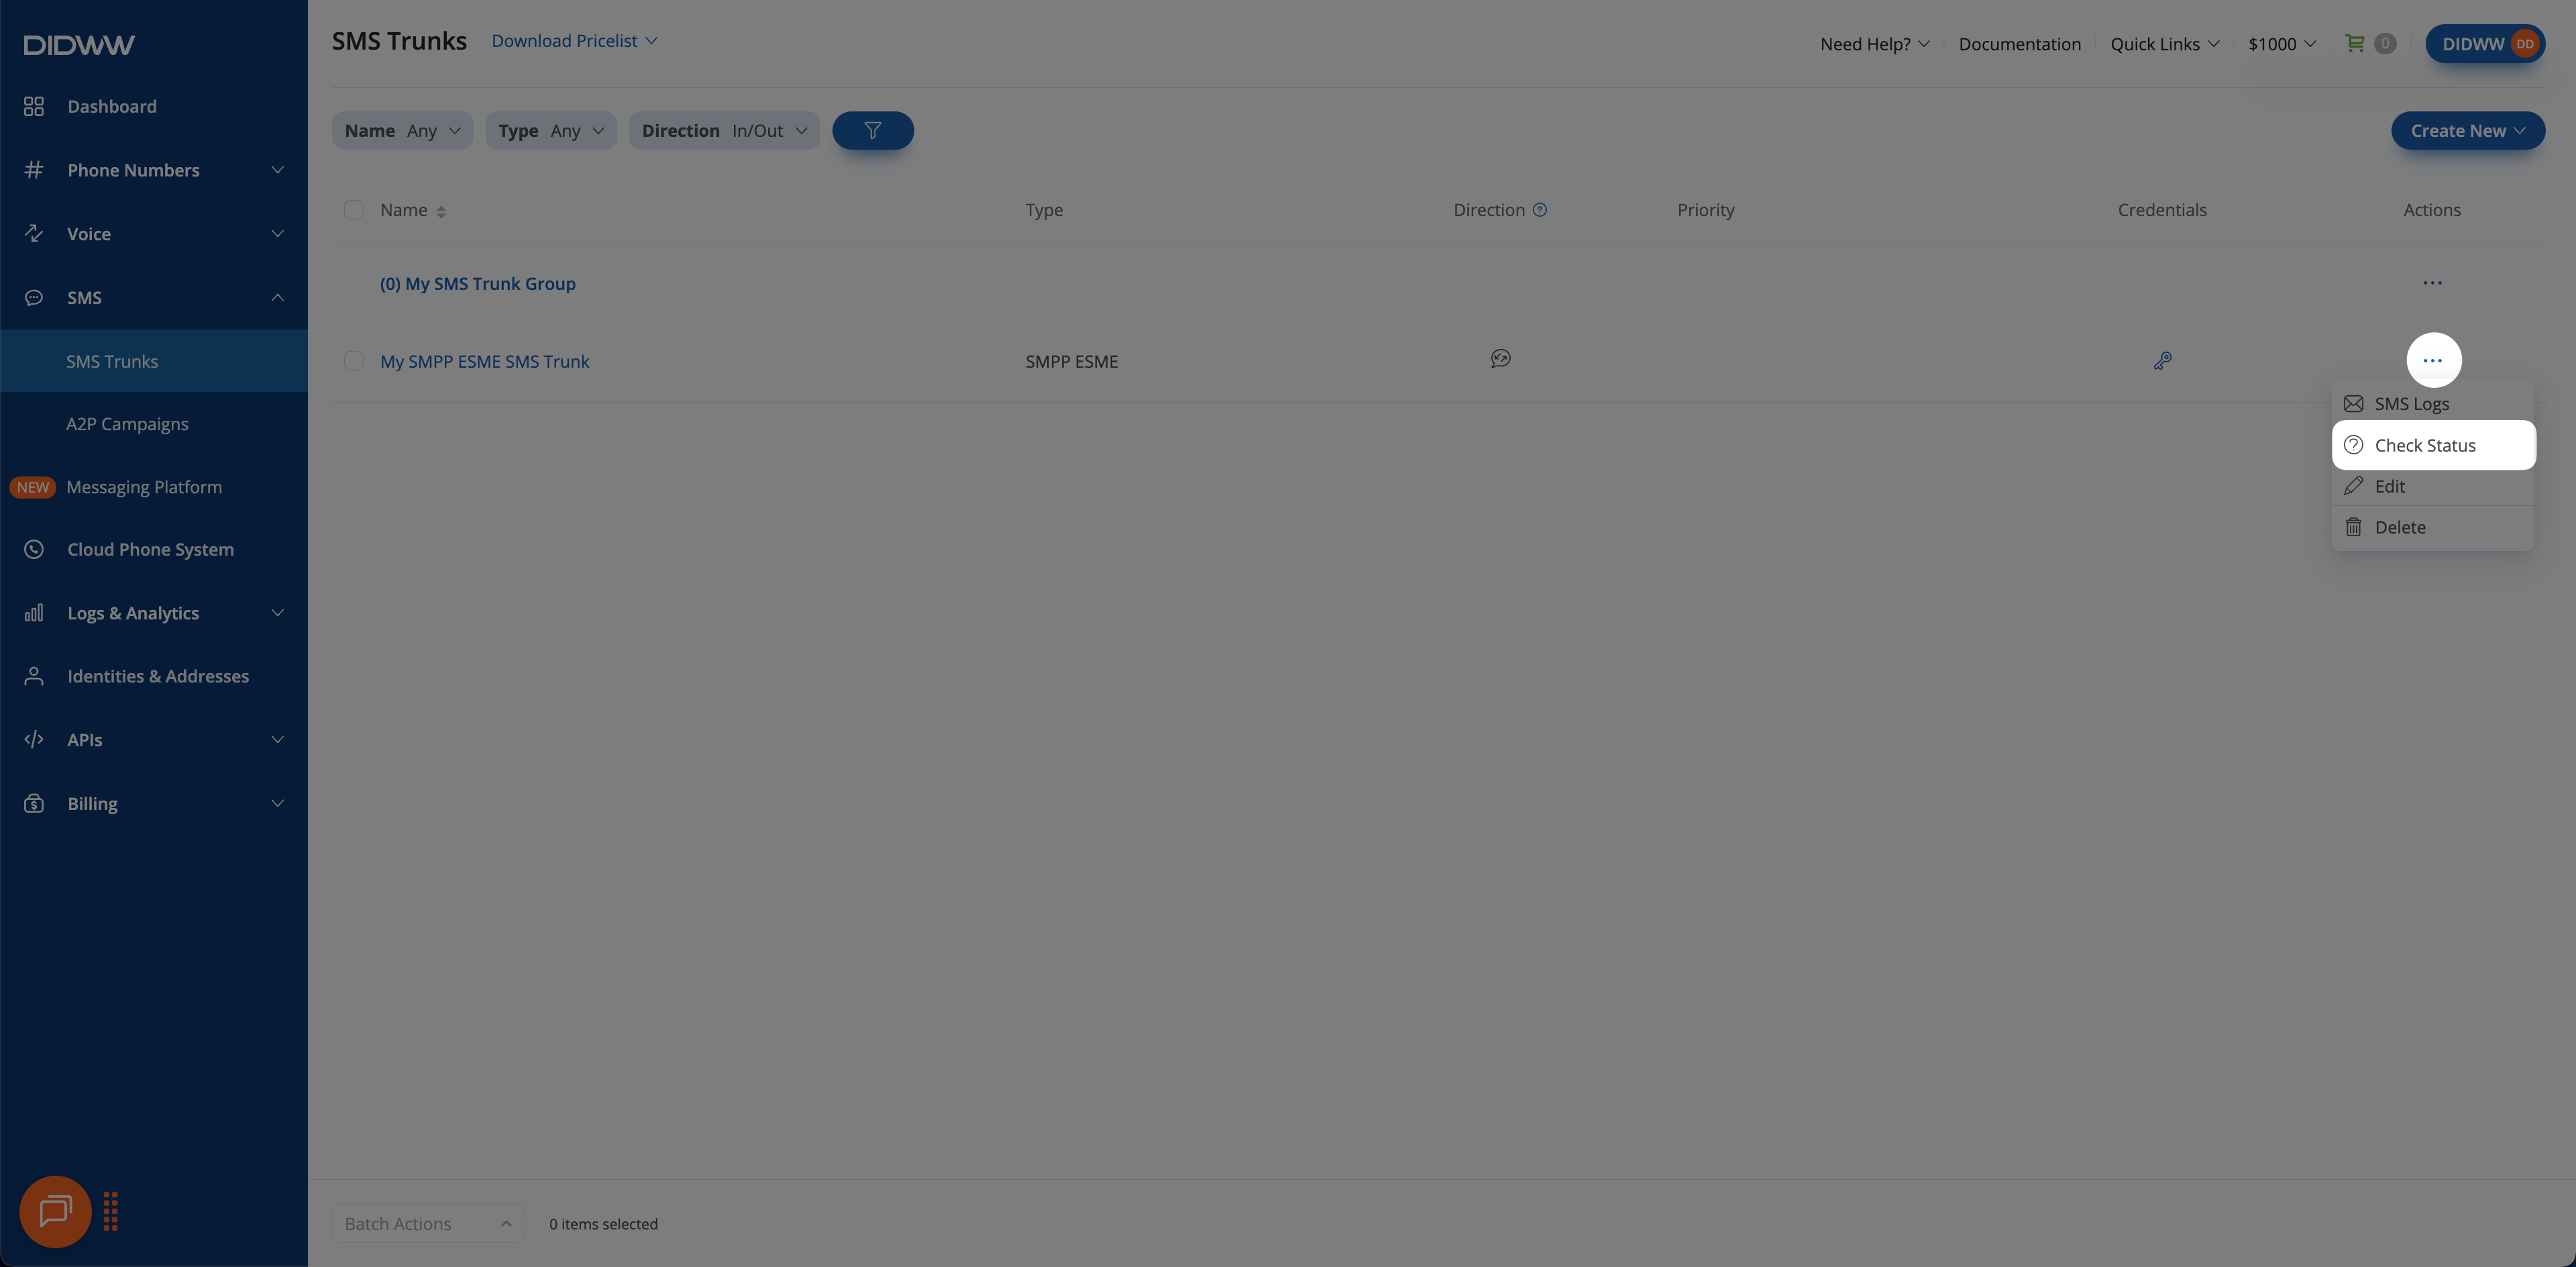
Fig. 8. Check bind status button.#
Edit SMPP ESME Trunk#
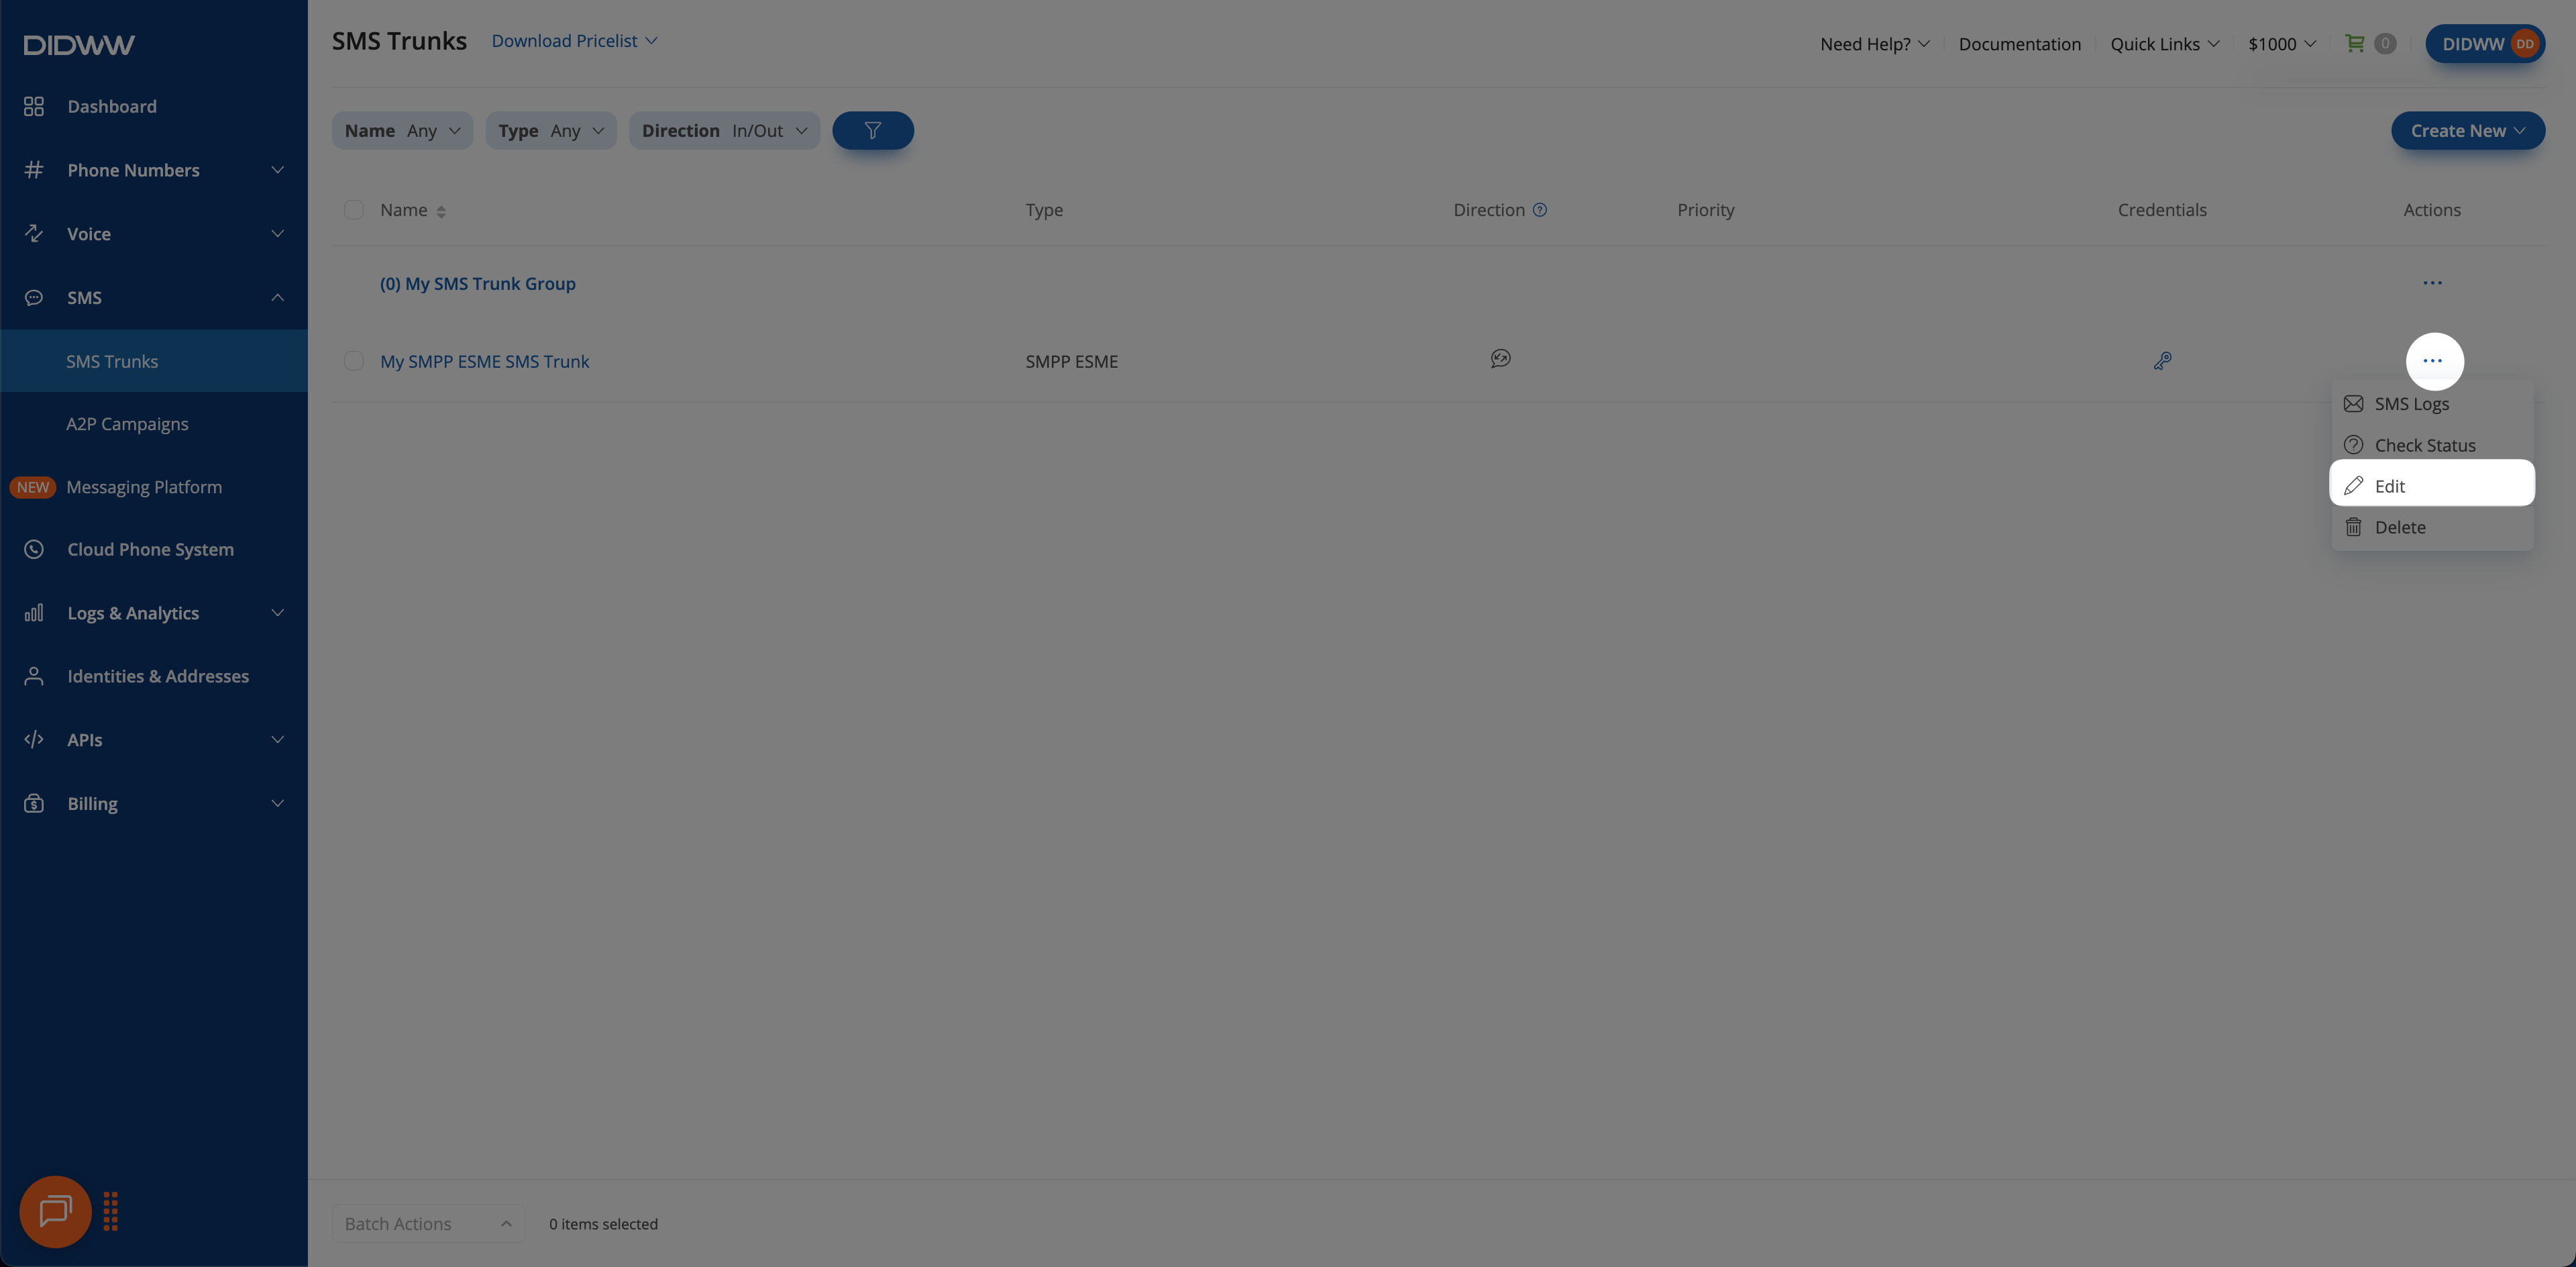
Fig. 9. Edit action for SMPP ESME Trunk.#
Delete SMPP ESME Trunk(s)#
You can delete a single SMPP ESME trunk or multiple trunks at once by using batch actions.
Navigate to the SMS Trunks list page.
Locate the trunk you wish to remove and click the
 button next to it.
Select Delete from the dropdown menu.
In the confirmation pop-up window, click Delete to permanently remove the trunk.
Fig. 10. Delete action for SMPP ESME Trunk.#
Navigate to the SMS Trunks list page.
Select the trunks you wish to delete by checking the boxes next to them.
At the bottom of the page, click Batch Actions and select Delete Trunks.
In the confirmation pop-up window, click Delete to permanently remove the selected trunks.
Fig. 11. Batch delete action for SMPP ESME Trunks.#