Create Emergency Calling Service#
Set up an emergency calling service for supported DID numbers by creating a request to activate the service. Once activated, use DIDWW SIP outbound trunking to place calls to supported emergency service numbers.
Important
Emergency Calling service is not enabled by default. To enable it on your account, contact sales@didww.com .
Before You Begin#
At least one active DID number with Emergency Calling feature is required.
A valid Identity & Address must be created to meet compliance requirements. Create New Identity & Address.
Note
Your account balance will be charged once the Emergency Calling service is successfully verified.
Step 1: Create New Emergency Calling Service#
In the DIDWW User Panel, navigate to Voice > Emergency Calling.
Click Create New to start creating a new Emergency Calling service.
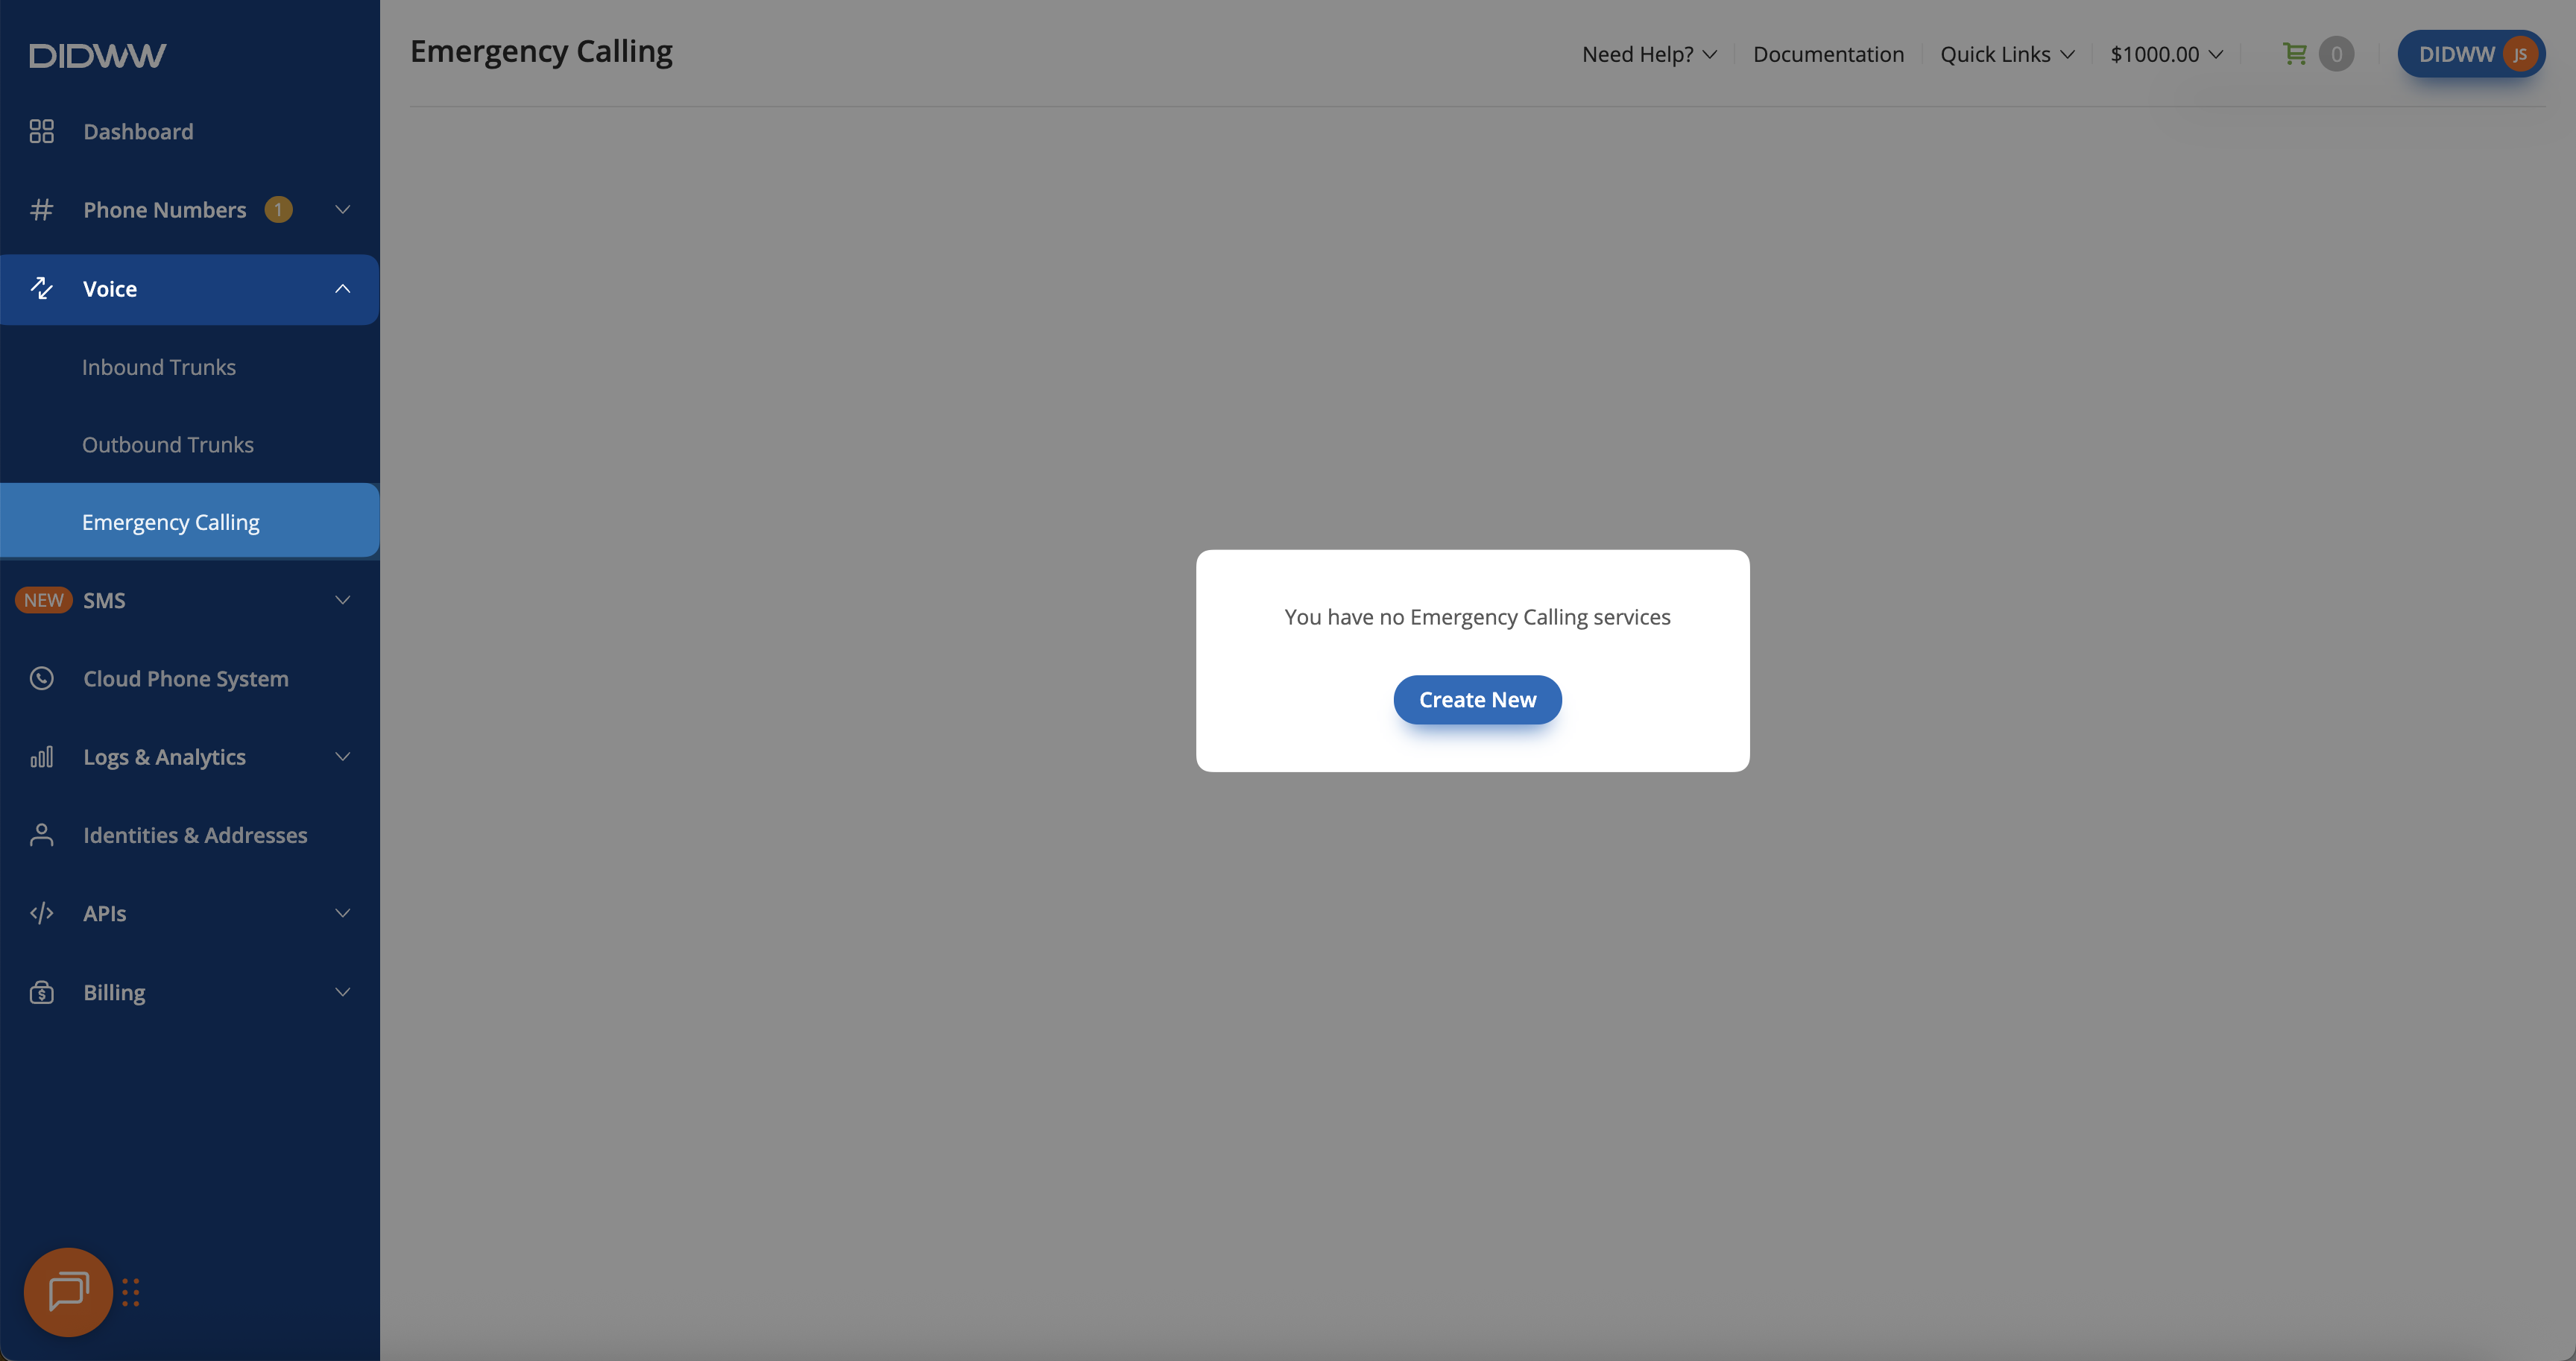
Fig. 1. Creating a new Emergency Calling service.#
Step 2: Provide Service Details#
The Create Emergency Calling Service form will open, starting with the Service Details step, where you enter the basic information for your emergency calling request.
Enter a Friendly Name for your emergency calling request (e.g.,
Emergency Calling Service).Select the Country of the DID numbers that will be used as source numbers for making emergency calls.
Choose the Number Type of the DID numbers that will be enabled for emergency calling.
Click Next to continue to the Verification Details step.
Note
After entering the details, a summary section displays the estimated verification time, setup fee, and monthly fee per number.
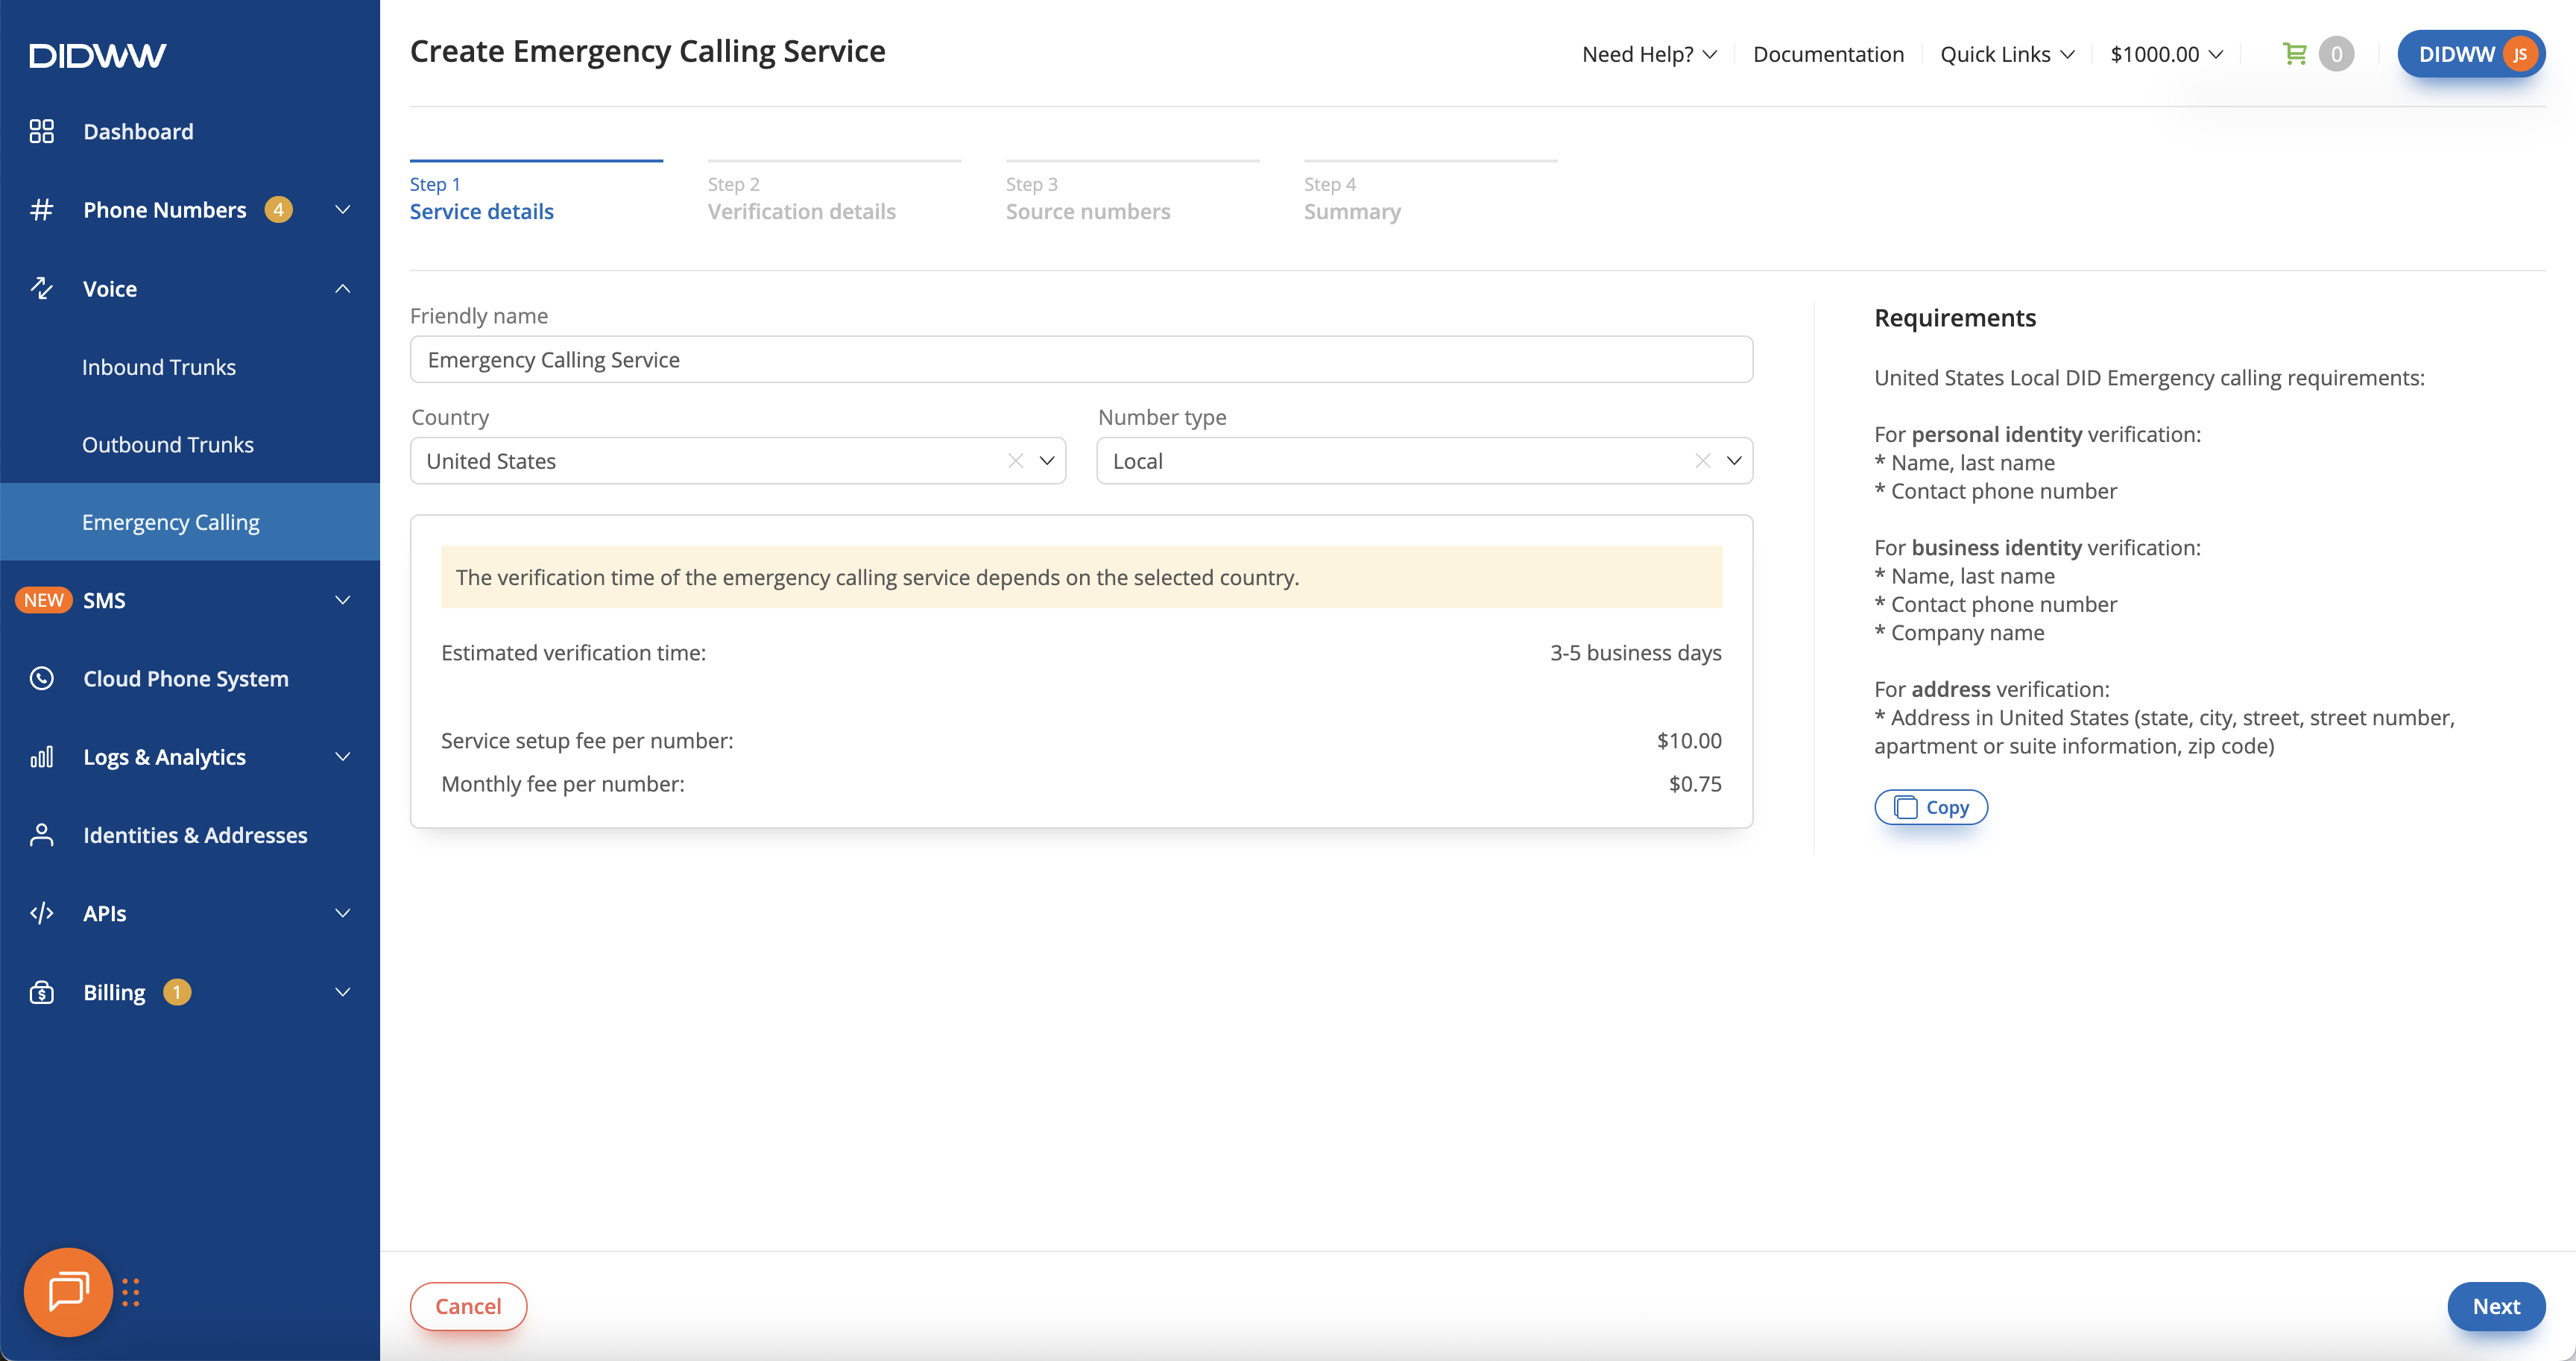
Fig. 2. Entering service details.#
Step 3: Provide Verification Details#
Review the verification requirements and assign an Identity and Address for the emergency calling service. These details must comply with local emergency service regulations and correspond to the Country and Number Type selected in the previous step.
From the Identity dropdown, select an existing identity. If no identity is available, click Create New to add a new one.
Once the identity is selected, choose the corresponding Address from the dropdown list. You can also click Create New to add a new address for the chosen identity.
Click Next to continue to the Source Numbers step.
Note
The selected identity and address will be assigned to the phone numbers used for emergency calling.
If the Identity does not meet the verification requirements, it cannot be selected. A tooltip will appear explaining why the identity is not eligible.

Fig. 3. Selecting the identity and address for emergency service verification.#
Step 4: Select Source Numbers (DIDs)#
Select the DID numbers that will be enabled for emergency calling. Only numbers that match the selected Identity, Country, and Number Type, and support emergency calling, will be shown.
(Optional) Use the DID Number or Description filters to search for available numbers.
In the Available Source Numbers table, select the DID numbers you want to include using the checkboxes.
Review your selections, then click Next to continue to the Summary step.
Note
Selected DID numbers are added to the Allowed source addresses panel, where they are displayed as chips and can be removed if needed.
DID numbers linked to a different verified identity than the one selected in the Verification Details step (for example, used for End User Registration, A2P SMS Campaigns, or CNAM) will not appear in the available source numbers list. To include these numbers, select the same identity used for their verification.
If there are more than 200 available source addresses, the table is paginated with 200 records per page.
Fig. 4. Selecting DID numbers for the Emergency Calling service.#
Step 5: Review and Submit#
Review all information before submitting your emergency calling service request. The summary displays your Service Details, Verification Details, selected Source Numbers, and the total Setup and Recurring Fees.
Confirm that the Identity, Address, and Source Numbers are correct.
Review the estimated verification time and charges under the Summary section.
Click Submit to send the emergency calling service request for verification.
Important
Your account balance will be charged automatically once the emergency calling service is successfully verified.
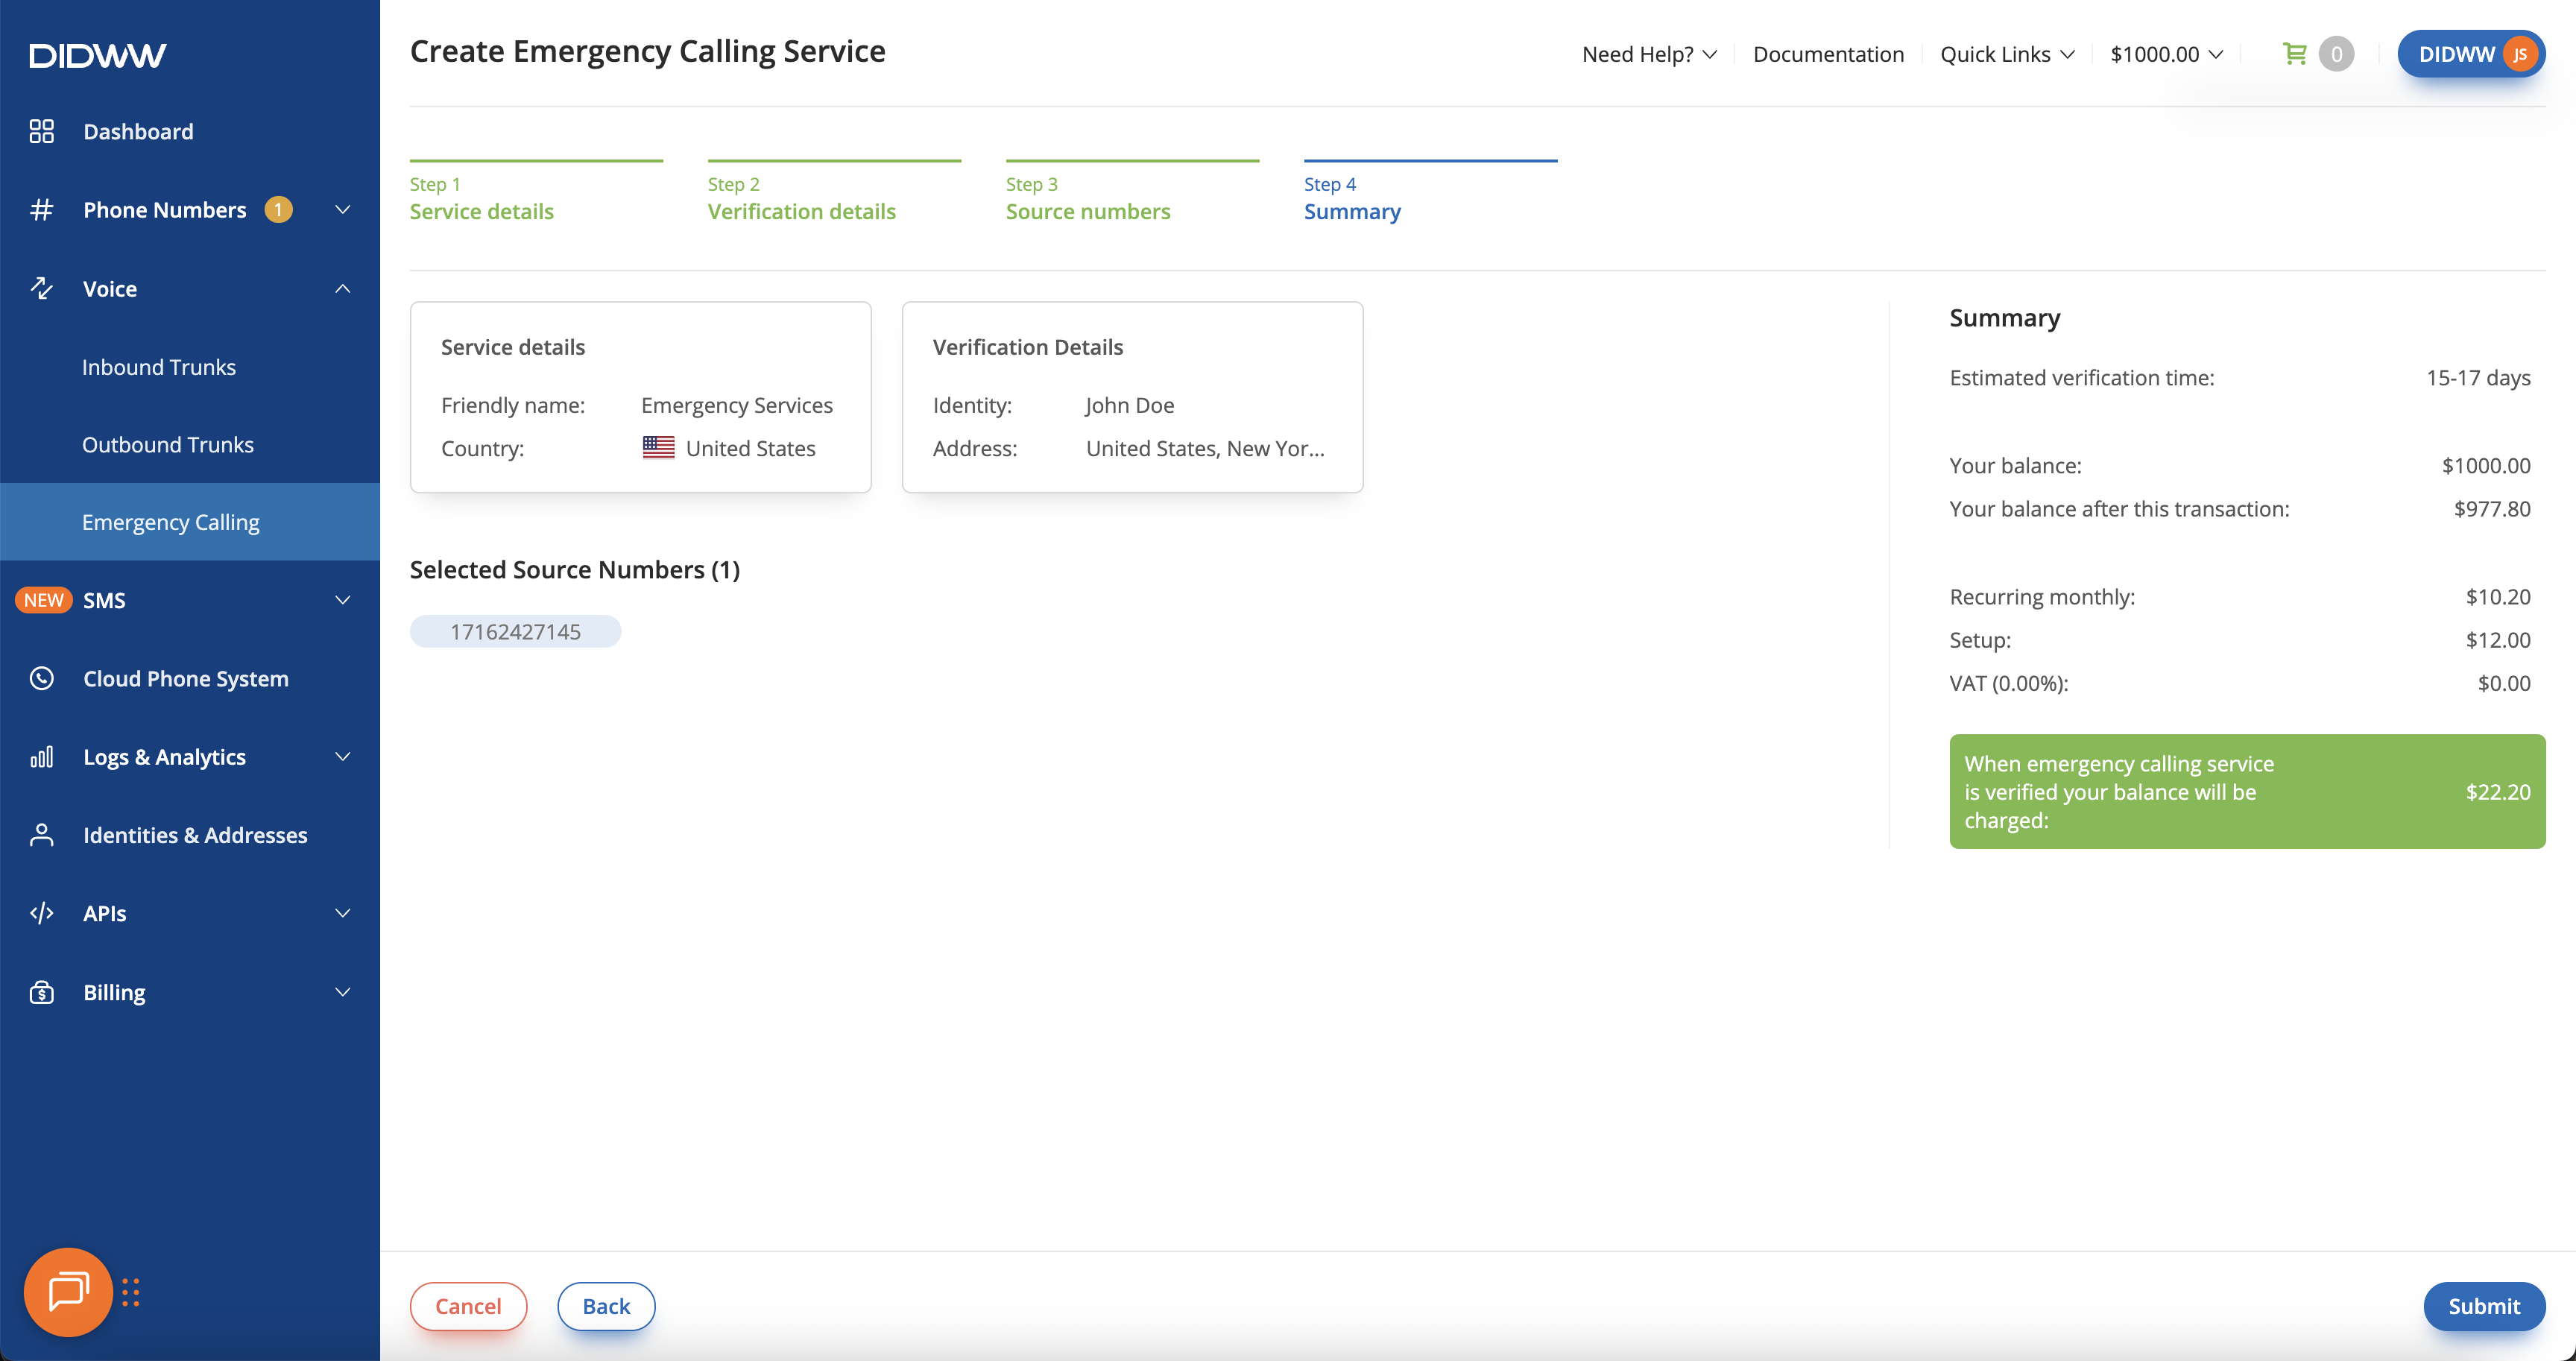
Fig. 5. Reviewing and submitting the Emergency Calling service request.#
Step 6: Confirm Emergency Calling Service Agreement#
After clicking Submit on the summary step, a confirmation window appears with important information about the VoIP Emergency Calling Service. It is required to review and acknowledge the terms before the request can be created.
To proceed, review the information carefully, select the checkbox to confirm your acknowledgment, and click Agree & Complete Order.
Important
By acknowledging these terms, you confirm that you have read and understood the information provided about the Emergency Calling Service.
You hereby accept responsibility to ensure that the end users of this service are aware of the stated information.
Once you click Agree & Complete Order, you confirm your agreement and authorize the creation of the Emergency Calling Service request for the selected numbers.