App Configurations#
The App Configurations in phone.systems™ automatically links to all app devices. It allows you to assign internal and phone numbers for outbound caller ID and acts as the main group for associated devices under a contact.
Create an App Configuration contact method.
Edit an existing App Configuration contact method.
Send or resend an invitation to connect the app device.
View relations of an App Configuration contact method.
Delete an App Configuration contact method.
Download contact methods to a CSV file.
Note
After editing or creating an App Configuration, you must send an invitation to the user so they can establish the connection to the phone.systems™ app. For details, see Send or resend invite to phone.systems™ app.
Create and Configure App Contact Methods#
Create and manage contact methods for the phone.systems™ application within the App Configuration section. These contact methods are automatically linked to phone.systems™ users and enable the assignment of internal numbers and DID numbers for receiving inbound calls, as well as setting caller IDs and announcements for outbound calls. They also support call recording configuration and relations with call flows and app devices.
Note
To enable calling functionality from the phone.systems™ application, each user must have an individually assigned App Configuration.
Before You Begin#
Before setting up an App Configuration, make sure all necessary components are ready to support call functionality:
A DID number – Required to enable inbound calling functionality. If not available, purchase DID(s) from the Coverage page in the User Panel .
An assigned phone.systems™ trunk – Needed to establish voice connectivity for the user. For setup steps, see Configure DID Numbers with phone.systems™ in the DIDWW User Panel.
Each user must have a distinct profile and a dedicated application line (App Configuration Contact Method) to facilitate call routing, identity assignment, and access to calling features within the phone.systems™ application. This ensures accurate association of internal numbers, caller ID, and recording policies for both inbound and outbound communications.
Step 1: Create a New User 
In the Create New User screen, enter:
First Name and Last Name
Department and Job Title
Time Schedule – Defines the user’s availability for call routing. Read more in Time Schedules Documentation.

Under Contact Information, provide the Email address.
Important
An email address is required to send the invitation and enable the user to connect with the phone.systems™ app.
Enable Configure application line in the next step.
Click Next to continue to the app configuration.
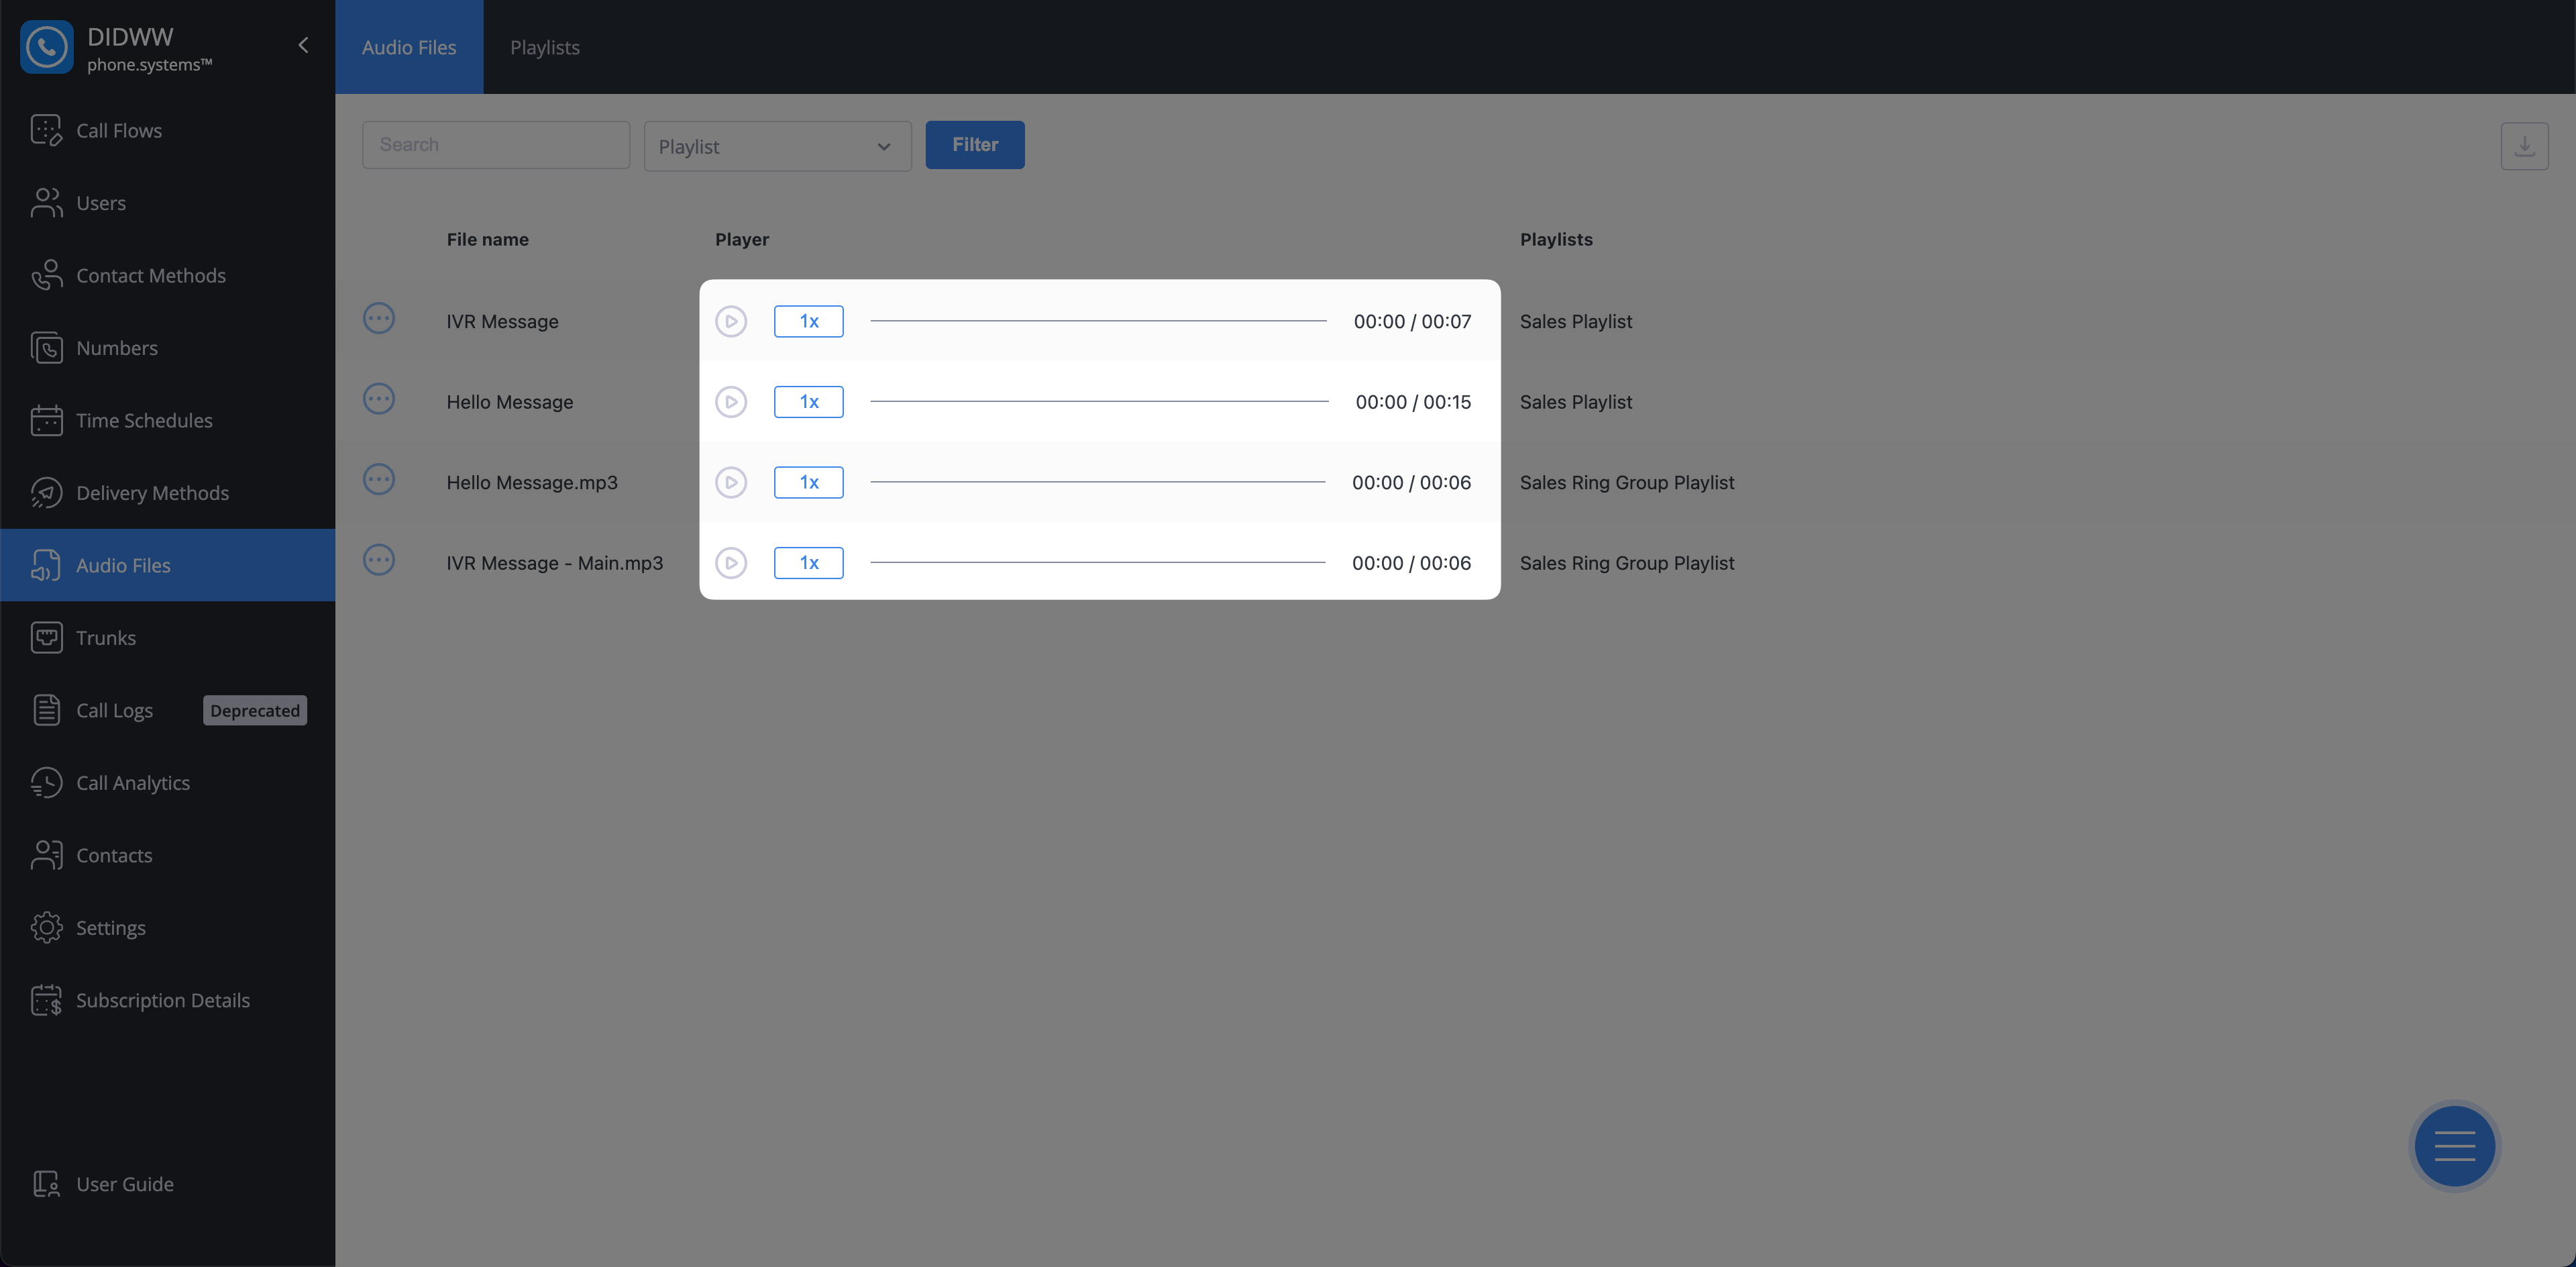
Fig. 1. Create User Screen#
Existing users may have app configuration contact methods that were created previously but remain unconfigured. Configuring the app configuration contact method allows you to assign inbound and outbound call settings and enables communication through the phone.systems™ application.
Step 1: Locate the App Configuration 
Go to the Contact Methods menu and select the App Configurations tab.
Click the
 button next to the desired contact method and choose Edit.
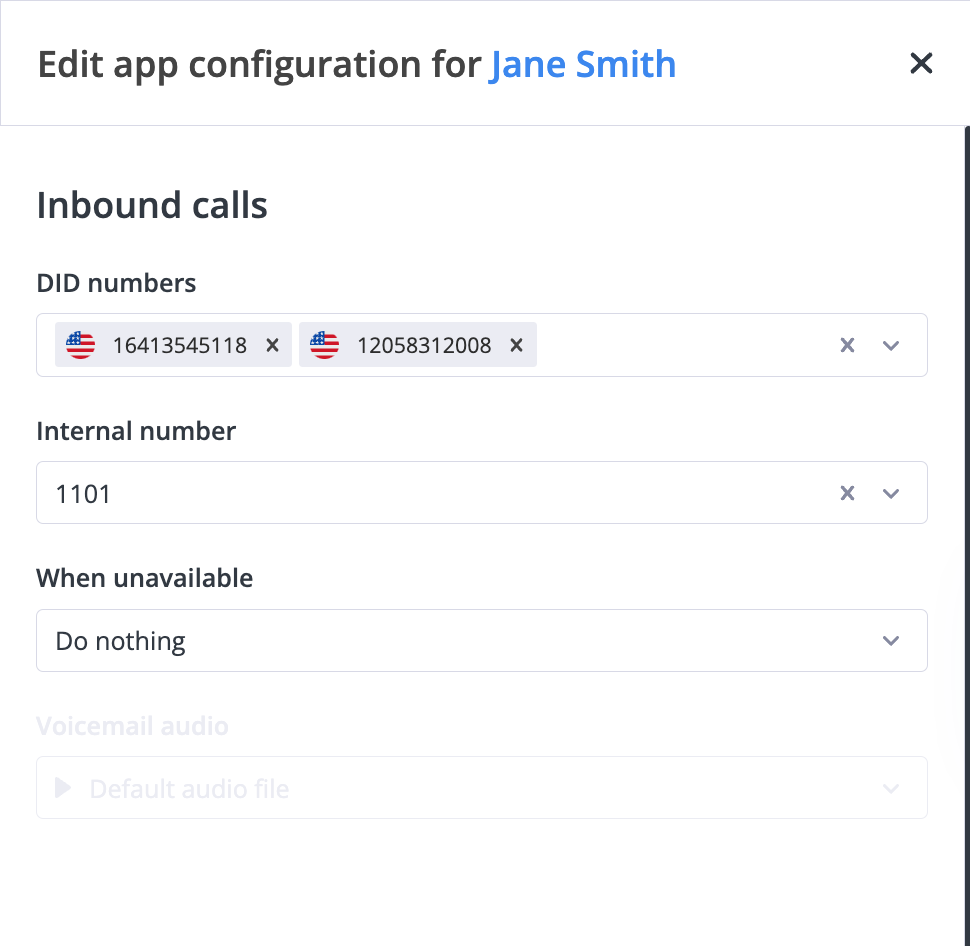
Fig. 1. Edit App Configuration#
Step 2: Configure the App Configuration Contact Method#
DID Numbers |
Select one or more DID numbers to receive inbound calls. Note If no DID numbers are available, refer to Configure DID Number with phone.systems™ or Add Third Party Phone Numbers. |
Internal Number |
Select one or more internal numbers to receive inbound calls. Note If no internal numbers are available, refer to Create Internal Numbers Documentation. |
When Unavailable |
Specify the desired call forwarding behavior when the destination is unavailable:
|
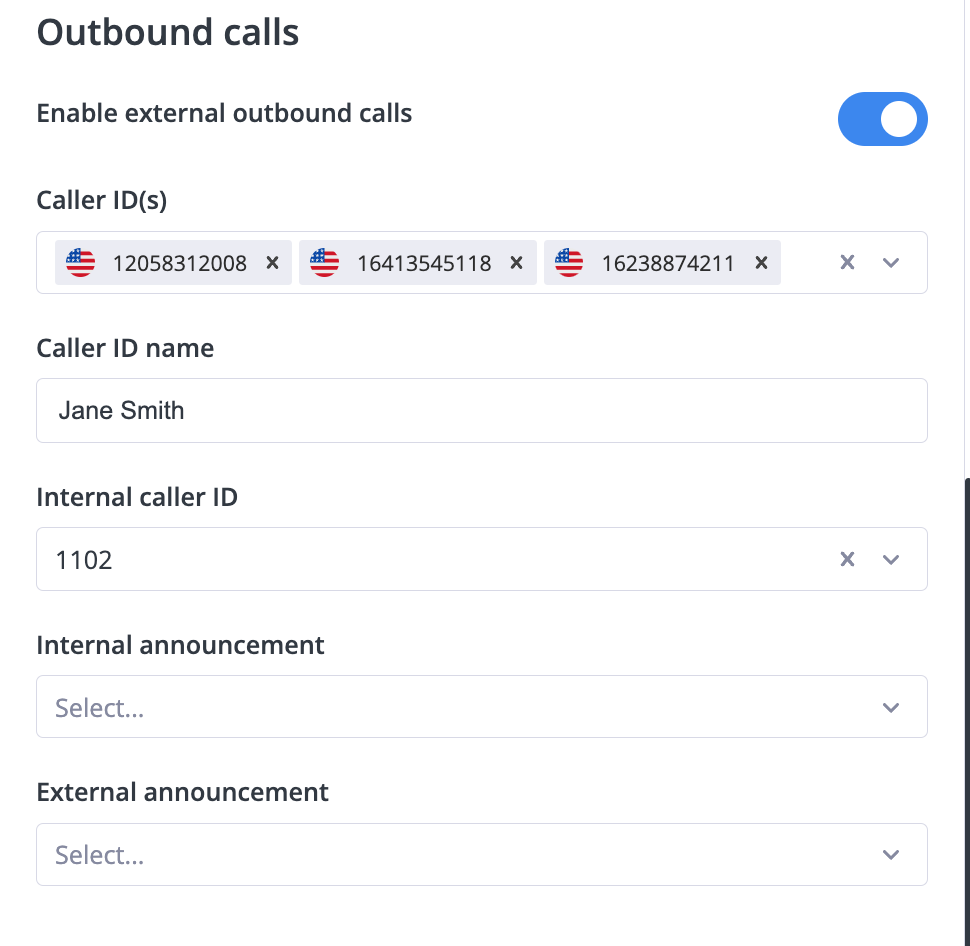
Enable External Outbound Calls |
Enable or disable external outbound calling functionality. |
Caller IDs |
Select the caller IDs to be used for external outbound calls. Note This option becomes available only when external outbound calling is enabled. |
Internal Caller ID |
Define the caller ID to be used for internal calls. Note If no internal numbers are available, refer to Create Internal Numbers Documentation. |
Internal Announcement |
Select the announcement audio message for internal calls. Note To upload audio files, refer to Audio Files Documentation. |
External Announcement |
Select the announcement audio message for external calls. |
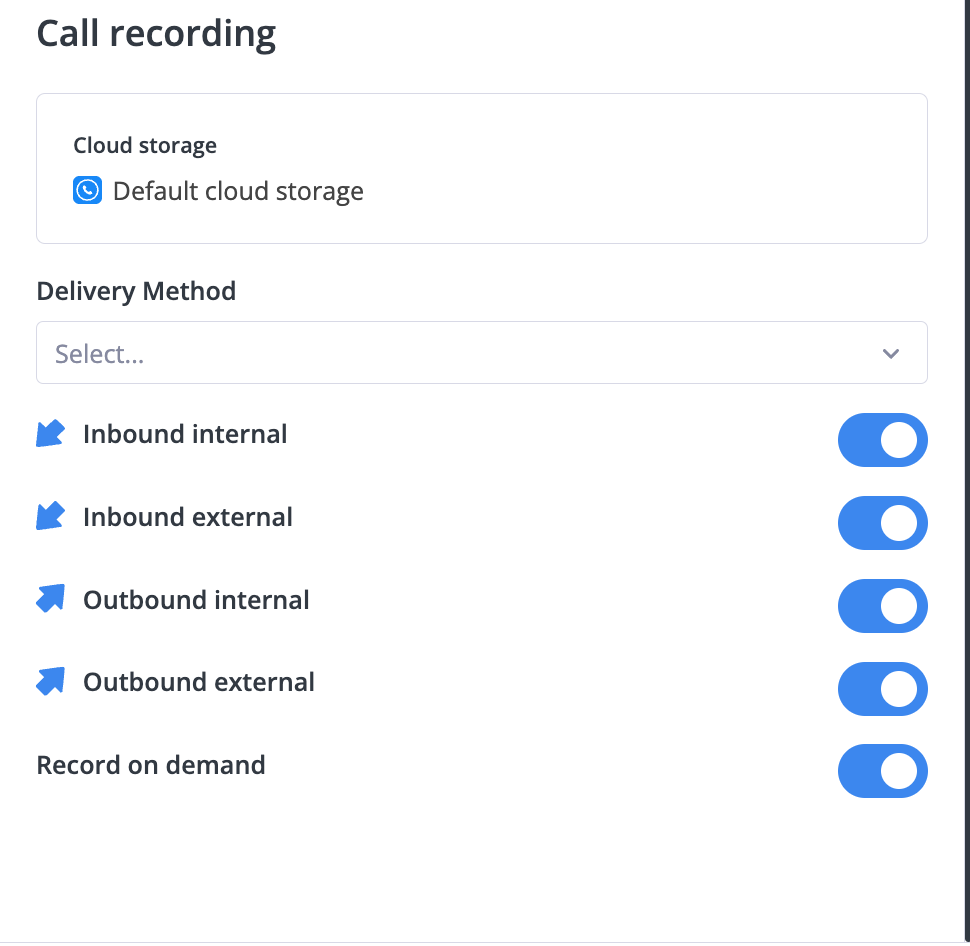
Delivery Methods |
Choose where call recordings are delivered. Available delivery methods include:
|
Inbound Internal |
Toggle to enable recording of inbound internal calls. |
Inbound External |
Toggle to enable recording of inbound external calls. |
Outbound Internal |
Toggle to enable recording of outbound internal calls. |
Outbound External |
Toggle to enable recording of outbound external calls. |
Record On Demand |
Allows users to initiate recording via a dialing command. Note To enable on-demand call recording, configure a feature code. |
Click Save to apply the configuration.
Send invite to phone.systems™ app#
Go to the Users menu in the phone.systems™ dashboard.
Find the user and click the Actions button.
Select Send Invite to App or Resend Invite to App.
Note
If the Send Invite to App button is not active, it means the user does not have an email address assigned. Please ensure that the user’s Contact Information includes a valid email address to enable the invitation.
Resending an invitation does not generate a new authentication token or log the user out. If the user is already logged in, their session remains active.
To remove a user’s session (for example, after a lost device or access change), see Deleting App Device Users guide.
Fig. 5. App Device Invitation#
Edit App Configurations Contact Methods#
Go to the Contact Methods menu and open the App Configurations tab.
Locate the contact method you want to edit.
Click the
button next to the contact method and select Edit from the menu.
Fig. 6. Edit Actions Button#
In the Edit App Configuration window, apply the required changes.
Click Save to confirm and apply your updates.
Fig. 7. Edit App Configuration Contact Methods#
Unassign DID Numbers#
Open the Edit screen for the selected App Configuration.
In the Inbound Calls section, locate the currently assigned DID number(s).
Click the x icon next to the DID number you wish to remove.
Click Save to confirm and apply the changes.
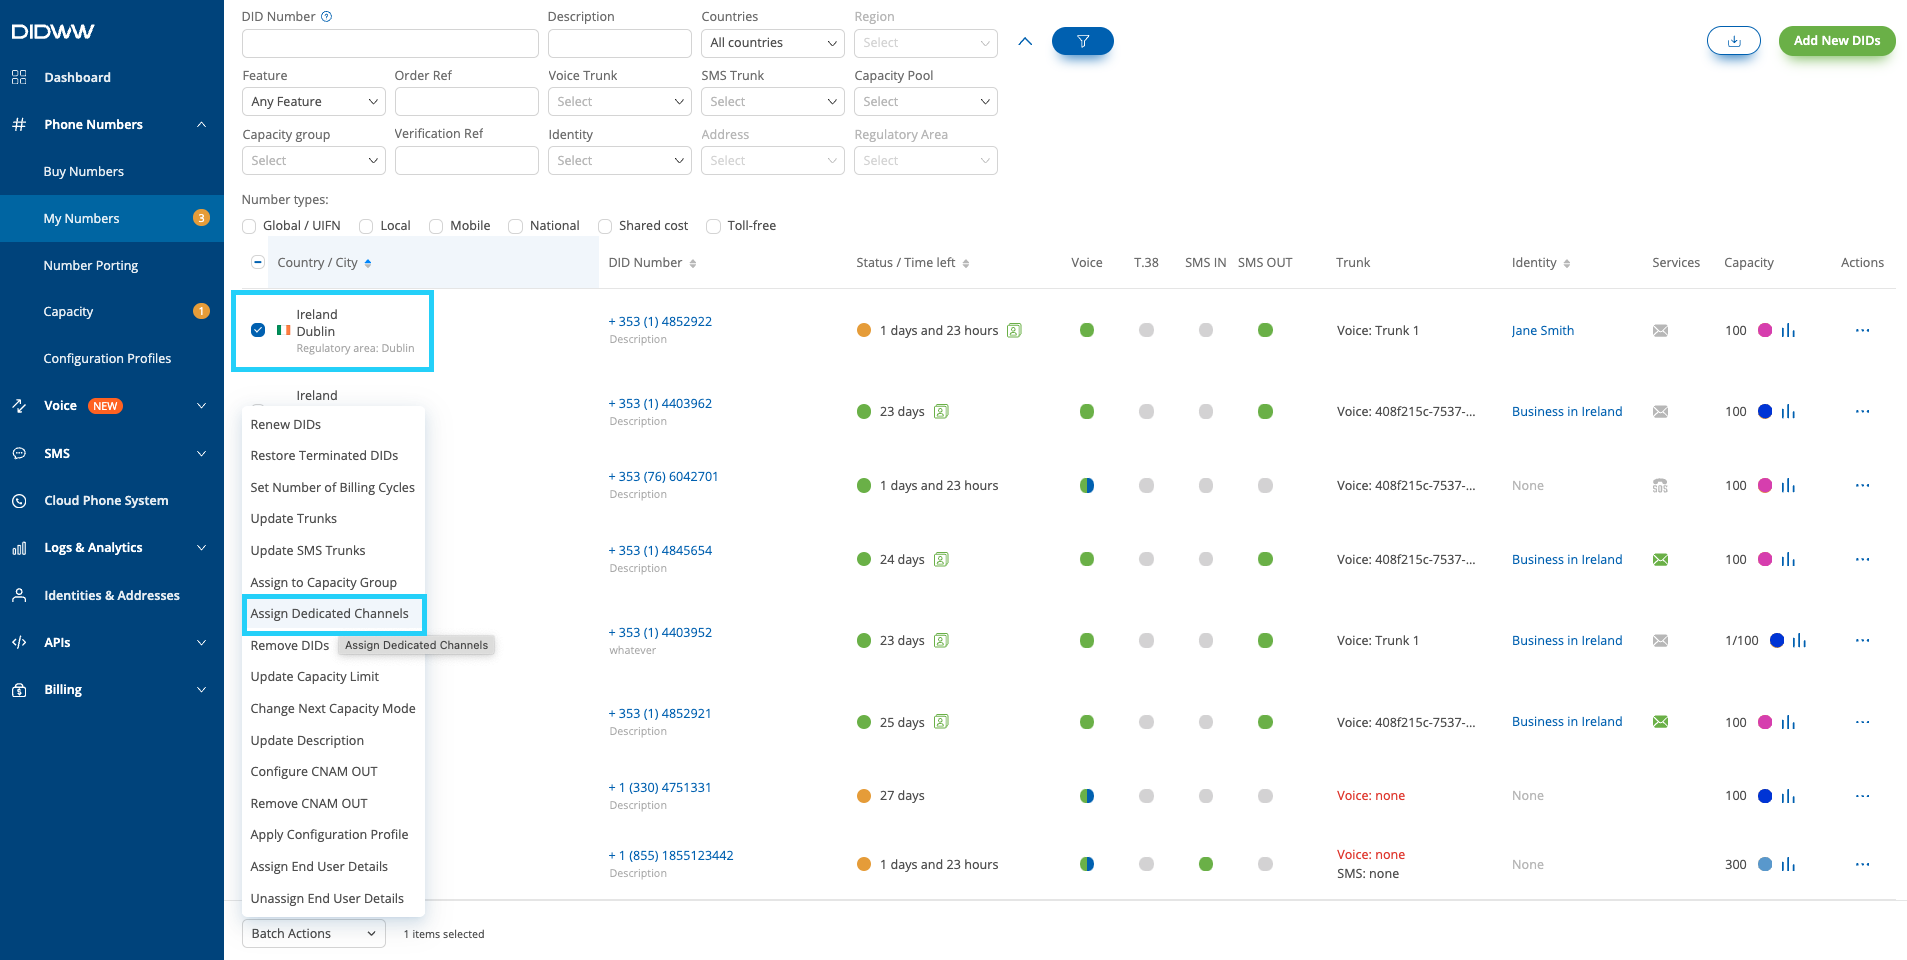
Fig. 8. Unassign a DID Number#
App Configuration Relations#
The Relations view provides an overview of configurations linked to a selected App Configuration Contact Method, including associations with Call Flows, Contact Methods and App Devices.
Navigate to the Contact Methods menu and open the App Configurations tab.
Locate the desired contact method.
Fig. 9. Actions Menu#
To access a related item, click the
 icon next to it. You will be redirected to the respective edit page for that configuration.
Note
If no associated Call Flows or App Devices exist, the message “No relations” will be displayed under the corresponding section.

Fig. 10. App Configurations Contact Method Relations#
Delete App Configurations#
App Configuration Contact Methods cannot be deleted directly from the Contact Methods menu.
To remove an App Configuration Contact Method, the associated user must be deleted. Deleting the user will also remove their corresponding App Configuration.
Delete UsersLearn how to delete users, which also removes their associated App Configuration Contact Methods.
Download App Configurations to a CSV File#
Navigate to the Contact Methods menu App Configurations tab.
Click the Download button at the top right corner.
Fig. 11. Download Button for App Configurations Contact Methods#
A pop-up window will appear, allowing you to specify the file name and destination for saving the CSV file.
Click Save to export and download the CSV file containing the list of App Configuration Contact Methods.
Fig. 12. Downloading App Configurations Contact Methods to CSV File#