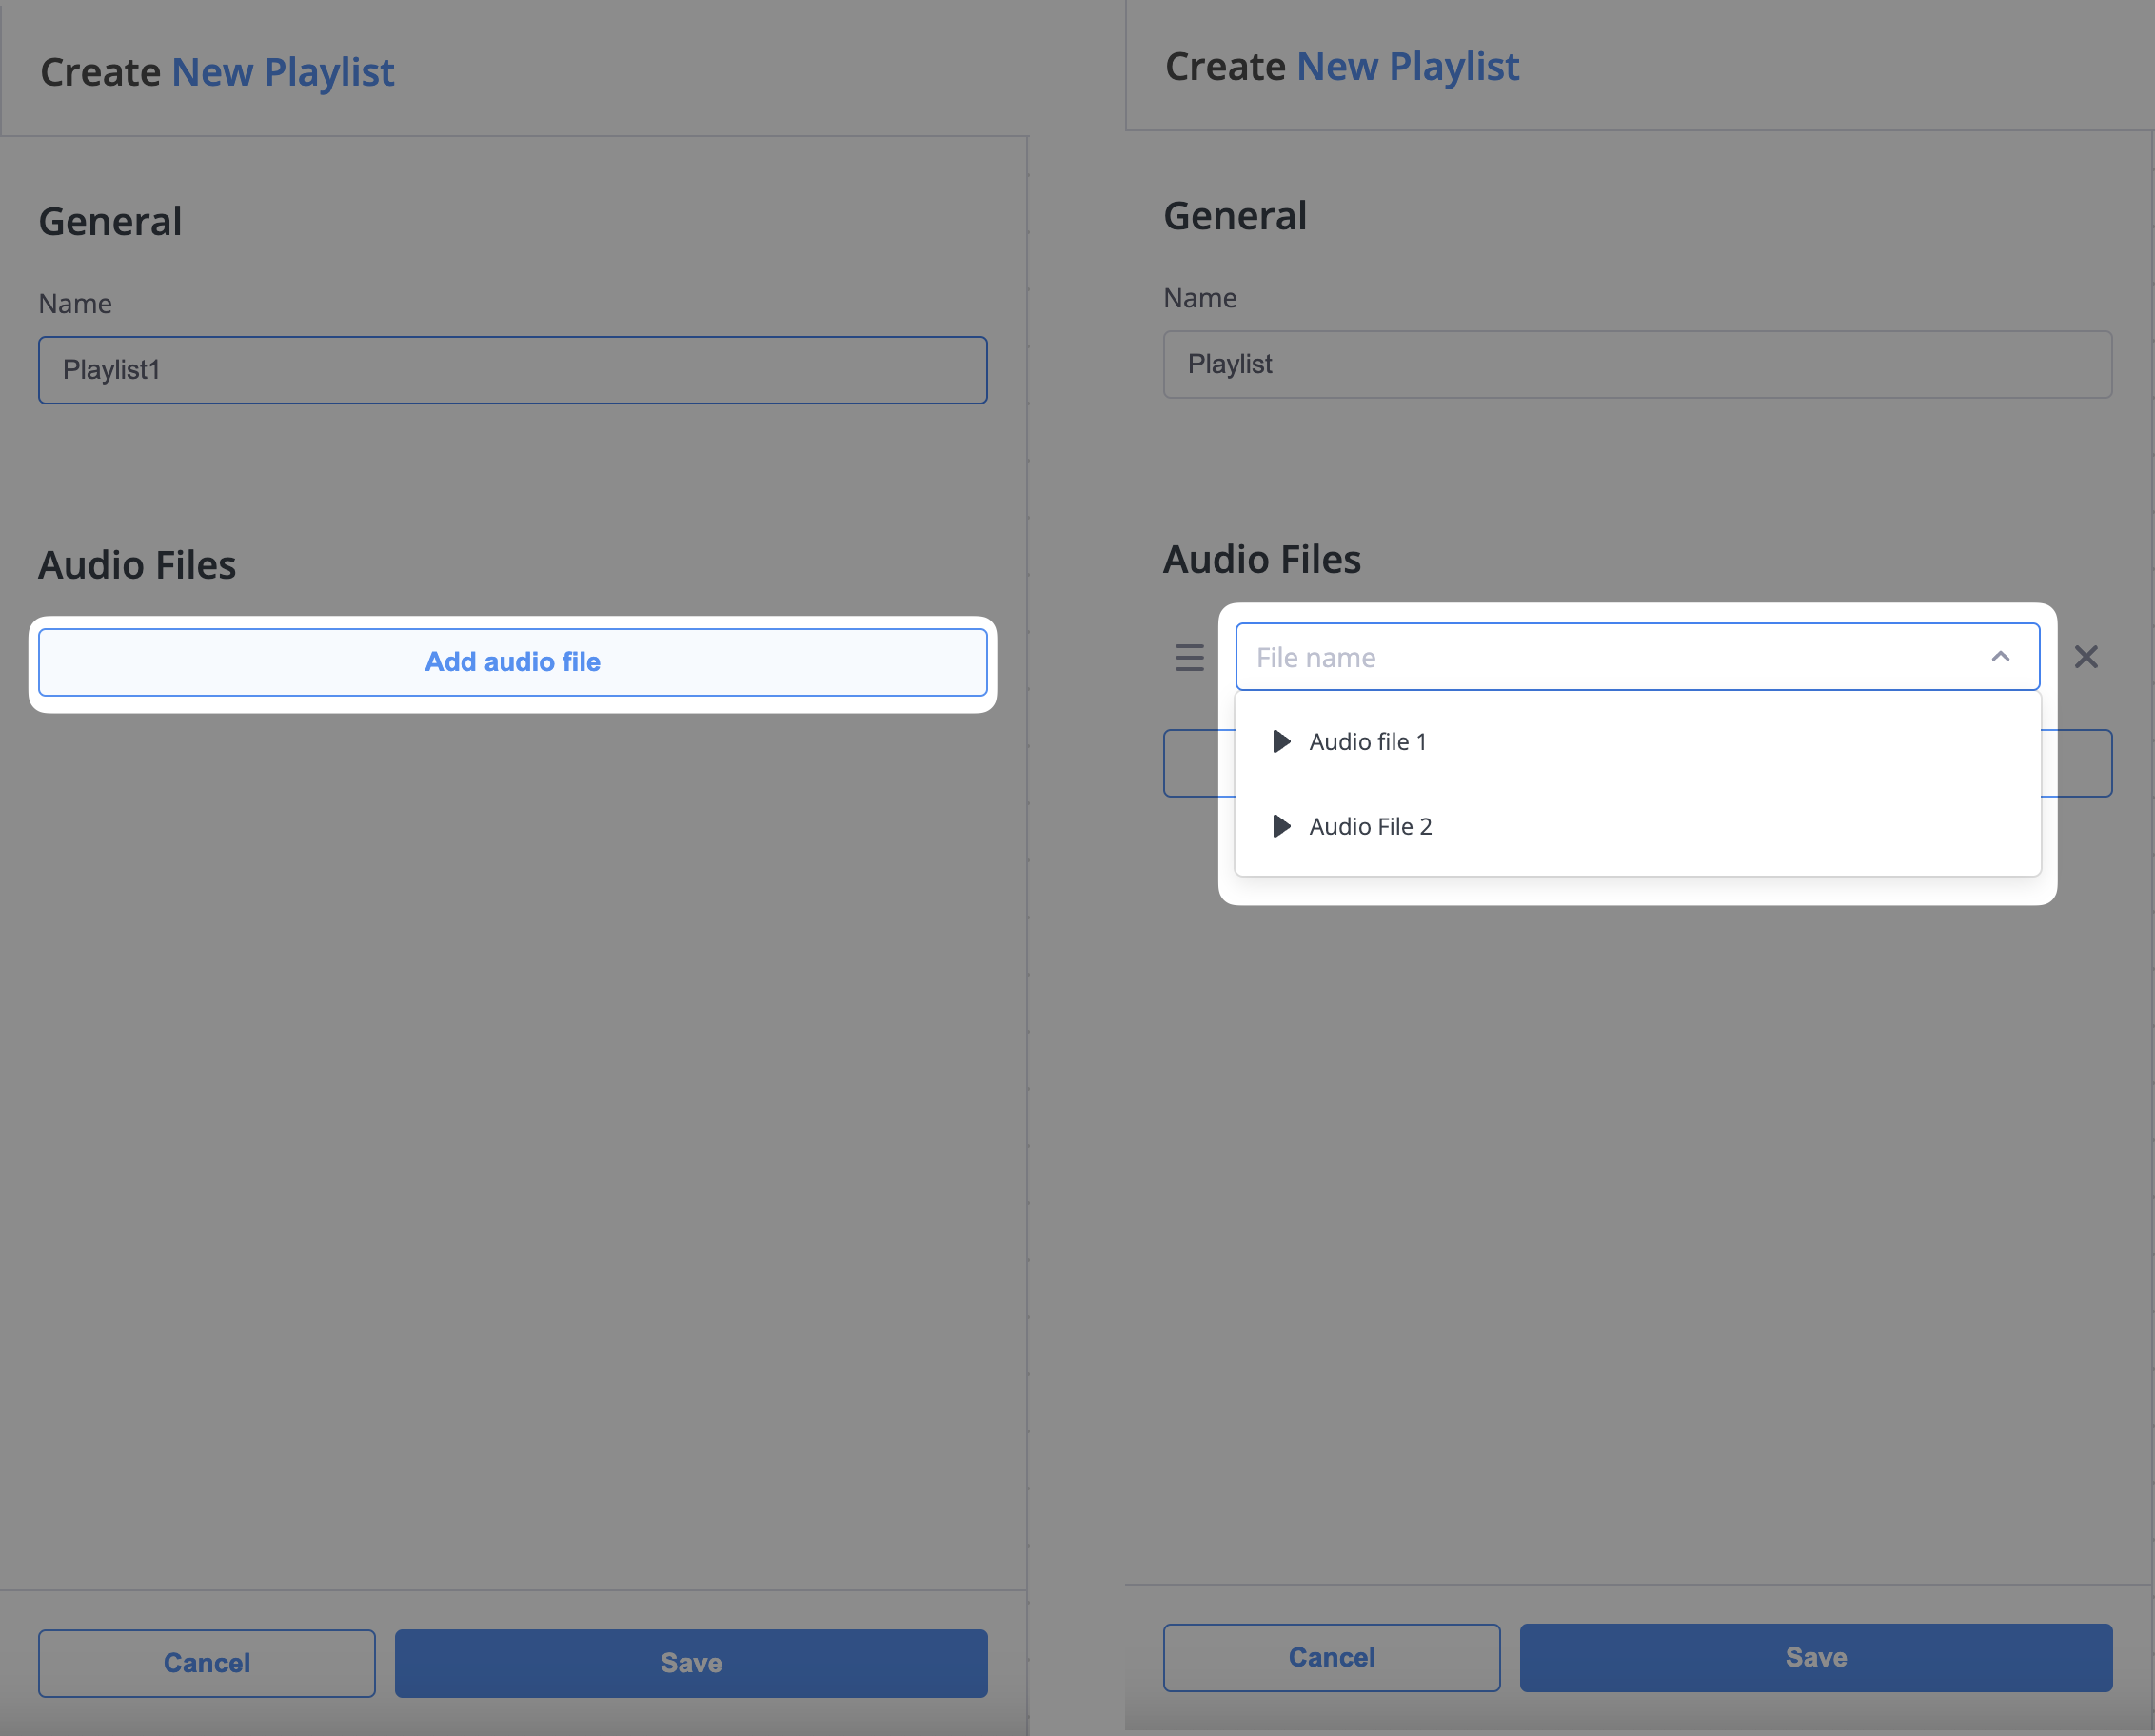
The Contacts section is your central address book within the phone.systems™ platform. It is designed to help you efficiently store, organize, and manage all the contact information essential for your organization’s communications.
Use the following guides to manage your contacts effectively:
The table displays your contacts with the following columns:
Field
Description
First Name
The contact’s first name.
Last Name
The contact’s last name.
Company Name
Associated organization.
Job Title
Contact’s role or title.
Phone Numbers
Primary contact number(s).
Emails
Primary email address(es).
Source
Origin of the contact (e.g., manual, import).
Type
Contact category (e.g., Lead, Customer).
Phonebook
Visibility assignment (Company or User).
Note
You can perform inline edits for some of the columns directly in the table. Simply double-click a cell or click the pencil icon that appears on hover to modify the information in that field.
The organization or company the contact is associated with.
Job Title
The contact’s job position or title.
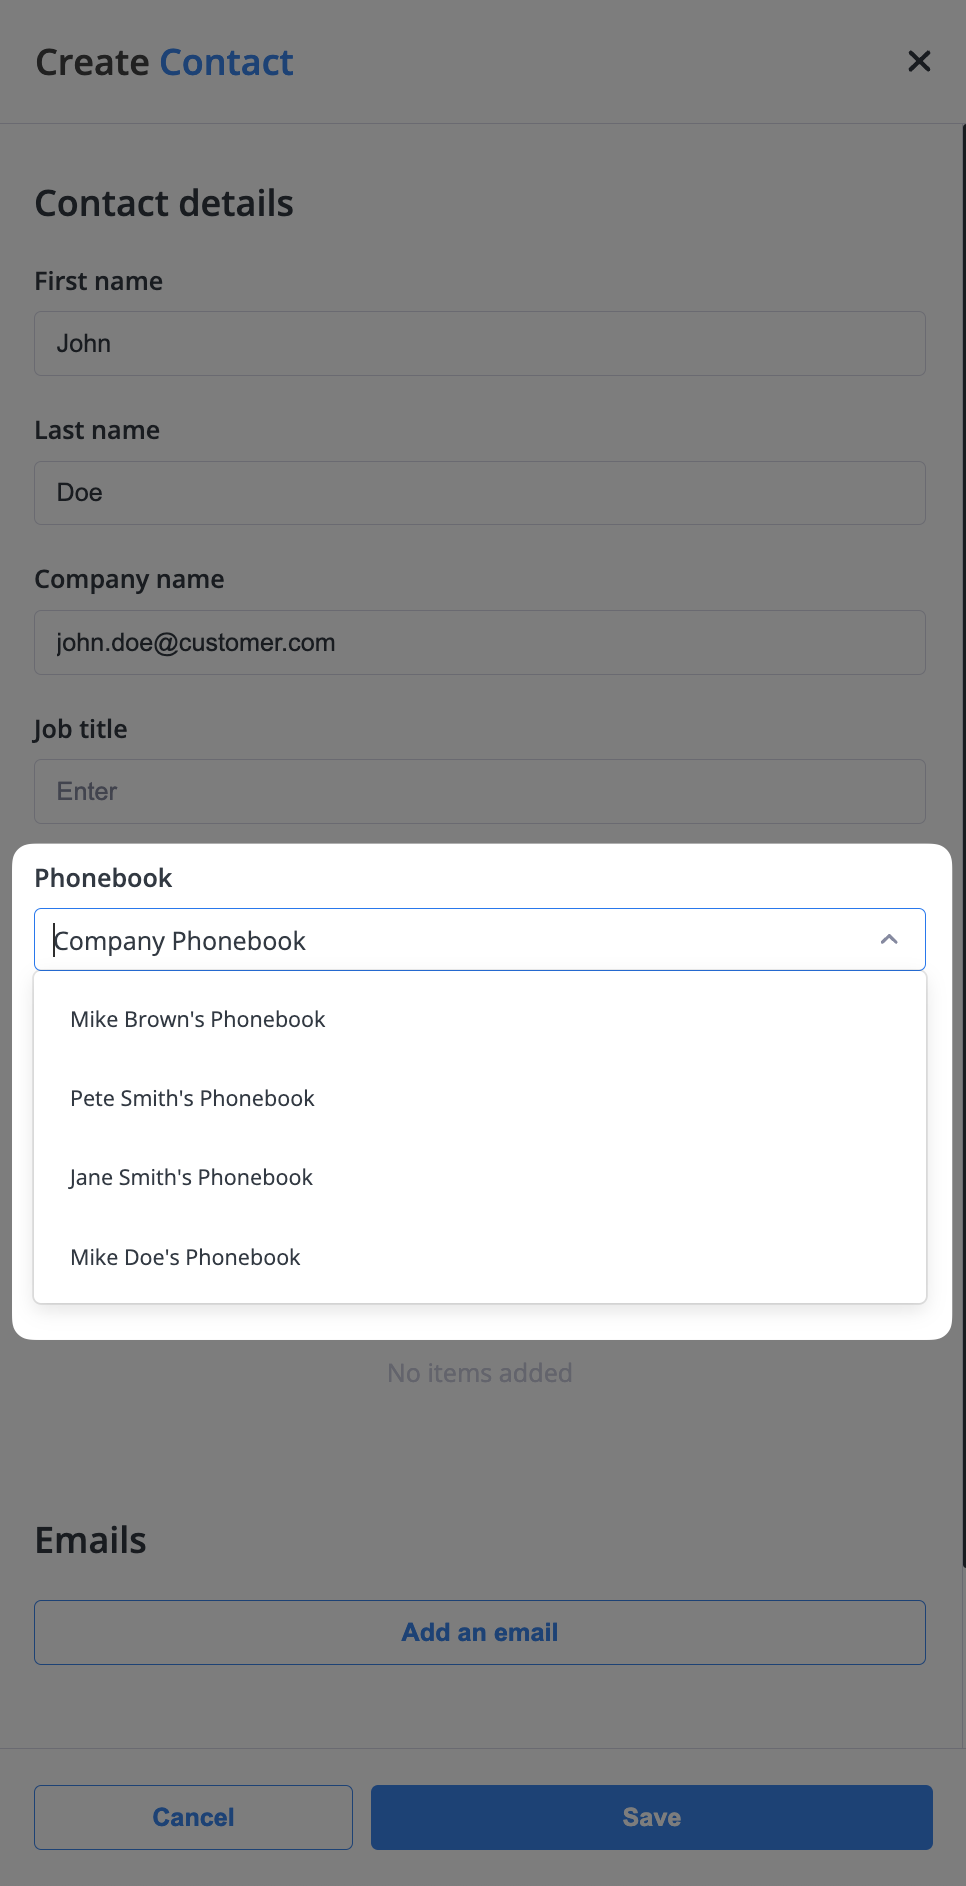
Phonebook
Assigns the contact’s visibility. Select Company Phonebook to make it visible to all users, or select a specific user’s name to make it private to them.
In the Numbers section, click Add a phone number to enter one or more phone numbers for the contact.
In the Emails section, click Add an email to enter one or more email addresses for the contact.
A pop-up window will appear. You must agree that you have a prior relationship with the contacts in the list. Check the box and click Submit to proceed.
Your CSV must:
Use commas as separators.
Include headers.
Be under 20MB in size.
Include only contacts who have opted in or are known.
The Phonebook feature controls contact visibility in the phone.systems™ App Contacts. Contacts can be public to your organization or private to a specific user.
When creating a contact, specify the phonebook to which the contact will be assigned to.
Company Phonebook: Contacts assigned here are visible to all users in your organization.
Note
By default, all new contacts are assigned to the Company Phonebook unless changed manually.
User Phonebook: Contacts assigned to a specific user are only visible to that user in their private phonebook. You can manage the list of available Users in the Users section, and see how these contacts appear in the phone.systems™ App Contacts guide.
Fig. 10. Assigning a contact to a phonebook during contact creation.#

