Time Schedules#
The Time Schedule lets you define and manage your organization’s working hours and exceptions for call flows during regular business hours, holidays, and special occasions.
When a Time Schedule is assigned to a user, it controls call delivery based on defined working hours and exceptions. Calls made outside these hours or during exceptions (e.g., holidays) will skip all contact methods for the user. The call will only attempt delivery during active working hours.
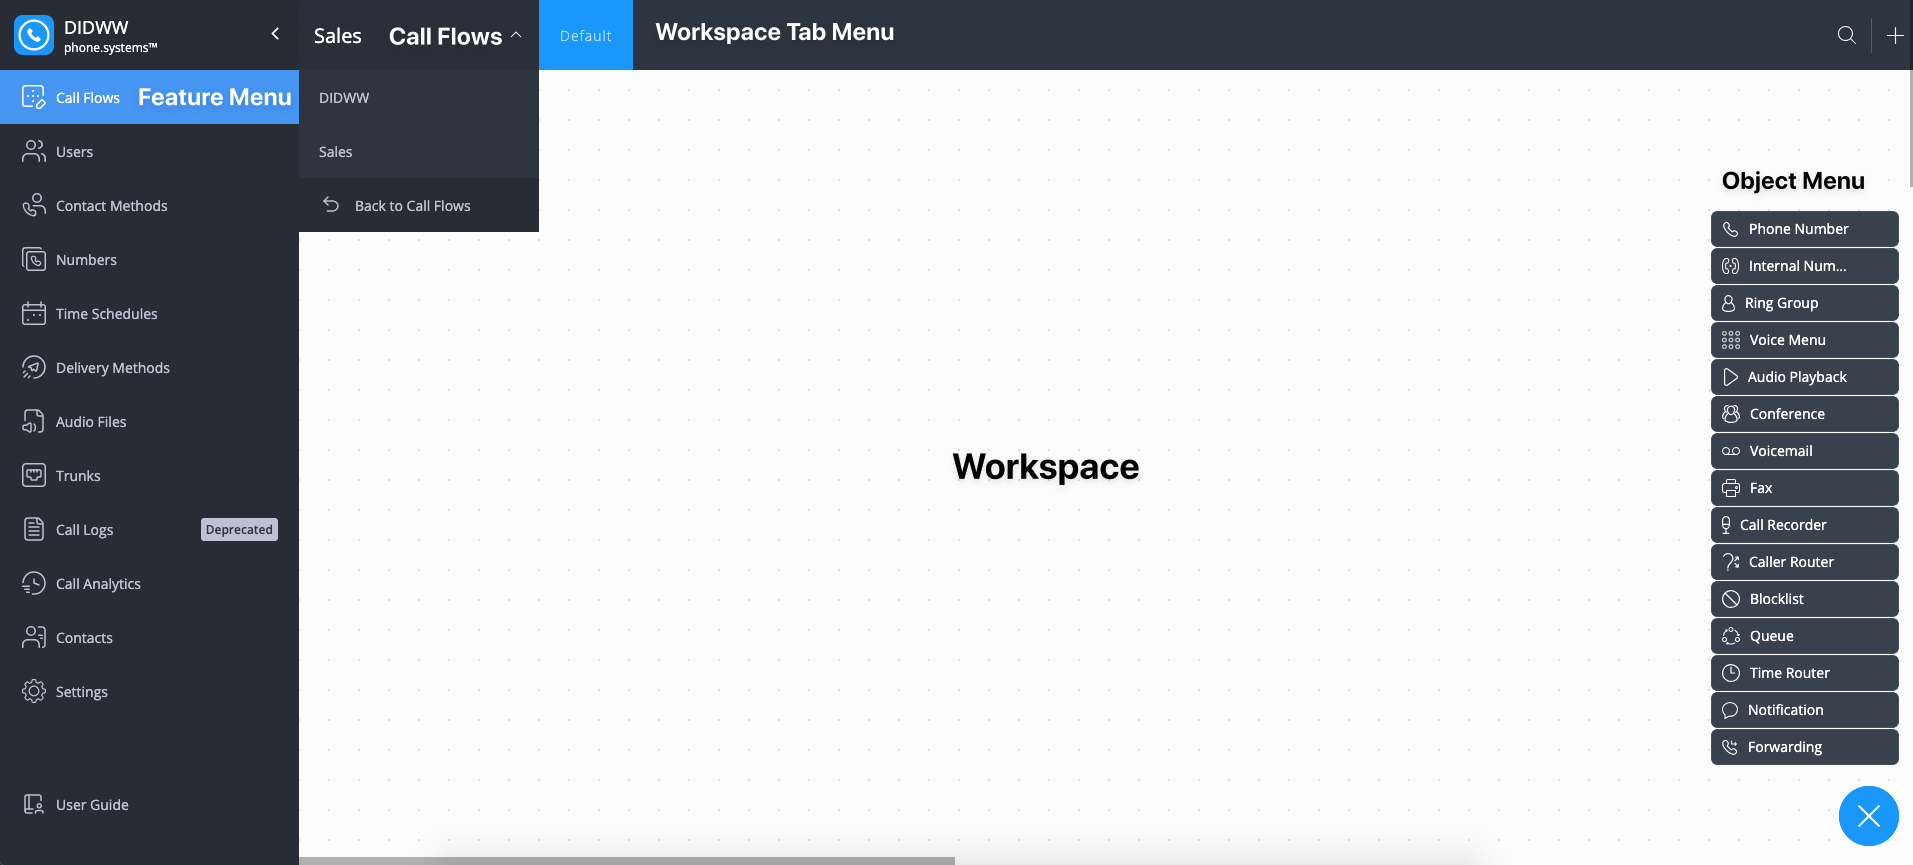
Fig. 1. Time Schedule Menu#
Create Time Schedule#
To create a Time Schedule, follow these steps:
Click on the Add New Time Schedule button:
Navigate to the Time Schedules tab and click on the
 symbol on the bottom right of the screen.
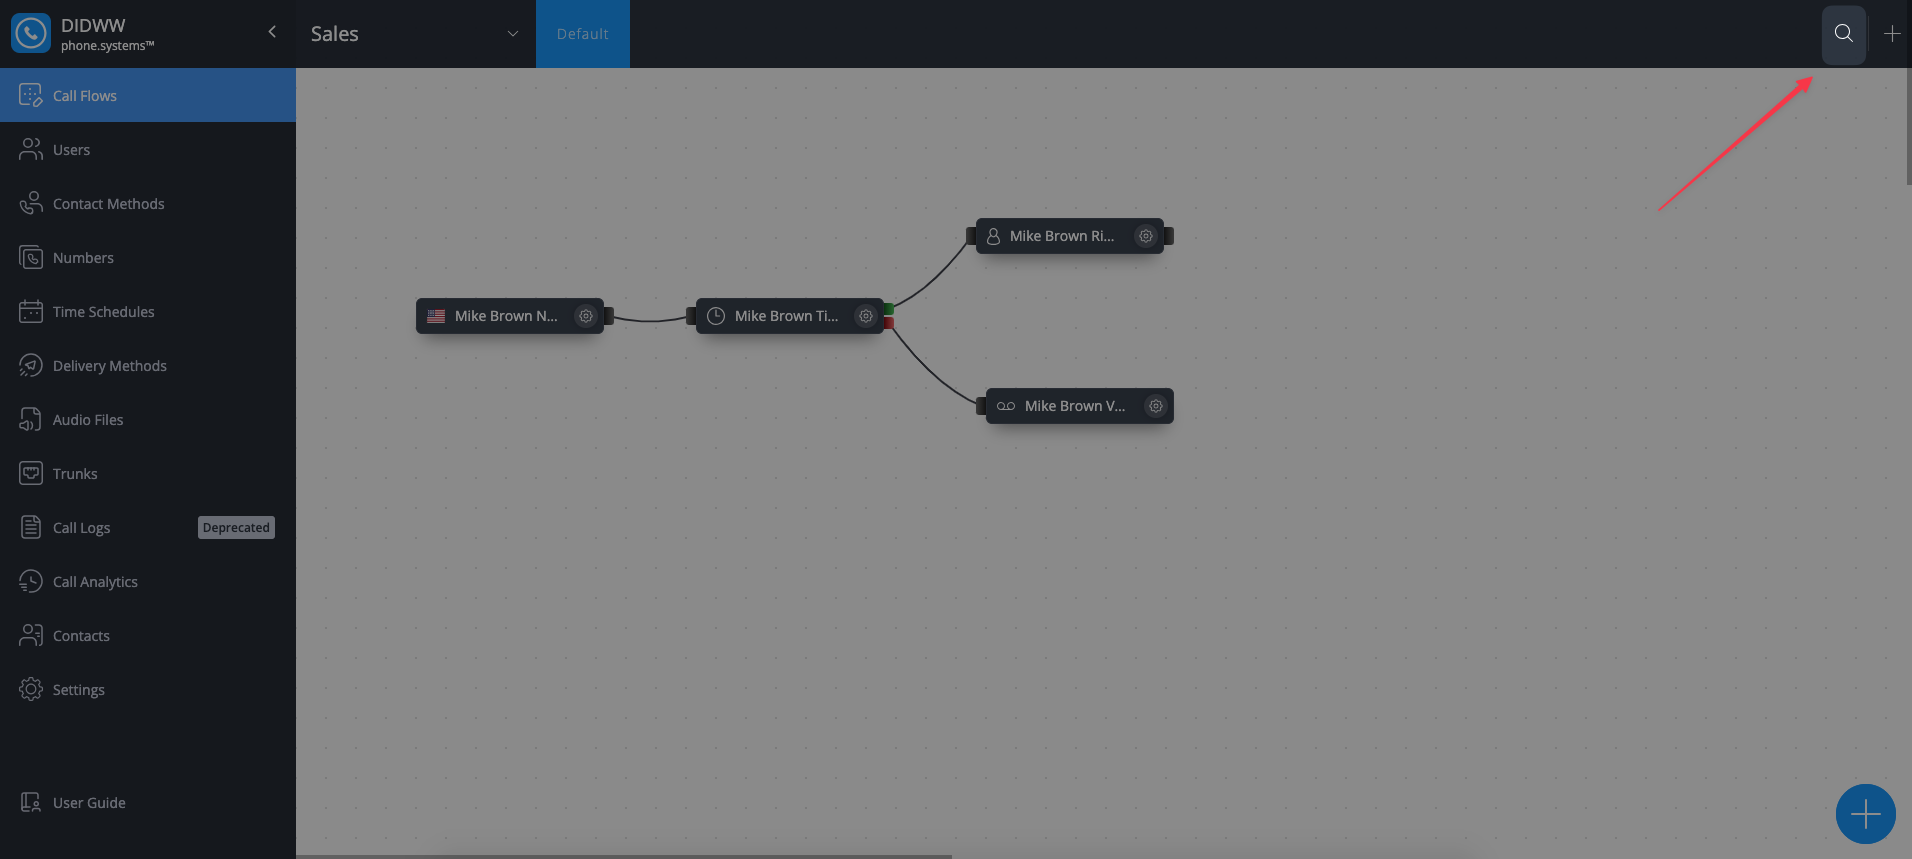
Fig. 1. Clicking the + symbol#
Fill in the Time Schedule Details:
A form will appear where you need to enter the Time Schedule details, such as:
Title
Timezone
Working Days
Working Hours
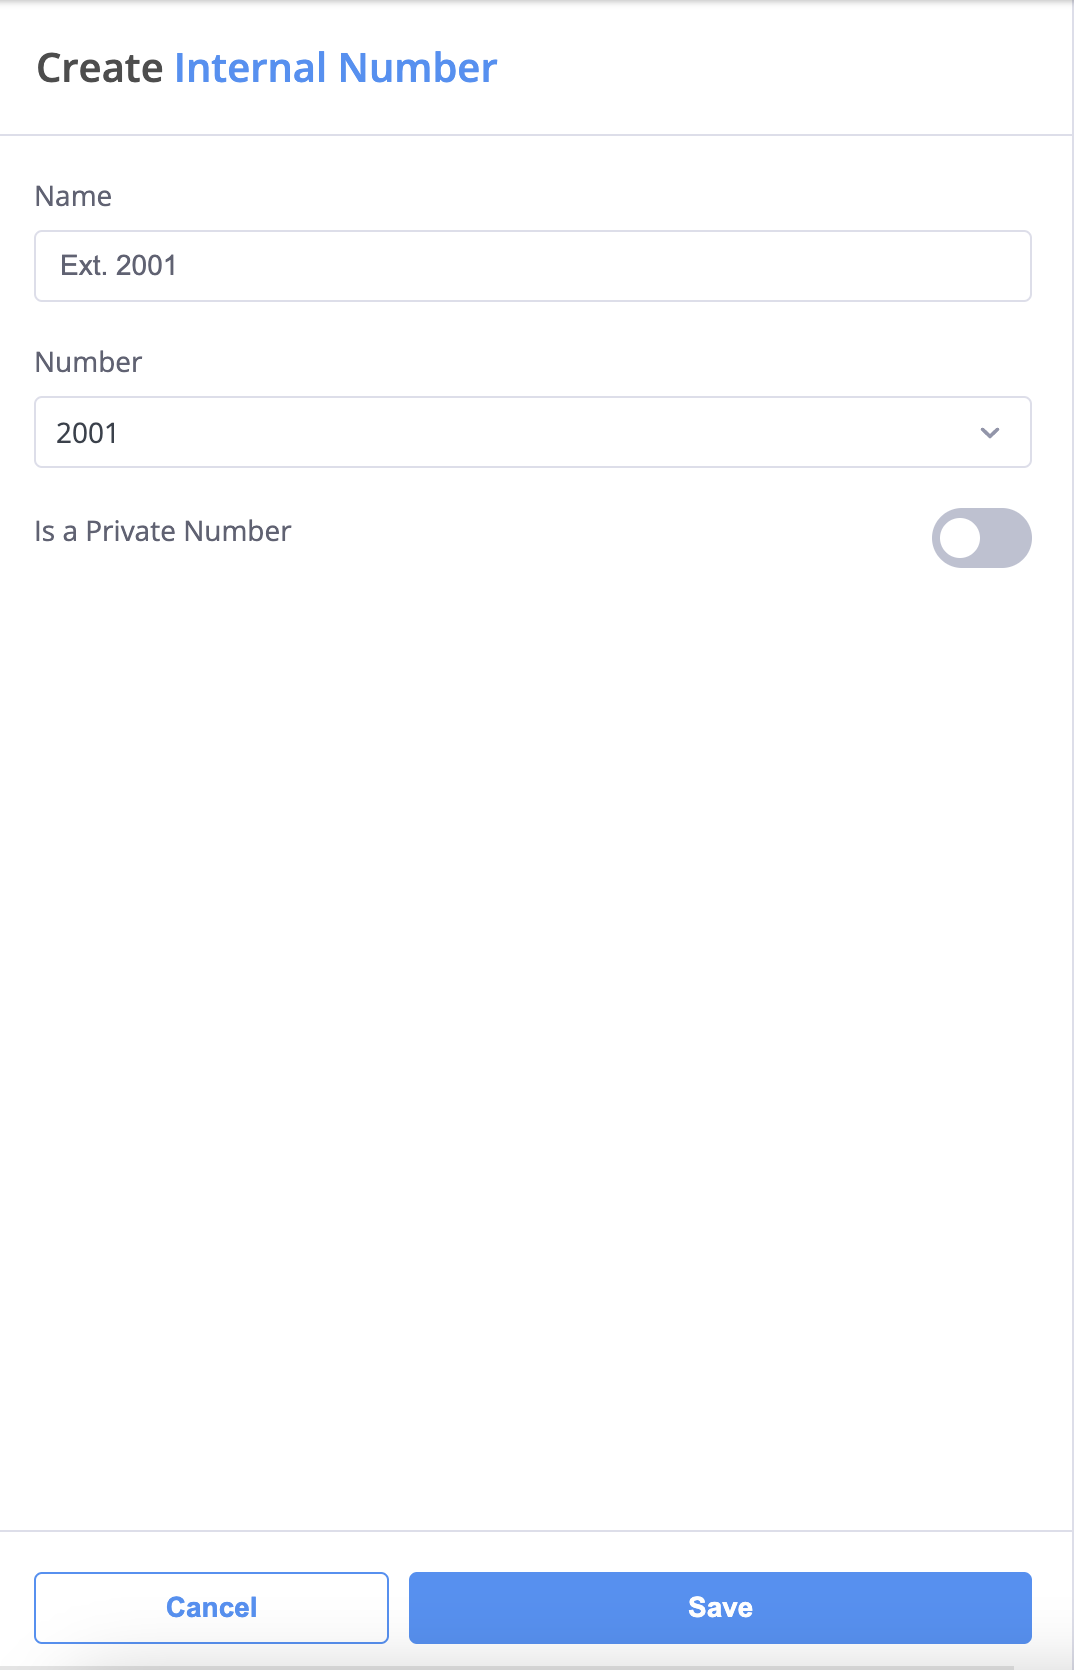
Fig. 2. Time Schedule Details#
Set working hour exceptions:
The time scheduler allows you to configure your call flows in a specific manner, avoiding some specific days such as holidays or important personal days. To create working hour exceptions, you must select the following:
Field |
Description |
|---|---|
Name |
The name for the exception. |
Type |
Exception for Working or Non-Working hours. |
Repeat |
Choose how often the exception repeats: Once, Monthly or Yearly. |
From |
Specifies the date and time when the exception will start. |
To |
Specifies the date and time when the exception will end. |
Saving the Time Schedule:
Click save once the configuration is complete.
Fig. 3. Configuring The Working Hour Exceptions#
Assign Time Schedule#
Note
To assign a time schedule, you must have active users.
Locate the user:
Go to the existing users menu and locate the user for whom you want to assign the Time Schedule.
Fig. 1. Locating The Time Schedule Column#
Assigning the time schedule:
Click on the Time Schedule Column for your selected user, and select the wanted time schedule, alternatively, edit the user and assign the Time Schedule via the Edit User menu.
Once you select the time schedule, it becomes assigned to the user, and all of the users contact methods.
Fig. 2. Assigning The Time Schedule#
Remove Time Schedule#
To remove the time schedule, follow these steps:
Locate the user:
Go to the existing users menu and find the user you want to unassign the time schedule to.
Unassign the time schedule:
click on the assigned time schedule in the users menu and click the
 button to unassign the Time Schedule.
Fig. 1. Removing The Time Schedule#
Edit Time Schedule#
To edit time schedules, click on the Actions button and select Edit.
Fig. 1. Actions Menu#
Edit the time schedule details and click Save to confirm.
Fig. 2. Edit Time Schedule#
Time Schedule Relations#
The Relations view provides an overview of all configurations associated with the time schedule.
To access it, click the Actions button and select Relations.
Fig. 1. Actions Menu#
This view shows related user configurations..
To navigate to the related section, click on the
 symbol next to the relation.

Fig. 2. Time Schedules Relations#
Delete Time Schedule#
To delete time schedules, click the Actions button and select Delete.
Fig. 1. Actions Menu#
If the selected time schedule has any relations, the Delete Time Schedule dialog displays a warning banner and a relations counter. Click the counter to view the full list of related items.
To permanently delete the time schedule and its related items, enable the Delete and unlink relations toggle, then click Delete.
Note
Deleting a time schedule also deletes and unlinks all associated relations. Unlinking these relations may disrupt connected services. If you prefer not to proceed, close the dialog and update or remove the connections manually.

Fig. 2. Delete Time Schedule dialog#