Users#
The Users section in the Cloud PBX phone.systems™ interface allows you to:
Create new user profiles
Edit existing user profiles
See user relations
Filter users for easy navigation
Import users from a CSV file
Download users to a CSV file
Send or resend invitations to the phone.systems™ app
Delete users
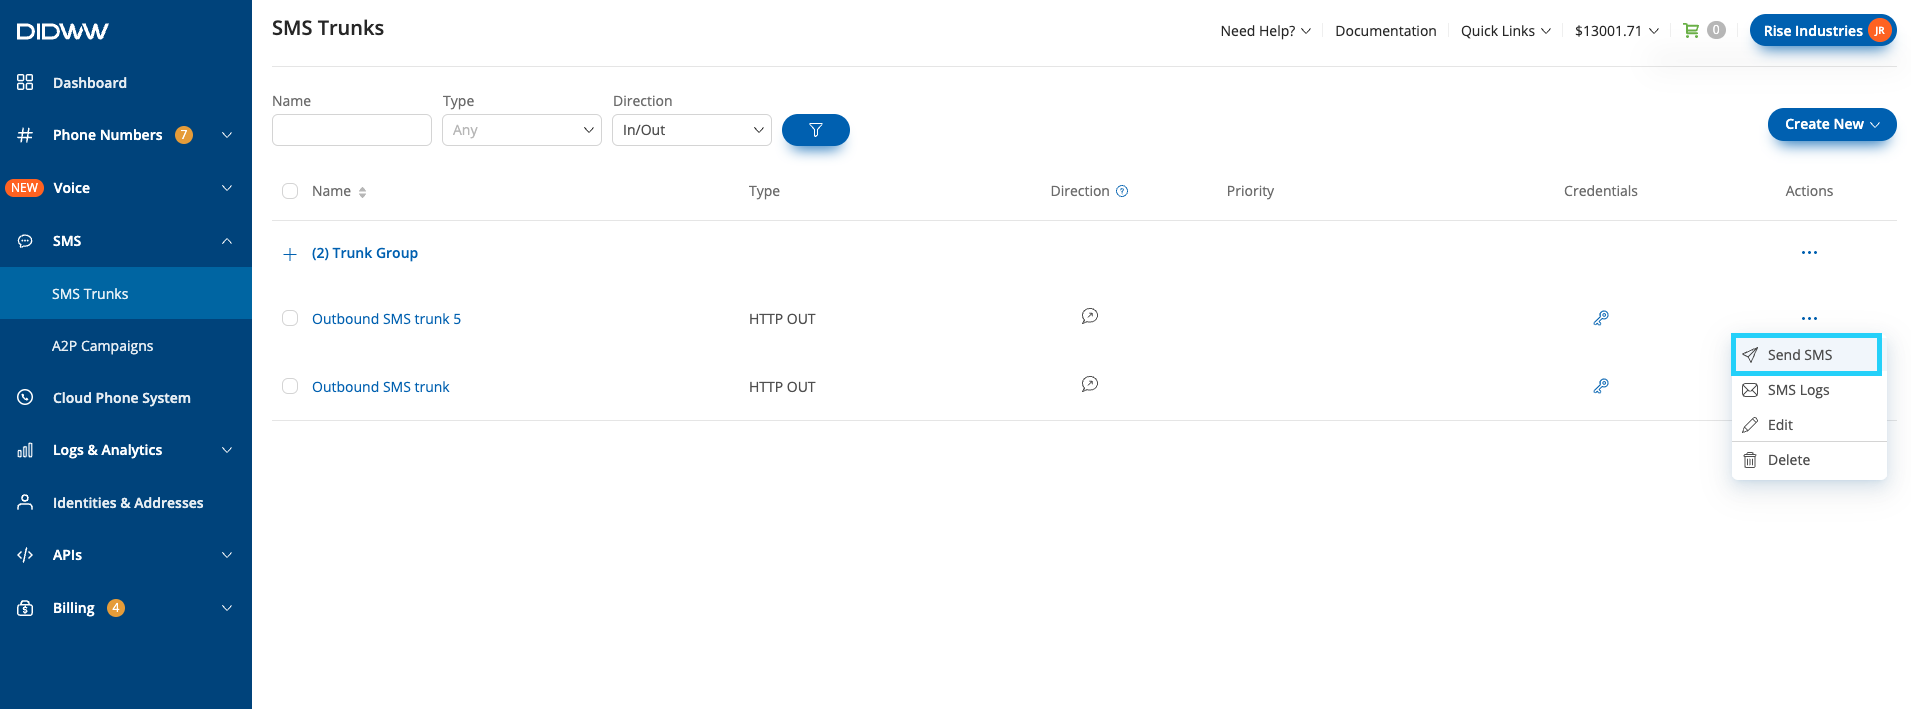
Fig. 1. Users Menu Overview#
User Interface Elements#
The filter bar at the top of the user list allows you to filter users by specific criteria. Available filter options include:
Full Name
Job Title
Department
Email
Time Schedule
Call Flow
CRM User
Click the Filter button to apply the selected criteria and refine the user list.
Fig. 1. Filter Bar#
The table displays a list of users with the following columns:
Field |
Description |
|---|---|
Avatar |
The user’s assigned avatar. |
First Name |
The first name of the user. |
Last Name |
The last name of the user. |
Job Title |
The job title of the user. |
Department |
The department of the user. |
The user’s email address. |
|
Time Schedule |
The time schedule assigned to the user. |
Call Flows |
Specifies the call flow to which the user is assigned. |
CRM User ID |
Specifies the CRM user ID if assigned to a CRM. |
Invitations |
Shows if the user has pending invitations to the phone.systems™ app. |
Devices |
Number of devices registered by the user in the phone.systems™ app. |
SIP Accounts |
Number of SIP account contact methods assigned to the user. |
PSTN Forwarding |
Number of PSTN Forwarding contact methods assigned to the user. |
SIP Forwarding |
Number of SIP Forwarding contact methods assigned to the user. |
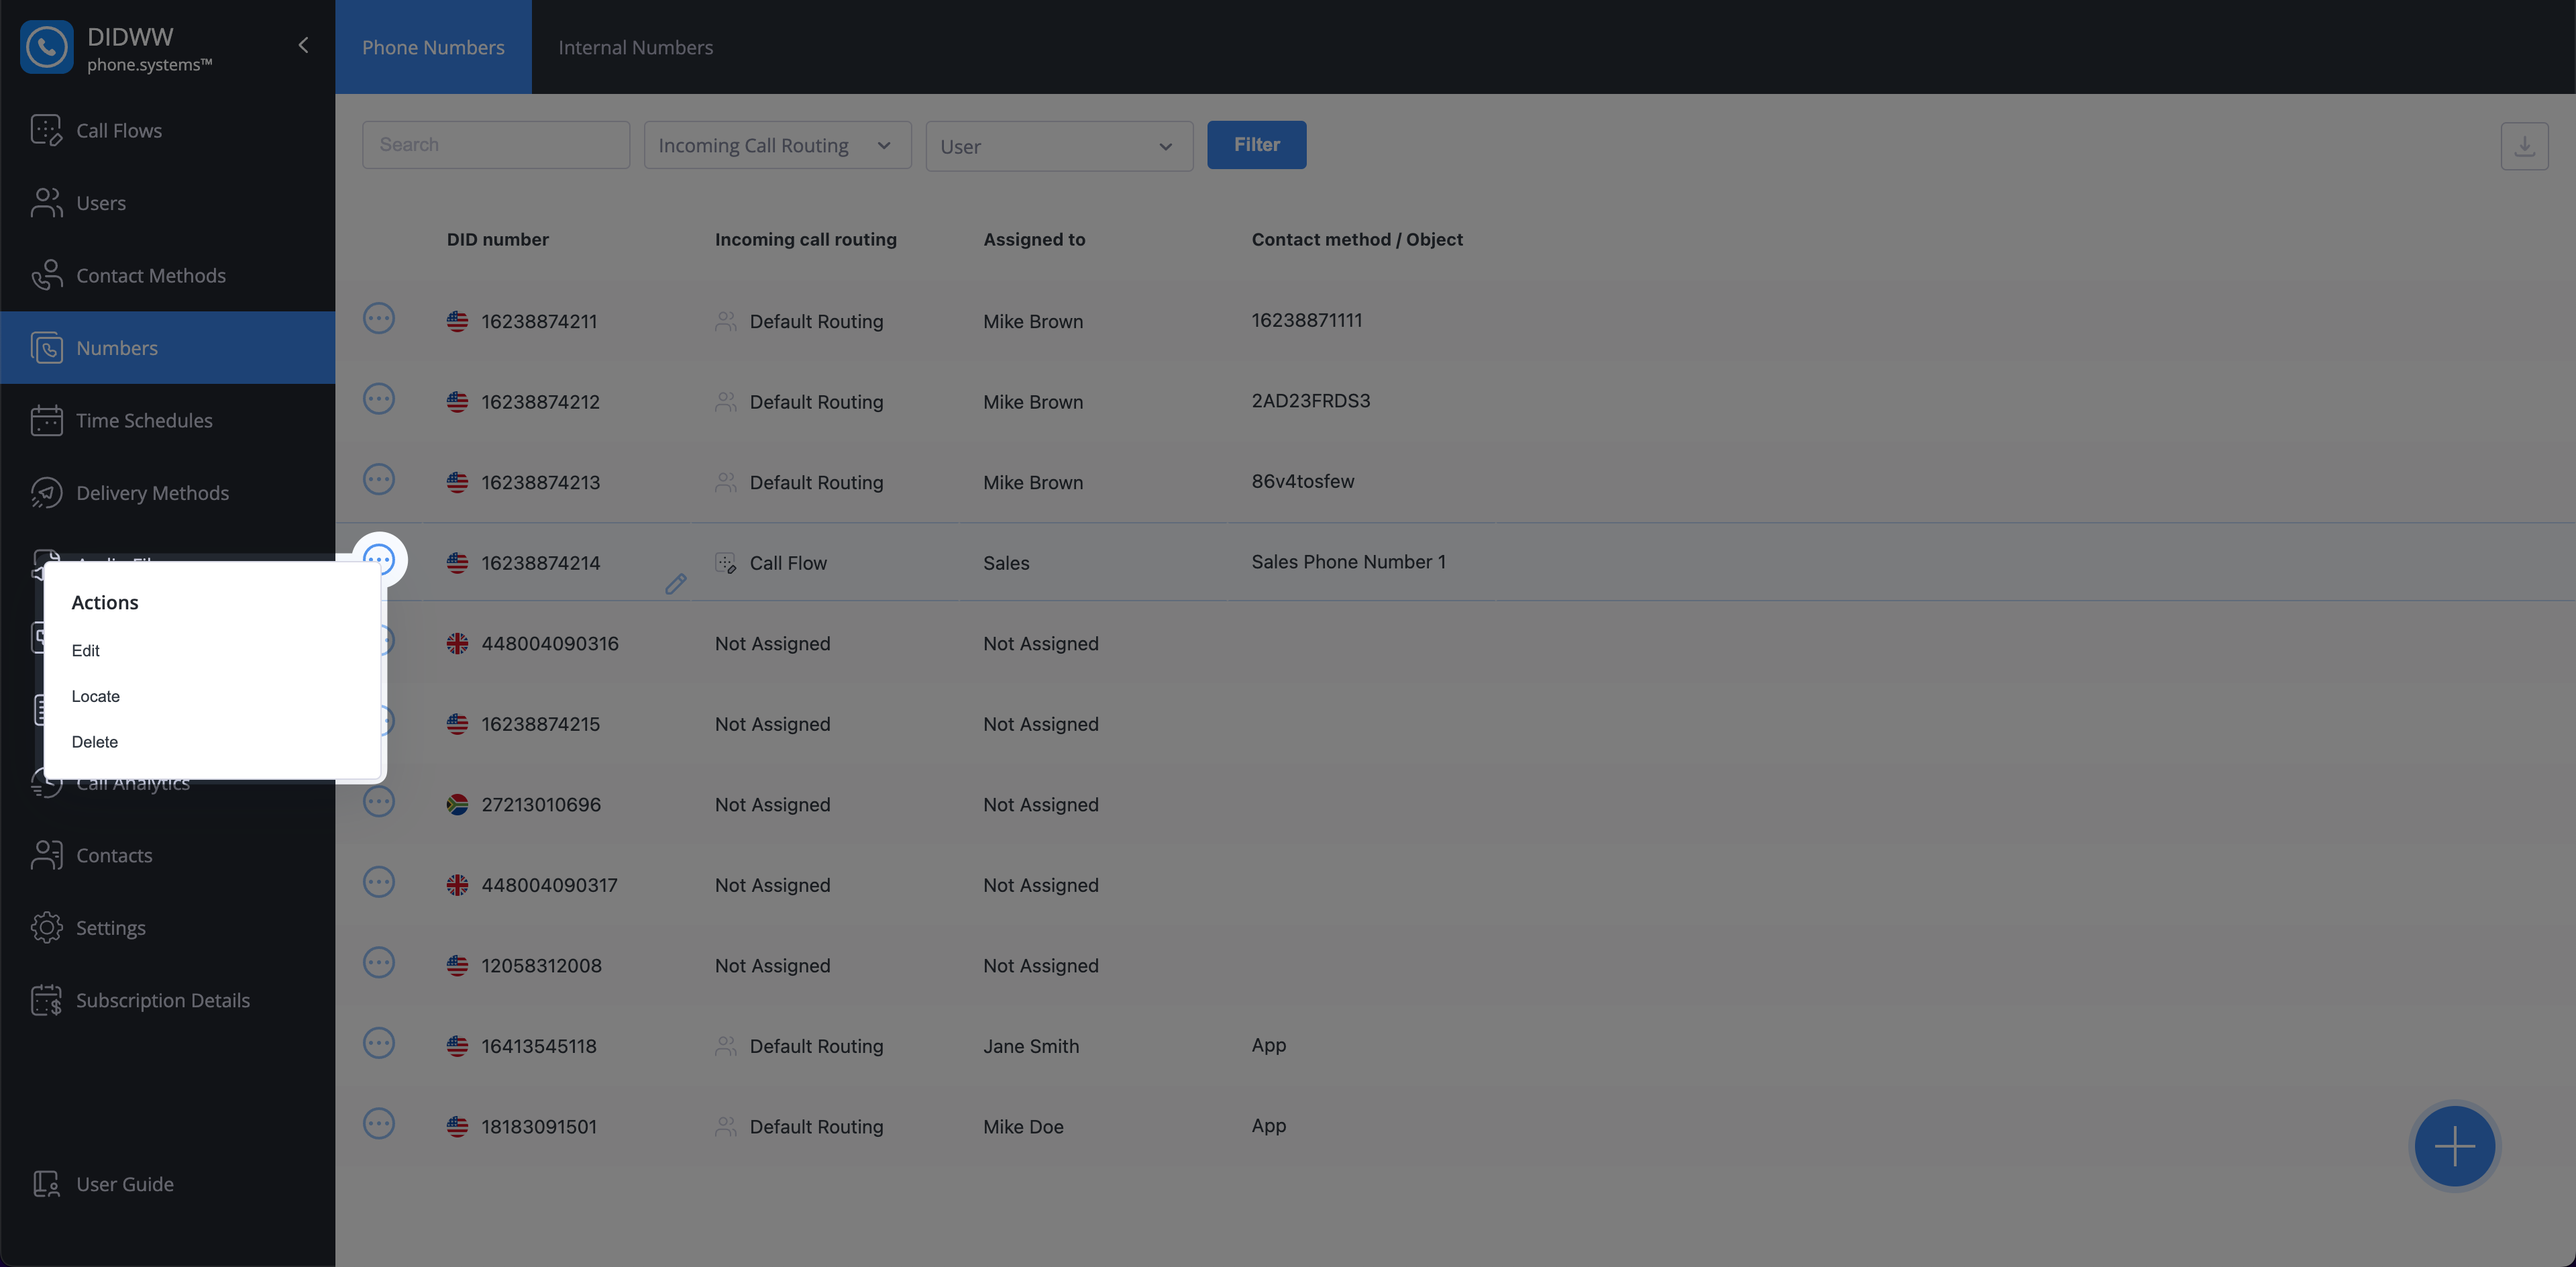
Fig. 2. User List#
Note
You can edit the table columns directly by either double-clicking the cell or clicking the pencil icon. This functionality is available for columns where the pencil icon appears when hovering over the cell.
The Actions menu for each user is accessible by clicking the three dots on the right side of the user row. This menu provides options to:
Edit the user
Send an invitation or resend an invitation to the phone.systems™ application
Delete the user
Fig. 3. Actions Menu#
Create a New User#
To create a new user, follow these steps:
Click on the Add New User button:
In the bottom right corner of the Users section, click on the
 button.
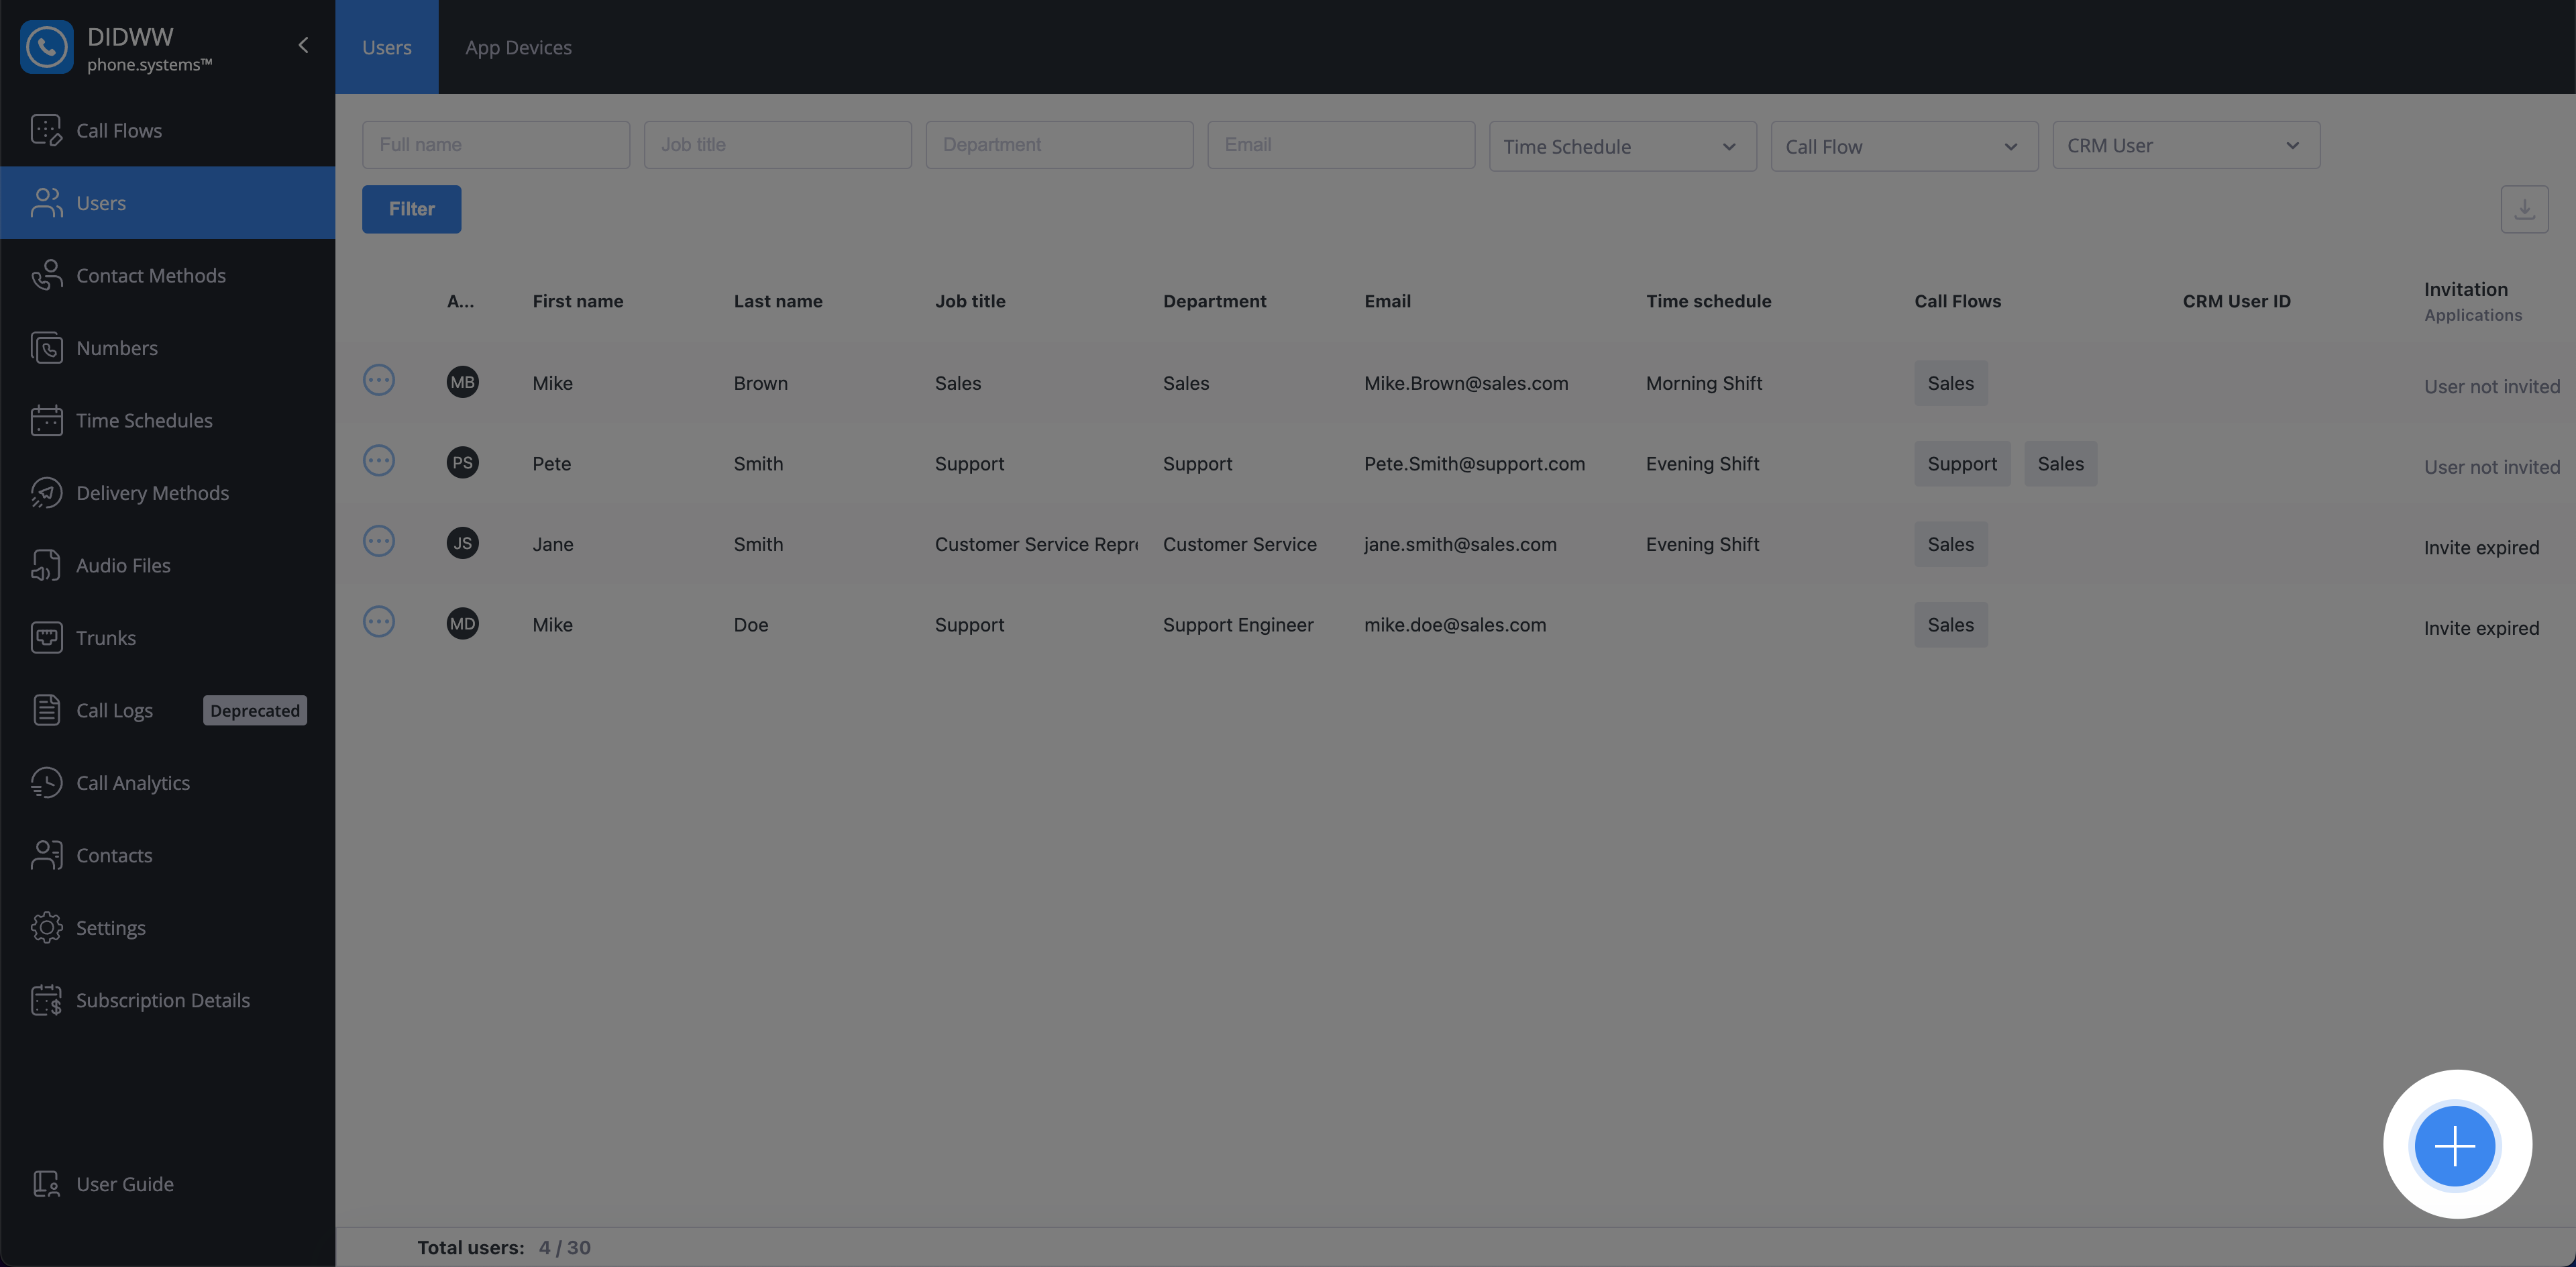
Fig. 1. Creating A New User#
Fill in the User Details:
A form will appear where you can optionally upload a custom avatar:
Choose the image file you want to use as your avatar.
Use the slider to adjust the size and position of the image.
Click Submit to save your changes.
Note
Supported image formats are .jpeg and .png.
If no custom avatar is uploaded, the system will automatically assign a default avatar (the user’s initials).
The avatars are synced with the mobile application.
Fig. 2. Add a custom avatar#
Then enter the following User Details and Contact Information:
First name
Last name
Department
Job title
Time Schedule
Email
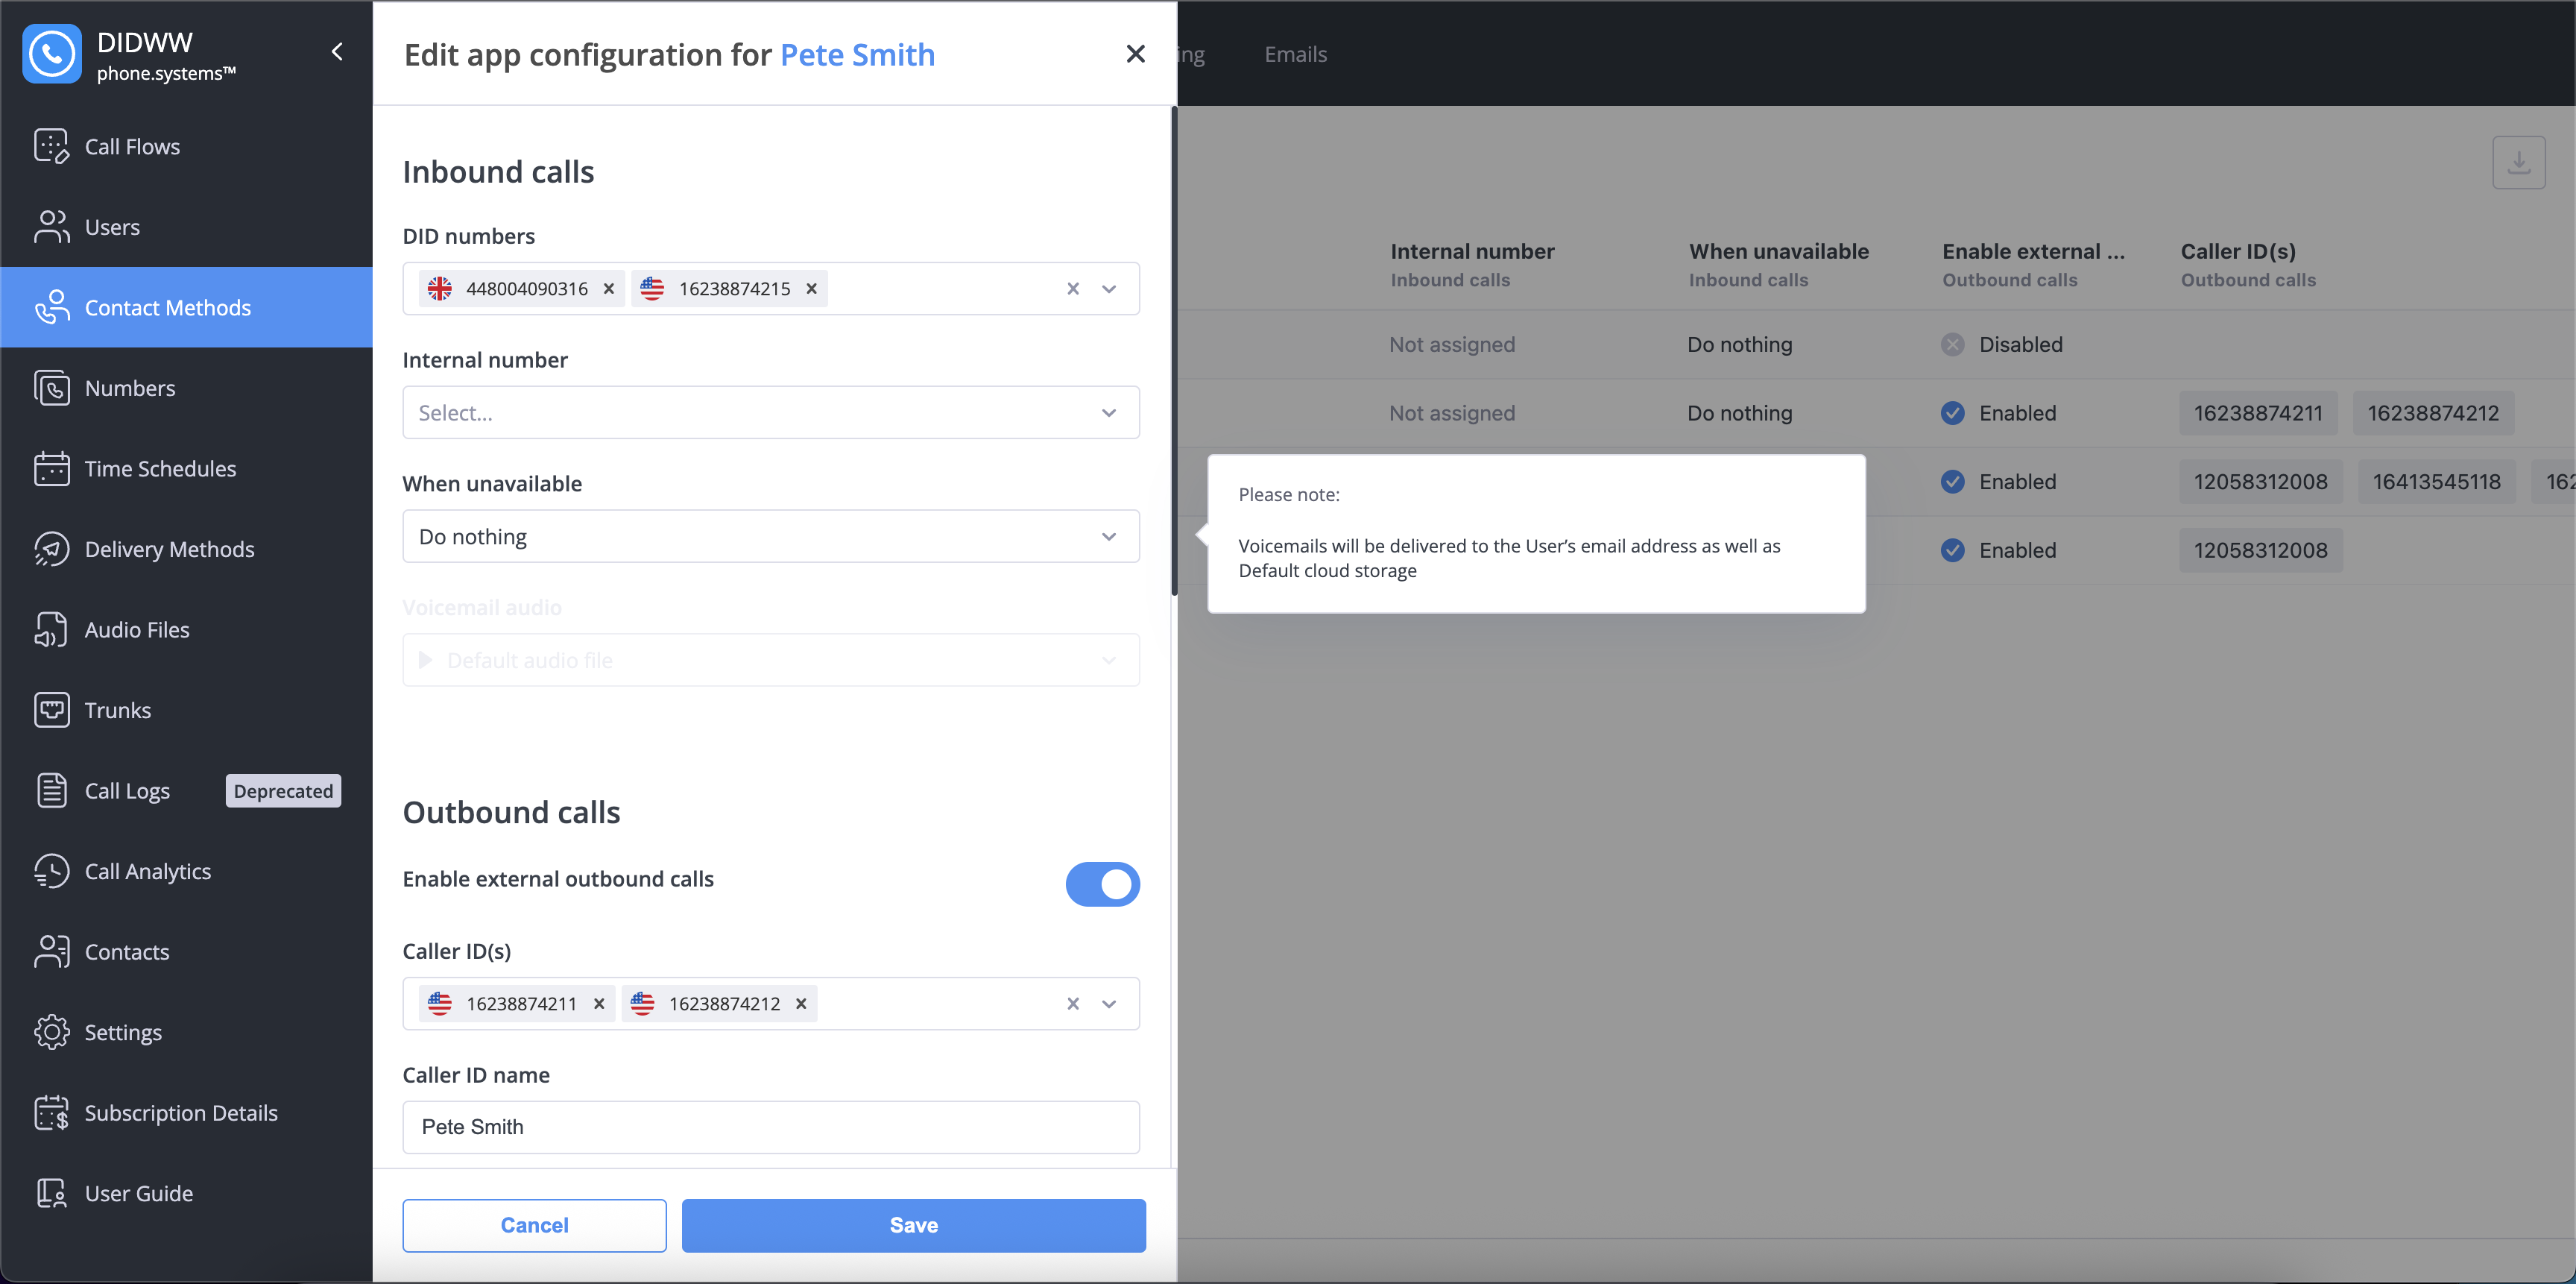
Fig. 3. User Details and Contact Information#
Additionally you may select whether you want to set up a dedicated application line for the user by using the Configure application line in the next step toggle.
Configuring the Application Line:
Select the Configure application line in the next step toggle and click Next.
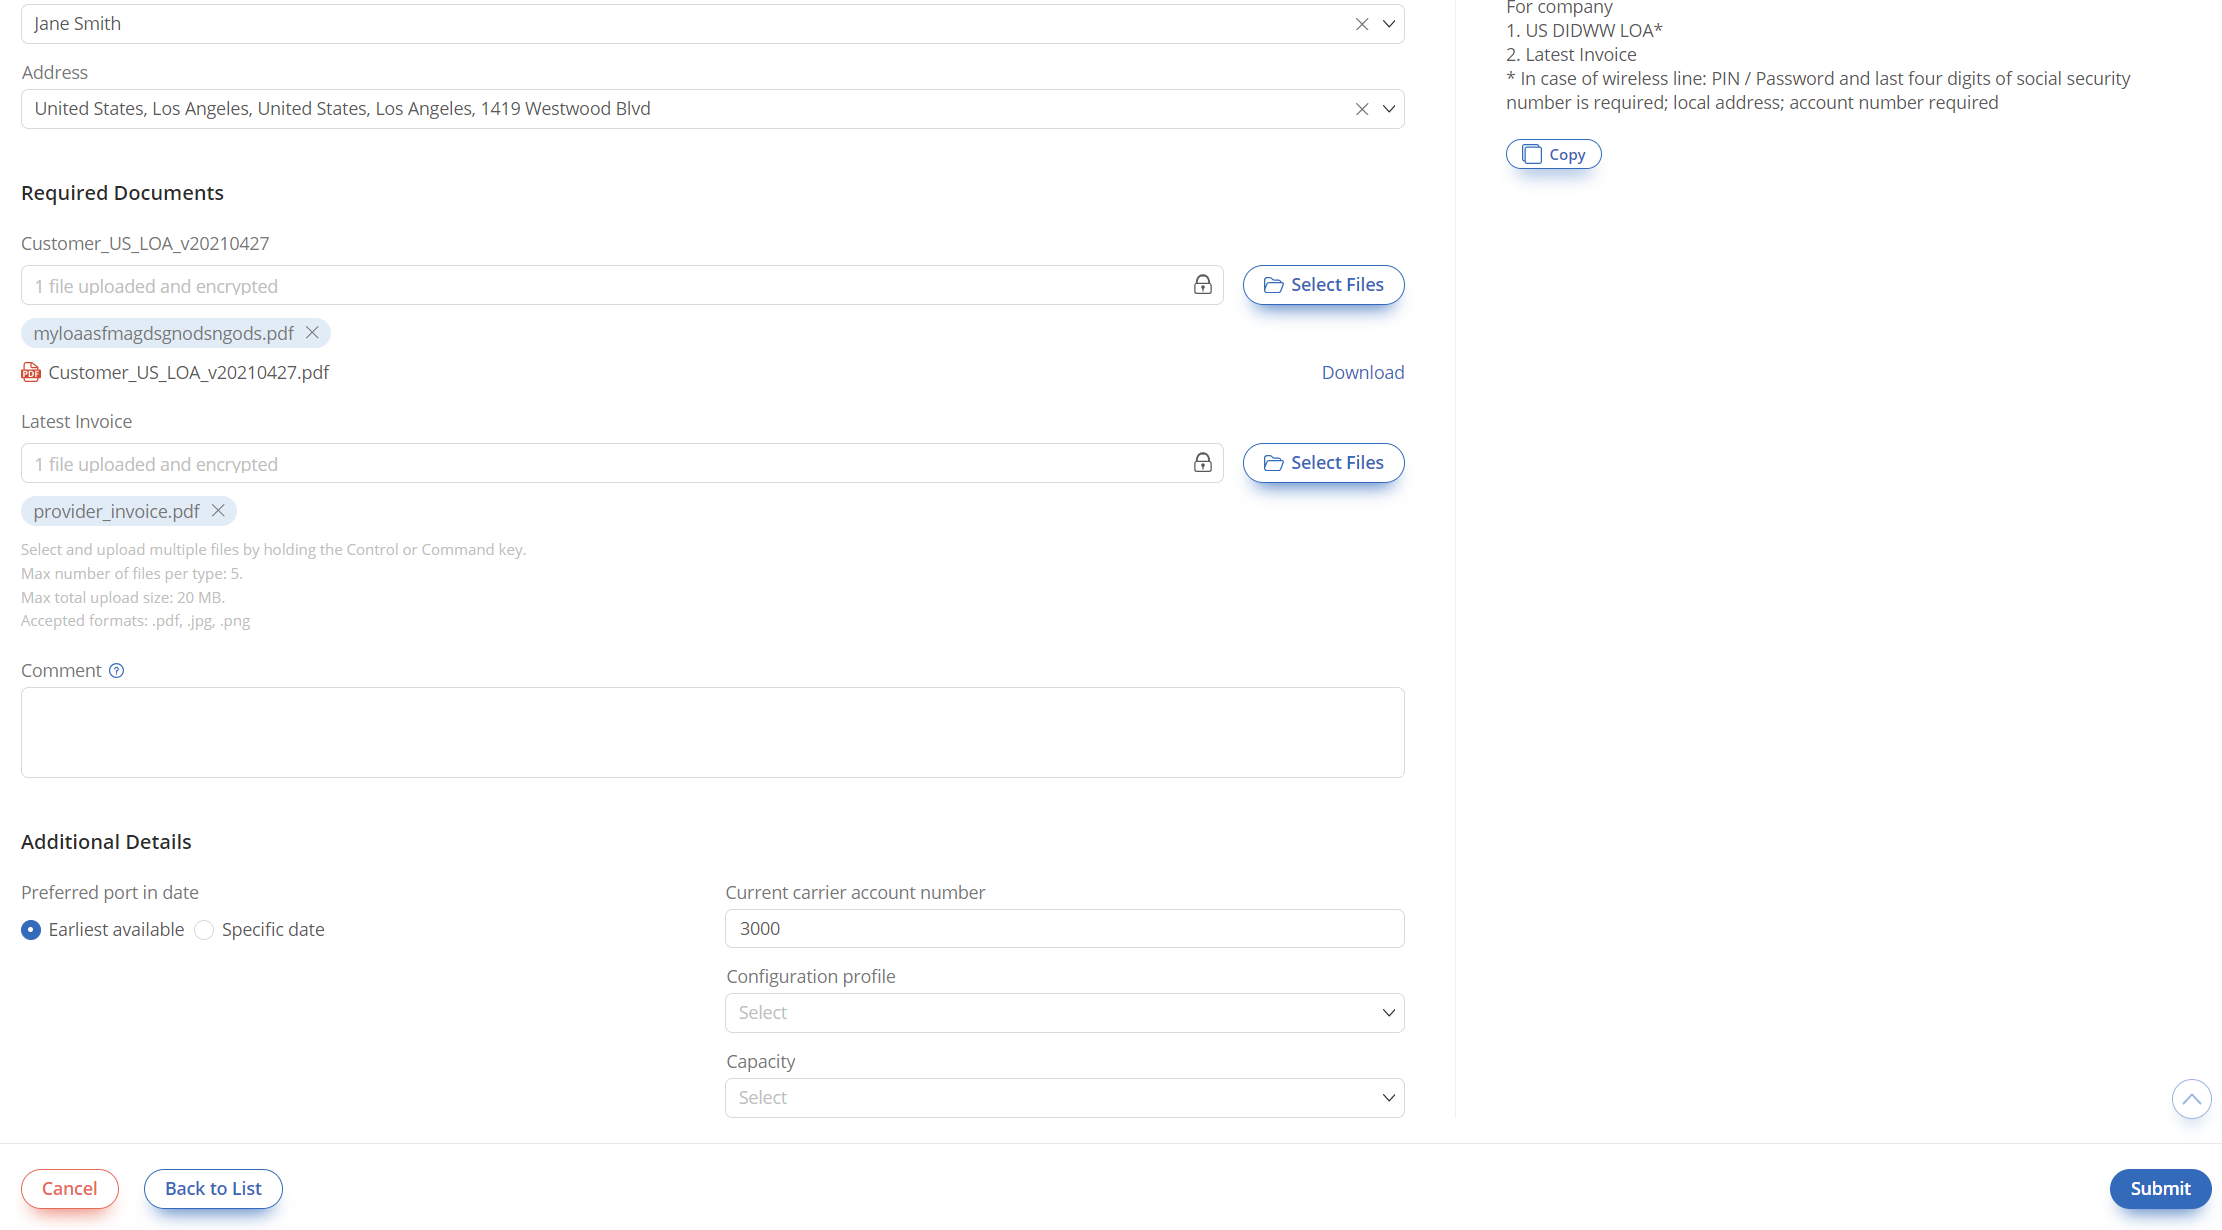
Fig. 4. Configure Application Line Toggle#
Configure the App Configuration Contact Method by entering the inbound, outbound, and call recording settings for your application:
DID Numbers |
Select one or more DID numbers to receive inbound calls. Note If no DID numbers are available, refer to Configure DID Number with phone.systems™ or Add Third Party Phone Numbers. |
Internal Number |
Select one or more internal numbers to receive inbound calls. Note If no internal numbers are available, refer to Create Internal Numbers Documentation. |
When Unavailable |
Specify the forwarding behavior when the destination is unavailable. |
Enable External Outbound Calls |
Enable or disable external outbound calling functionality. |
Caller IDs |
Select the caller IDs to be used for external outbound calls. Note This option becomes available only when external outbound calling is enabled. |
Internal Caller ID |
Define the caller ID to be used for internal calls. Note If no internal numbers are available, refer to Create Internal Numbers Documentation. |
Internal Announcement |
Select the announcement audio message for internal calls. Note To upload audio files, refer to Audio Files Documentation. |
External Announcement |
Select the announcement audio message for external calls. |
Delivery Methods |
Choose how call recordings are delivered. Note To configure delivery methods, refer to Delivery Methods Documentation. |
Inbound Internal |
Toggle to enable recording of inbound internal calls. |
Inbound External |
Toggle to enable recording of inbound external calls. |
Outbound Internal |
Toggle to enable recording of outbound internal calls. |
Outbound External |
Toggle to enable recording of outbound external calls. |
Record On Demand |
Allows users to initiate recording via a dialing command. Note To enable on-demand call recording, configure a feature code. |
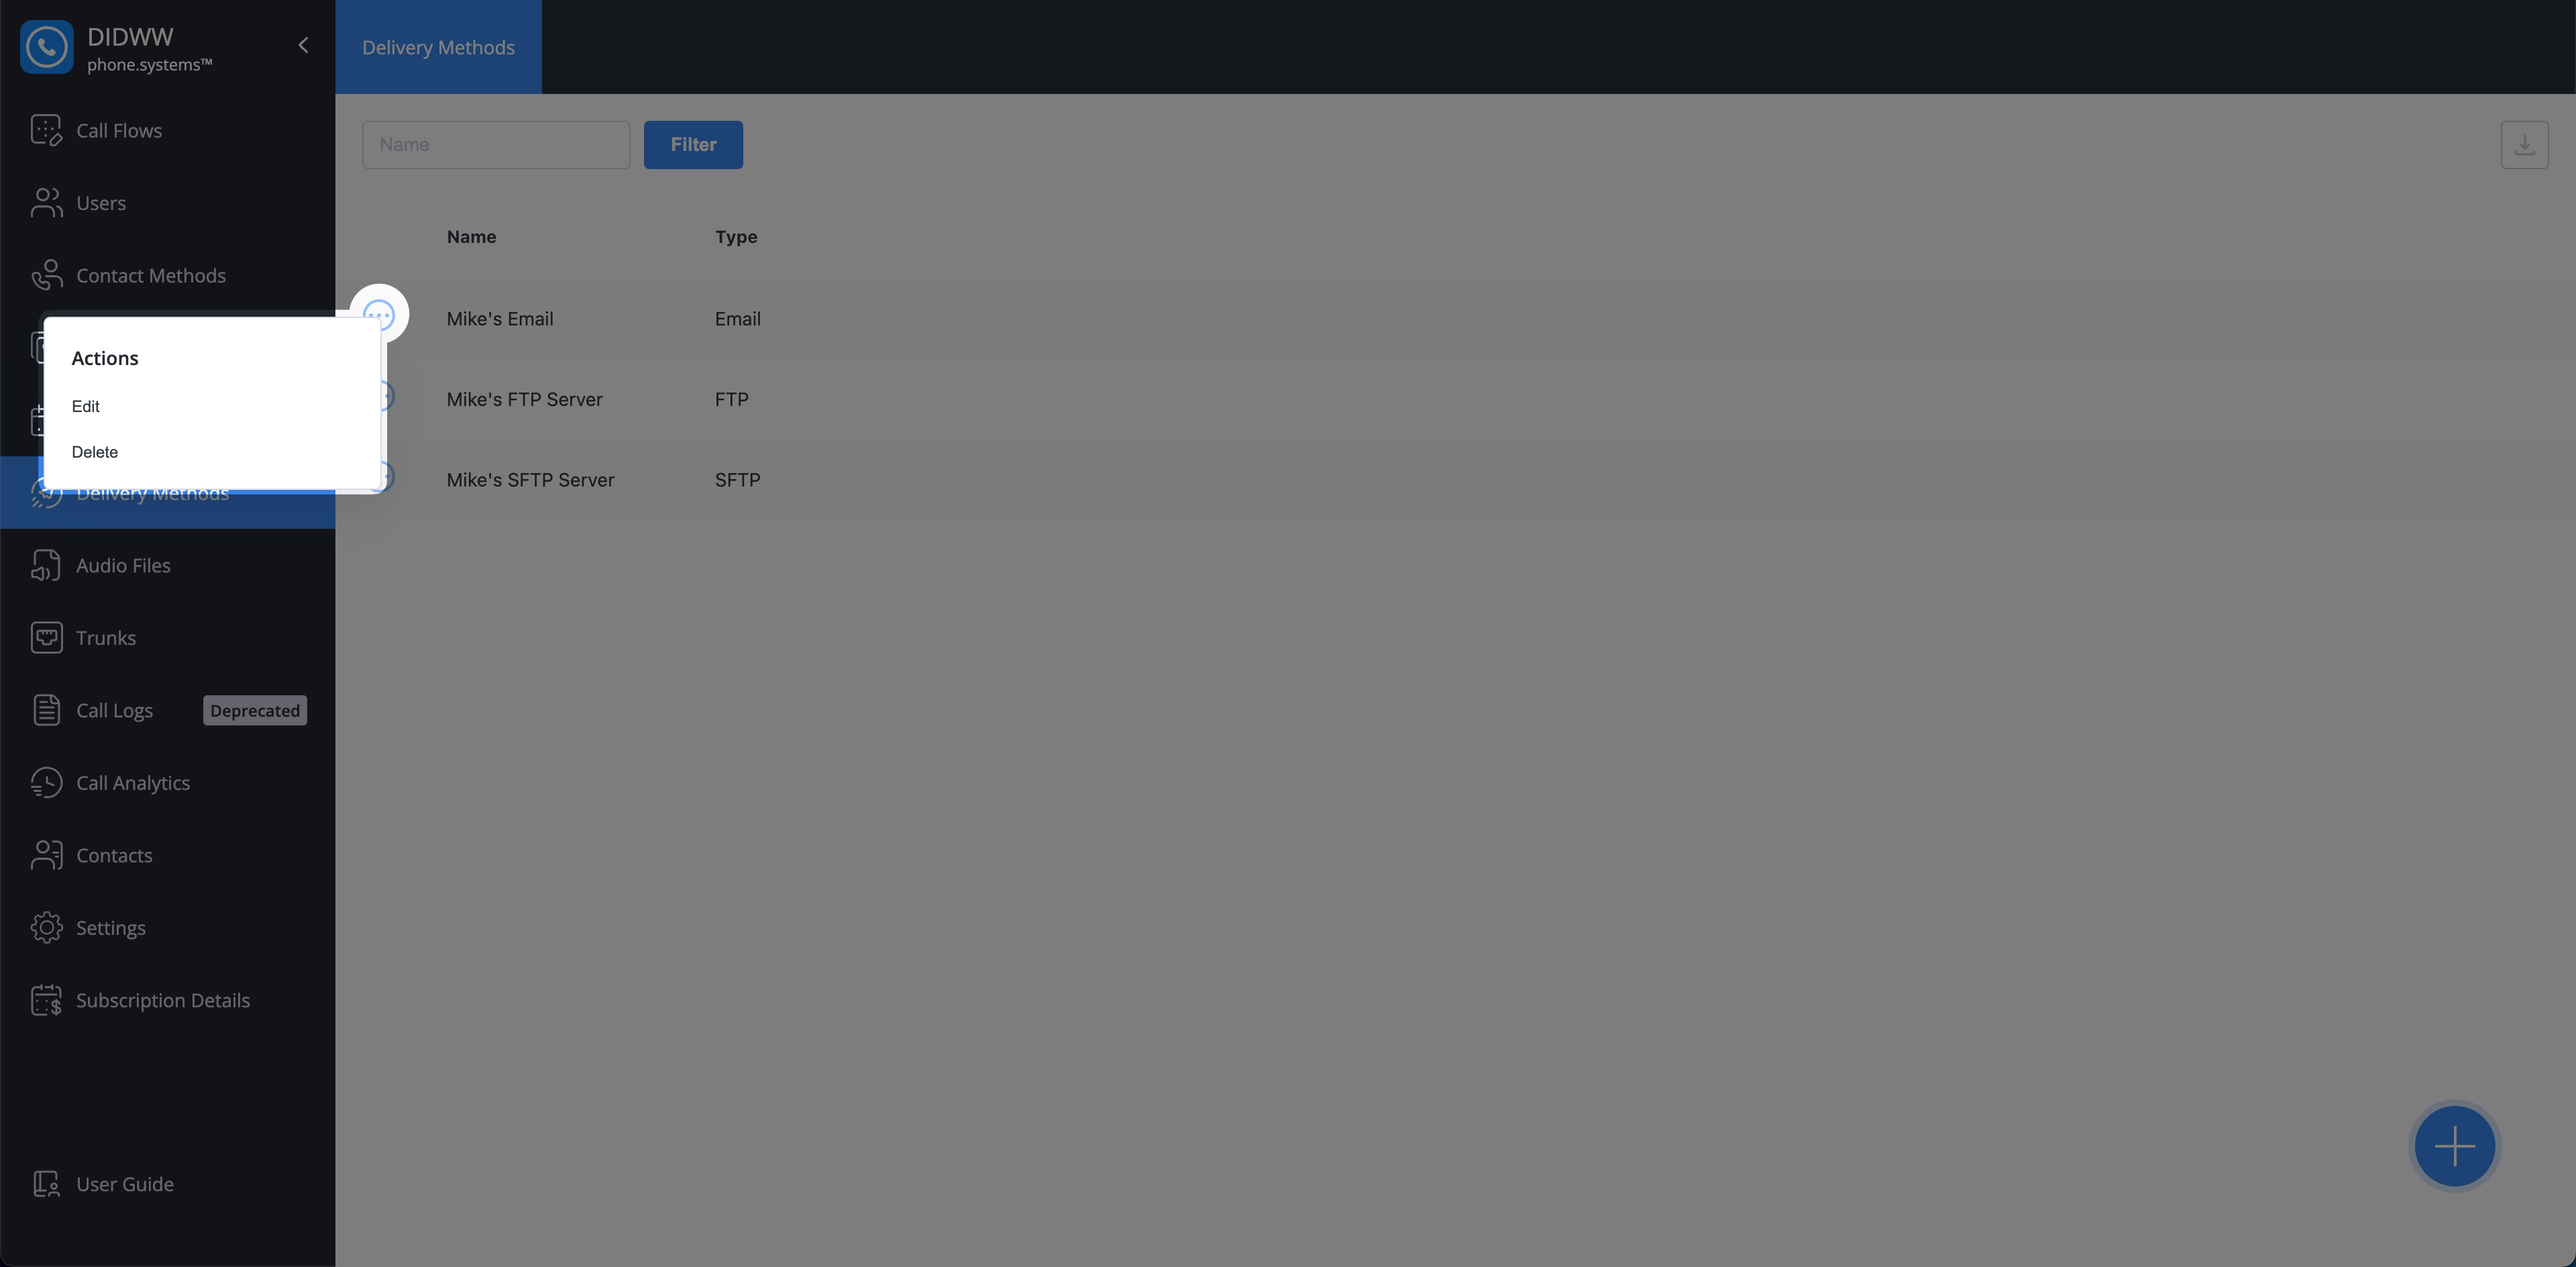
Fig. 5. Application Line Configuration#
After filling in all the required information, click the Save button at the bottom of the form to create the new user. The new user will now appear in the users list.
Note
An App Configuration contact method is automatically created for each user and appears under the App Configurations tab in the Contact Methods menu.
Editing Users#
To edit an existing user, follow these steps:
Click the Actions button next to the user you want to edit.
Select Edit from the dropdown menu.
Fig. 1. Actions menu.#
In the Edit User screen, update the required fields:
User details – Edit first name, last name, department, job title, and time schedule. You can also change the avatar by clicking
 to add a new picture, or
 to remove the current one and revert to the default.
Contact information – Update the user’s email address.
Application settings – Adjust the active app limit for the user or send an invitation to the phone.systems™ app.
Tip
To set the Active app limit globally for all users, go to App Activation Settings.
Click Save to apply the changes, or Cancel to discard them.
Fig. 2. Edit user screen#
User Relations#
The Relations view provides an overview of all configurations associated with the user.
To access it, click the Actions button and select Relations.
Fig. 1. Actions Menu#
This view shows related call flows, contact methods, and app devices, helping administrators understand the user’s role in the system.
To navigate to the related section, click on the
 symbol next to the relation.
Fig. 2. User Relations#
Import Users From A CSV File#
To import new users, click on the
button and select Import CSV.

Fig. 1. Actions Button#
In the Import Users screen, click to select a CSV file or use drag and drop the file onto the screen.

Fig. 2. File Select Button#
Select and upload a CSV file from your storage.
Fig. 3. Selecting A File#
Warning
A pop-up warning will inform you that the file has to be formatted correctly. Additionally you must agree that all users in this import are expecting to hear from your organization and that you have prior relationships with these users.
Click on the checkmark and Submit to proceed.
Fig. 4. Pop-up Warning#
After selecting the file, choose whether to Merge Duplicates. Selecting this option prevents uploading users that are already in your list.
Next, match the user properties in your CSV file to the phone.systems™ properties.
Note
The only mandatory property is First Name
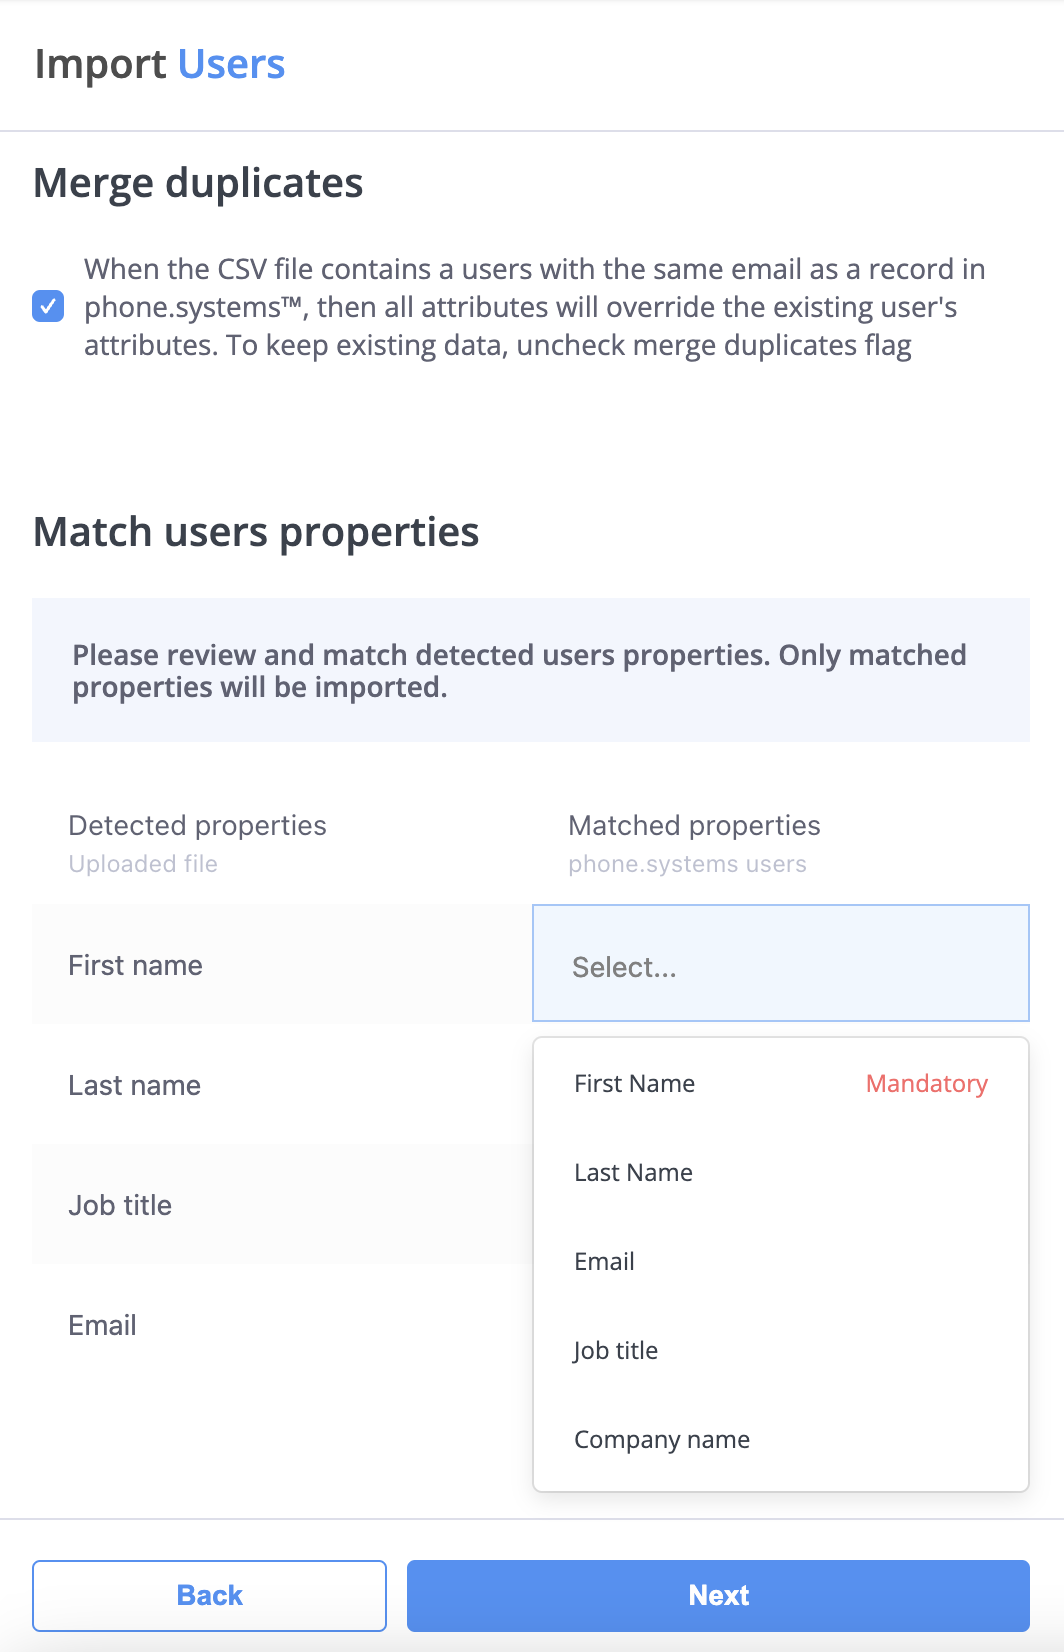
Fig. 5. Matching User Properties#
Once the user properties are matched, click Next to upload your users.
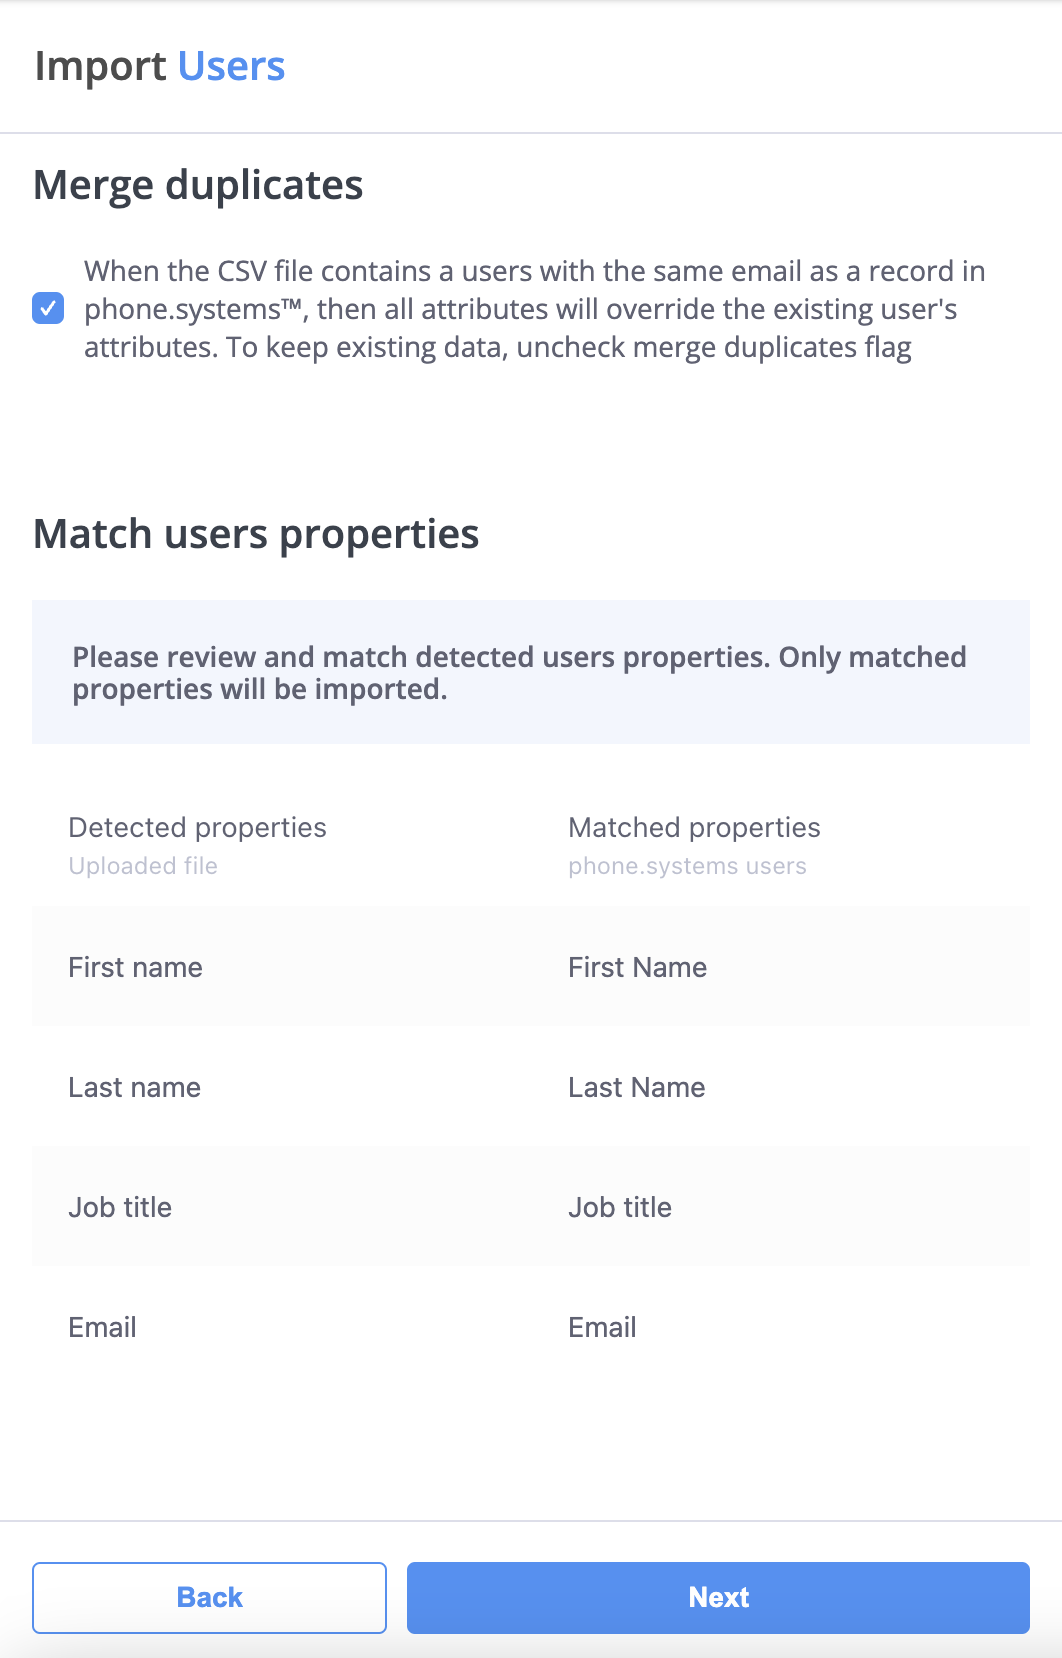
Fig. 6. Uploading Users#
CSV file format example:
First Name |
Last Name |
Job Title |
|
|---|---|---|---|
Mike |
Brown |
Sales representative |
|
Pete |
Smith |
Technical support specialist |
|
Jane |
Smith |
Customer service representative |
|
Note
The CSV file format supports only comma-separated values.
Download users to a CSV file#
To download existing users to a CSV file, click on the Download symbol at the top right of the UI.
Fig. 1. Download Symbol#
A download pop-up screen will be presented. Select the file name and the location where the file will be saved and click Save.
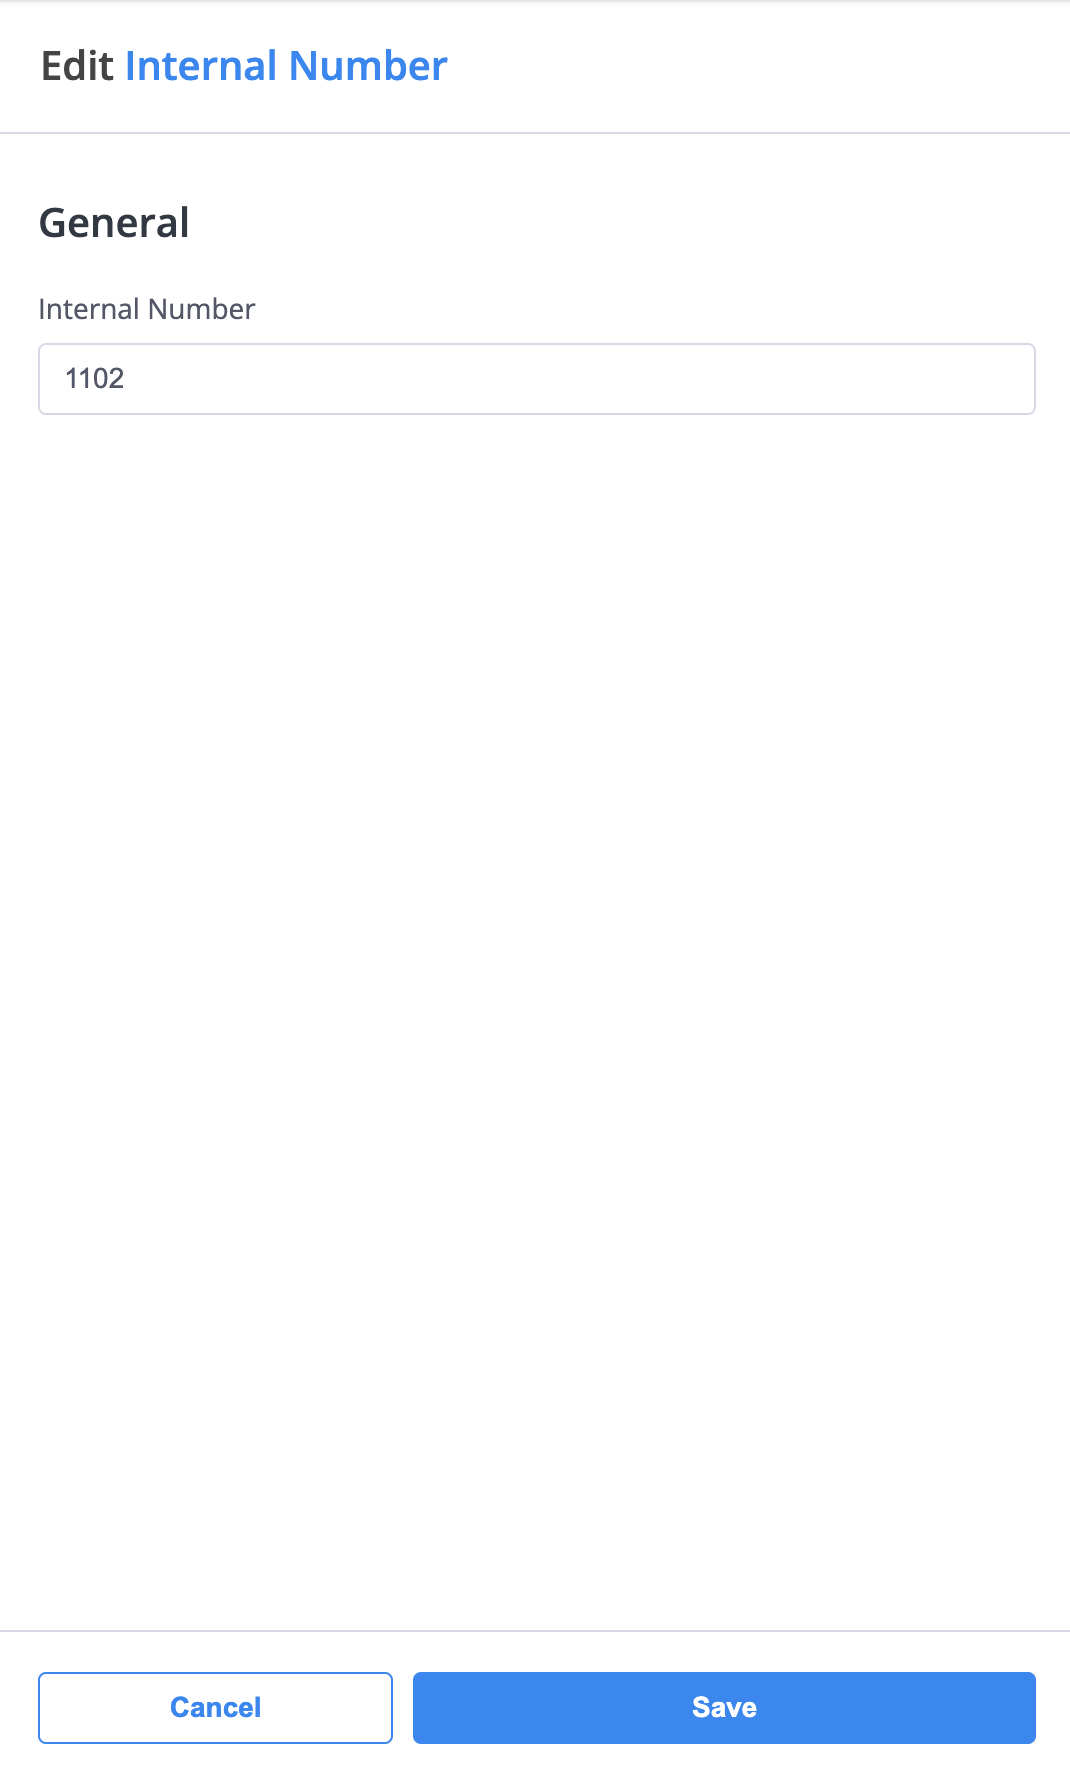
Fig. 2. Downloading Users#
Send or resend invitations to the phone.systems™ app#
Go to the Users menu in the phone.systems™ dashboard.
Find the user and click the Actions button.
Select Send Invite to App or Resend Invite to App.
Note
If the Send Invite to App button is not active, it means the user does not have an email address assigned. Please ensure that the user’s Contact Information includes a valid email address to enable the invitation.
Resending an invitation does not generate a new authentication token or log the user out. If the user is already logged in, their session remains active.
To remove a user’s session (for example, after a lost device or access change), see Deleting App Device Users guide.
Fig. 1. App Device Invitation#
Deleting Users#
To delete users, click the Actions button and select Delete.
Fig. 1. Actions Menu#
If the selected user has any relations, the Delete User dialog shows a warning banner and a relations counter. Click the counter to view the full list of related items.
To permanently delete the user and all related items, enable the Delete user(s) and all relations toggle, then click Delete.
Note
Deleting a user also deletes all associated relations. If you prefer not to delete these relations, close the dialog and unlink them first.

Fig. 2. Delete User dialog#