Object: Queue#
The Queue object causes incoming calls to be placed in a queue before those calls are passed on to queue members (destinations). This allows a large number of calls to be handled, such as in a call center. The Queue object includes a ring strategy that is used to define how the calls are divided between queue destinations. Music or other messages may be played to callers while they are waiting in the queue, and ringback tones are supported, allowing audio clips to be played to callers before their call is answered.
Fig. 1. Queue Object#
The Queue object includes multiple destinations to which calls are forwarded as per the selected ring strategy, and these destinations are added to the Queue object as “contacts”. The only cable exiting the Queue object is for a “queue timeout”, defining the call path if the queue wait time exceeds the maximum configured value.
In the figure below, incoming calls are forwarded to the Queue object, which includes two queue destinations. If a call is not answered within the configured queue timeout, then that call is sent to the “Queue Timeout” Voicemail object.
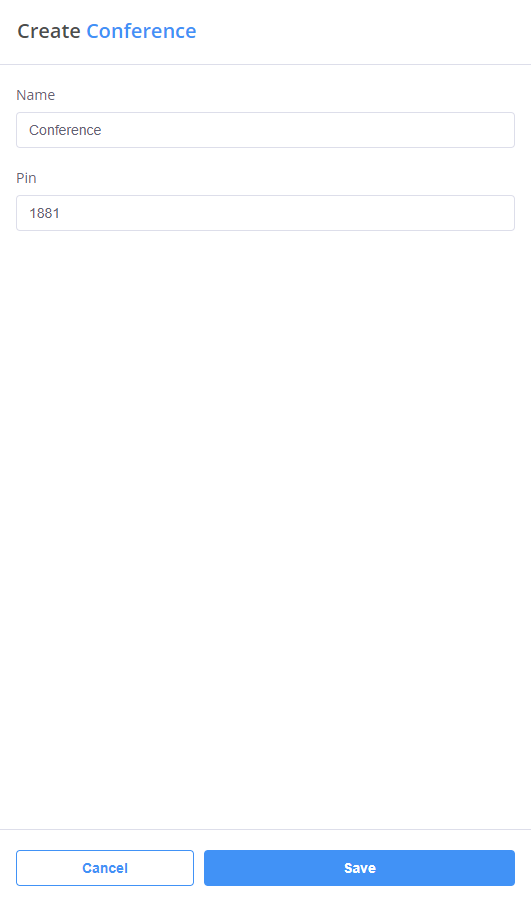
Fig. 2. Queue Object Usage#
Queue Configuration#
The information to be entered for this object is:
The name of the Queue object.
The ring strategy to be used for this queue. The options for the ring strategy are as follows:
Round robin – calls are allocated to members using a round robin policy, noting the last member who answered a call.
Ring all - ring all available queue members simultaneously until one answers.
Random – randomly ring a single queue member.
The queue timeout defines the maximum time that a call may remain in the queue without being answered, before that call is forwarded to a connected object according to the “queue timeout” logic. Valid values are from 00:05 (five seconds) to 15:00 (fifteen minutes). Note that if there is no call path defined for such a timeout event, then the call will be terminated on the occurrence of a “queue timeout”.
Fig. 3. Creating Queue Objects#
Users Tab#
The Users tab is used to define the members or destinations of the queue. Each queue destination consists of a user and an associated contact method, which must be pre-configured using the Contact Methods tab.
Selecting Add queue destination allows the user to add a queue destination from a drop-down menu of pre-configured contacts and their associated contact methods. If you do not have any contacts, you can create them in the Contact Methods tab.
Fig. 4. Users Tab#
Media Tab#
The Media tab is used to set both “music-on-hold” and “ringback tone” playlists. This allows pre-recorded music, messages, commercials or any other audio clips to be played to callers before their call is answered (ringback tone), or while an active call is put on hold (music-on-hold).
An audio message that is played to the caller can be uploaded from a local drive (in .mp3, .wav, .flac, or .ogg format), recorded directly, or selected from files or playlists previously uploaded to the Audio Files menu.

Fig. 5. Media Tab#
CLI Rules Tab#
The CLI Rules tab is used to override the Source Caller Name. This functionality allows flexible Caller Name configurations and may be used to differentiate SIP calls received from phone.systems™. CLI Rules will help you to identify from which Queue object the call is coming from.
Some CLI Rule examples:
1. Changing Caller Name to Custom text:
SRC Name Rewrite Rule:
^(.*)$SRC Name Rewrite Result:
Custom text
2. Add Custom text before the original Caller Name:
SRC Name Rewrite Rule:
^(.*)$SRC Name Rewrite Result:
Custom text \1
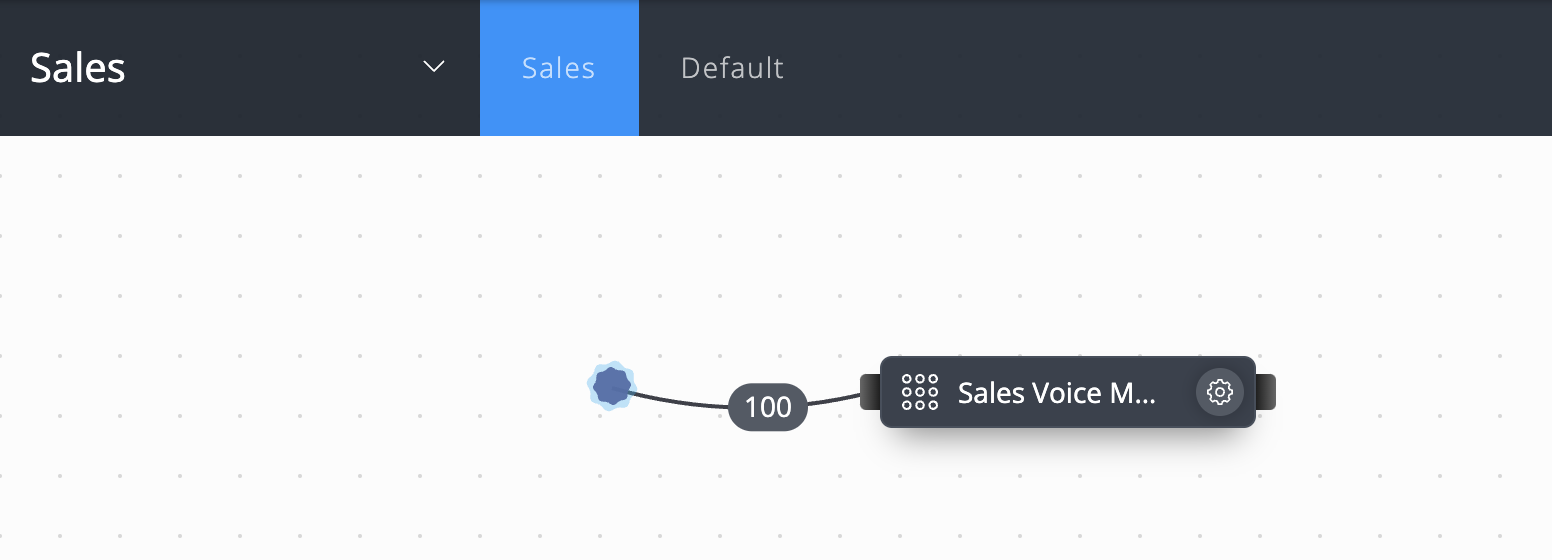
Fig. 6. CLI Rules Tab#
Adding Multiple Destinations#
Selecting Add queue destination allows the user to add a multiple ring destination from a drop-down menu of pre-configured contacts and their associated contact methods.
Fig. 7. Adding Multiple Destinations#
Remove Destinations#
To remove destinations from a queue, follow these steps:
Edit the queue object by clicking the gear icon.
Open the Users tab.
Find the destination you want to remove from your queue.
Click the x button to the right of the destination to remove it from your queue.
Click Save to apply the changes.
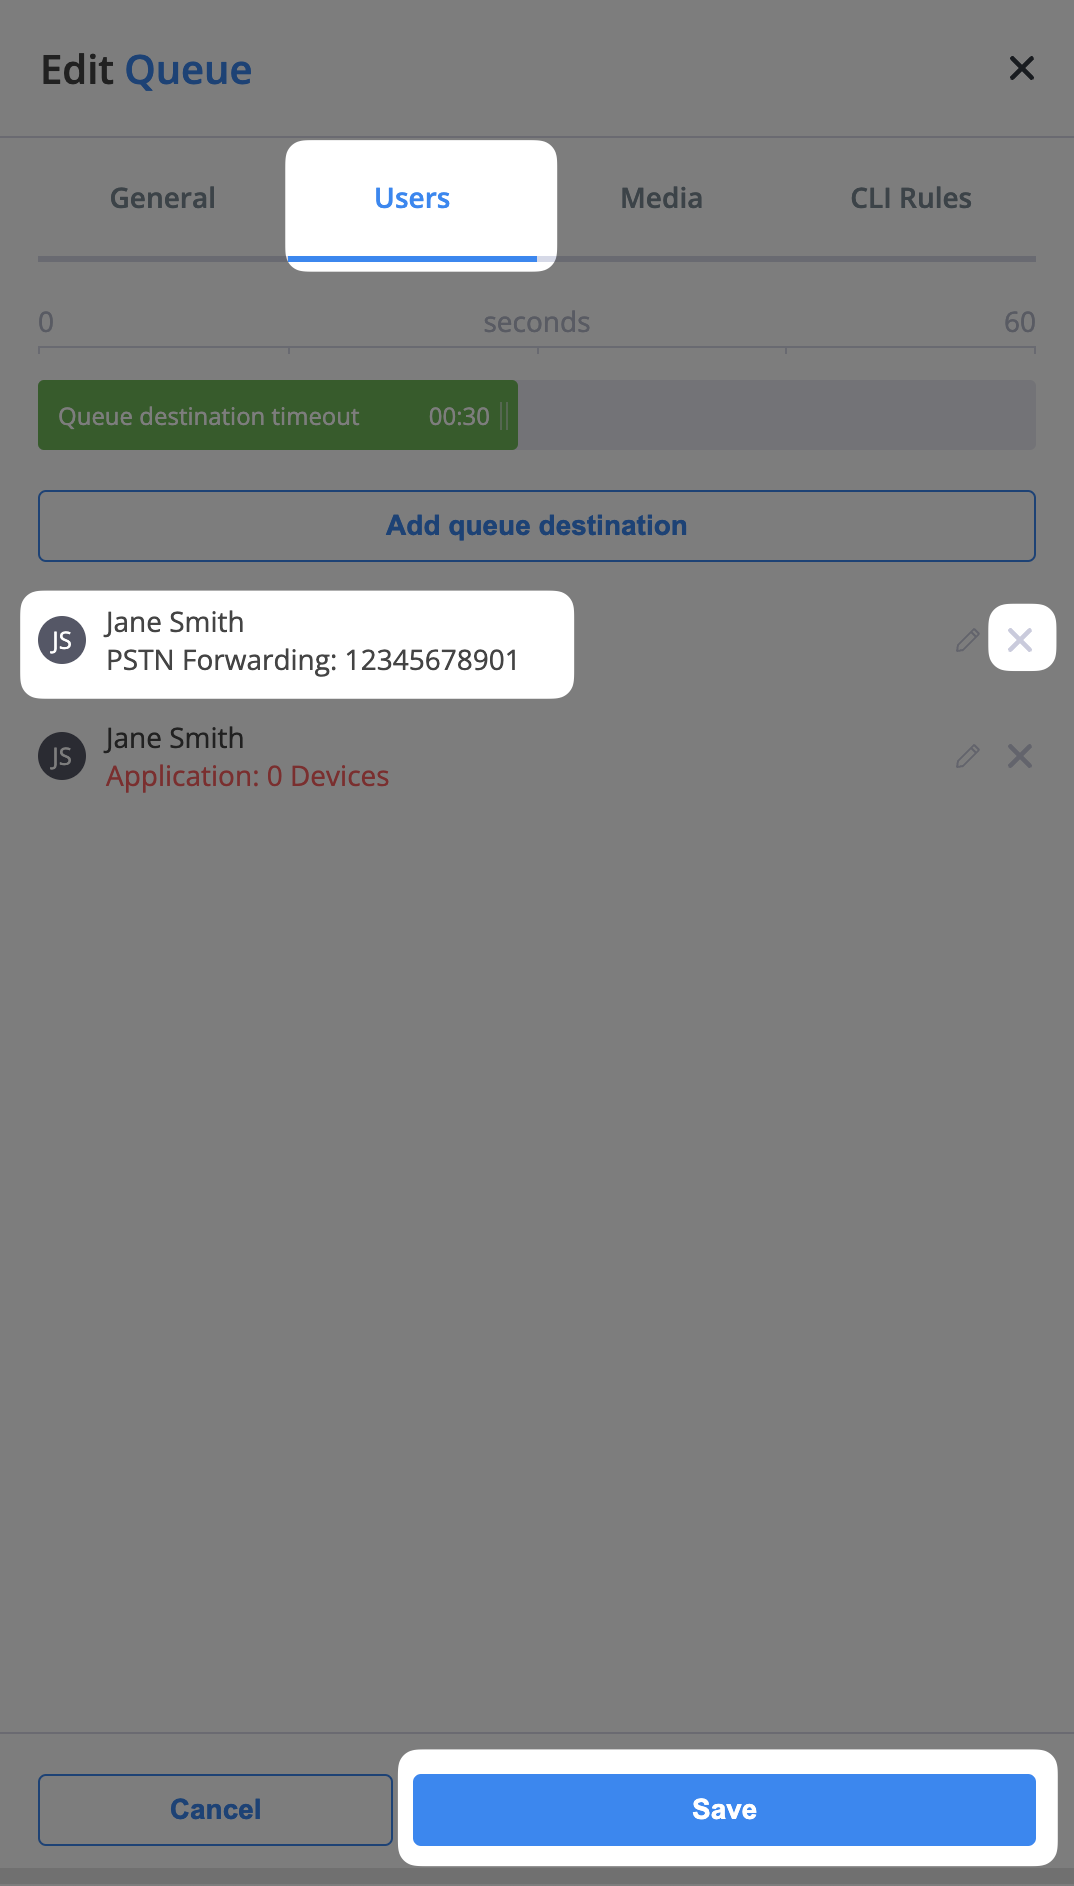
Fig. 8. Removing a destination from a queue#