Email Broadcasts
The Email Broadcasts allows you to send customized email messages to selected contact groups using predefined templates and fallback options.
In this section, you can:
Create Broadcasts – Initiate email broadcasts with configurable delivery options.
Select Recipients – Define specific contact lists or segments as recipients.
Configure Channels – Choose the email template, domain, sender, and reply-to address.
Review and Submit – Review recipient and channel settings before finalizing the broadcast.
Before You Begin
Before creating an Email broadcast, ensure you have the following:
A List or Segment of Contacts – Required to select message recipients. If you haven’t set up contacts, see Quickstart with Contacts.
An Email Template – Required to define the email content and formatting. For guidance, see Email Templates.
A Verified Sending Domain and Sender – Required to specify the source identity for the email. See Email Domains and Add Sender Information.
Creating an Email Broadcast
To create a new Email broadcast, follow these steps:
Step 1: Open the Create Broadcast Page
Navigate to Broadcasts in the main menu.
Click the + Create Broadcast button.
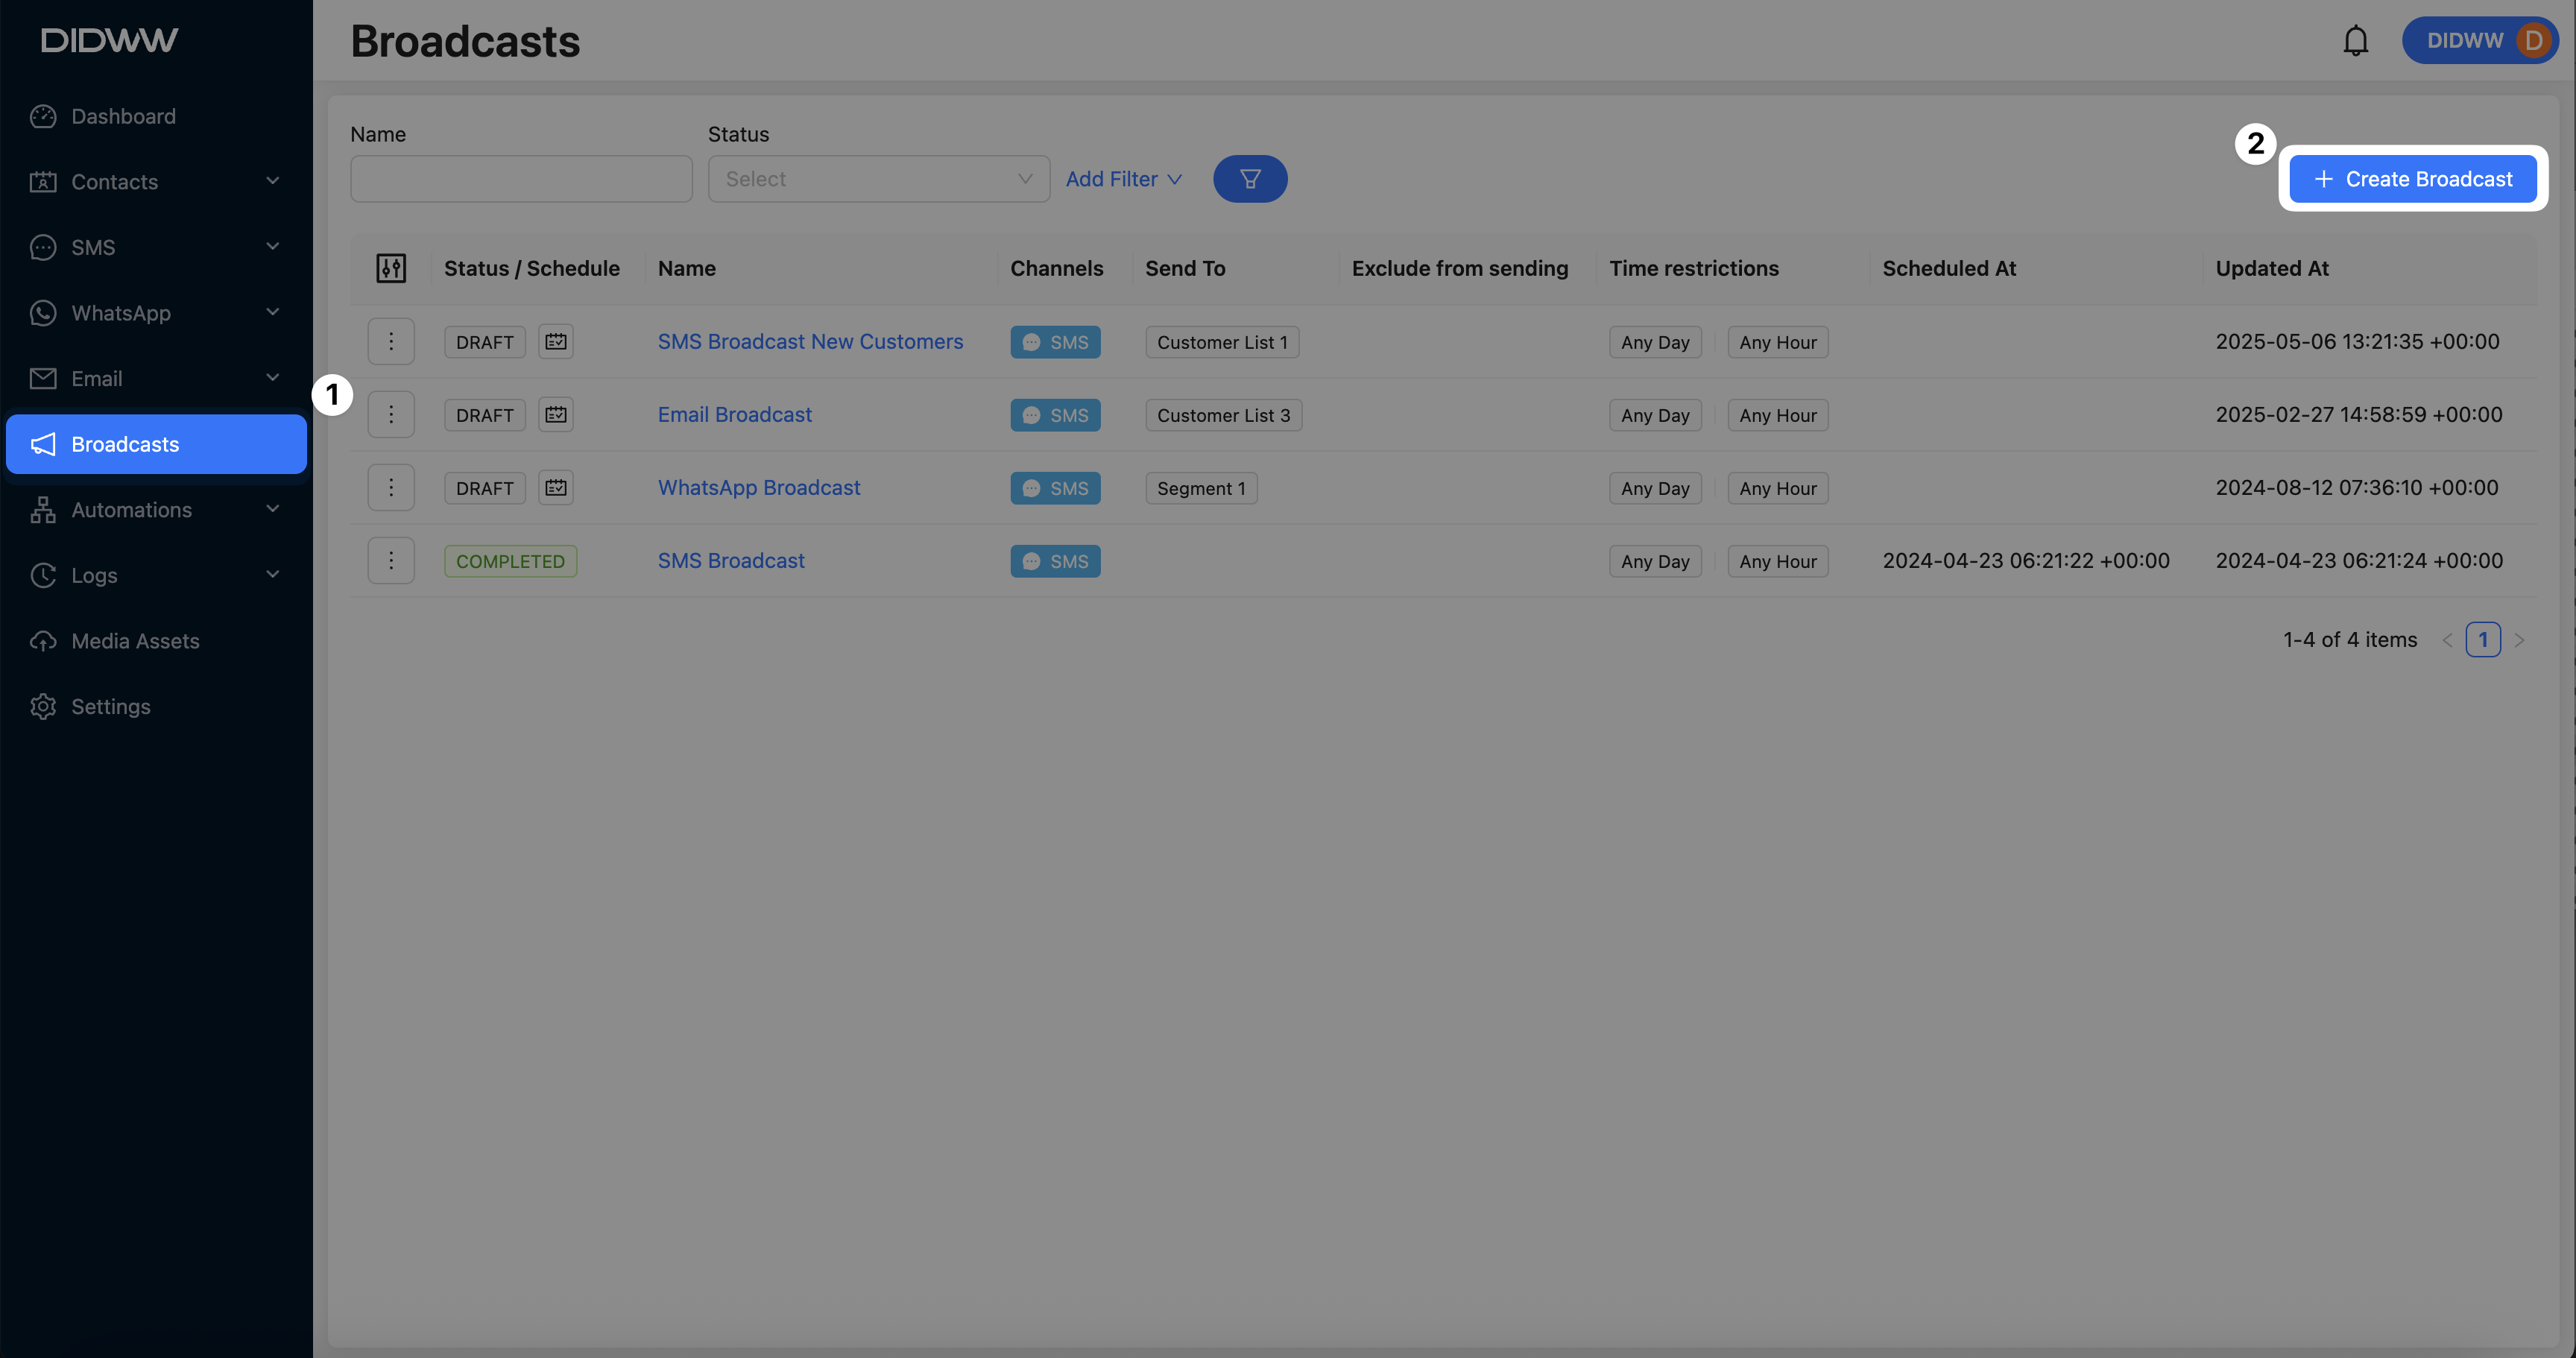
Fig. 1. Create Broadcast.
Step 2: Configure Recipient Settings
Click Next to proceed.
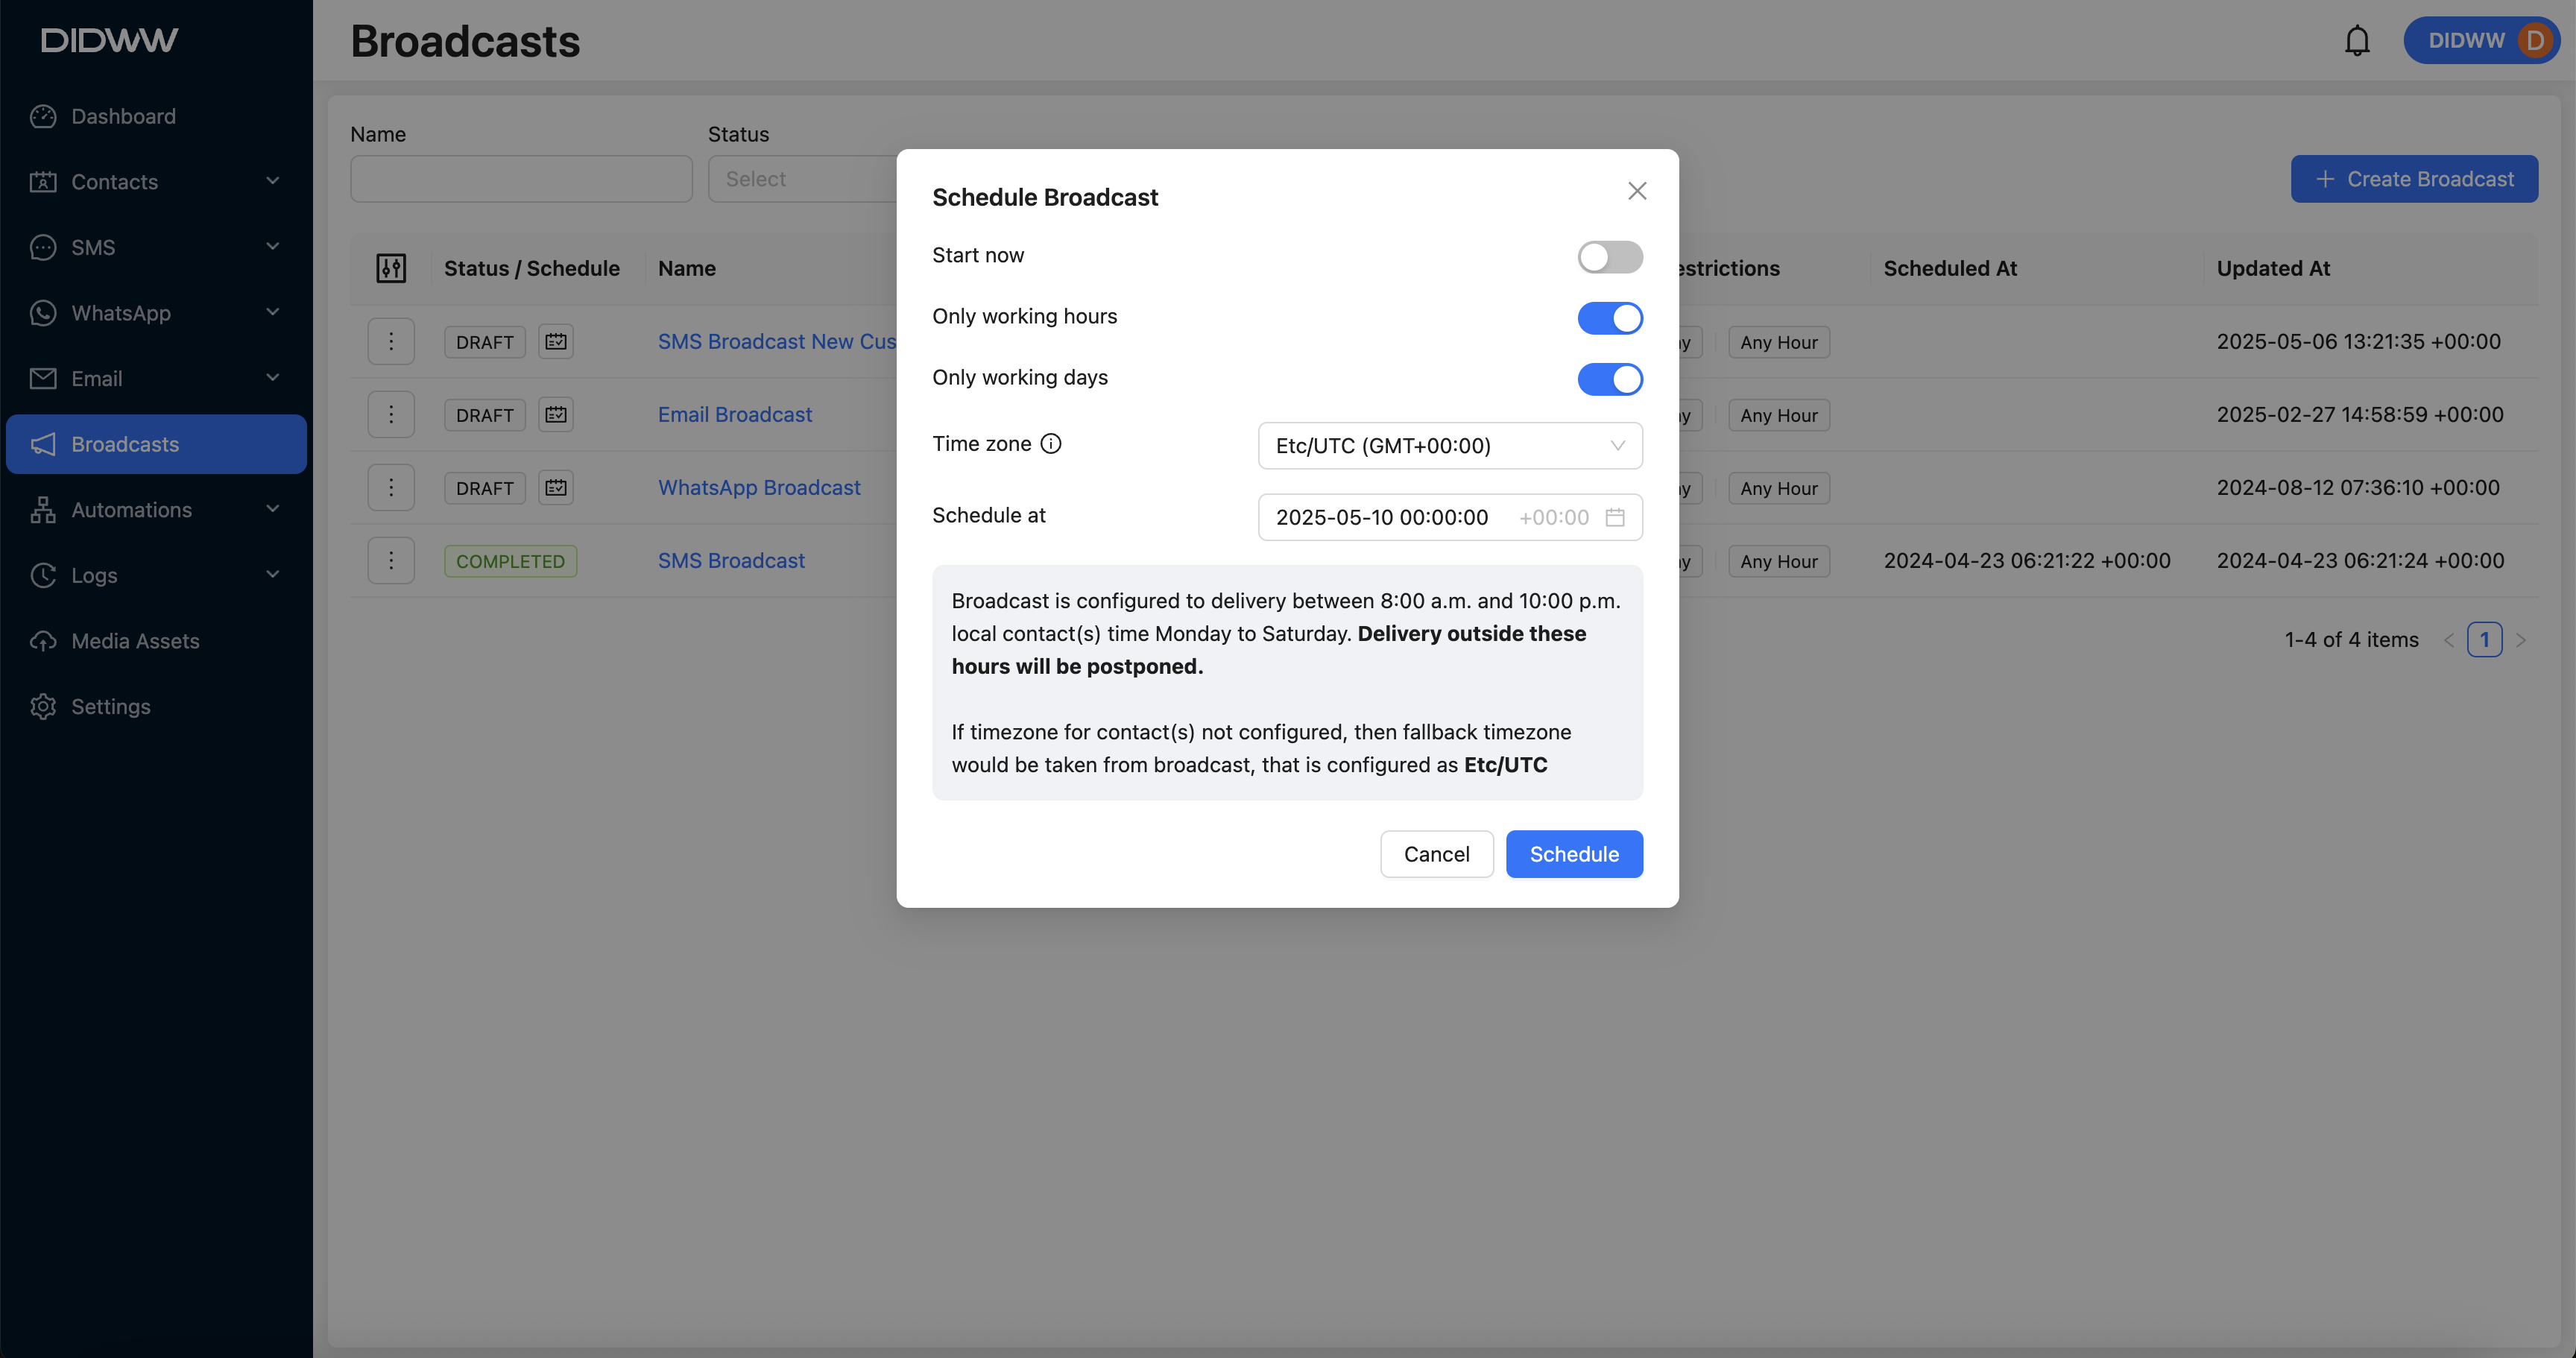
Fig. 2. Recipients Selection.
Step 3: Configure Channel Settings
Channel Type – Select Email.
Email Template – Choose the predefined email template to be used.
Domain – Select the verified domain associated with the broadcast.
Sender – Choose the sender identity from the configured options.
Reply-to Address – Specify where recipient replies will be directed.
Note
Optionally, you can configure a fallback channel using SMS or WhatsApp. A fallback channel ensures delivery through an alternative method if the primary channel fails.
Click Next to continue.
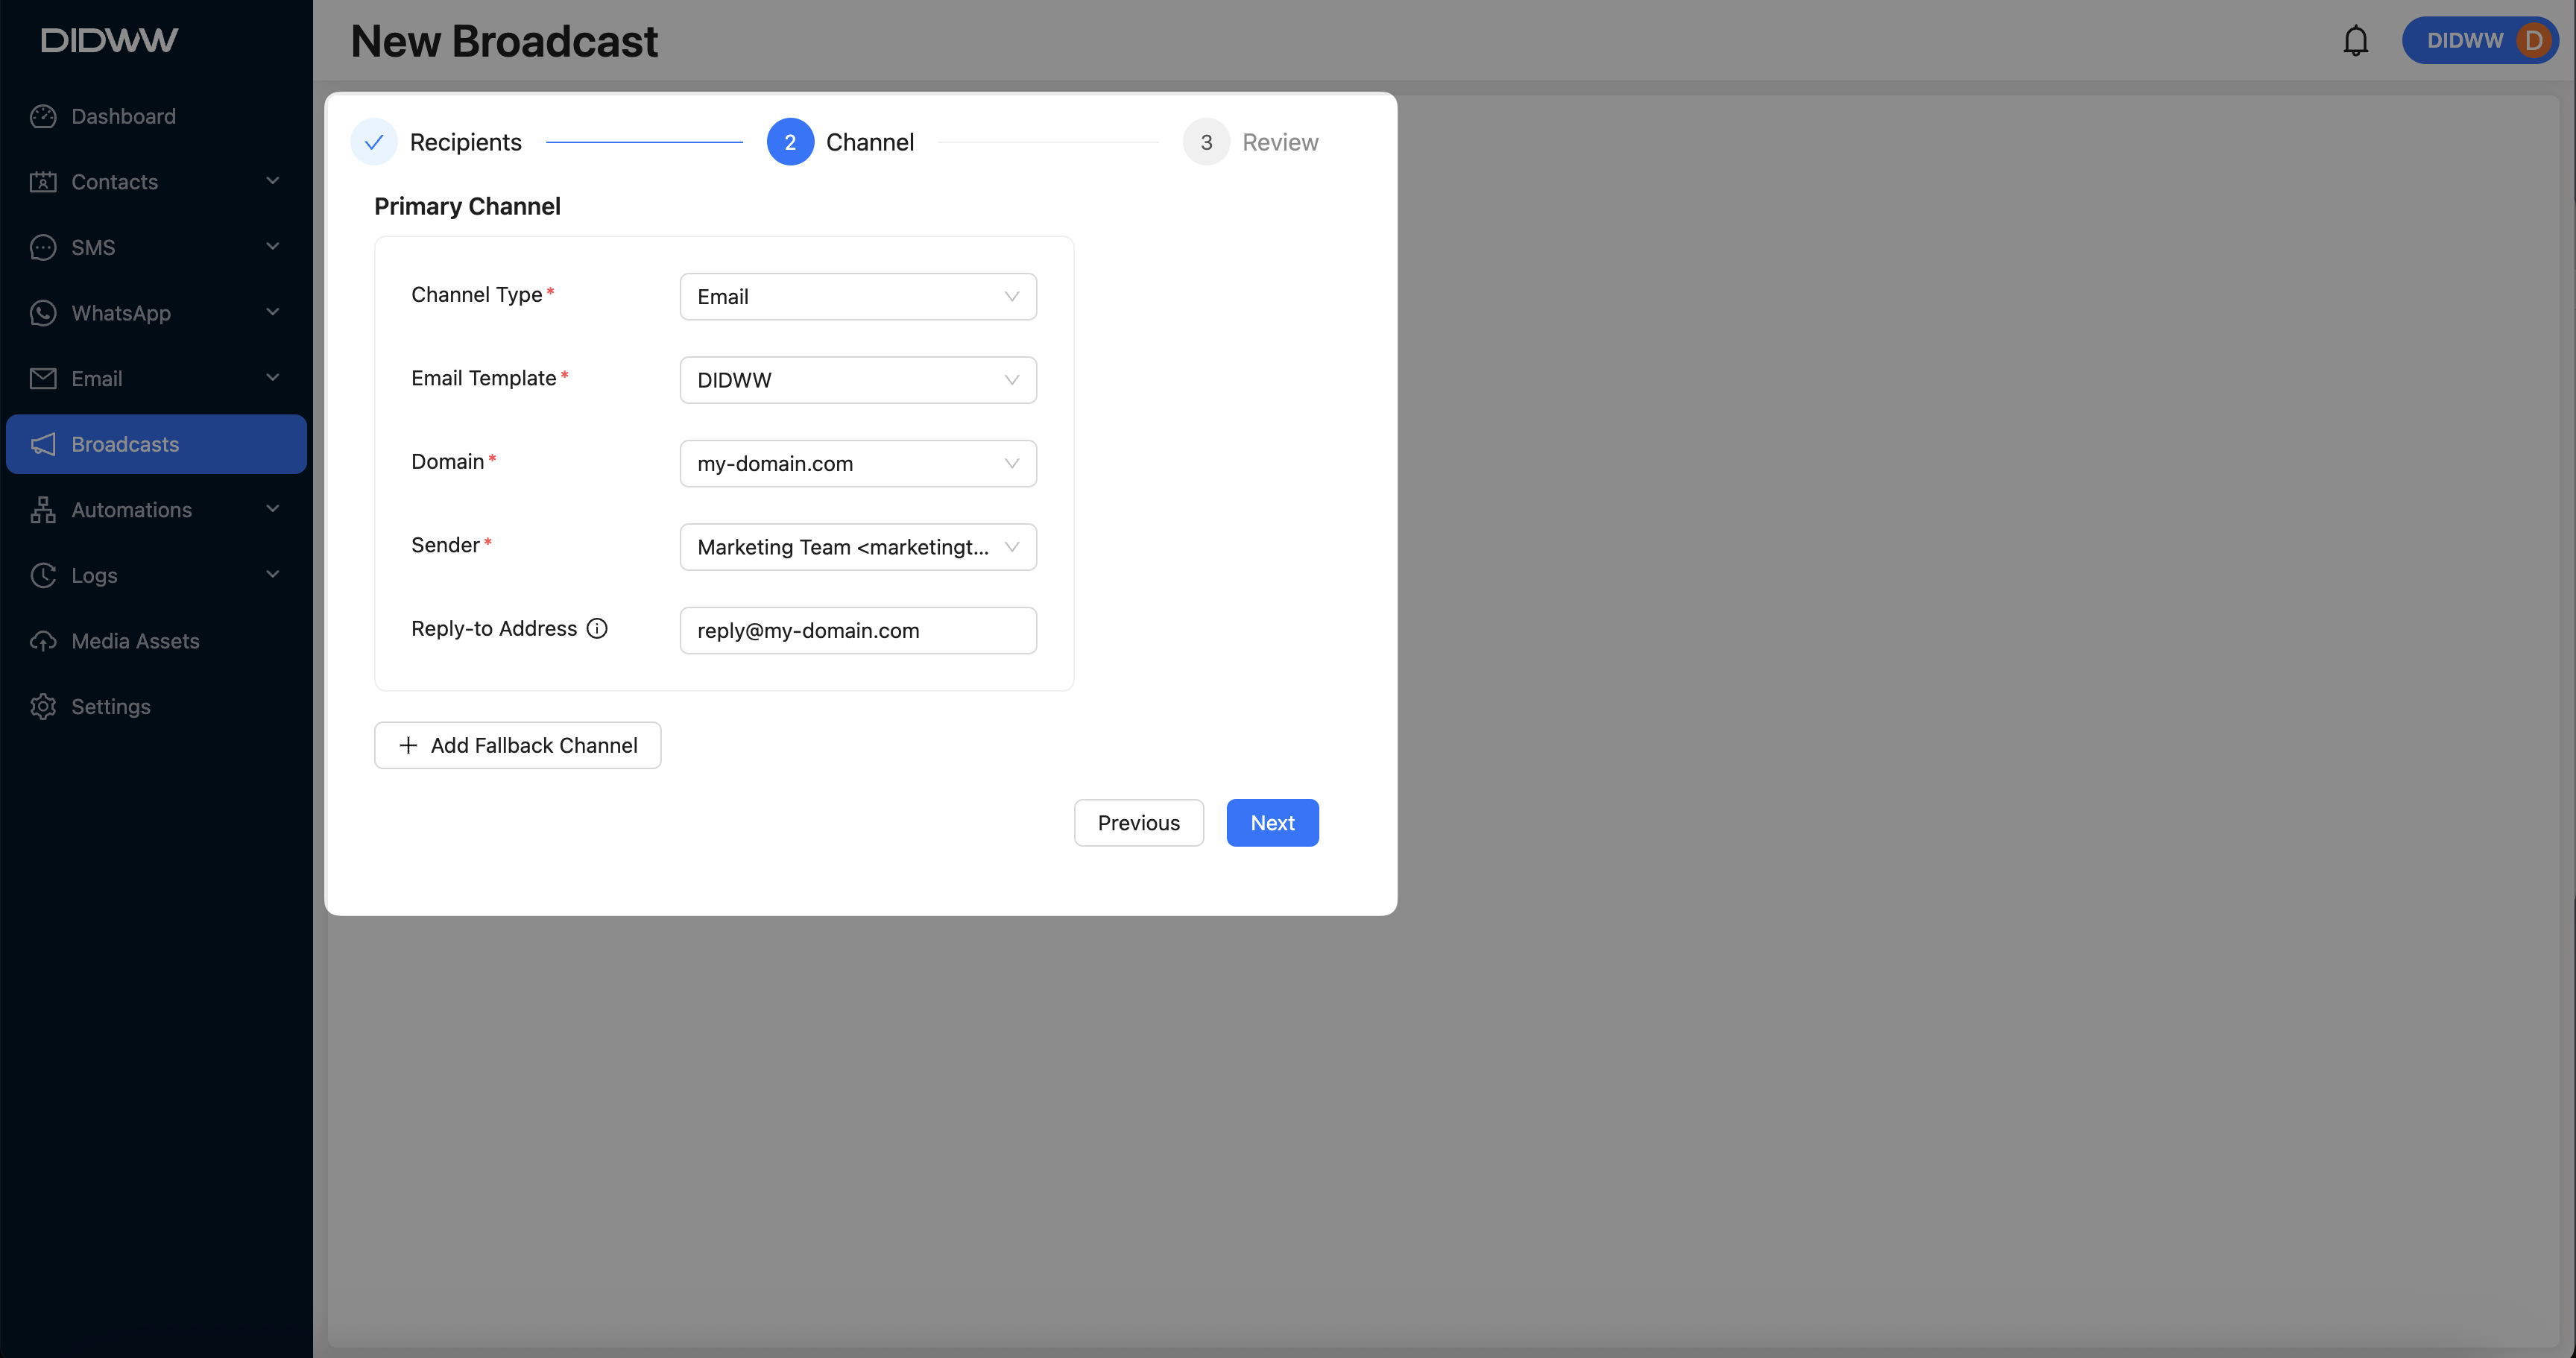
Fig. 3. Channel Configuration.
Step 4: Review and Submit the Broadcast
Review all the configured settings, then click Submit to create the email broadcast.
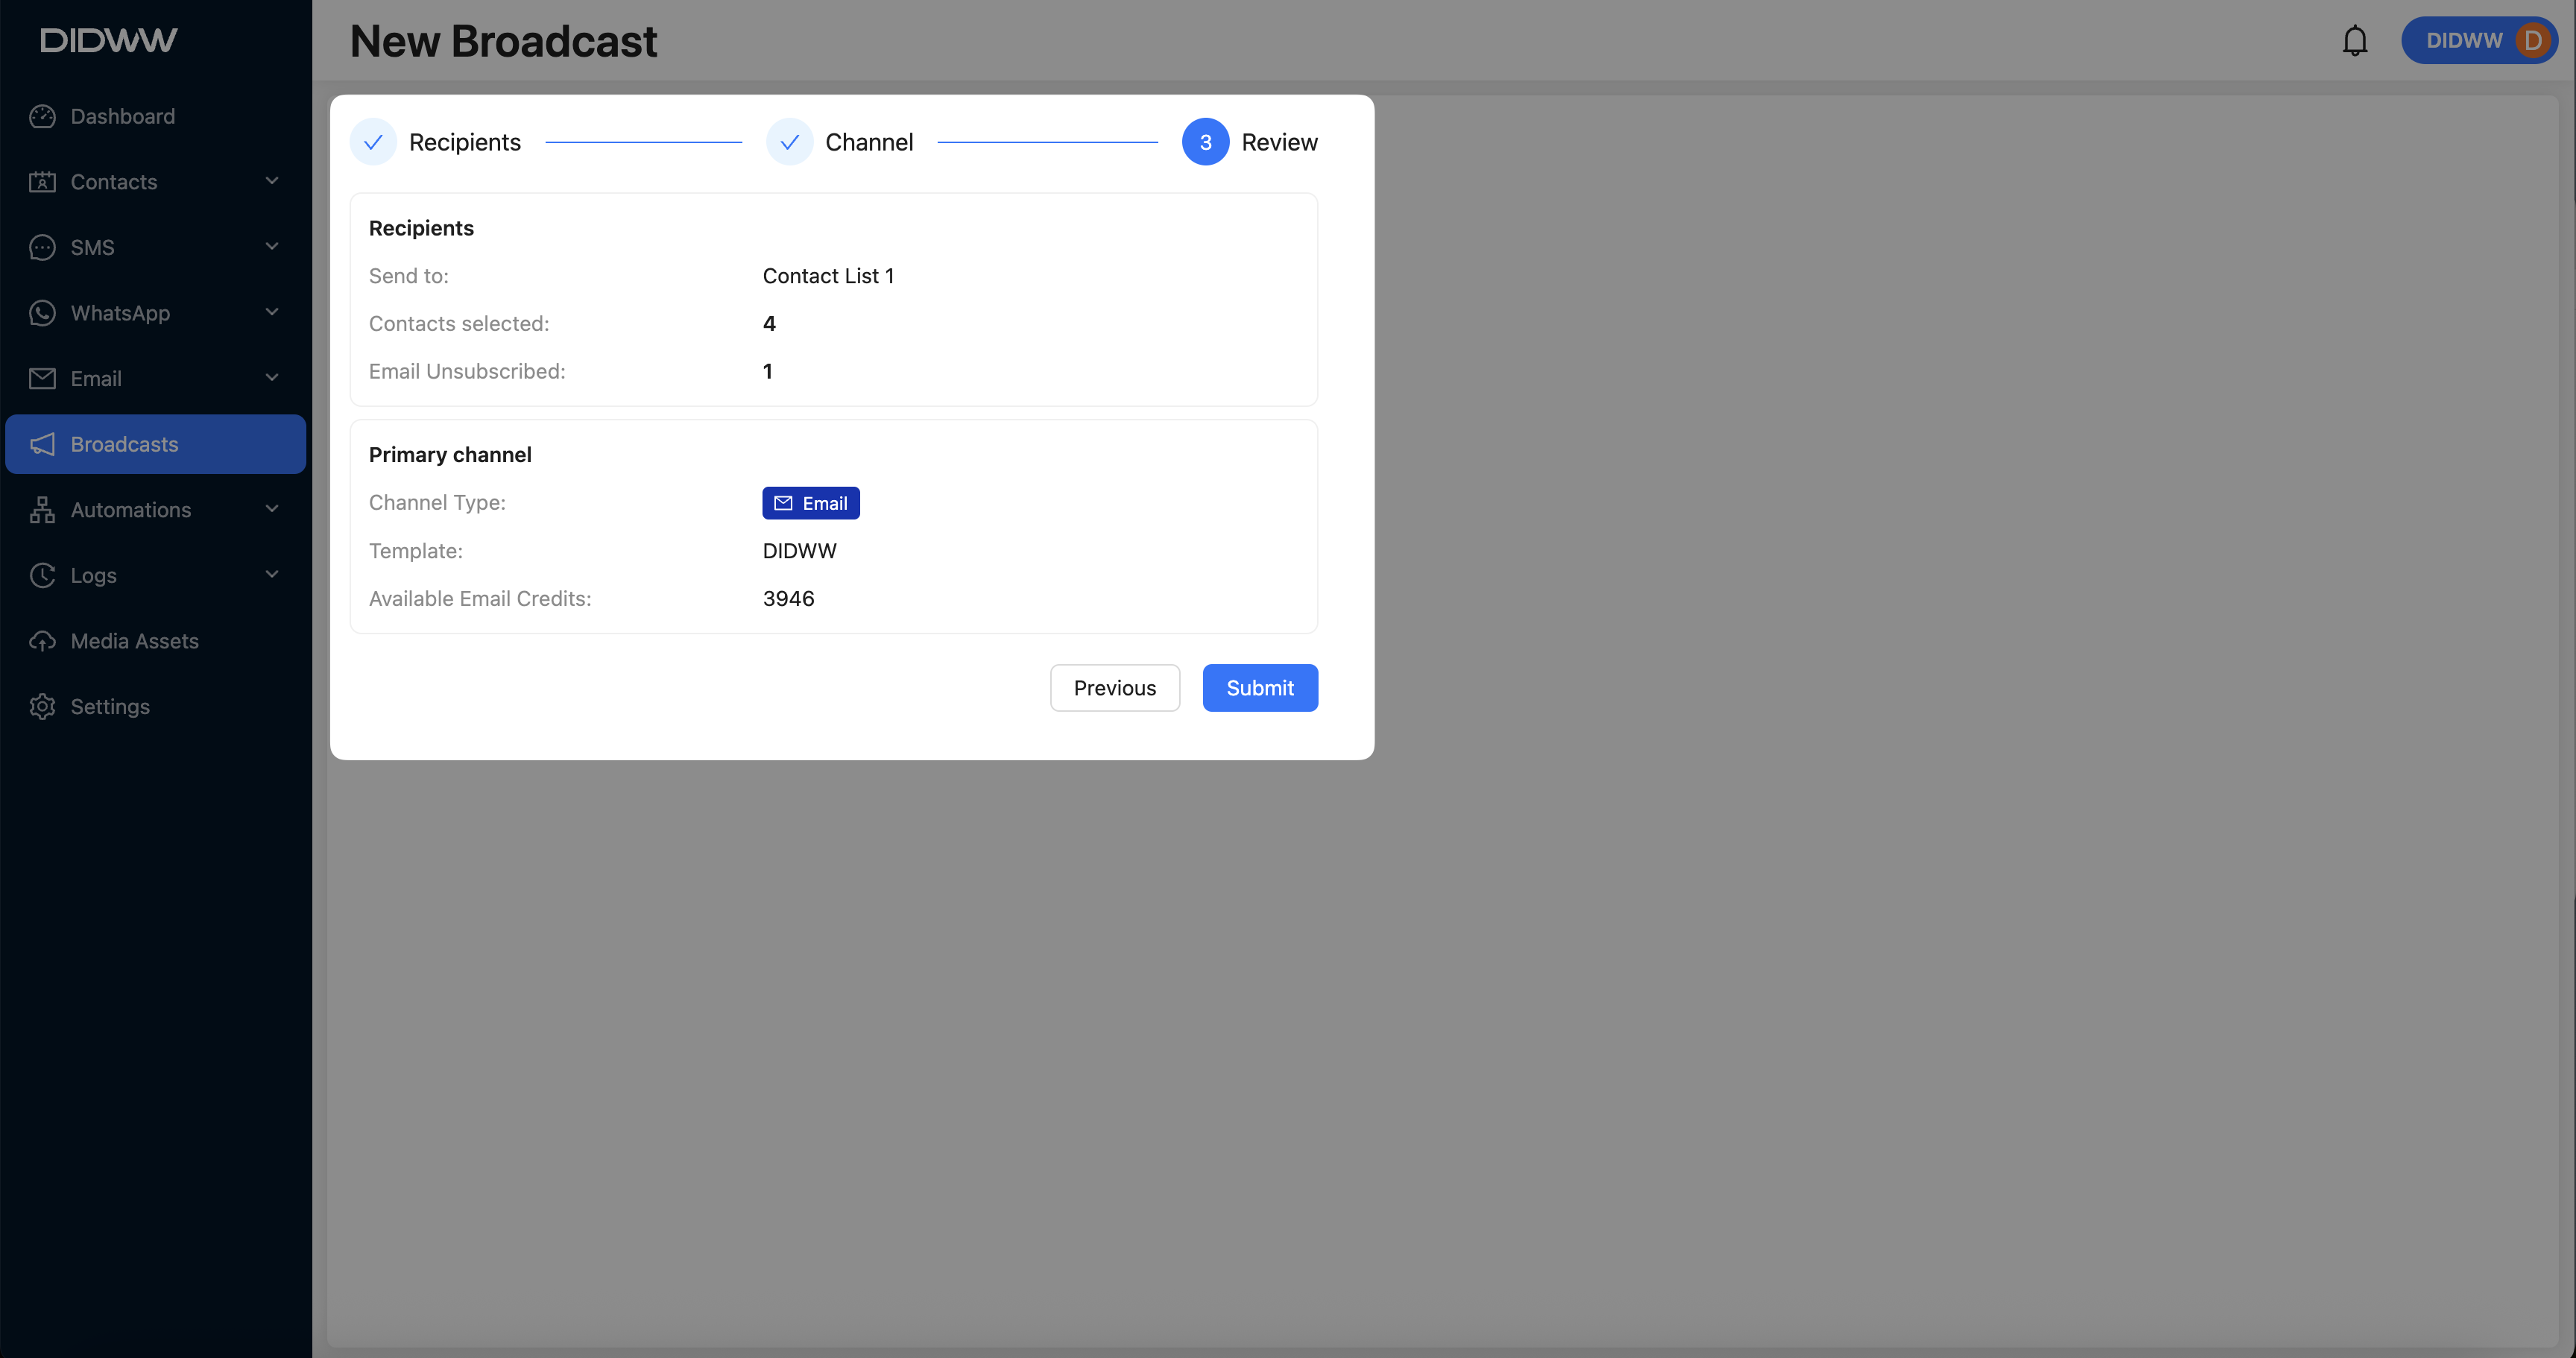
Fig. 4. Broadcast Review.
Next step
Learn how to send the broadcast immediately or schedule it for a specific time.