Lists
The Lists allows you to manually group selected contacts into reusable contact lists. Each list contains specific contacts, allowing you to segment your audience and communicate with targeted groups more effectively.
Lists are particularly useful when you want to:
Send SMS messages to a specific subset of contacts using Broadcasts
Reuse predefined groups of contacts across multiple campaigns
Organize and manage contacts for segmentation and filtering
Creating a Contact List
Follow these steps to create a new contact list.
Step 1: Add a New List
Go to Contacts and select Lists.
Click the + Add List button.
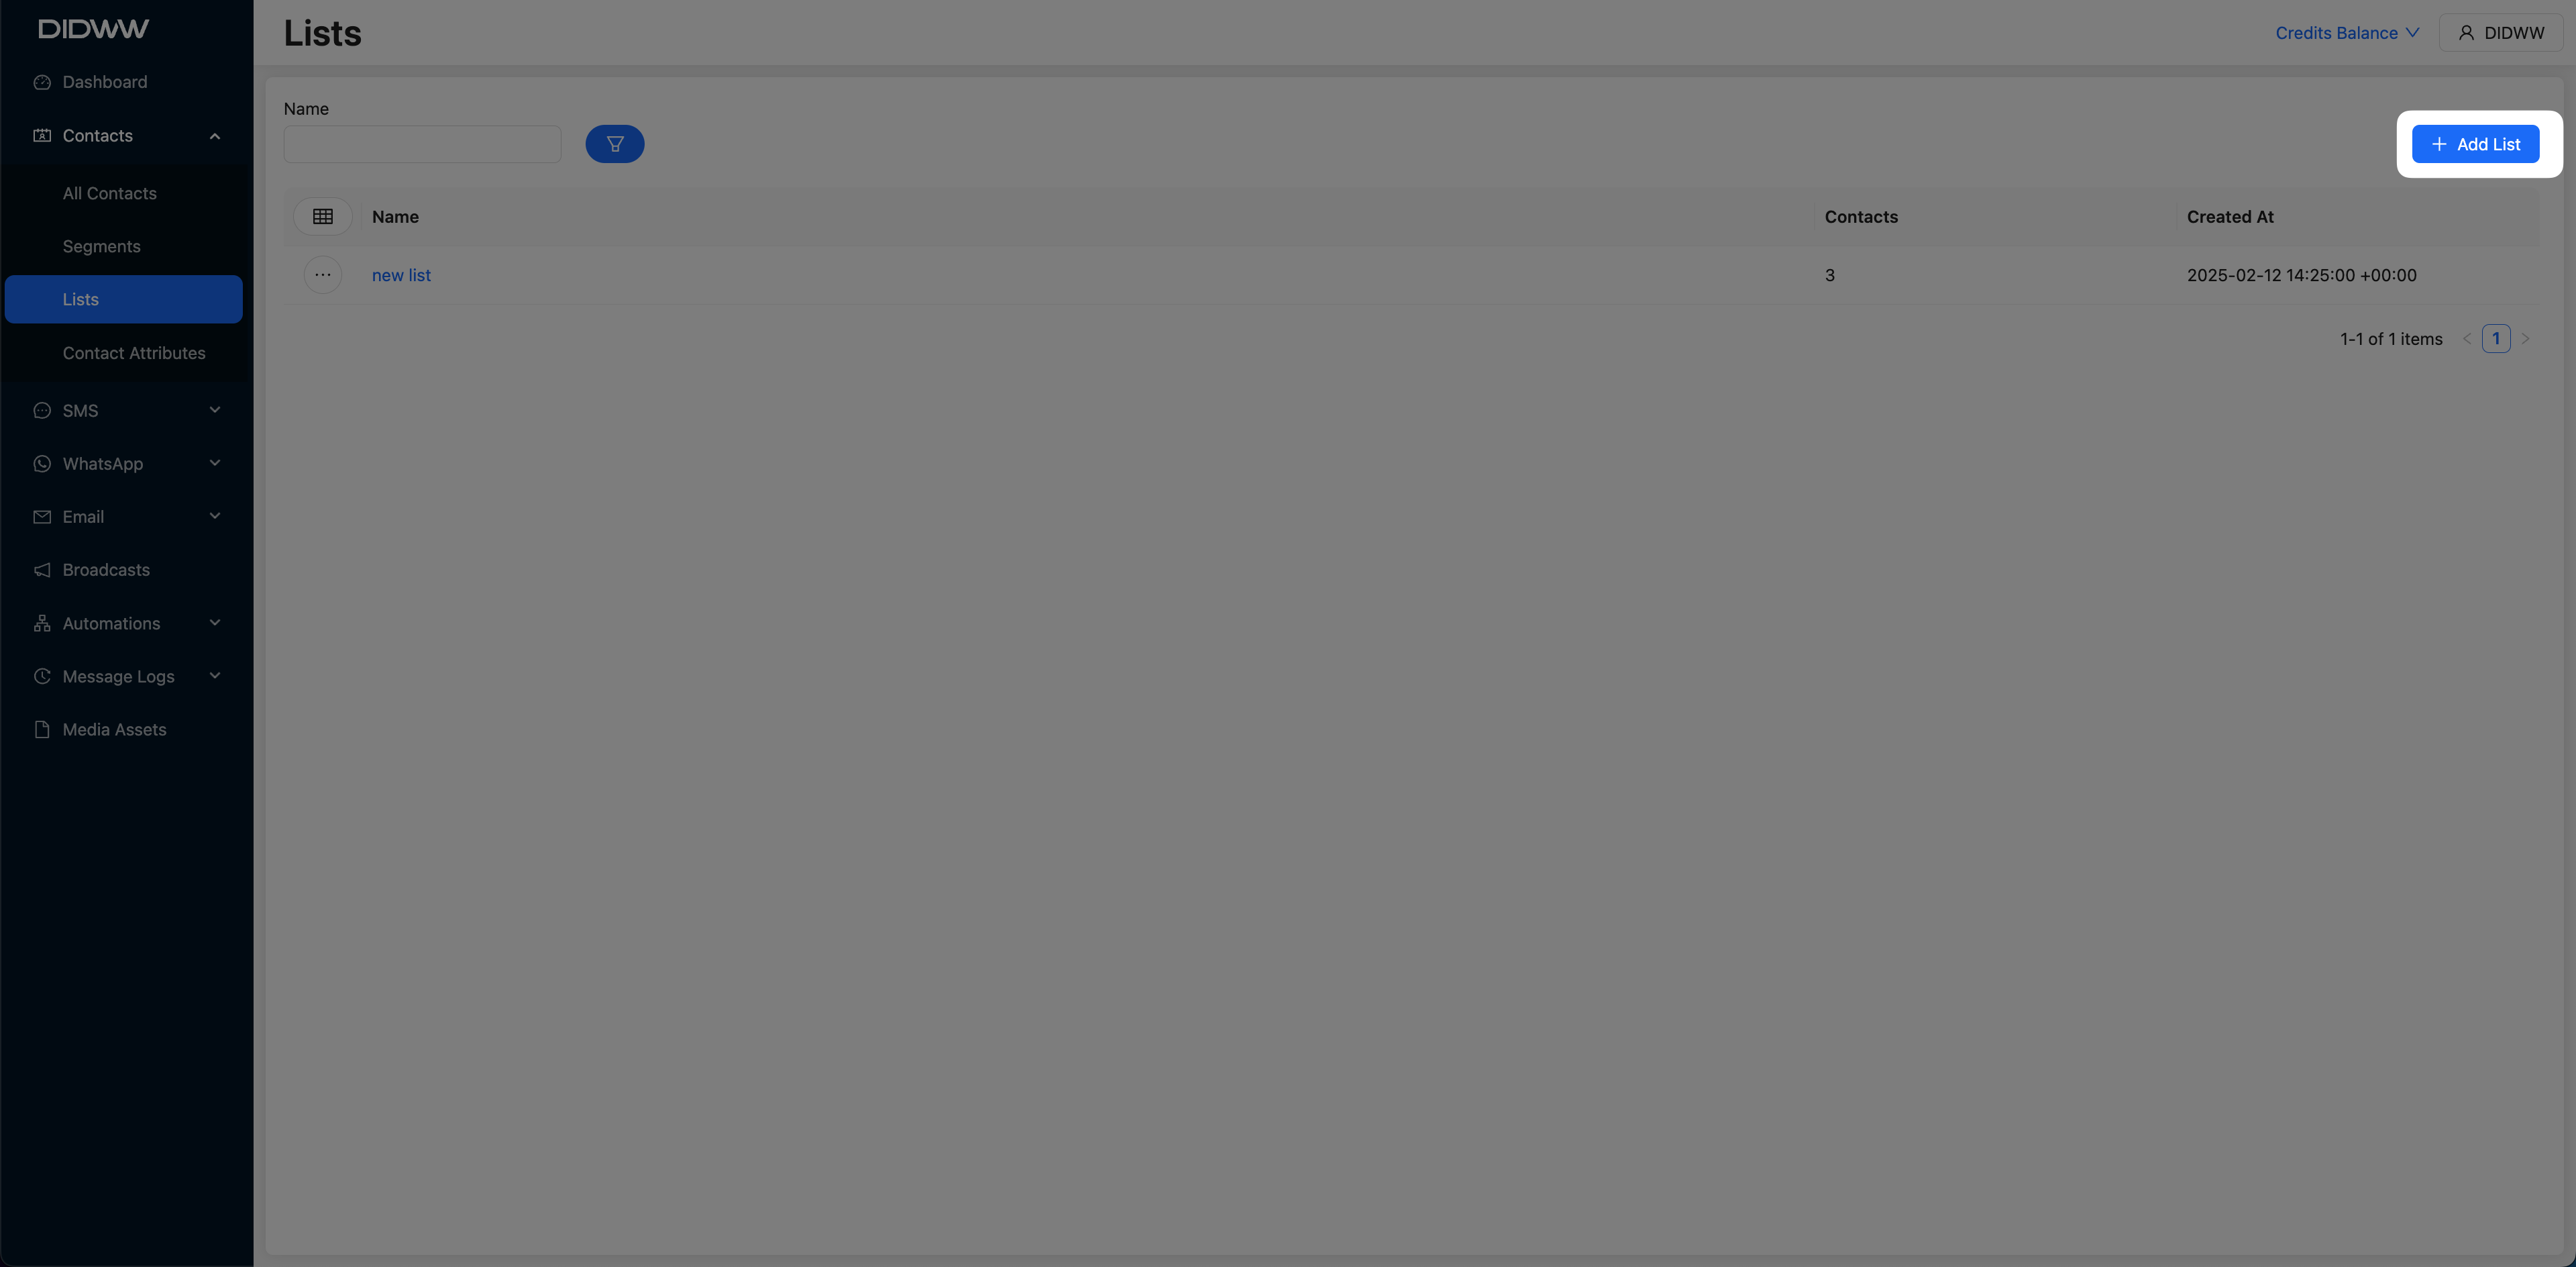
Fig. 1. Add New List Button.
Step 2: Name the List
A Create List pop-up window will appear. Enter a name for the new list and click OK to confirm.
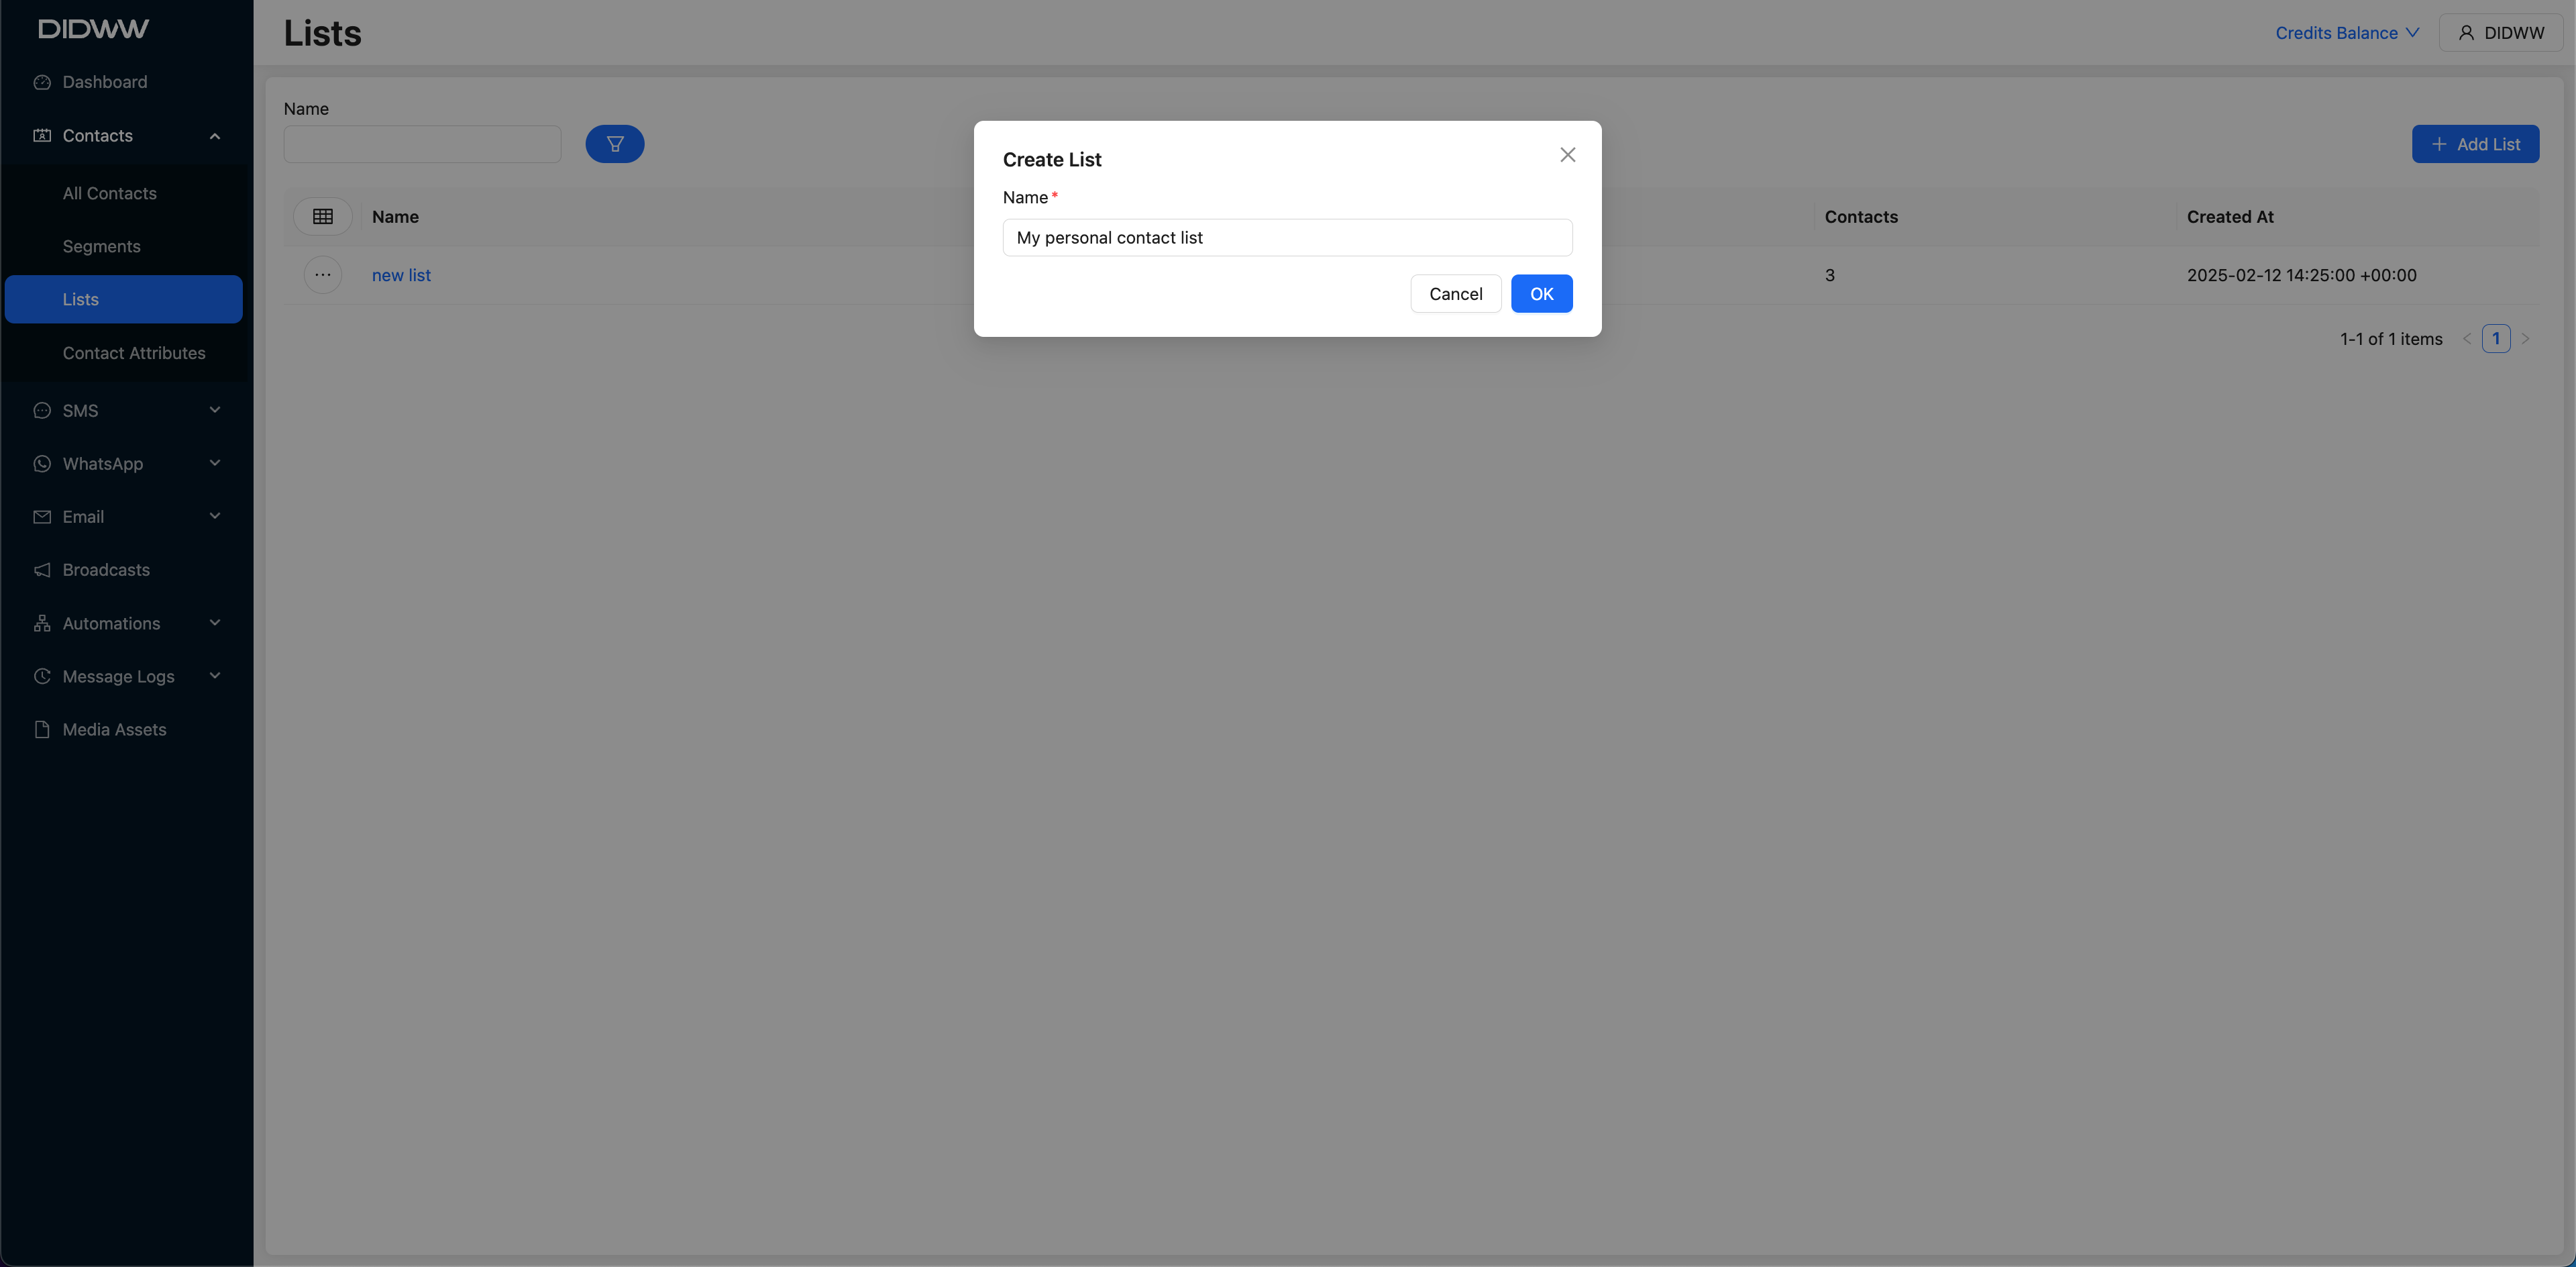
Fig. 2. Enter List Name and Confirm Creation.
Step 3: Add Contacts to the List
Once the list is created, the system will redirect you to the contact list page.
Click the Add Contacts button.
In the Add Contacts to List pop-up, select one or more contacts from your existing contact database.
Click Save to add the contacts to the list.
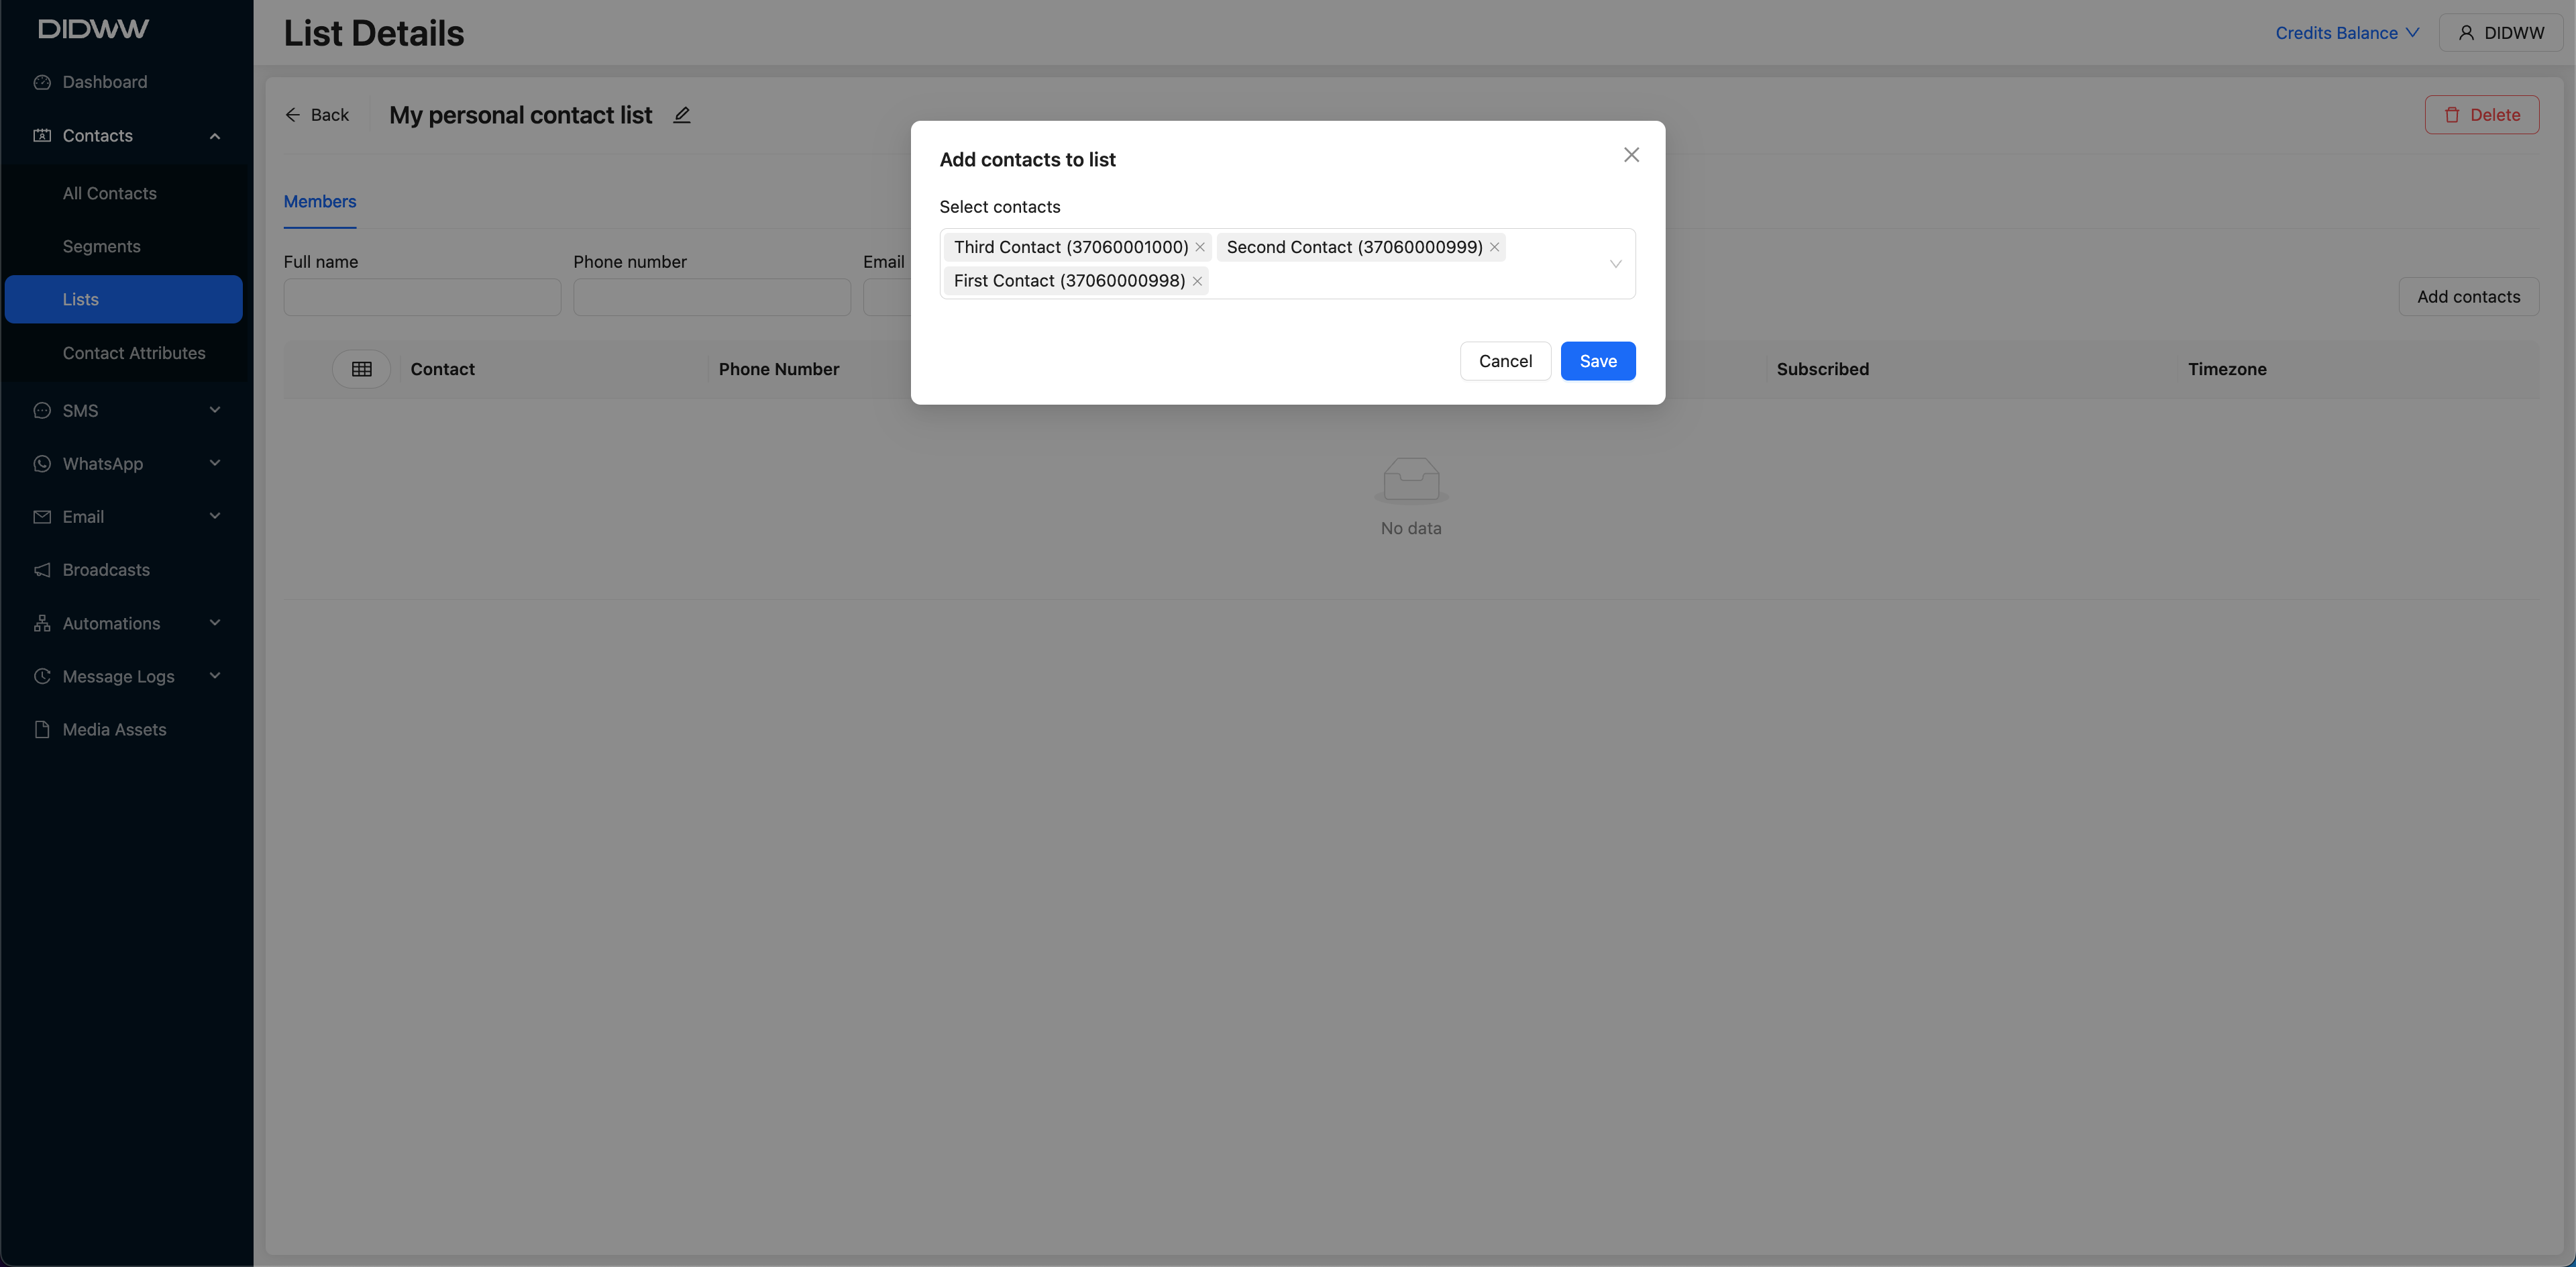
Fig. 3. Selecting Contacts to Add to the List.
Editing or Deleting a List
You can modify or remove a contact list using the Actions menu.
Go to Contacts and select Lists.
Locate the list you want to manage.
Click the Actions button
and choose Details to edit the list or Delete to remove it.
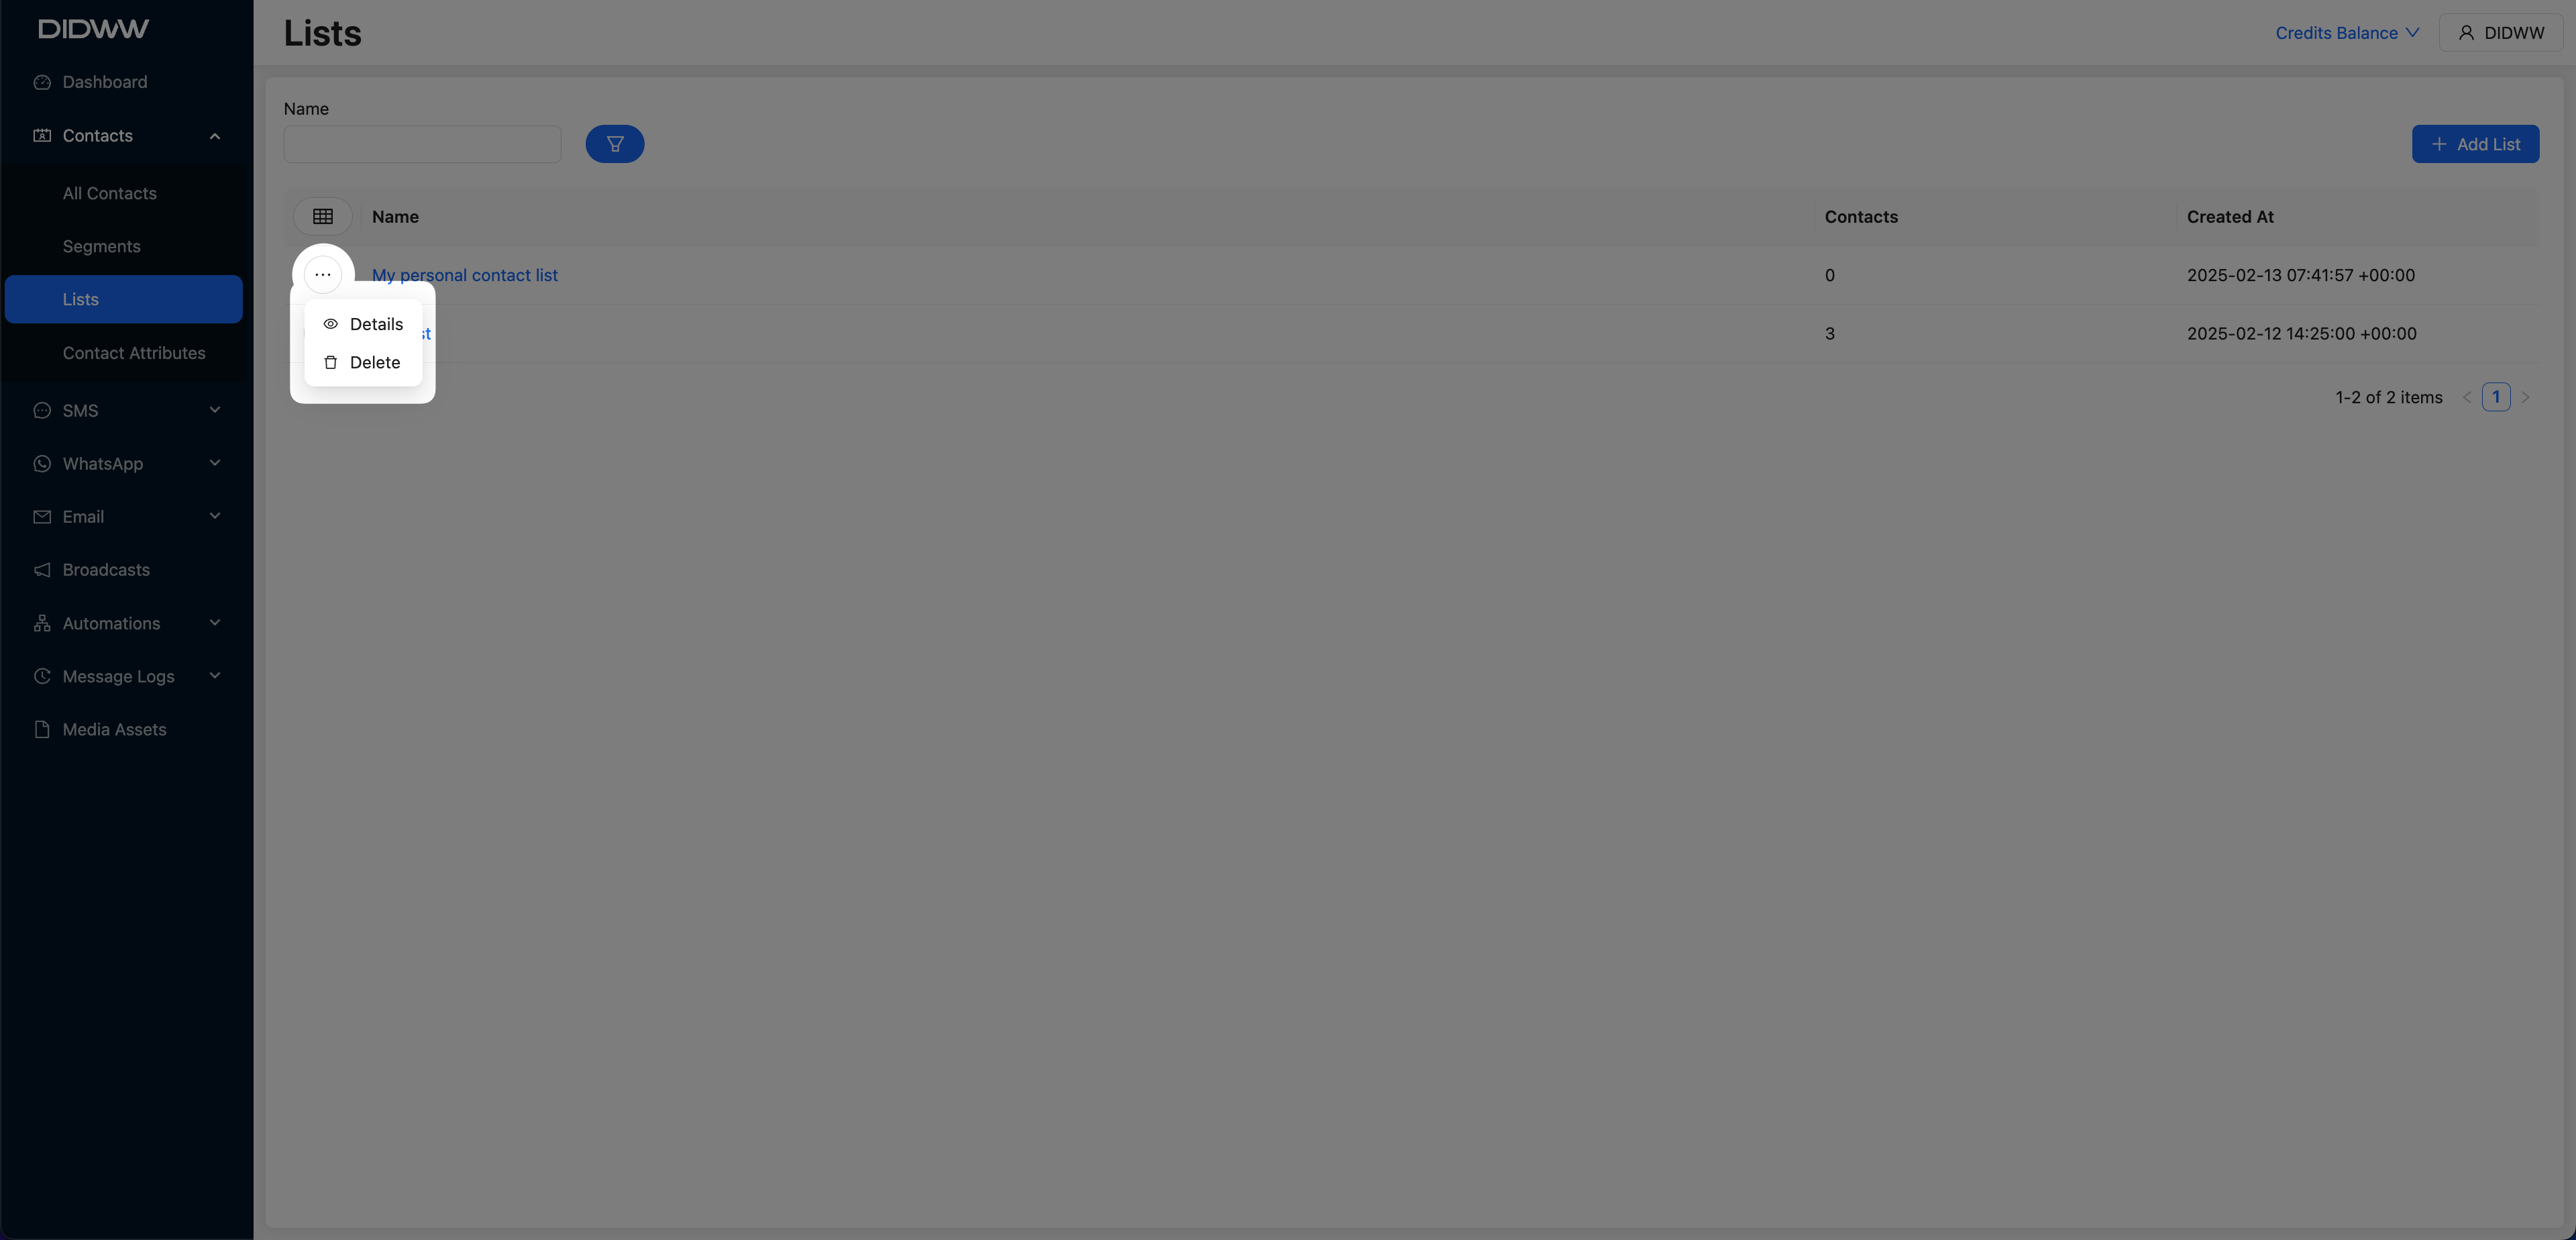
Fig. 5. Actions Menu for Editing or Deleting a List.
Note
Lists that are currently assigned to broadcasts cannot be edited or deleted.
Removing a Contact from a List
Follow these steps to remove a specific contact from an existing contact list.
Step 1: Open and Edit the List
Go to Contacts and select Lists.
Find the list from which you want to remove a contact.
Click the Actions button
Step 2: Search for the Contact
Use the filter fields to locate the contact you want to remove. You can filter by Email, Phone Number, or Full Name, or add a new filter based on system contact attributes.
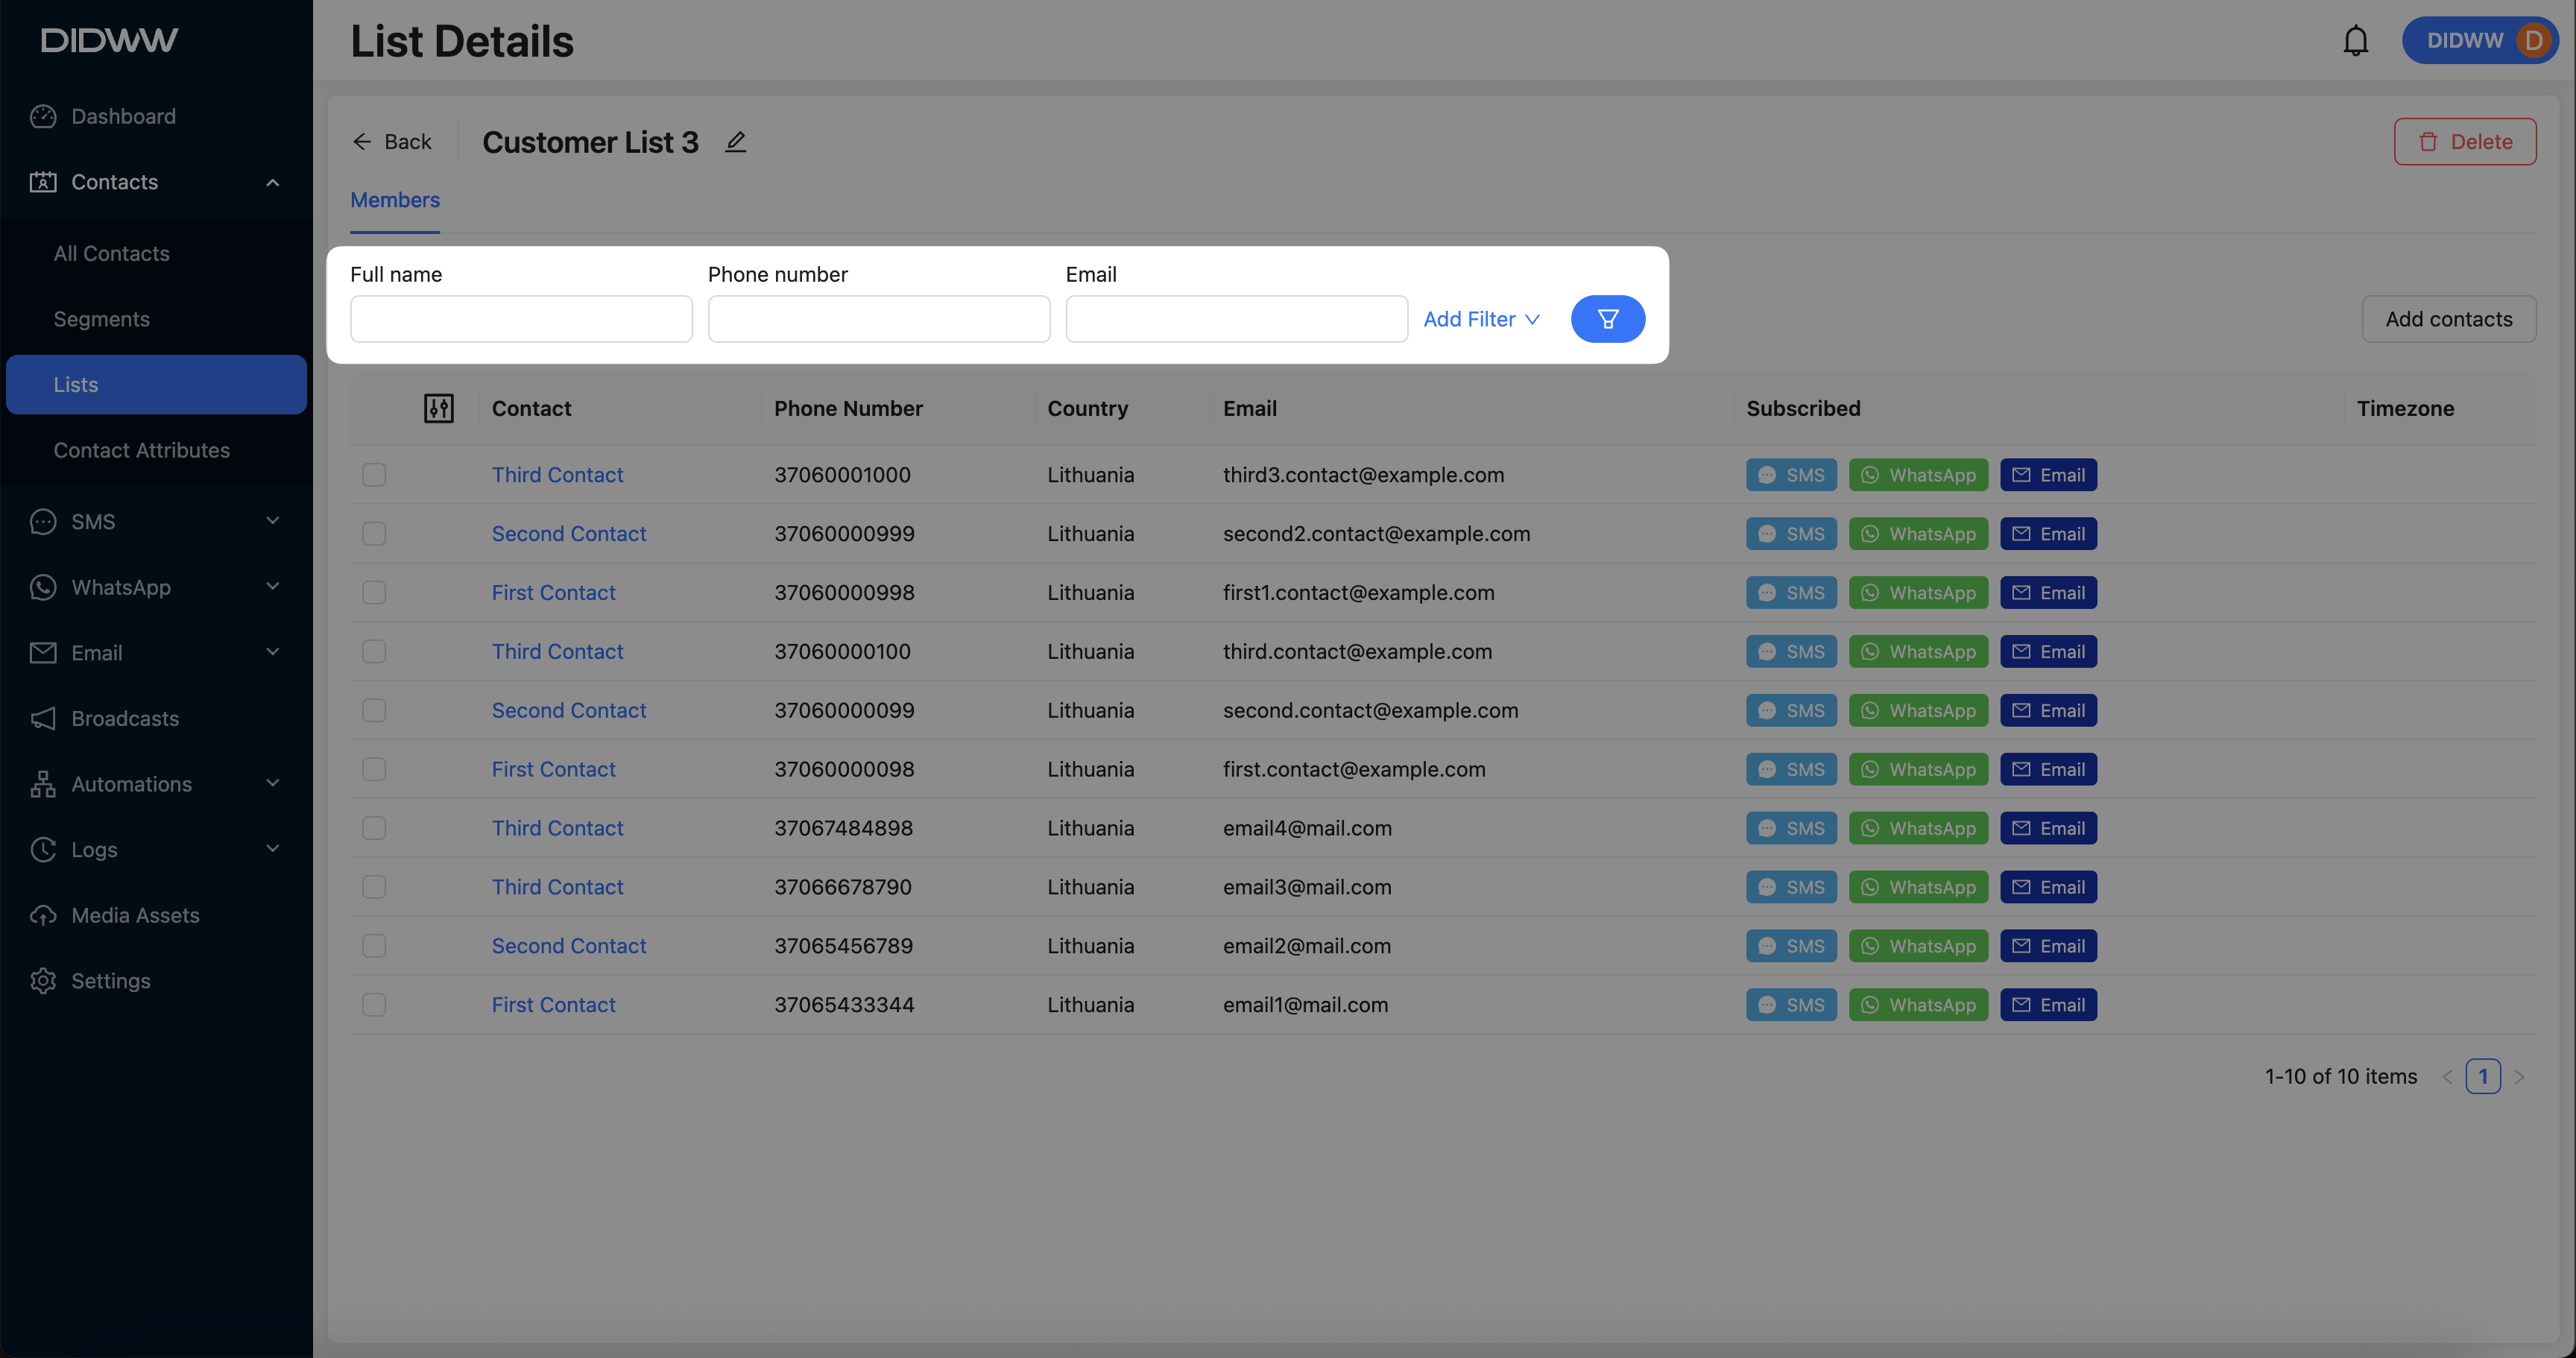
Fig. 1. Search and filter to locate the contact in the list.
Step 3: Remove the Contact
Select the checkbox next to the contact’s entry.
Click the Trash icon to remove the selected contact from the list.
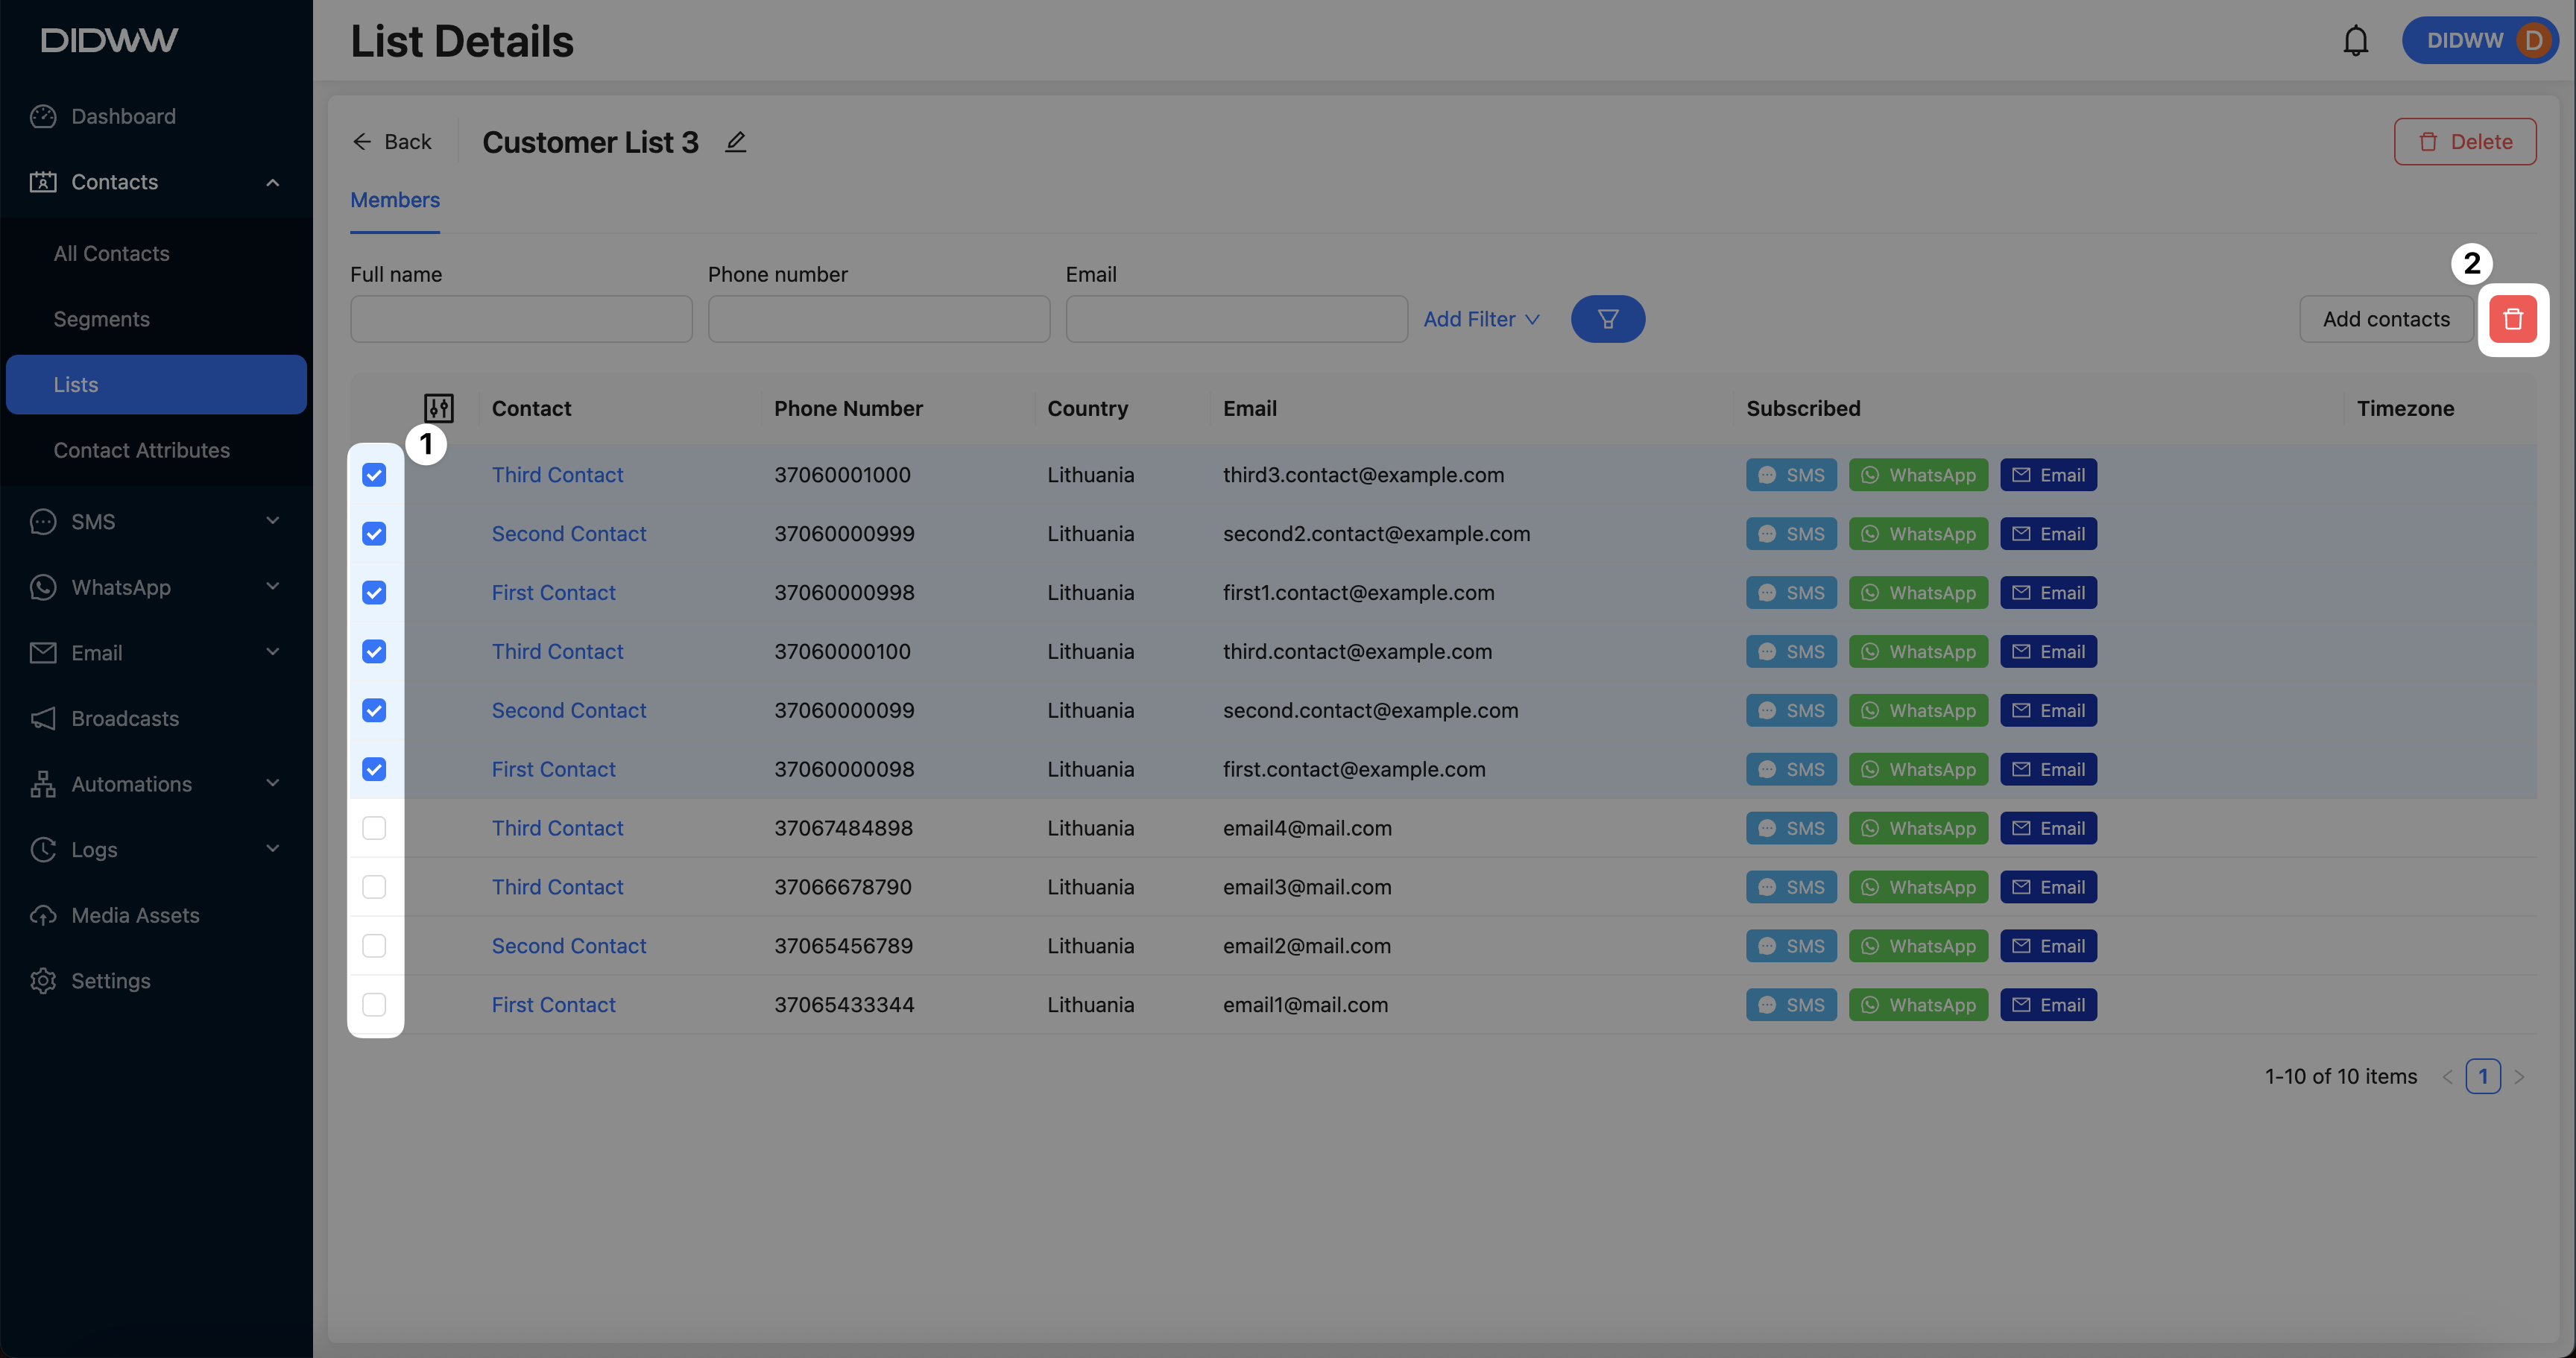
Fig. 2. Remove a contact from the list.