Domains
To use the DIDWW Messaging Platform for email services, you must first add and verify your domains. Verifying a domain ensures that your emails are delivered securely and reliably by authenticating your domain through DNS (Domain Name System) records.
Verifying a Domain
This guide provides instructions on adding a new domain, verifying the domain, and ensuring it is properly configured for email use.
Step 1: Access the Domains Section and Add a New Domain
In the main menu, go to Email > Domains.
Click Add Domain.

Fig. 1. Domains.
In the Add Domain window, enter the domain name (e.g., example.com) and click OK. The domain will then appear in the list but will remain in an unverified state until DNS authentication is complete.
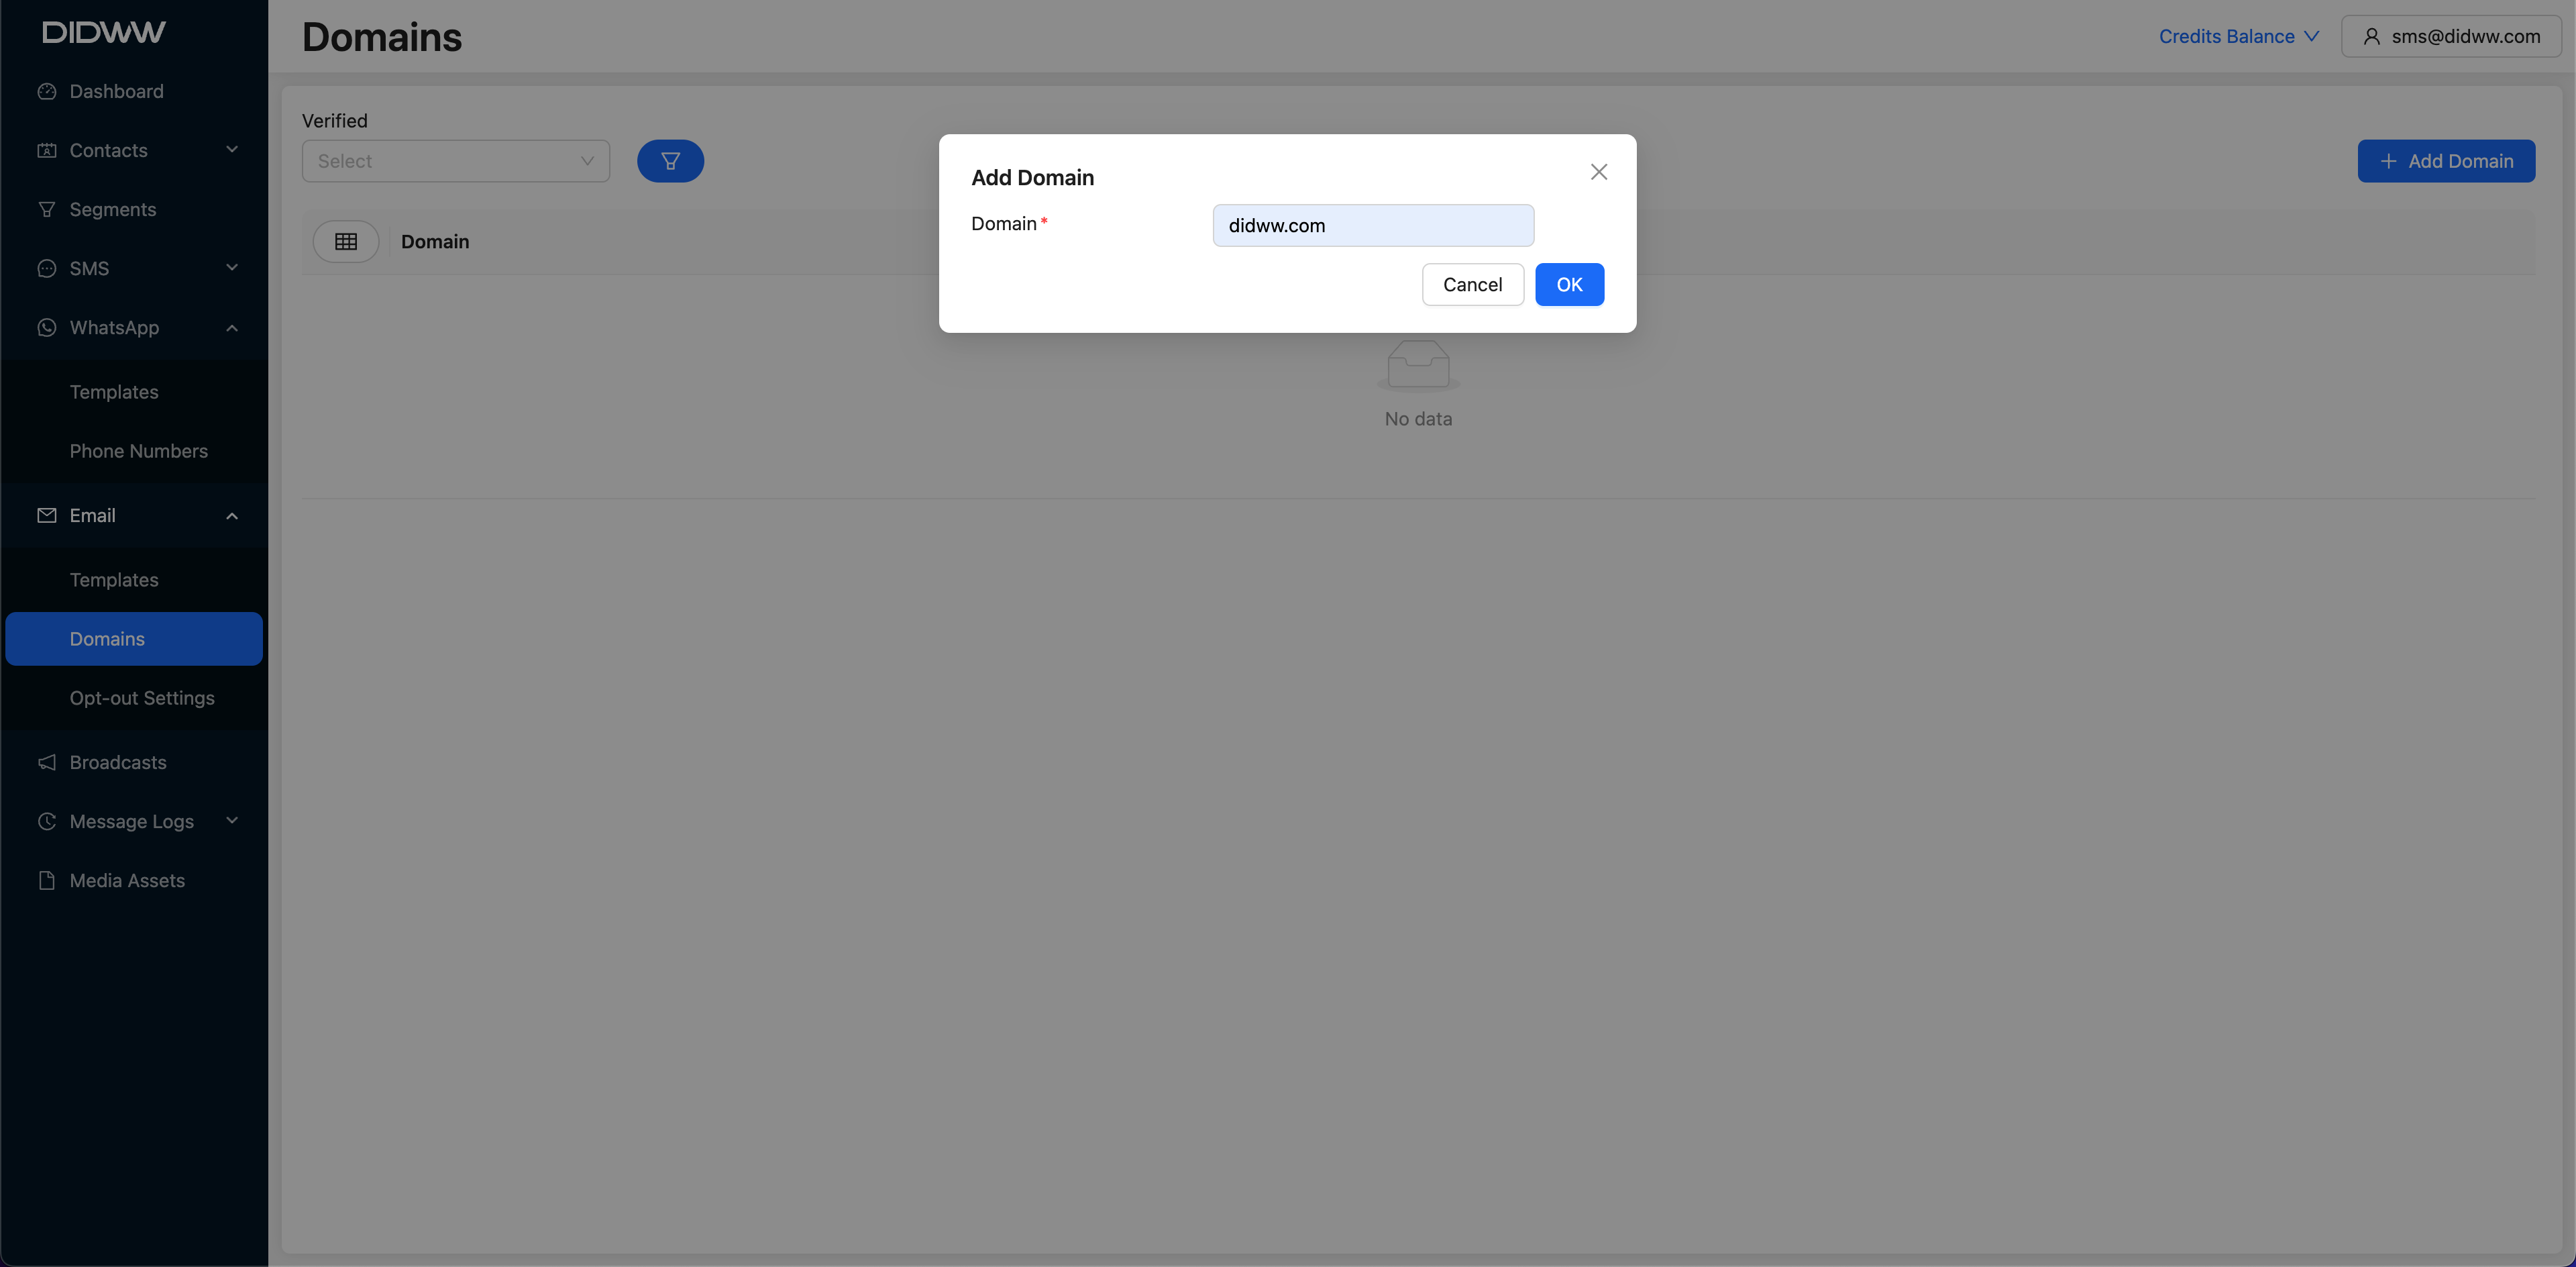
Fig. 2. Entering the Domain Name.
Step 2: Verify the Domain
On the verify domain page, the required DNS records for domain authentication will be displayed.
Fig. 3. Verify Domain Page.
Add the following DNS records to your domain’s DNS configuration to complete verification:
DNS Records for Domain Verification Record Type
Description
DKIM Record
A CNAME record for DomainKeys Identified Mail (DKIM) authentication, which helps prevent email spoofing.
Copy the Name and Target values under type to your DNS provider’s CNAME record configuration.DMARC Record
A TXT record for Domain-based Message Authentication, Reporting, and Conformance (DMARC) to define the policy for handling unauthenticated emails.
Copy the provided Name and Target values to create this record as a TXT record in your DNS.CNAME Record
An additional CNAME record required for validation.
Copy the provided Name and Target values into your DNS configuration.
Step 3: Configure DNS Records
Sign in to your DNS provider’s platform (such as GoDaddy or Cloudflare).
Go to the DNS Management section.
For each record listed on the Verify Domain page:
Add the record using the specified Type, Name, and Target.
Make sure to select the correct record type (e.g., CNAME or TXT) and enter the values exactly as provided.
Note
DNS changes can take up to 48 hours to propagate. The verification status will update automatically once the changes are detected.
Step 4: Domain Authentication
After configuring the DNS records, return to the Verify Domain page and click Verify Domain at the bottom.

Fig. 4. Verify Domain Button.
The platform will check the DNS records to confirm if they are correctly configured. Once all records are verified, the domain status will update to “Verified,” indicated by a green icon on the Domains page.
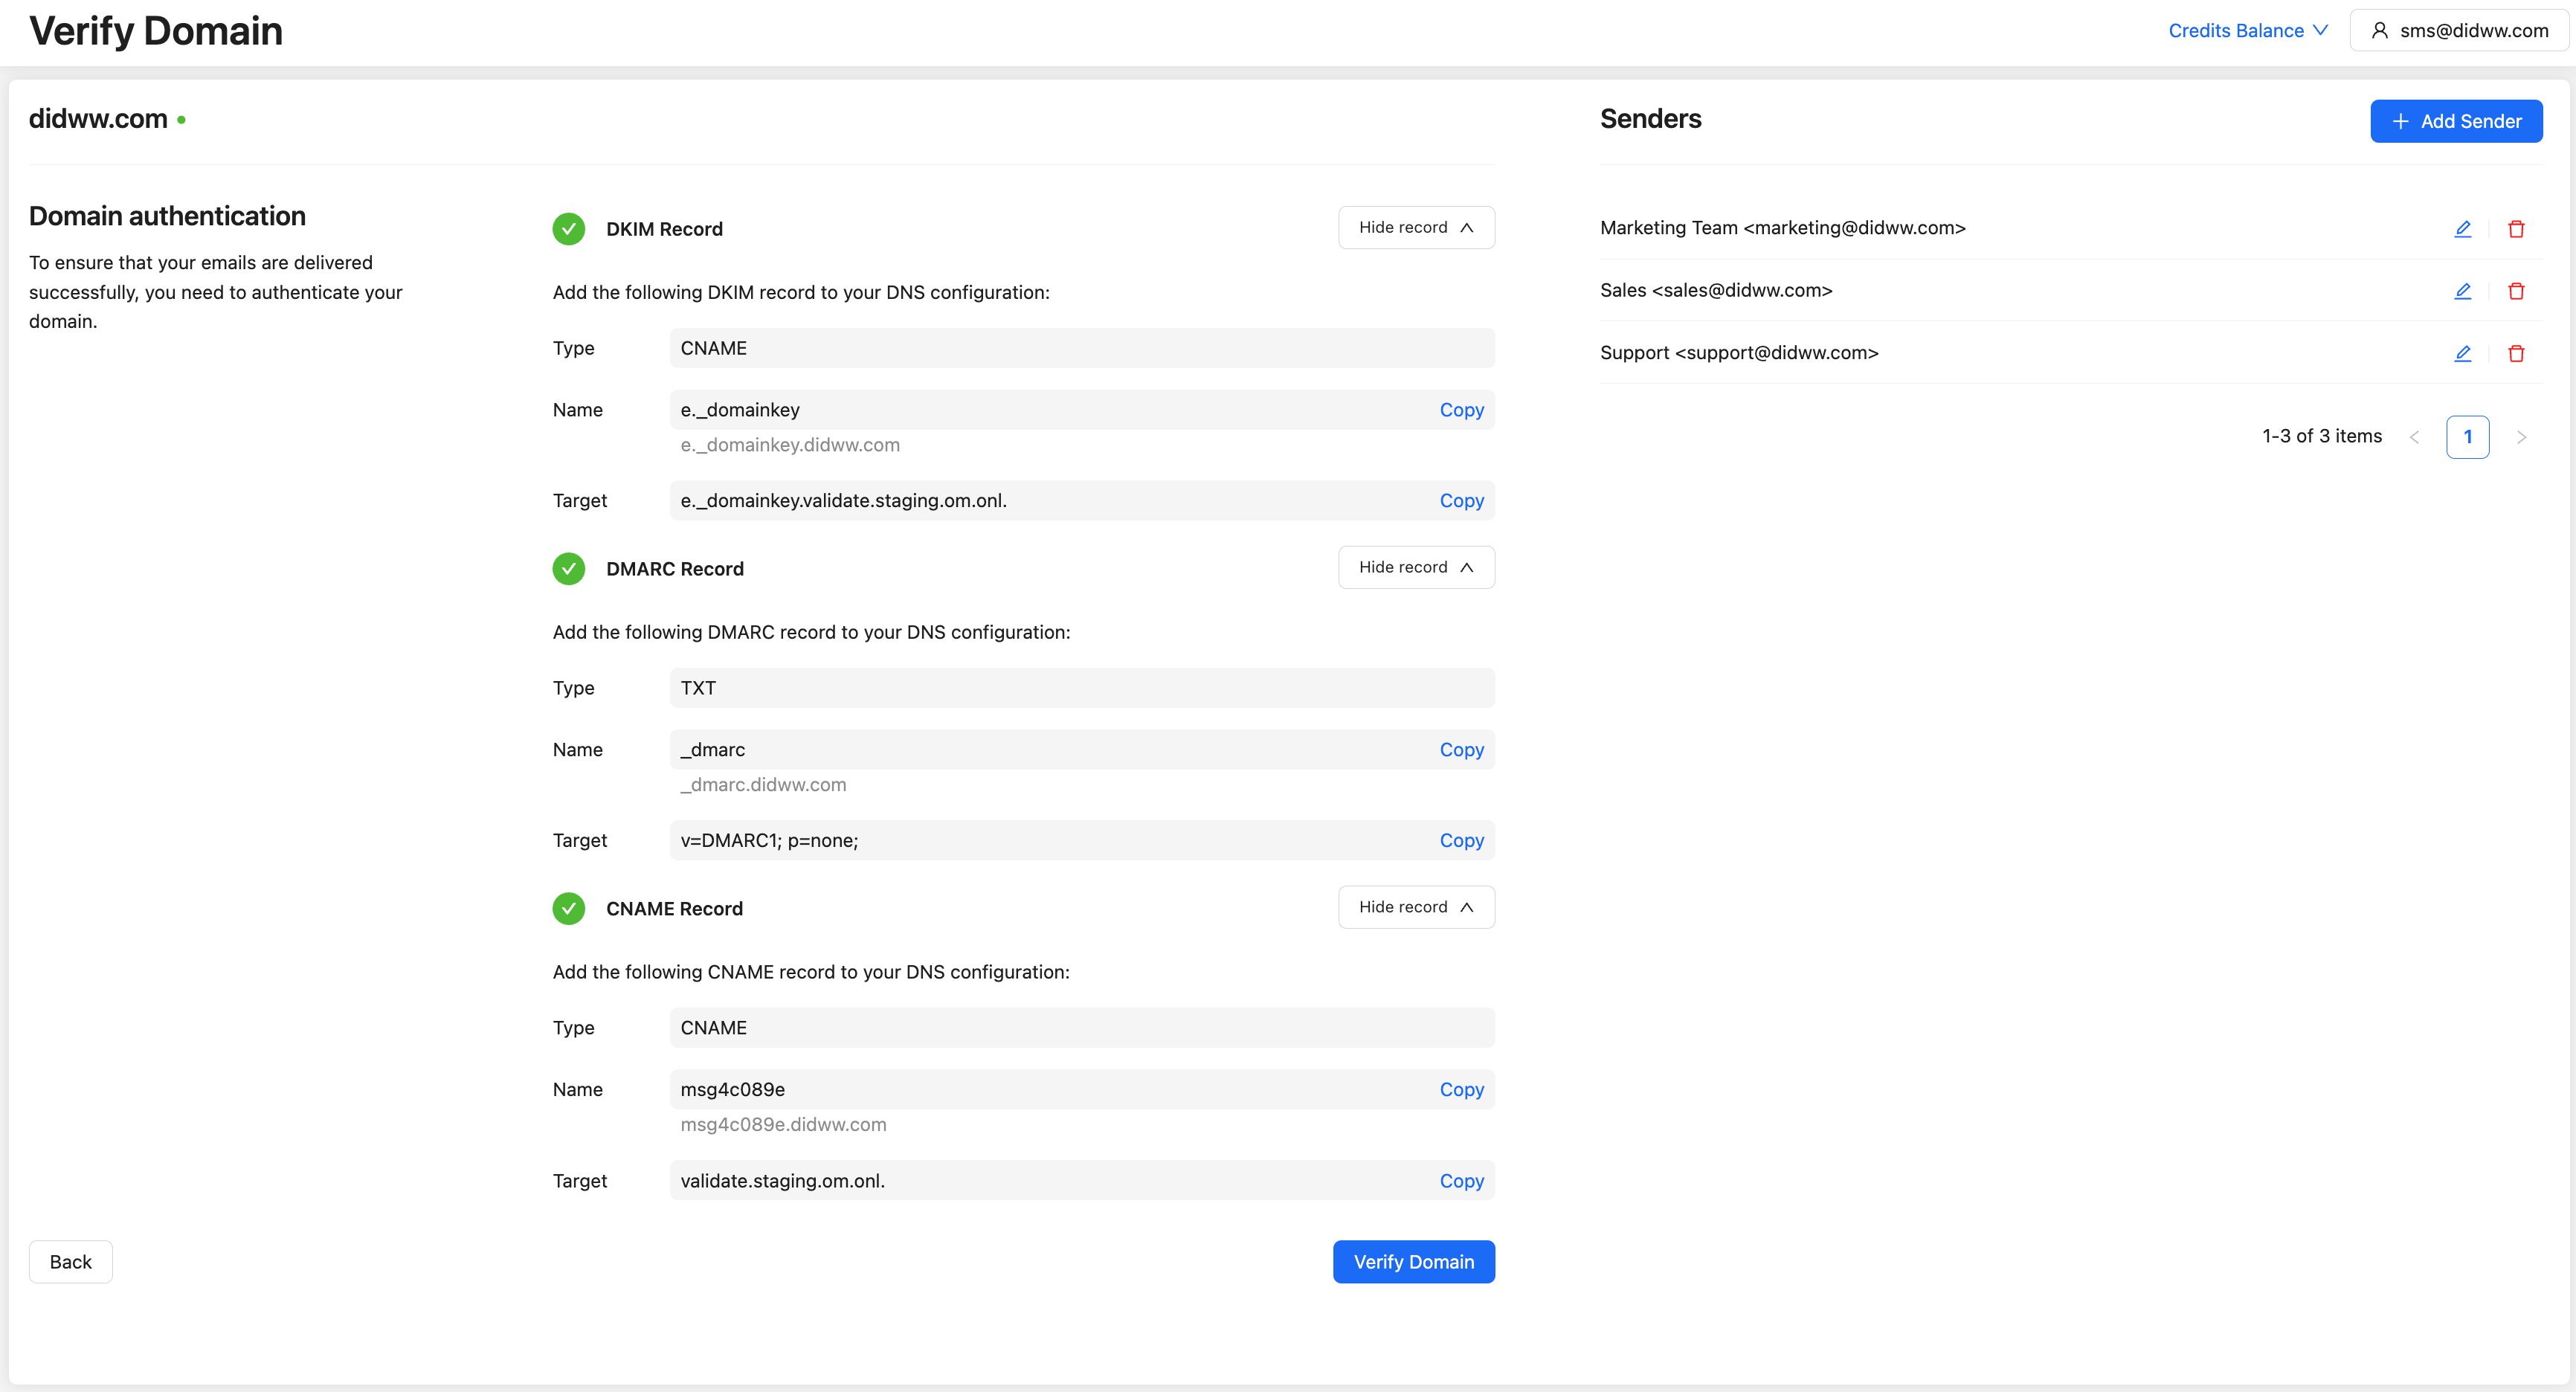
Fig. 5. Verified Domain.
Step 5: Add Sender Information
After verifying a domain, you can add specific senders (email addresses) associated with that domain. Adding senders allows you to specify the “From” address that recipients see when receiving emails from your verified domain.
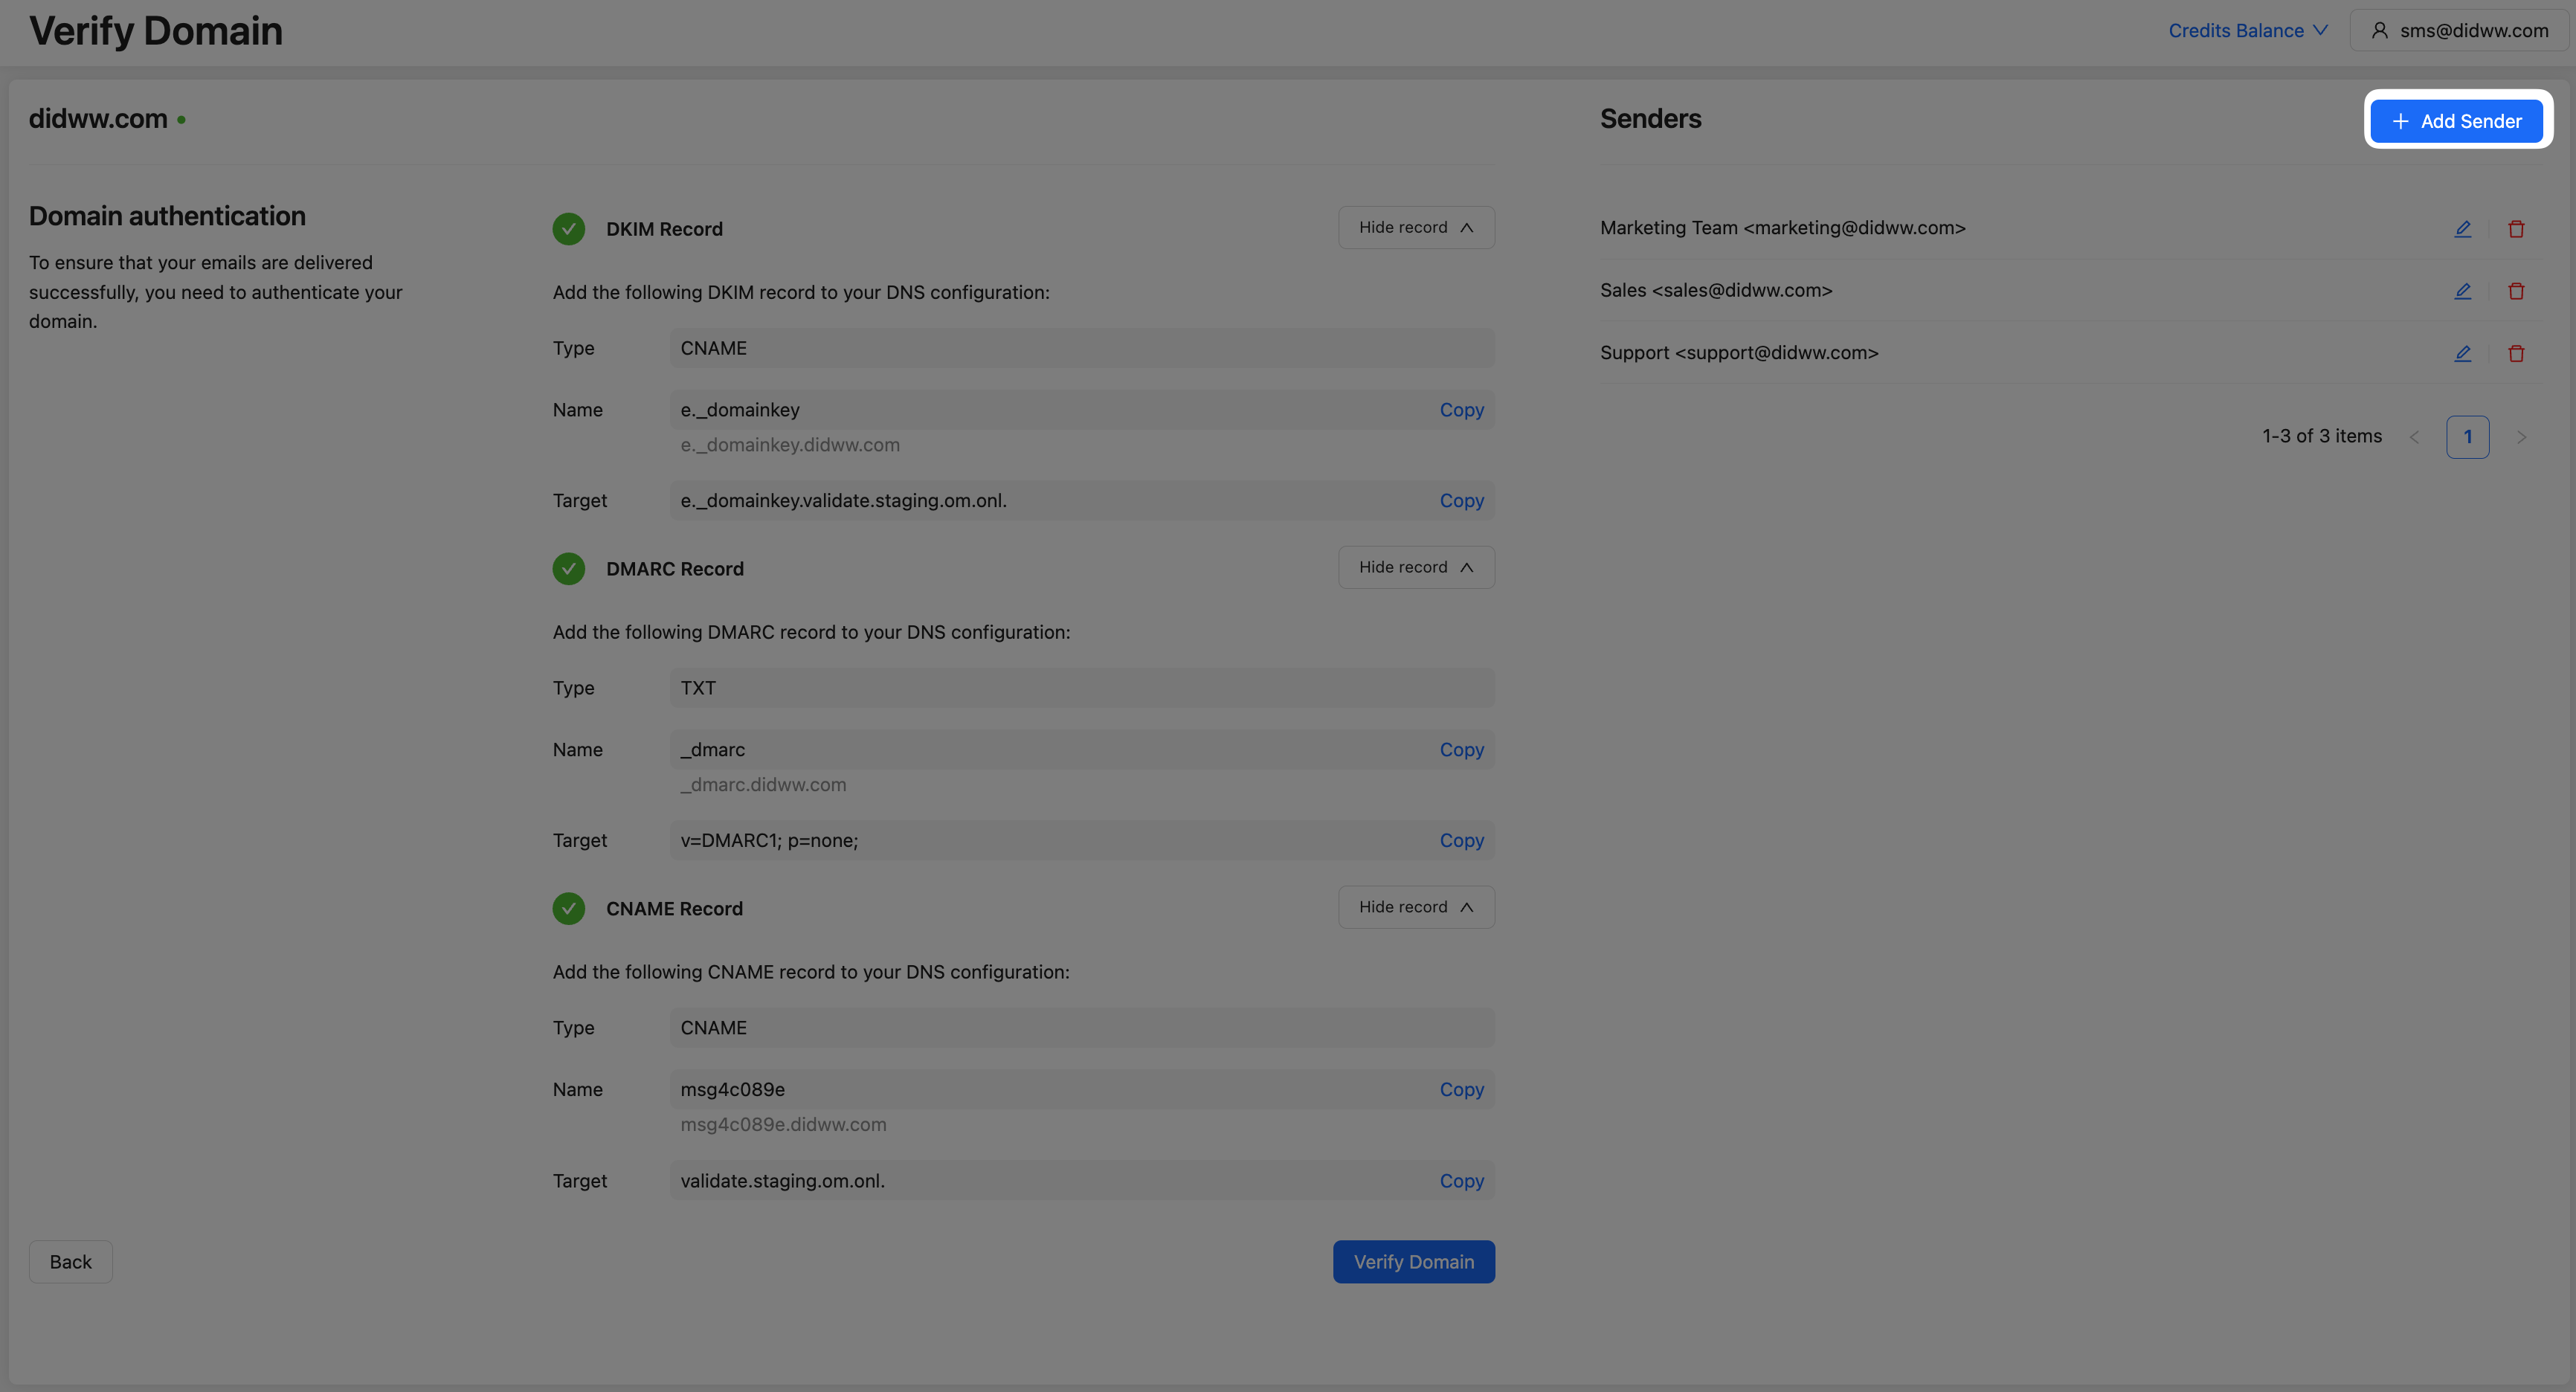
Fig. 6. Add Sender Button.
On the Verify Domain page, click Add Sender in the upper-right corner and fill out the required fields in the Add Sender window.
Display name: Enter the name that will appear as the sender in the recipient’s inbox (e.g., “Customer Support” or “Marketing Team”).
Username: Enter the username part of the email address (before the “@” symbol). This combines with the verified domain to form the complete email address (e.g.,
username@domain.com).
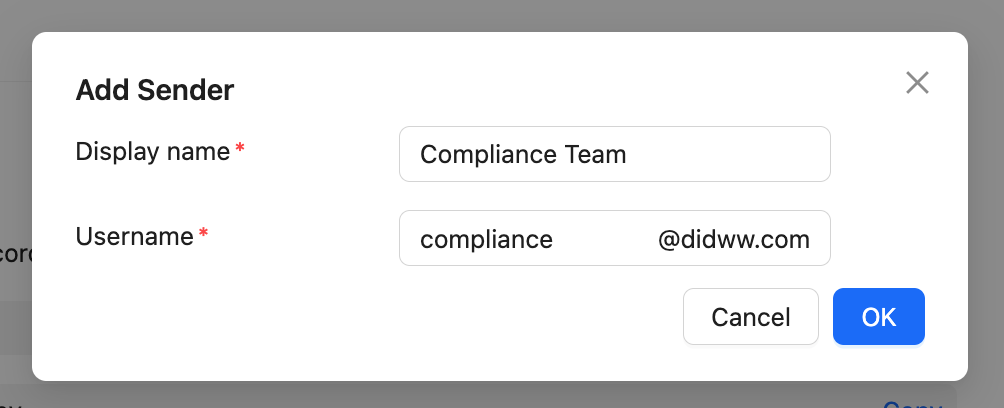
Fig. 7. Sender Details.
After filling out both fields, click OK to save the sender, or click Cancel to close the window without saving.
Newly added senders will be listed under Senders on the Verify Domain page. You can repeat this process to add multiple senders for each verified domain as needed.
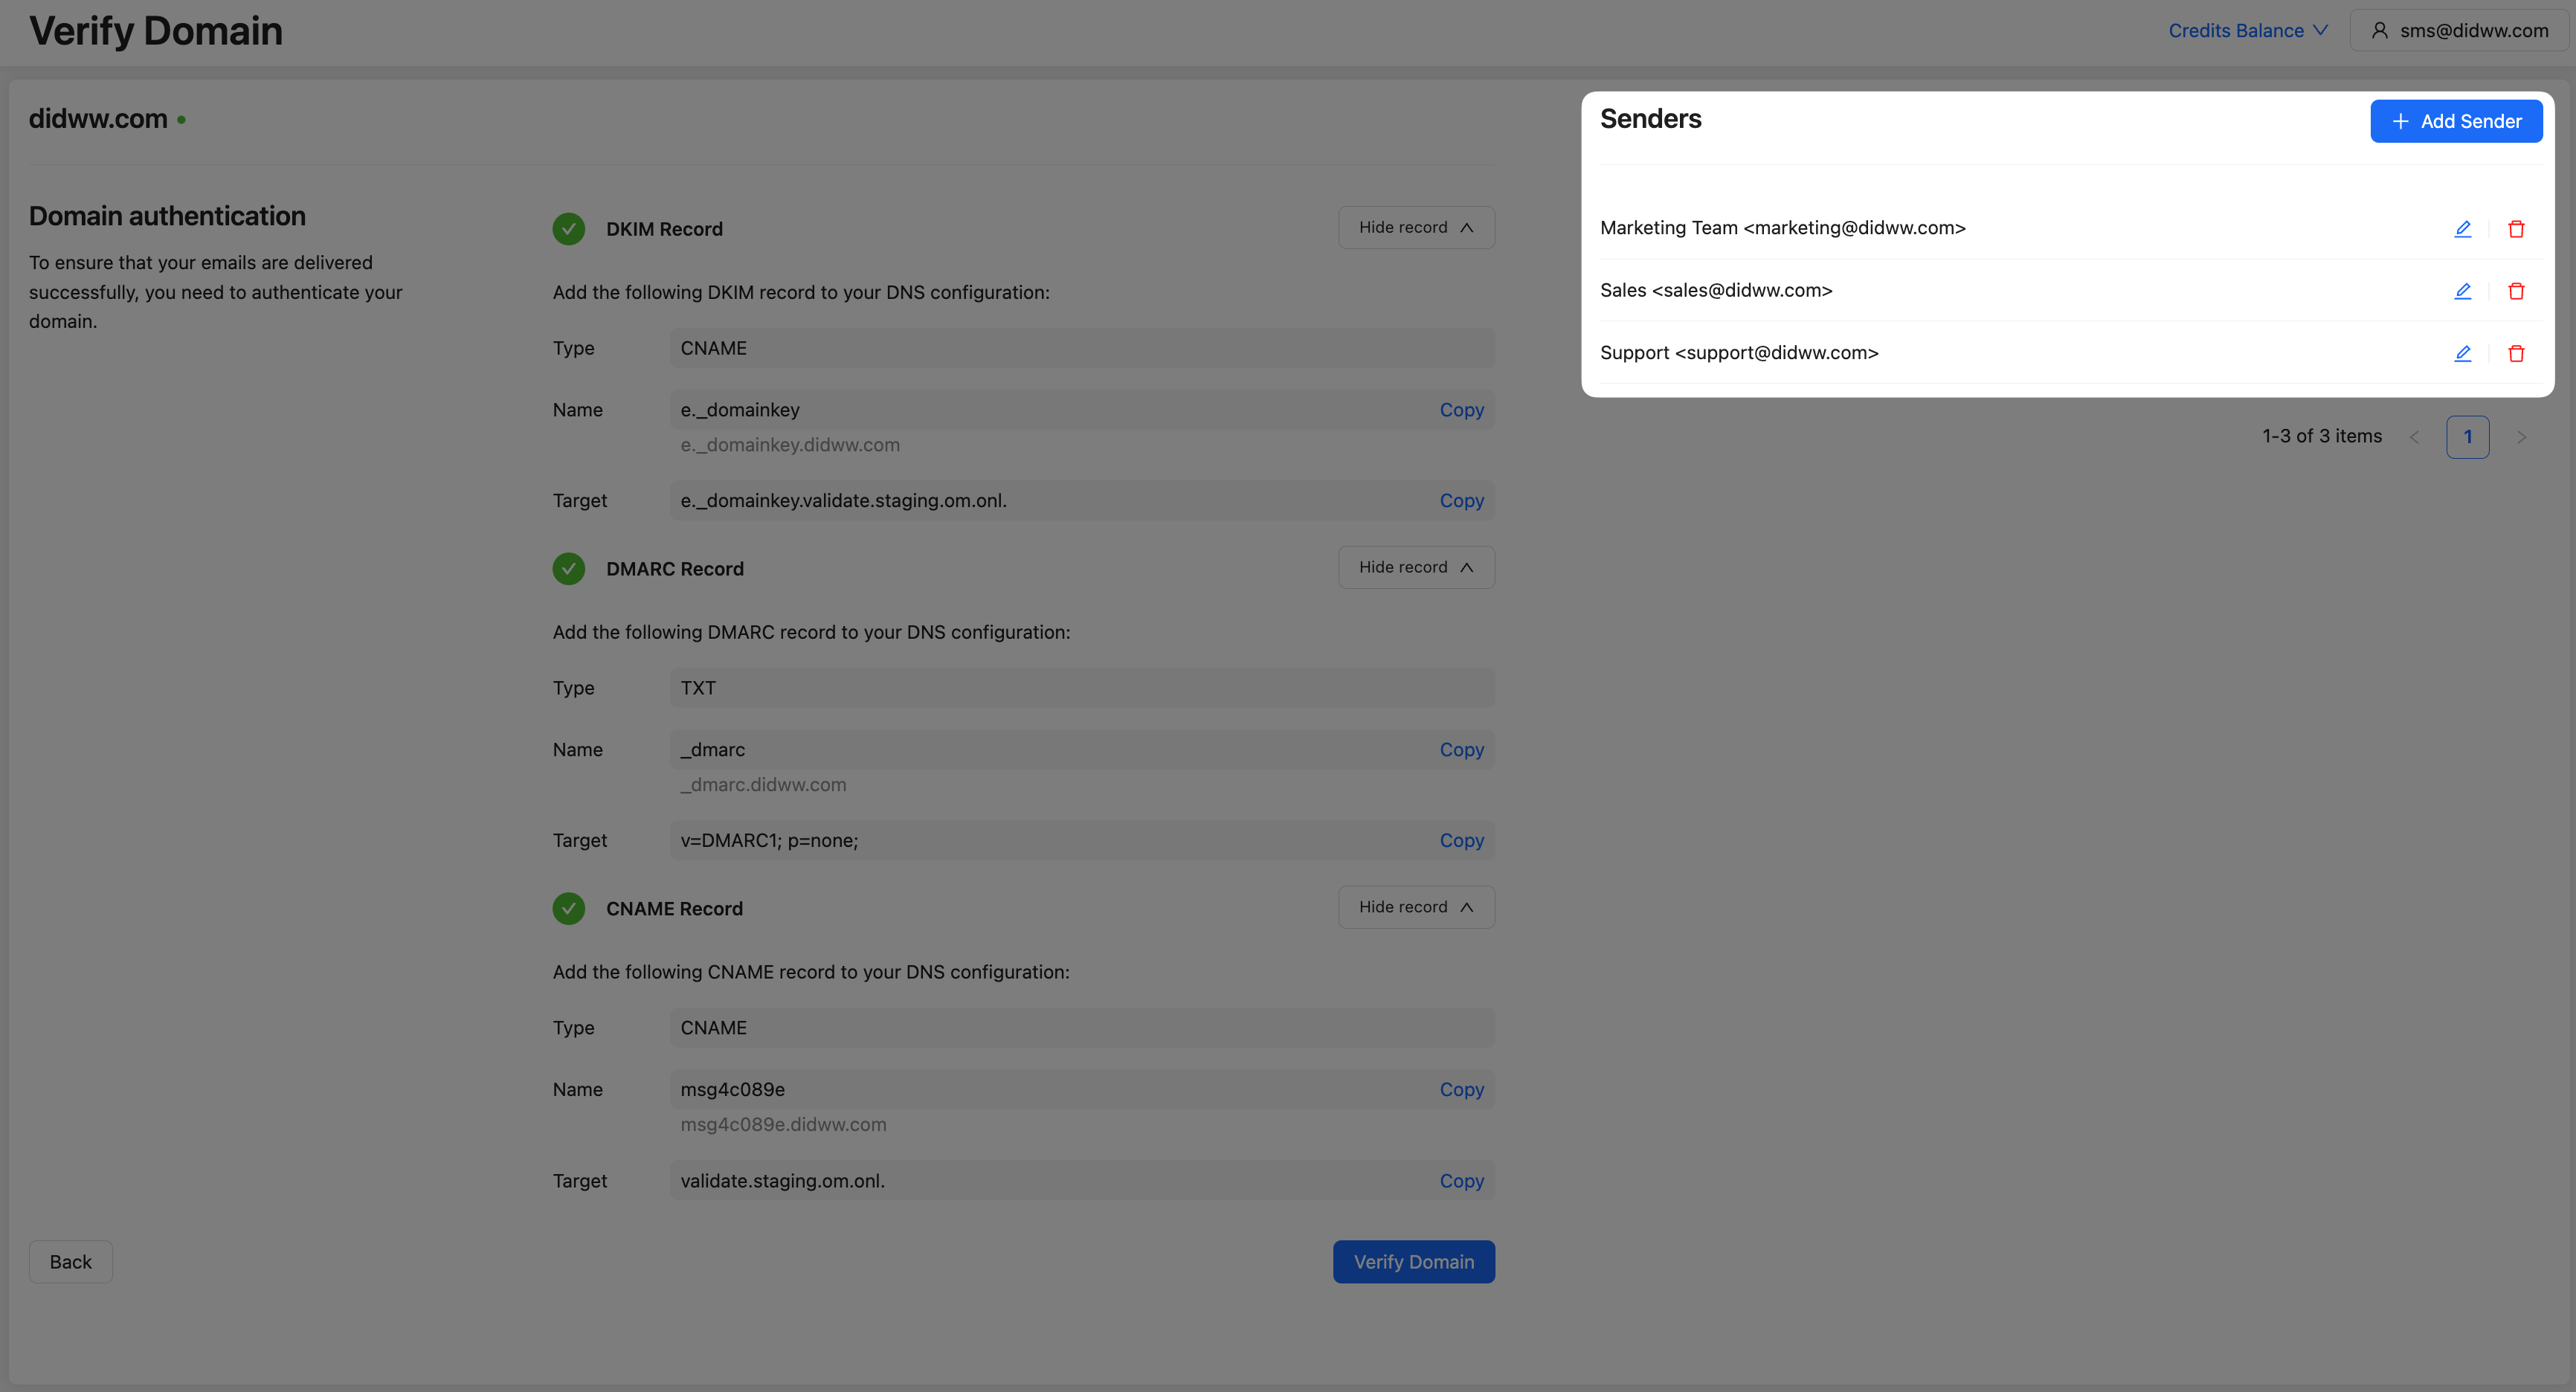
Fig. 8. Senders.
Step 6: Review Domain Status
On the Domains page, each domain’s status is shown as follows:
Verified: A green icon with the message “Domain is verified and ready to use.”
Unverified: A red icon with the message “Domain is not verified.”
Note
Only verified domains can be used for email services within the DIDWW Messaging Platform. Unverified domains cannot be used to send email campaigns.
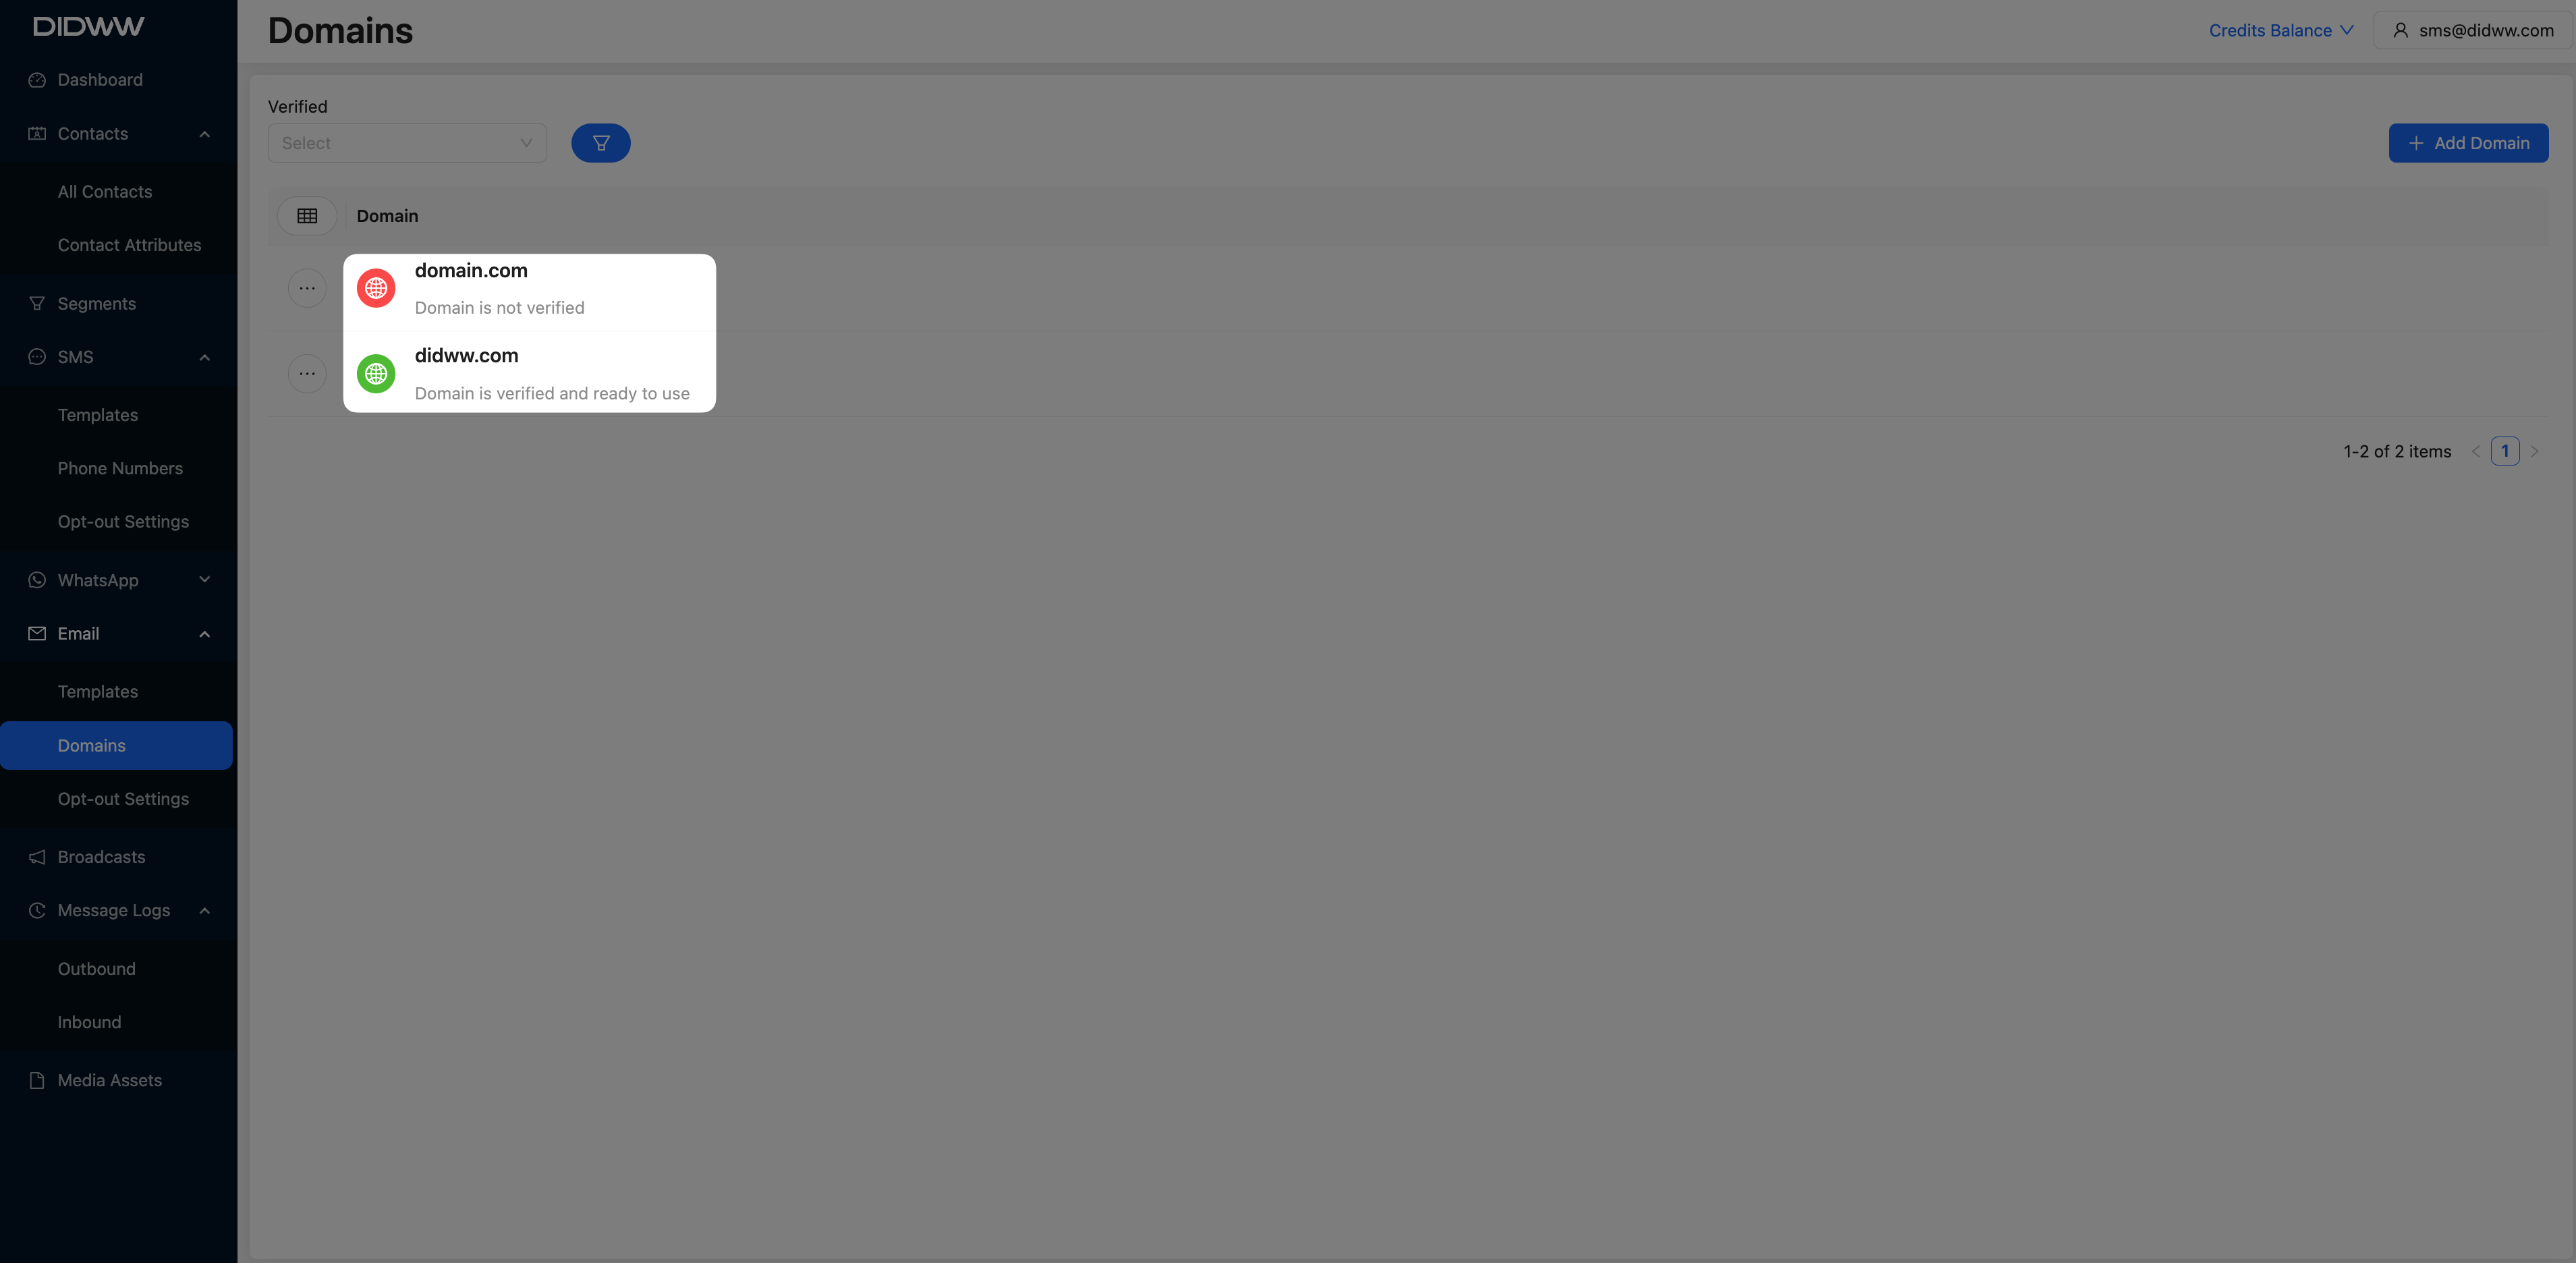
Fig. 9. Domain Status.