Segments
The Segments allows you to dynamically group contacts based on conditions defined using contact attributes. Segments are ideal for targeting specific audiences with personalized messaging in broadcast campaigns.
Segments are particularly useful when you want to:
Automatically include contacts based on specific profile data or behaviors
Create dynamic groups using filters like location, subscription status, or custom attributes
Maintain up-to-date targeting lists without manual list management
Creating a Segment
Follow the steps below to create a new segment.
Step 1: Add a New Segment
Go to Contacts and select Segments.
Click the + Create Segment button.
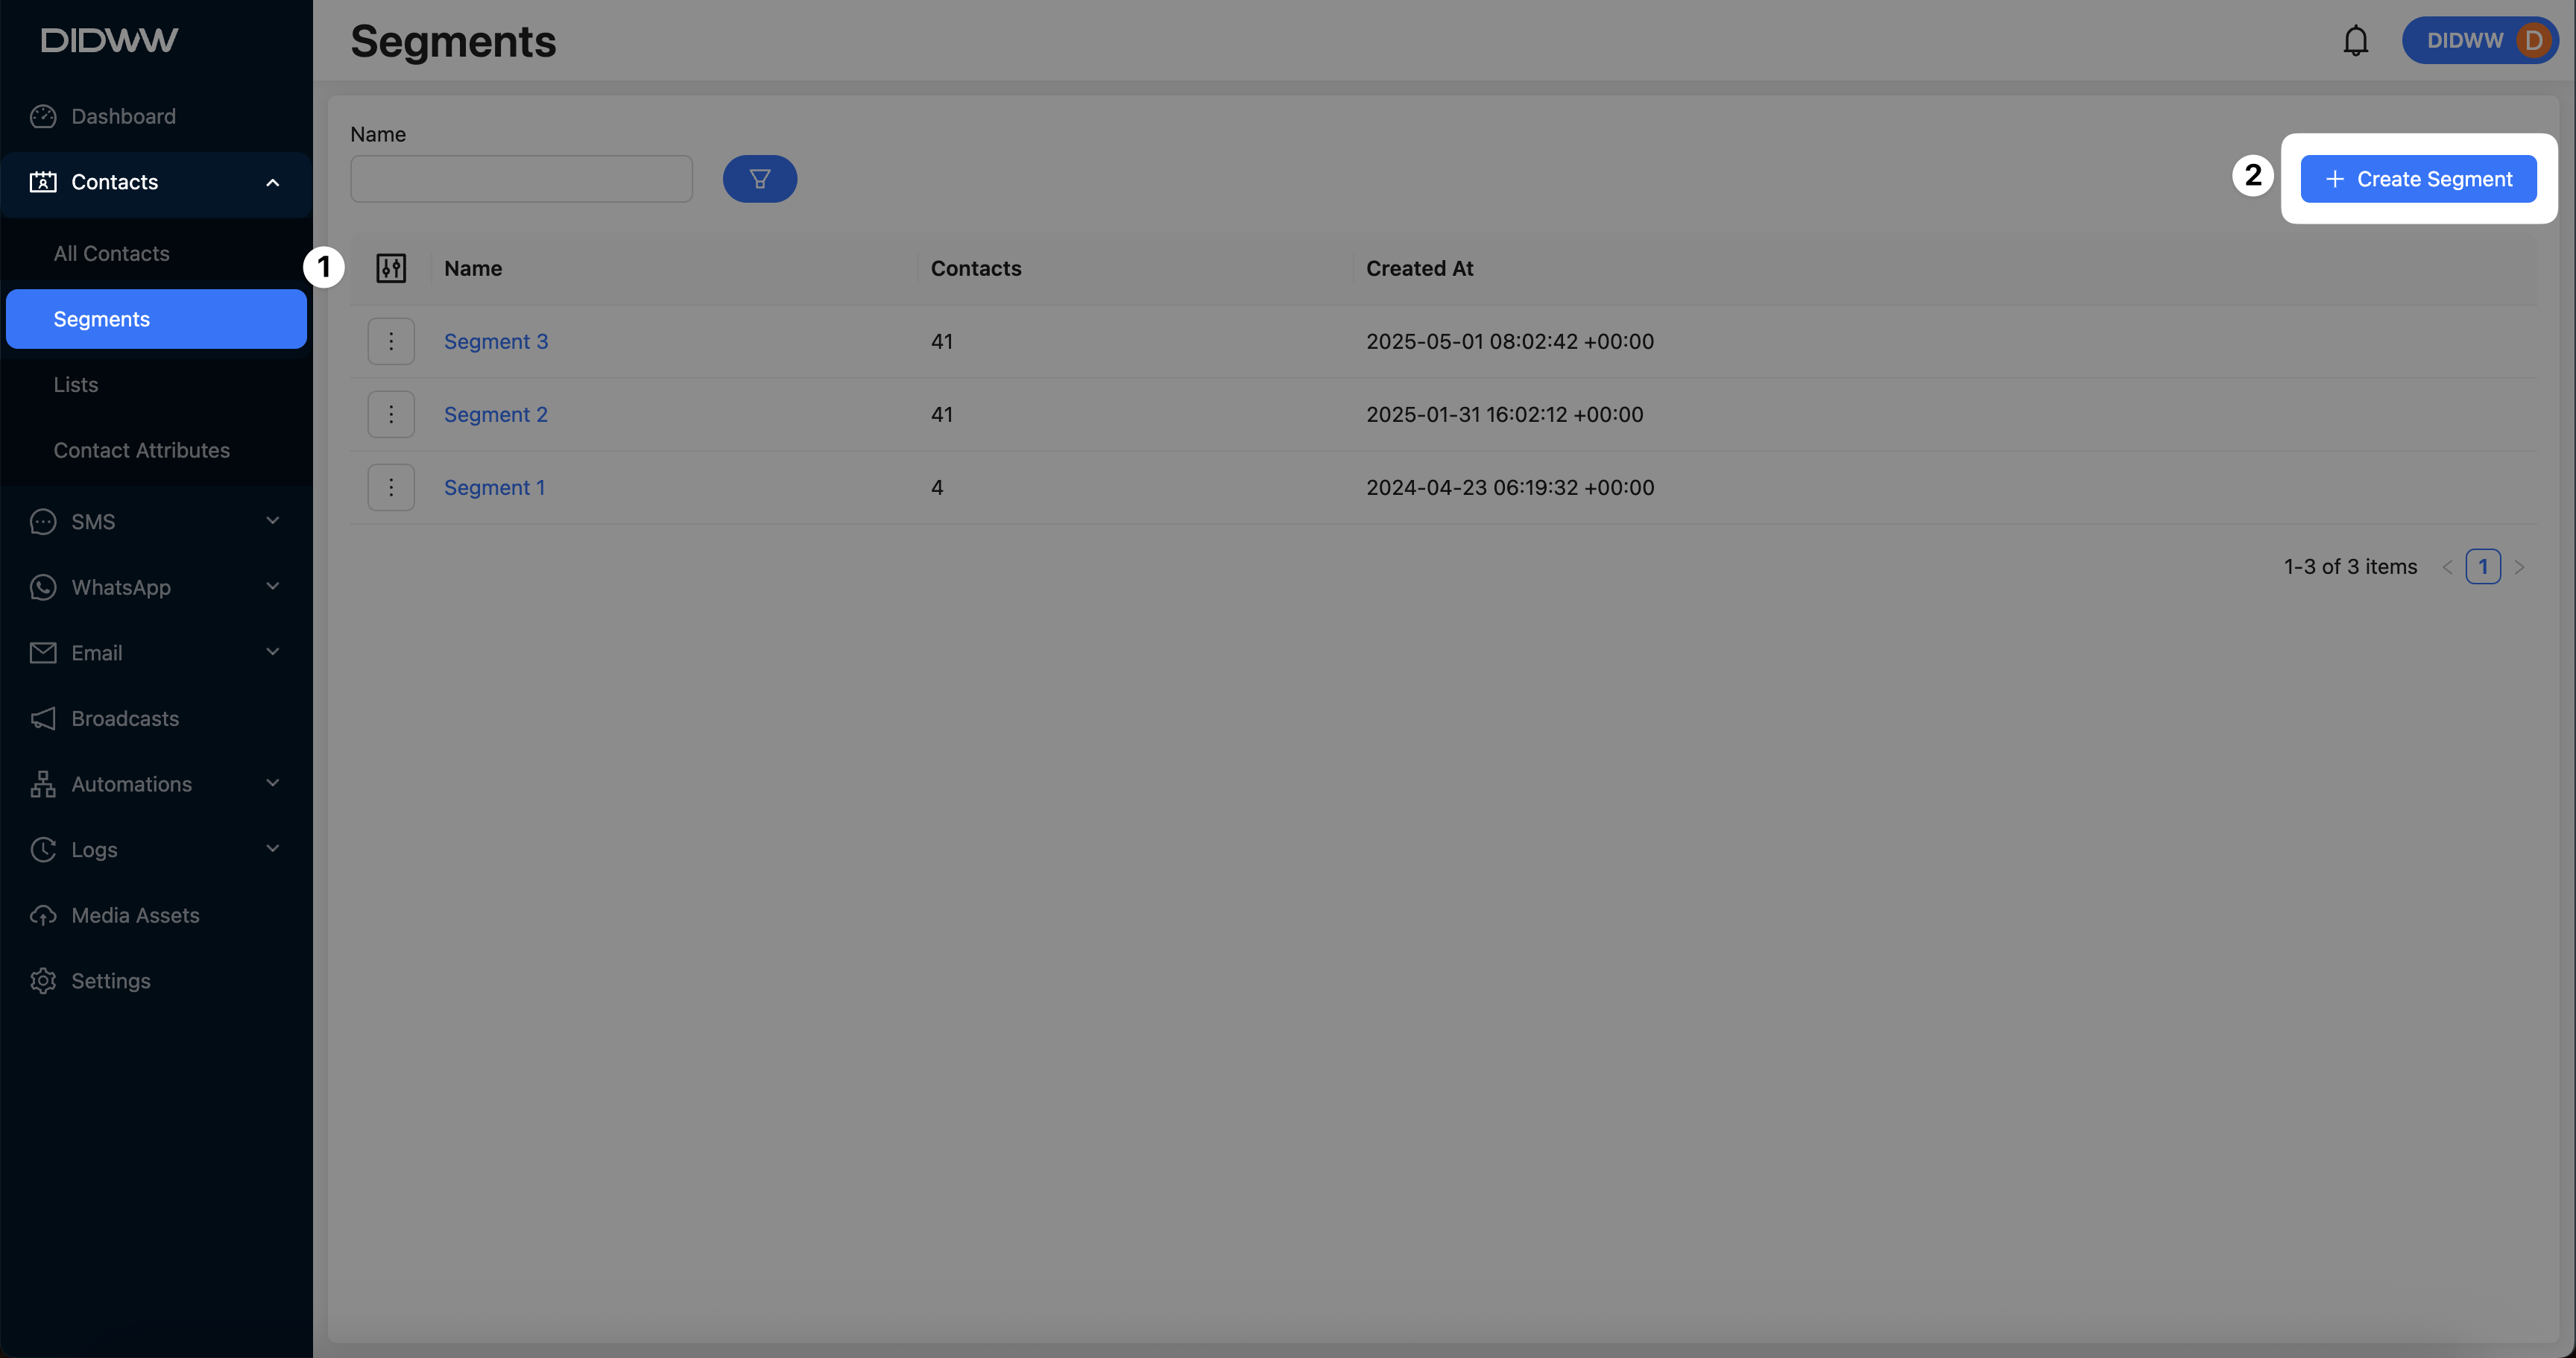
Fig. 1. Add New Segment Button.
Step 2: Enter the Name and Define Segment Conditions
Enter a descriptive name for your new segment to help identify its purpose.
Select the condition logic that defines how contacts are included in the segment:
All of (AND): Includes only contacts that match all specified conditions.
At least one (OR): Includes contacts that match any one of the specified conditions.
Click Add Condition / Group, then select Condition to define an individual filter, or Group to create nested conditions with combined logic.
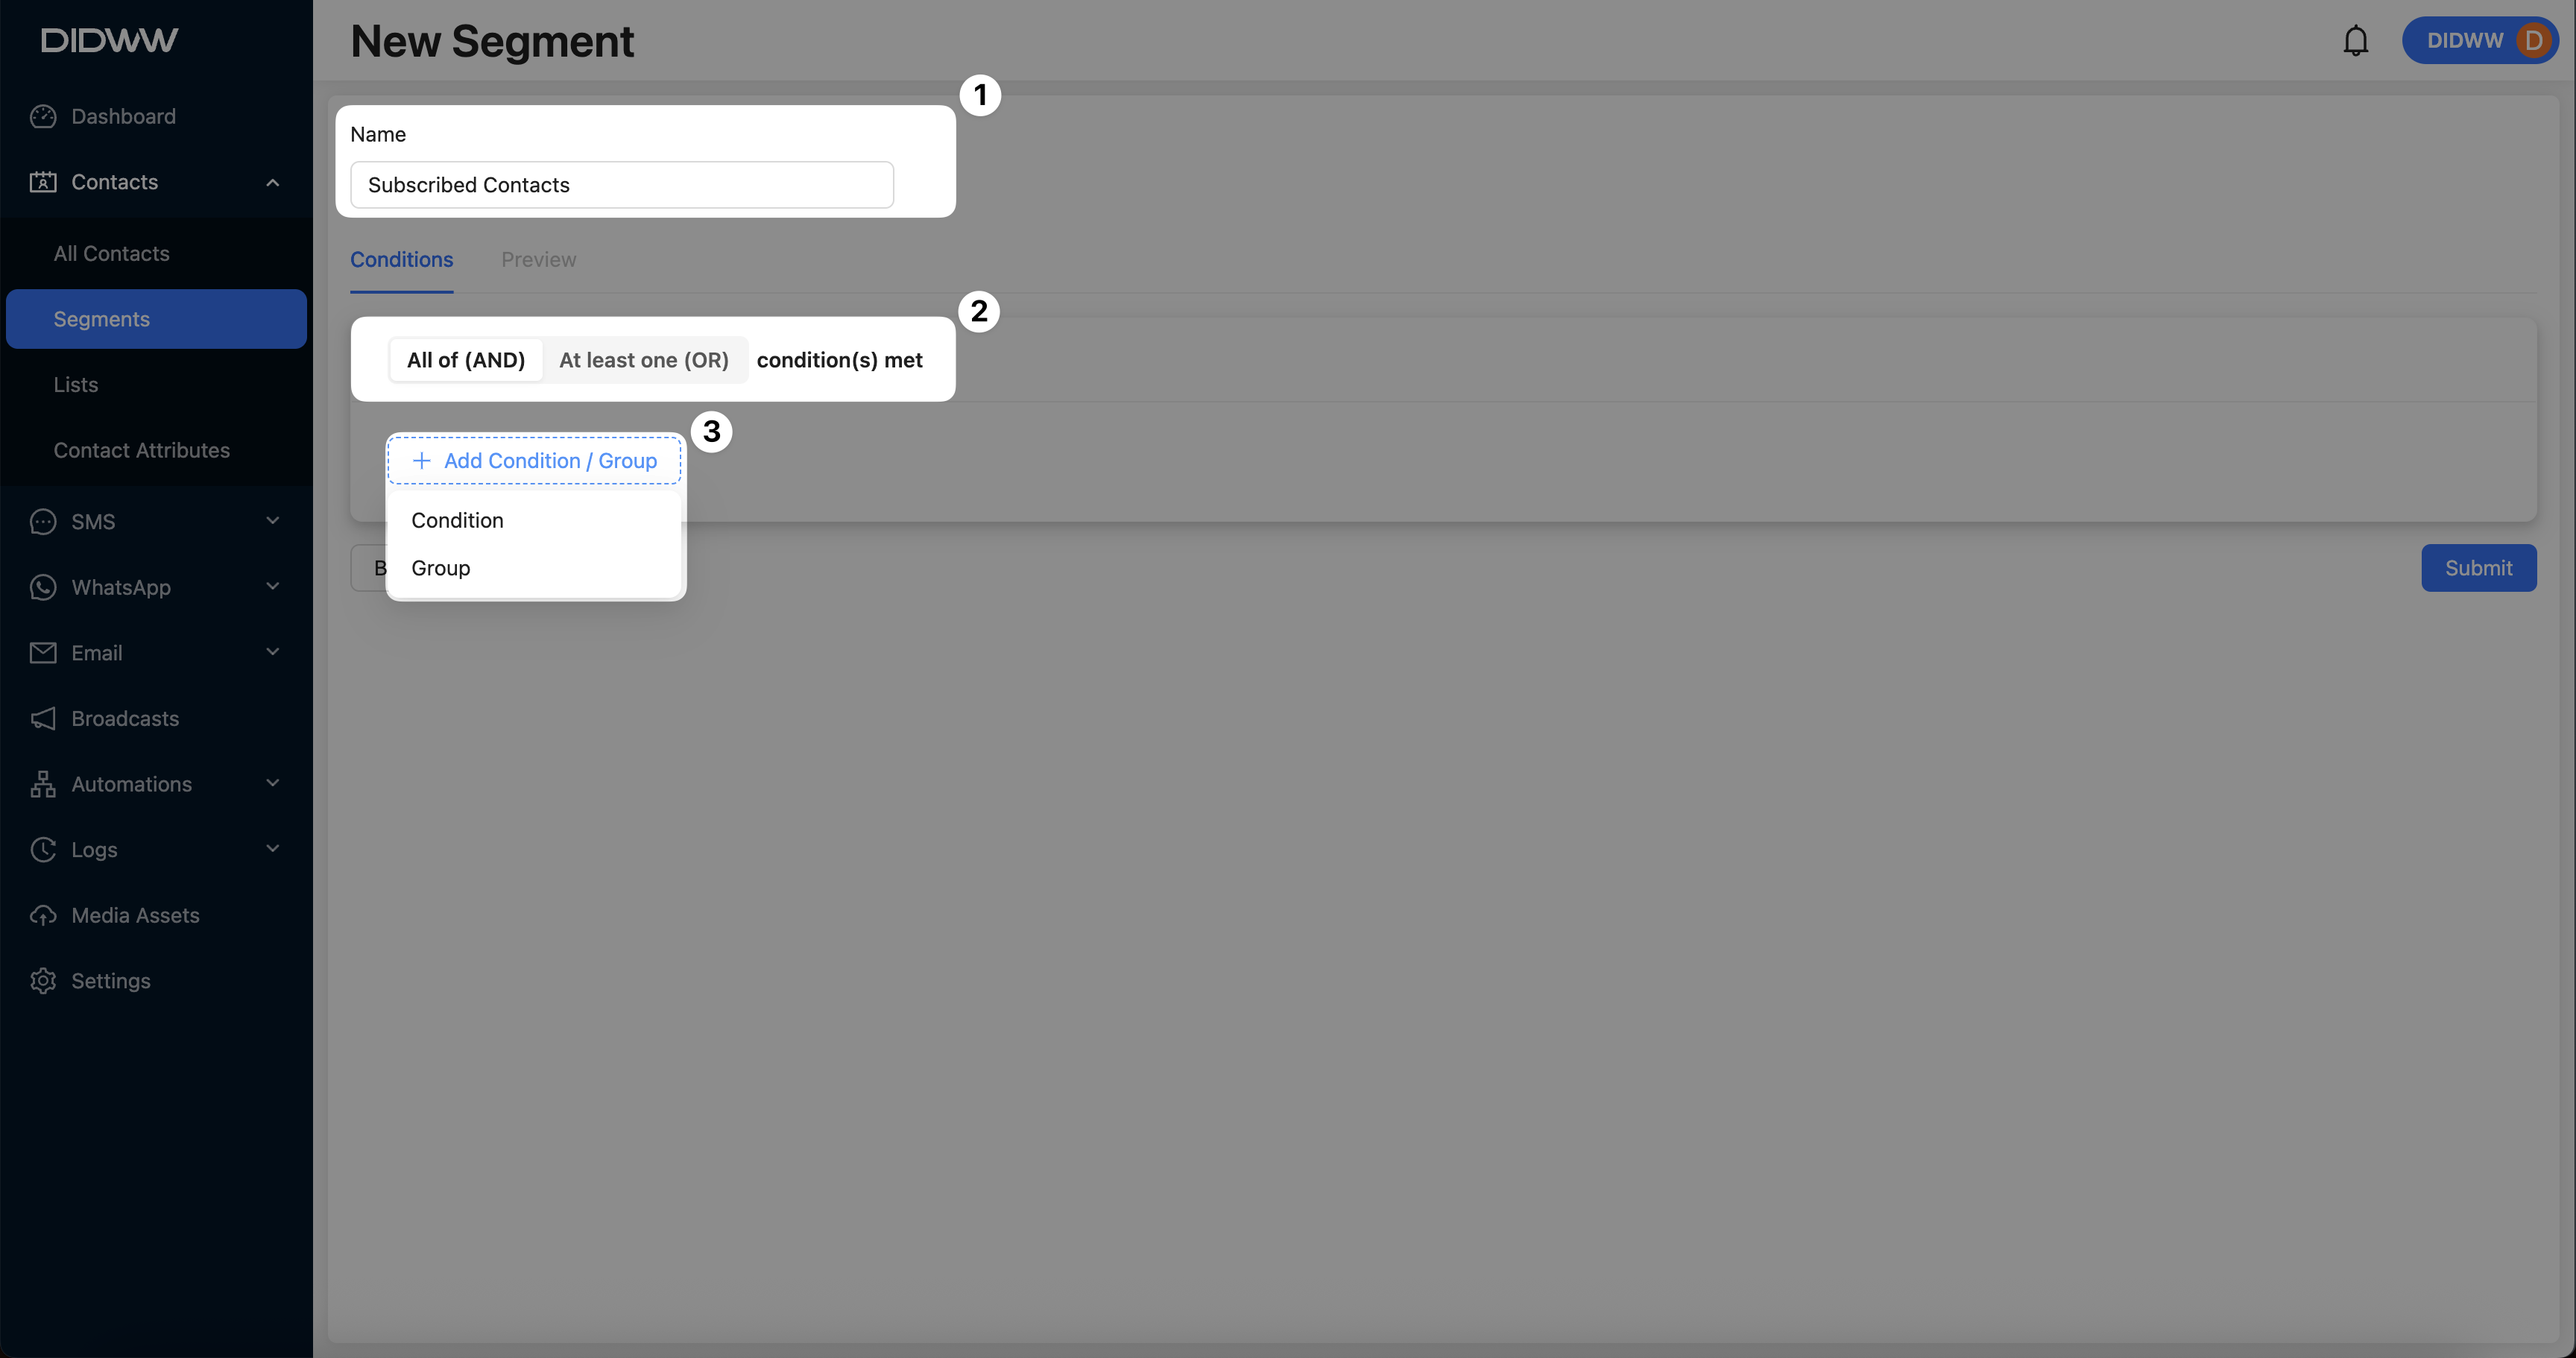
Fig. 2. Add a New Condition to the Segment.
Step 3: Set Attribute Filters
In this example, we will create a condition to filter contacts who are subscribed to SMS, Email, and WhatsApp channels.
Select either default system attributes or your own custom attributes to define the segment conditions. For more information, see Contact Attributes.
Choose the appropriate condition operator based on the selected contact attribute.
Note
The available operators will depend on the type of the selected contact attribute.
For example, Equals and Contains are used with text fields, while Exists is commonly used with boolean or optional fields.
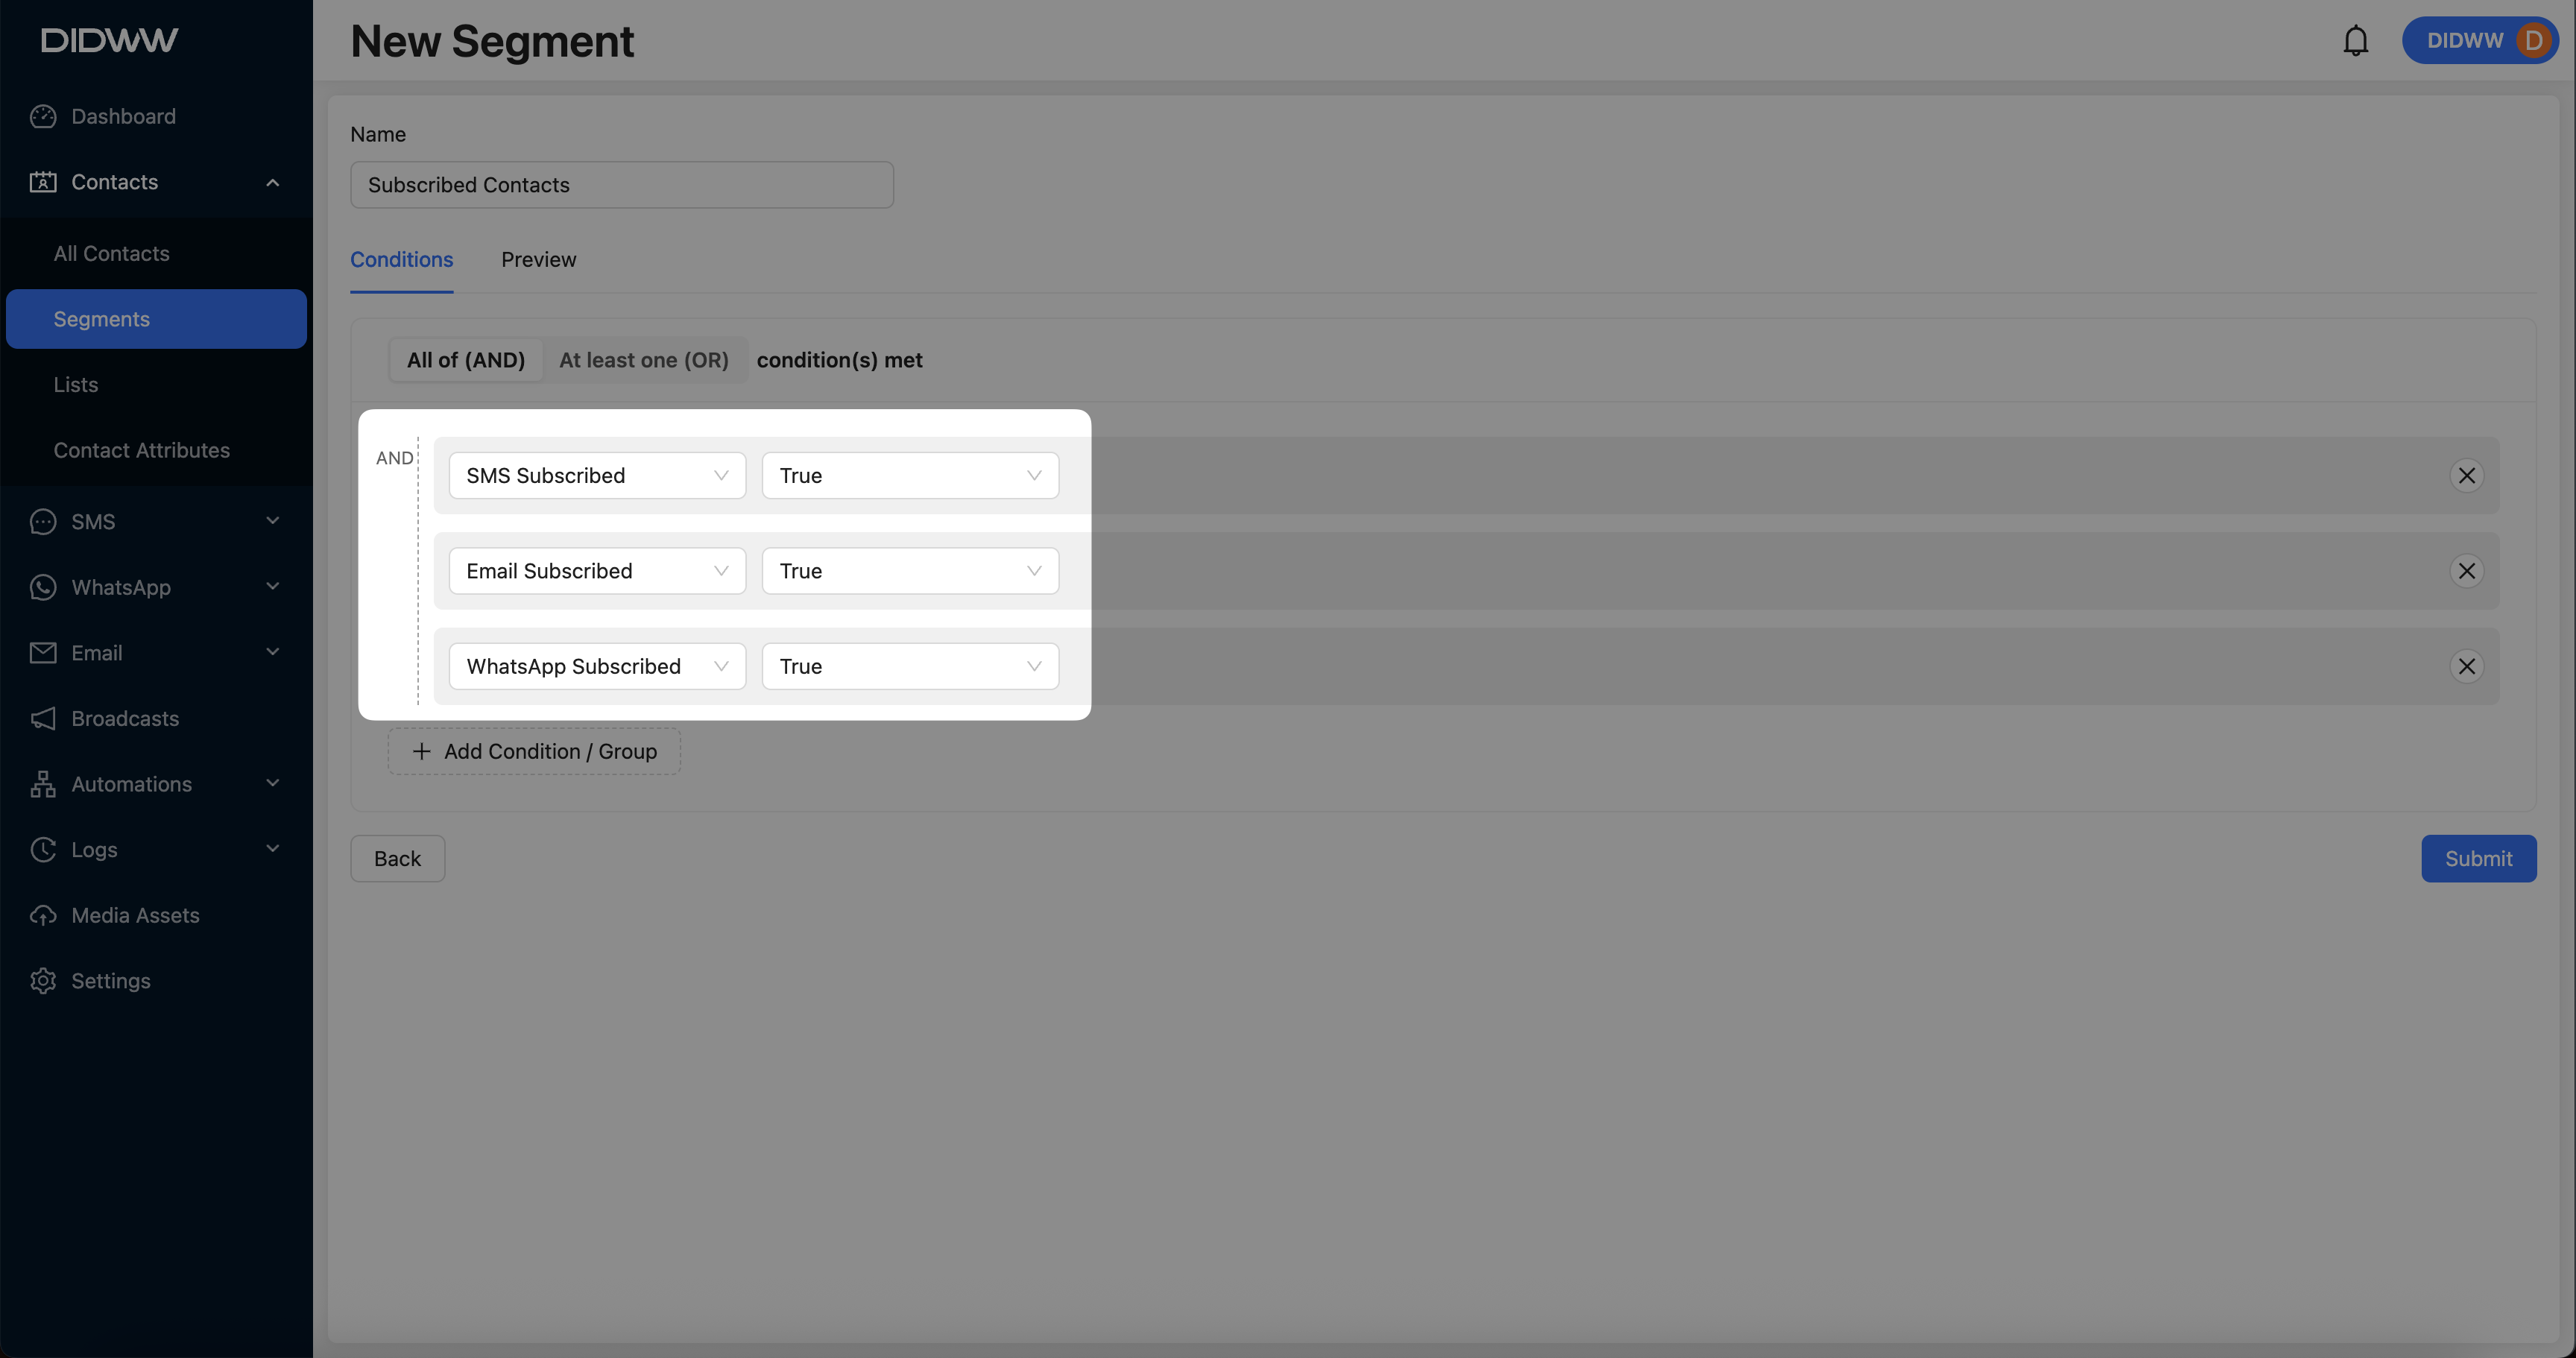
Fig. 4. Filtering contacts subscribed to SMS, Email, and WhatsApp.
Step 4: Preview Matching Contacts
Click the Preview tab to review which contacts match the configured filters.
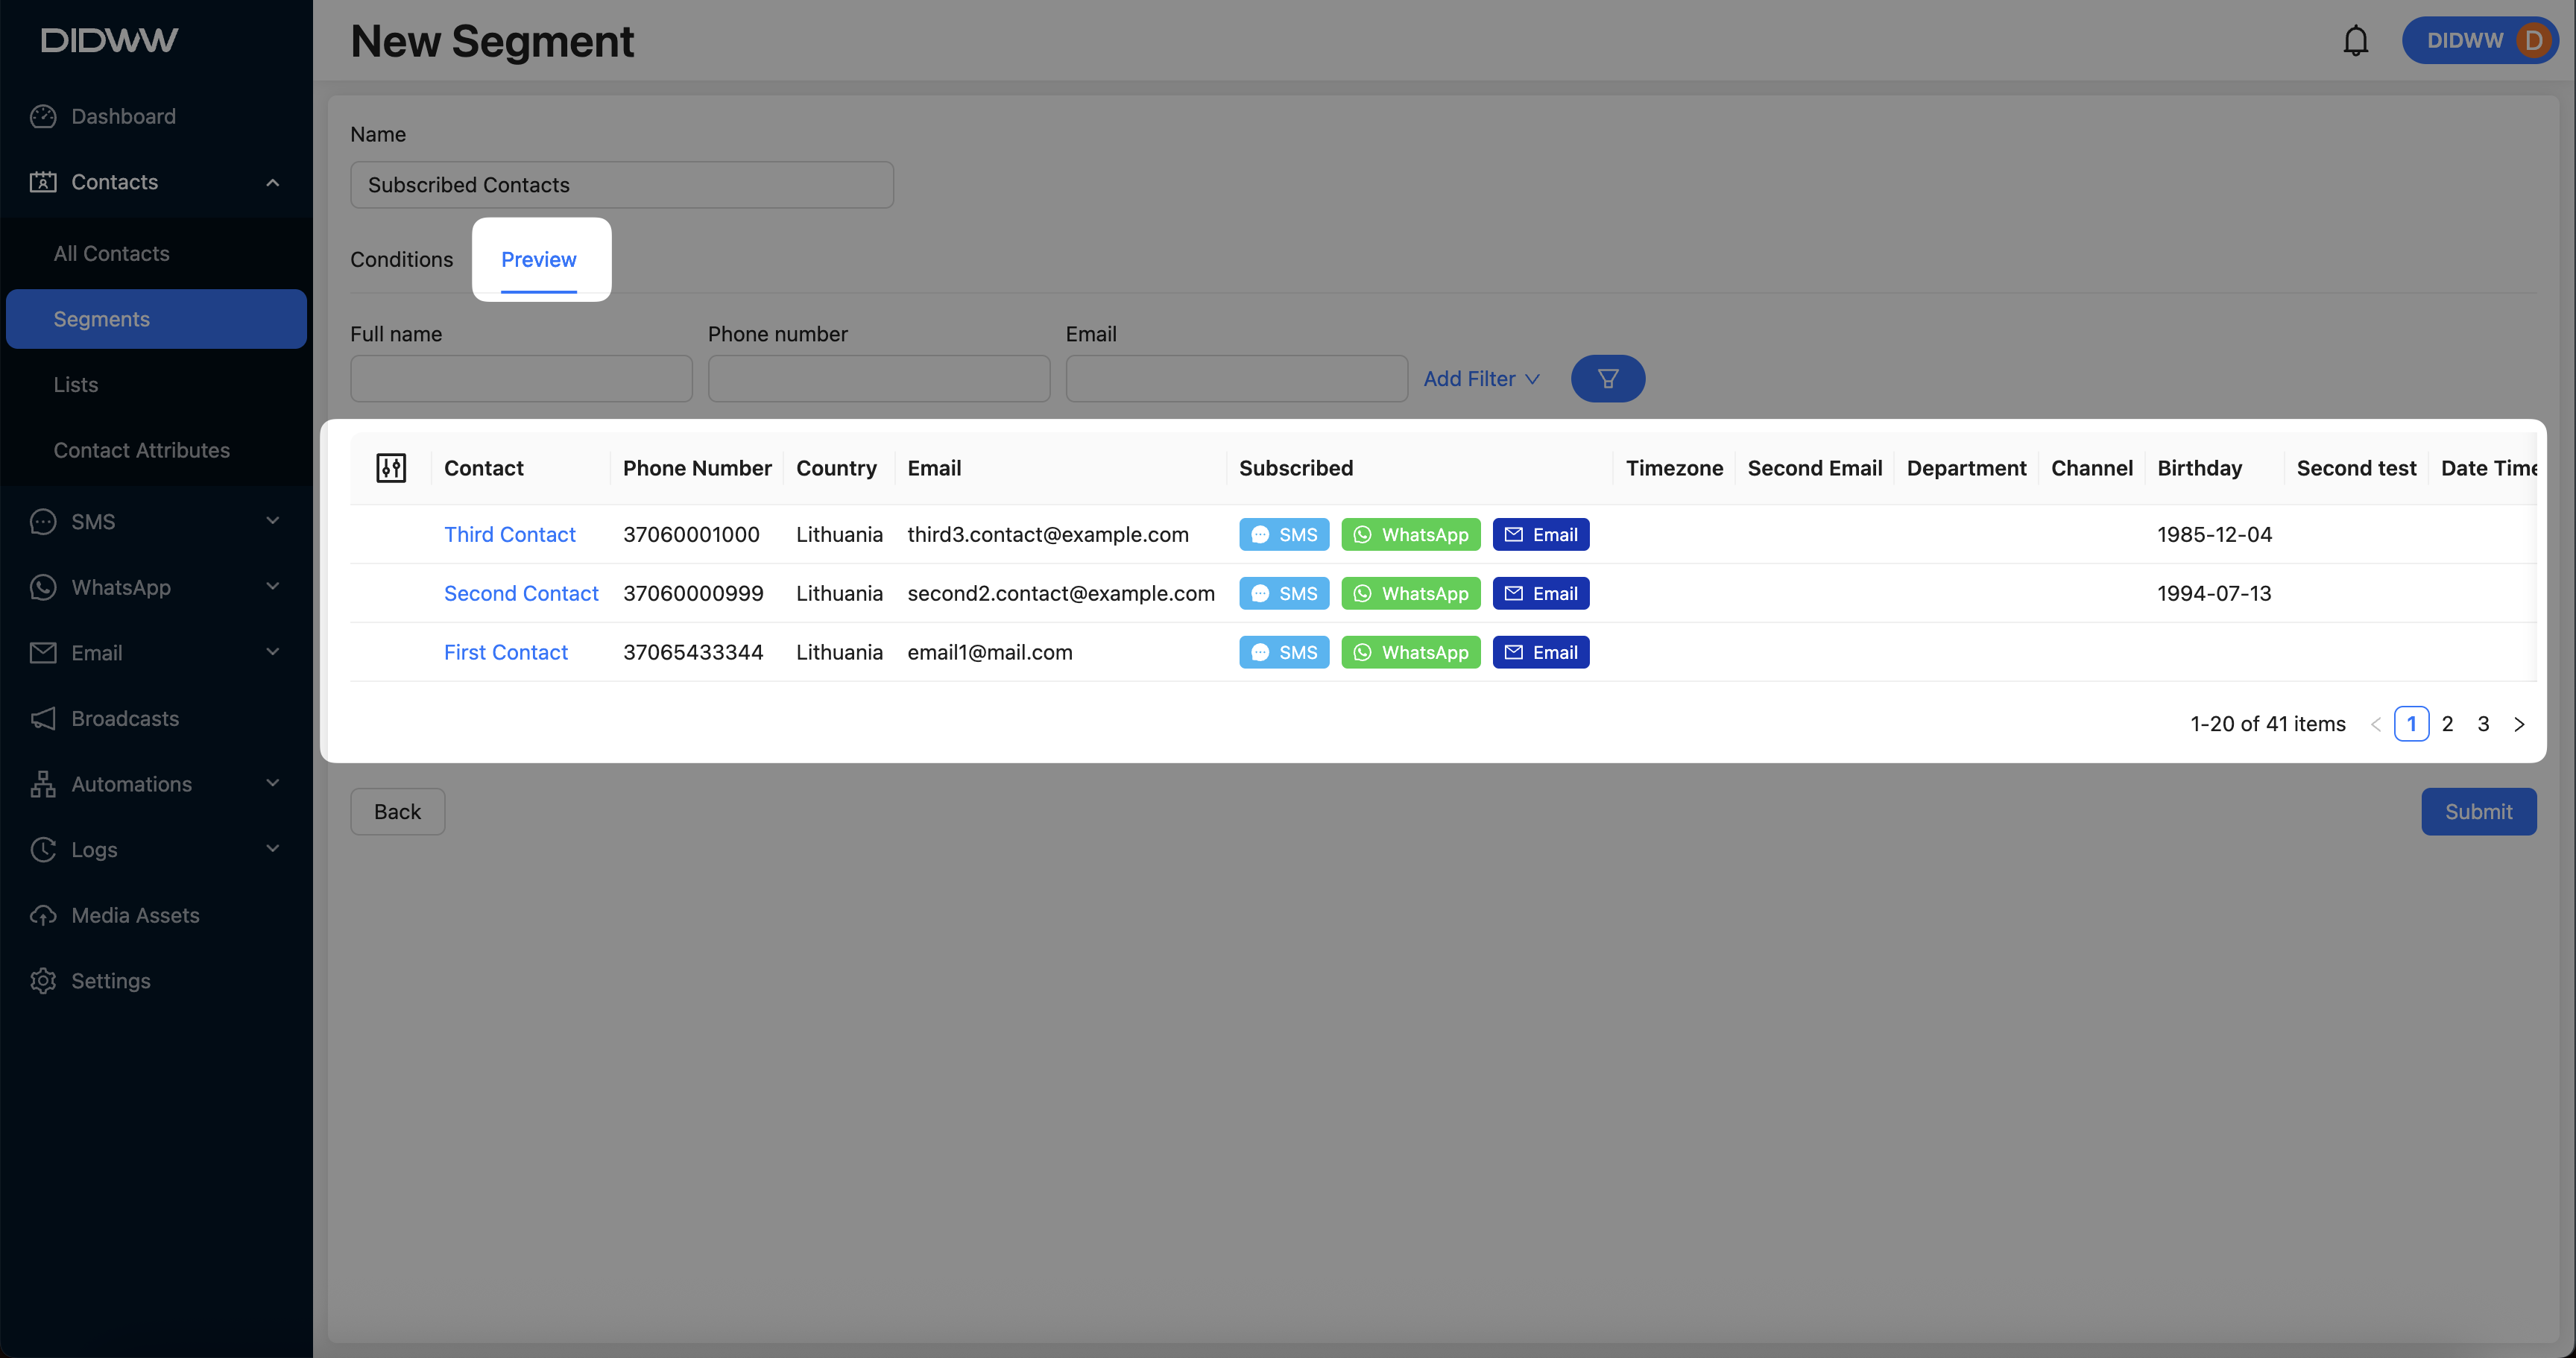
Fig. 6. Previewing Contacts Matching Segment Conditions.
Step 5: Save the Segment
Once the segment conditions are configured and the preview confirms the expected results, click Submit to save and activate the segment.
Editing or Deleting a Segment
You can modify or remove a segment using the Actions menu.
Go to Contacts and select Segments.
Locate the segment you want to manage.
Click the Actions button
and choose Edit to modify the segment or Delete to remove it.
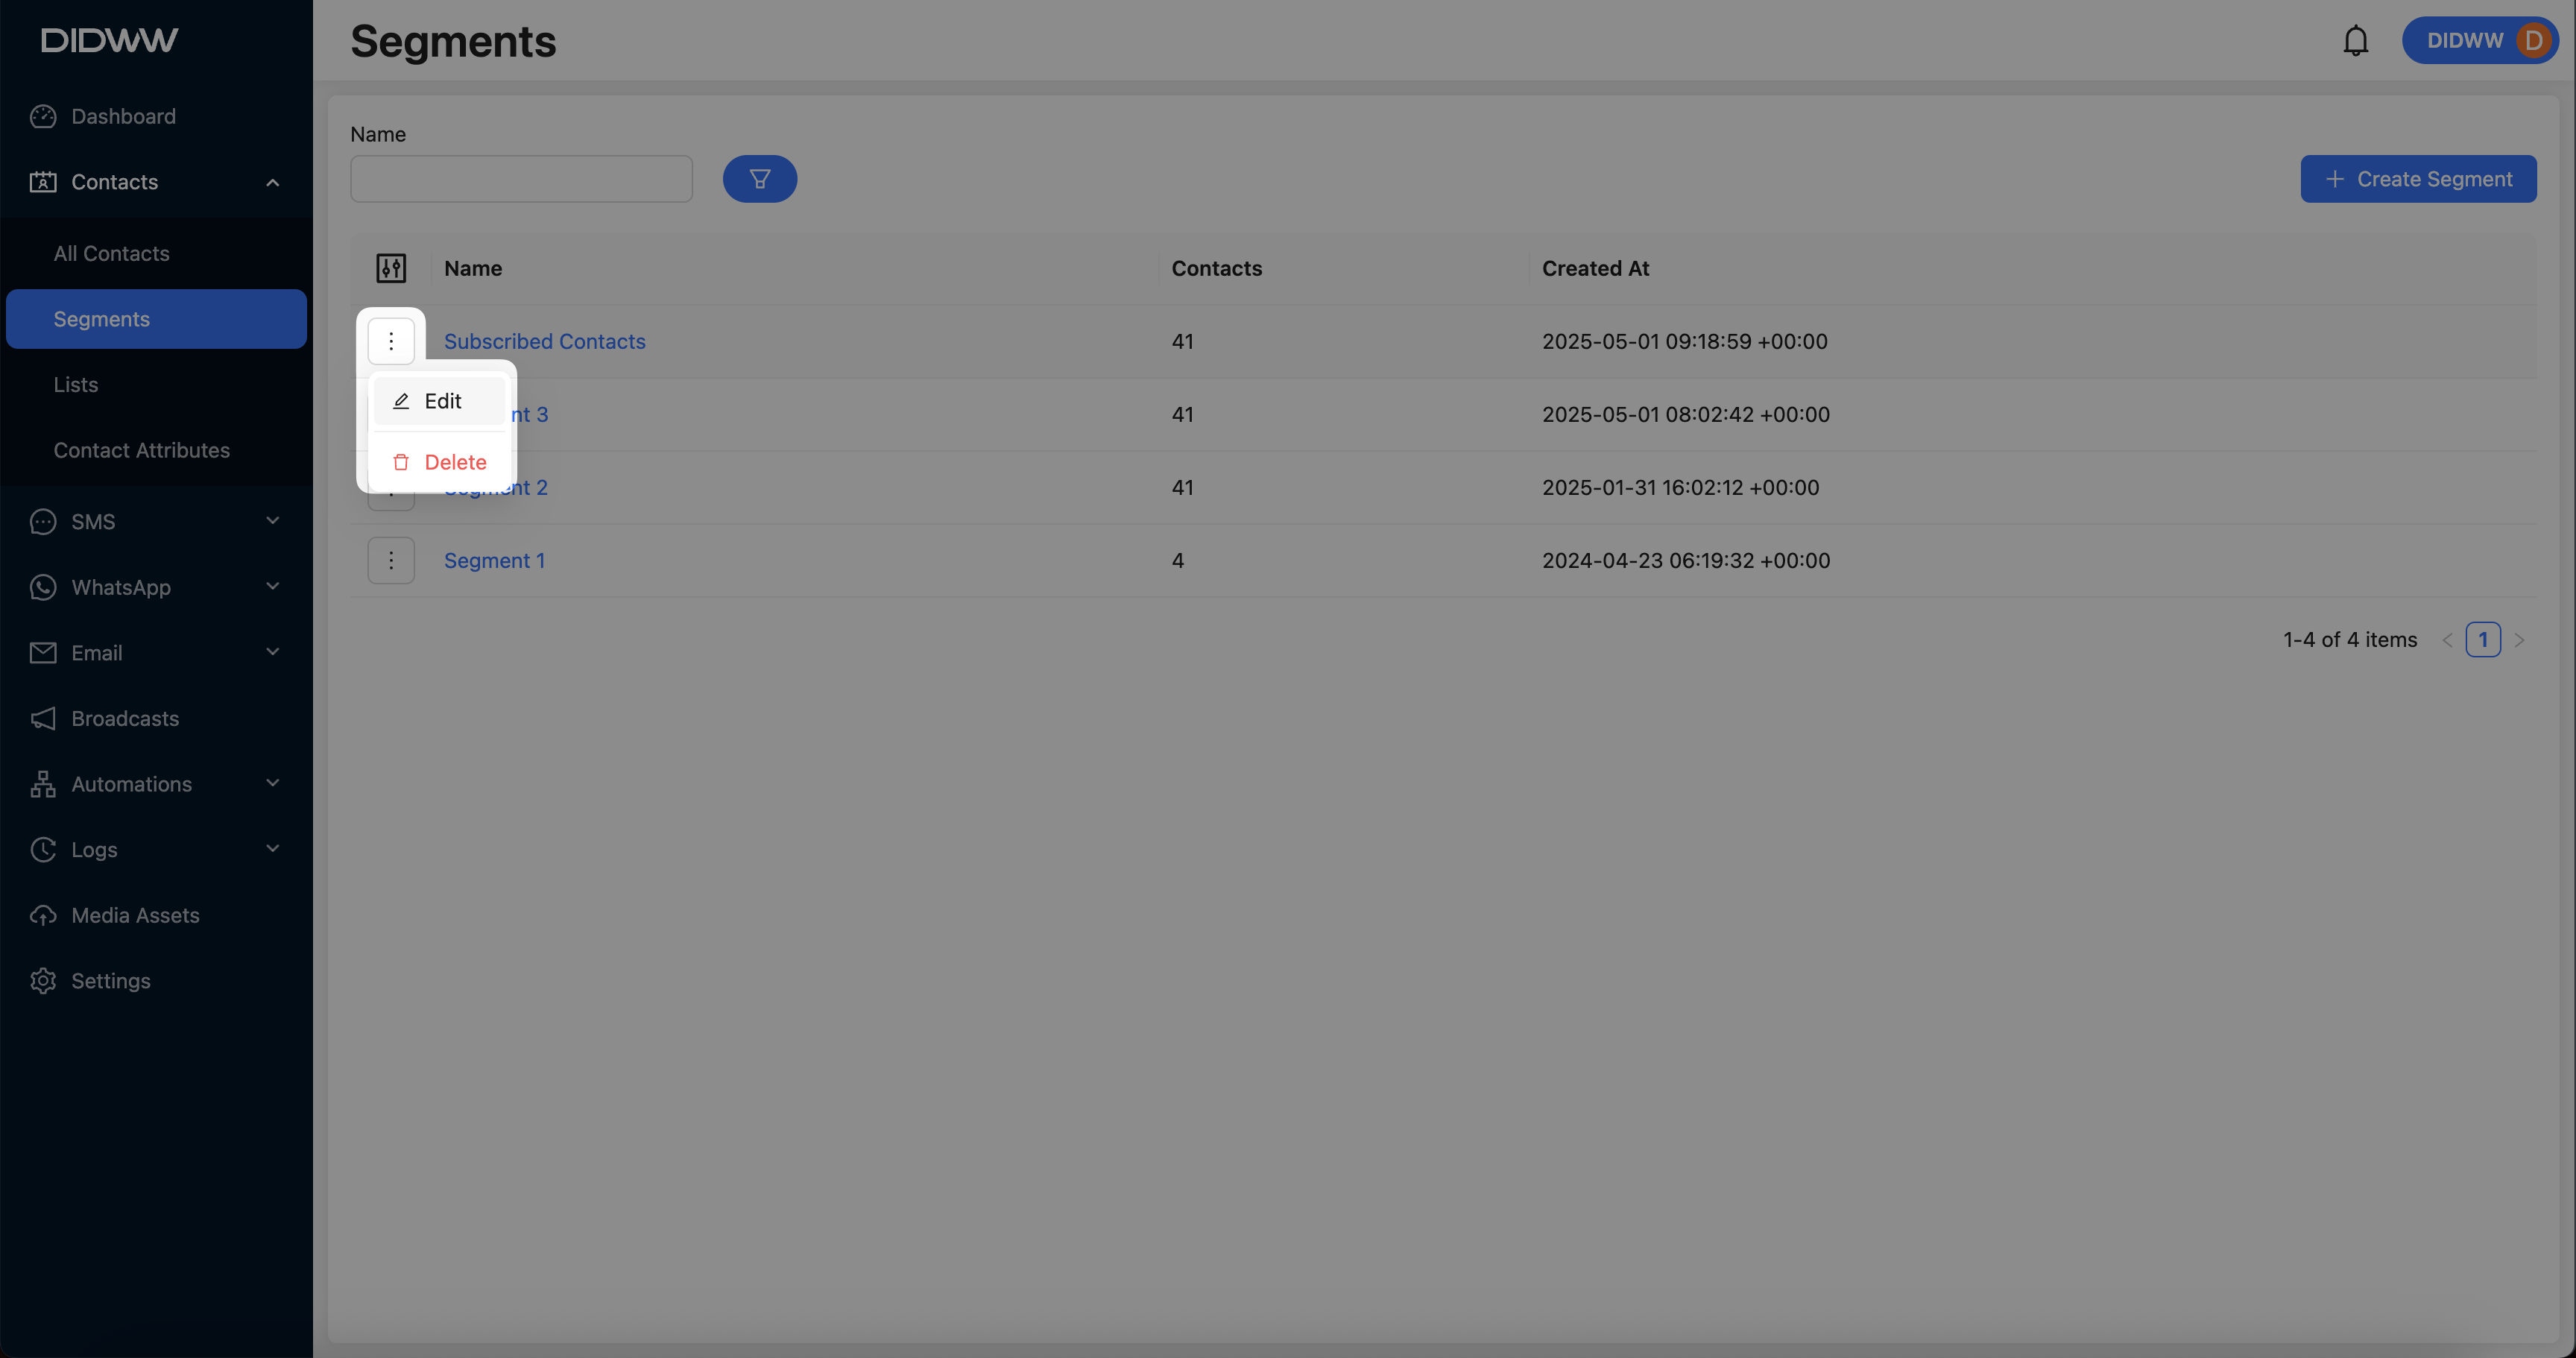
Fig. 1. Actions Menu for Editing or Deleting a Segment.