Schedule a Broadcast
The Schedule a Broadcast feature allows you to either send the broadcast immediately or delay message delivery by selecting a specific date, time, and delivery criteria.
In this section, you can:
Schedule Broadcasts – Choose to send immediately or define a future delivery time.
Set Time Zone – Apply time zone preferences for accurate scheduling.
Restrict Delivery Windows – Enable working hours and days delivery constraints.
Before You Begin
Before scheduling a broadcast, ensure that at least one broadcast has been created using your preferred channel(s). If you haven’t created a broadcast yet, see Quickstart with Broadcasts.
Scheduling a Broadcast
To schedule an existing broadcast, follow these steps:
Step 1: Open the Schedule Settings
Navigate to Broadcasts in the main menu.
Locate the broadcast with Draft status and click the Schedule icon next to its status.
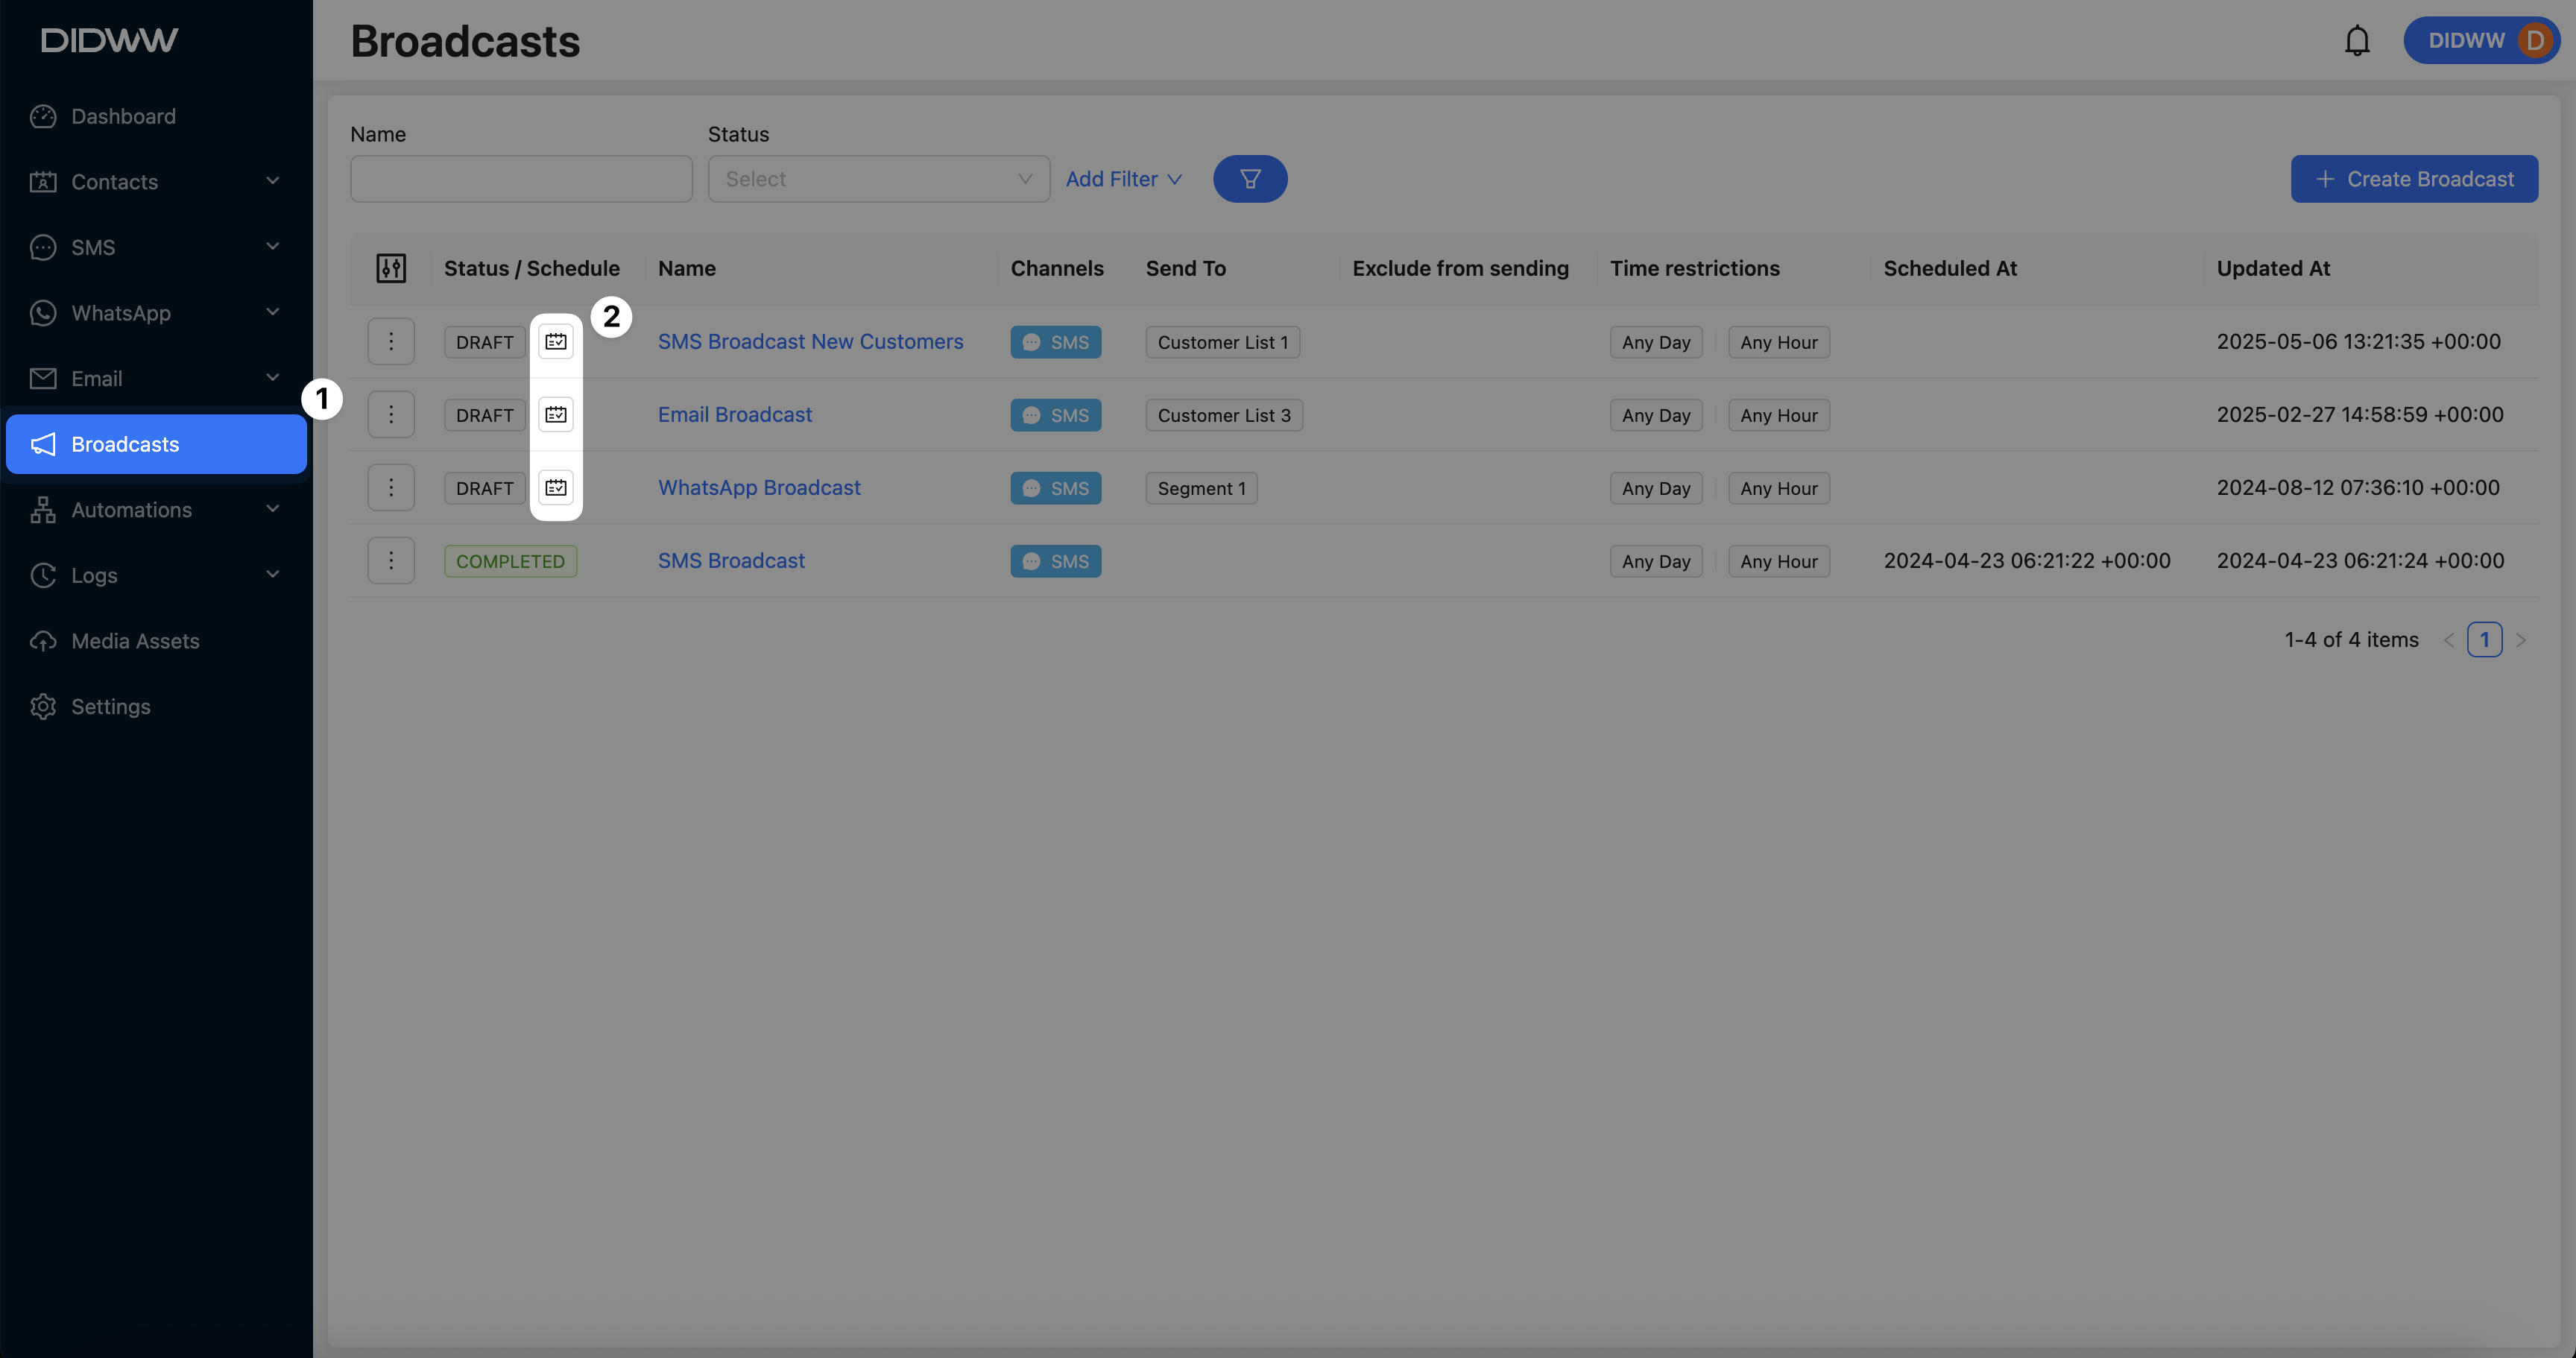
Fig. 1. Opening the Schedule window.
Step 2: Configure Scheduling Options
Option |
Description |
|---|---|
Start Now |
Triggers the broadcast to be sent immediately after submission, without any delay or scheduling. |
Only Working Hours |
Delivers messages between 8:00 a.m. and 10:00 p.m. in the contact’s local time zone. |
Only Working Days |
Delivers messages only between Monday and Saturday. |
Both Working Hours and Working Days |
Restricts message delivery to 8:00 a.m.–10:00 p.m., Monday through Saturday, based on the contact’s local time zone. |
Time Zone |
Defines the reference time zone used for scheduling the broadcast. |
Schedule At |
Set a specific date and time for when the broadcast should be delivered. |
Note
If a contact’s time zone is not configured, the fallback time zone from the Time zone setting (default: Etc/UTC GMT+00:00) will be used.
Review your settings and click Schedule to activate the broadcast.
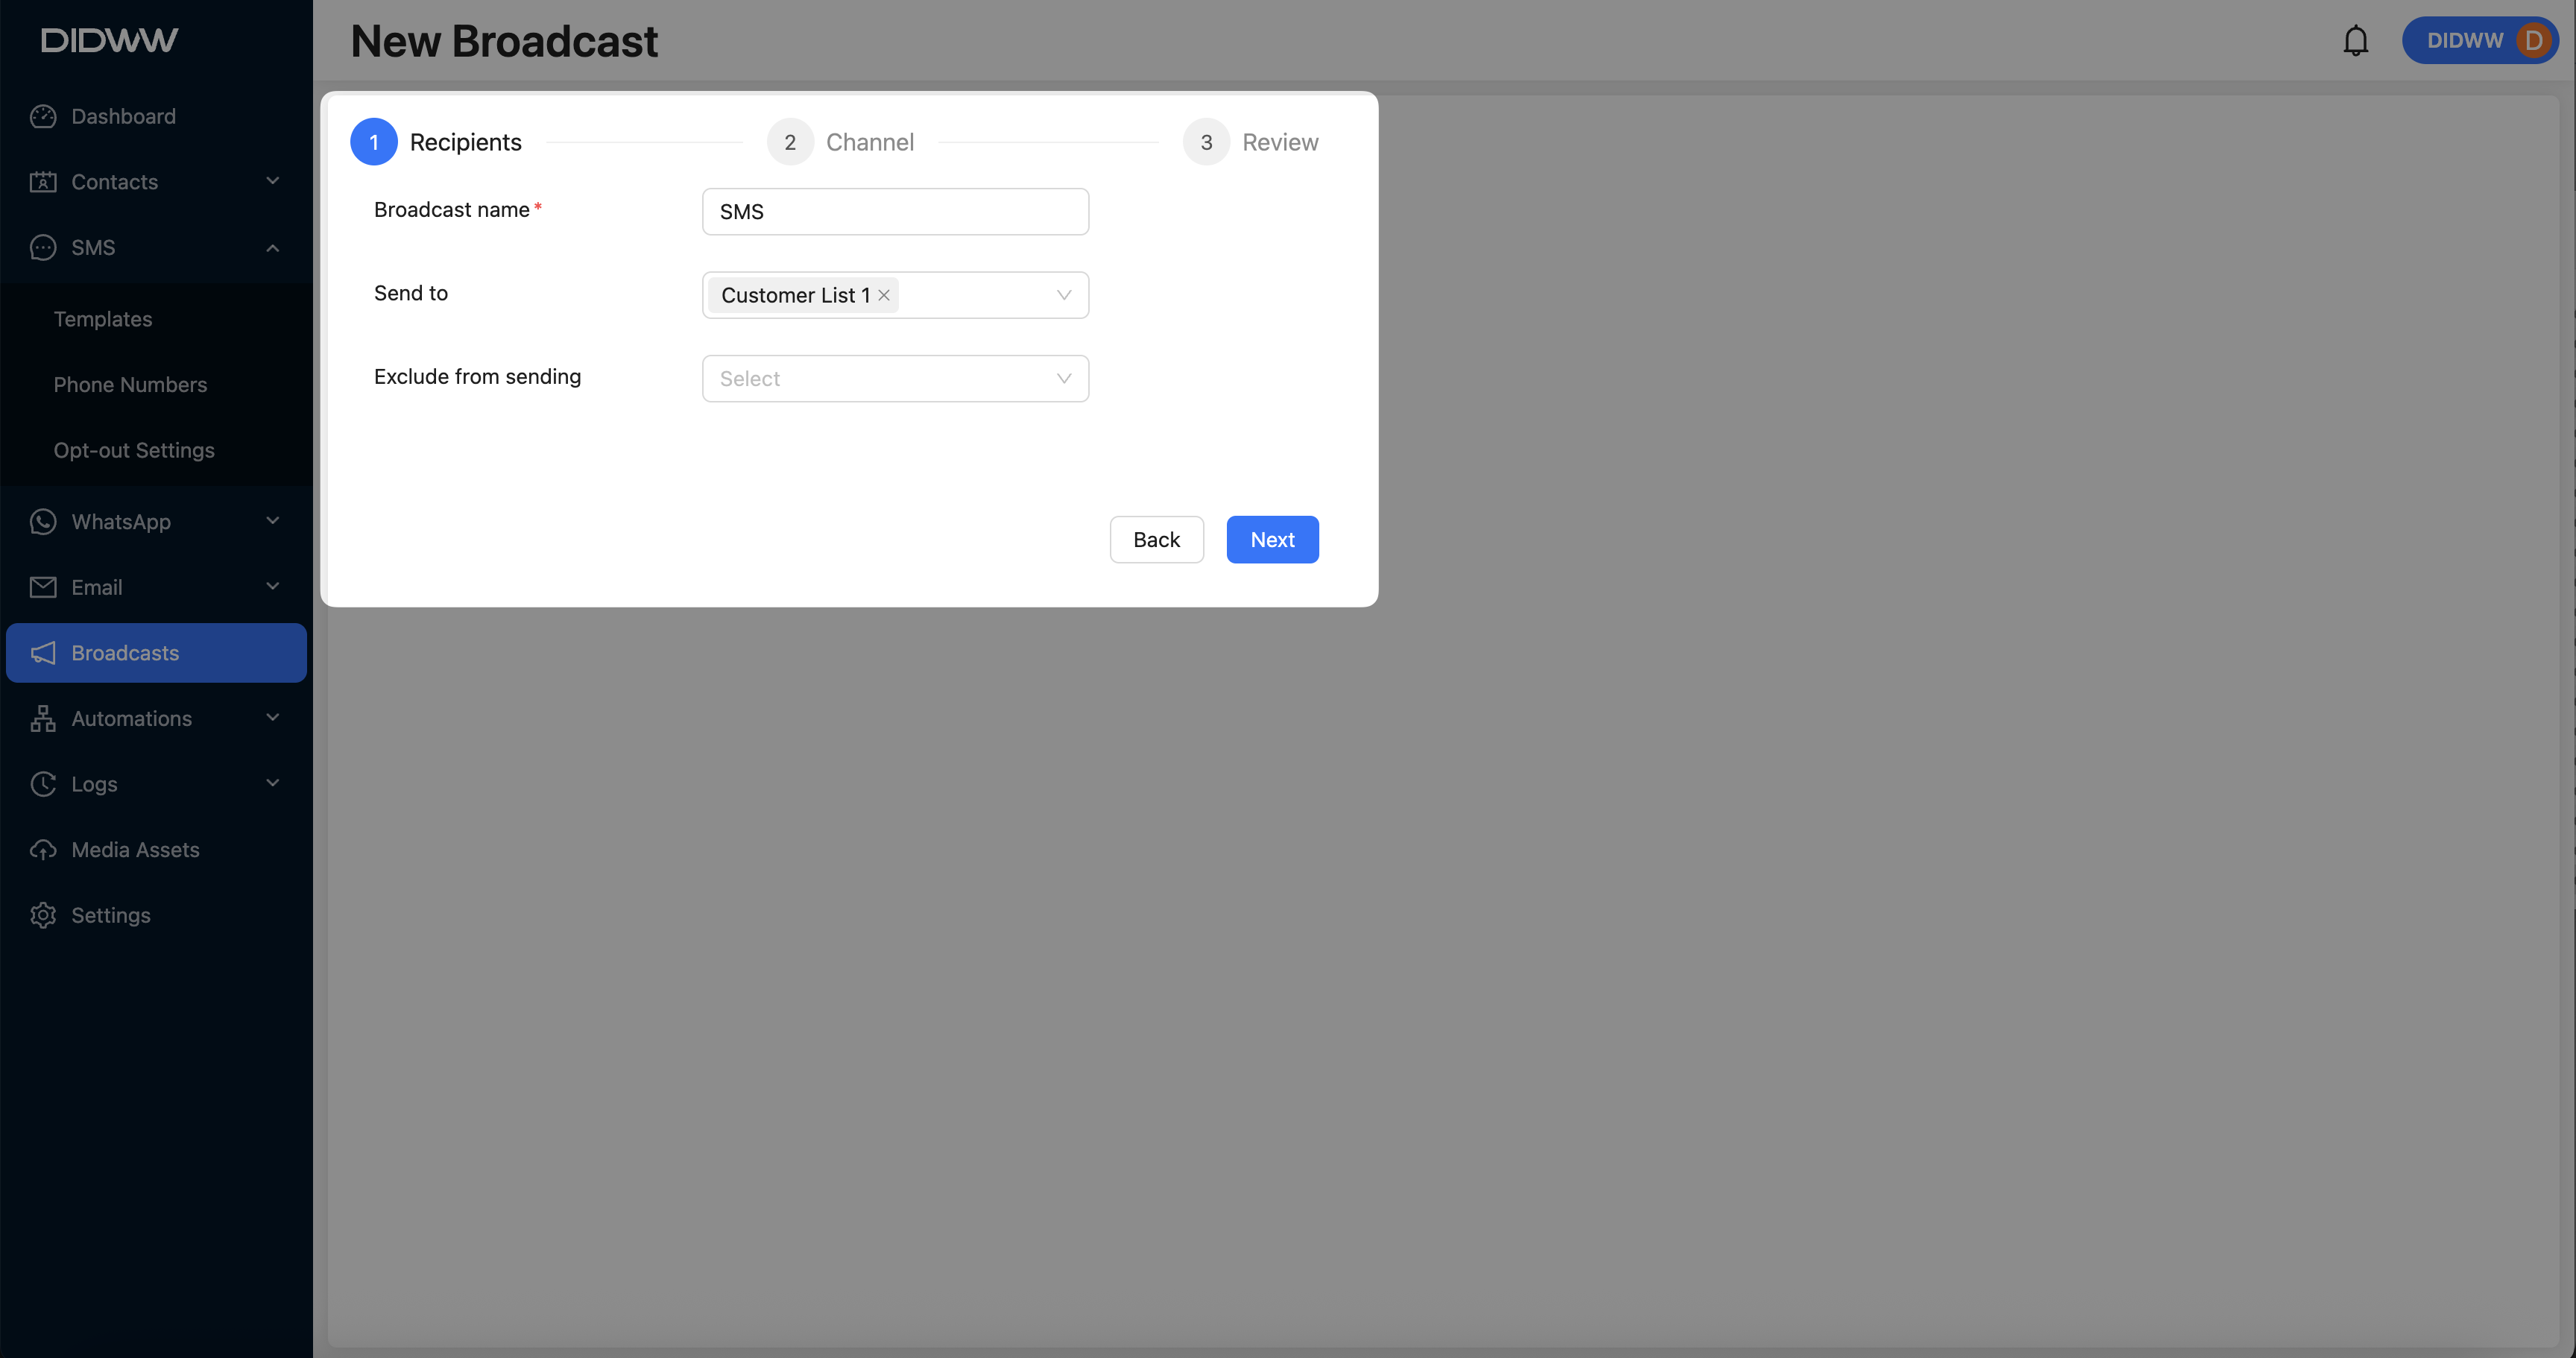
Fig. 2. Scheduling a broadcast.
Step 3: View Active Scheduled Broadcasts
Once you submit a scheduled broadcast, it will be added to the queue, and its status will update to Scheduled. A confirmation message will appear indicating that the broadcast was scheduled successfully.
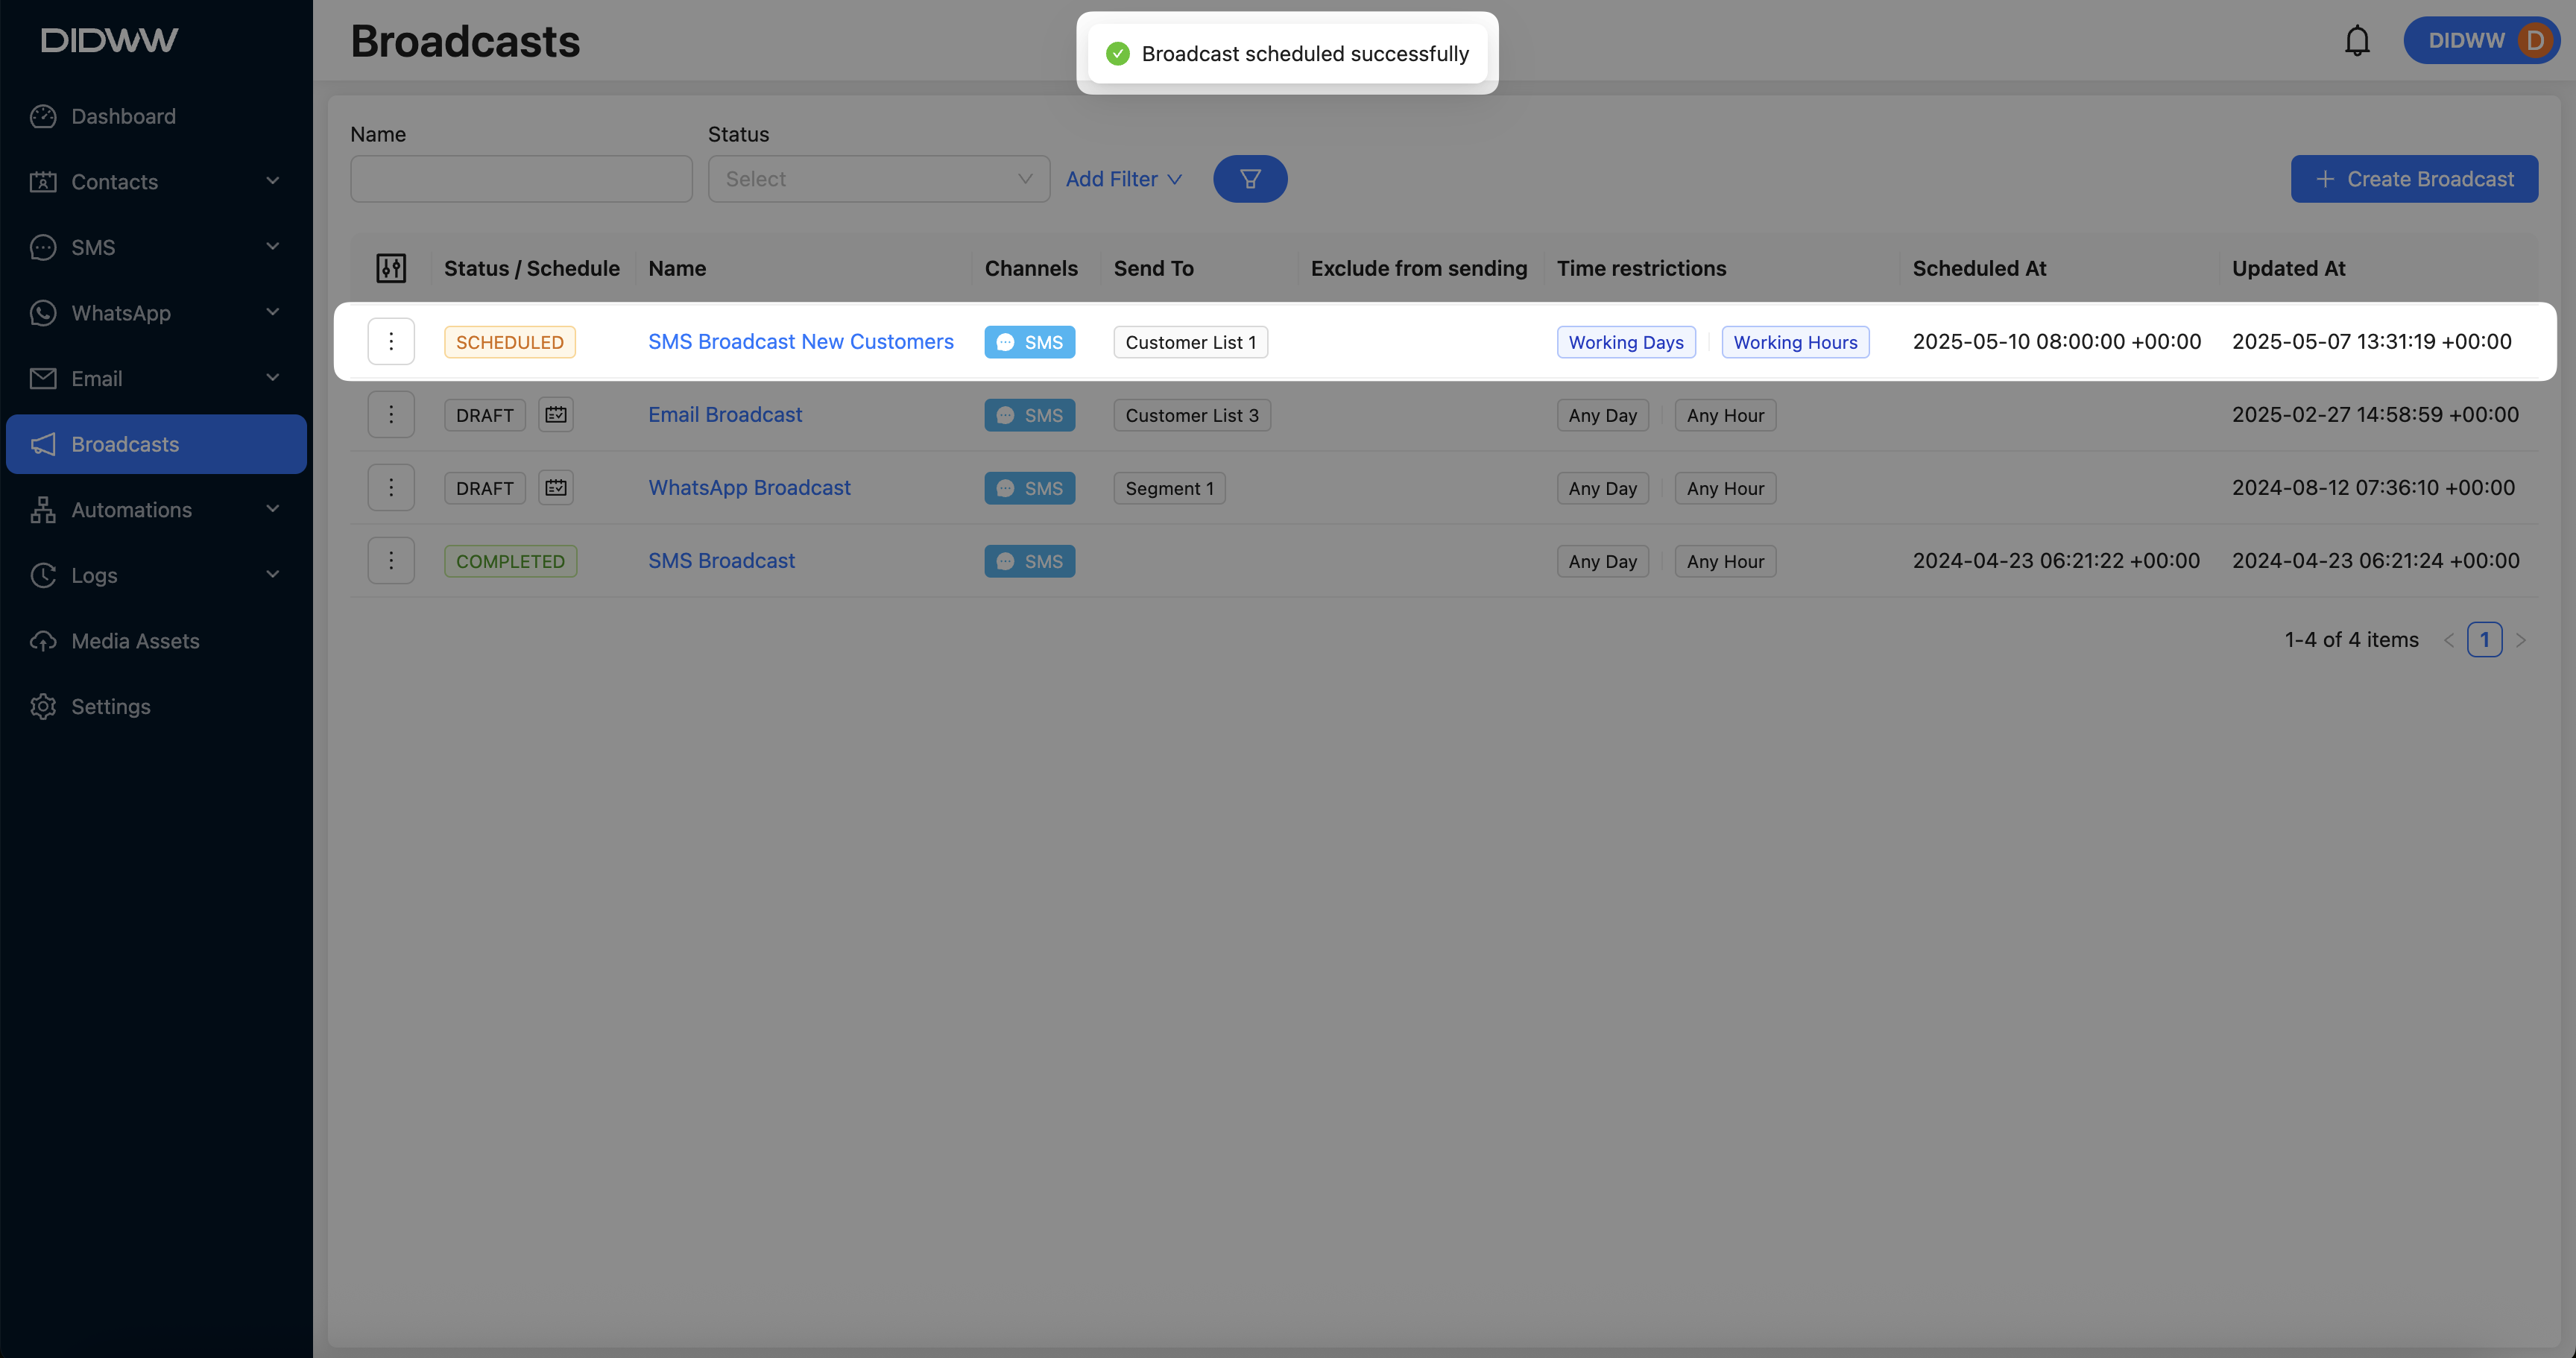
Fig. 3. Broadcast scheduled successfully.
Cancel a Scheduled Broadcast
To cancel a scheduled broadcast that is currently active in the queue, follow these steps:
Navigate to the Broadcasts section from the main menu.
Locate the broadcast with Scheduled status and click the Actions button next to it.
Select Cancel from the dropdown menu.
In the confirmation dialog, click Cancel Broadcast.
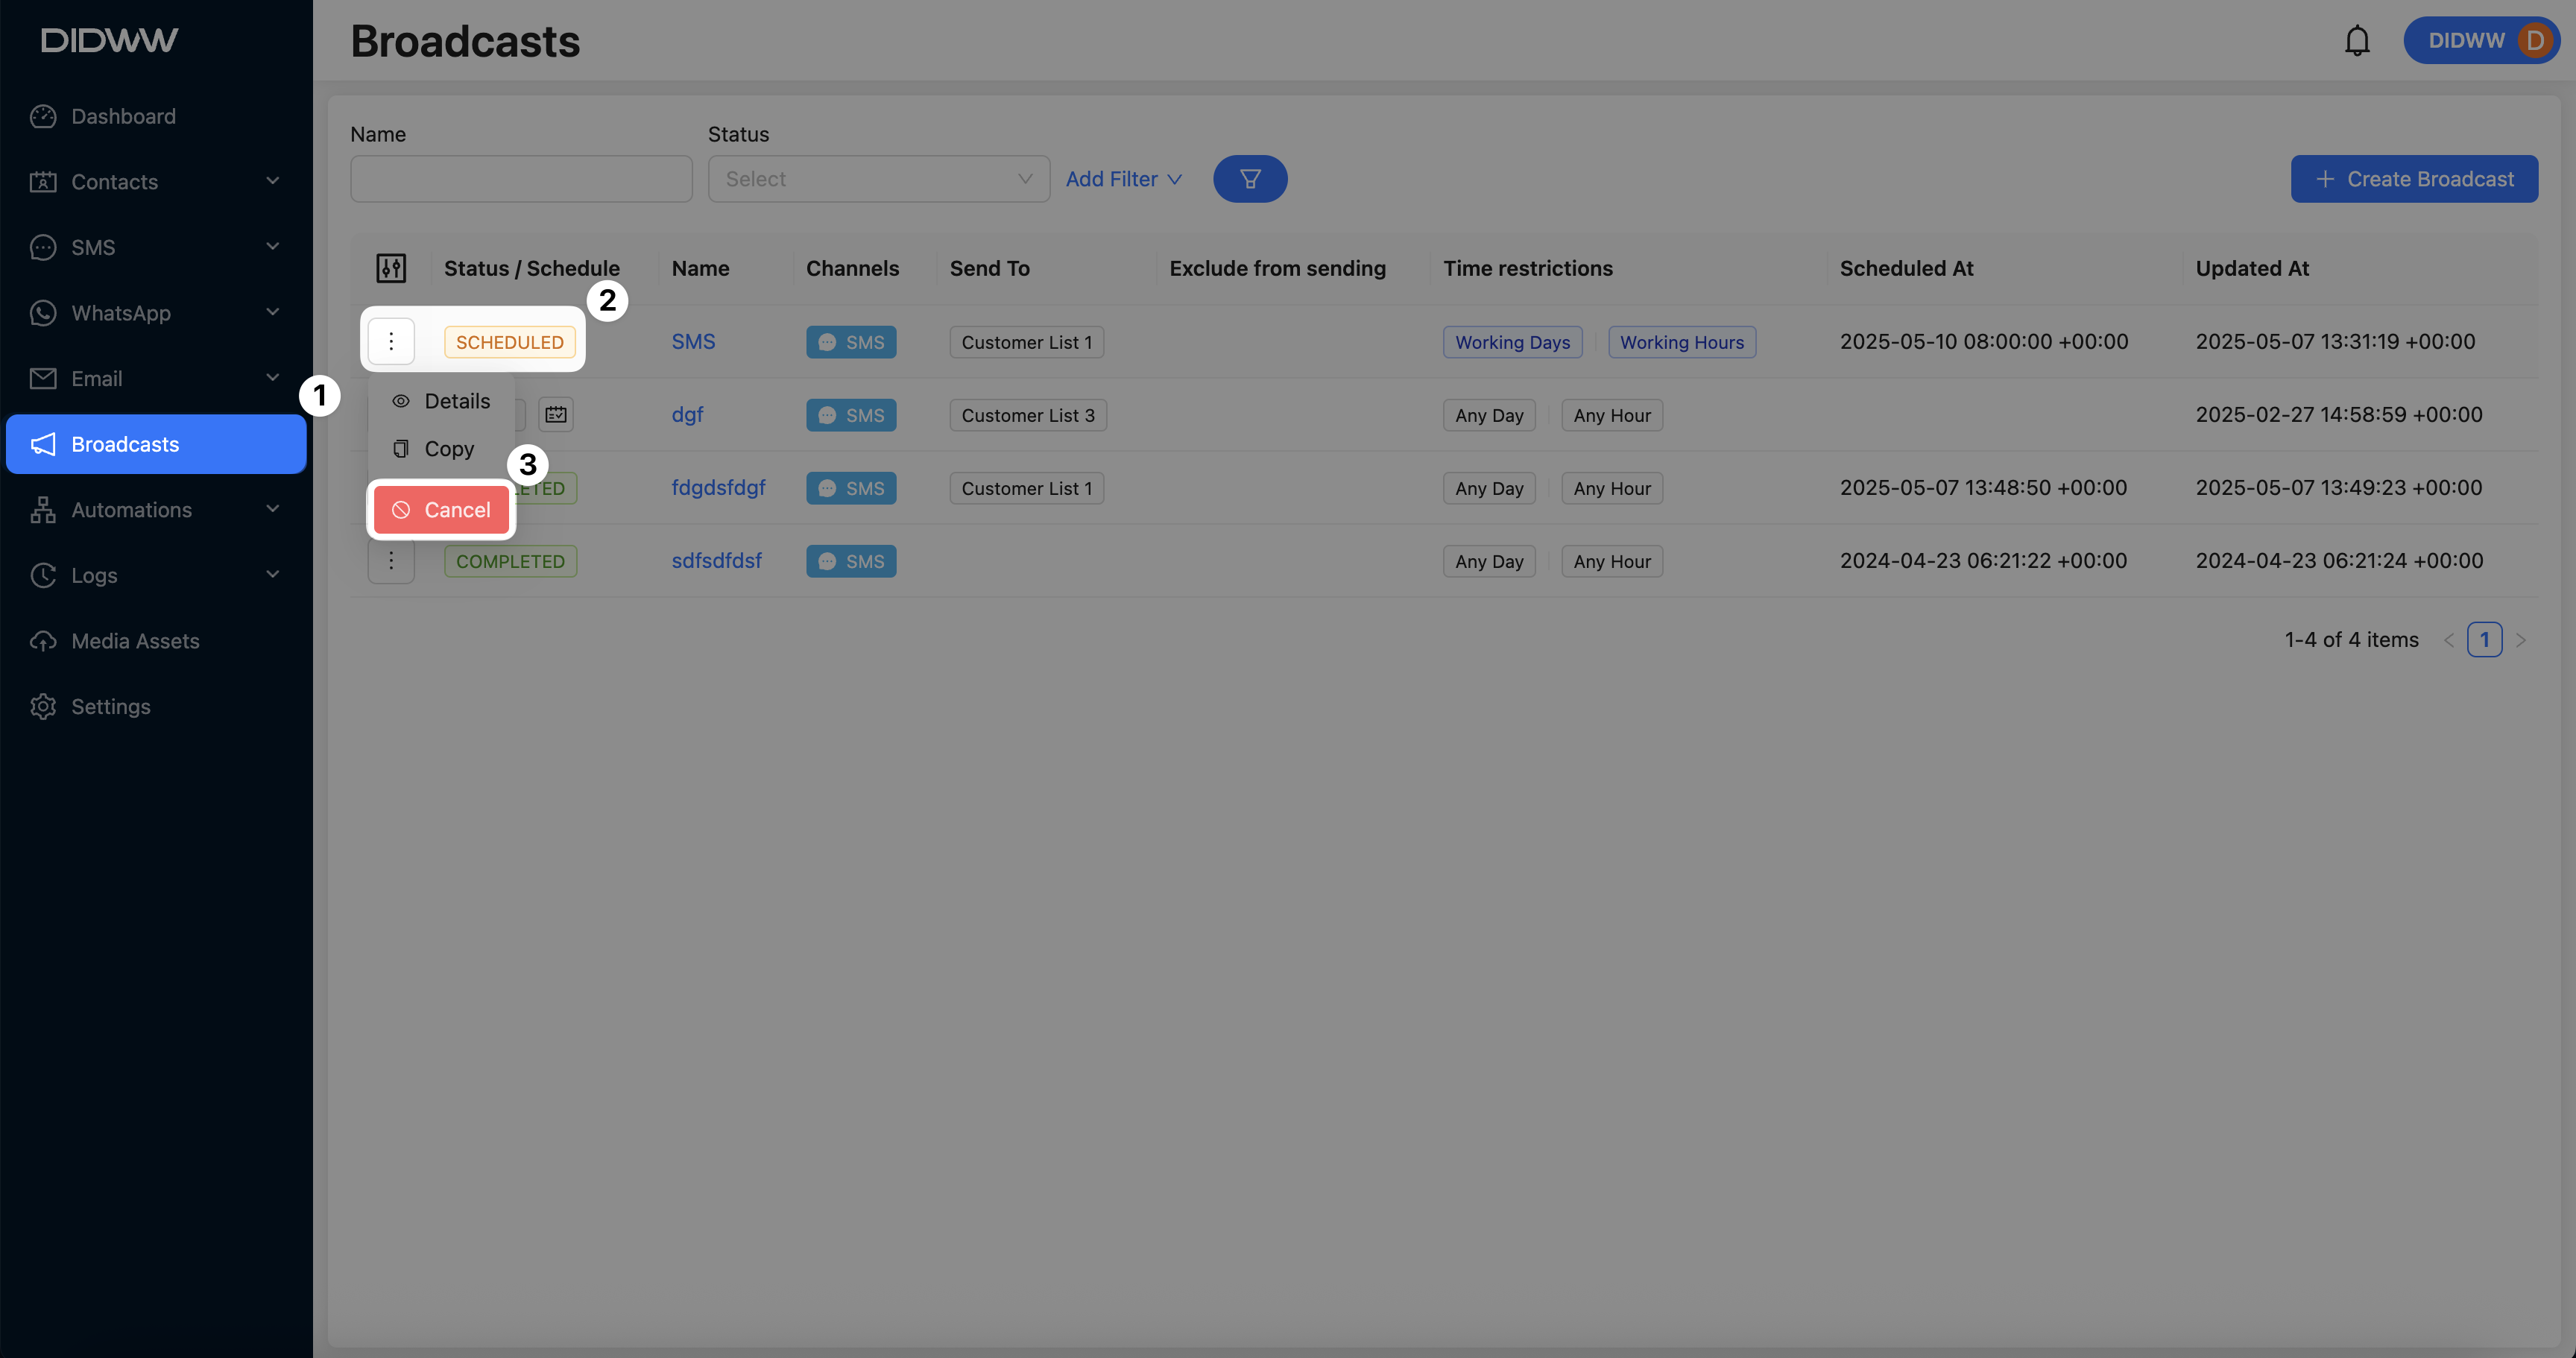
Fig. 4. Cancelling a scheduled broadcast.