phone.systems™ App Configuration#
The phone.systems™ mobile application connects a user account to an application line within the platform.
This configuration provides the user with a dedicated calling setup and controls how inbound and outbound calls are routed, how caller ID is presented, and whether calls are recorded.
Create or configure a user and assign an application line.
Activate the mobile application and complete the user setup process.
Configure User and Application Line in phone.systems™#
Before a user can make or receive calls through the phone.systems™ application, their account must be connected to a user with enabled application line. This setup links the user to a dedicated application line and ensures that calls are routed and handled according to the assigned configuration.
Select one of the options below depending on whether you are setting up a new user or configuring an existing one.
Before You Begin#
Before configuring phone.systems™ app, ensure the required calling components are available. These elements enable inbound connectivity and voice routing for the user.
A DID number – Required to enable inbound calling functionality. If not available, .
An assigned phone.systems™ trunk – Needed to establish voice connectivity for the user. For setup steps, see Configure DID Numbers with phone.systems™ in the DIDWW User Panel.
Each user must have a distinct profile and a dedicated application line (App Configuration Contact Method) to facilitate call routing, identity assignment, and access to calling features within the phone.systems™ application. This ensures accurate association of internal numbers, caller ID, and recording policies for both inbound and outbound communications.
Step 1: Create a New User 
Go to the Users menu.
Click the + button.

Fig. 1. Add new user#
Fill in the User Details in the Create User form:
First name: The user’s name.
Last name: The user’s surname.
Department (optional): The department the user belongs to.
Job title (optional): The user’s job position.
Time Schedule (optional): The user’s working hours. Read more in Time Schedules Documentation.
Email: The user’s email address for communication.
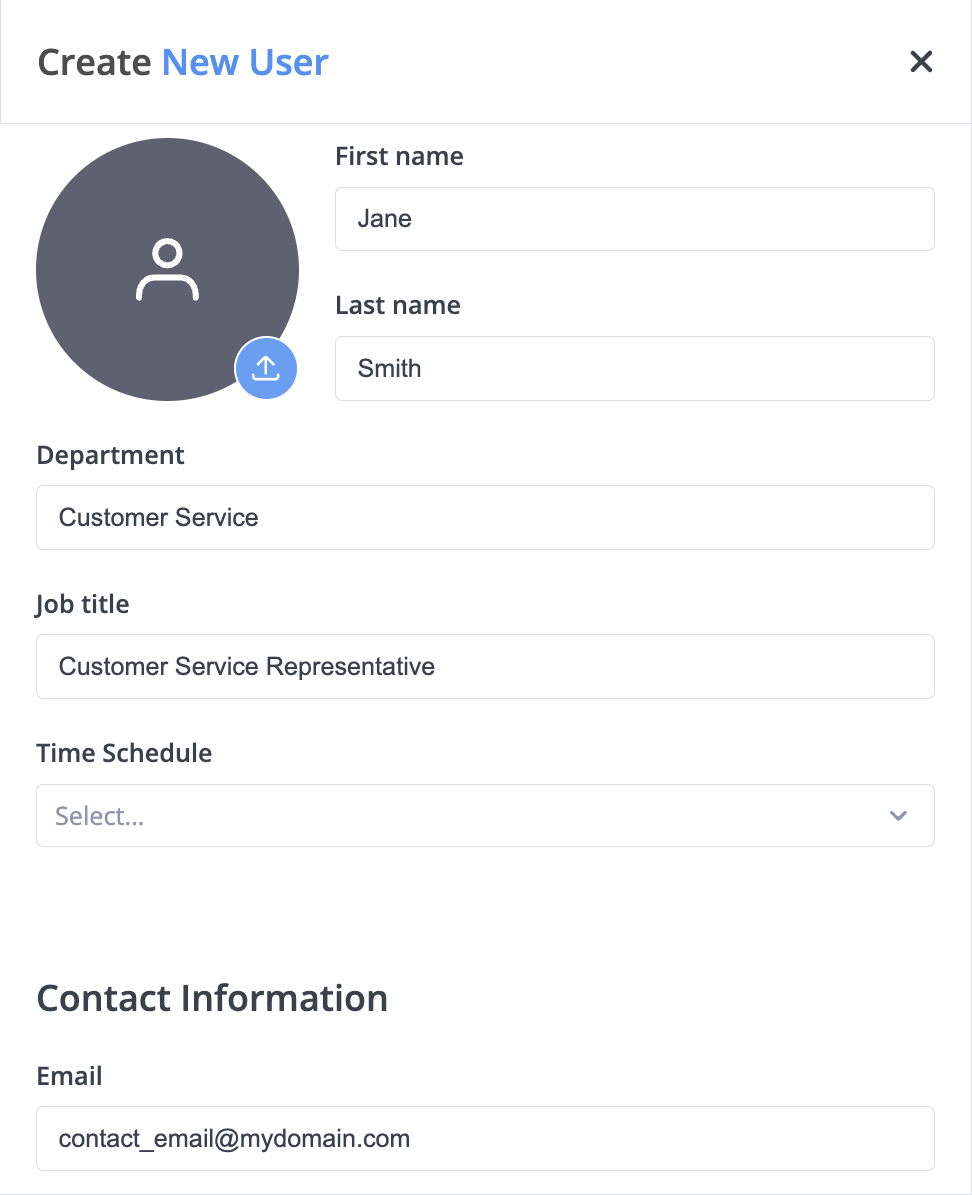
Fig. 2. User details form#
Enable Configure application line in the next step and click Next.

Fig. 3. Enable application configuration#
Existing users may have App Configuration Contact Methods already created but not configured. Finalizing this setup allows the user to place and receive calls through the phone.systems™ application.
Step 1: Invite and Configure an Existing User 
Go to the Users menu in the phone.systems™ dashboard.
In the Users tab, locate the user from the list.
Click the Actions button next to the user’s name.
Select Send Invite to App or Resend Invite to App, depending on the user’s current status.
Go to the Contact Methods menu and open the App Configurations tab.
Click the Actions button next to the contact method and select Edit to configure the application line.
Note
If the Send Invite to App button is inactive, ensure the user has a valid email address under their contact information to enable this option.
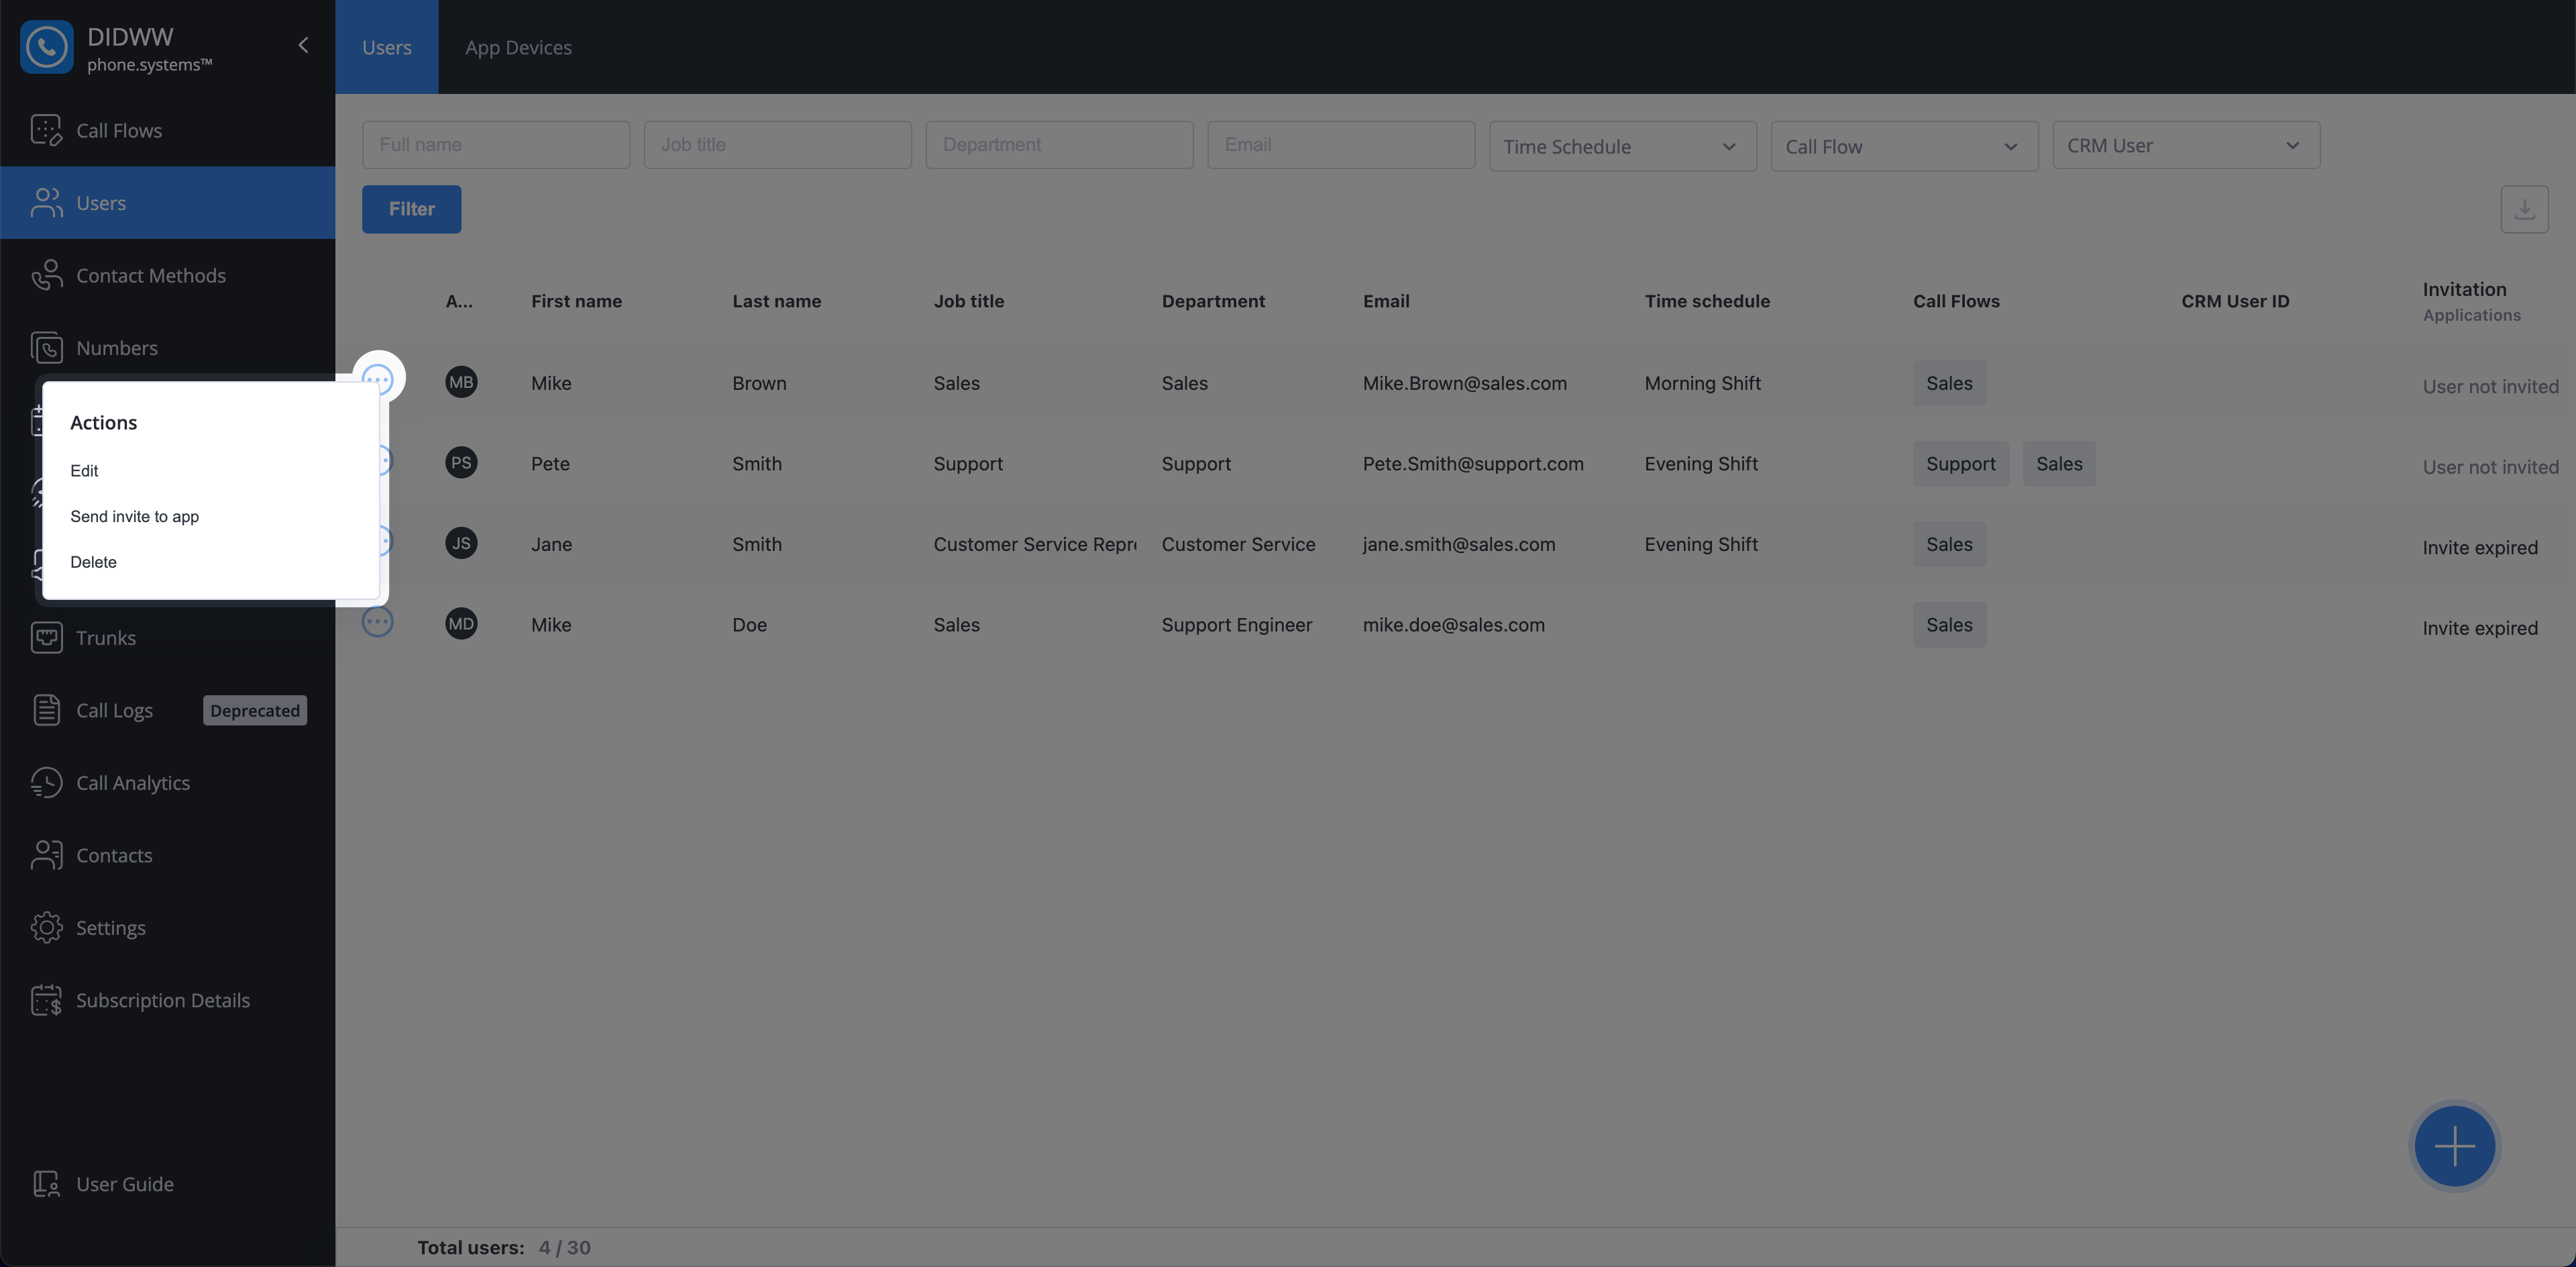
Fig. 4. Edit application configuration#
Step 2: Configure the App Configuration Contact Method 
Set up how calls are handled for the user, then click Save.
Note
An invitation is sent automatically if the user has a valid email address.
The user can then activate the phone.systems™ application.
DID Numbers |
Select one or more DID numbers to receive inbound calls. Note If no DID numbers are available, refer to Configure DID Number with phone.systems™ or Add Third Party Phone Numbers. |
Internal Number |
Select one or more internal numbers to receive inbound calls. Note If no internal numbers are available, refer to Create Internal Numbers Documentation. |
When Unavailable |
Specify the forwarding behavior when the destination is unavailable. |
Voicemail Audio |
Select the voicemail email when the Route to Voicemail option is selected for unavailable calls. Note To configure voicemail audio files, refer to Audio Files Documentation. |
Enable External Outbound Calls |
Specifies whether the user can make external outbound calls. |
Caller IDs |
Specifies one or multiple caller IDs used for outbound calls. Note Caller ID options appear only if external outbound calls are enabled. |
Internal Caller ID |
Specifies the caller ID used for internal outbound calls. Note If no internal numbers are available, refer to Create Internal Numbers Documentation. |
Internal Announcement |
Select the audio announcement message for internal calls. Note To upload announcement audio files, refer to Audio Files Documentation. |
External Announcement |
Select the audio announcement message for external calls. |
Delivery Methods |
Specifies the delivery methods for call recordings. Note For setup instructions, refer to Delivery Methods Documentation. |
Inbound Internal |
Toggle to enable inbound internal call recording. |
Inbound External |
Toggle to enable inbound external call recording. |
Outbound Internal |
Toggle to enable outbound internal call recording. |
Outbound External |
Toggle to enable outbound external call recording. |
Record On Demand |
If enabled, users can initiate recording with a feature code. Note To configure on-demand recording, define a feature code. |
Install and Activate the phone.systems™ App#
After a user account and their application line have been configured in phone.systems™, the system automatically sends an invitation email to the user’s registered email address. This email allows the user to install the phone.systems™ mobile application and securely connect it to their assigned application line.
The invitation email includes:
A download link for the application
Activation details (QR code and authentication code)
The user should follow the instructions in the email to complete the setup on their device.
Note
If the invitation email does not arrive, check the email spam or junk folder or contact your administrator to resend it.
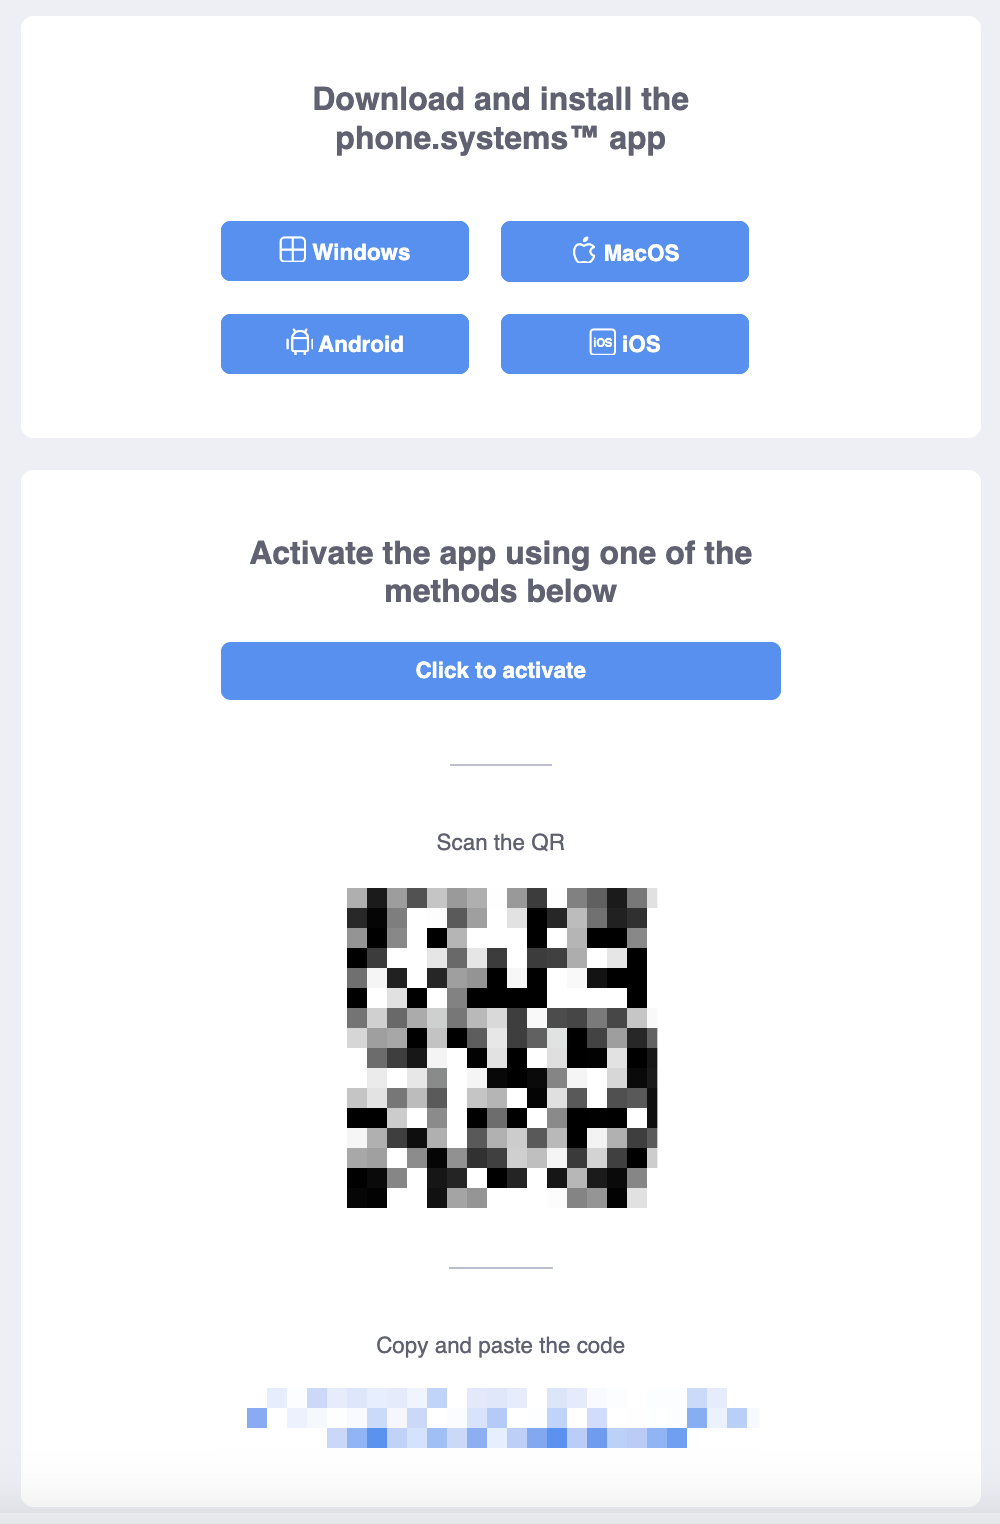
Fig. 8. Invitation email#
Step 1: Open the Application#
To begin activation, open the phone.systems™ application on the user’s device. Install it first if it is not already installed.
Tap Sign in to begin activation.
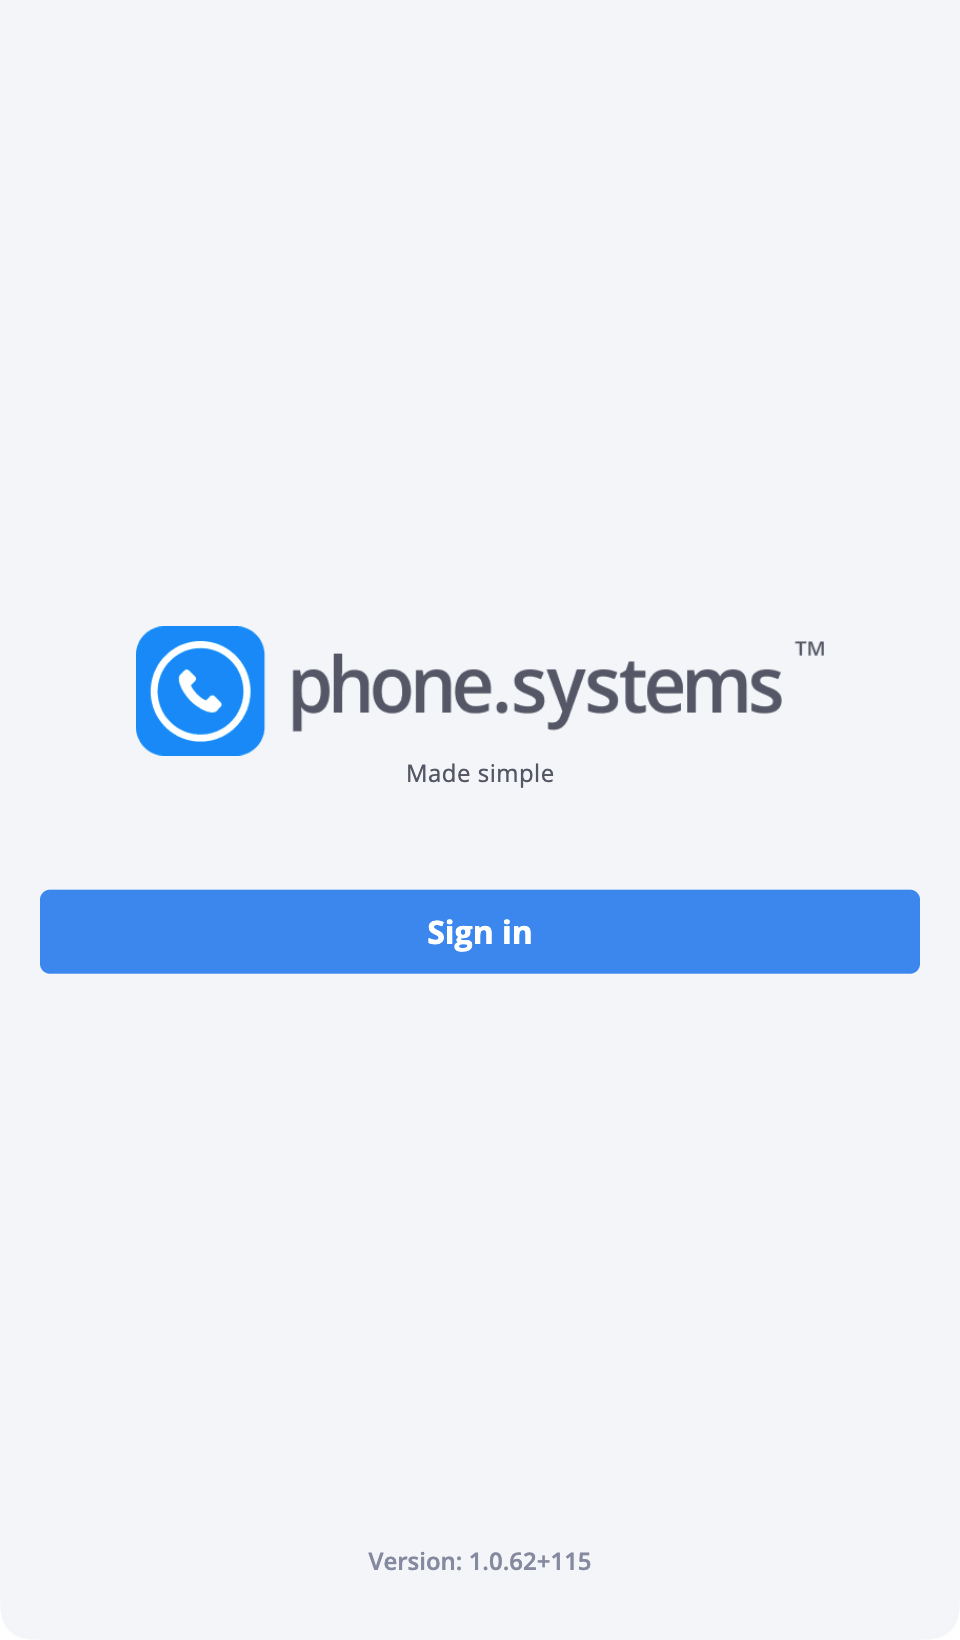
Fig. 9. Sign-in screen#
Step 2: Activate the Application#
Activate the application using one of the following methods provided in the invitation email.
When activating using a QR code, the application may request camera access to scan the code.
Note
When activating using a QR code, the application may request camera access to scan the code.
Allow camera access when prompted.
Scan the QR code from the invitation email.
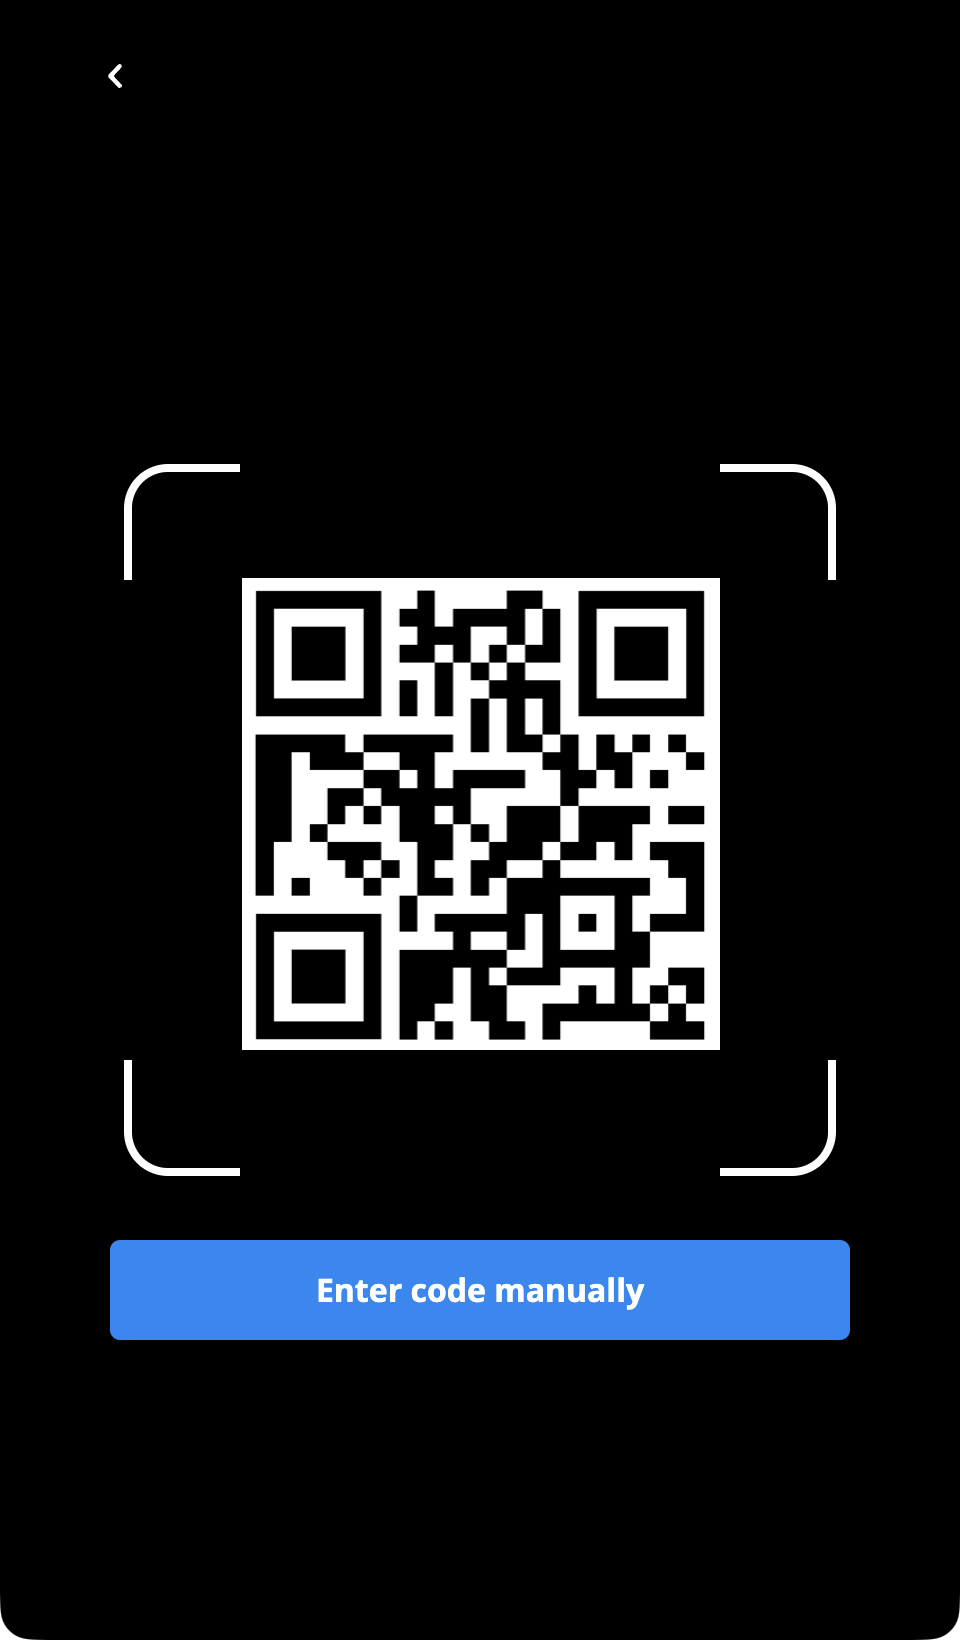
Fig. 10. QR code activation#
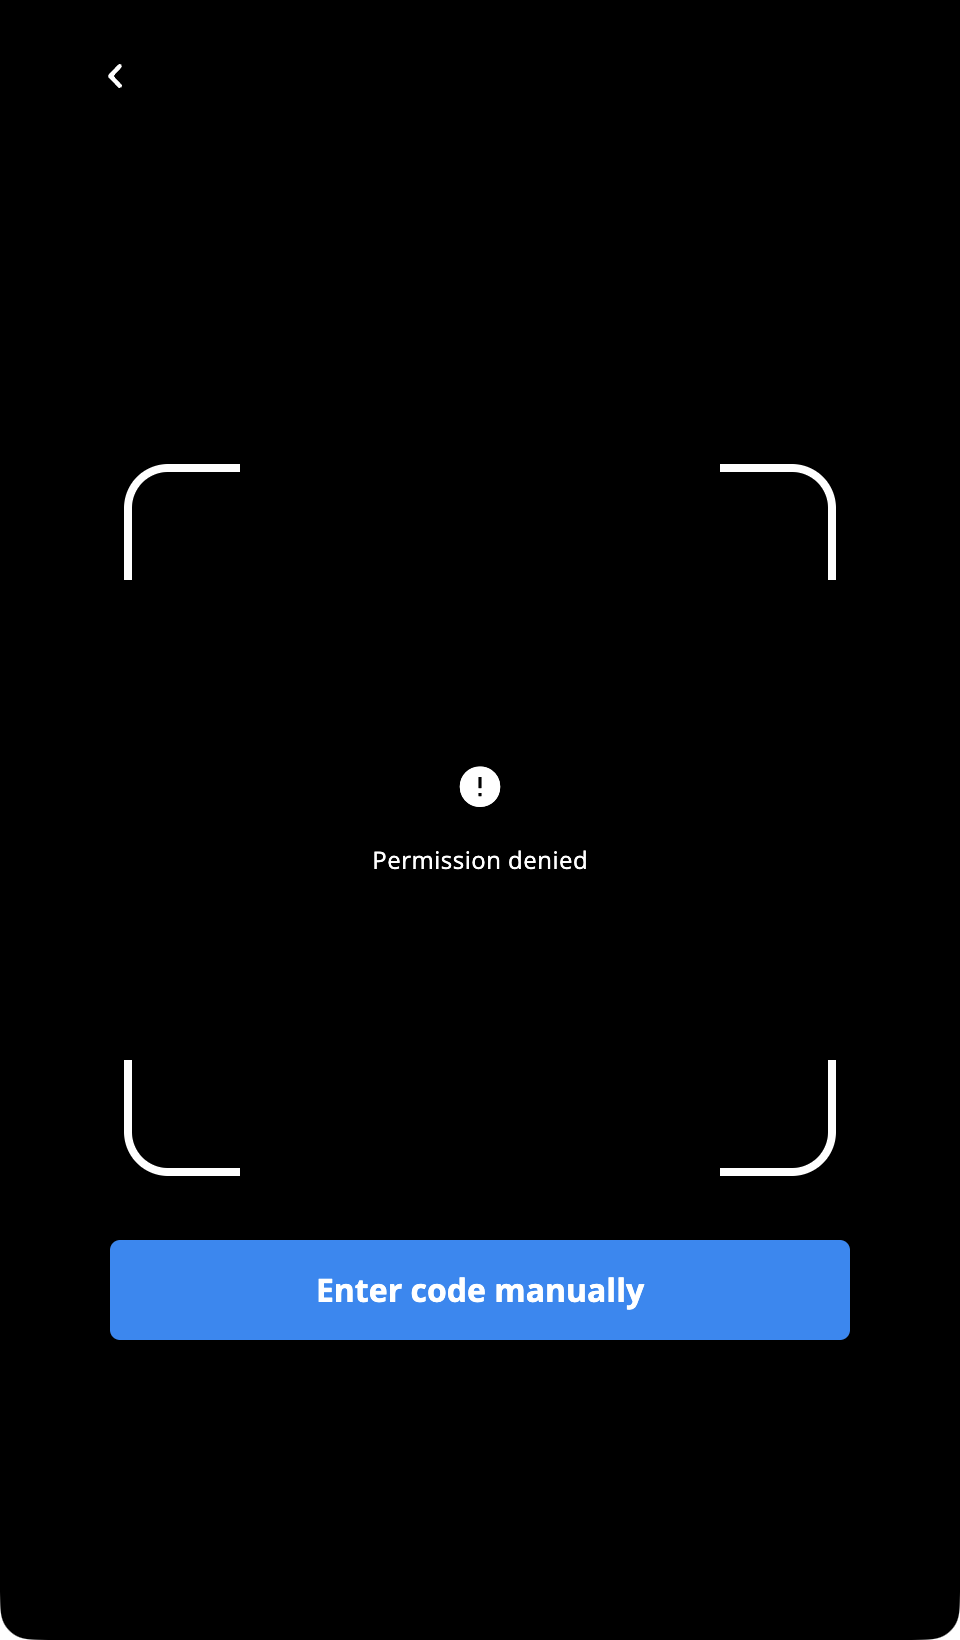
If camera access is denied or unavailable, activate the application using the authentication code from the invitation email.
Tap Enter code manually on the QR scanning screen.
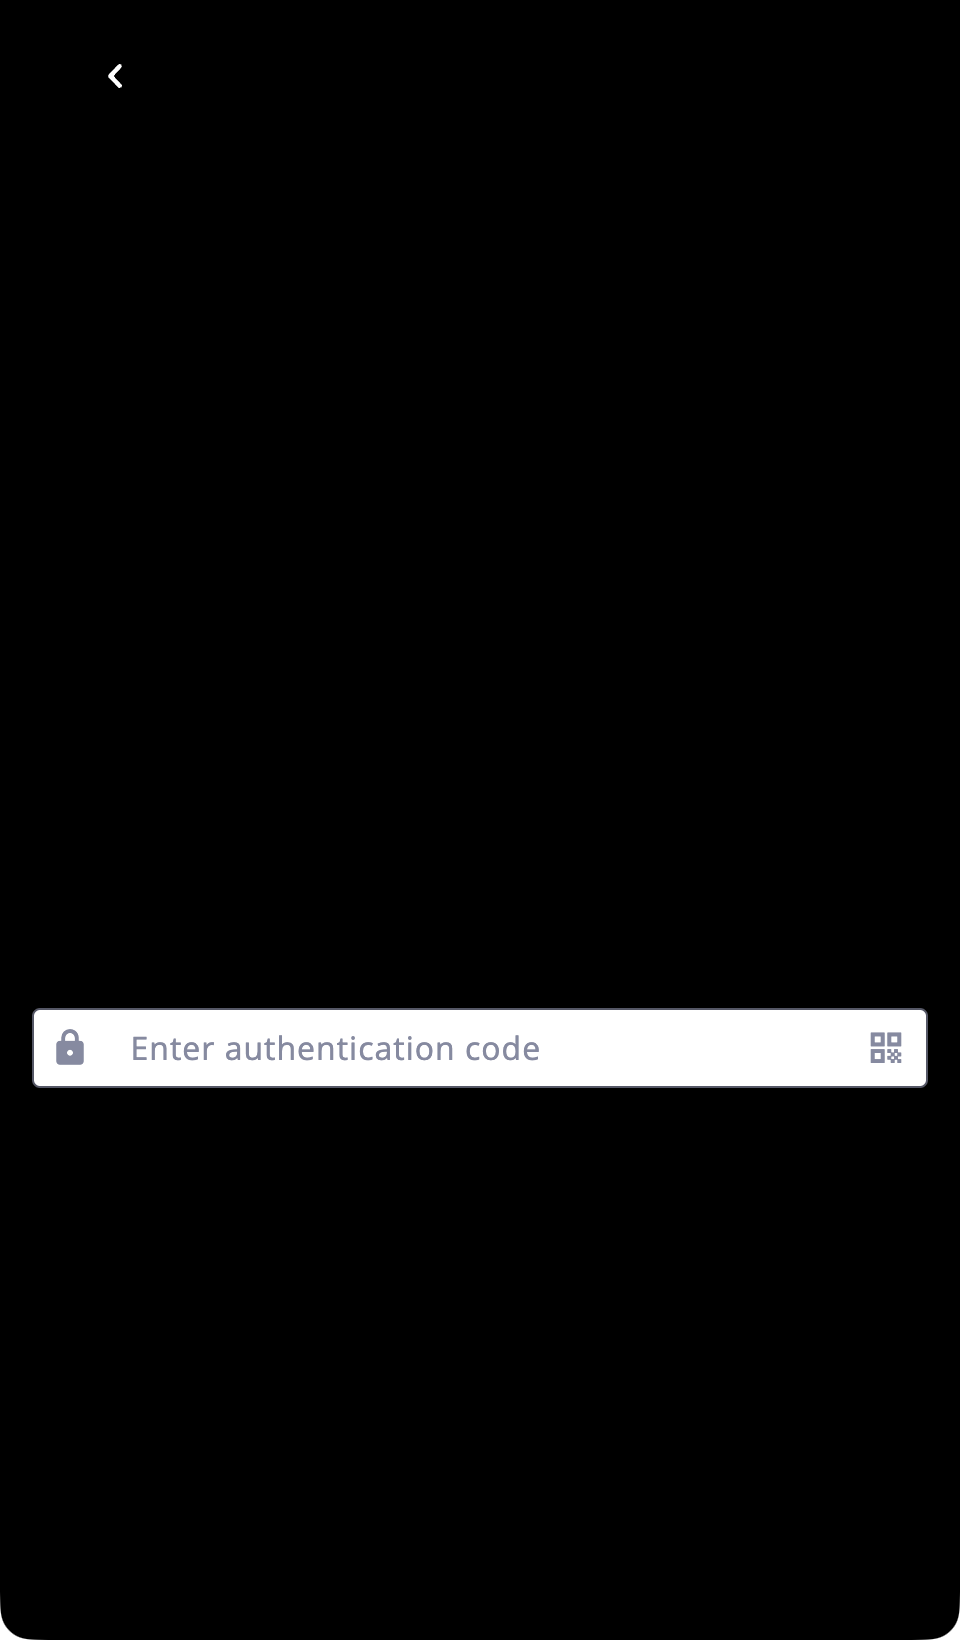
Copy the authentication code from the invitation email.
Paste the code into the Enter authentication code field.
Tap Continue to proceed.
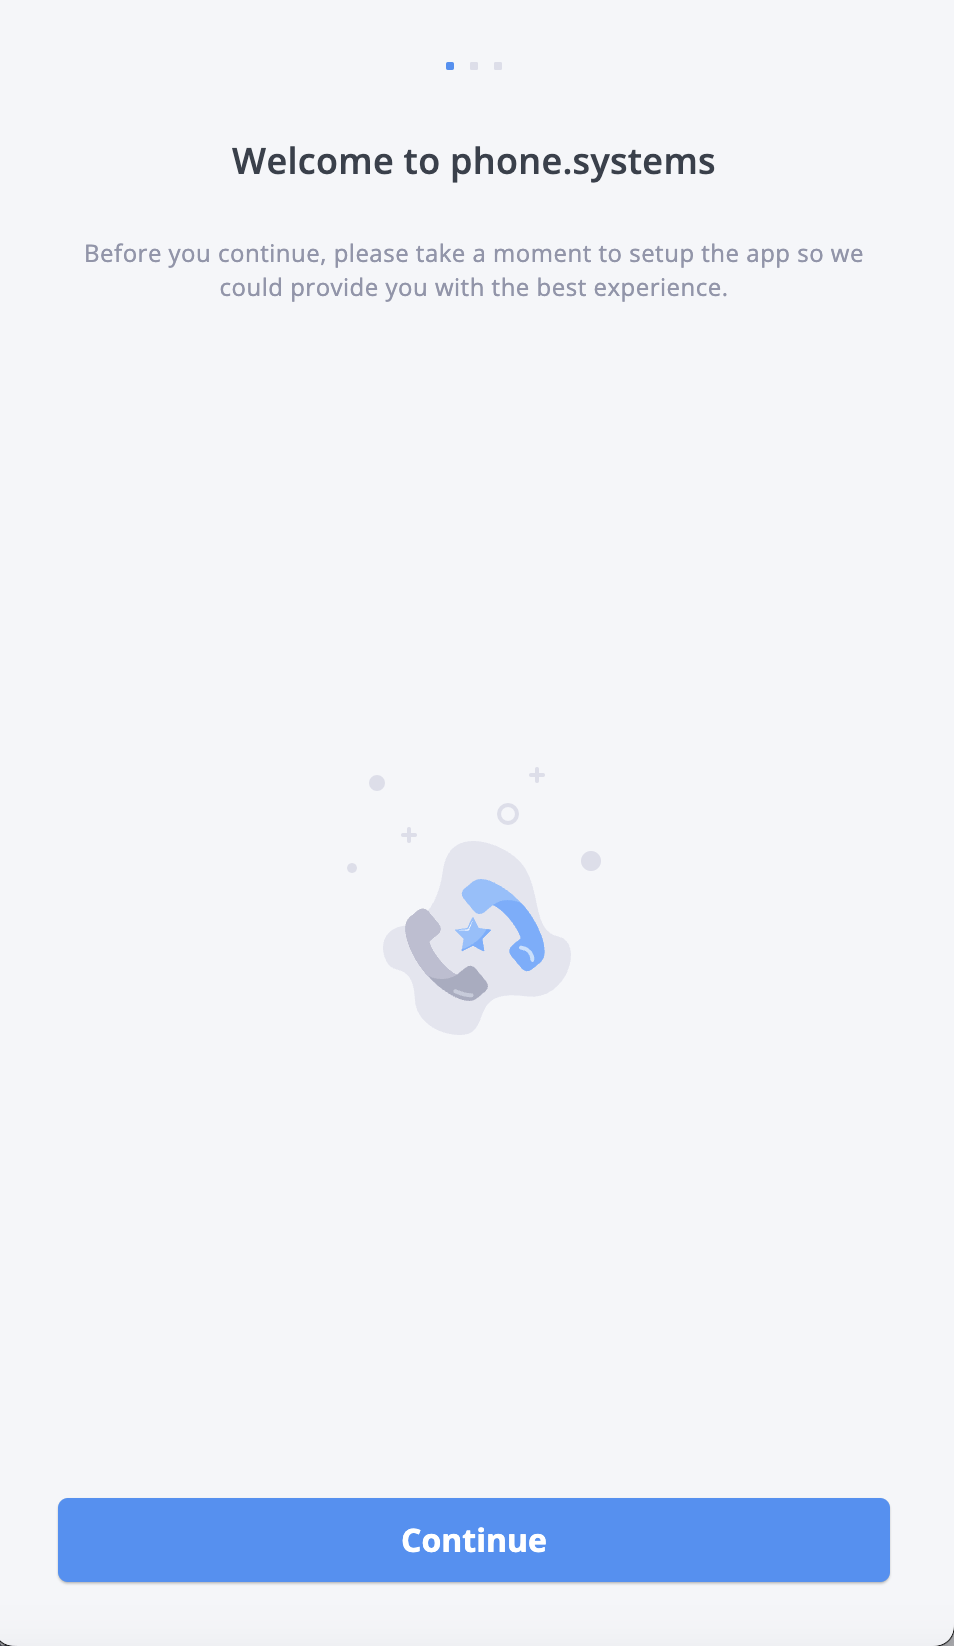
Step 3: Grant Required Permissions#
After activation, the Welcome to phone.systems™ screen is displayed. Tap Continue to proceed.
On the next screen, tap Setup permissions to allow the required device permissions for calling.
Allow the following permissions:
Microphone access – Required to make and receive calls.
Push notifications – Required to receive incoming call alerts and notifications.
Note
If microphone or push notification permissions are denied, the application may not be able to place or receive calls properly. Permissions can be modified later in the device system settings.
On iPhone, Focus mode may silence calls and notifications. If you are not receiving incoming call alerts, make sure Focus mode is disabled or that phone.systems™ is allowed in your Focus settings.
See Apple’s documentation: Set up a Focus on iPhone and Allow or silence notifications for a Focus .

Step 4: Confirm Personal Information and Complete the Setup#
After granting the required permissions, you will be prompted to review and confirm your profile information.
Enter or verify your profile details, such as your name, job title, and department.
Tap Save and continue to complete the setup.
The phone.systems™ application is now activated and ready to make and receive calls according to the assigned App Configuration settings.
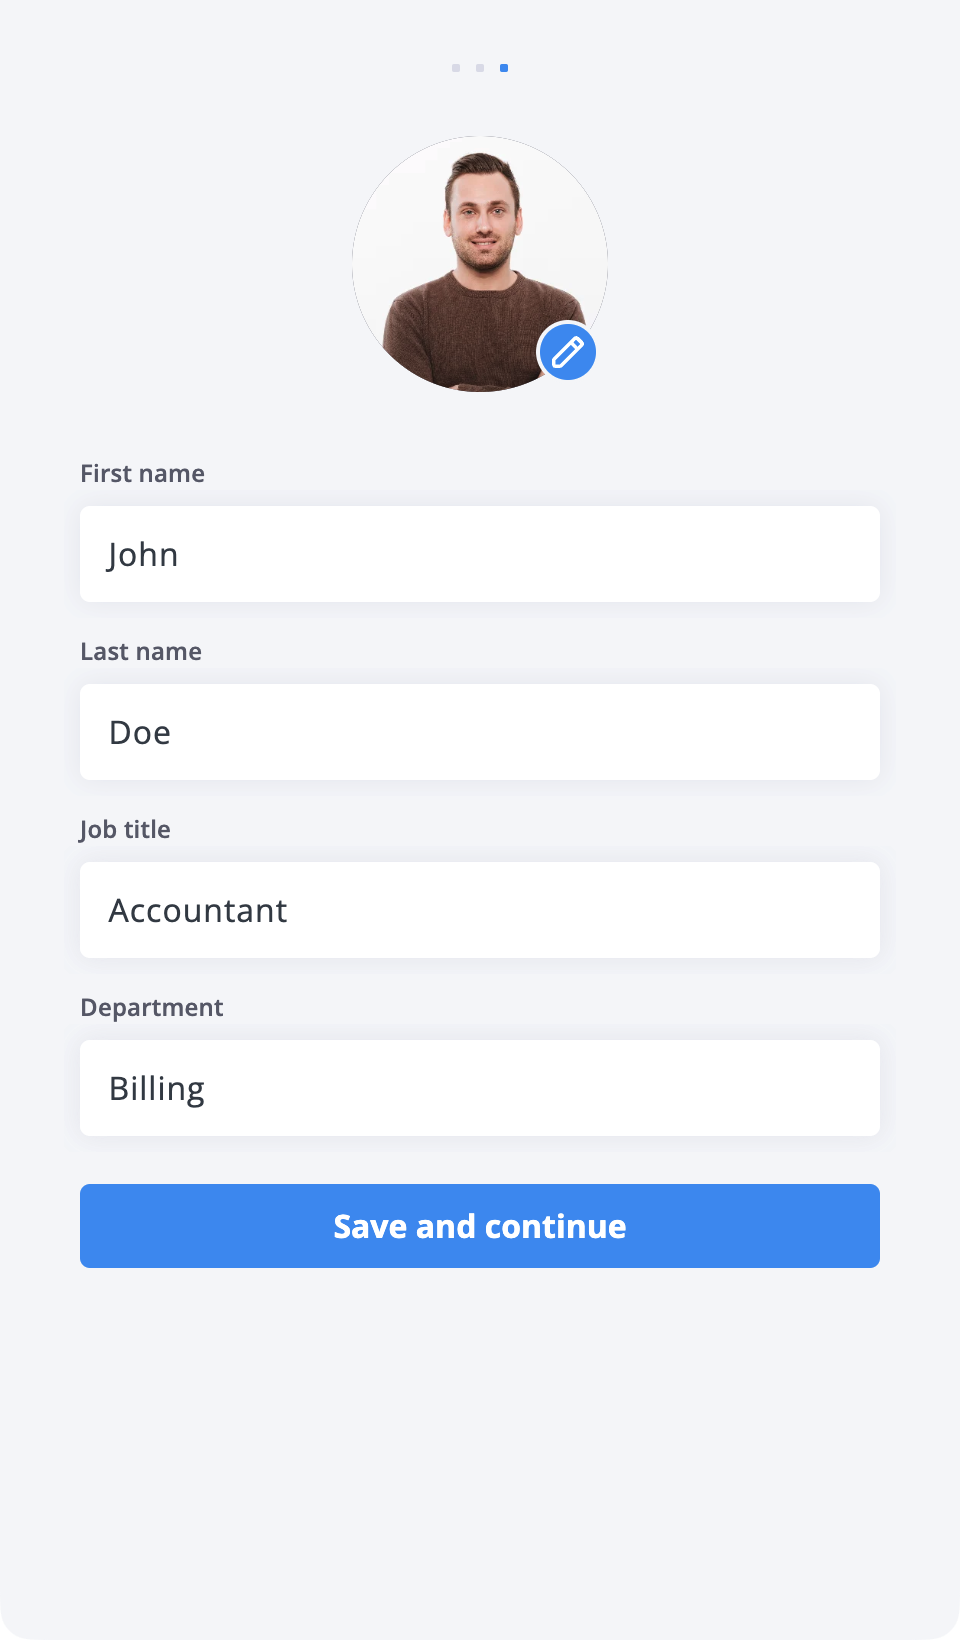
Fig. 15. Personal information#