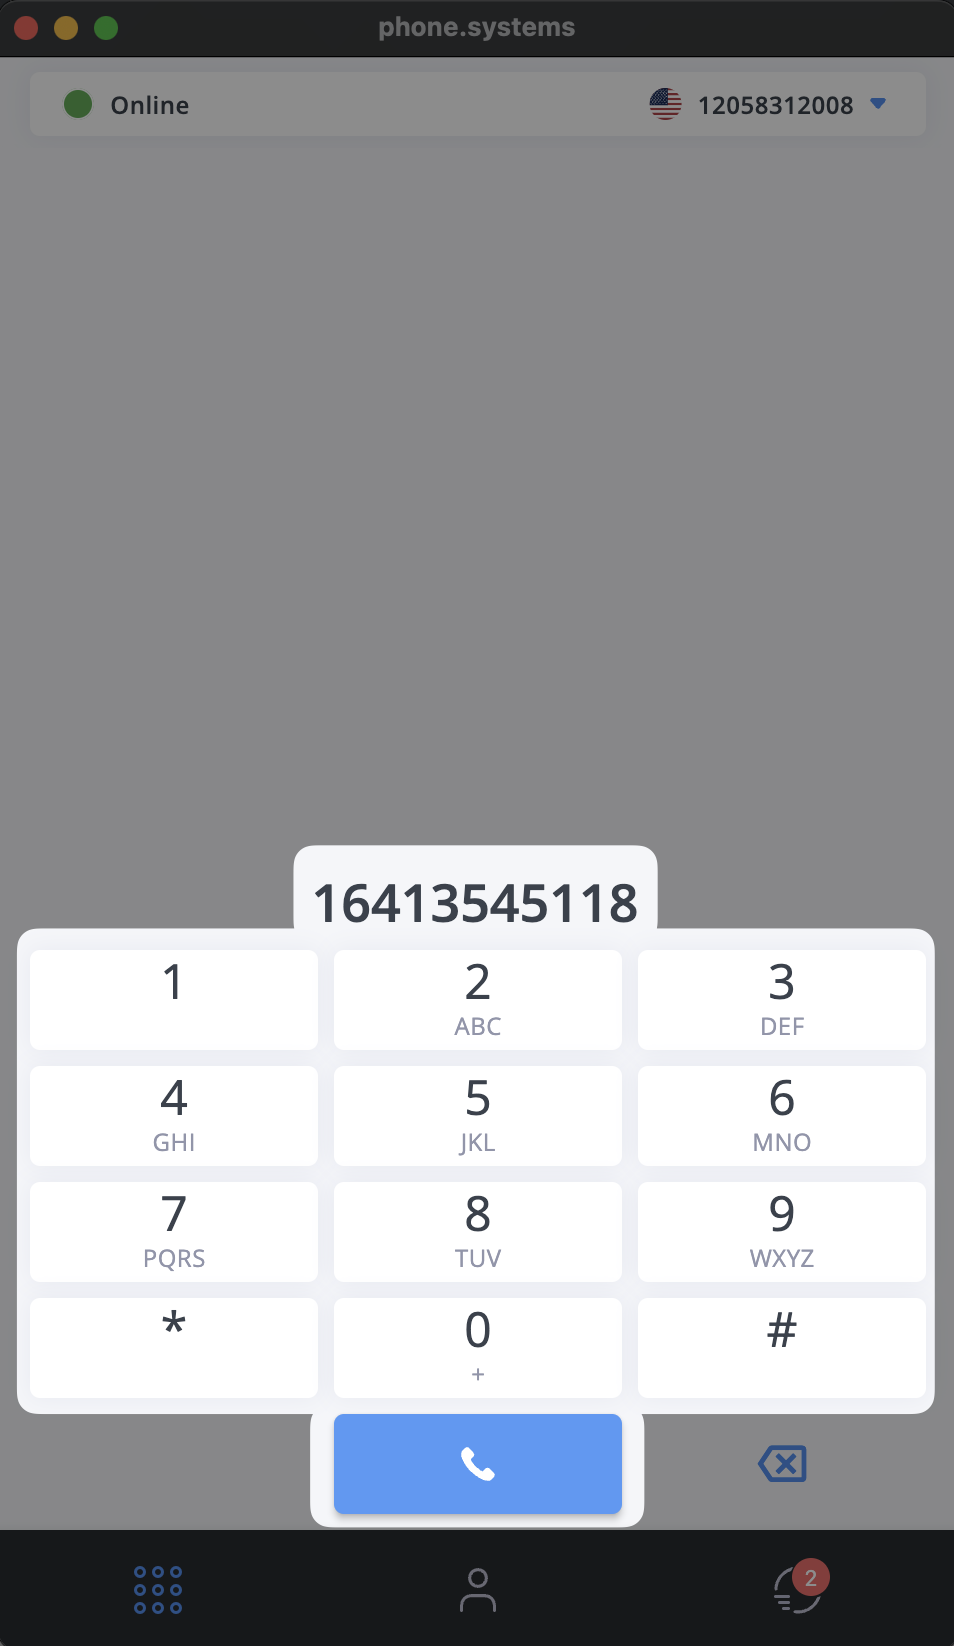
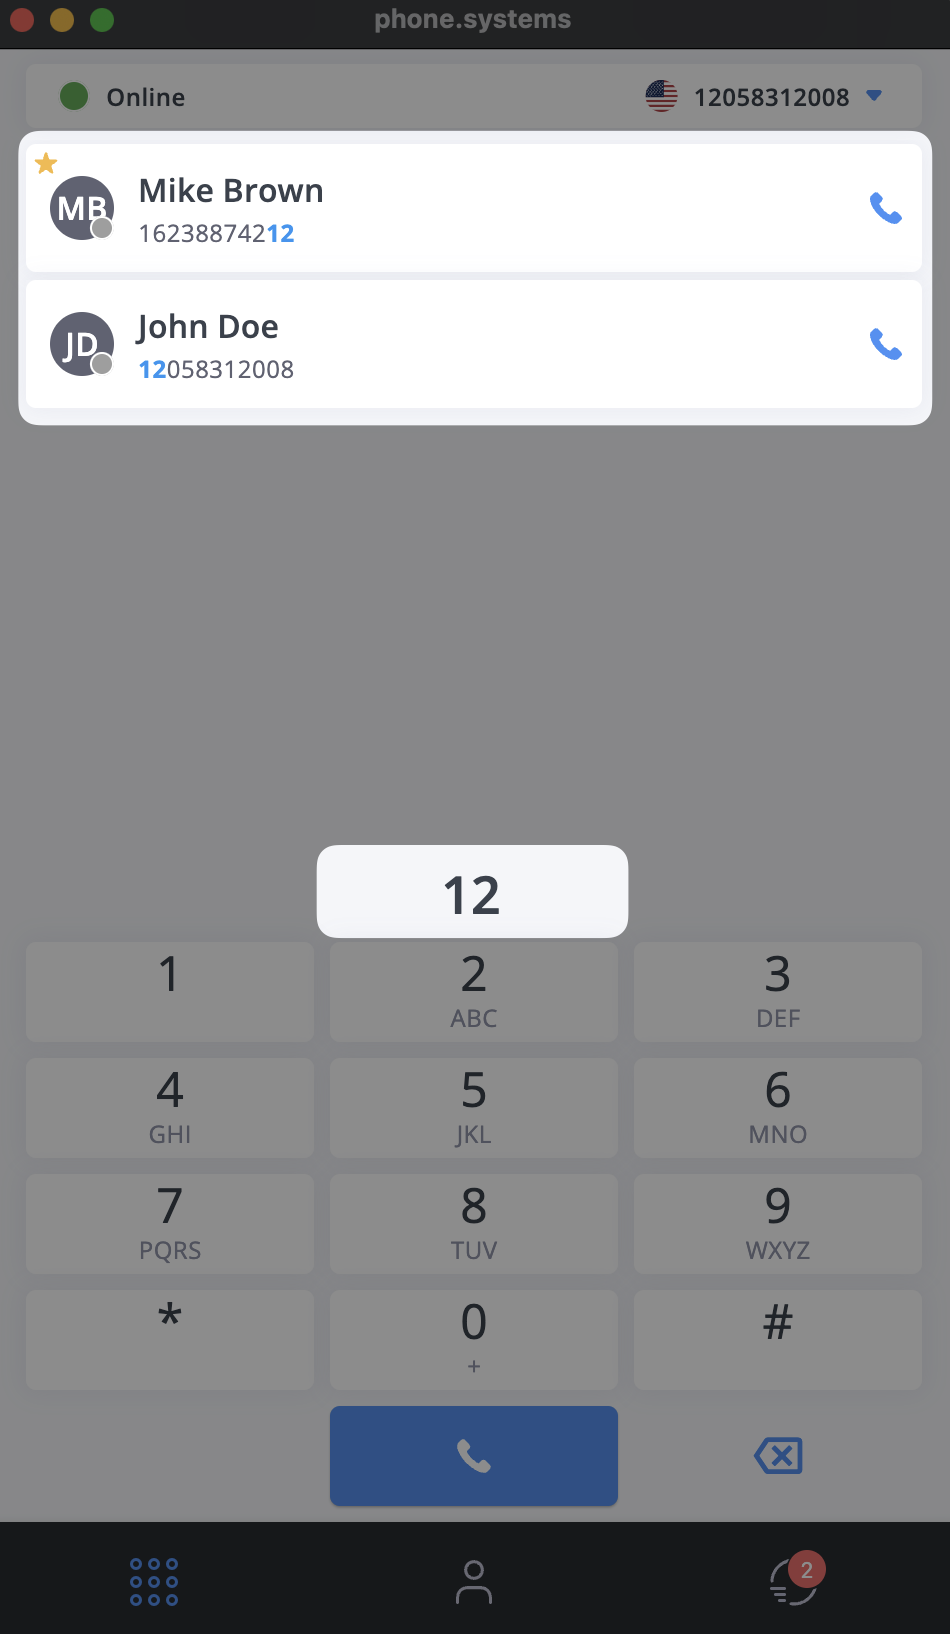
The Dial Pad interface in the phone.systems™ app lets users manually enter phone numbers to make outbound calls. It features a numeric keypad, a status indicator, an outbound caller ID associated with your account, and a call button for easy navigation and communication.
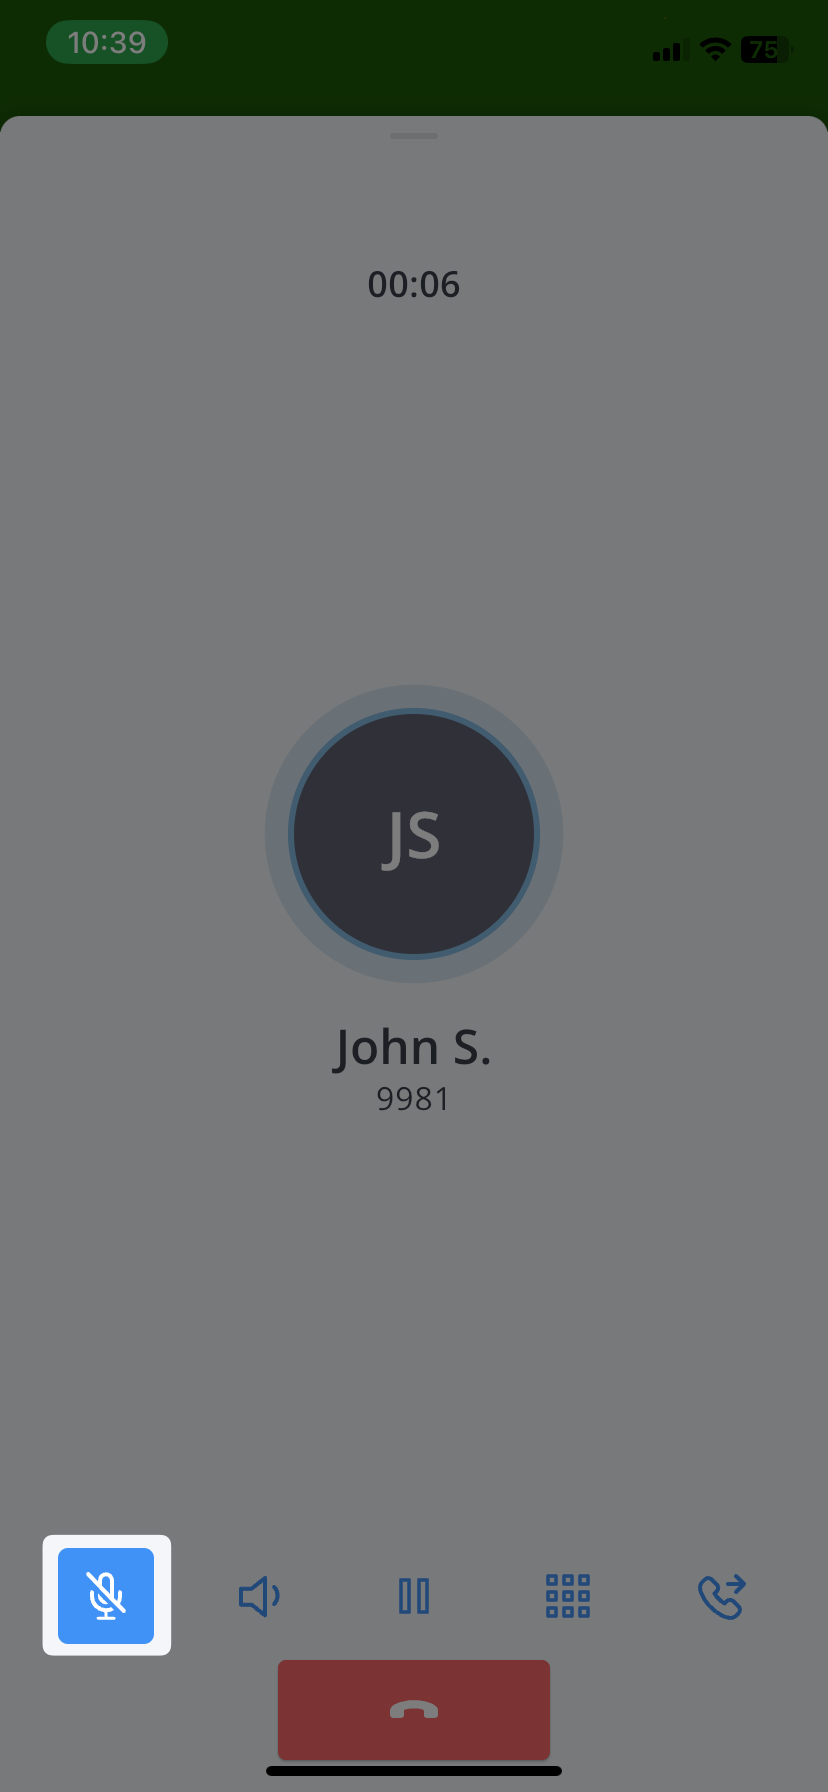
Sound settings control which microphone (input) and speaker or headset (output) are used during a call.
The options differ depending on whether you are using the mobile or desktop app.
On mobile, the
button toggles the loudspeaker.
To enable the loudspeaker, tap the
icon. The call audio switches to the device speaker.
To disable it and return audio to the earpiece or connected headset, tap
again.
Note
The loudspeaker toggle is only available on mobile.
When a Bluetooth device is connected, the
icon changes to
.
Tap it to open the Output device sheet, where you can choose between Bluetooth accessories, the speaker, or the device earpiece.
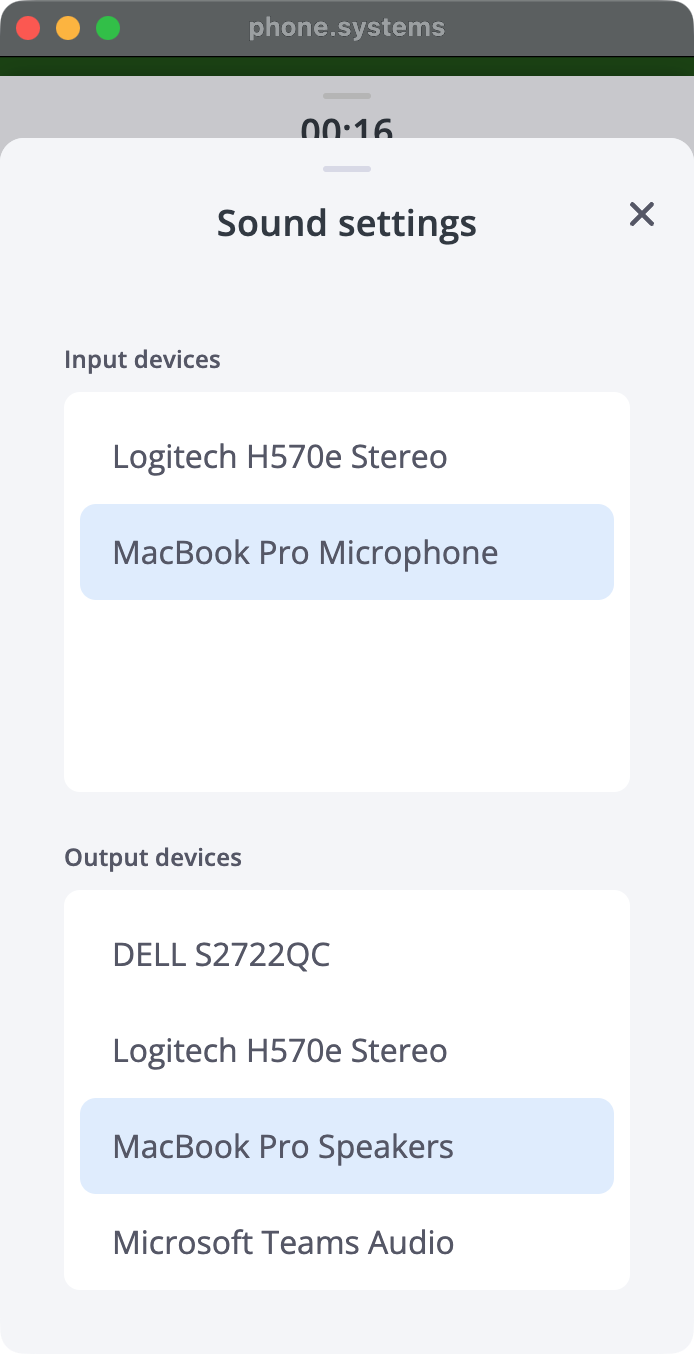
On desktop, clicking the
button opens the Sound Settings window.
Here, you can independently select which devices are used for input and output during an active call.
Click the
icon during a call.
Under Input devices, choose your preferred microphone.
Under Output devices, select your preferred speakers or headset.
Close the window — the changes take effect immediately.
Tip
If a device does not appear, ensure it is connected at the OS level and recognized by your system before initiating or answering a call.
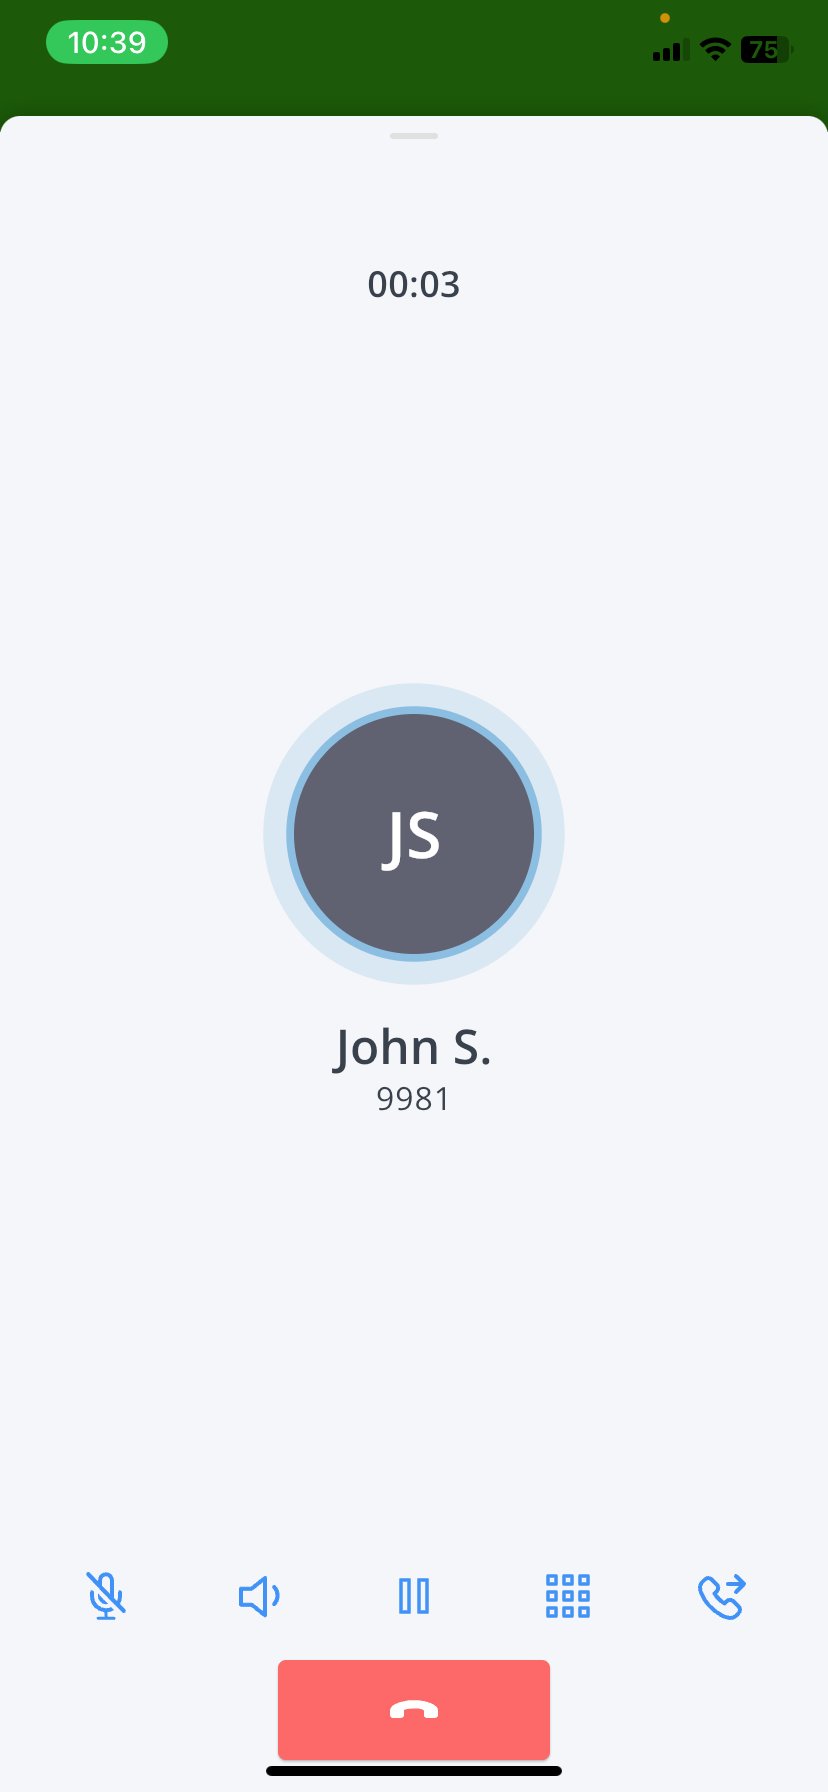
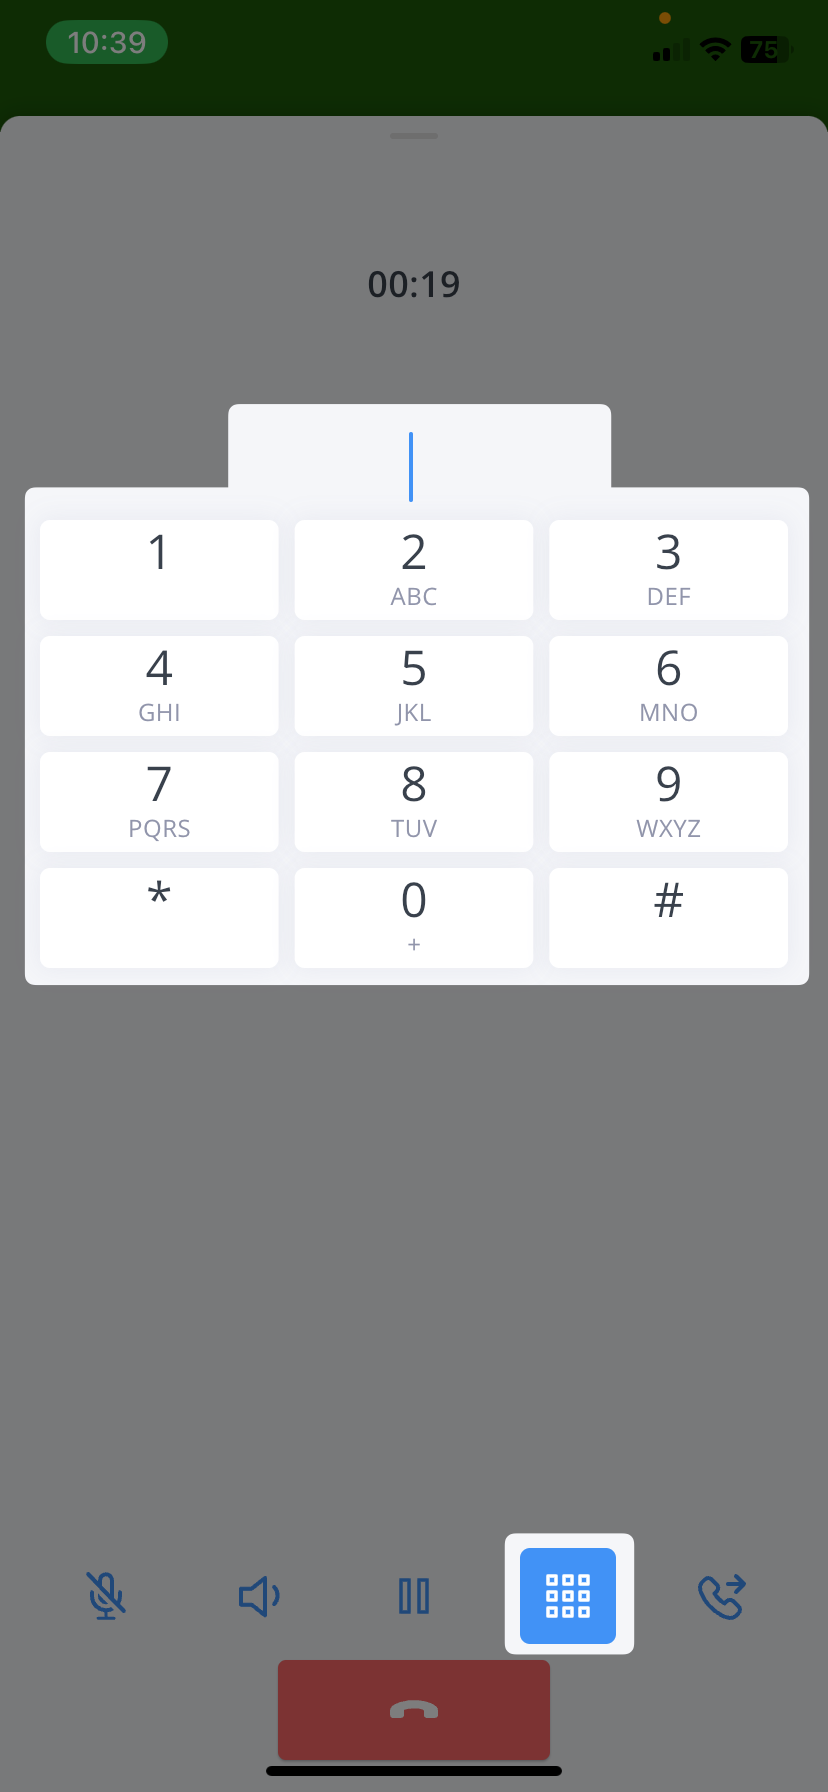
The Keypad feature sends Dual-Tone Multi-Frequency (DTMF) signals during a call, typically used for navigating automated phone menus or entering passcodes.
To activate the keypad, click the
icon during an active call. The keypad will appear, allowing you to enter the necessary digits.
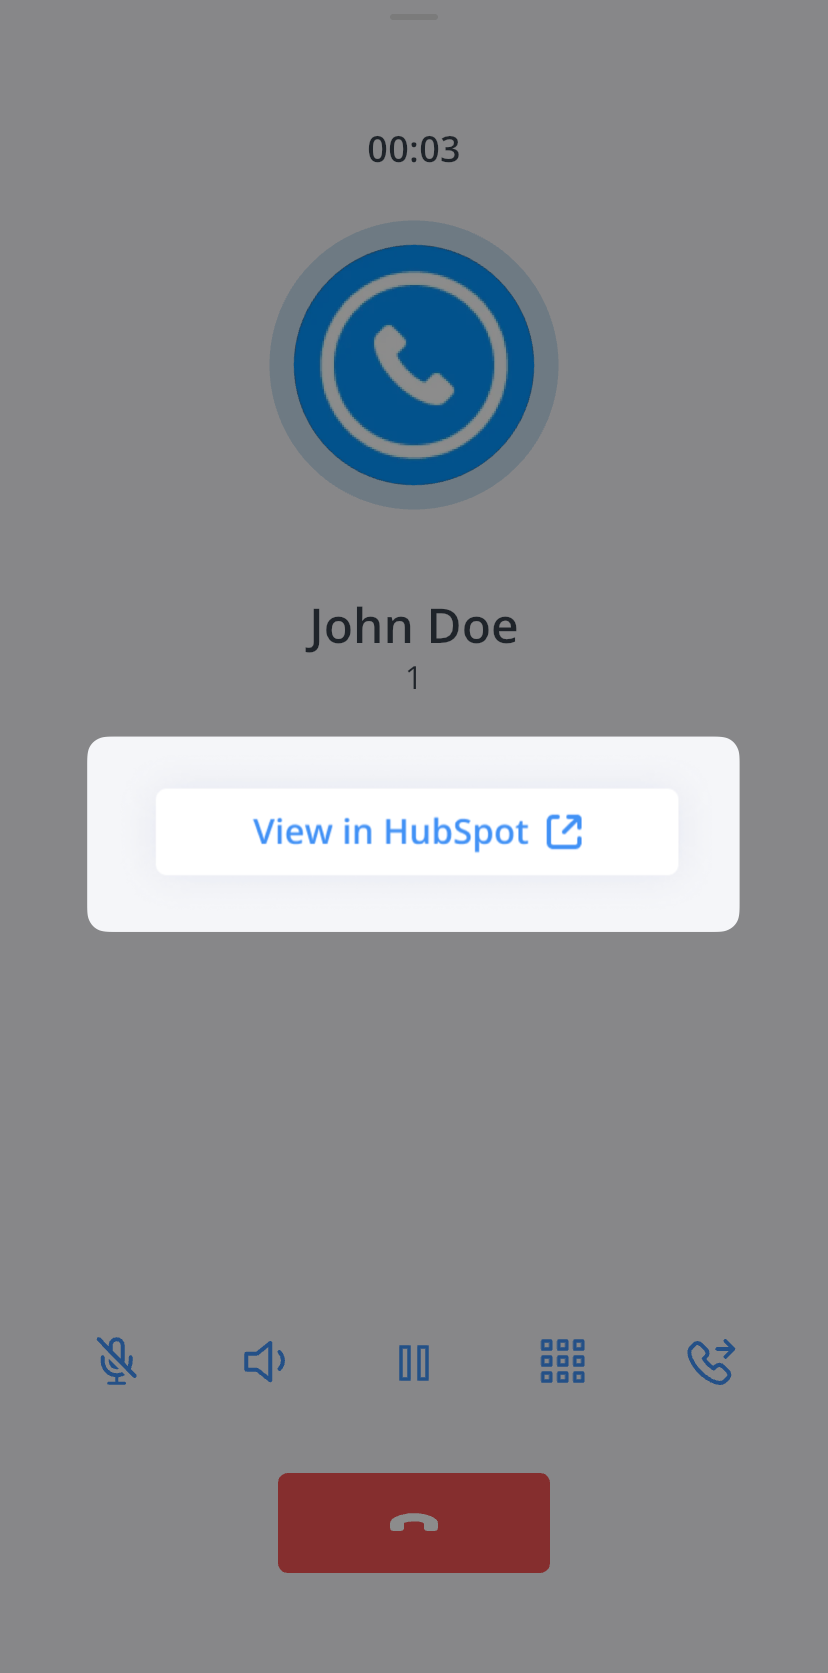
When a contact is synced from a connected CRM integration, a View in CRM button appears on the in-call screen.
This feature lets you instantly open the contact’s record in the integrated CRM platform without leaving the phone.systems™ app.
To open the contact record in your CRM, click View in CRM.
The contact’s profile will open in a new browser tab or window, depending on your browser settings.
Note
The View in CRM button only appears if the contact is imported or synced from your connected CRM.
Fig. 17. View in CRM button during an active call#
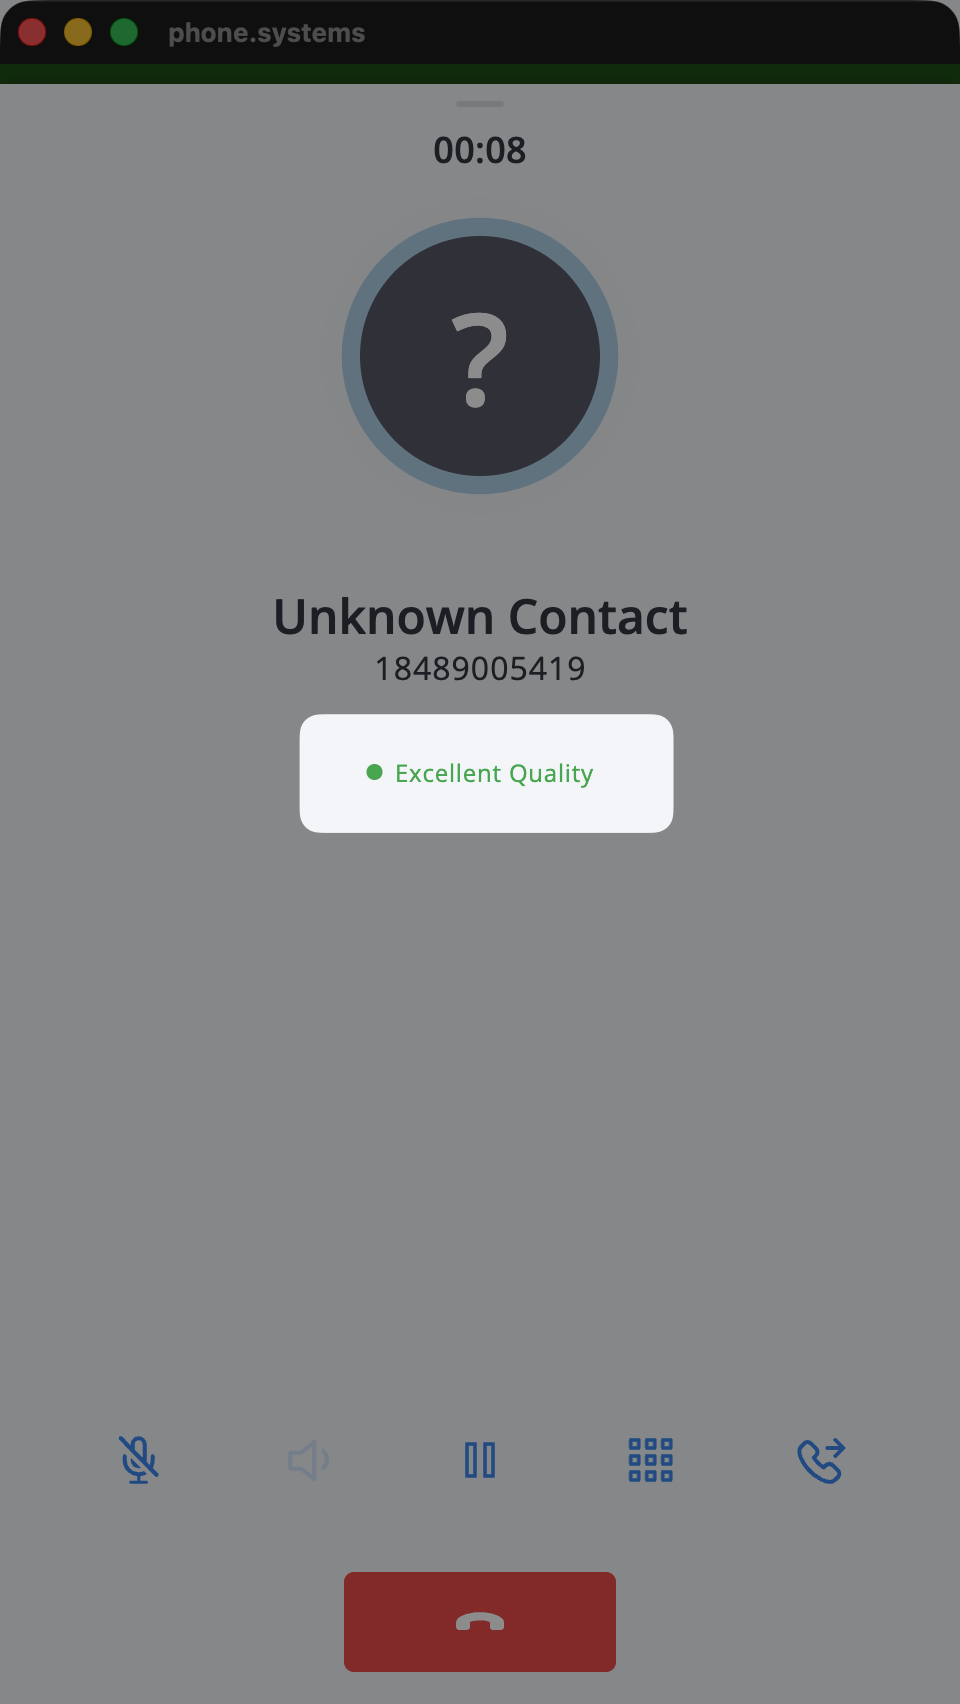
The Call Quality indicator shows the current quality of the active call directly on the in-call screen.
Use it to quickly understand whether the connection quality is stable while you are speaking.
The quality label appears below the contact name and number during the call.
For example, the app may show Excellent Quality with a green status indicator when the connection is strong.
If the call quality score is low, check your network connection, switch to a more stable network if possible, and make sure no other applications are using excessive bandwidth. If the issue continues, report an issue.
Note
Call quality is only shown on the desktop versions of the app.


 button toggles the loudspeaker.
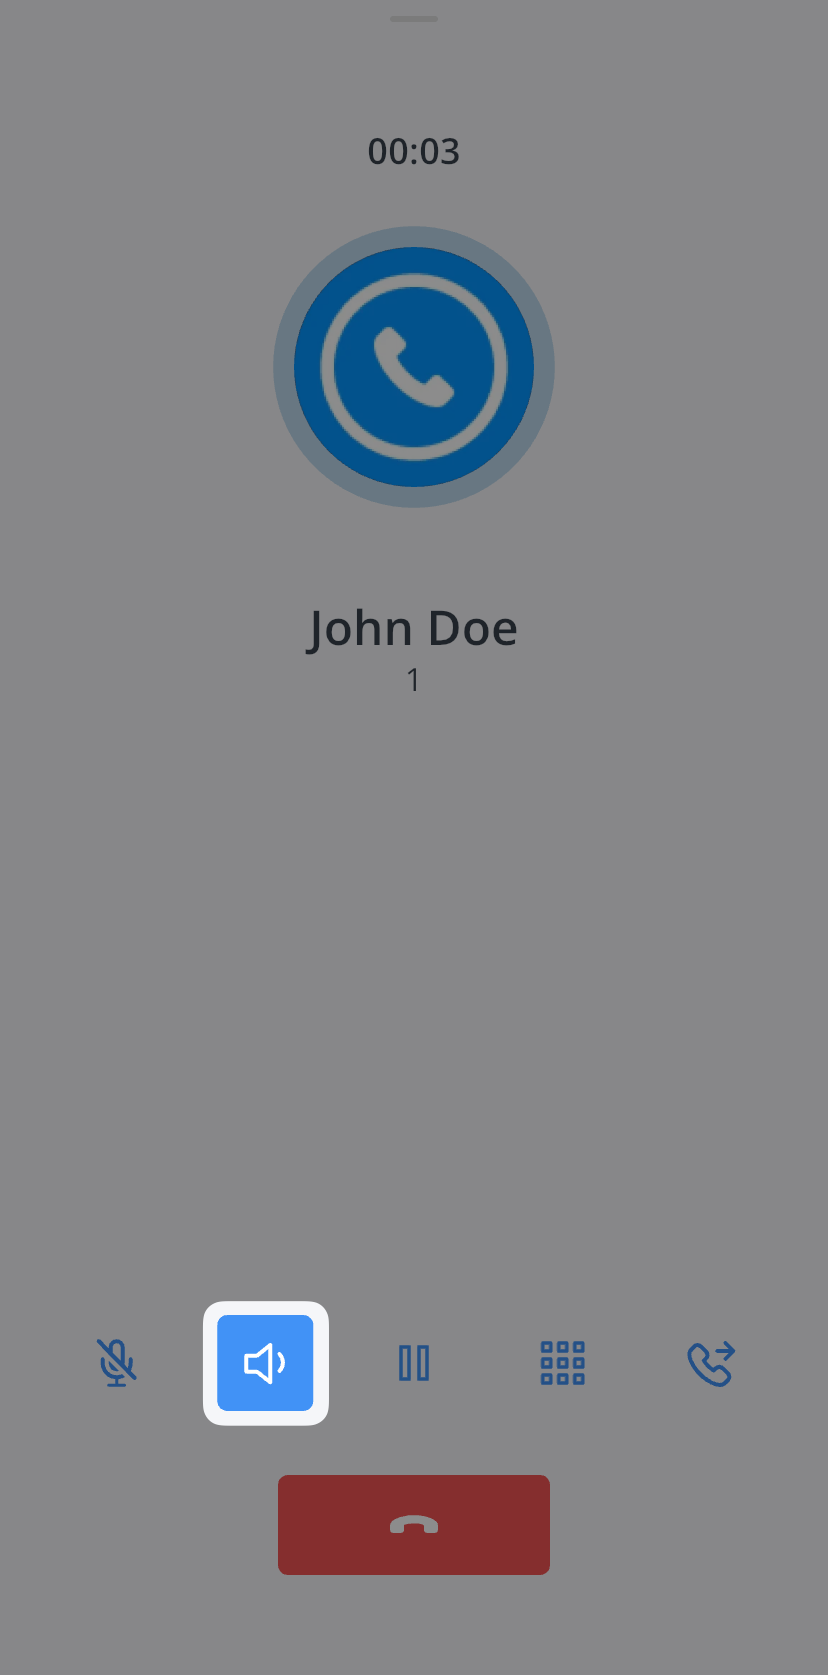
 .
Tap it to open the Output device sheet, where you can choose between Bluetooth accessories, the speaker, or the device earpiece.
.
Tap it to open the Output device sheet, where you can choose between Bluetooth accessories, the speaker, or the device earpiece.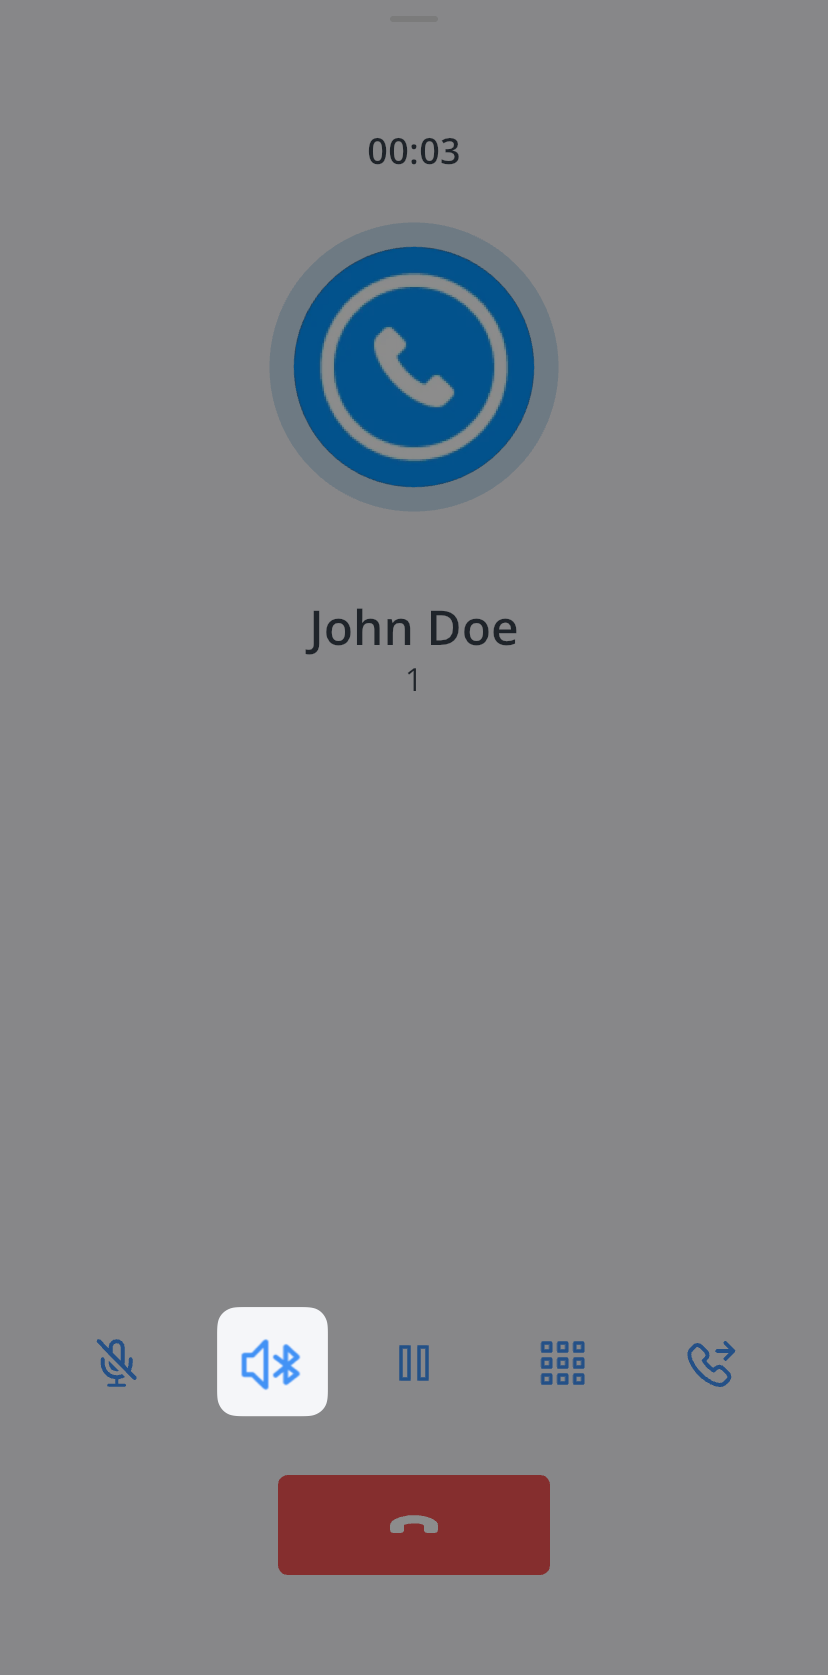


