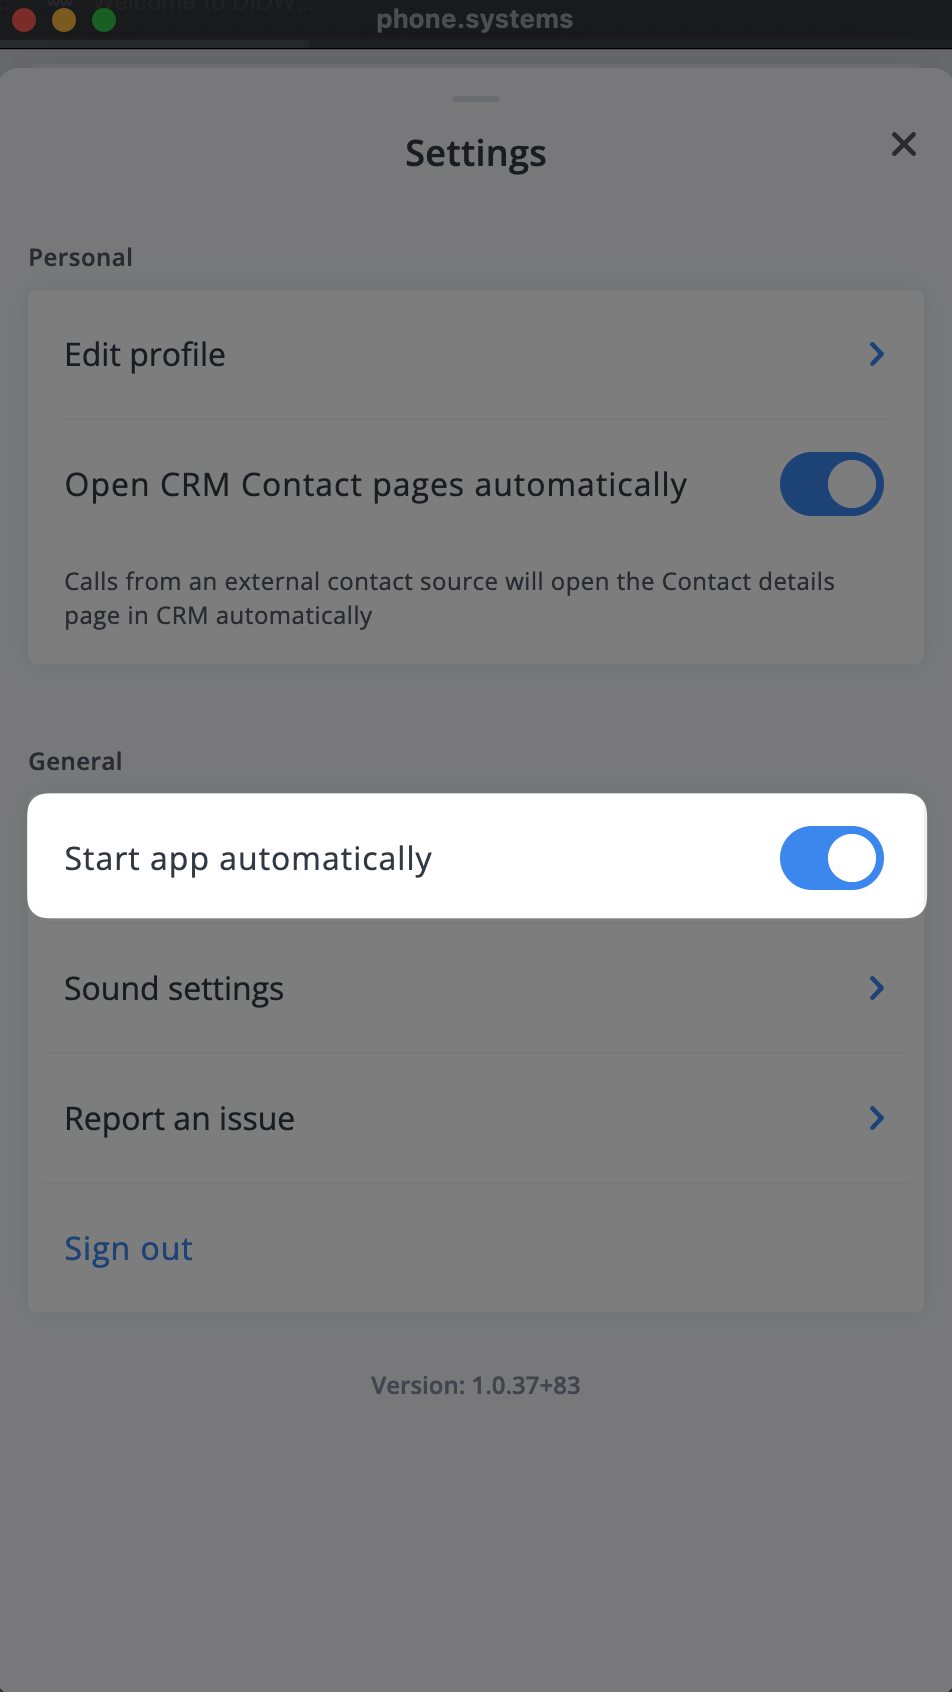
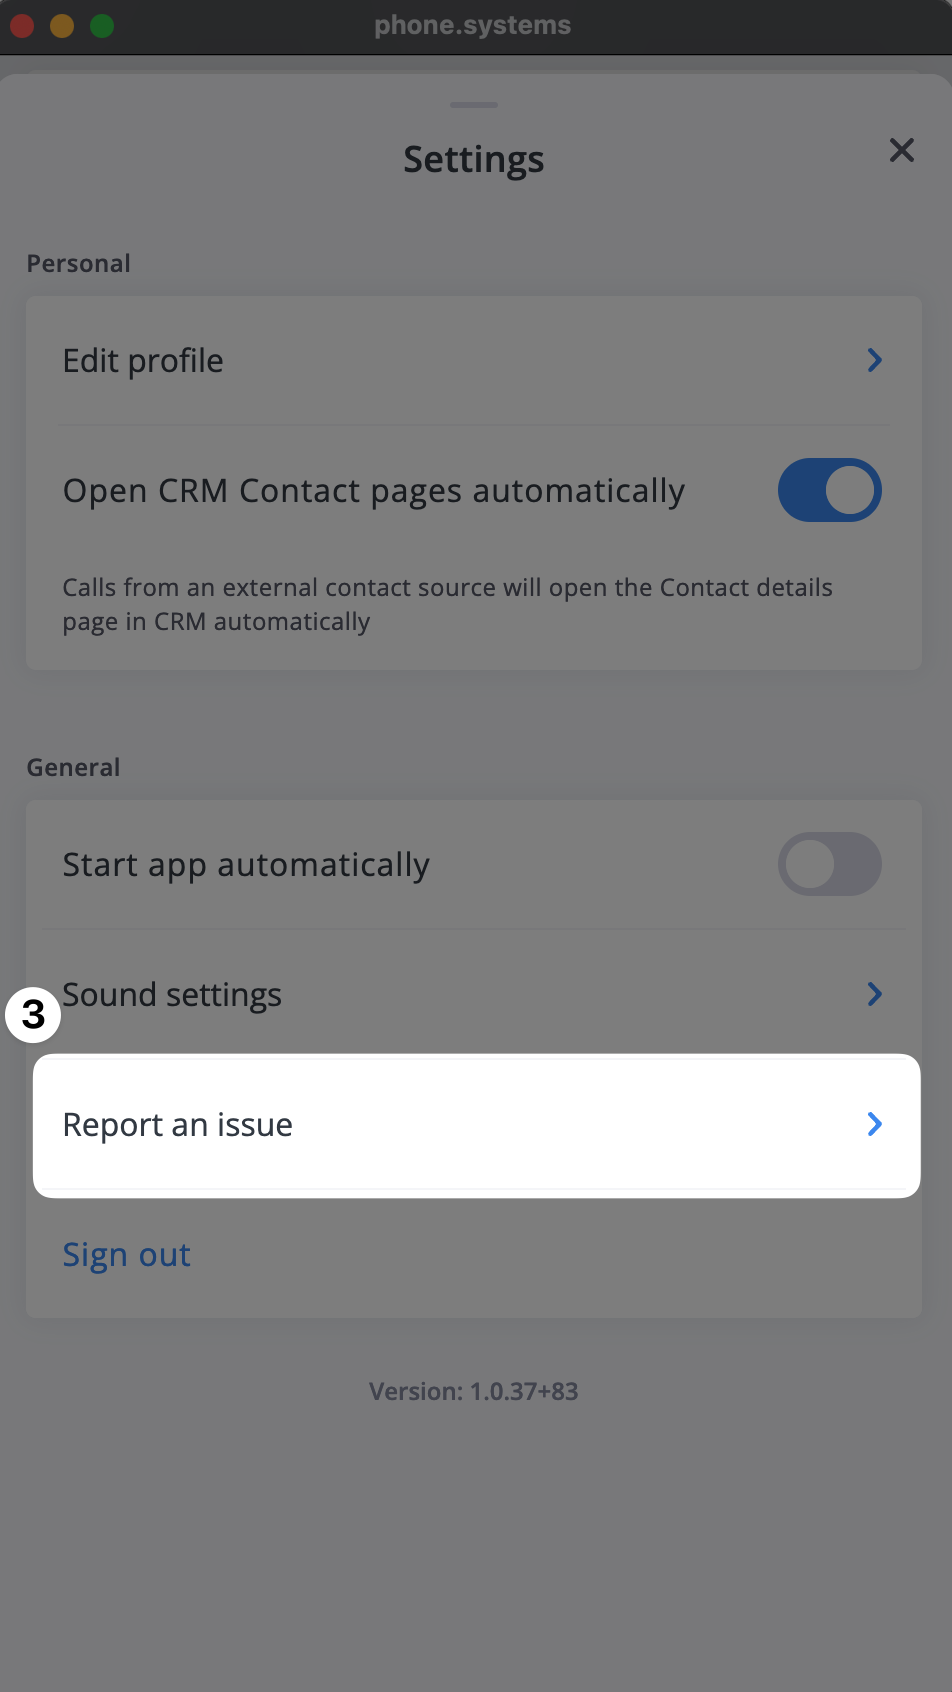
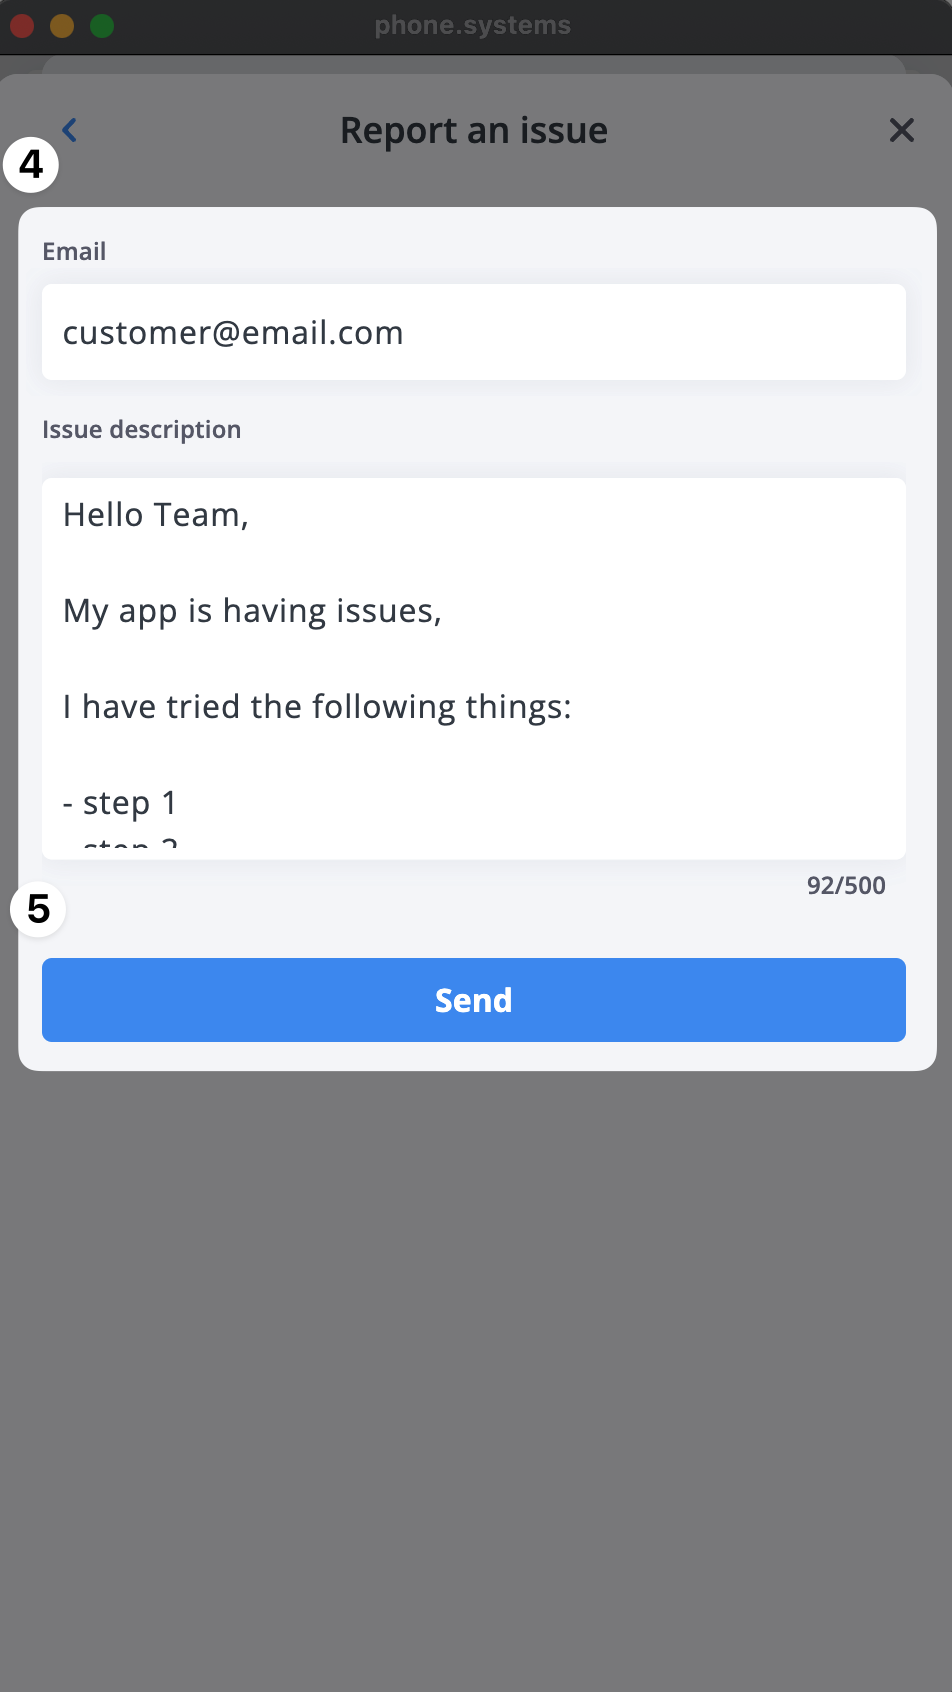
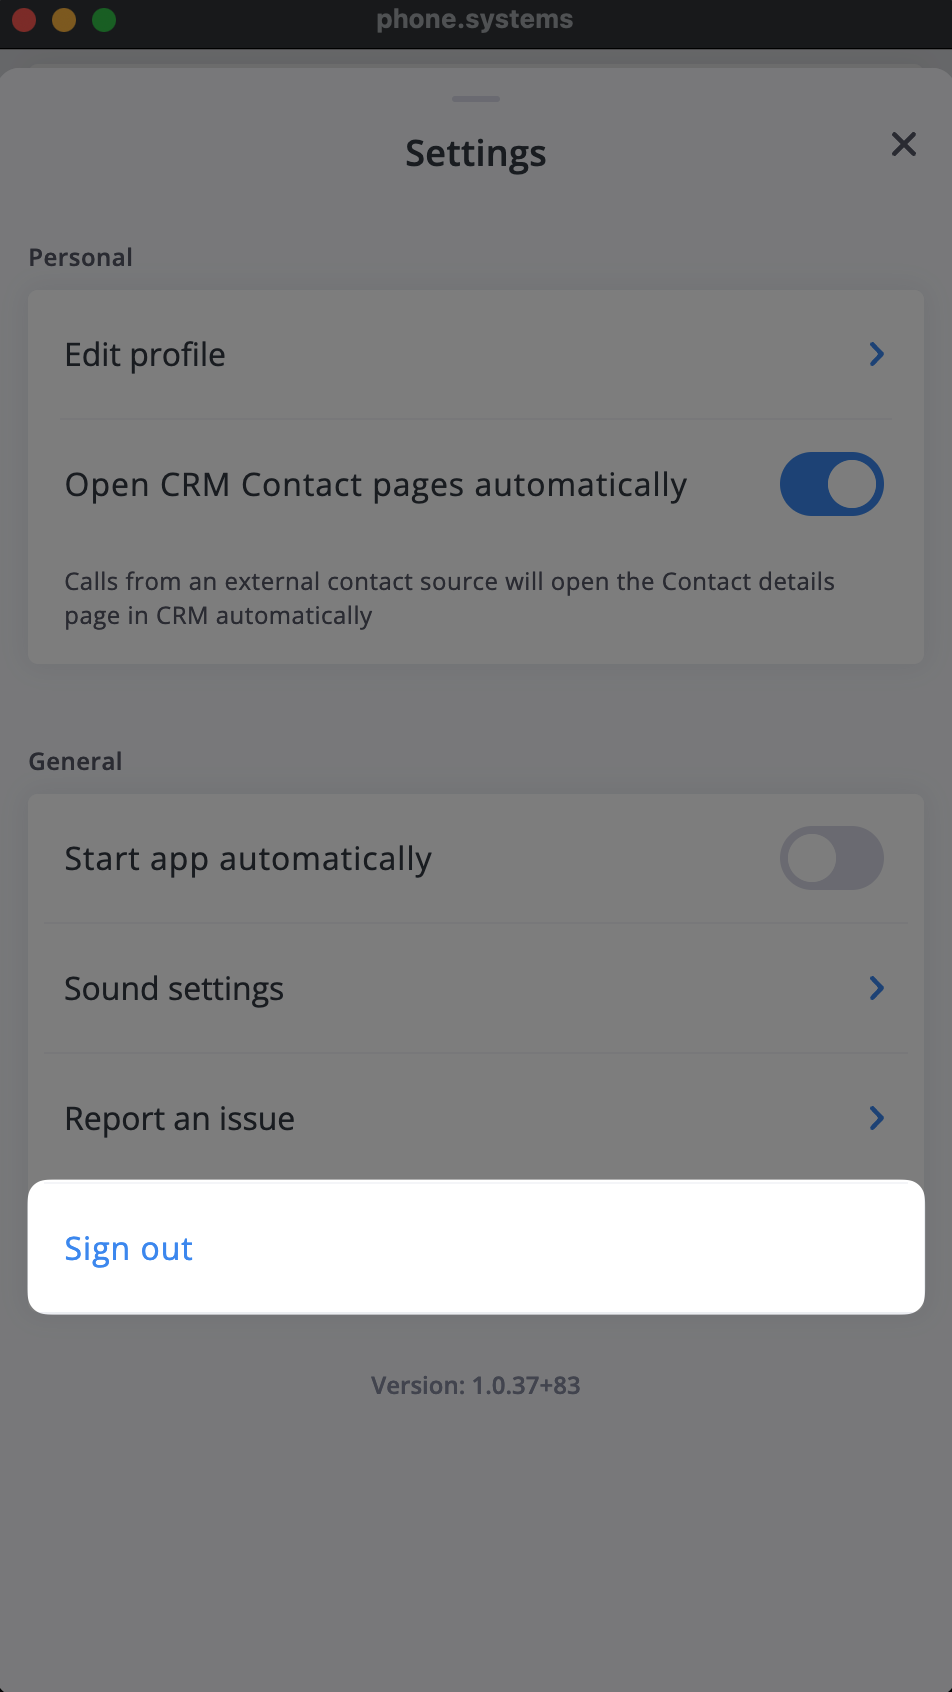
The phone.systems™ app provides a range of settings to help you customize and control your experience. Use the settings section to adjust preferences related to behavior, profile management, and notifications.
Use the following options to manage your app behavior, call handling, and profile settings:
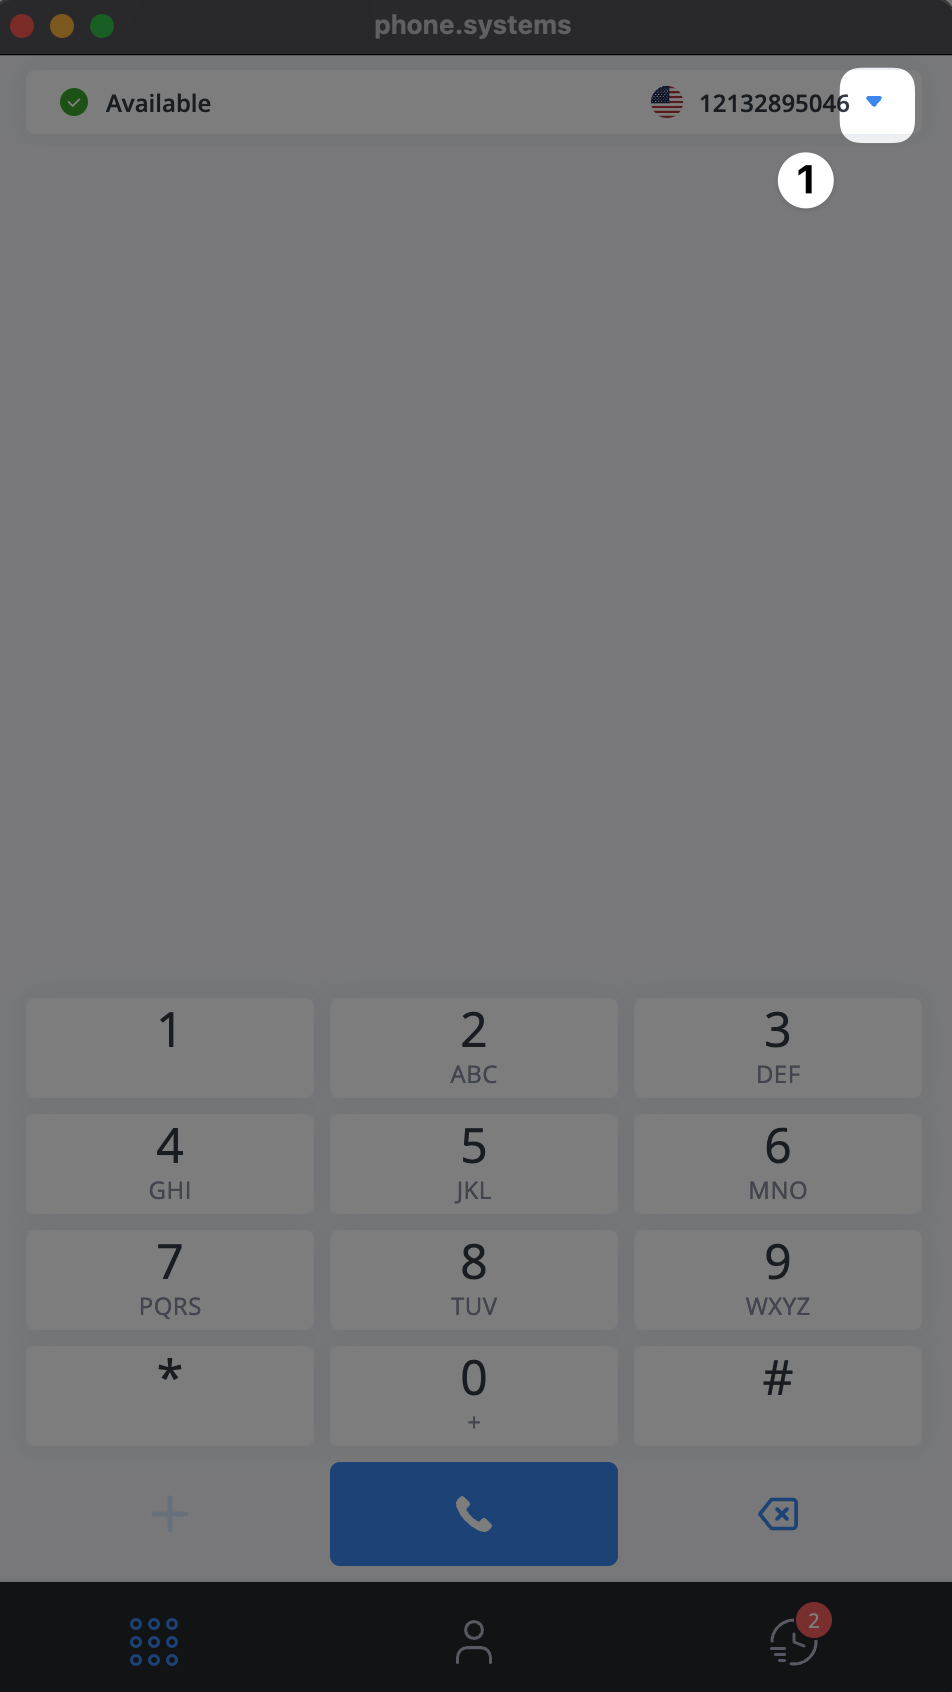
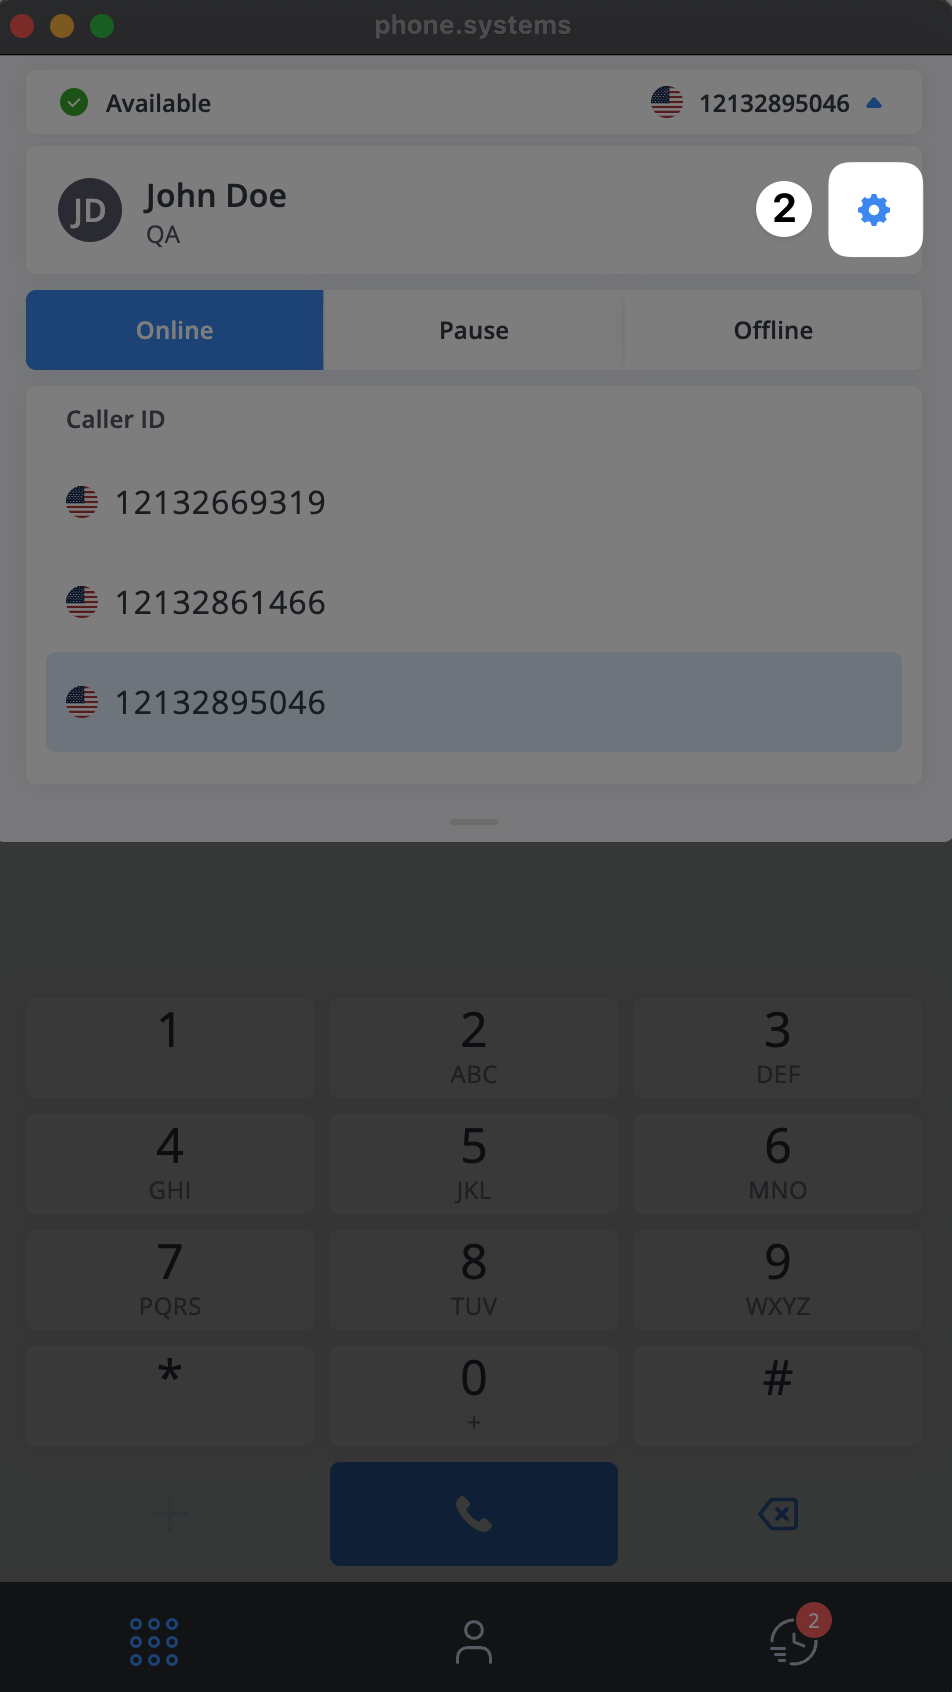
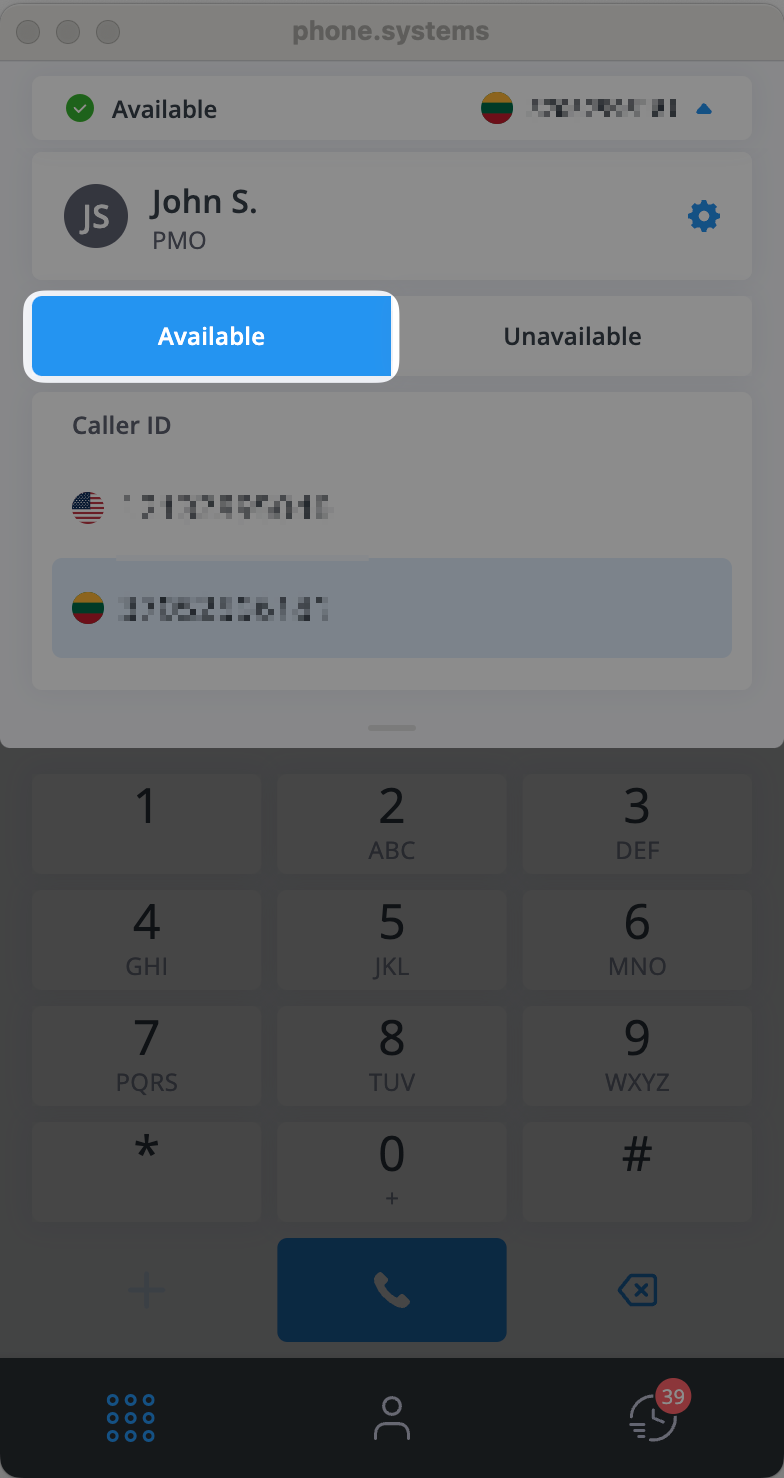
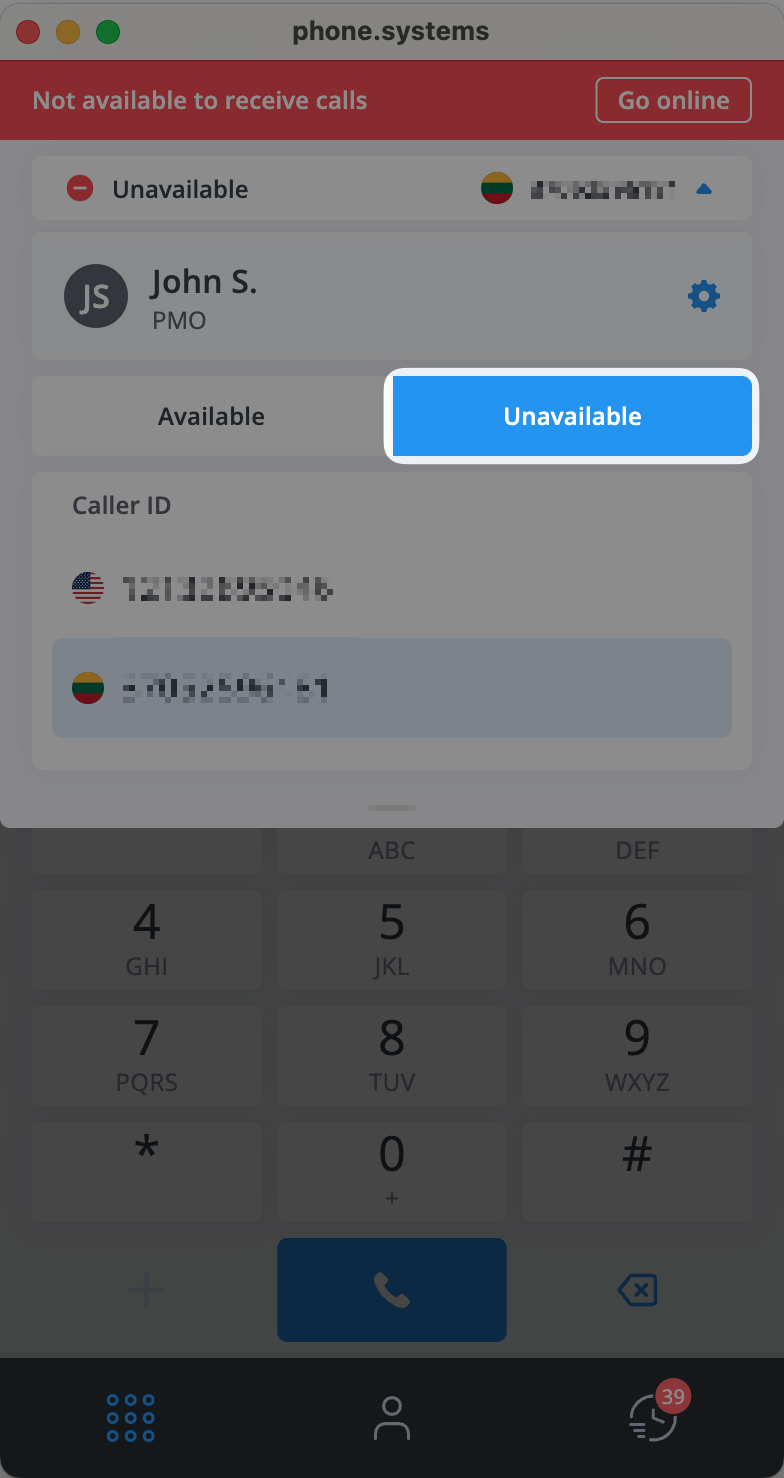
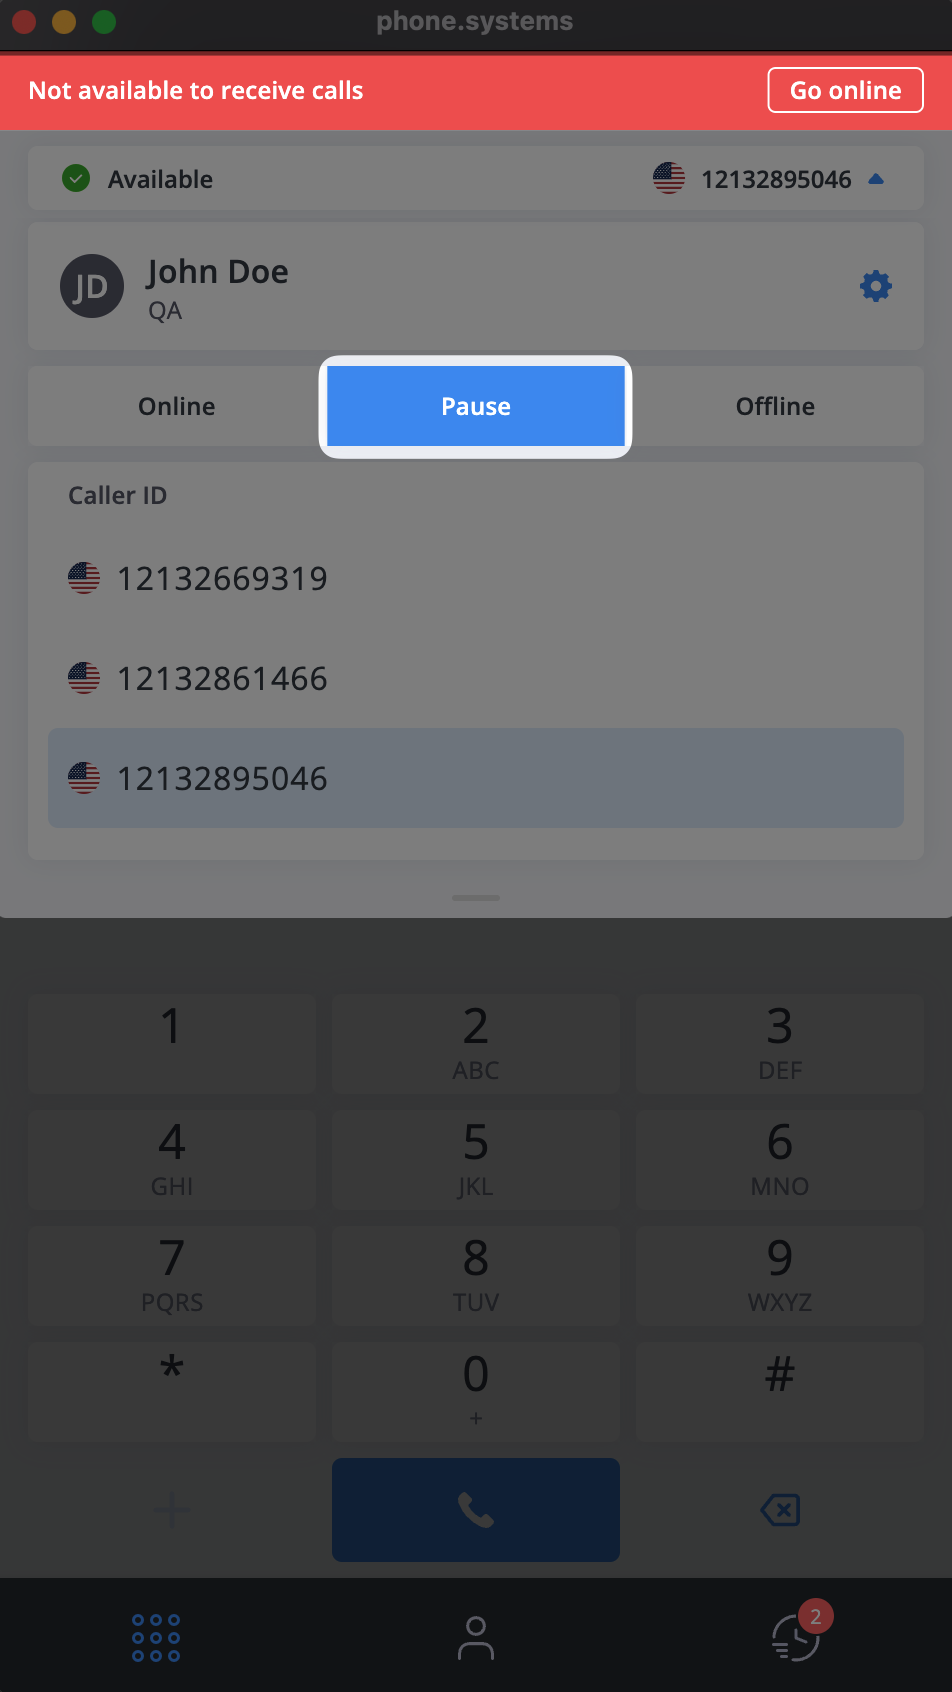
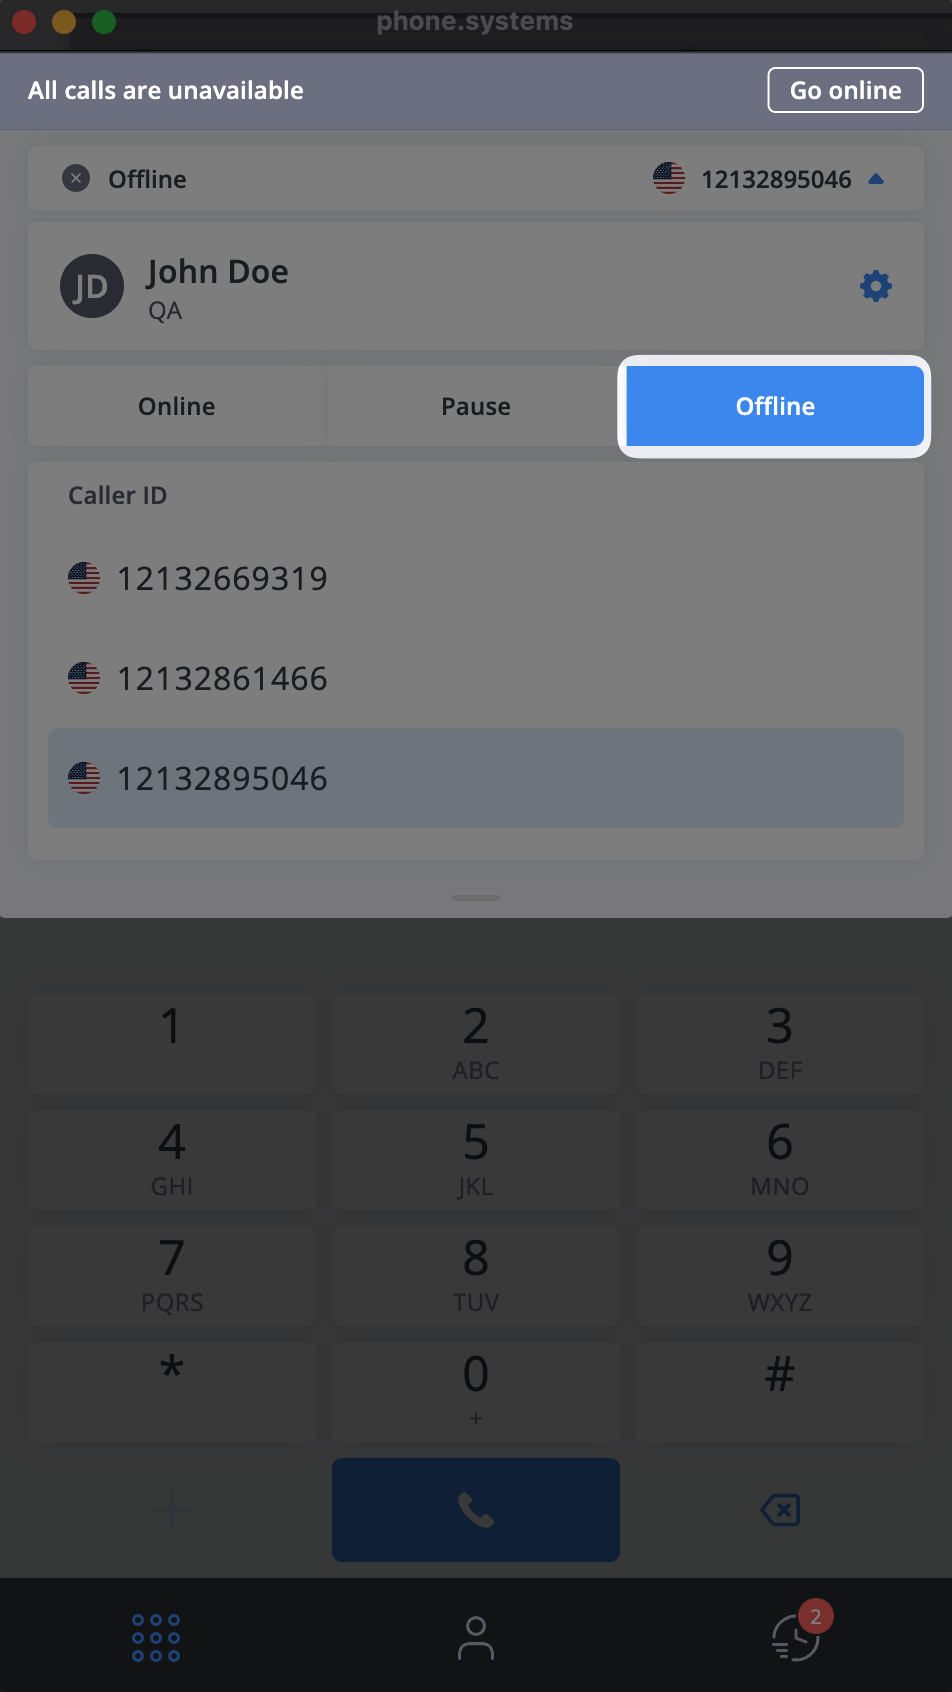
Change Application Status
Set your availability for calls by choosing Online, Pause, or Offline status.
In the phone.systems™ app, you can manually adjust your application status to control your availability for calls. This feature is useful for managing your presence during working hours, breaks, or when you’re unavailable.
To change your application status:
Tap the top bar to open the drop-down menu.
Choose one of the following options:
Available – You are available for inbound and outbound calls.
Unavailable – You are not available to receive calls.
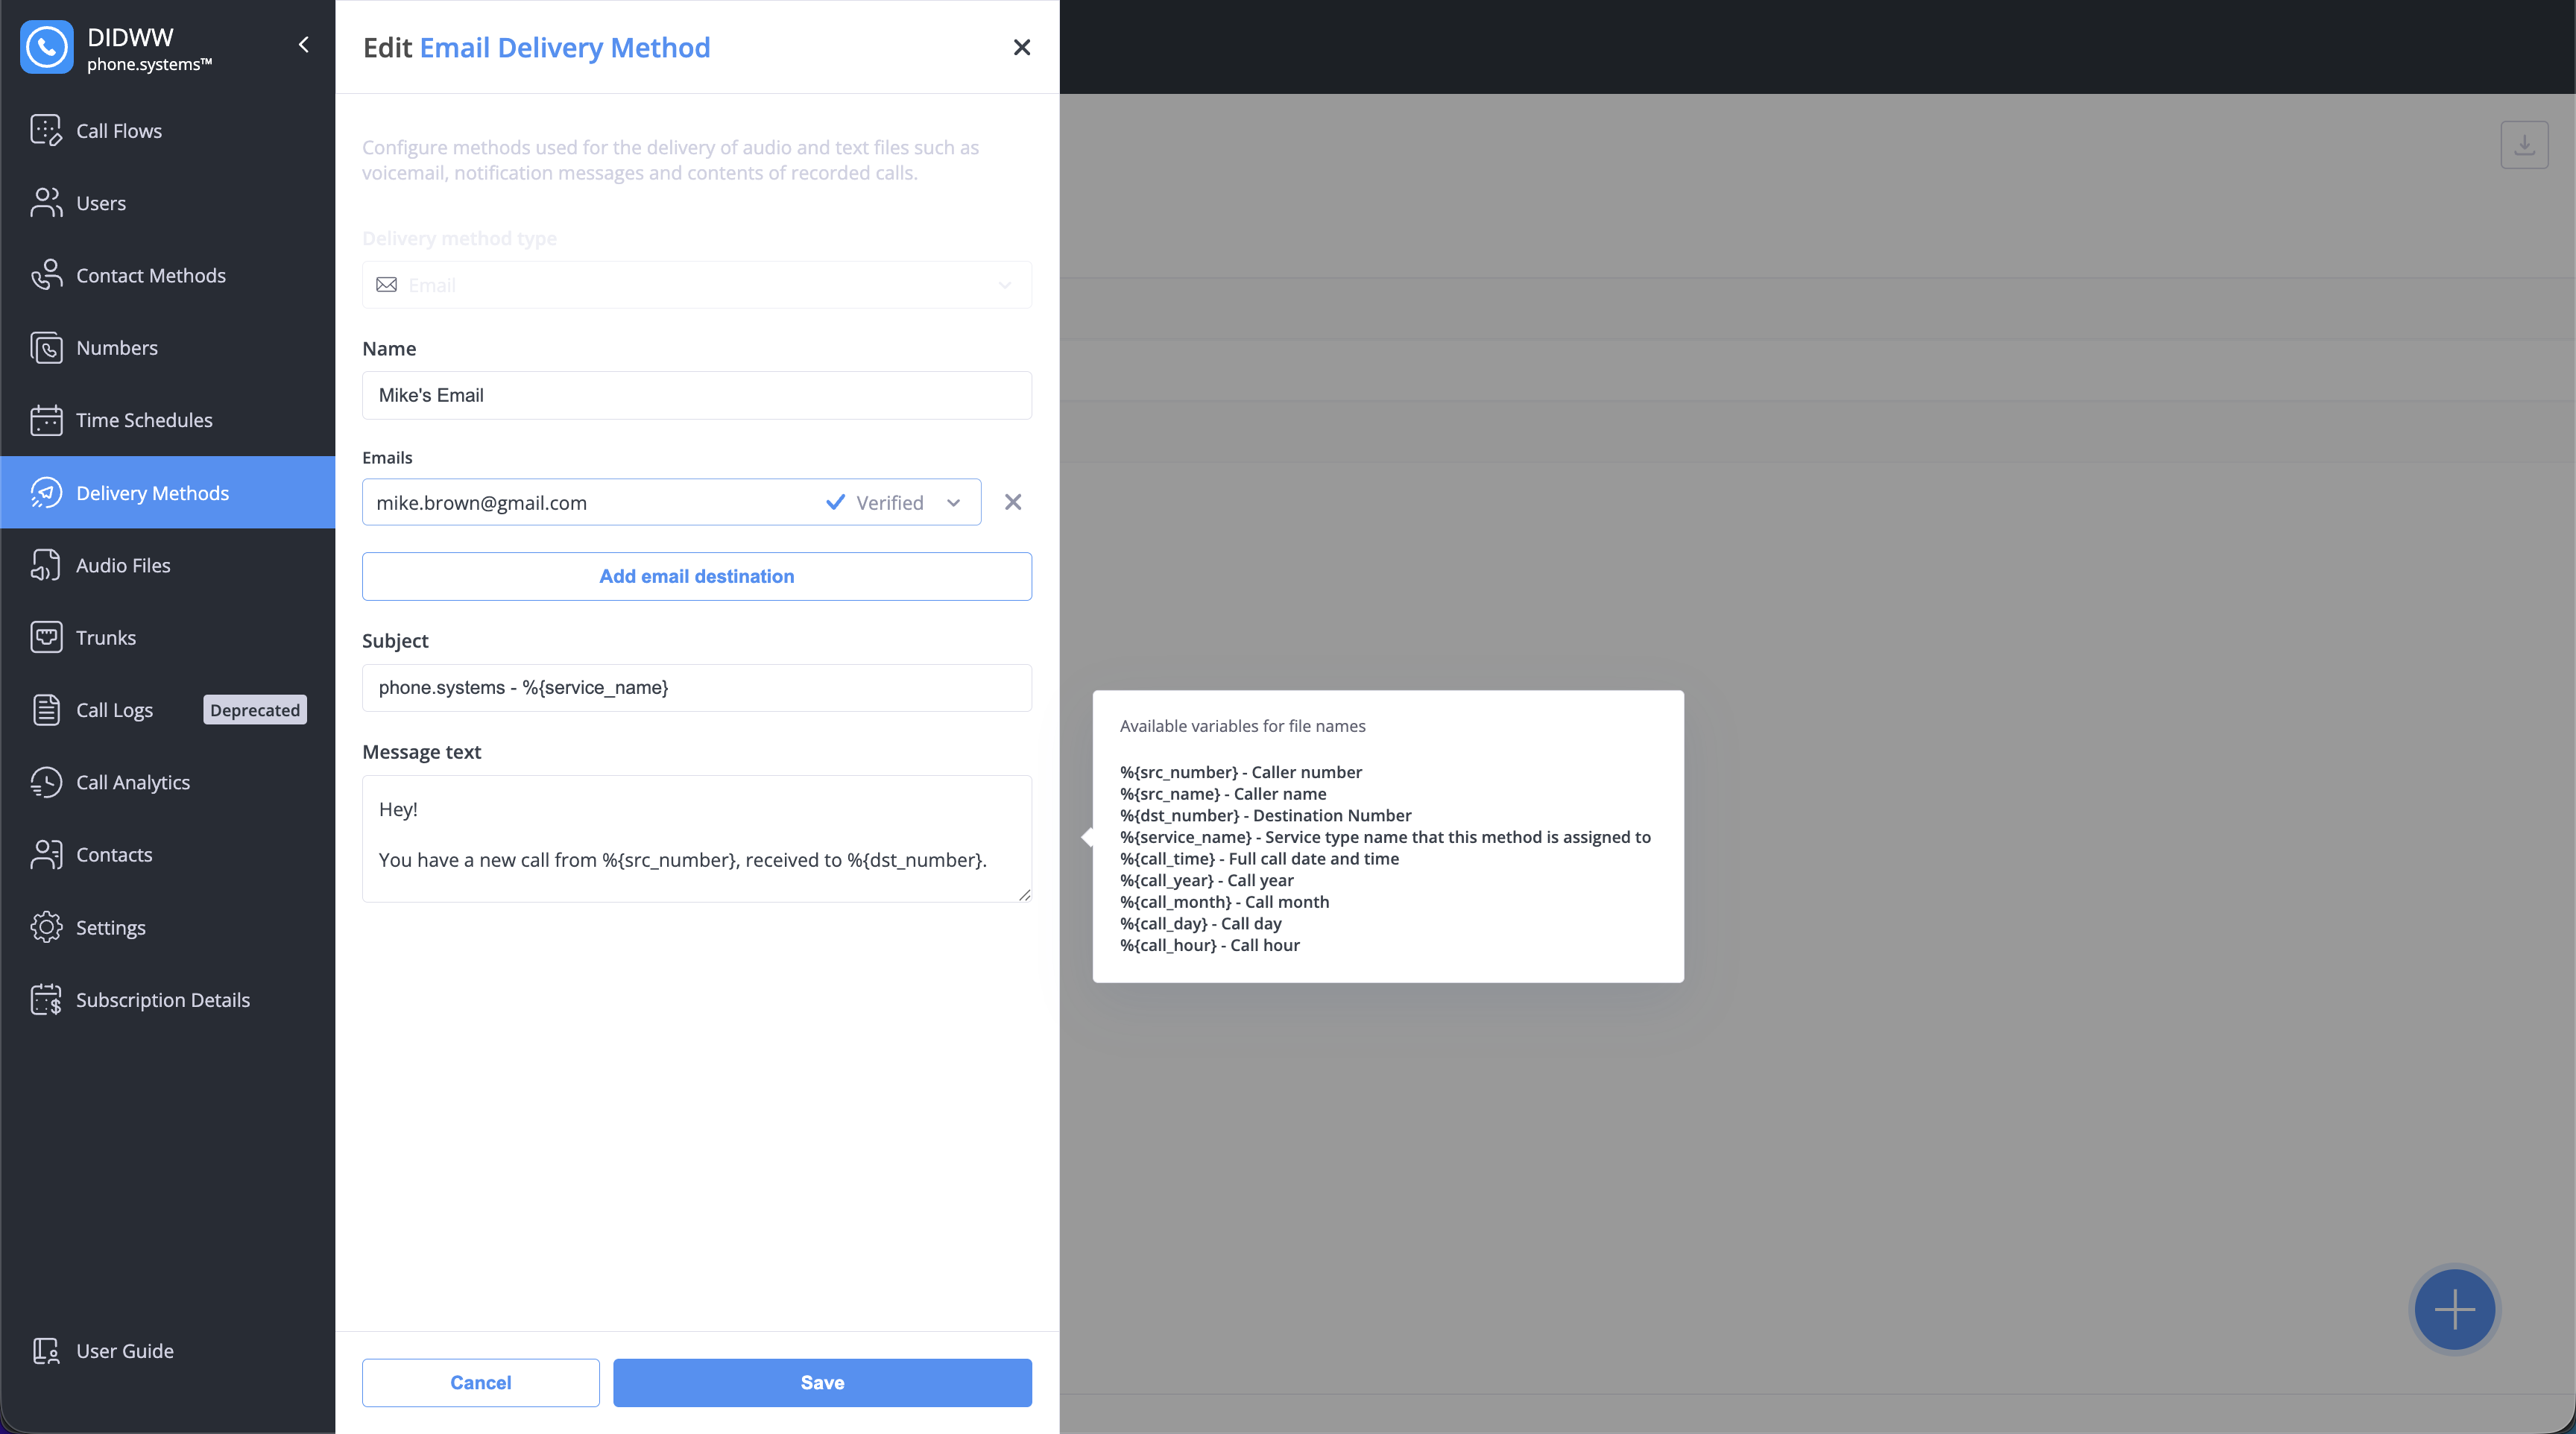
In the phone.systems™ app, you can configure and switch your outbound caller ID—the number shown to recipients when you place a call.
If your user account has access to multiple caller IDs (numbers assigned by your administrator), the app lets you choose which one to use for outgoing calls.
To switch your outbound caller ID:
Tap the top bar of the app to open the drop-down menu.
From the list of available caller IDs, select the one you want to use.
The active caller ID will appear in the top-right corner of the interface.
The Personal section contains settings related to your user profile and CRM integration. These options help personalize how the application behaves during communication events.
Use the shortcuts below to access specific personal settings:
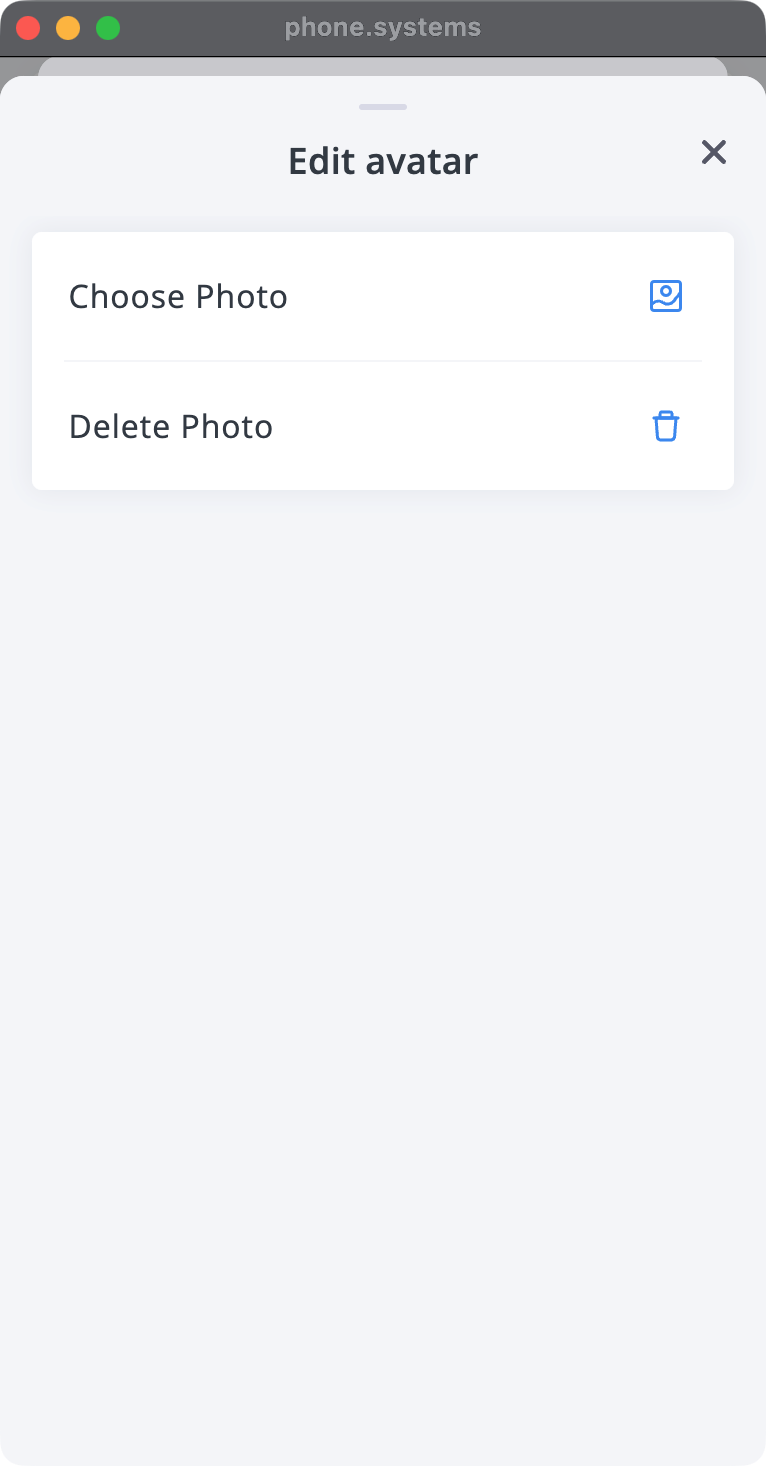
Edit profile
Update your personal information, including your name, job title, and department.
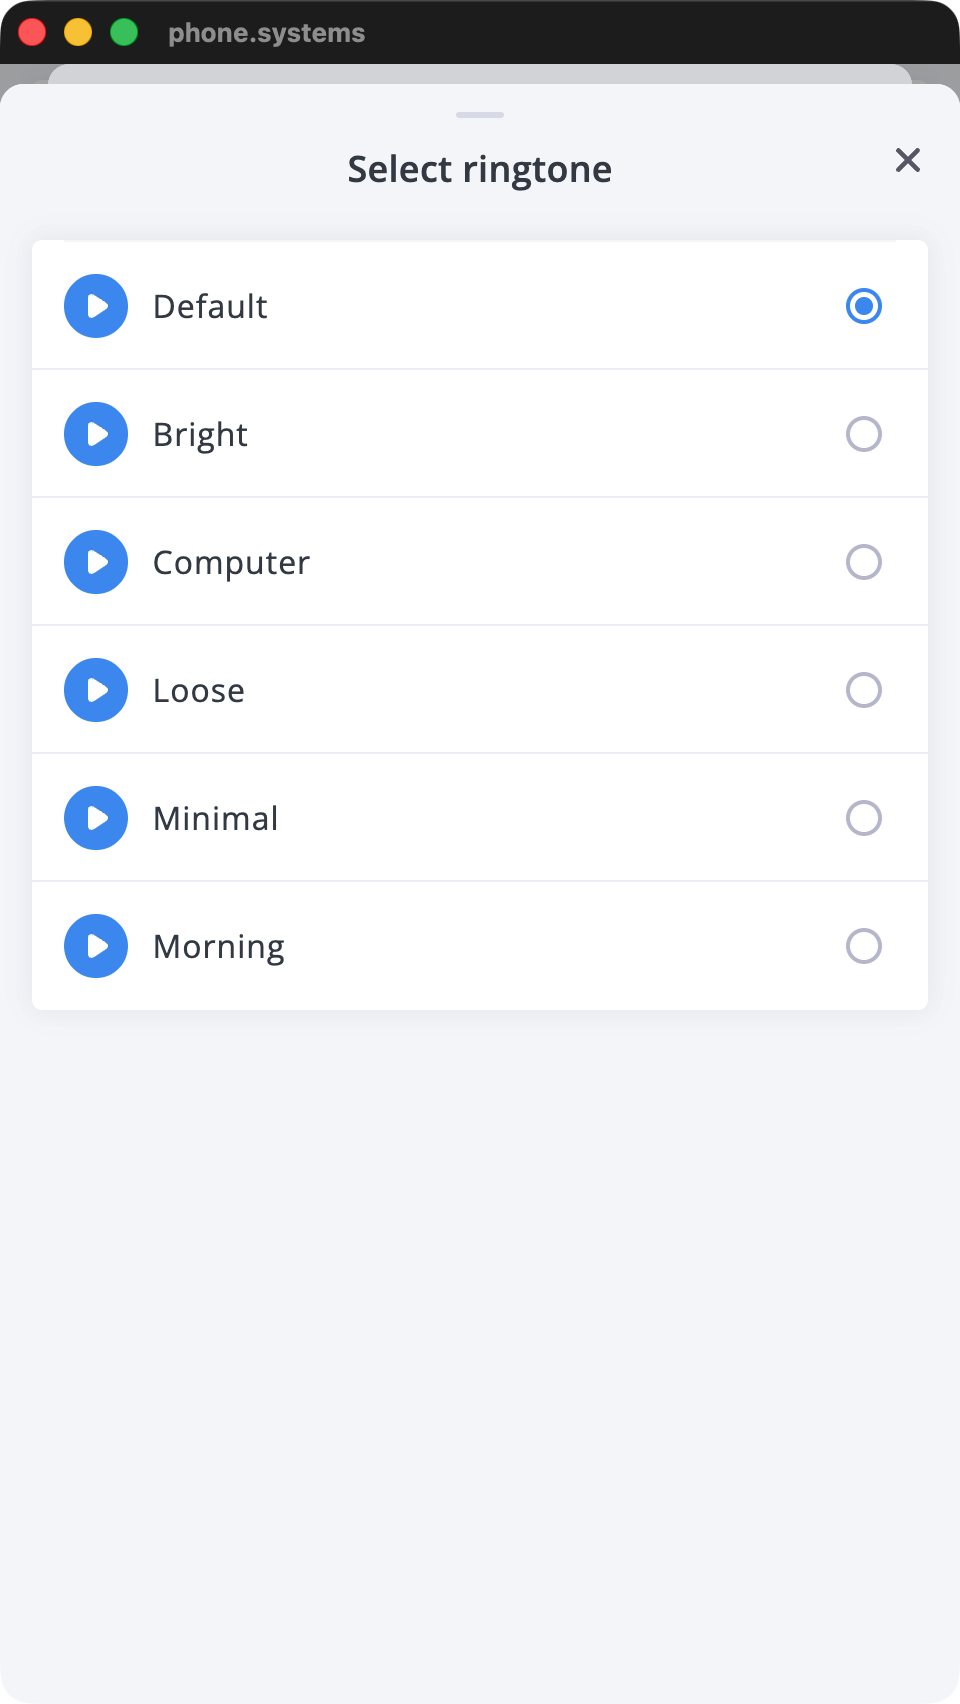
The Language setting allows you to customize the interface of the phone.systems™ app.
Changing the language updates all in-app menus, buttons, and labels.
icon to open the Settings panel.


icon.