Termination Gateways#
Termination Gateways define how phone.systems™ sends outbound SIP traffic to external destinations, such as third-party SIP termination providers or PSTN networks.
Each termination gateway represents a connection to a provider used for outbound calling and is configured under the Trunks section.
To access and manage termination gateways, click Trunks in the sidebar menu and select the Termination Gateways tab.
Fig. 1. Termination Gateways#
Creating Termination Gateways#
To create a new termination gateway:
Go to the Termination Gateways tab under Trunks.
Click the
 button in the lower-right corner to open the Create Termination Gateway window.

Fig. 2. Creating a termination gateway#
General Settings#
The General Settings section defines the core connectivity and authentication parameters used for outbound calls.
Setting |
Description |
|---|---|
Name |
A friendly name for this gateway. |
Network Protocol |
Specifies the network protocol configuration:
|
Transport Protocol |
Specifies the SIP transport method. Available options are:
|
Username |
The username used to authenticate the gateway. |
Password |
The password used for authenticating the gateway. |
Host |
The IP address or domain name of the gateway. |
Port |
The port used on this gateway. Defaults to |
Allowed Codecs |
Multiple codecs may be selected for call negotiation. Options include:
|
Note
The codec priority may be arranged by dragging the listed codecs into the required position, with the left-most codec being of the highest priority.
Important
To use DTMF functions such as Interactive Menu options or Feature Codes, ensure that telephone-event is included in the Allowed Codecs list.
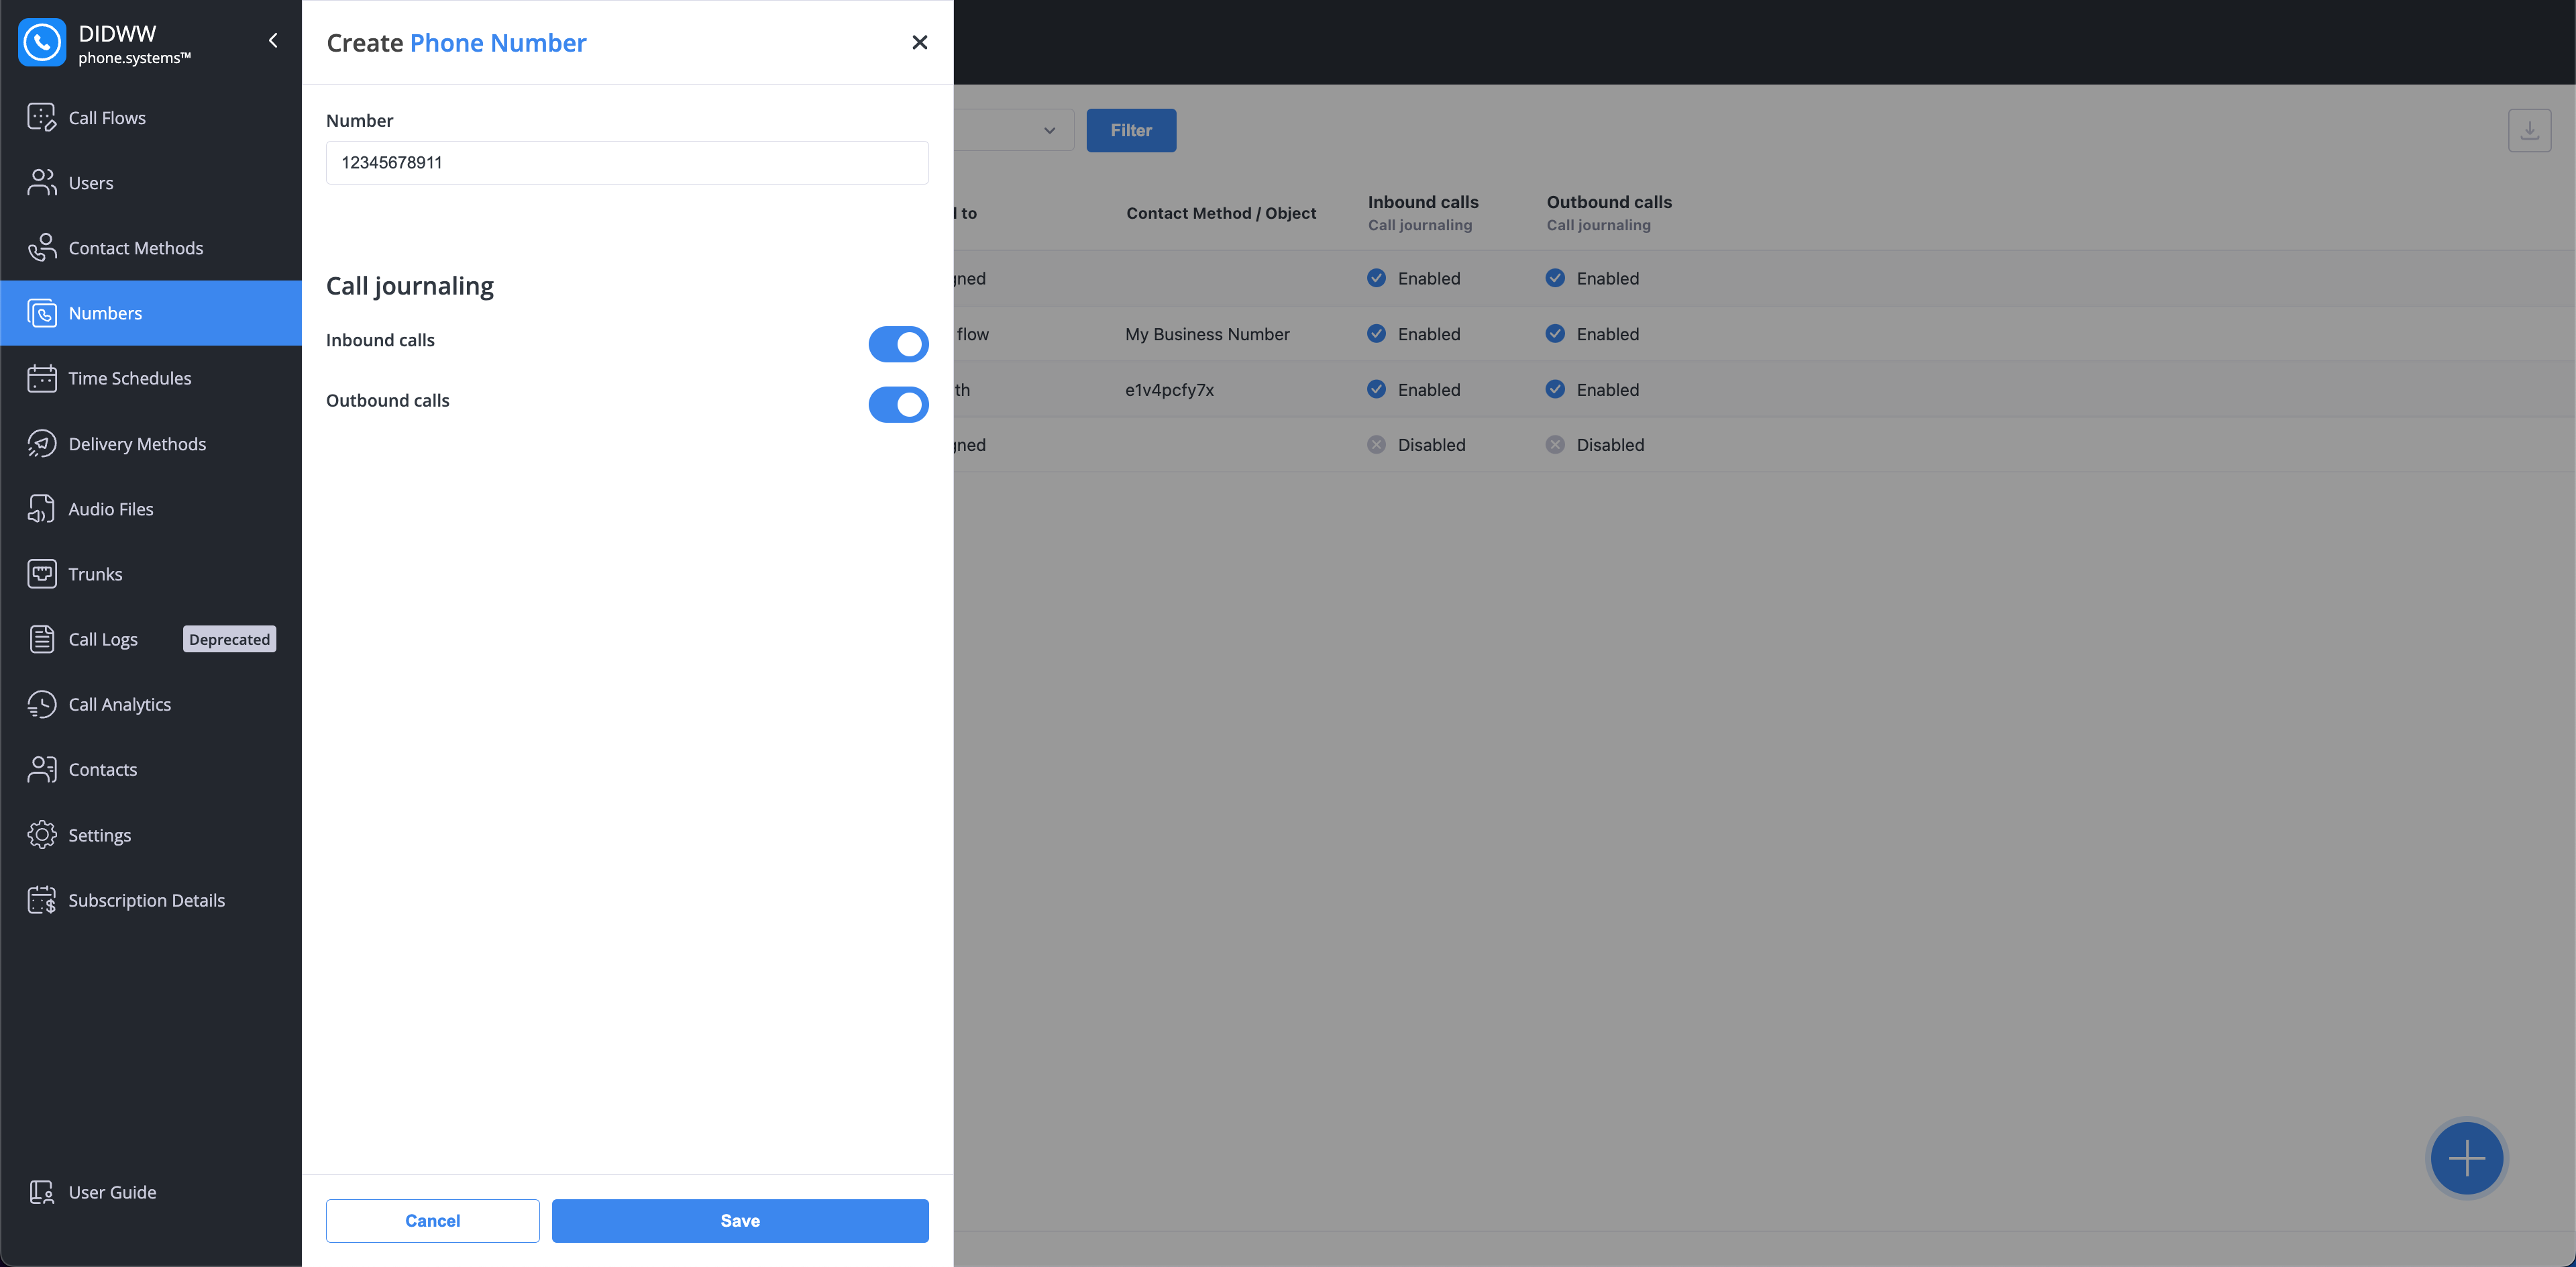
Fig. 3. Termination gateway general settings#
CLI Rules#
CLI Rules are used to automatically modify the source and destination numbers sent to the termination gateway. This allows you to add or remove prefixes, or rewrite numbers per gateway.
Field |
Description |
|---|---|
SRC Name Rewrite Rule |
POSIX Regular Expression pattern used to match the Source Caller Name. |
SRC Name Rewrite Result |
Replacement text applied when the Rewrite Rule matches. |
DST Rewrite Rule |
POSIX Regular Expression pattern used to match the destination number. |
DST Rewrite Result |
Replacement text applied when the Rewrite Rule matches. |
Note
Knowledge of POSIX Regular Expressions is required to configure CLI Rules.
After completing the configuration, click Save to create the termination gateway.

Fig. 4. CLI Rules#
Editing Termination Gateways#
In the Termination Gateways list, click the Actions button next to the gateway you want to modify.
Select Edit to open the Edit Termination Gateway window.
Fig. 5. Opening the Edit window for a termination gateway#
Adjust the settings in the General Settings or CLI Rules sections as required.
Click Save to apply your changes.
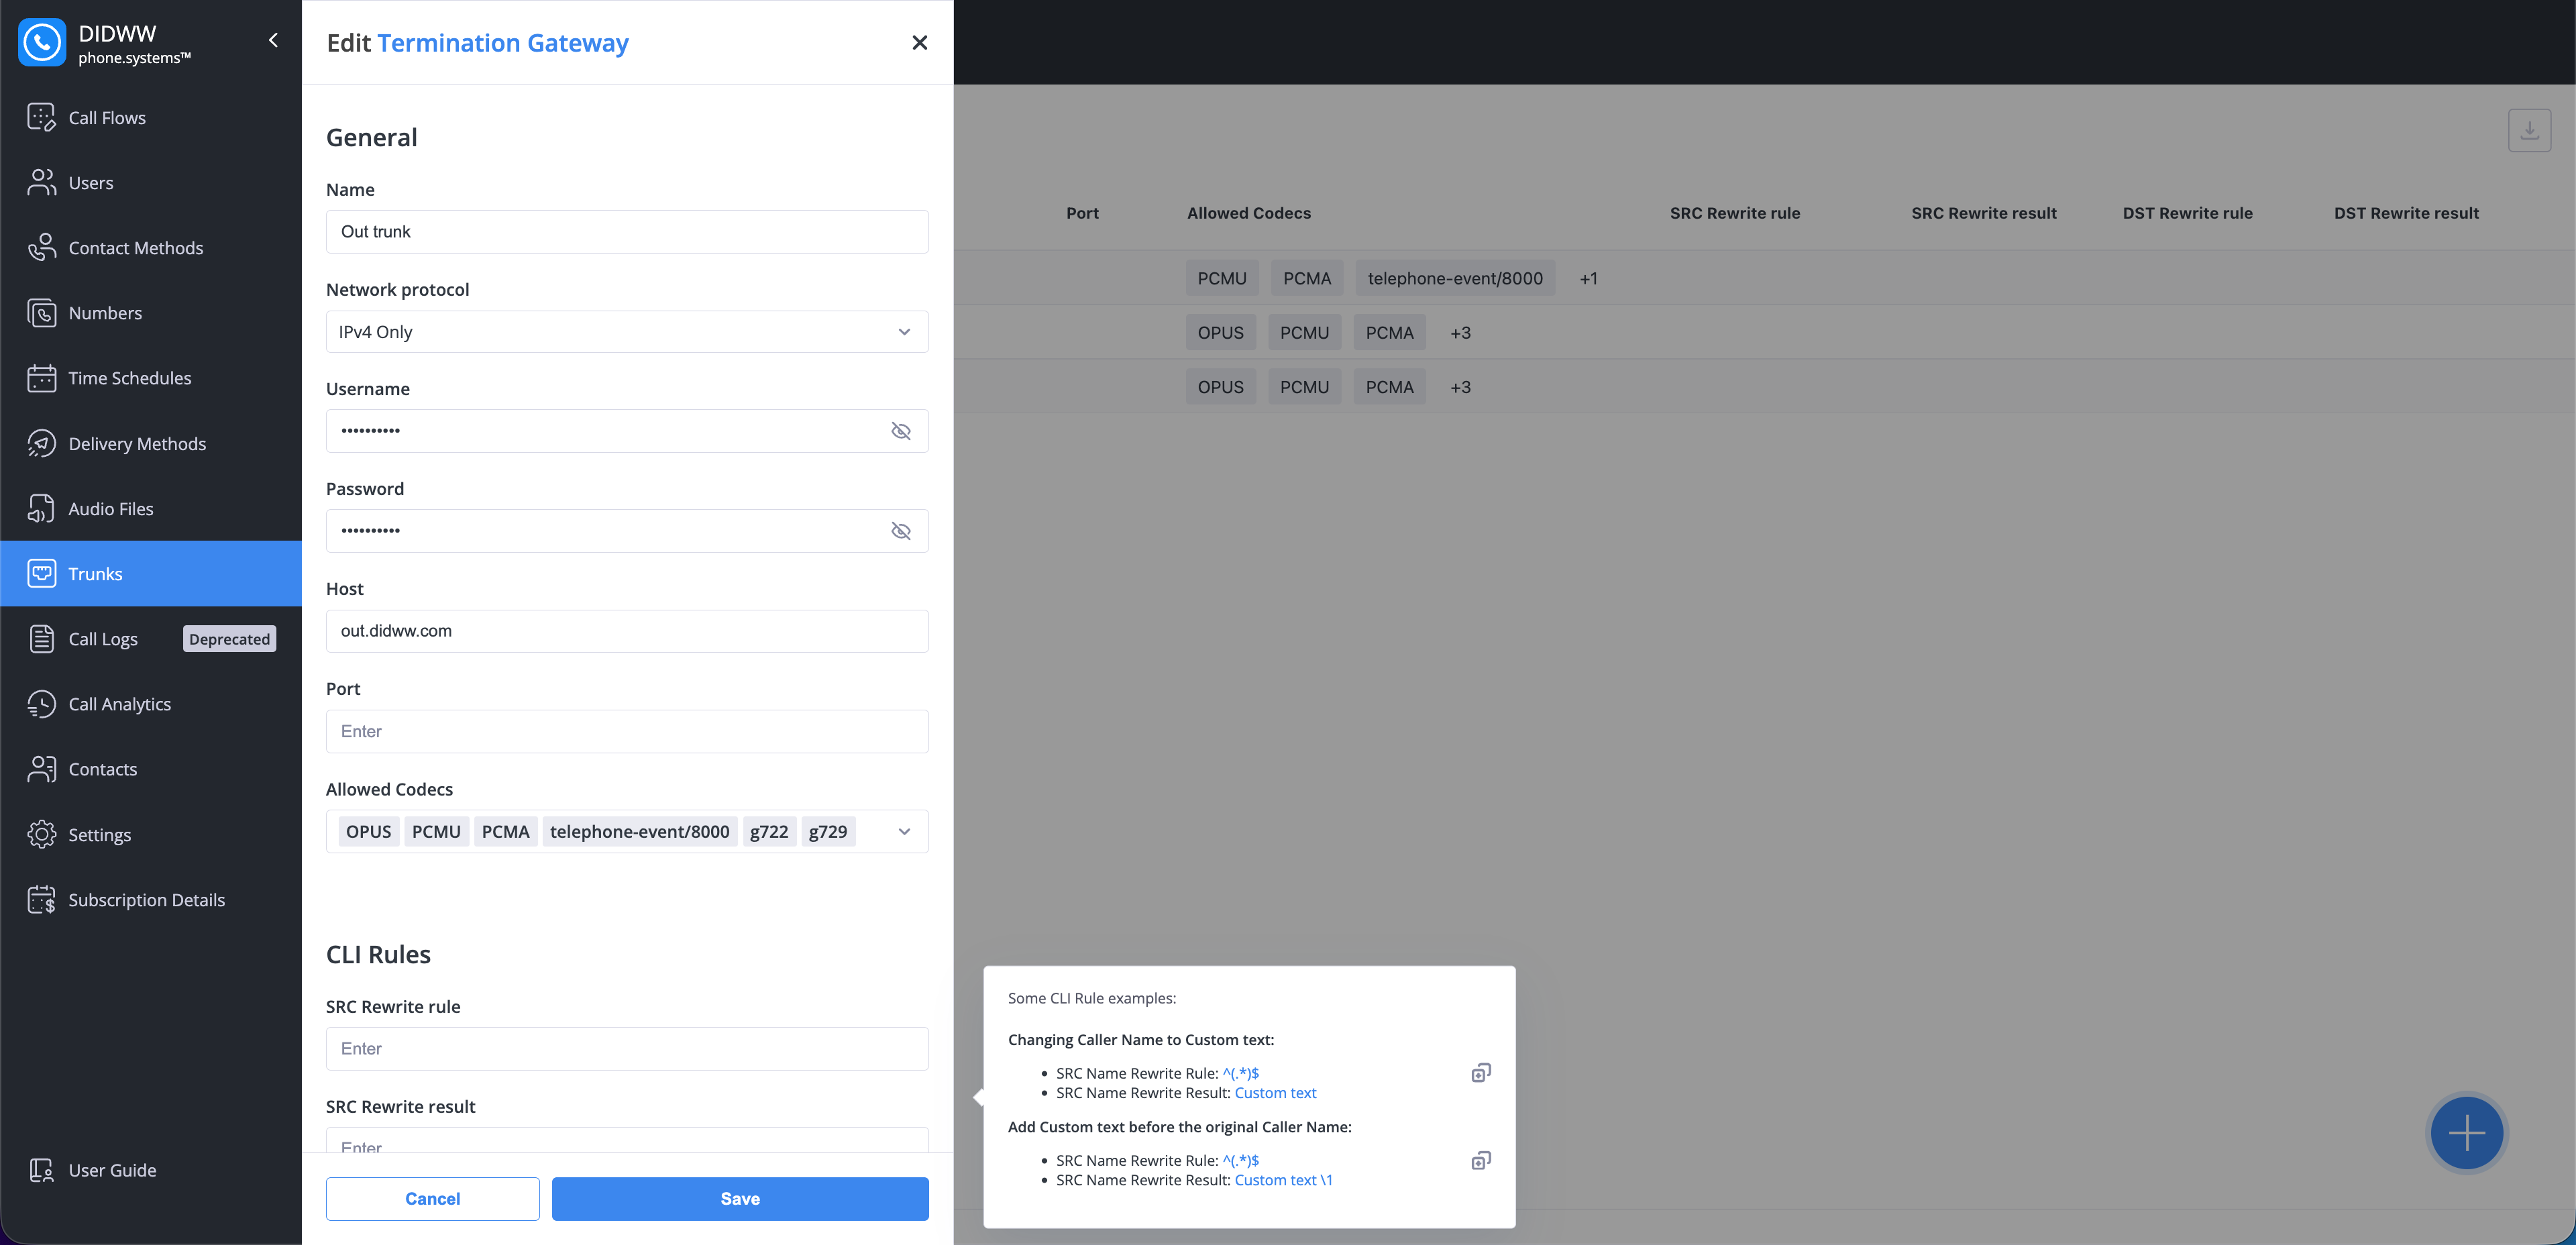
Fig. 6. Editing a termination gateway#
Termination Gateway Relations#
The Relations view provides an overview of all configurations associated with the termination gateway.
To access it:
In the Termination Gateways list, click the Actions button next to the gateway.
Select Relations.
Fig. 7. Opening Relations for a termination gateway#
This view shows related configurations, such as Termination Routes.
To navigate to the related section, click the
 icon next to the relation.
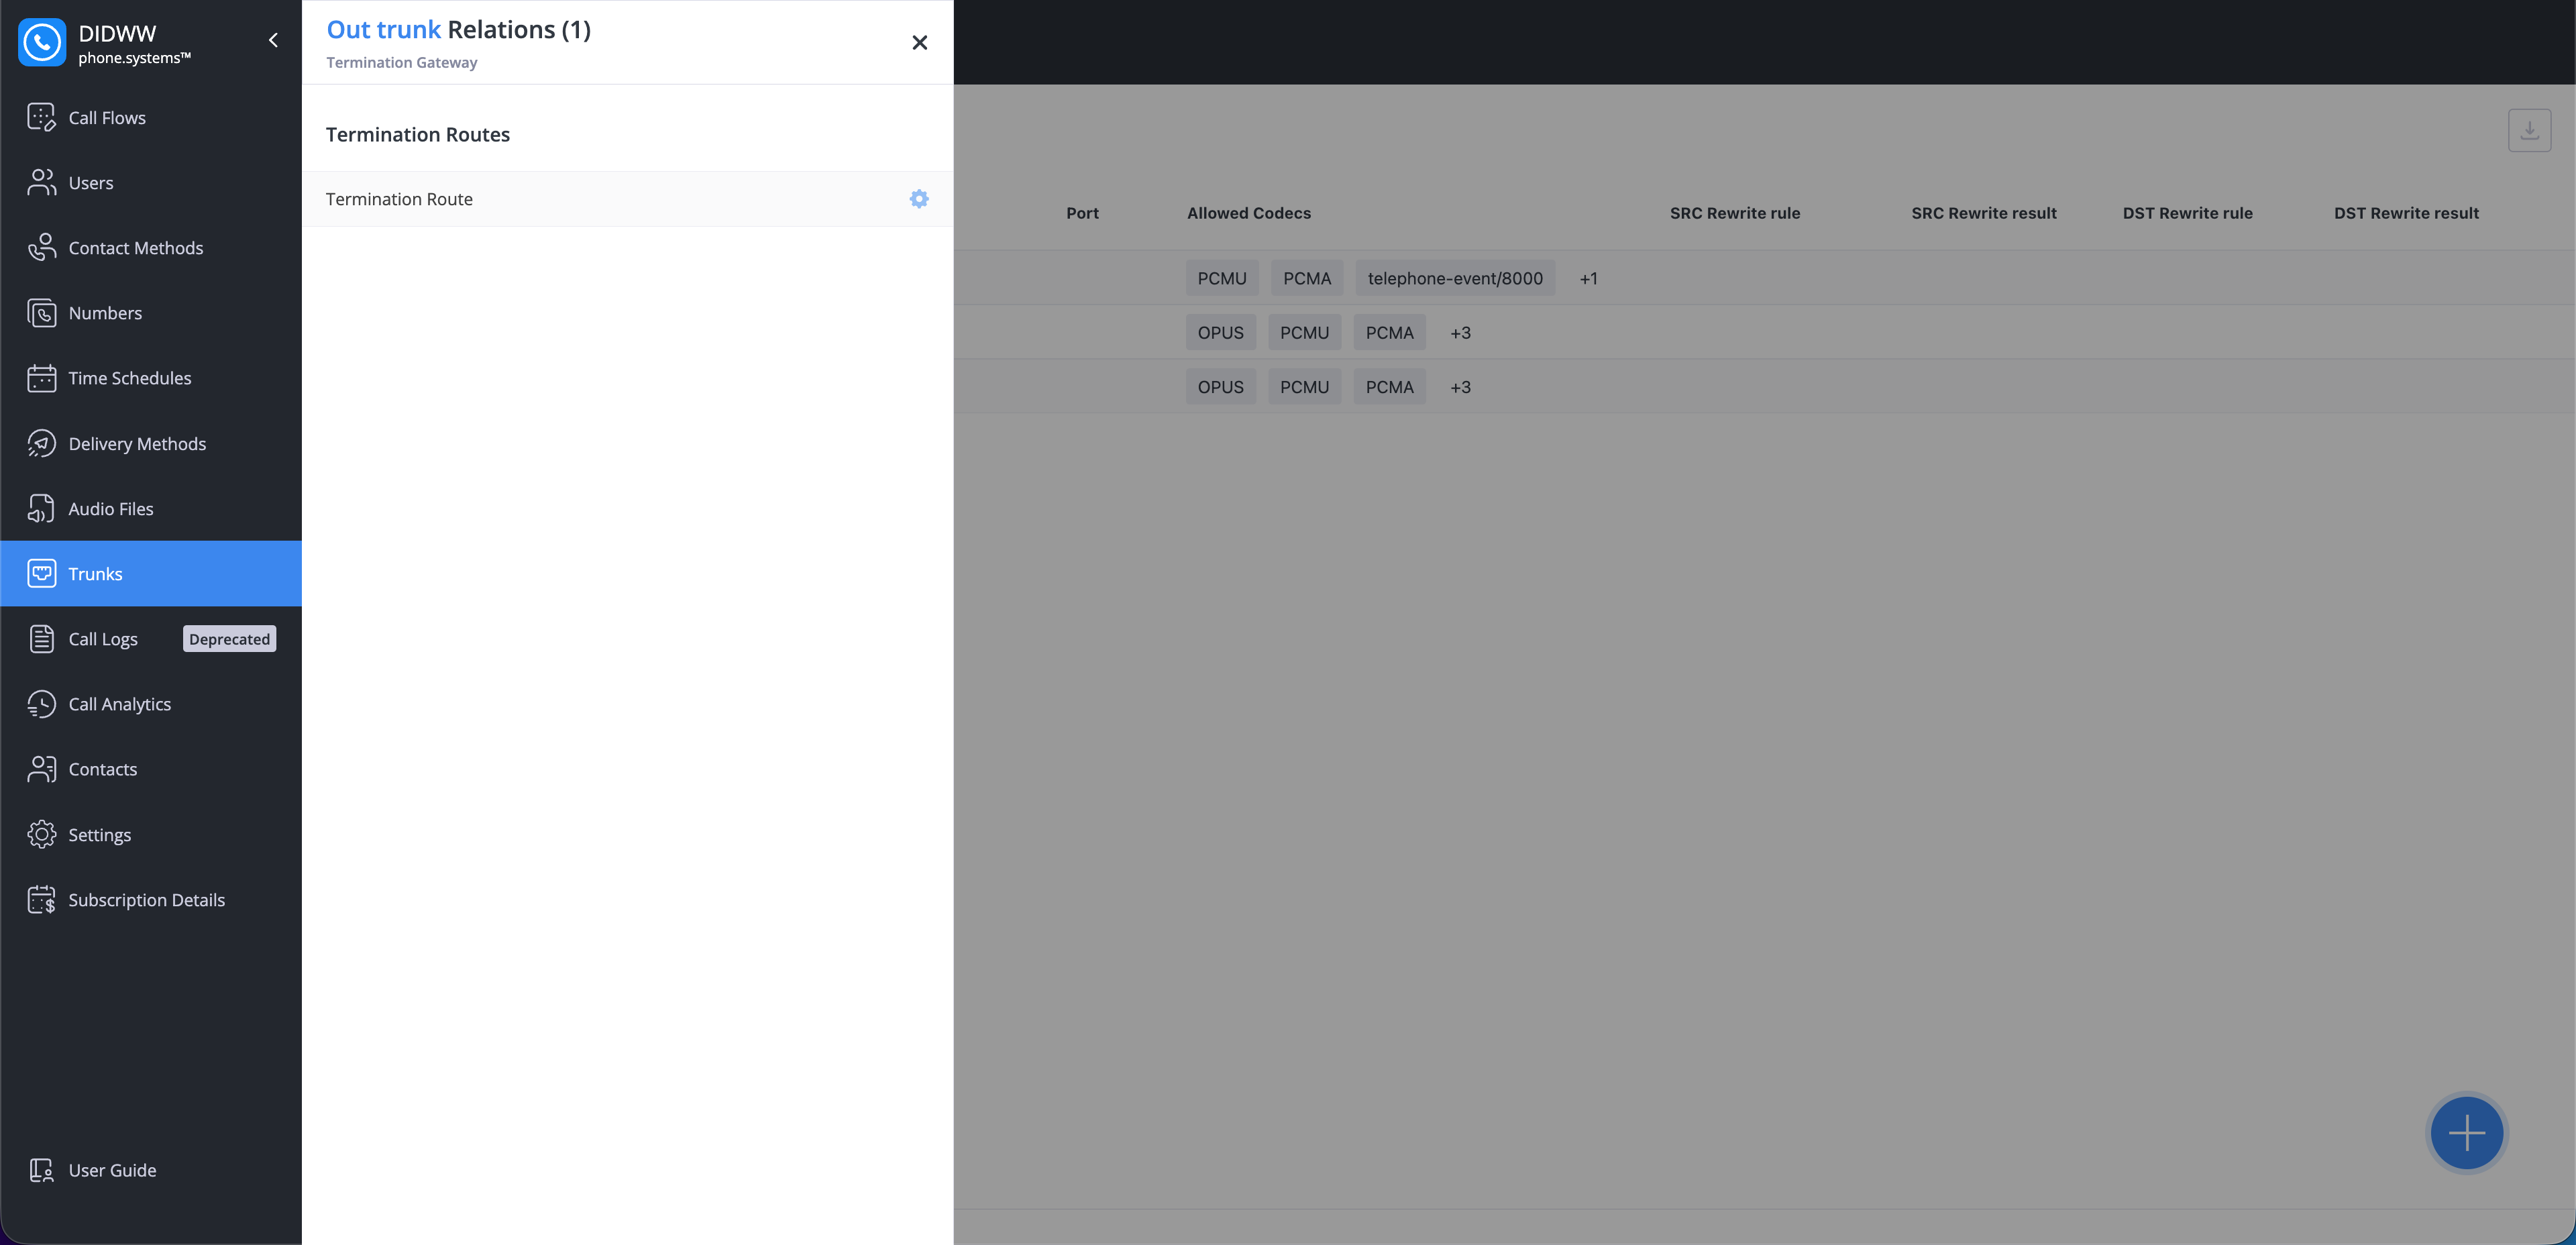
Fig. 8. Termination gateway relations#
Deleting Termination Gateways#
In the Termination Gateways list, click the Actions button next to the gateway you want to remove.
Select Delete to open the Delete Termination Gateway dialog.
Fig. 9. Opening the Delete dialog for a termination gateway#
To permanently delete the termination gateway and unlink its relations, enable the Delete and unlink relations toggle.
Click Delete to confirm.
Note
Deleting a termination gateway also deletes and unlinks all associated relations. Unlinking these relations may disrupt connected services. If you prefer not to proceed, close the dialog and update or remove the connections manually.
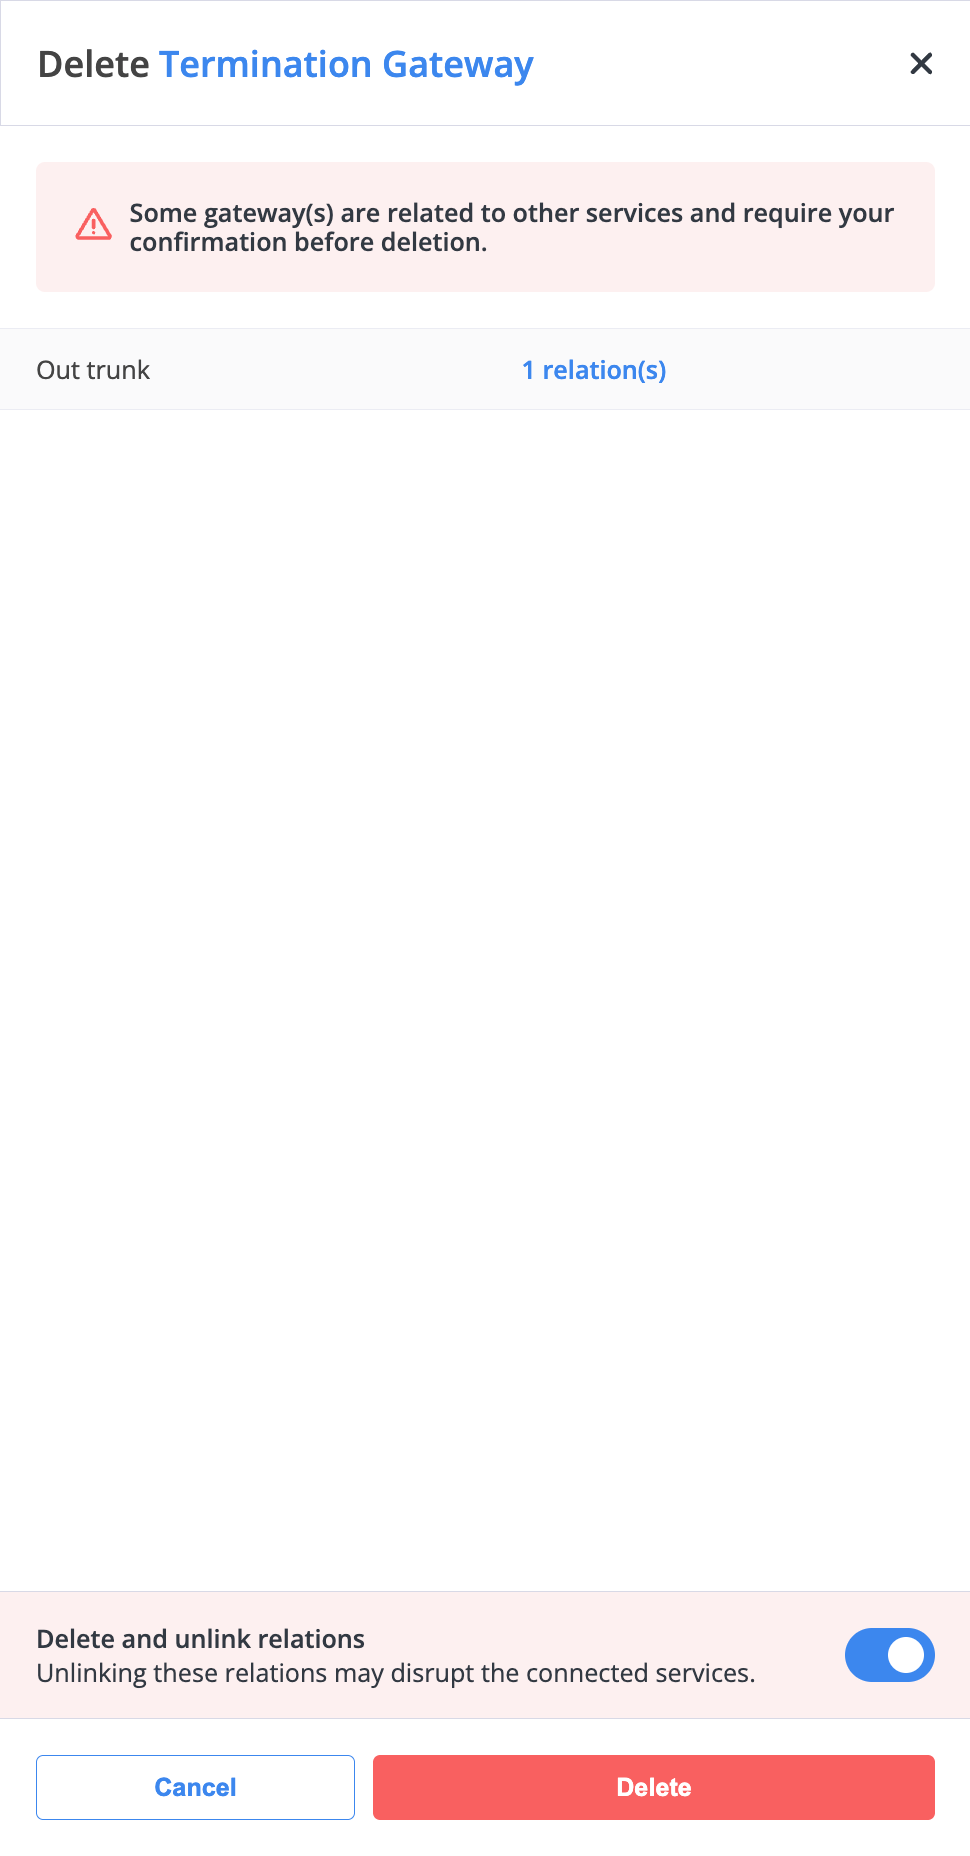
Fig. 10. Delete Termination Gateway dialog#