Audio files#
The Audio Files section allows you to manage sound recordings and announcements used across your system. These files can serve as greetings, voicemail messages, IVR prompts, or call announcements. You can easily upload, record, generate, edit, and delete audio files directly from the phone.systems™ user interface.
Add existing recordings (greetings, IVR prompts, announcements) to your library.
Capture new audio using your device’s microphone.
Generate an audio file from text using a voice from the list of available voices.
See where a file is used (Playlists, Call Flows, Contact Methods) before making changes.
Remove an audio file safely after reviewing any linked relations.
Upload audio files#
You can upload existing audio files to quickly reuse professional recordings, greetings, or pre-recorded announcements. This is ideal for uploading IVR messages, pre-approved company greetings, or multilingual system prompts.


Fig. 1. Upload audio file option#
In the Upload Audio File window, browse and select the desired audio file from your local drive, network storage, or external media.
Note
The maximum file size for an audio file is 14 MB.
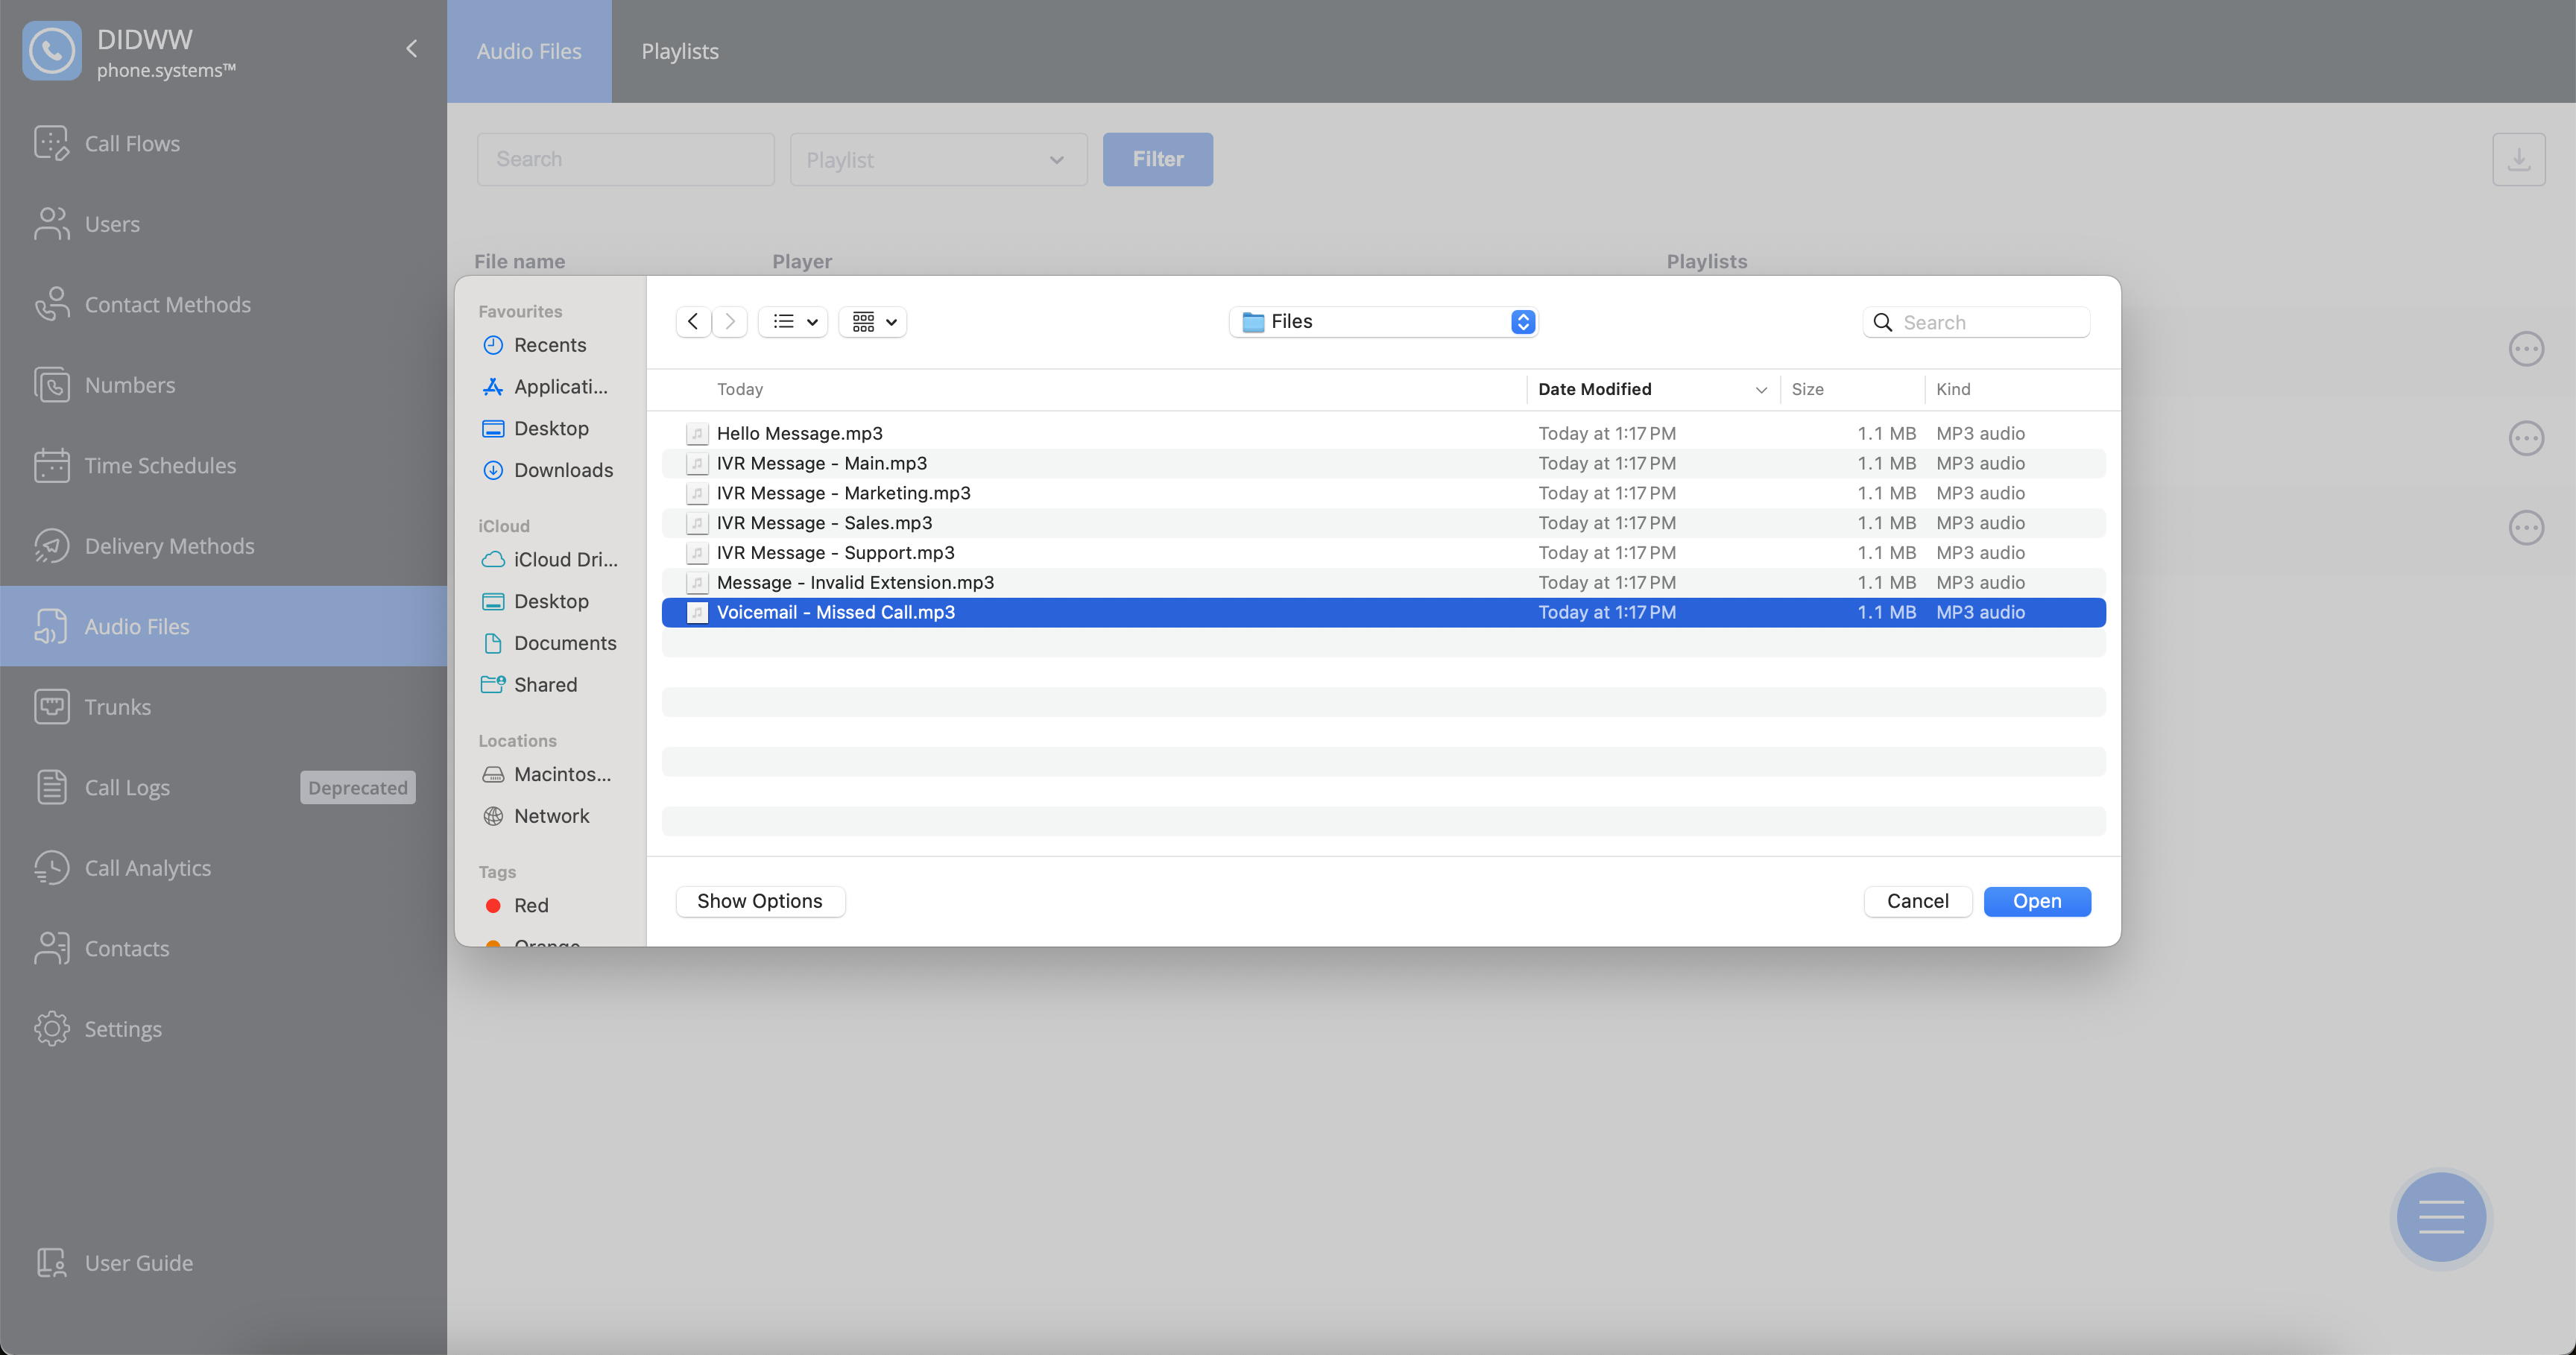
Fig. 2. File selection window#
Once the upload is complete, click the Play button to preview the file.
Fig. 3. Uploaded audio file playback#
Record audio files#
You can record audio files directly from your device’s microphone, allowing you to quickly create personalized announcements, greetings, or voicemail messages without needing external software.
Fig. 4. Recording audio files#
In the Record New File window, enter a name for the recording and click Record to begin.
Fig. 5. Recording interface#
Speak into your device’s microphone. When finished, click Stop to end the recording.
Click Play to review your recording. If you’re satisfied, click Save to store it in your audio library.
Note
The maximum file size for a recorded audio file is 14 MB.
Text to speech#
You can generate an audio file from typed text using a voice from the list of available voices. This is useful for creating greetings, IVR prompts, or announcements without recording audio manually.
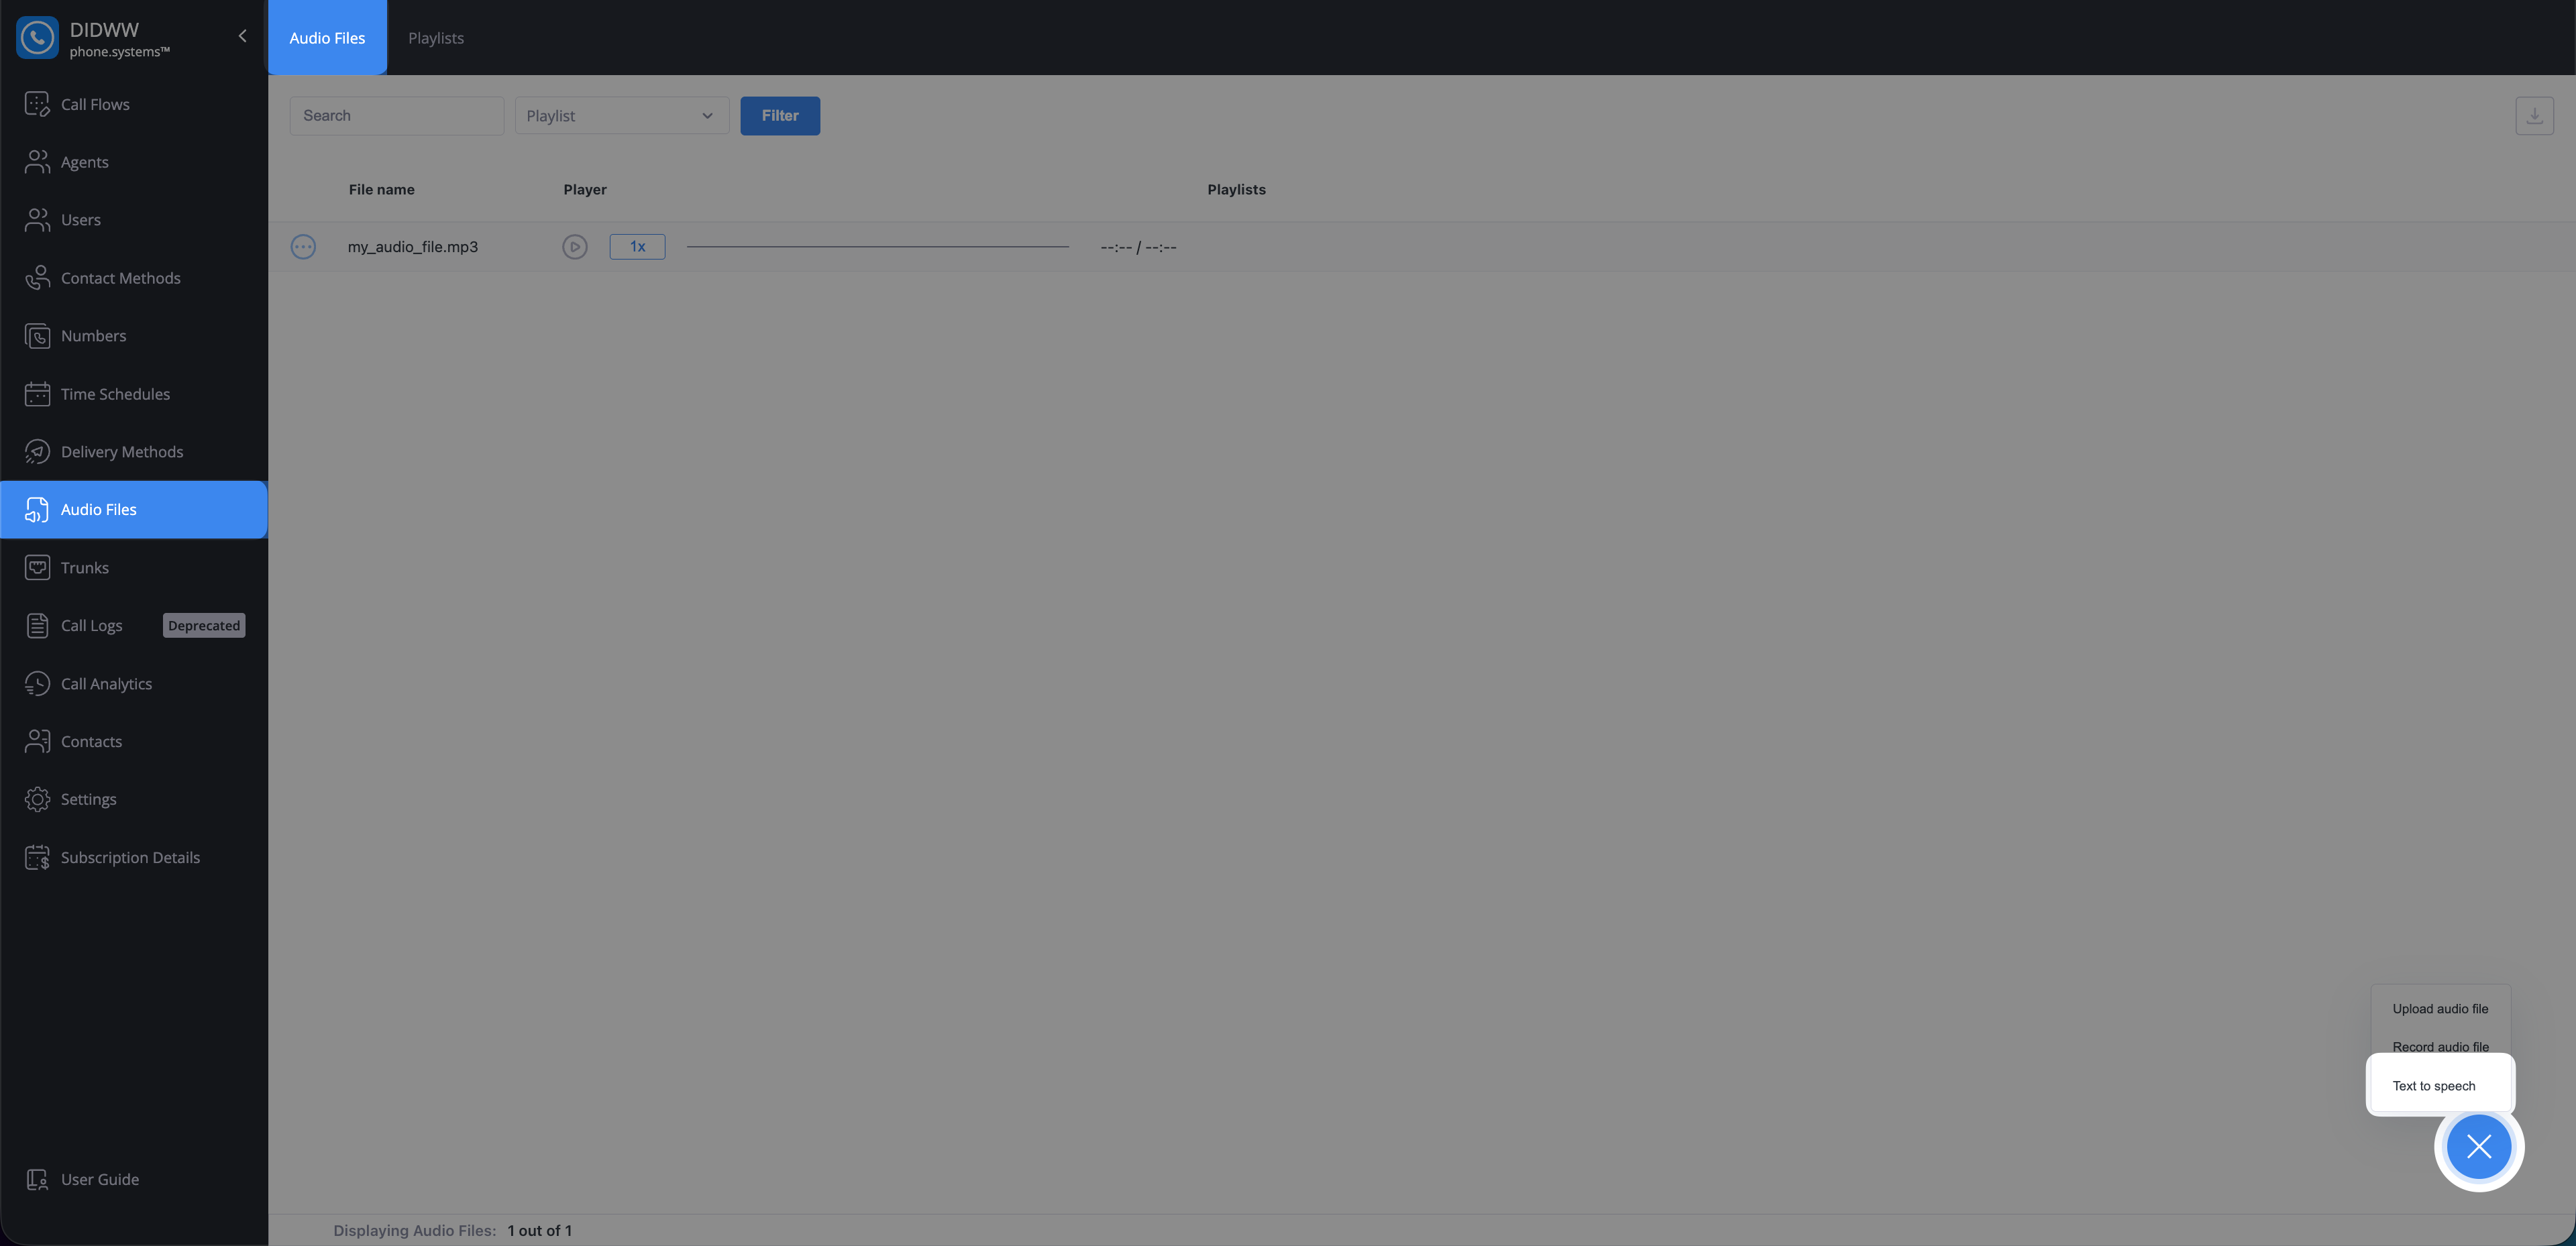
Fig. 8. Text to speech option#
In the Text to speech window, enter the message in the Text field.
Select a Voice from the list of available voices.
Note
The Text field supports up to 250 characters.
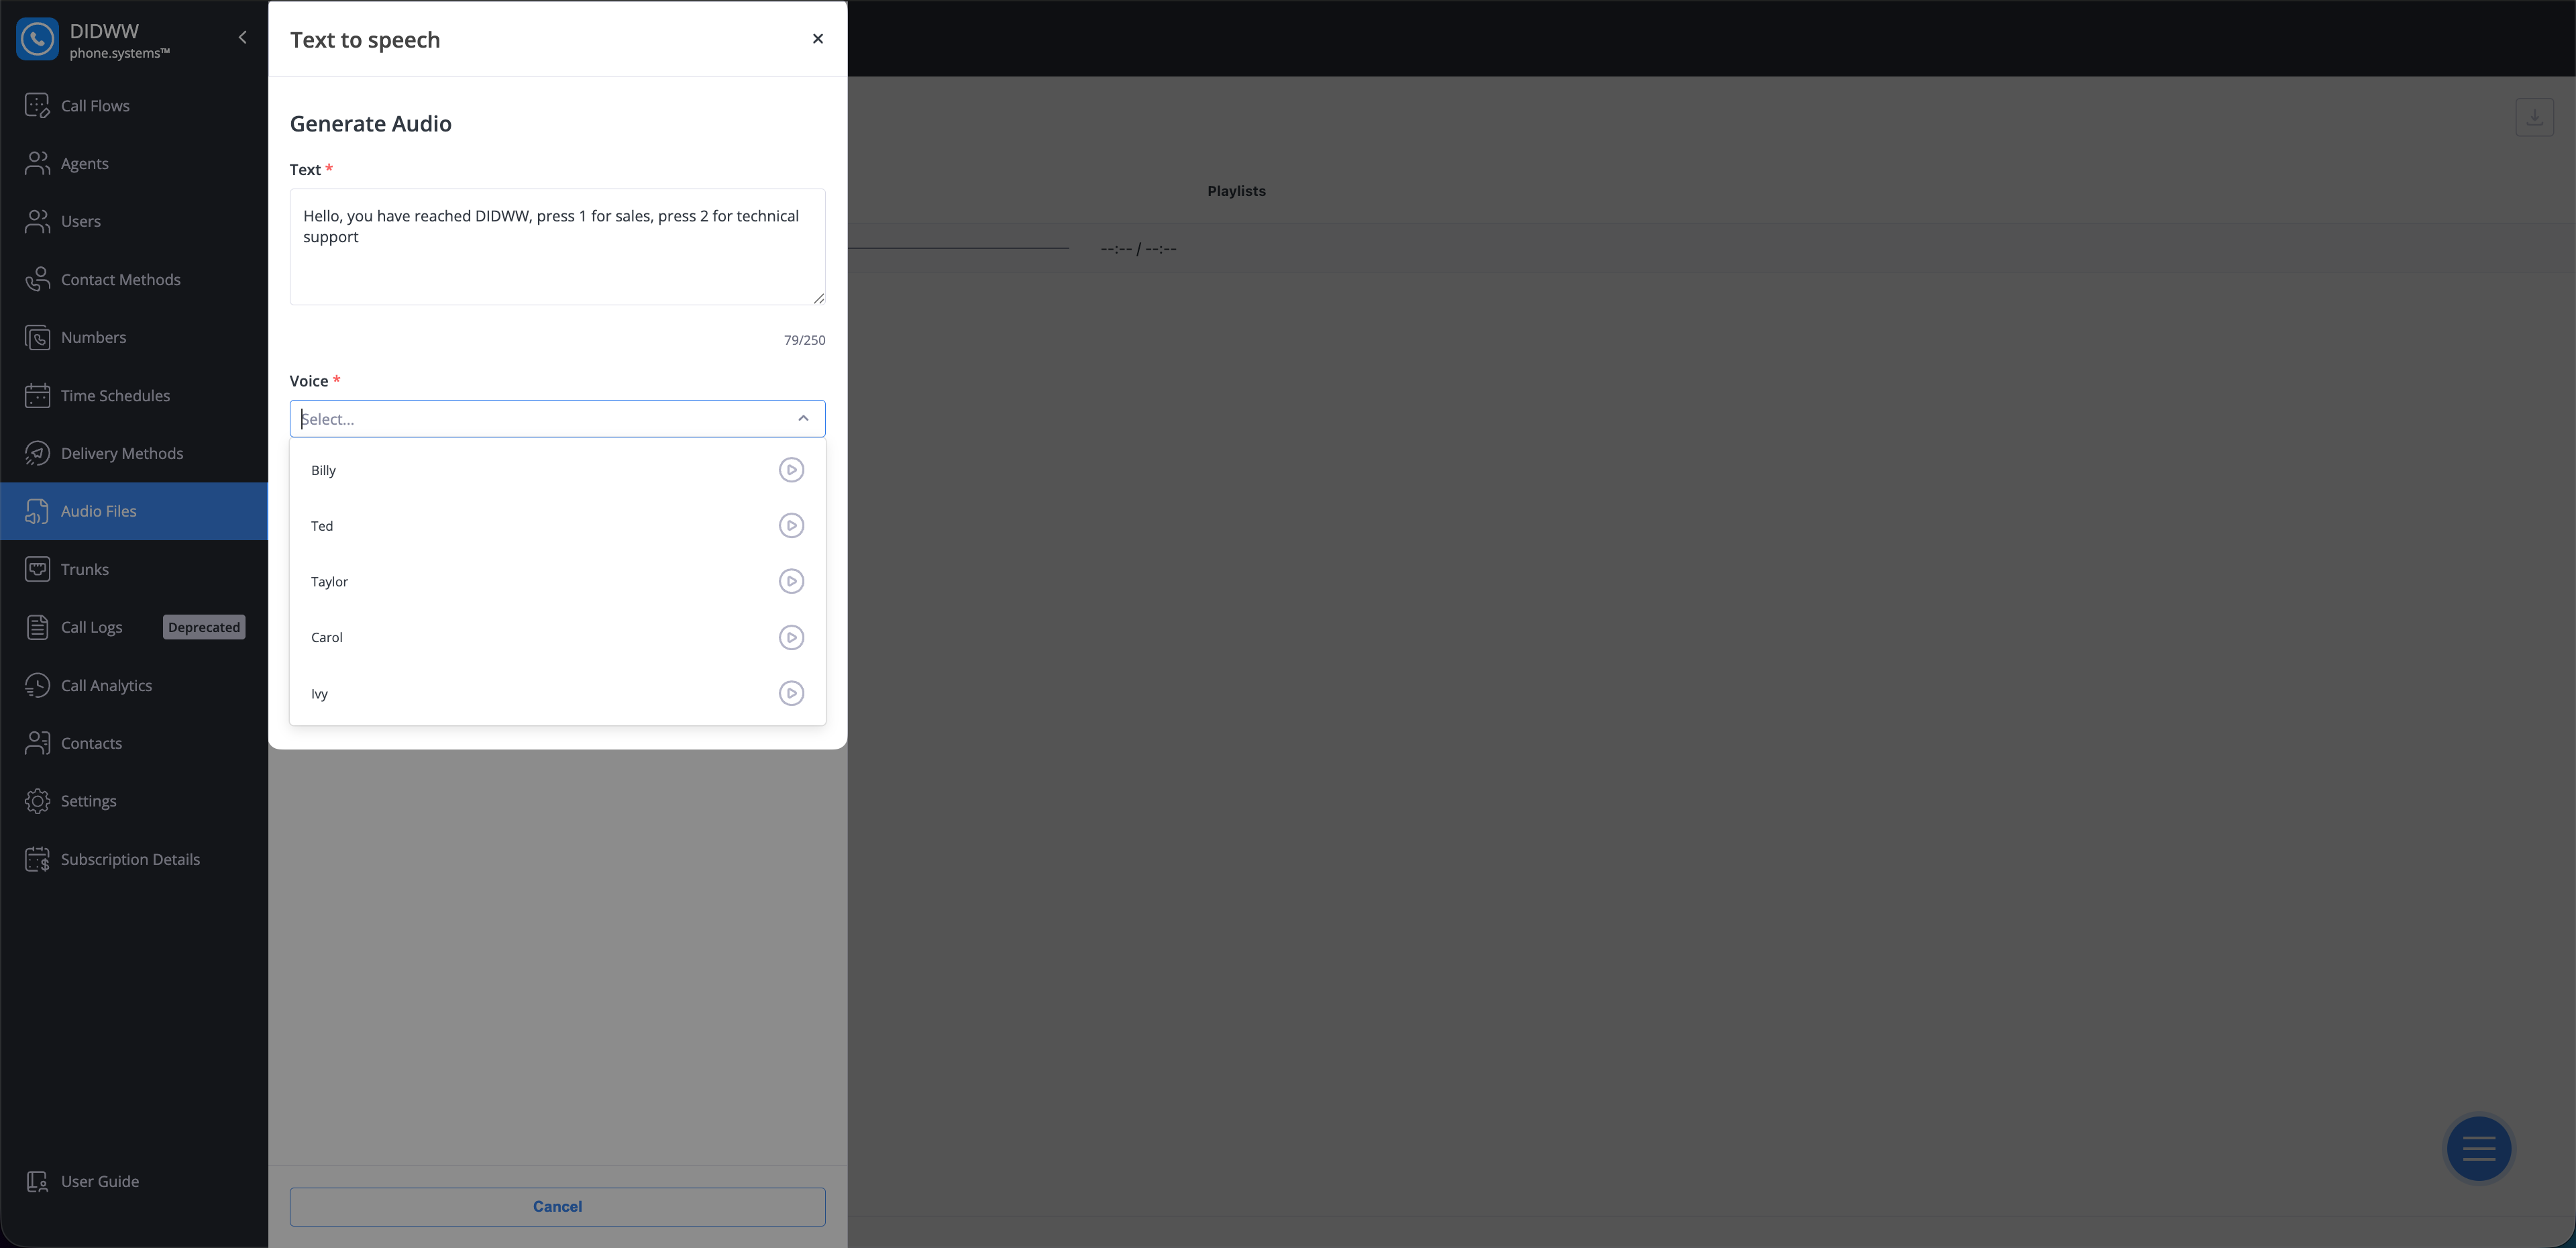
Fig. 9. Selecting a voice#
Click Generate to create the audio preview.
In the Preview section, click Play to review the generated audio.
Enter a Filename for the audio file.
Click Save to store the generated file in your audio library.
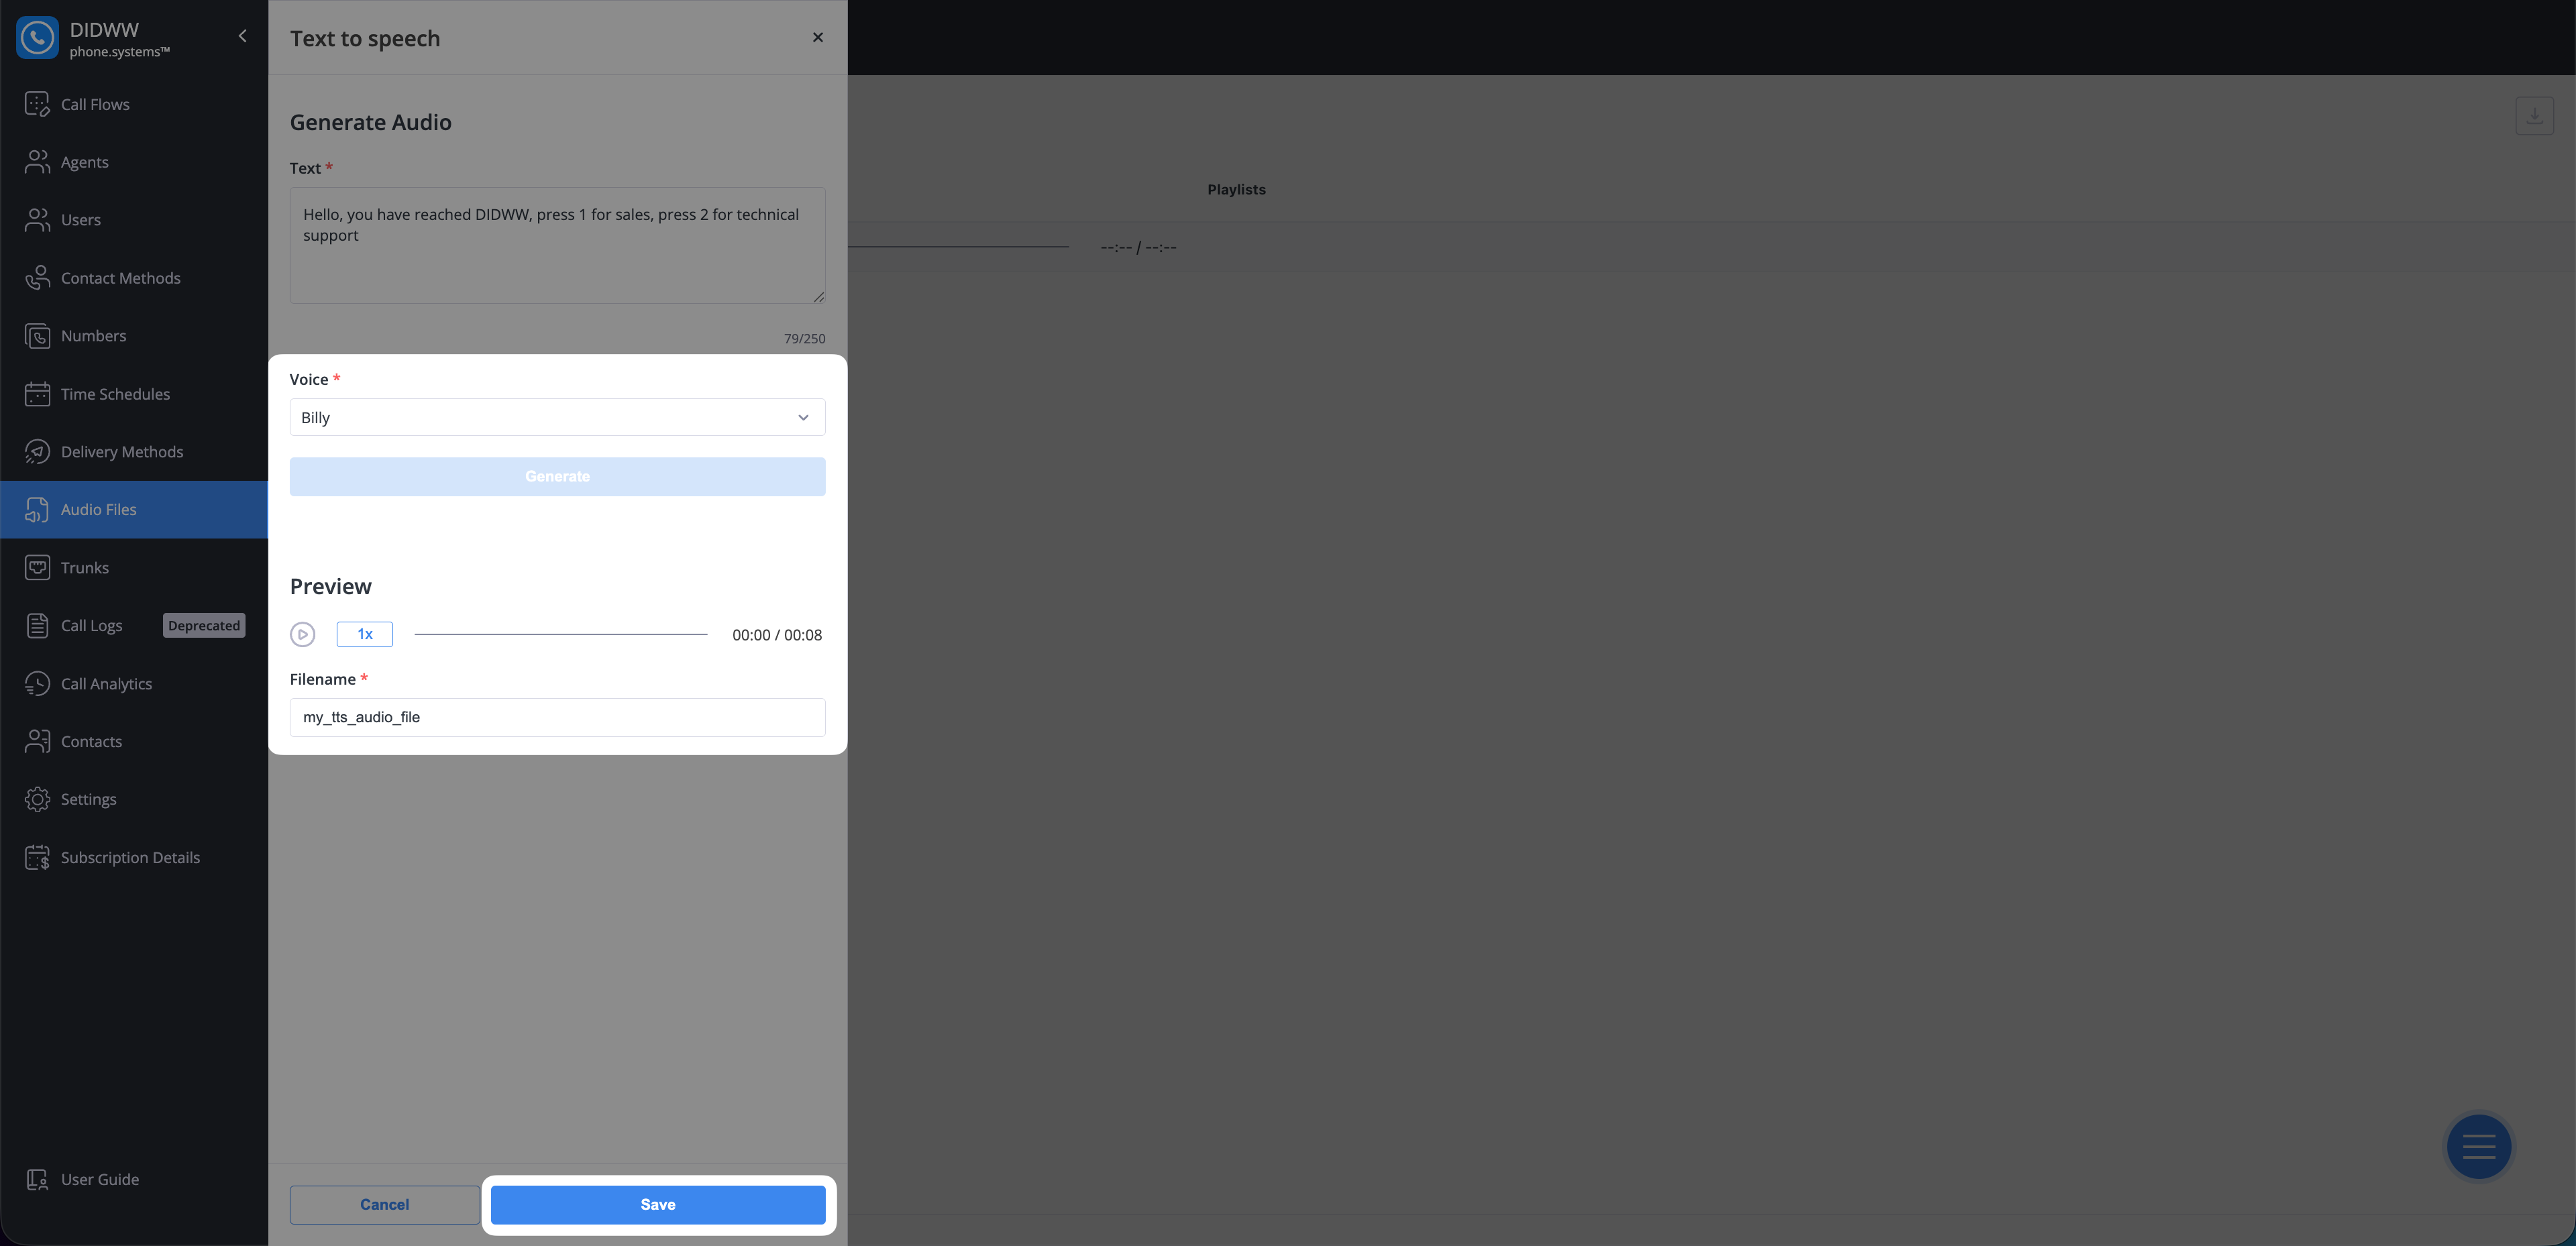
Fig. 10. Text to speech audio preview#
Edit audio files#
You can rename existing audio files to keep your library organized and make it easier to identify their purpose (for example, “Main Greeting” or “After-Hours Message”).
In the Audio Files list, click the Actions button next to the file you want to edit.
Select Edit from the dropdown menu.
Update the file name or description as needed.
Click Save to confirm your changes.
Fig. 11. Actions button#
View audio file relations#
Each audio file may be linked to other configurations, such as Playlists, Call Flows, or Contact Methods. Viewing relations helps ensure you don’t delete or modify a file that’s currently in use.
Click the Actions button next to an audio file.
Select Relations from the dropdown menu.
Fig. 12. Actions button#
The Relations window displays all related items grouped by category. Click the
 icon next to a relation to navigate directly to its configuration page.
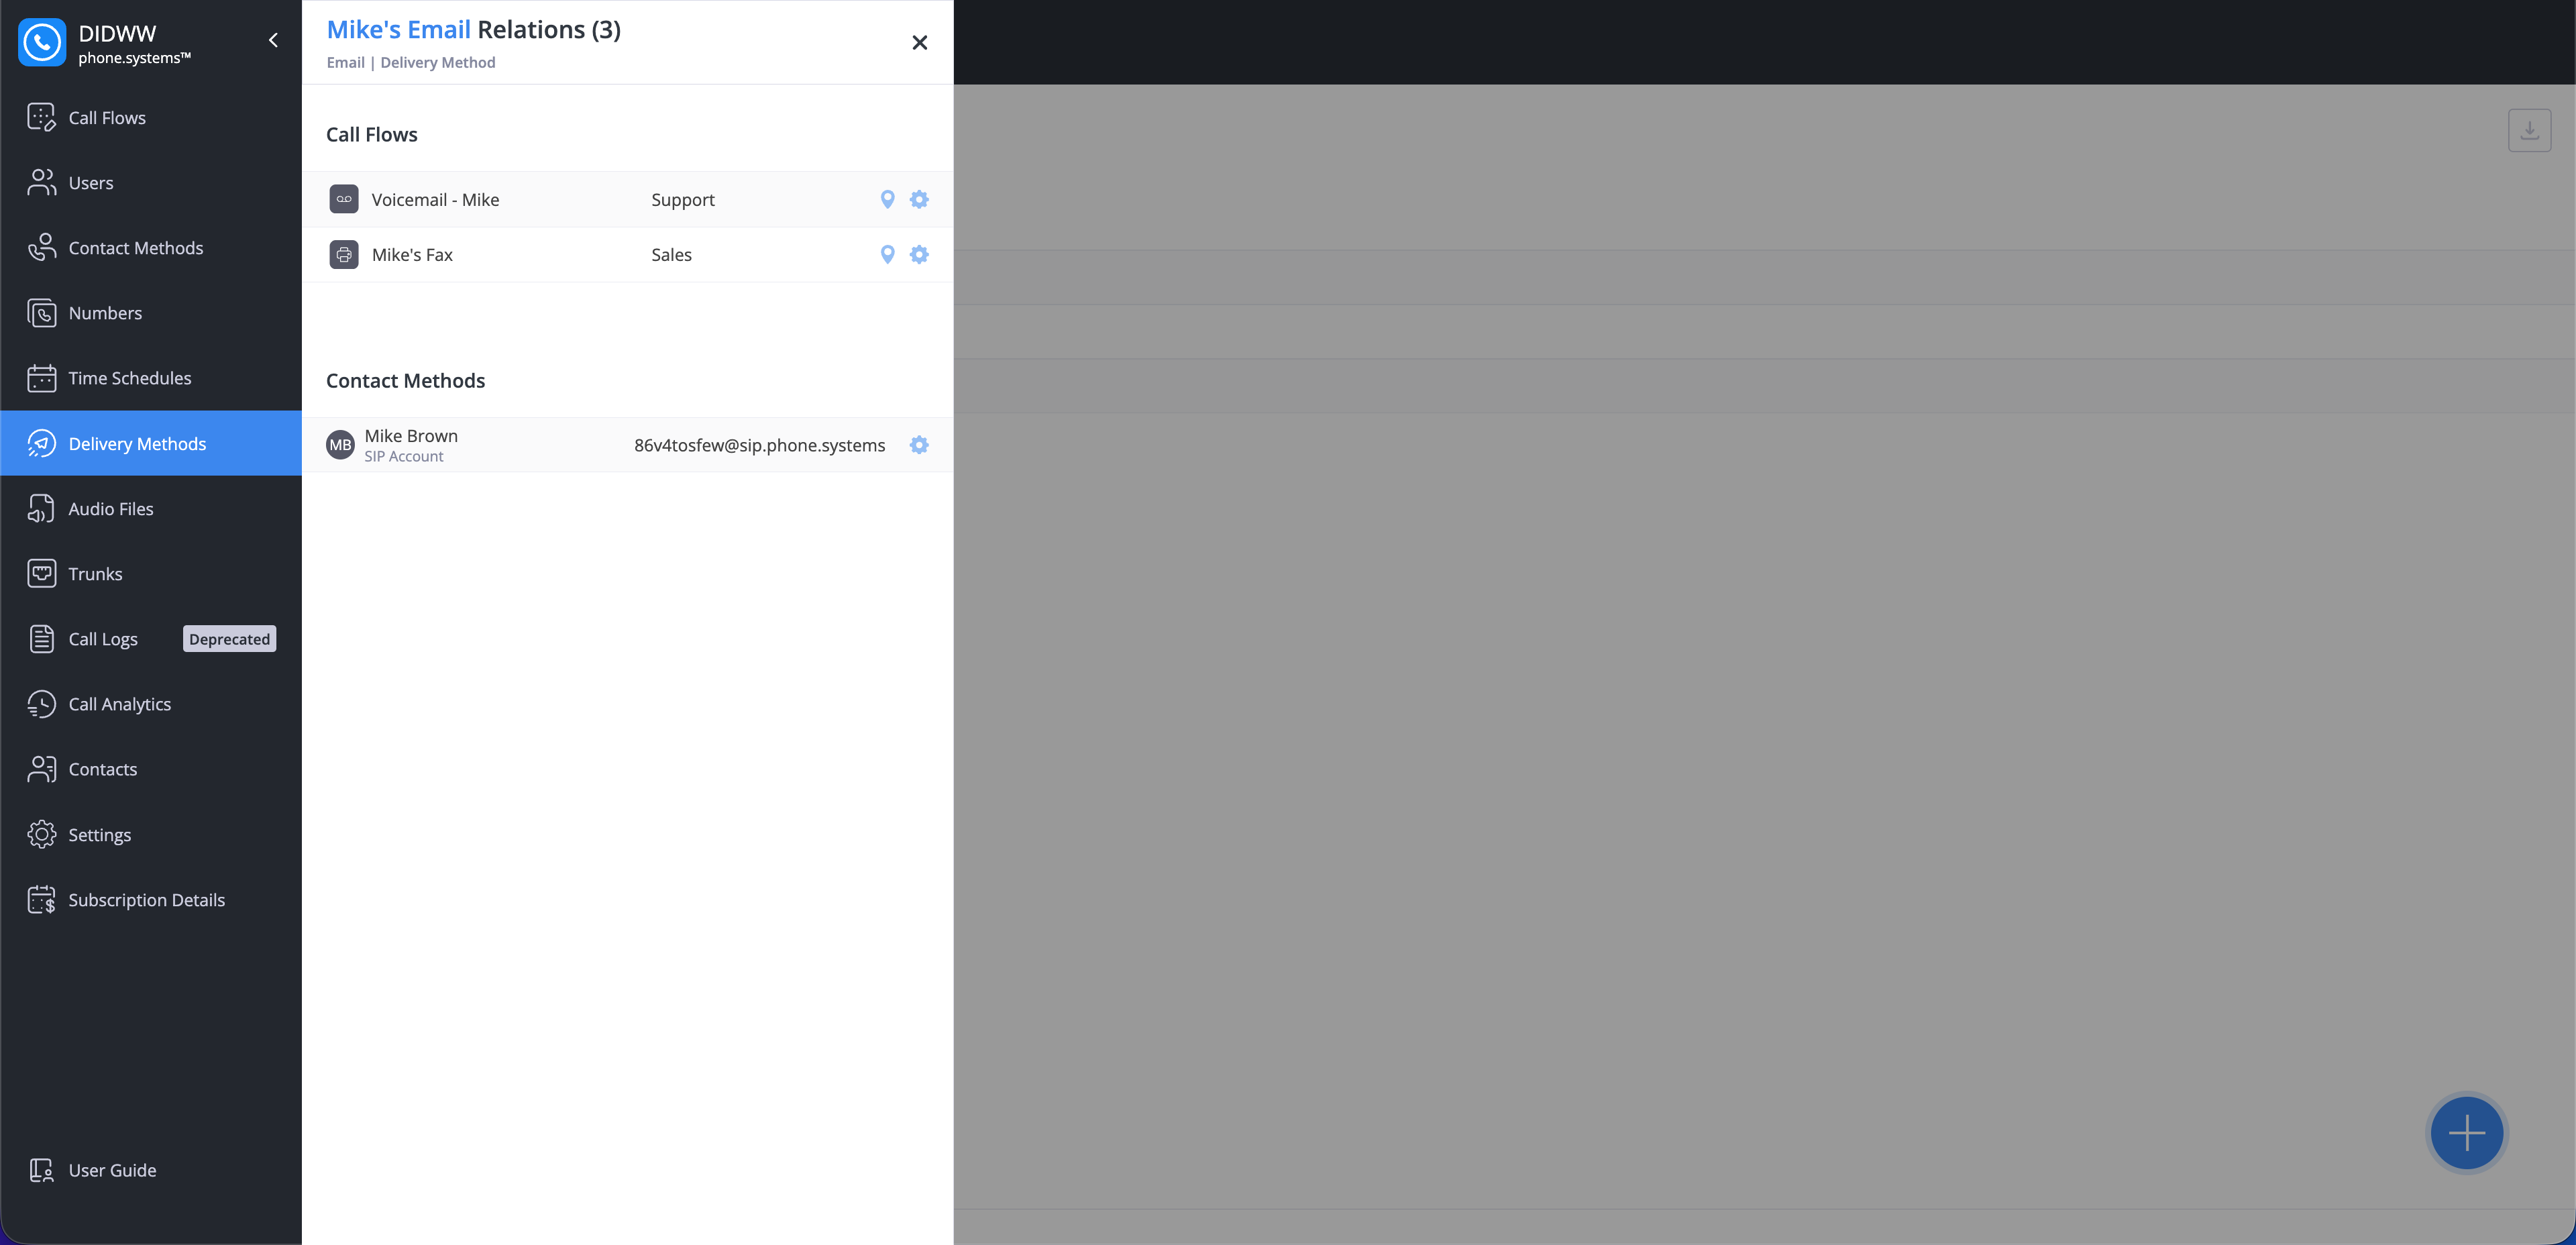
Fig. 13. Audio file relations overview#
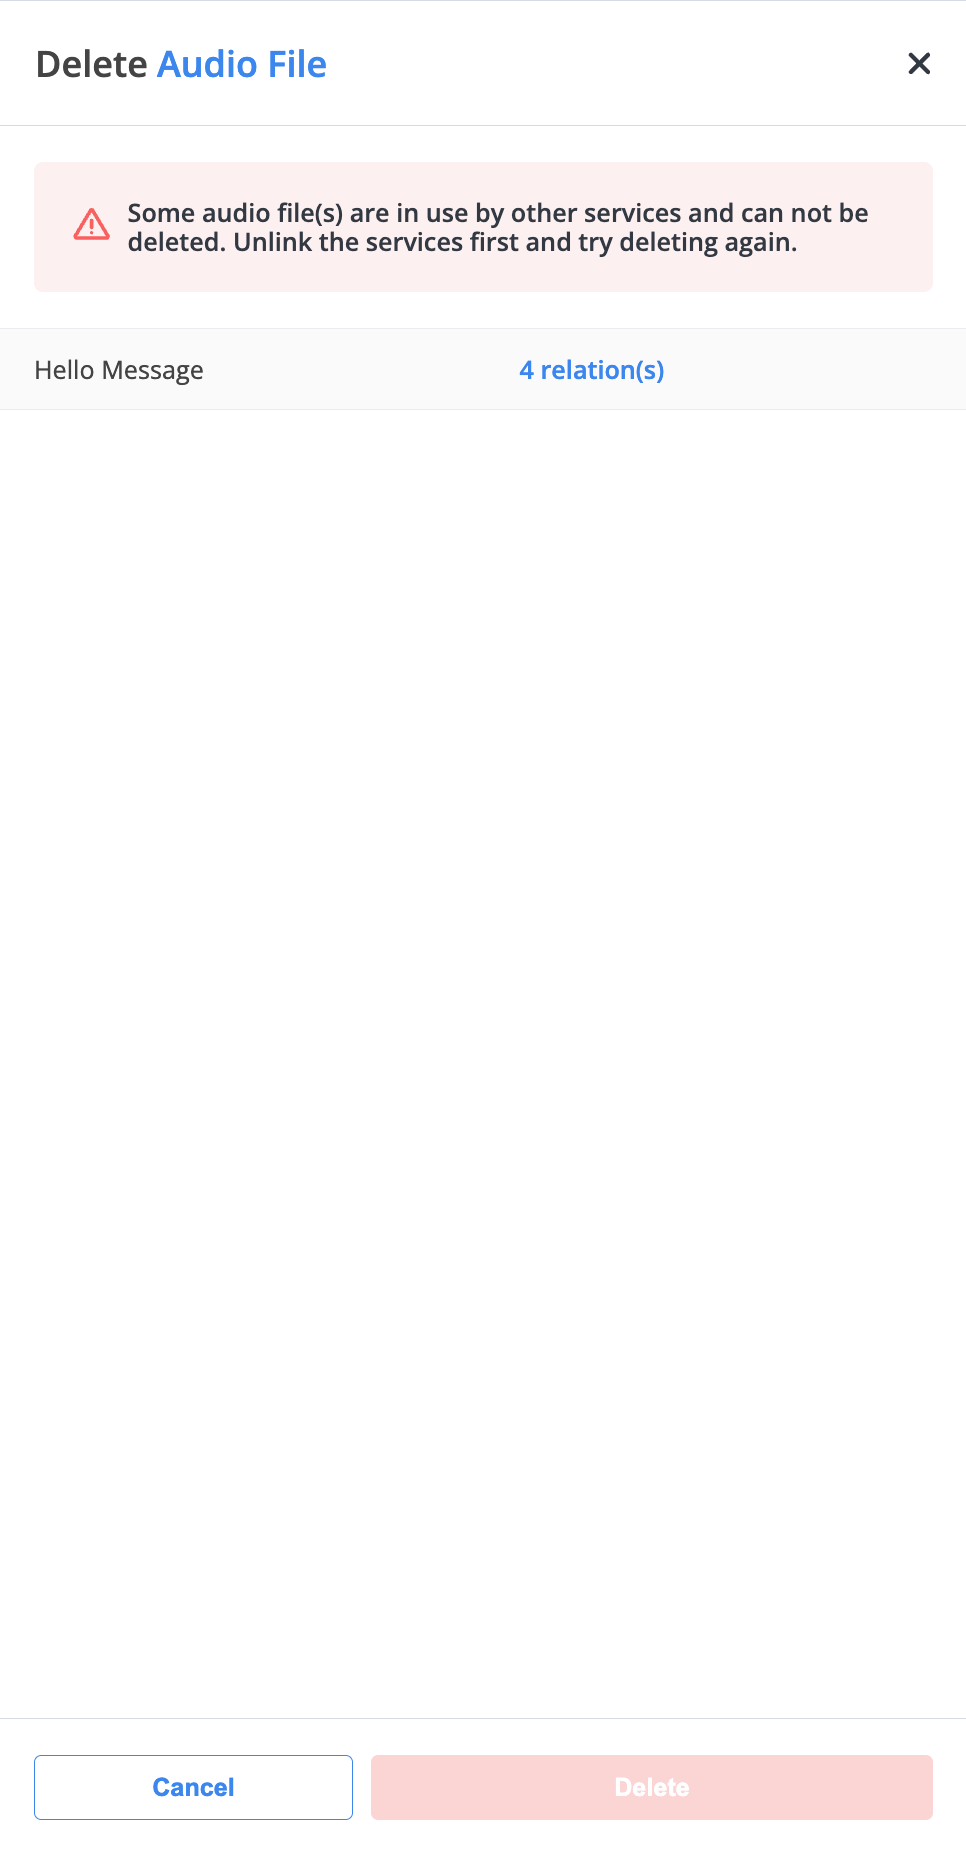
Delete audio files#
To delete an audio file, click the Actions button and select Delete.
Fig. 14. Actions button#
If the selected audio file has any relations, the Delete Audio File dialog displays a warning banner and a relations counter. Click the counter to view the complete list of related items.
Before deletion can proceed, all related services must be unlinked. Once the relations are removed, click Delete to permanently delete the audio file.