Contact Attributes
The Contact Attributes allows you to manage and extend the data associated with each contact. These attributes enable precise filtering and segmentation across your communication workflows.
System Contact Attributes
The platform includes a predefined set of system attributes automatically assigned to each contact:
Action
Name
Value Type
Key
Description
Messaging ID
System
uuid
messaging_id
Unique identifier assigned by the system for each message.
Contact ID
System
text
contact_id
Unique identifier assigned by the system for each contact.
First Name
System
text
first_name
The given name of the contact.
Last Name
System
text
last_name
The family name or surname of the contact.
Full Name
System
text
full_name
The full name of the contact, including first and last names.
Phone Number
System
text
phone_number
The contact’s phone number.
System
The contact’s email address.
Timezone
System
text
timezone
The timezone where the contact is located.
Country
System
country
country
The country of the contact.
SMS Subscribed
System
boolean
sms_subscribed
Indicates whether the contact is subscribed to SMS notifications.
Email Subscribed
System
boolean
email_subscribed
Indicates whether the contact is subscribed to email notifications.
WhatsApp Subscribed
System
boolean
wa_subscribed
Indicates whether the contact is subscribed to WhatsApp notifications.
Creating a Custom Contact Attribute
In addition to system-defined attributes, you can create custom attributes to meet your specific segmentation and filtering needs.
To create a new contact attribute, follow these steps:
Step 1: Add a New Contact Attribute
Go to Contacts and select Contact Attributes.
Click the + Add New button.
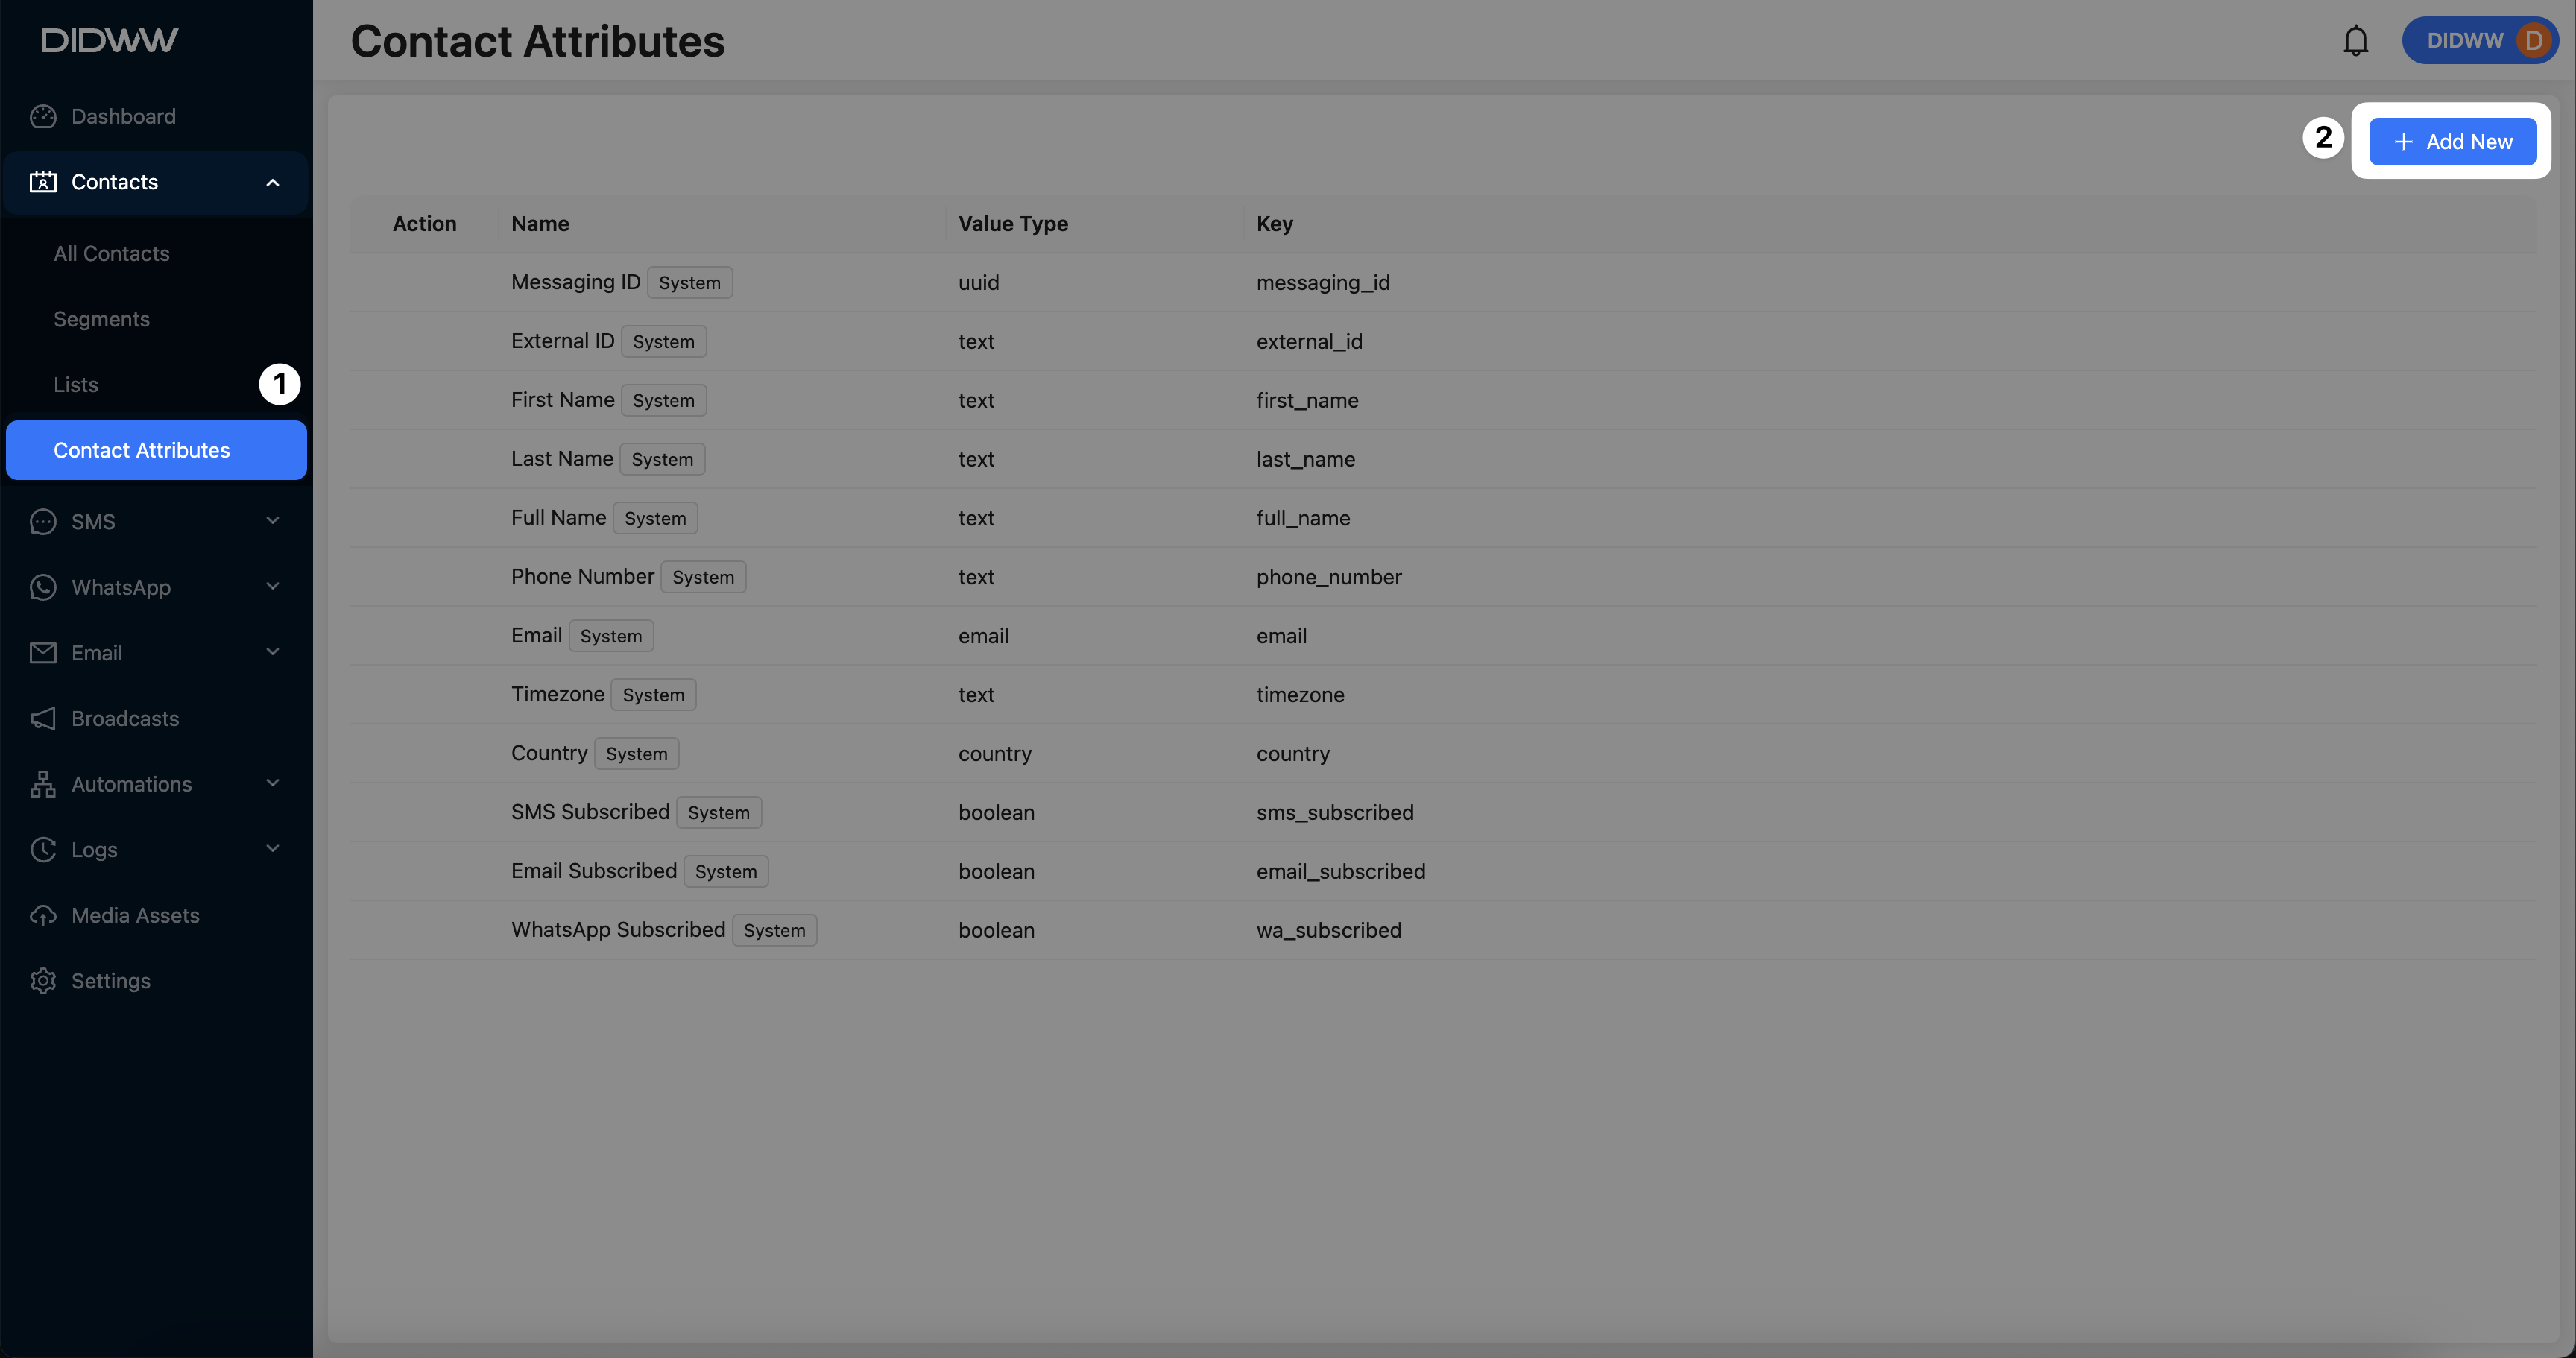
Fig. 1. Add New Contact Attribute Button.
Step 2: Enter Attribute Details
A new empty attribute row will appear for your custom attribute. Fill in the following fields:
Name – Enter the display name of the attribute.
Value Type – Select the appropriate value type (e.g., text, boolean, date).
Key – This is automatically generated by the system based on the name.
Click the blue checkbox icon to save the new attribute.
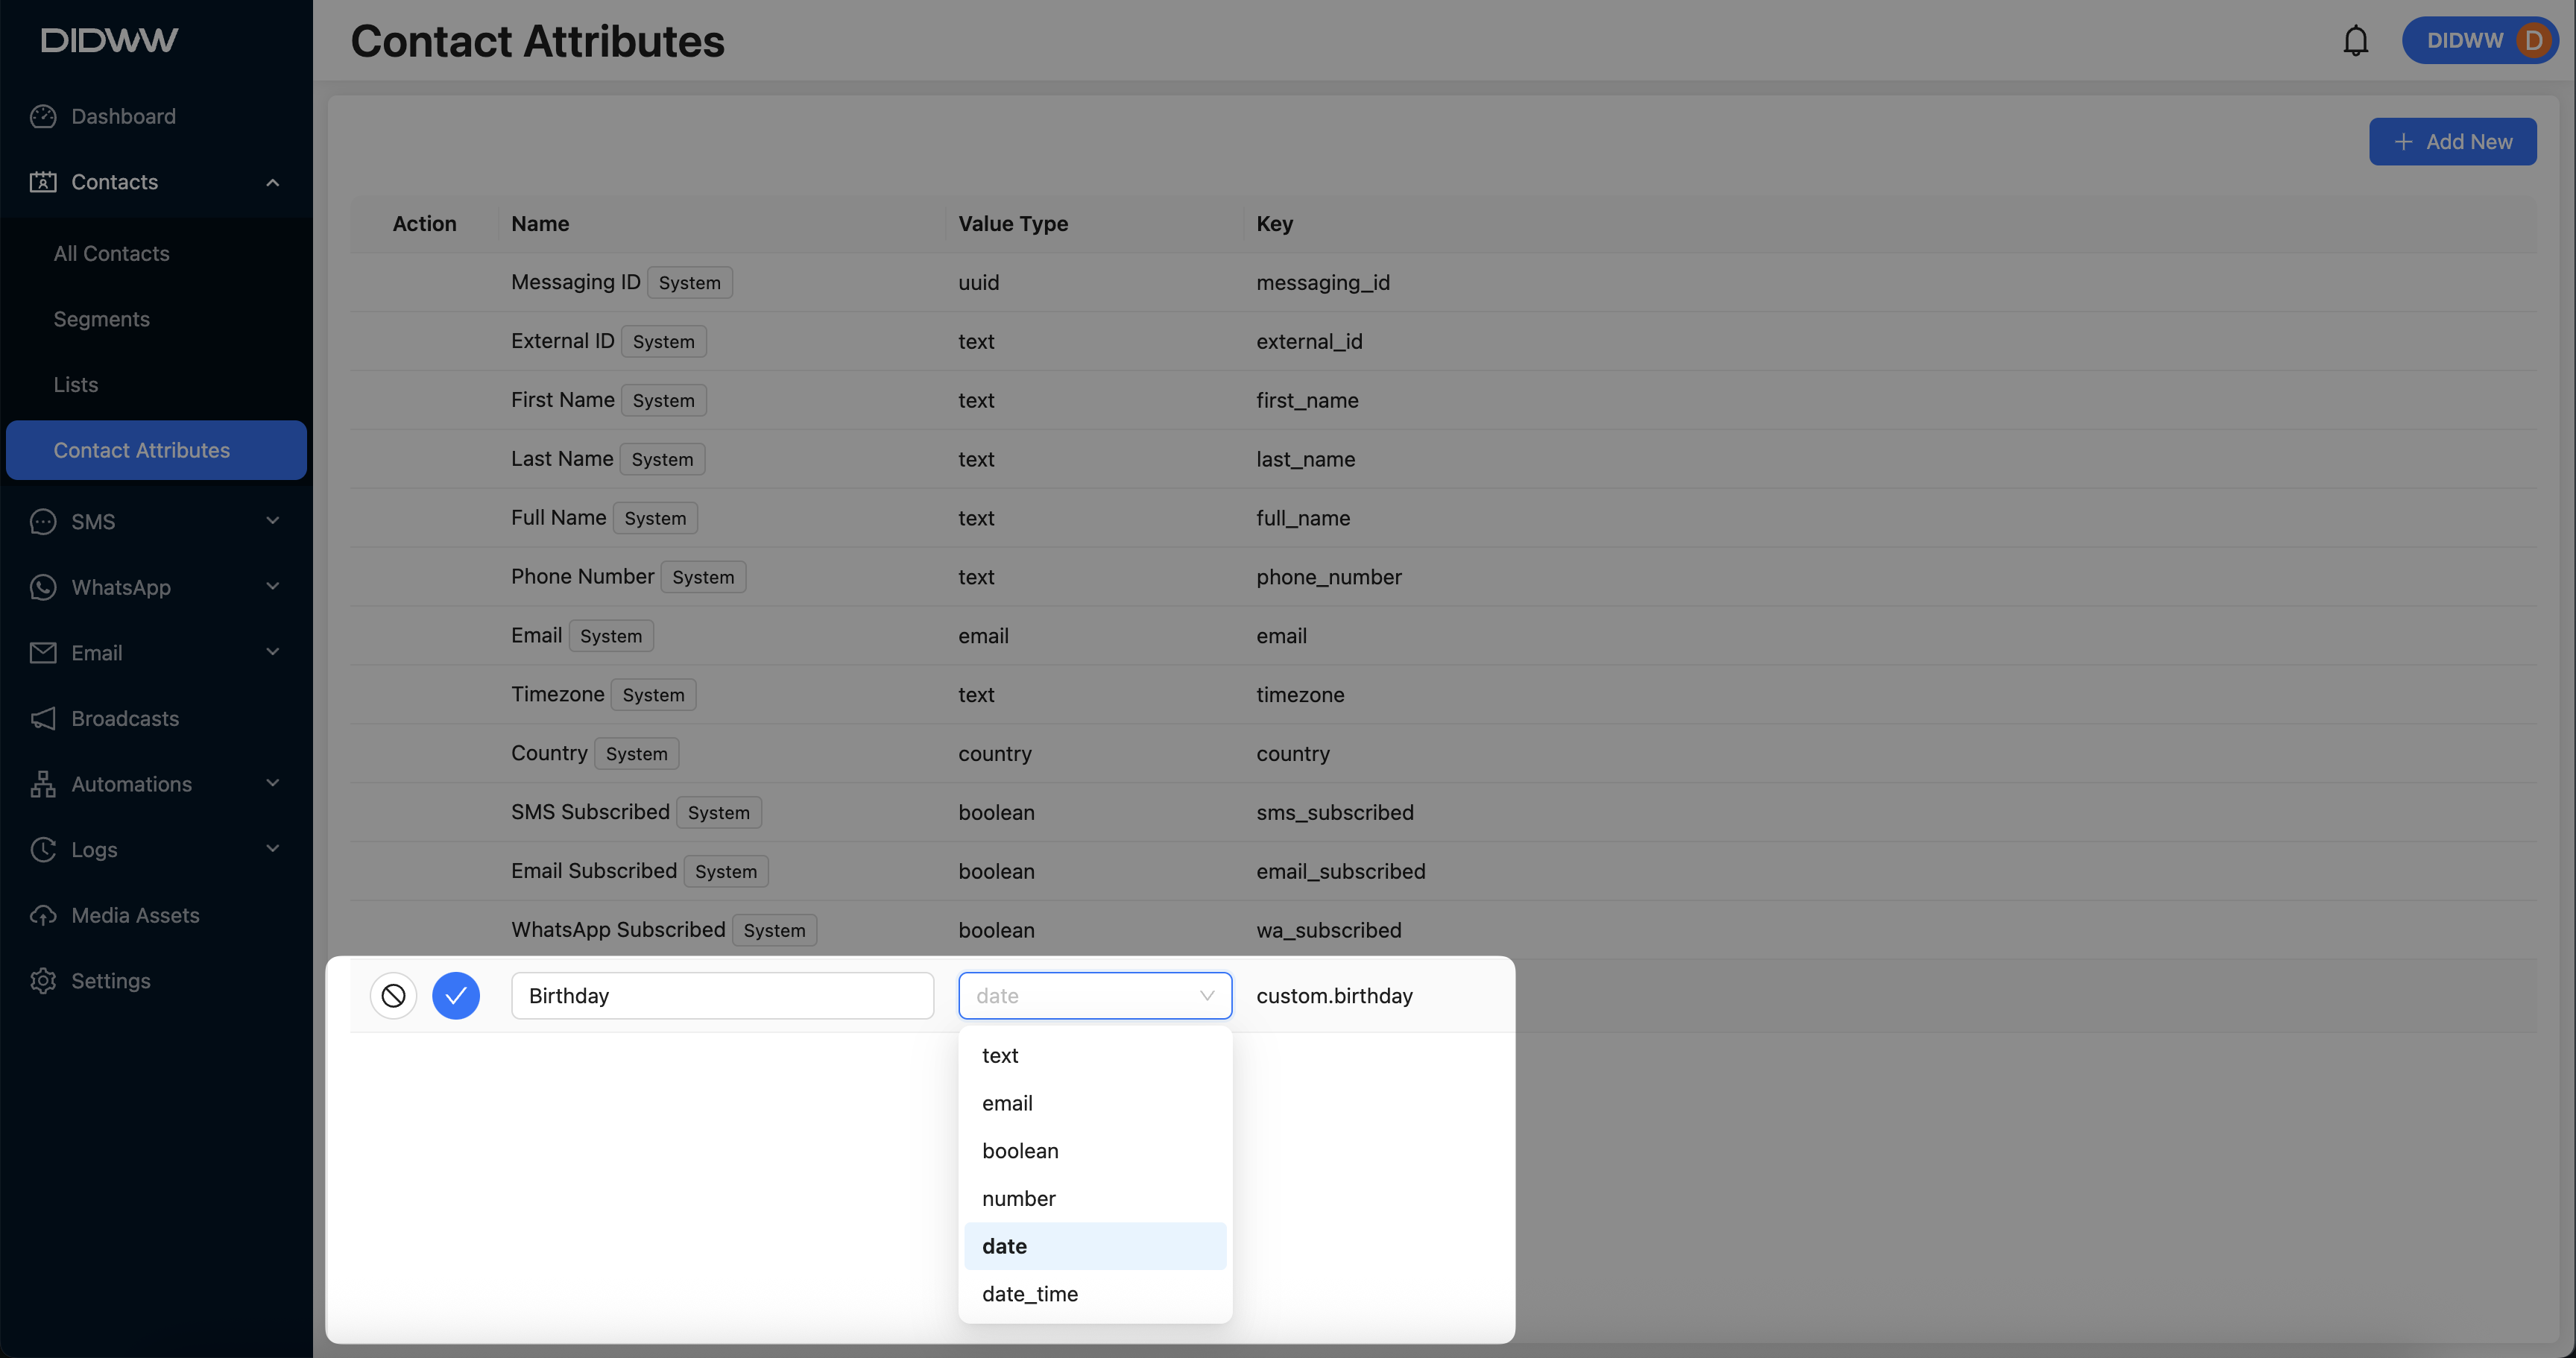
Fig. 2. Filling in Custom Contact Attribute Details.
Warning
Once a custom contact attribute is created, it cannot be deleted. Please ensure that you only create contact attributes that are necessary for your segmentation and filtering needs.