phone.systems™ App Configuration#
The phone.systems™ mobile application allows users to make and receive calls directly from their device using your configured phone.systems™ setup.
This section explains how the app connects to a user account and application line, so calls can be handled through the platform instead of a traditional phone system. Once the user is configured, you can activate the app and complete the setup on their device.
Configure User and Application Line in phone.systems™#
The phone.systems™ app can be activated on a device, a user account and application line must be configured in the phone.systems™ interface. This ensures the user has a dedicated calling setup for handling inbound and outbound calls through the platform.
Step 1: Create a New User#
Follow these steps to create a new user:

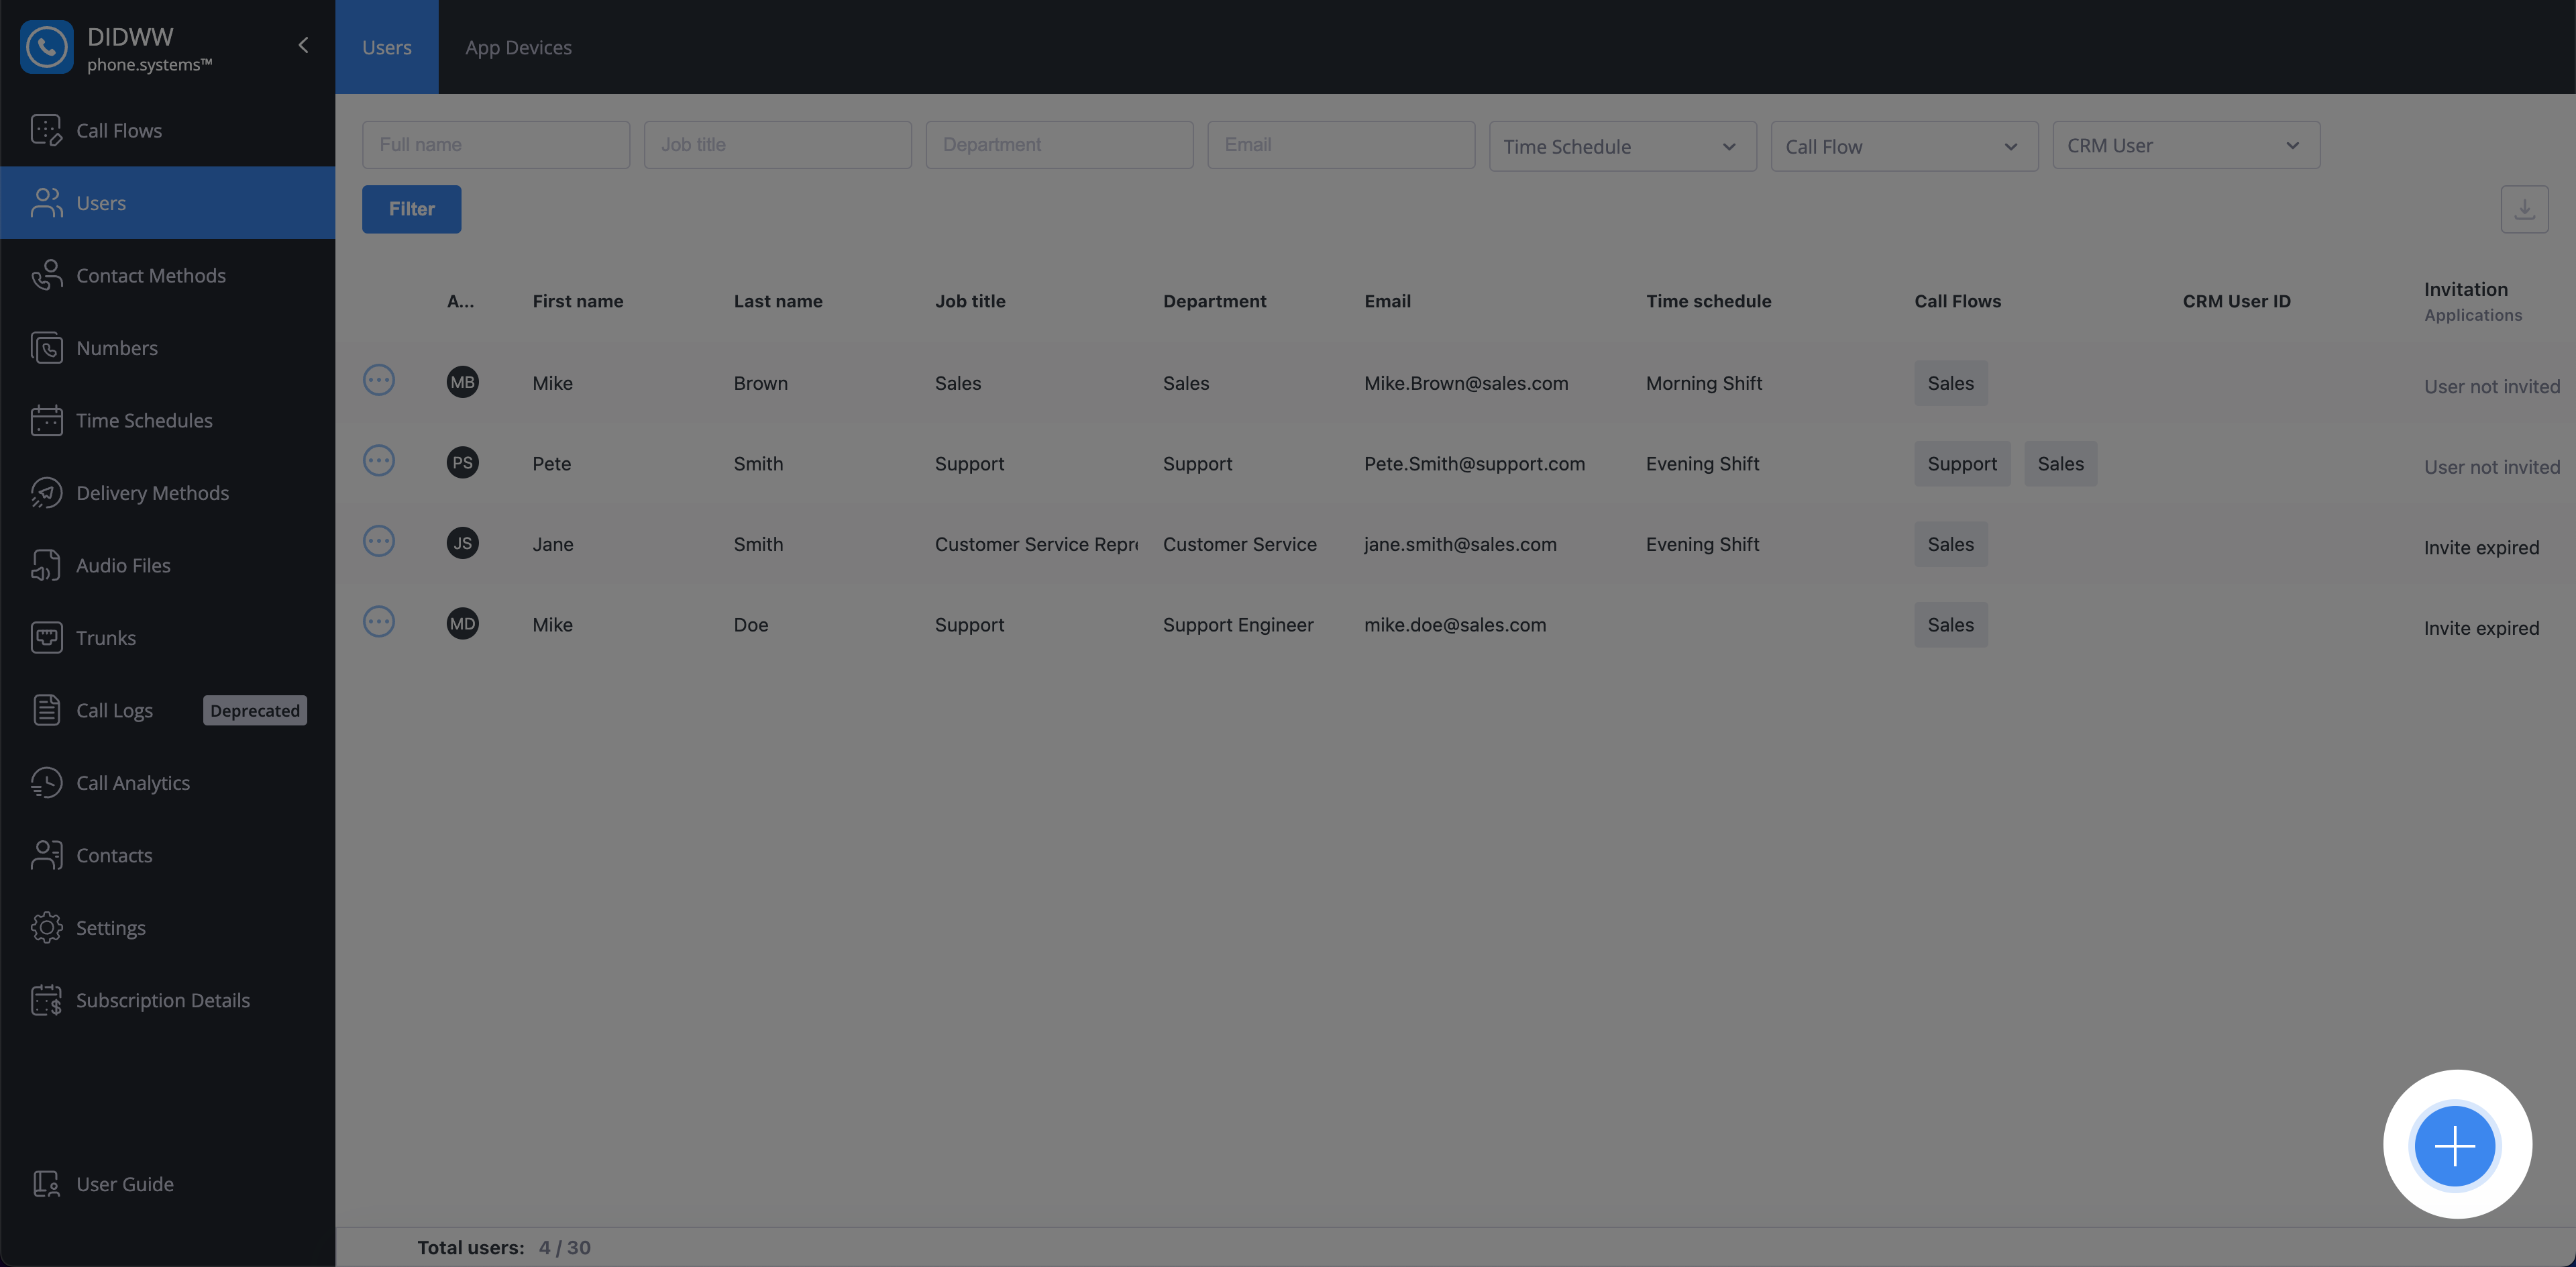
Fig. 1. Create A New User#
In the Create User form, fill in the user details: First Name, Last Name, Department, Job Title, and Email.
Note
The Email field is mandatory. The user will receive an invitation email at this address, which is required to activate the phone.systems™ application.
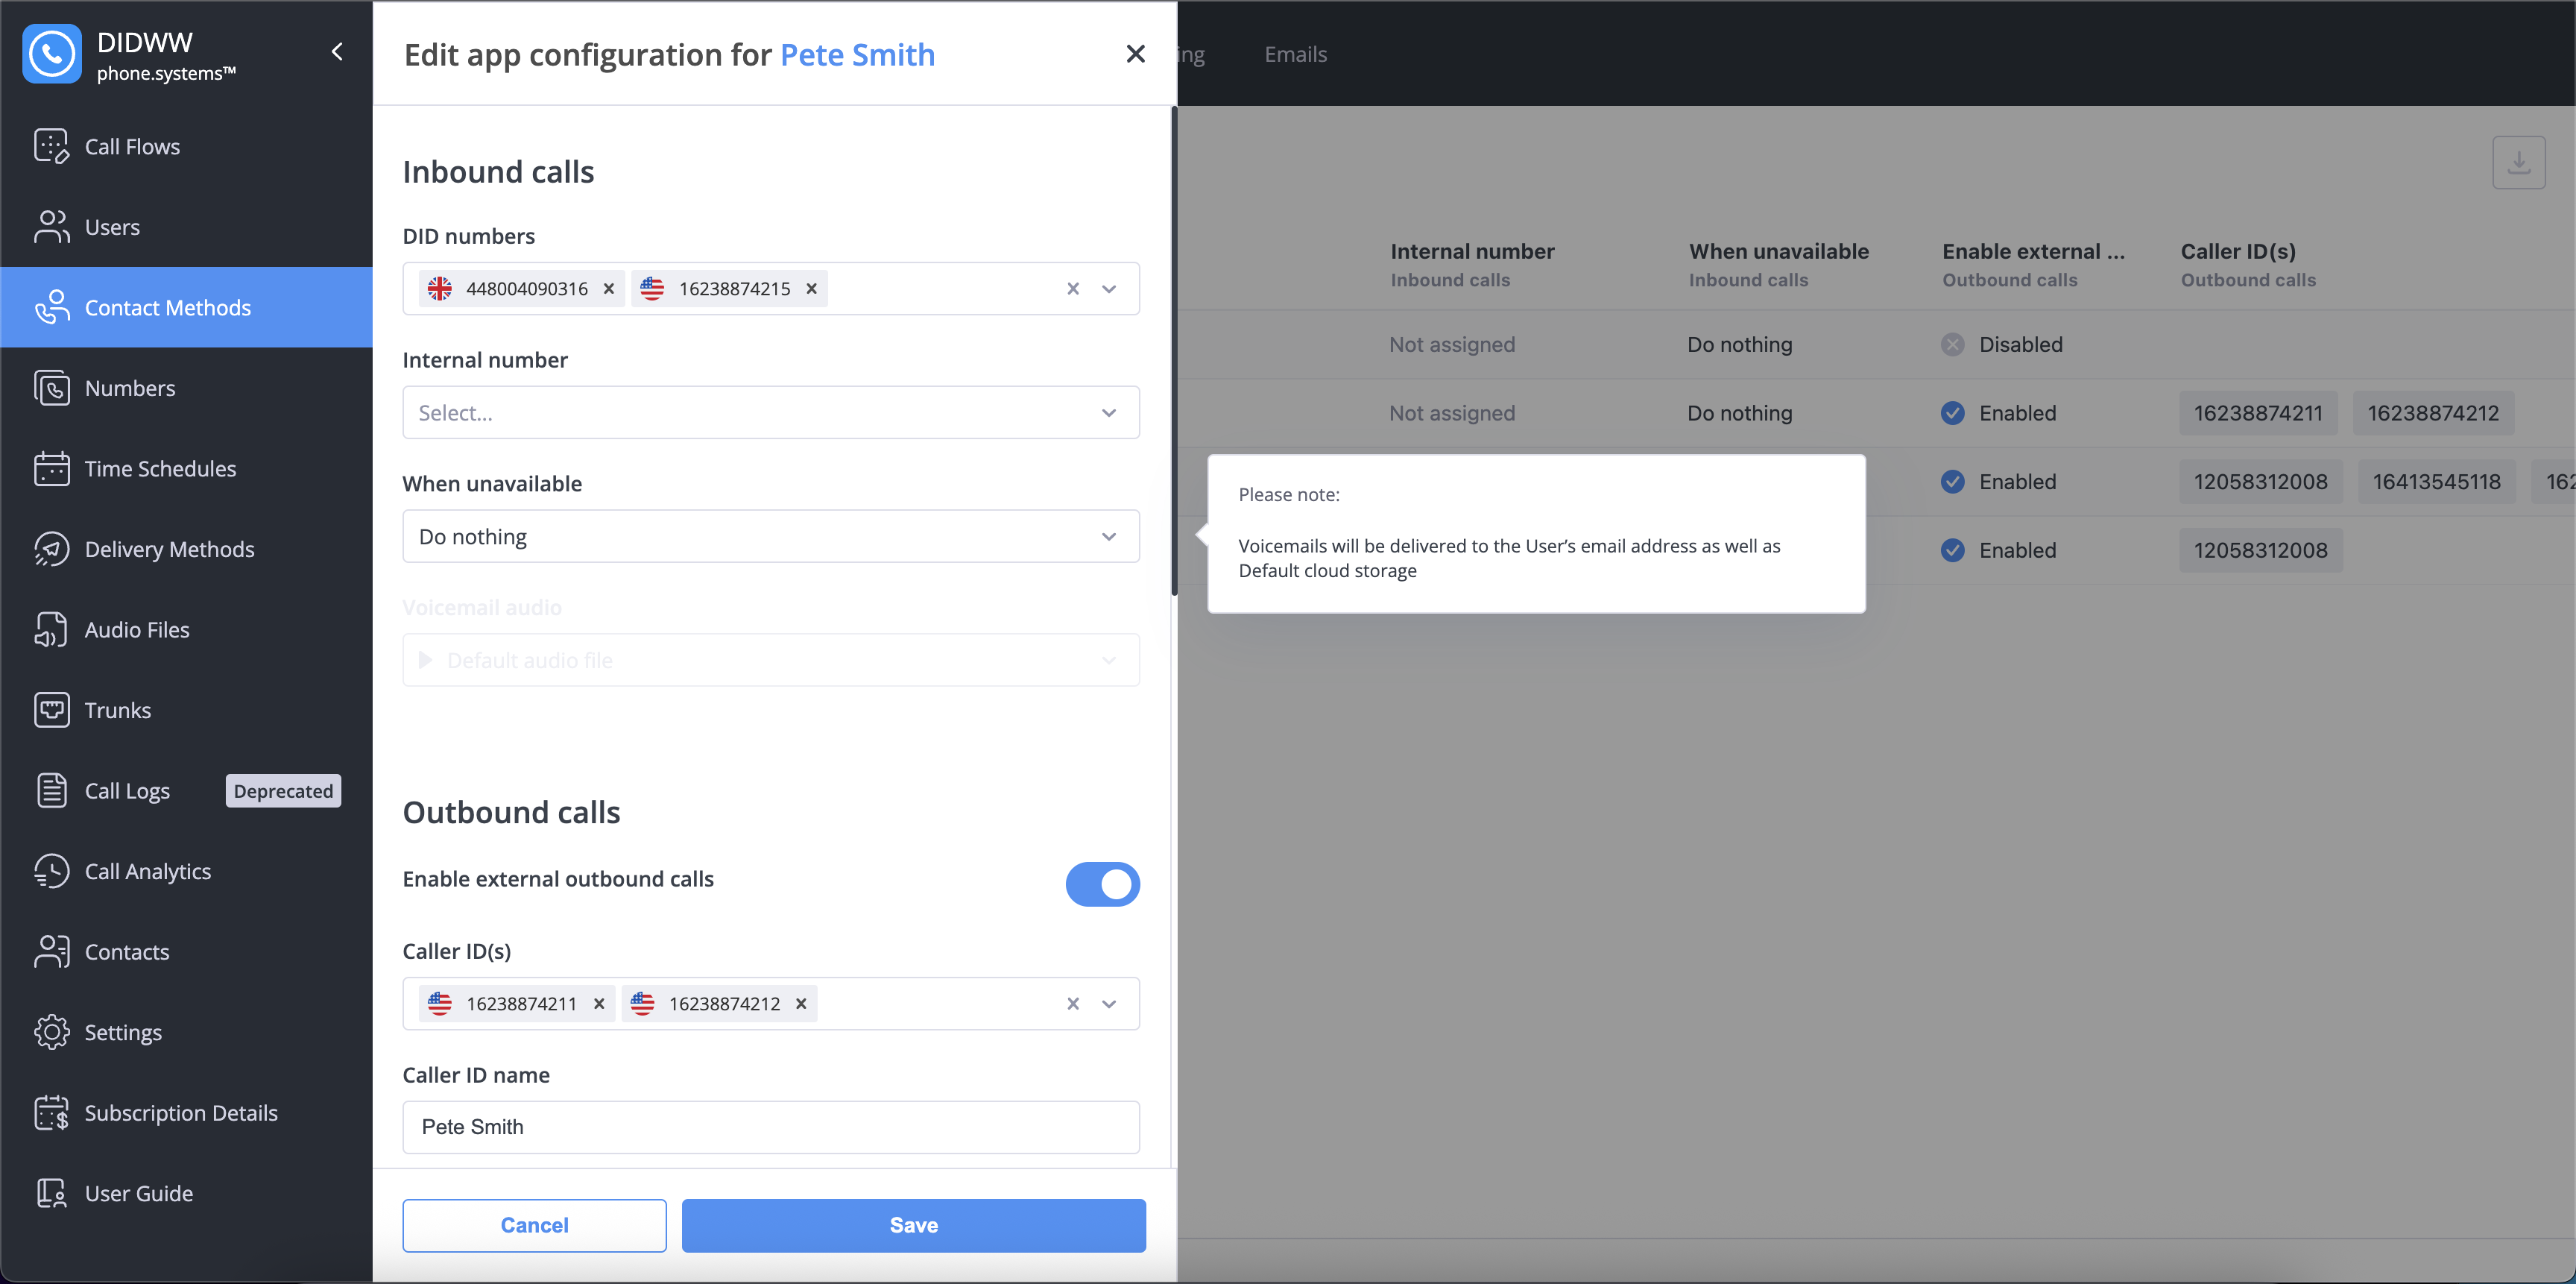
Fig. 2. Create User page details.#
Step 2: Configure Application Line Settings#
Immediately after filling in the user details, configure their application line:
Ensure the toggle switch labeled Configure application line in the next step is enabled.
Click Next.
Fig. 3. Configure Application Line Toggle switch.#
You will be presented with the Edit App Configuration form. Configure the settings for Inbound Calls, Outbound Calls, and Call Recording.
Assign a specific DID number for incoming calls, allow external outgoing calls, and set the caller ID to enable inbound and outbound calling:
Field
Description
DID Number
Select the DID number used to receive inbound calls.
Enable External Outbound Calls
Specifies whether the user can make external outbound calls.
Caller IDs
Specifies one or multiple caller IDs used for outbound calls.
After completing the configuration, click Save.
Fig. 4. Application Line Configuration options example.#
Install and Activate the phone.systems™ App#
After a user account and their application line have been configured in phone.systems™, the system automatically sends an invitation email to the user’s registered email address. This email allows the user to install the phone.systems™ mobile application and securely connect it to their assigned application line.
The invitation email provides:
A download link for the mobile application
Activation details (QR code and authentication code) required to connect the app to the configured app
The user must follow the instructions in the email to complete the installation and activation process on their device.
Note
If the invitation email does not arrive, check the spam or junk folder, or contact your administrator to resend the invitation.
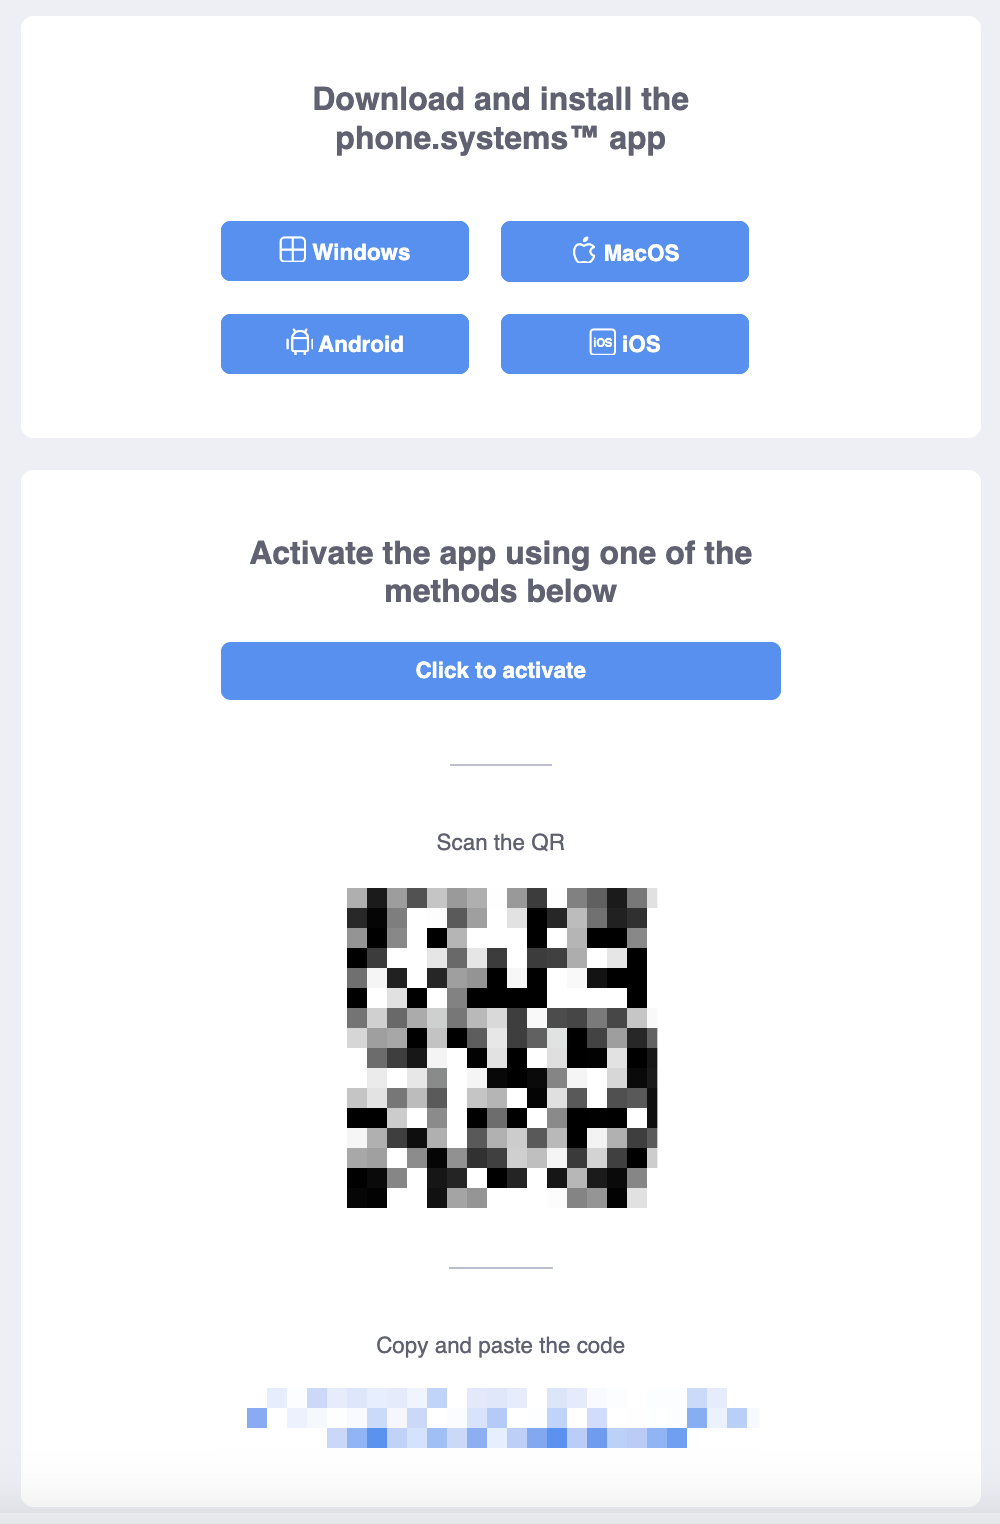
Fig. 5. Invitation email#
Step 1: Install the App and Sign In#
Download the application using the links in the email if necessary, then open the installed phone.systems™ application.
On the sign-in screen, tap Sign in.
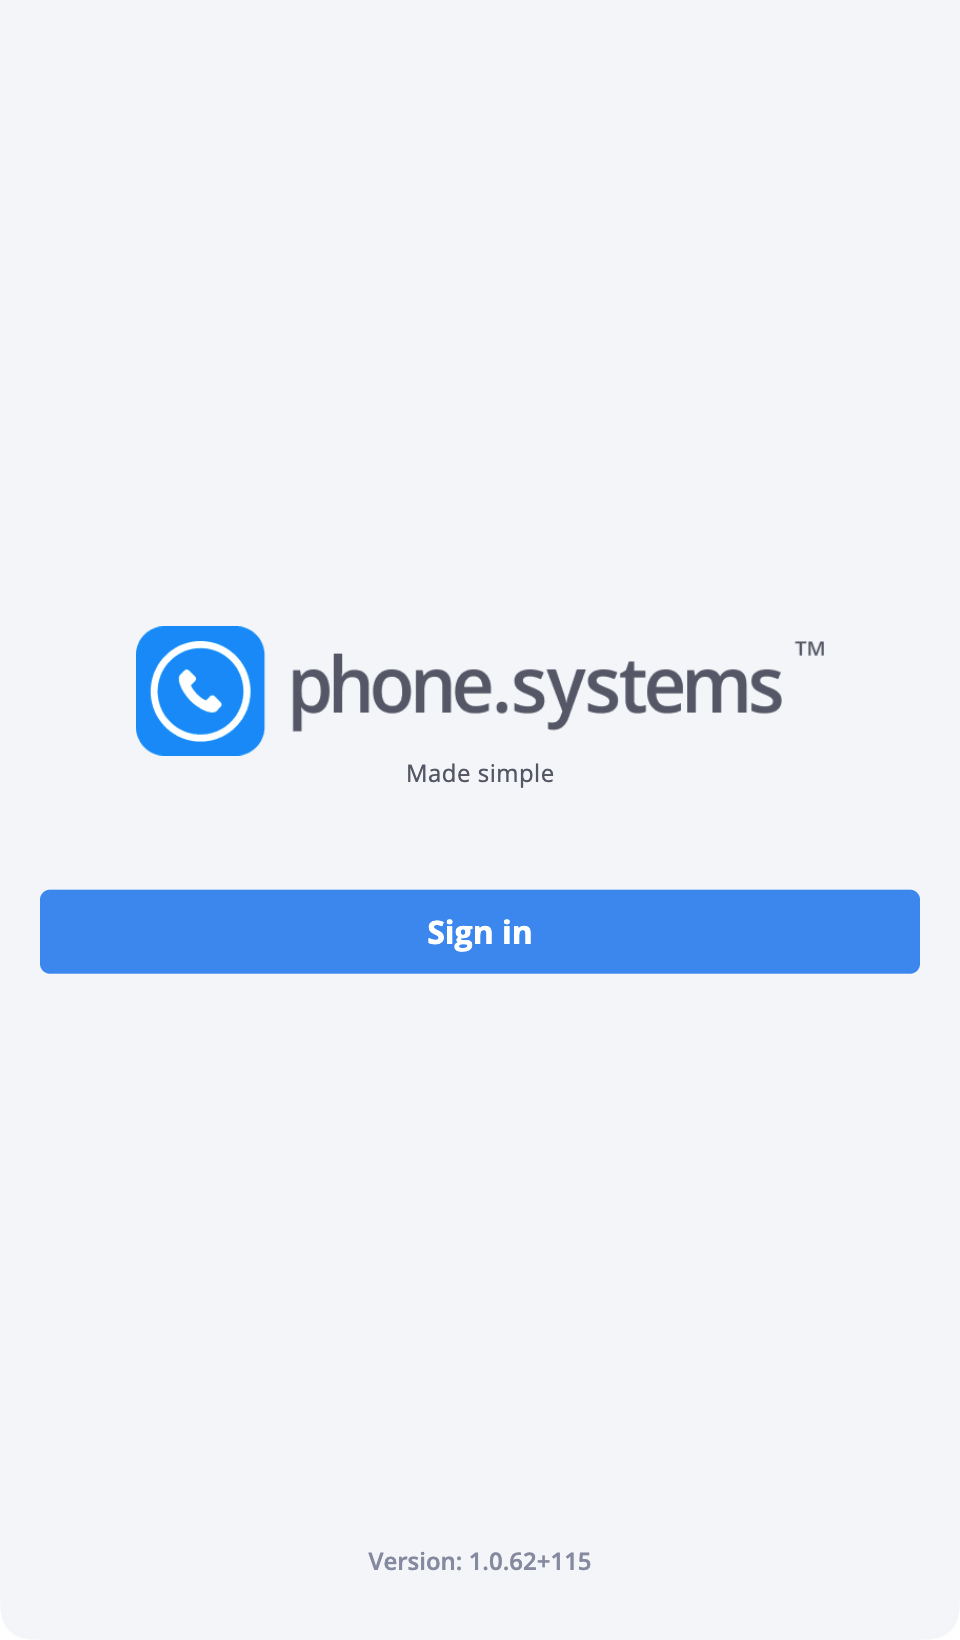
Fig. 6. Sign-in screen#
Step 2: Activate the phone.systems™ App#
Activate the application using one of the following methods provided in the invitation email.
When activating using a QR code, the application may request camera access to scan the code.
Note
When activating using a QR code, the application may request camera access to scan the code.
Allow camera access when prompted.
Scan the QR code from the invitation email.
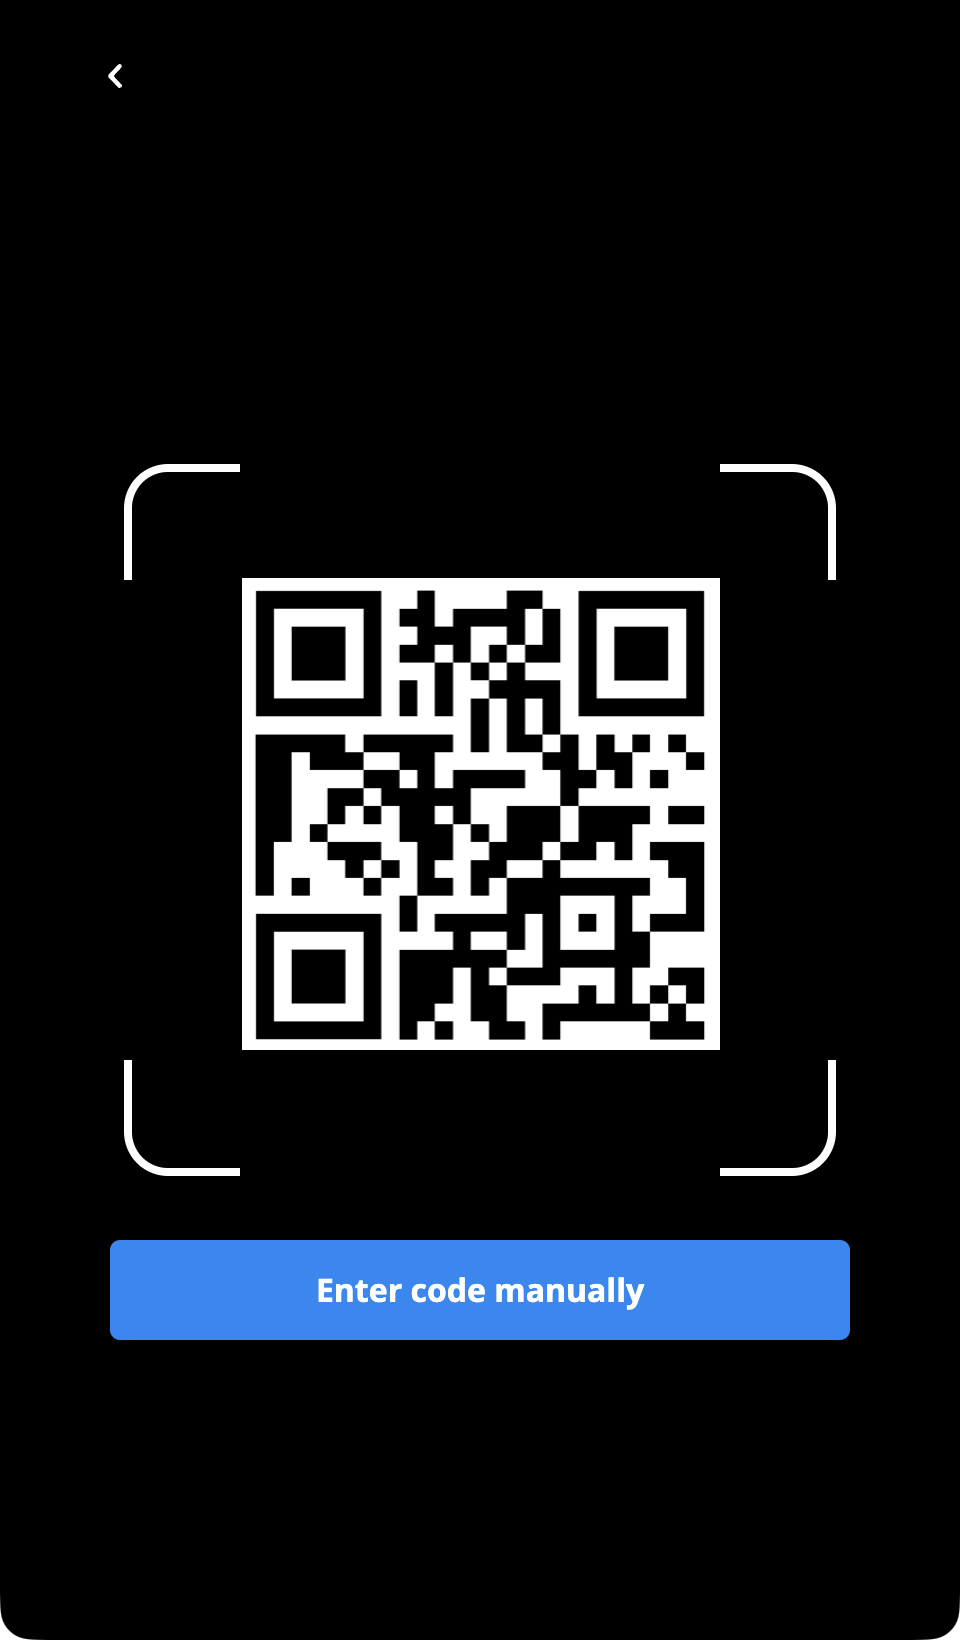
Fig. 7. QR code activation#
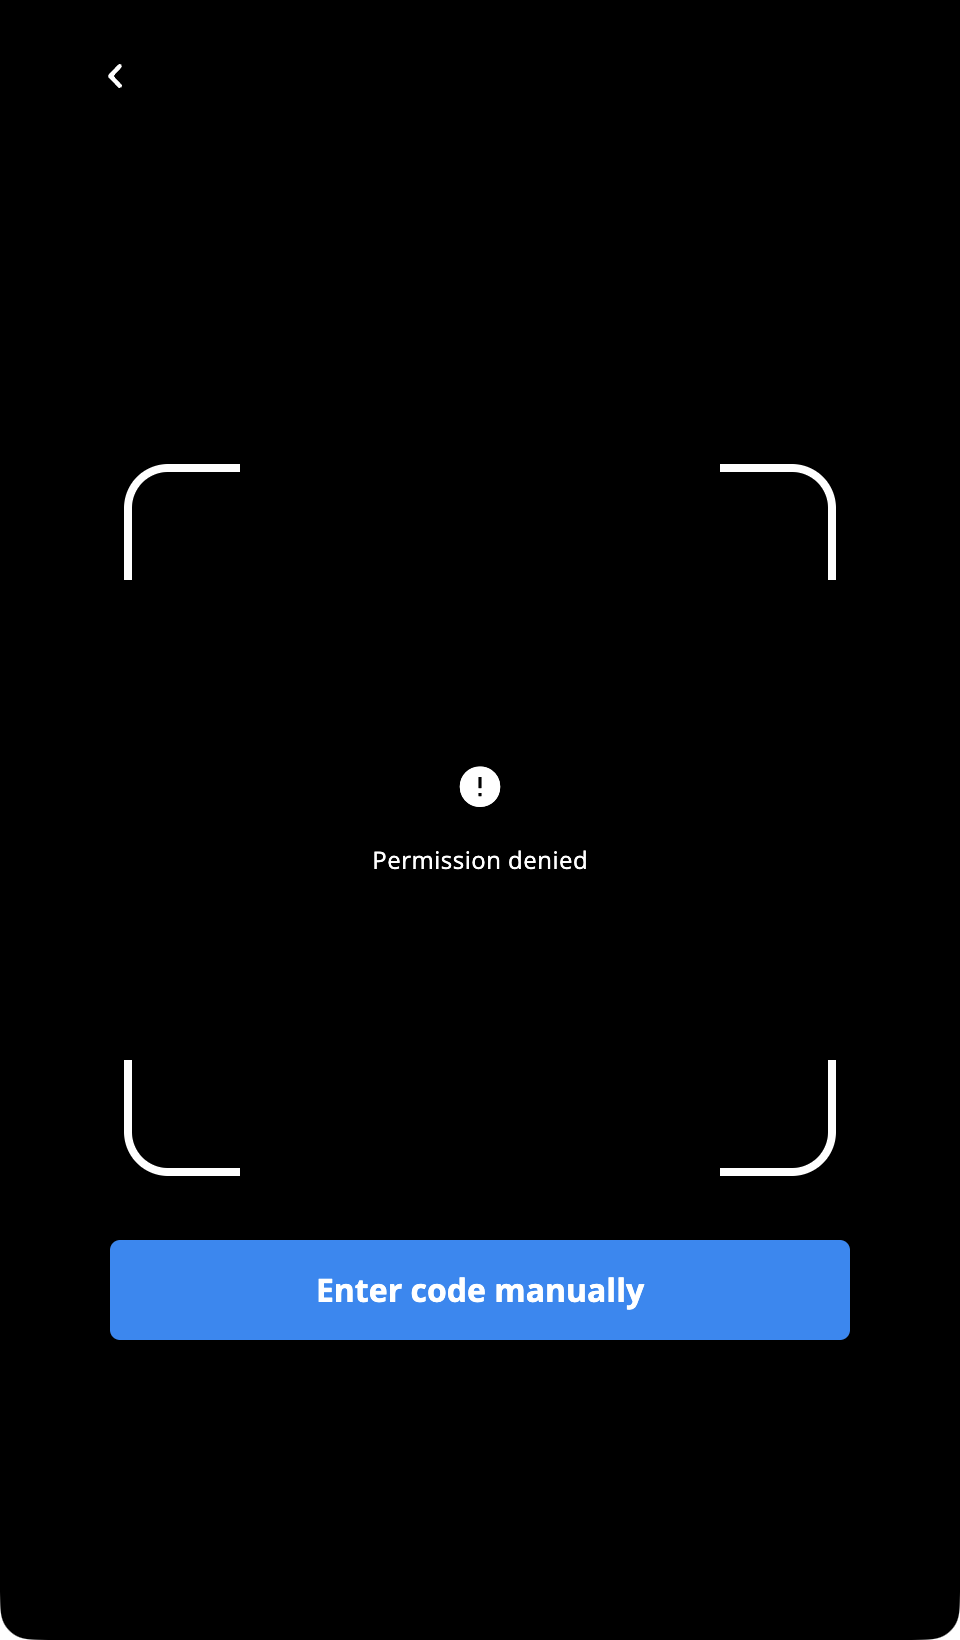
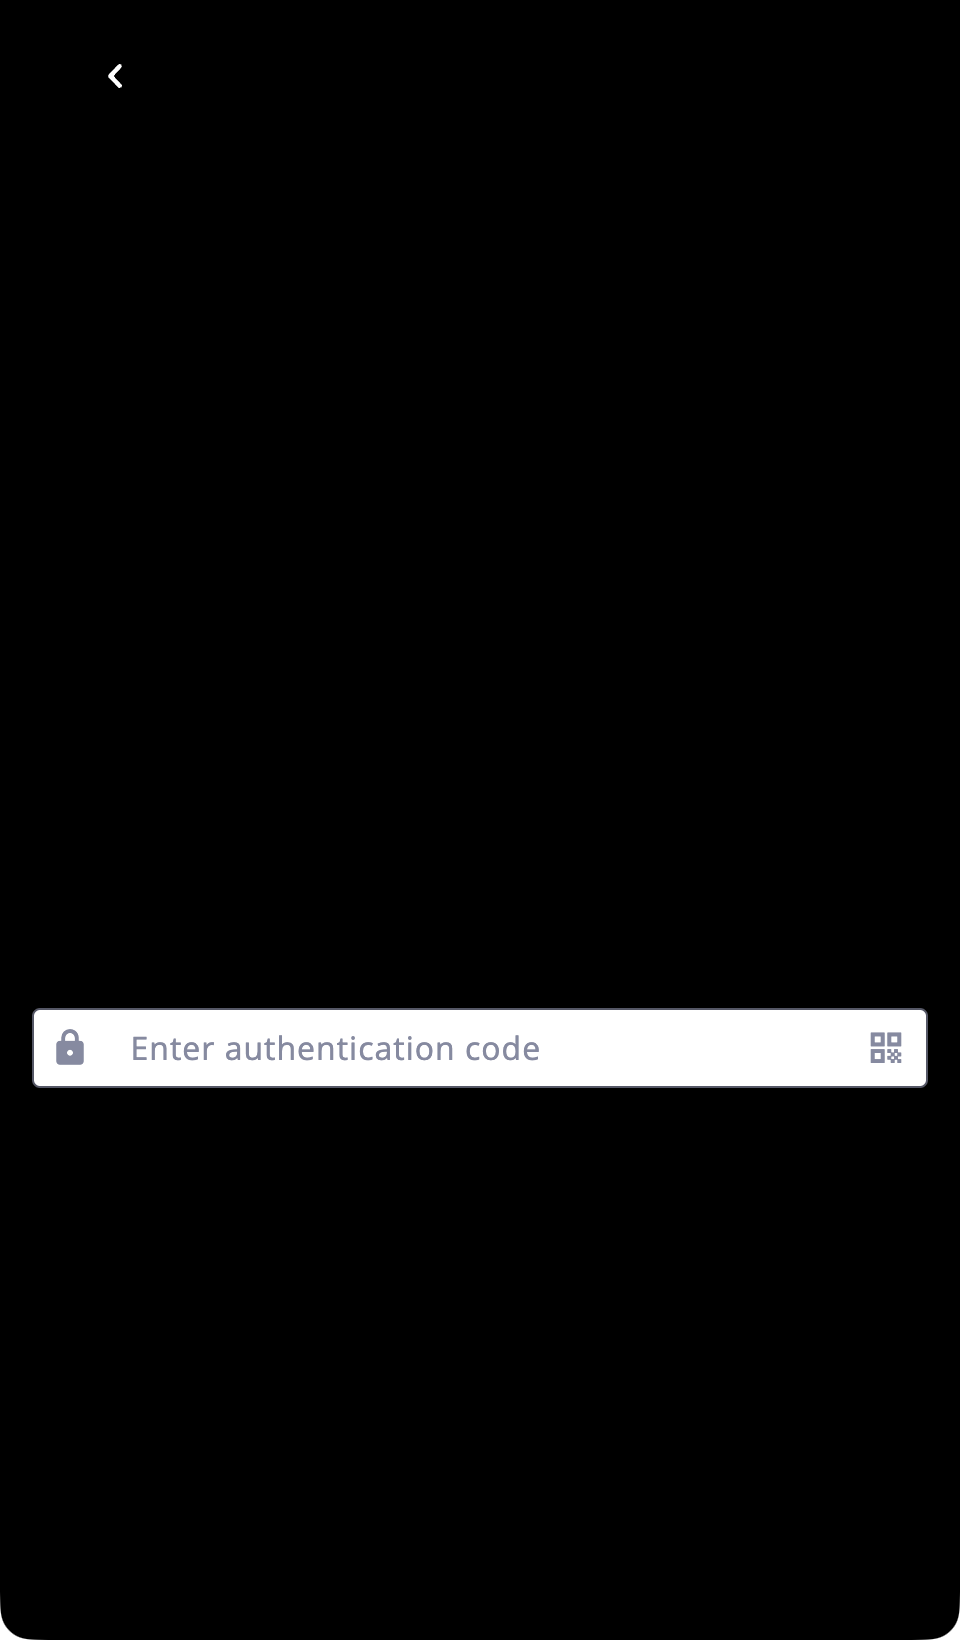
If camera access is denied or unavailable, activate the application using the authentication code from the invitation email.
Tap Enter code manually on the QR scanning screen.
Copy the authentication code from the invitation email.
Paste the code into the Enter authentication code field.
Tap Continue to proceed.
Step 3: Grant Required Permissions#
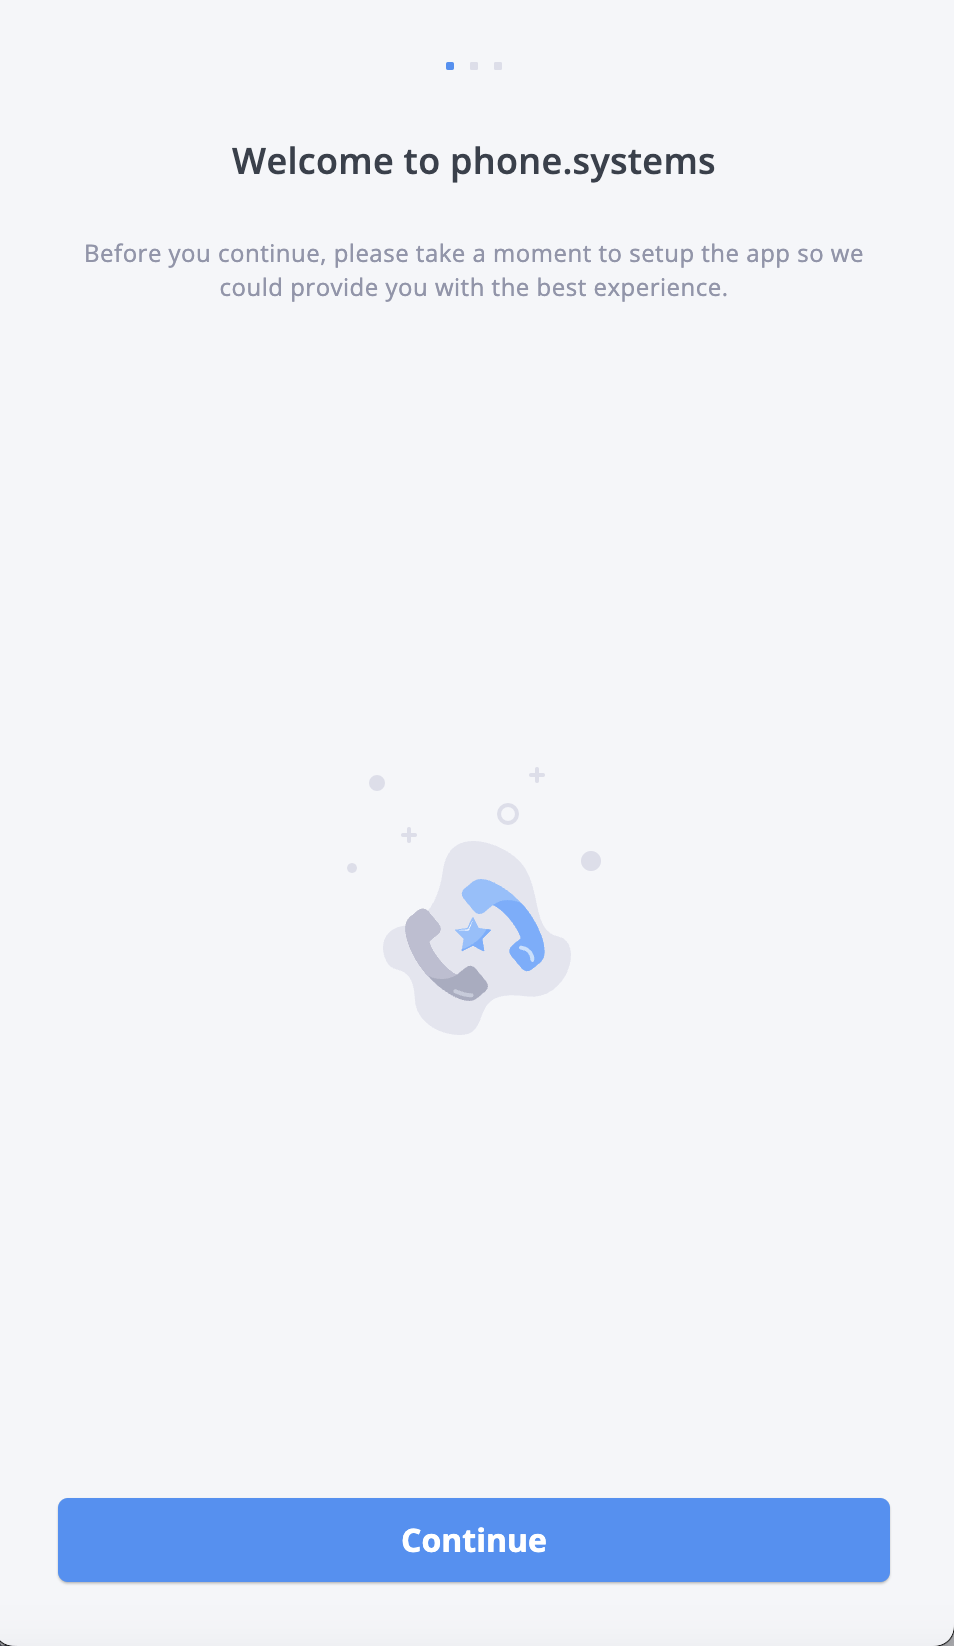
After activation, the Welcome to phone.systems™ screen is displayed. Tap Continue to proceed.
On the next screen, tap Setup permissions to allow the required device permissions for calling.
Allow the following permissions:
Microphone access – Required to make and receive calls.
Push notifications – Required to receive incoming call alerts and notifications.
Note
If microphone or push notification permissions are denied, the application may not be able to place or receive calls properly. Permissions can be modified later in the device system settings.
On iPhone, Focus mode may silence calls and notifications. If you are not receiving incoming call alerts, make sure Focus mode is disabled or that phone.systems™ is allowed in your Focus settings.
See Apple’s documentation: Set up a Focus on iPhone and Allow or silence notifications for a Focus .

Step 4: Review and Confirm Profile Details#
After granting the required permissions, you will be prompted to review and confirm your profile information.
Enter or verify your profile details, such as your name, job title, and department.
Tap Save and continue to complete the setup.
The phone.systems™ application is now activated and ready to make and receive calls.
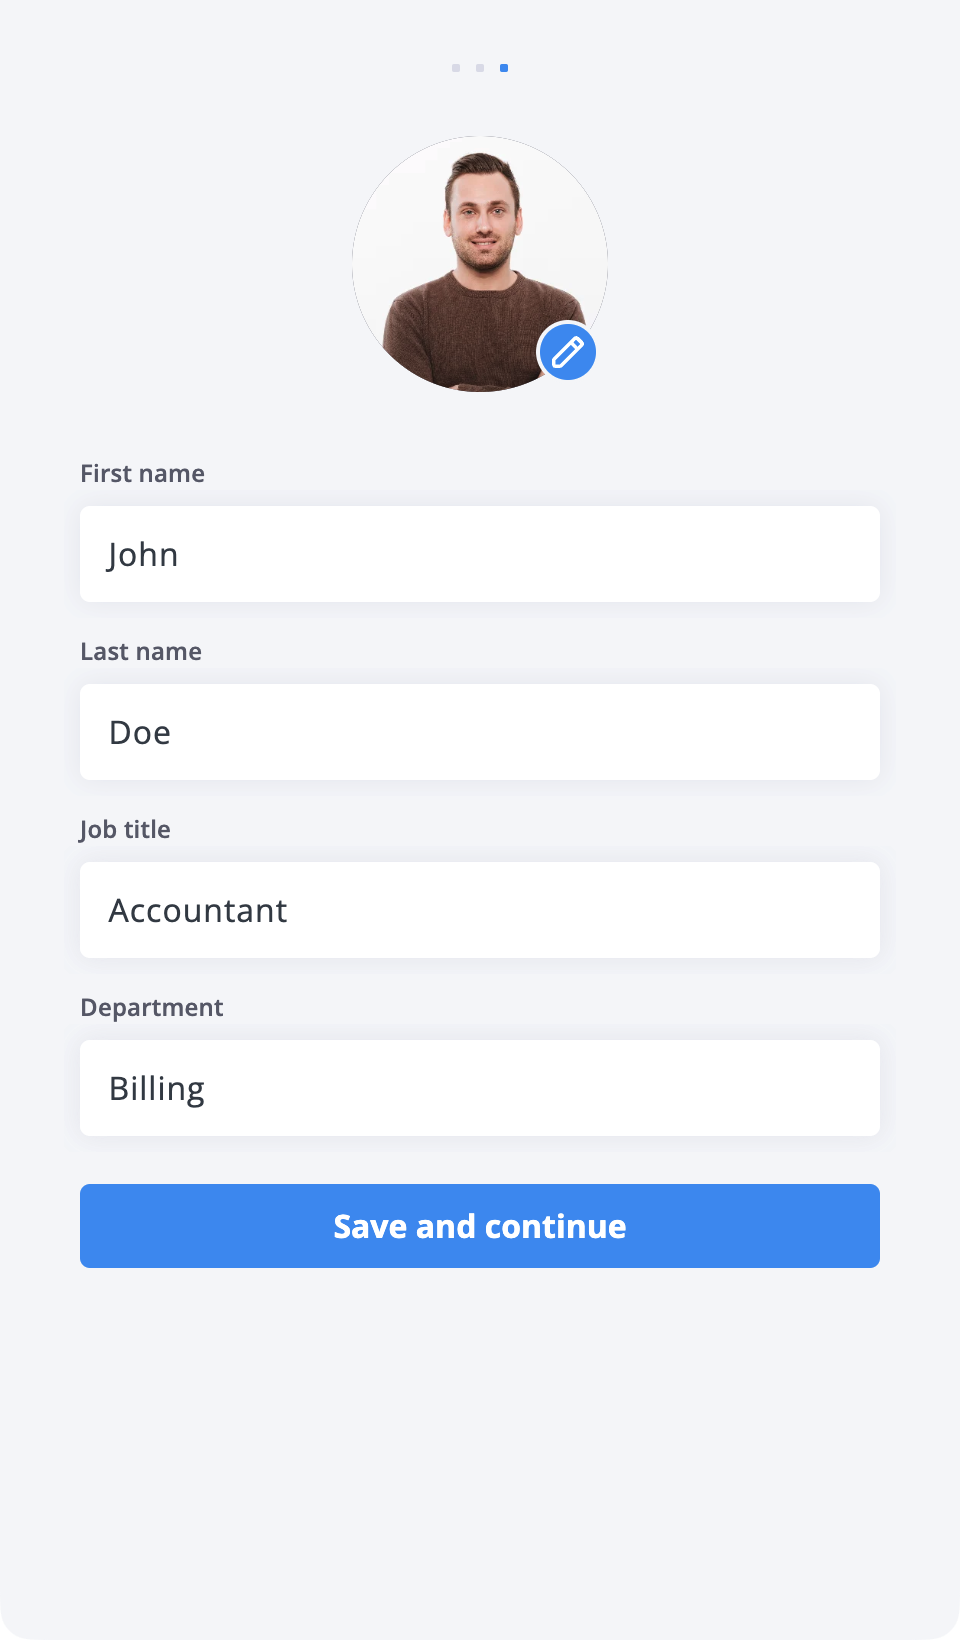
Fig. 12. Personal information#