Email Opt-out Settings
The email opt-out settings page lets you customize the messages displayed to users who unsubscribe from your email communications. You can modify the unsubscribe prompt text and the confirmation message shown after they successfully unsubscribe.
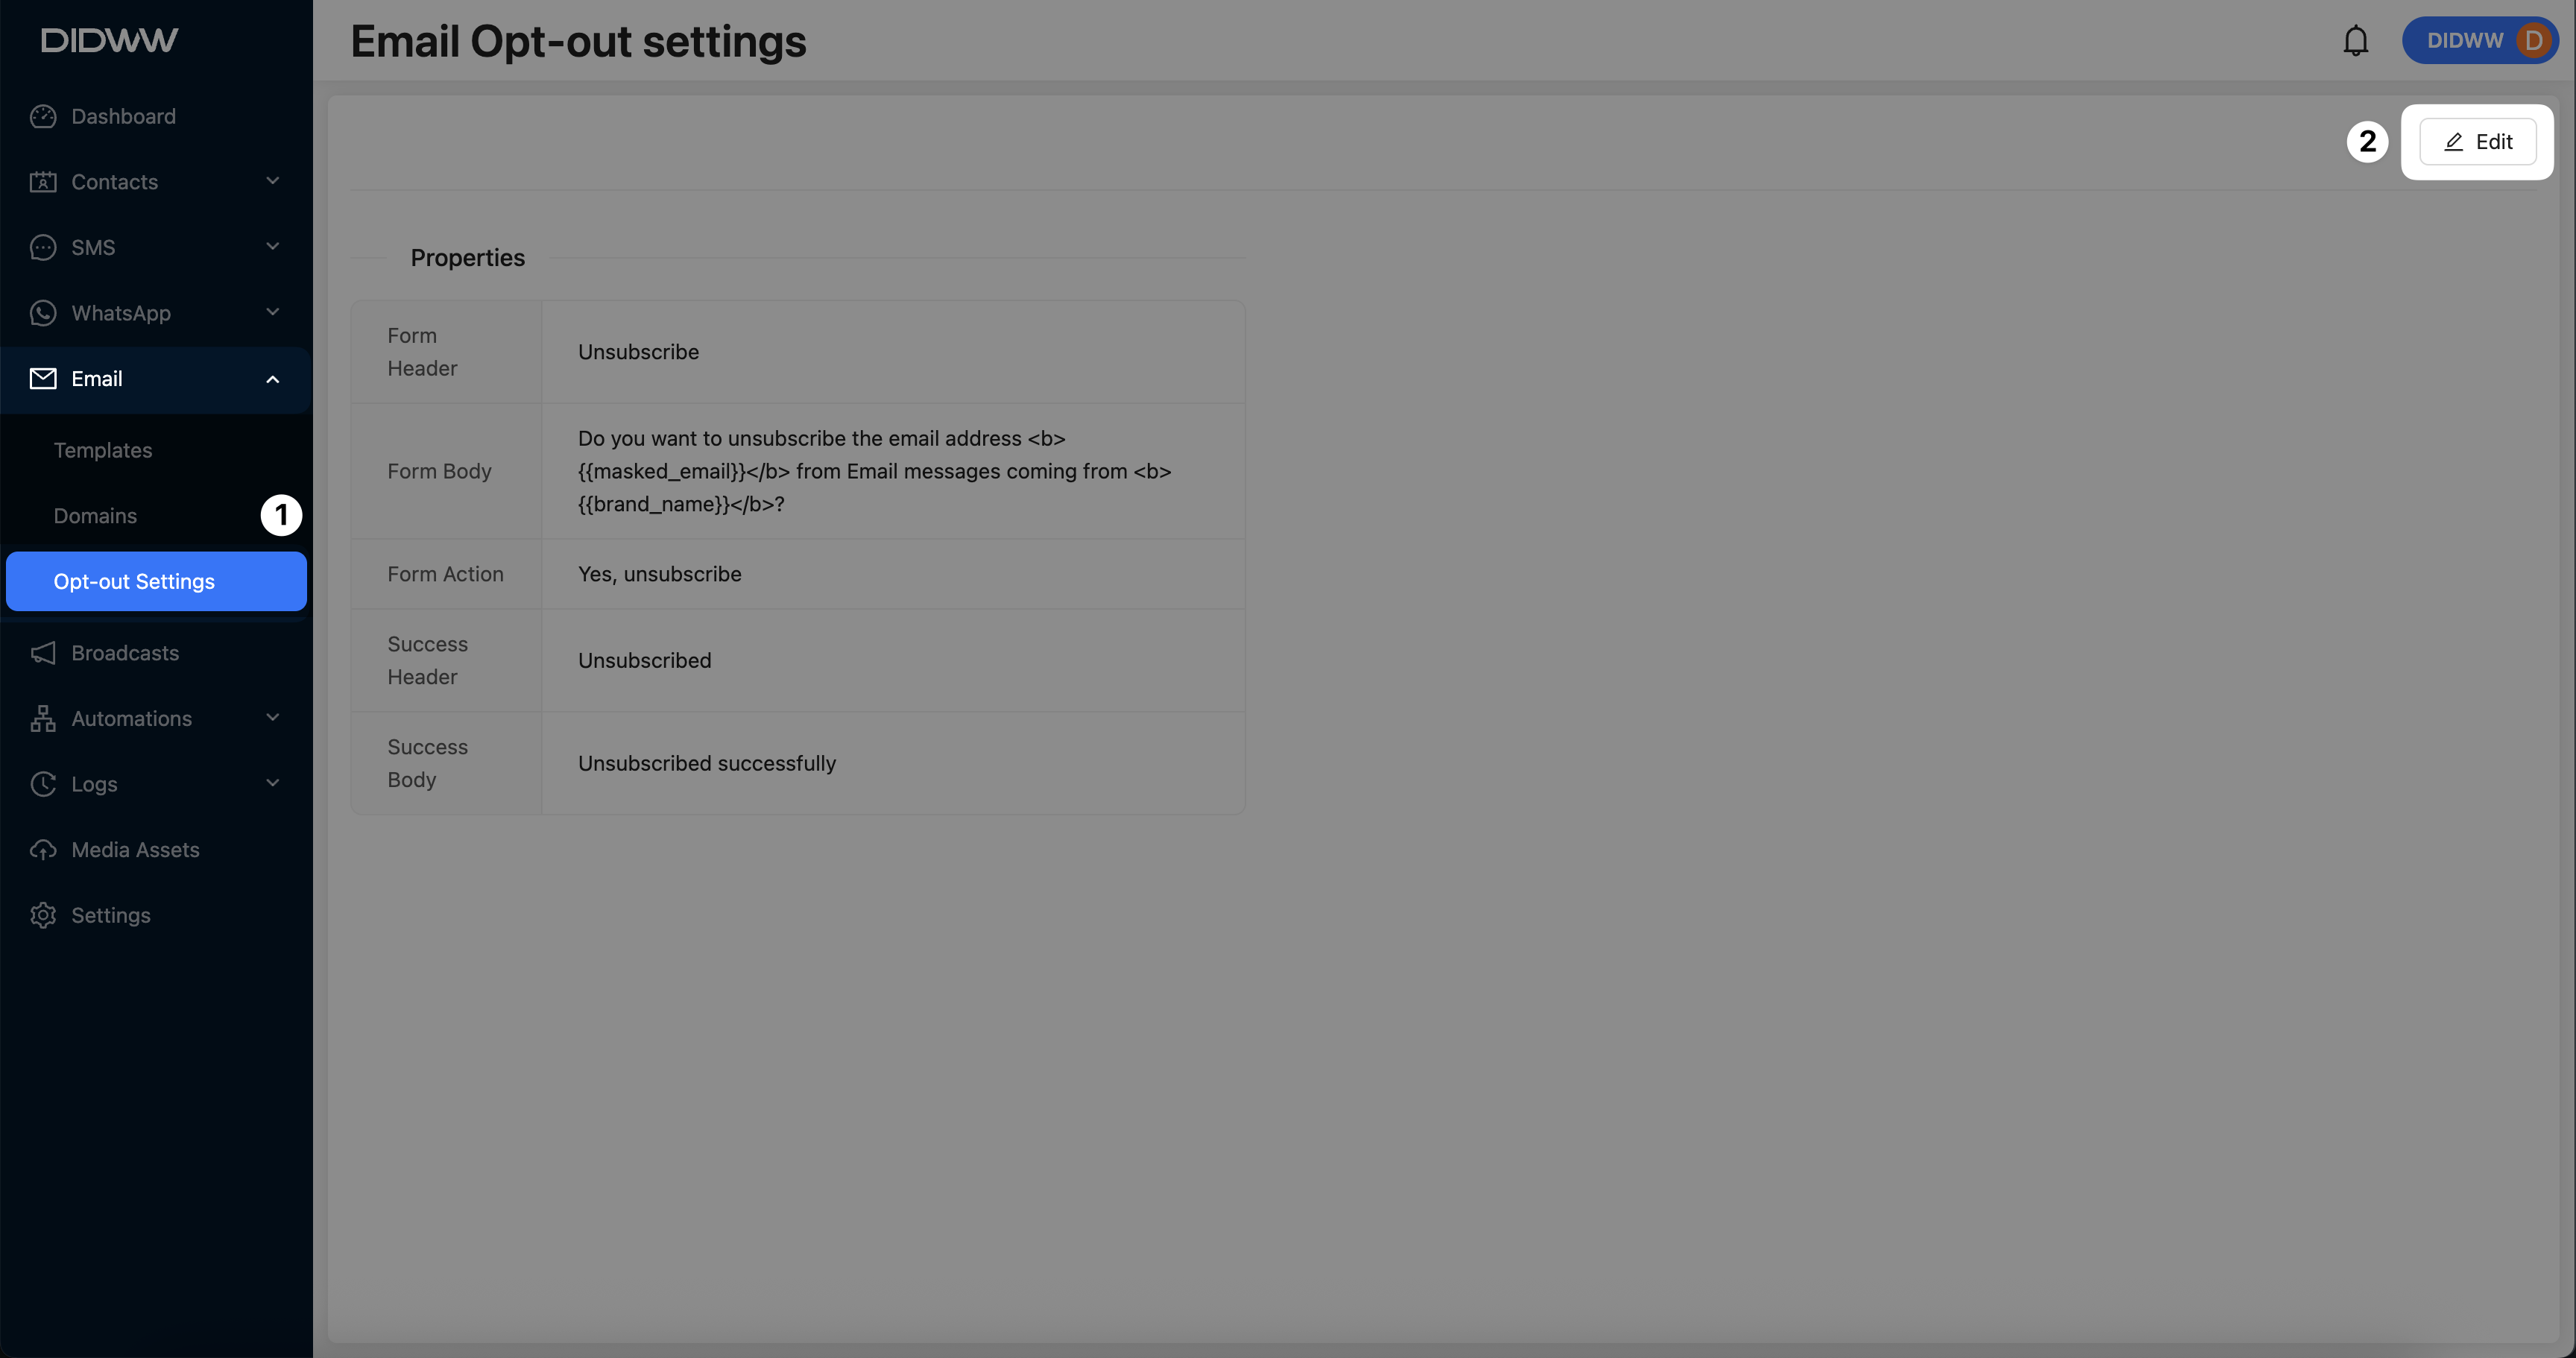
To access and configure the email opt-out settings, follow these steps:
Step 2: Edit Opt-out Message Settings
On the Email Opt-Out Settings page, you can enter values for the following fields:
Email Opt-out Settings Fields Field
Description
Form Header
This is the title displayed at the top of the opt-out form shown to users. By default, it is set to “Unsubscribe.”
Form Body
The message asking users if they want to unsubscribe. This field supports placeholders, allowing you to personalize the message.
For example, use:
{{masked_email}}to show the recipient’s masked email address.
{{brand_name}}to show the brand name.Example: “Do you want to unsubscribe the email address {{masked_email}} from Email messages coming from {{brand_name}}?”
Form Action
The text on the action button that users select to confirm their unsubscription. By default, it is set to “Yes, unsubscribe.”
Success Header
The title displayed on the success page after the user has successfully unsubscribed. Default text is “Unsubscribed.”
Success Body
The confirmation message shown to users after they successfully unsubscribe. Default is “Unsubscribed successfully.”

Fig. 2. Edit Email Opt-out settings.
Step 3: Use Placeholders for Personalization
Use the list of available Workspace Placeholders and Contact Placeholders to dynamically personalize the opt-out form fields.
To insert a placeholder:
Click into the form field where you want the placeholder to appear (for example, the Form Body field).
Scroll through the available list to find the placeholder you want to use, and click on it.
The selected placeholder will be automatically inserted into the active field.
Tip
To view more placeholders, hover your mouse over the placeholder list area and scroll down using your mouse wheel.
Using placeholders allows you to display personalized details, such as the recipient’s masked phone number or your workspace name, enhancing the opt-out form experience.

Fig. 4. Workspace and Contact Placeholders.
Step 4: Preview the Opt-out Form and Success Page
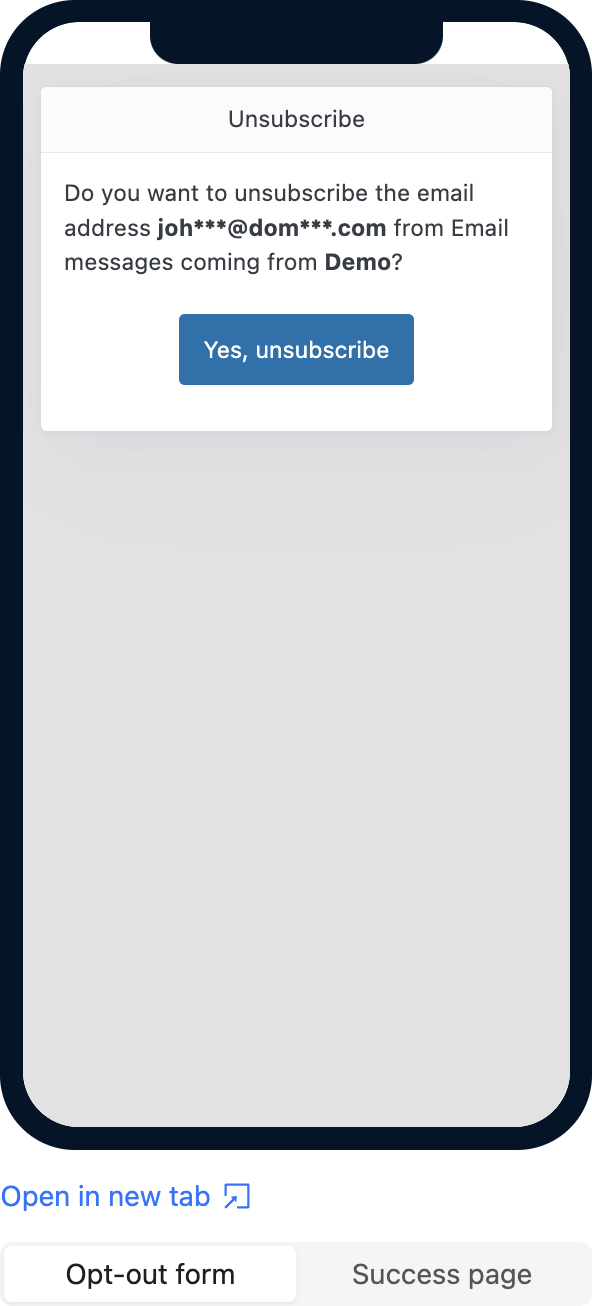
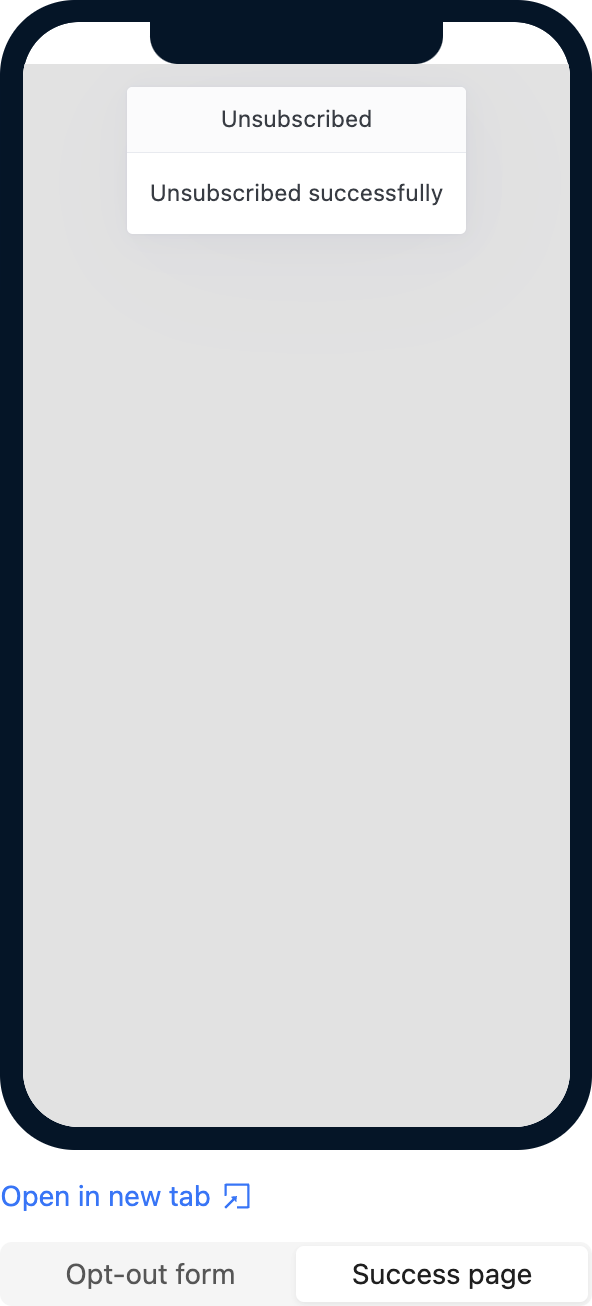
The right side of the page includes a live preview area that shows how the opt-out form and success page will appear on a mobile device. You can switch between the Opt-out form and Success page tabs to preview each screen.
Opt-out form: Displays the unsubscribe prompt as it will appear to recipients.
Success page: Shows the confirmation page that appears after a successful unsubscribe action.
Use this preview feature to verify that your customized messages appear as expected.
Step 5: Submit Your Changes
After customizing the fields, click Submit to save your changes.
Note
Use placeholders such as {{masked_email}} and {{brand_name}} to create a clear and personalized opt-out experience. This helps users understand who is sending the emails and what they are unsubscribing from.


