Assign Voice Trunk
Assigning a voice trunk is a key step in setting up inbound call routing for Direct Inward Dialing (DID) numbers. A trunk serves as the path through which incoming calls from a DID are forwarded to their destination—such as a PBX, SIP endpoint, or PSTN number—depending on the trunk type.
Before You Begin
Before proceeding with the steps below, ensure that you have the following:
A DID Number — If you do not have a DID number, refer to our guide on how to purchase one: How to Purchase Numbers.
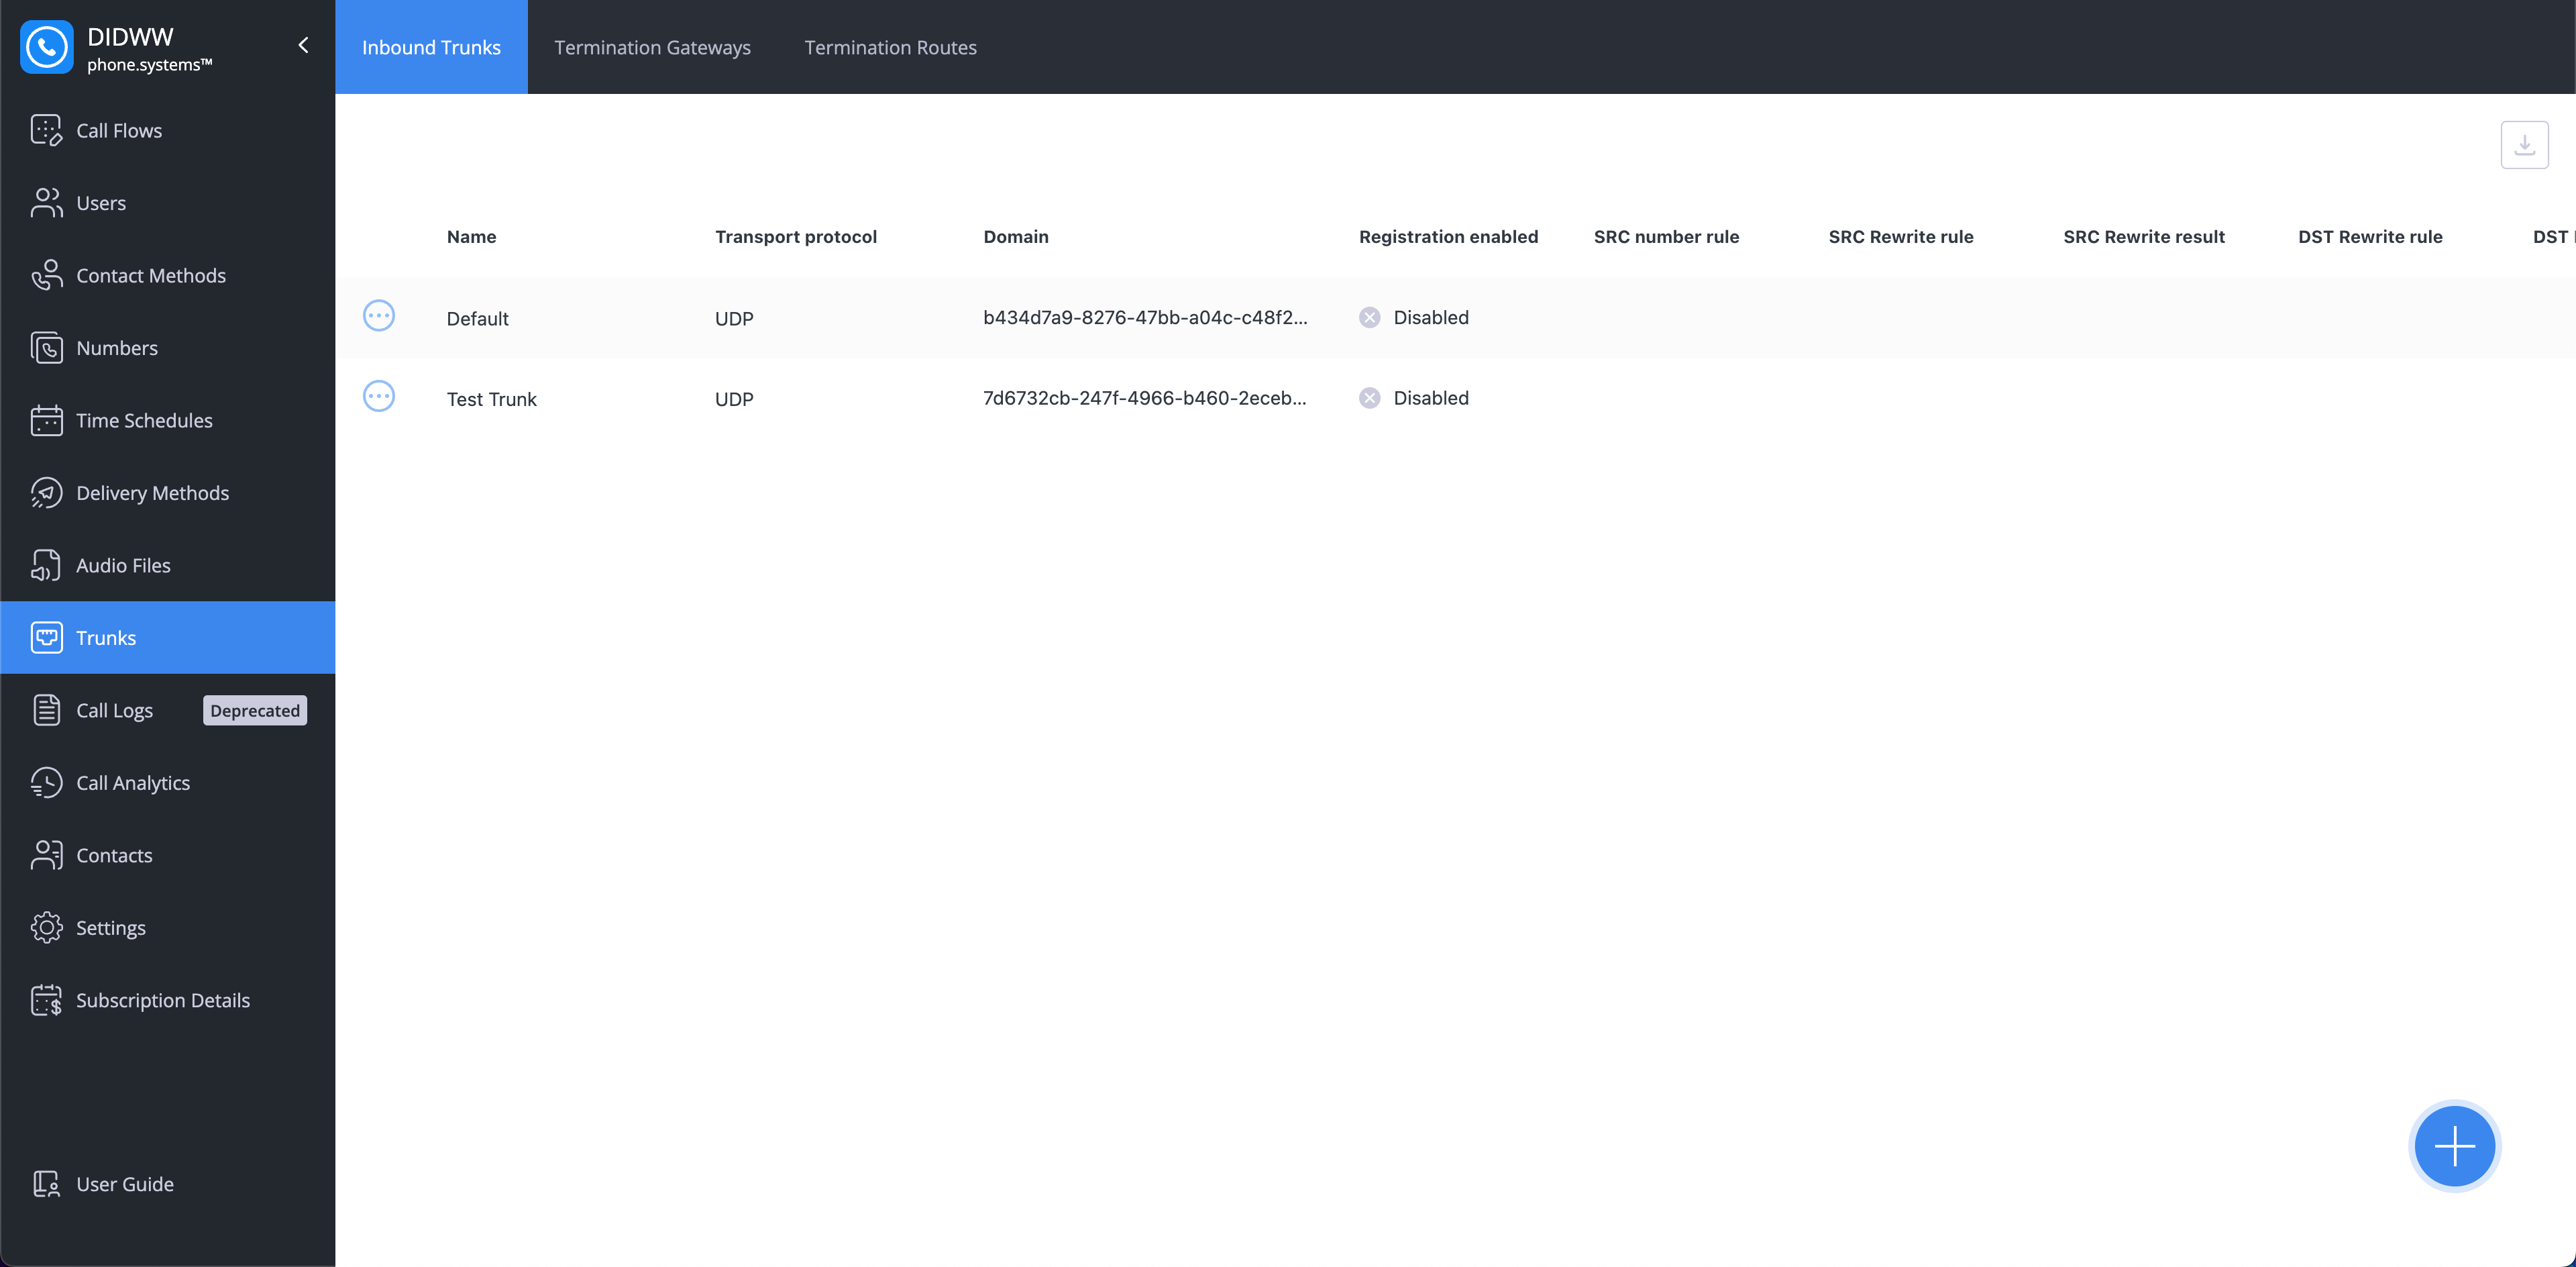
An Inbound Trunk — If you have not created any trunks yet, refer to the documentation here: Inbound Trunk Configuration.
Assign the Trunk
The user panel provides multiple options for assigning an inbound voice trunk, depending on whether you need to assign it to a single number or to a batch of numbers.
Learn how to assign an inbound voice trunk to a single DID number.
Learn how to assign an inbound voice trunk to a batch of DID numbers.
Assign the Trunk for a Single DID Number
To assign an inbound trunk to a single DID number, follow these steps:
Step 1: Open My Numbers Page
In the user panel menu, navigate to Phone Numbers > My Numbers, or open the page directly .

Fig. 1. My Numbers Page
Step 2 (Optional): Open Not Configured Tab
Navigate to the Not Configured tab, or open it directly . DID numbers without a configured inbound trunk are marked as Voice: none in the Trunk column.
Note
The Not Configured tab lists DID numbers that do not have an assigned inbound voice trunk or inbound channels. DIDs in this state—either unassigned or assigned with zero capacity are unable to receive incoming calls.

Fig. 2. Not Configured Tab
Step 3: Assign the Trunk
Locate the DID number, then follow these steps:
Click on the Trunk Name or Voice: none to open the trunk editing menu.
Select the desired trunk from the dropdown menu.
Click Confirm to save the changes.

Fig. 3. Assign Trunk to a Single DID Number
Note
To unassign a trunk from DID numbers select Unassign Voice Trunk instead of choosing a trunk.
Assign the Trunk for Multiple DID Numbers
To assign an inbound trunk to multiple DID numbers, follow these steps:
Step 1: Open My Numbers Page
In the user panel menu, navigate to Phone Numbers > My Numbers, or open the page directly .

Fig. 4. My Numbers Page
Step 2 (Optional): Open the Not Configured Tab
Go to the Not Configured tab, or open it directly . DID numbers without a configured inbound trunk are marked as Voice: none in the Trunk column.
Note
The Not Configured tab lists DID numbers that do not have an assigned inbound voice trunk or inbound channels. DIDs in this state—either unassigned or assigned with zero capacity are unable to receive incoming calls.

Fig. 5. Not Configured Tab
Step 3: Select the Numbers
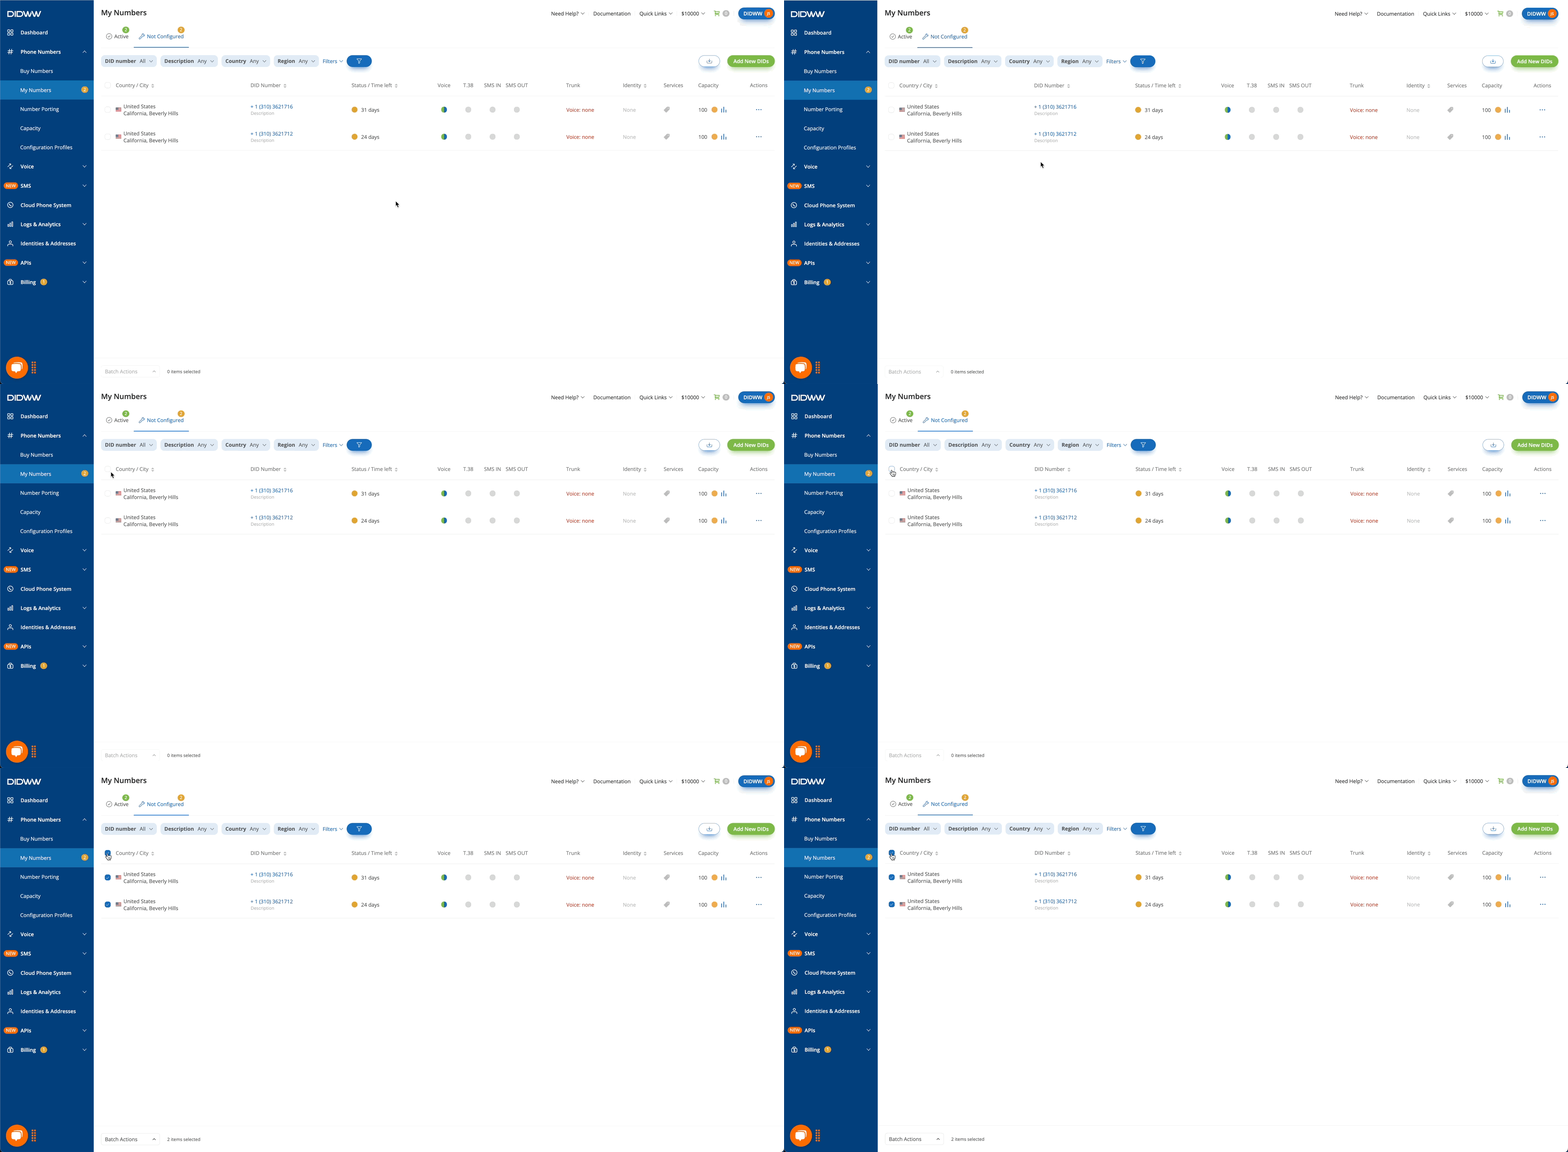
To assign an inbound trunk to multiple DID numbers, start by selecting them using the checkboxes in the first column.
You can select numbers in two ways:
Manually – Check the boxes next to individual DID numbers.
Bulk selection – Click the checkbox to the left of the Country/City column to open bulk options:
Select All – Selects all DID numbers that match the current filter criteria, even if they span multiple pages.
Note
Use this when you have more numbers than are shown per page. For example, if you have 100 numbers but only 10 are visible, all 100 will be selected.
Select Visible – Selects only the numbers currently shown on the page.
Note
If the page shows 10 numbers, only 10 will be selected.

Fig. 6. Checking DID Numbers
Step 4: Assign the Trunk
Assign a trunk to the selected DID numbers, follow these steps:
At the bottom of the page, click Batch Actions.
Select Update Trunks from the list of actions.
In the dropdown menu, choose the trunk you want to assign.
Click Confirm to apply the changes.

Fig. 7. Assign a Trunk to Multiple DID Numbers
Note
To unassign a trunk from DID numbers select Unassign Voice Trunk instead of choosing a trunk.
Additional Information
Learn about SIP Trunk creation and configuration to forward your calls via a SIP URI.
Learn about PSTN Trunk creation and configuration to forward your calls to an existing phone number.
Set up your phone.systems™ account and start configuring users and devices.