Segments
Segments allow you to filter and organize recipients for your messaging campaigns, ensuring your messages reach the right audience.
In this section, you can:
Filter segments by name
View, edit or delete existing segments
Create new segments
Fig. 1. Segments overview.
Filtering Segments
Step 1: To filter your segments input the exact segment name in the “Name” field.
Step 2: Click the Filter button to display the specified segment
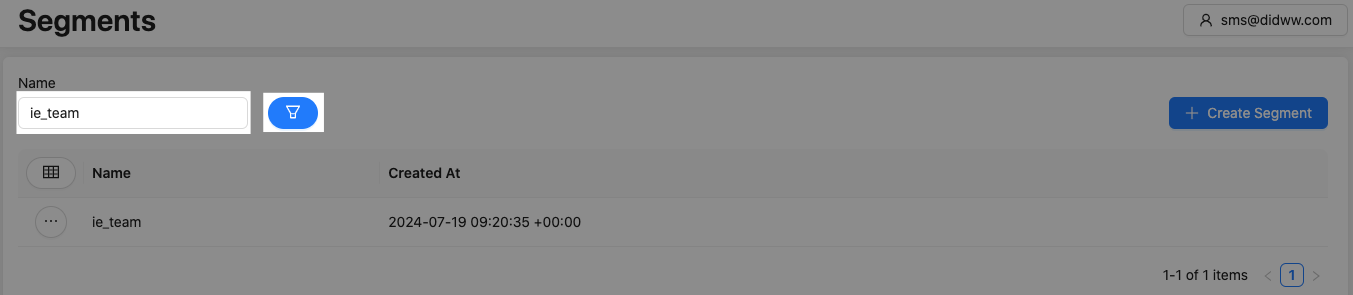
Fig. 1. Filtering Segments
Editing and Deleting Segments
The DIDWW Messaging Platform allows you to edit segments or completely remove them.
Editing Segments
To edit a segment, click the Actions button
 and select Edit.

Fig. 1. Actions Button
The Edit Segment screen will appear. Click Submit to save your changes.

Fig. 2. Editing Segments
Deleting Segments
To delete a segment, click the Actions button
and select Delete.
Fig. 1. Actions Button
A Delete Segment pop-up will appear. Click Delete to confirm the removal.

Fig. 2. Deleting Segments
Creating a Segment
Step 1: Click the + Create Segment button.

Fig. 1. Create Segment.
Step 2: Enter the friendly name for the new segment
Step 3: Select one of the conditions that will need to be met for the segment to work:
All of (AND): Requires the matching of all specified attributes.
At least one (OR): Requires the matching of at least one of the specified attributes.
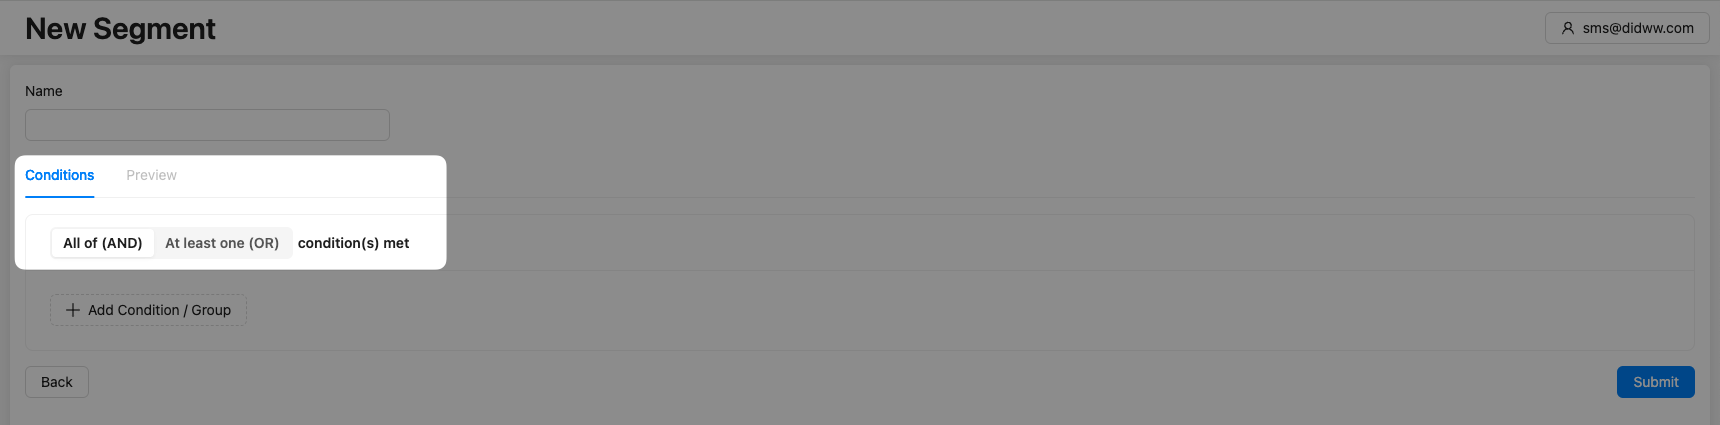
Fig. 1. Segment Conditions.
Step 3: To create a condition or group, hover your mouse over the Add Condition / Group button and select Condition.
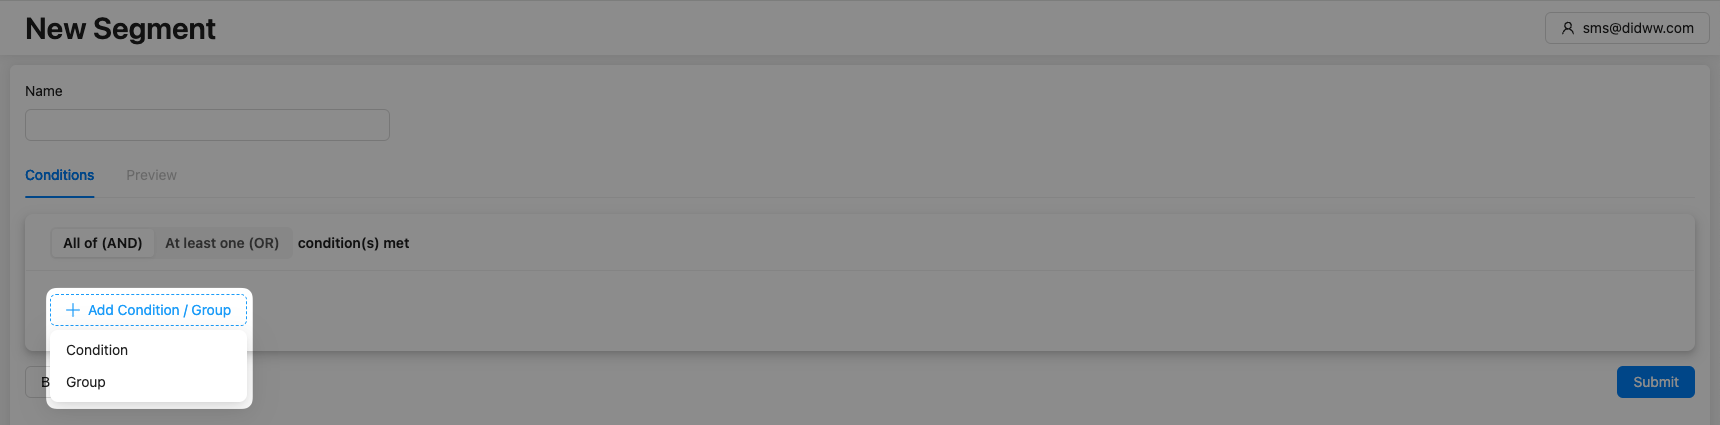
Fig. 1. Add Condition / Group.
Create a segment using any of the Contact Attributes:
Messaging ID: The messaging ID of the contact.
Contact ID: The ID generated by the Messaging Platform.
First Name: The first name of the contact.
Last Name: The last name of the contact.
Phone Number: The phone number of the contact.
Email: The email of the contact.
Fig. 2. Contact attributes.
For each selected contact attribute, choose the appropriate value condition:
Equals: The attribute’s value must exactly match the specified value.
Not Equal: The attribute’s value must not exactly match the specified value.
Starts with: The attribute’s value must begin with the specified value.
Ends with: The attribute’s value must end with the specified value.
Contains: The attribute’s value must include the specified value as a substring.
Not Contains: The attribute’s value must not include the specified value as a substring.
Exists: The attribute must be present and have a value (it is not null or undefined).
Not Exists: The attribute must not be present (it is null or undefined).
Fig. 3. Generic attribute conditions.
Step 4: After configuring your segment settings, click the Preview tab.
Here, you can apply multiple filters if needed to view the contacts that match your specified criteria.
Fig. 4. Preview of a Segment.
Step 5: Click Submit to finalize and create your segment.