Version 18
Getting Started
What you need to get started:
For Inbound:
Access to DIDWW self-service portal to create VoiceIn trunk and assign it to the preferred DID number.
Access to 3CX Management Console with 3CX PRO (Professional) or 3CX ENT (Enterprise) plan.
For Outbound:
Access to DIDWW self-service portal to create VoiceOut trunk.
Access to 3CX Management Console with 3CX PRO (Professional) or 3CX ENT (Enterprise) plan.
Inbound
To add the DIDWW Inbound SIP Trunk into your 3CX Phone Management Console, proceed with the following steps:
Step 1. In the management console of 3CX navigate to “SIP Trunks” section.
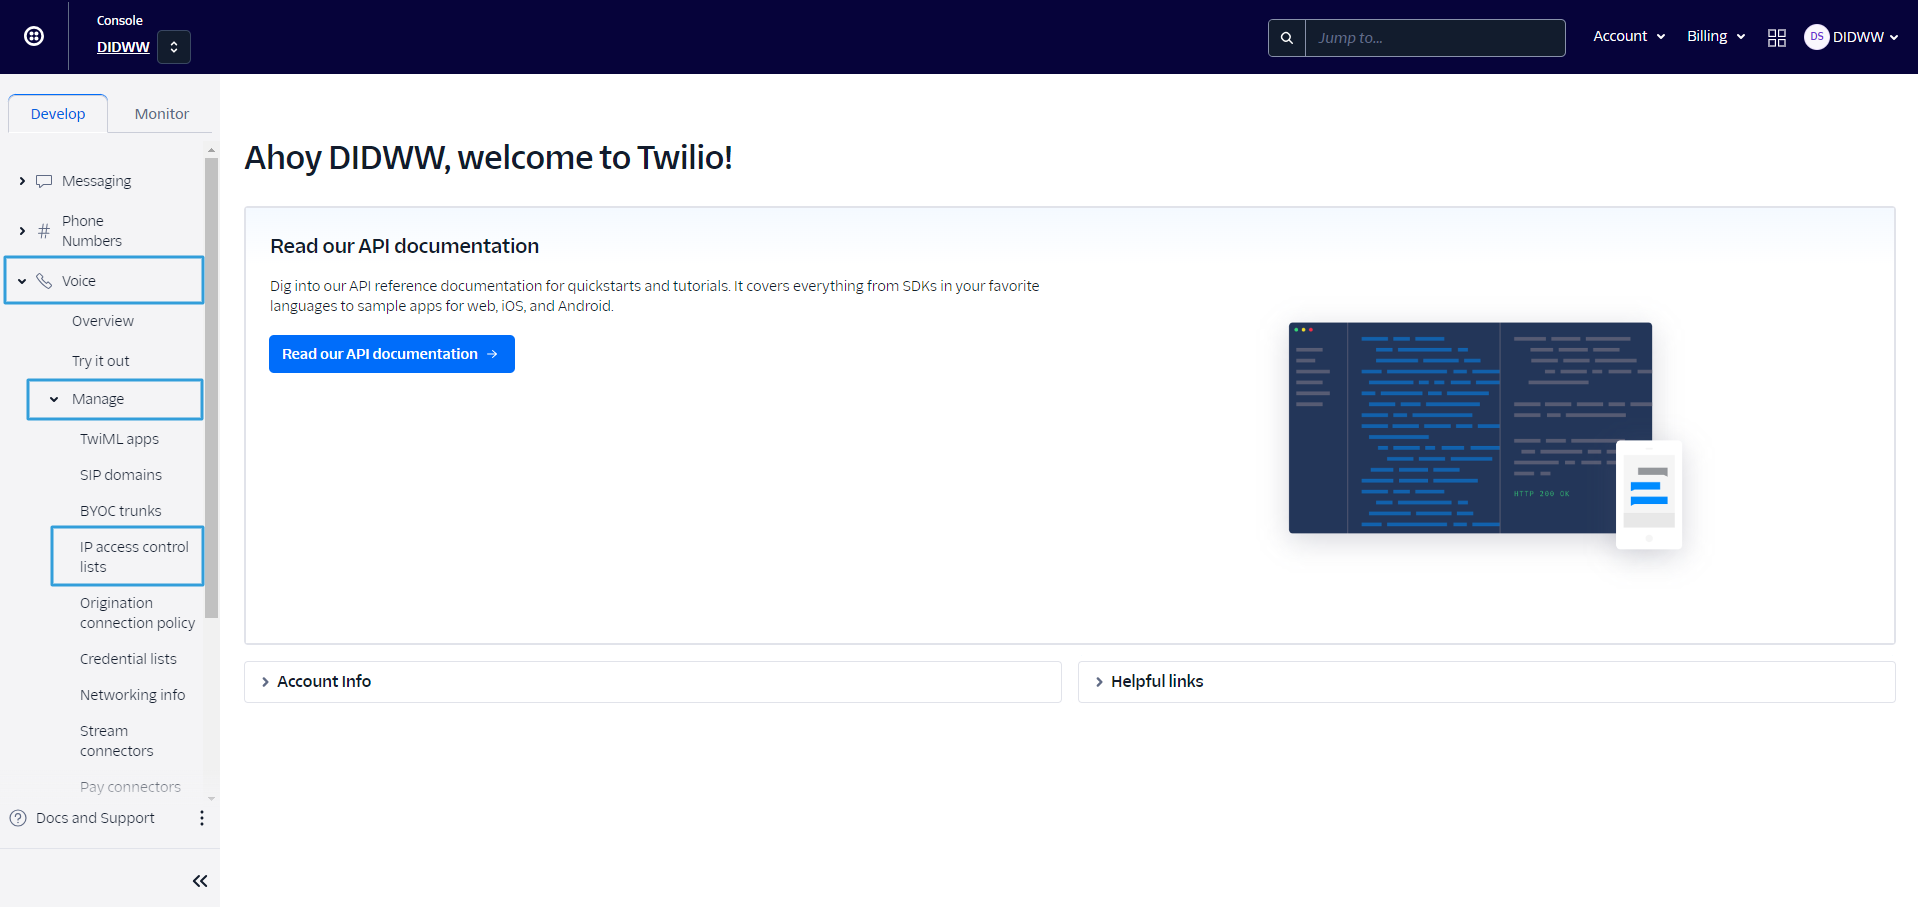
Fig. 1. 3CX Dashboard window.
Step 2. In the SIP Trunks section select “Import Provider” button, upload inbound configuration file, enter Main Trunk number (e.g. 1234) and click OK button (Fig. 2).
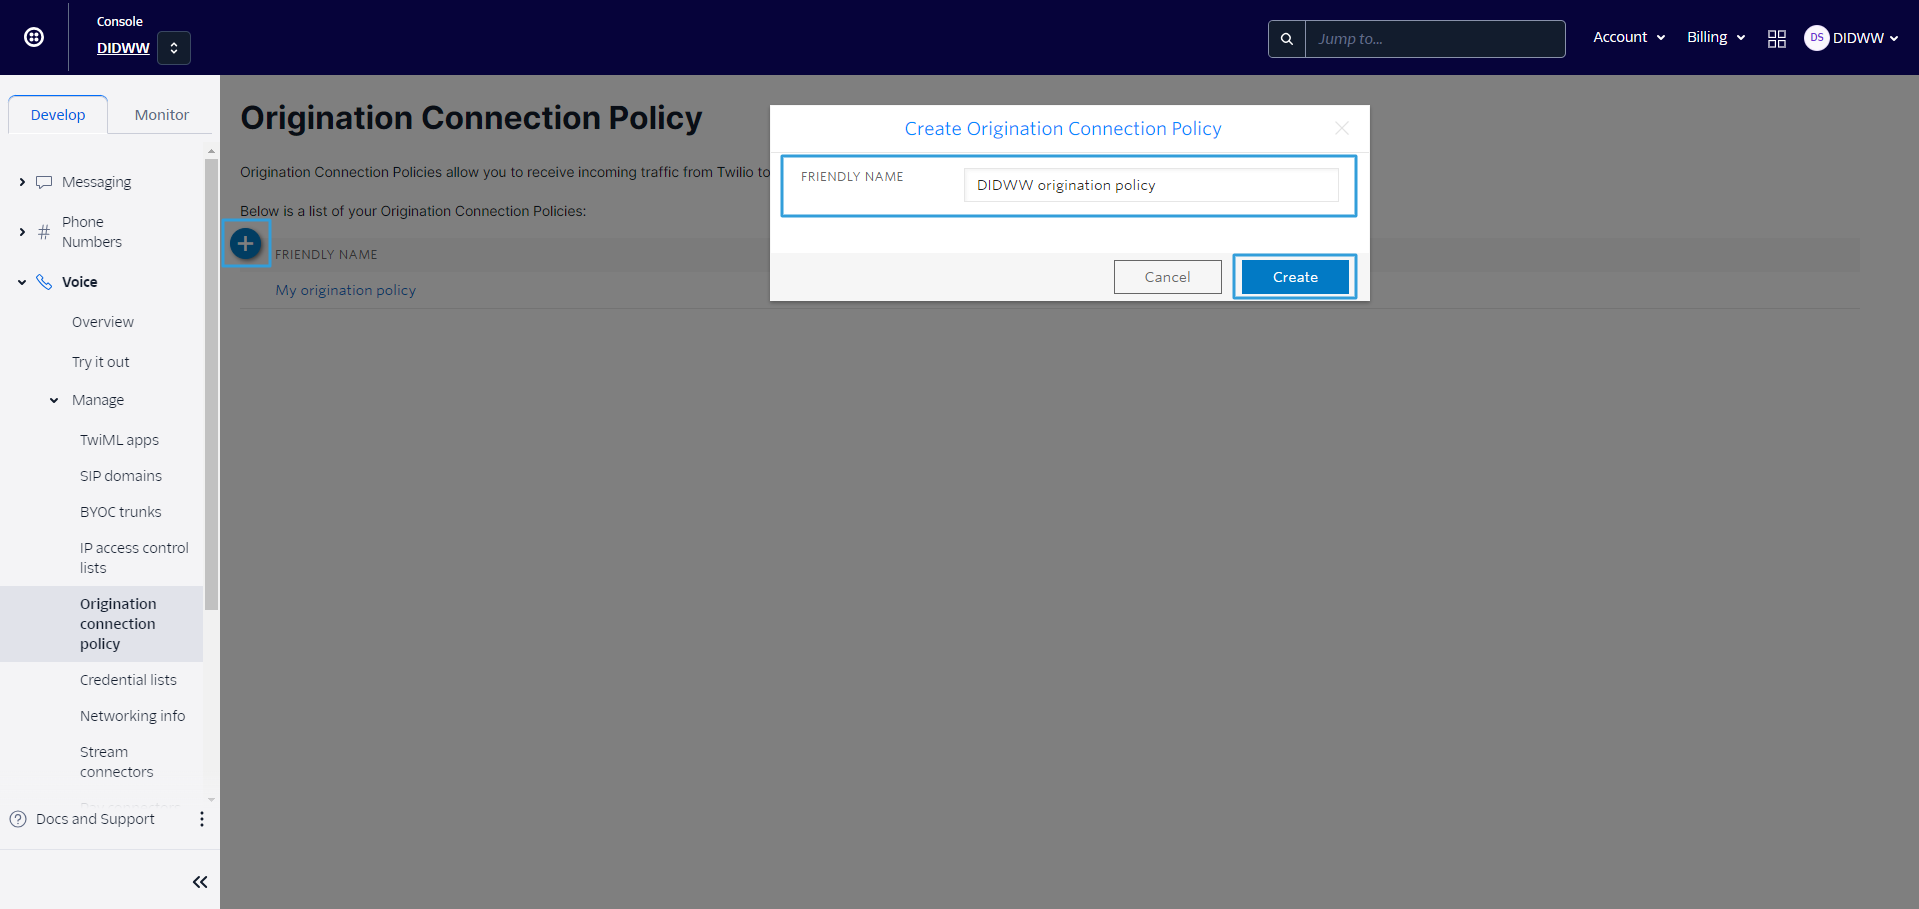
Fig. 2. SIP Trunks section, Import Provider window.
Note
If the file opens as a New Tab with XML source code, use “Save As” on this new tab to save this file as XML.
Step 3. In opened Trunk window, scroll down to “Route to” section and configure call destination (Extension, External number, Ring Group, Queue, etc.) (Fig. 3).
Note
Fig. 3. SIP Trunk window, “Route to” section.
Step 4. At top select DIDs section and enter DIDs which will be recognized for this SIP trunk (Fig.4).
Fig. 4. SIP Trunk window, DIDs section window.
Step 5. Select OK to save SIP trunk.
Note
Configuring Inbound Rules (optional)
This optional section explains configuring Inbound Rules if default routing configuration in SIP trunk is not suitable for specific DID number. To configure Inbound rule, DID number should be added in SIP trunk, DIDs section.
Step 1. In 3CX Dashboard, select “Inbound Rule”, then “Add DID Rule” (Fig. 1).
Fig. 1. Inbound Rules window.
Step 2. Enter your preferred name for rule, select DID number and configure destination (Extension, External number, Ring Group, Queue, etc.) (Fig. 2).
Fig. 2. Inbound Rules window.
Step 3. Click OK to save rule.
Outbound
To add the DIDWW Outbound SIP Trunk into your 3CX Phone Management Console, proceed with the following steps:
Step 1. In the management console of 3CX navigate to “SIP Trunks” section.
Fig. 1. 3CX Dashboard window.
Step 2. In the SIP Trunks section select “Import Provider” button, upload outbound configuration file, enter Main Trunk number (e.g. 5678) and click OK button (Fig. 2).
Fig. 2. SIP Trunks section, Import Provider window.
Note
If the file opens as a New Tab with XML source code, use “Save As” on this new tab to save this file as XML.
Step 3. In opened SIP trunk window, at Authentication section, change Type of Authentication to “Outbound - Outbound only” or “Register/Account based” (optional) and enter Authentication ID (DIDWW Outbound Trunk username) and Authentication Password (DIDWW Outbound Trunk password) (Fig.4).
Fig. 3. SIP trunk window, Authentication section.
Step 4. Select OK to save SIP Trunk configuration. If everything is configured correctly, Register OK column will display date and status bubble beside Name will change from red to green (Fig. 4).
Fig. 4. SIP Trunks window.
Step 5. Navigate to “Outbound Rules” section and select “Add” button (Fig. 5).
Fig. 5. Outbound Rules window.
Step 6. In “Add Outbound Rule” window enter your preferred Rule name, enter Extension numbers in “Calls from extension(s)” input to select for which extensions this rule will apply and on bottom at Route 1 select created SIP Outbound Trunk (Fig. 6).
Fig. 5. Add Outbound Rule window.
Step 7. Select OK to save Outbound Rule.